

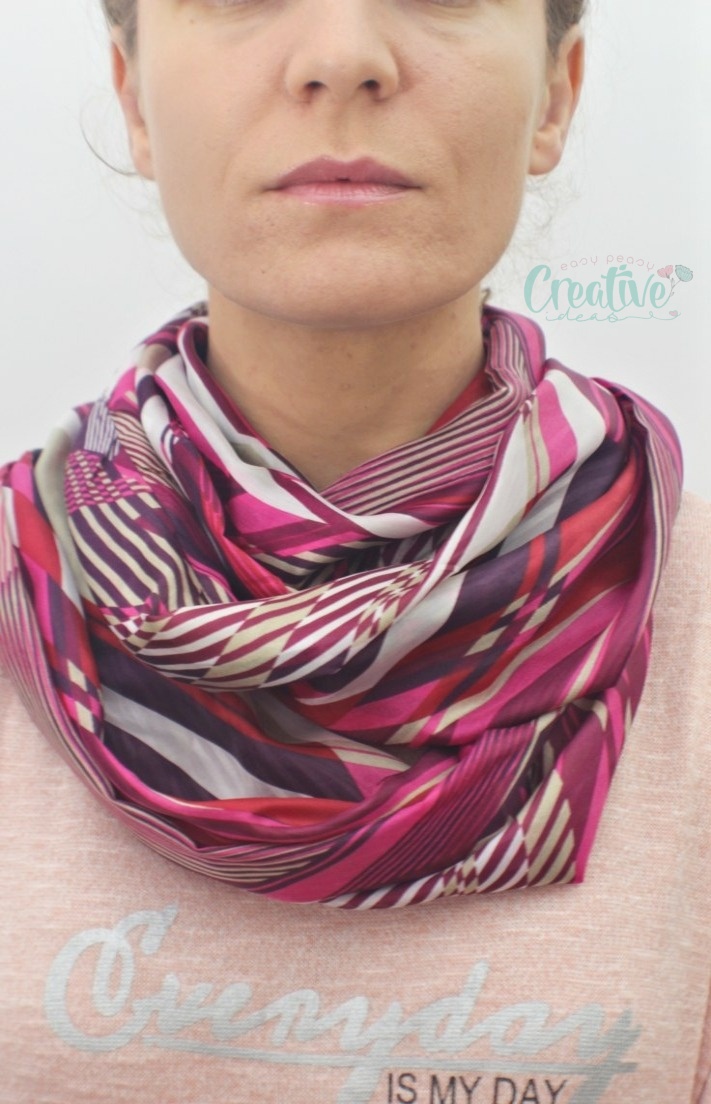
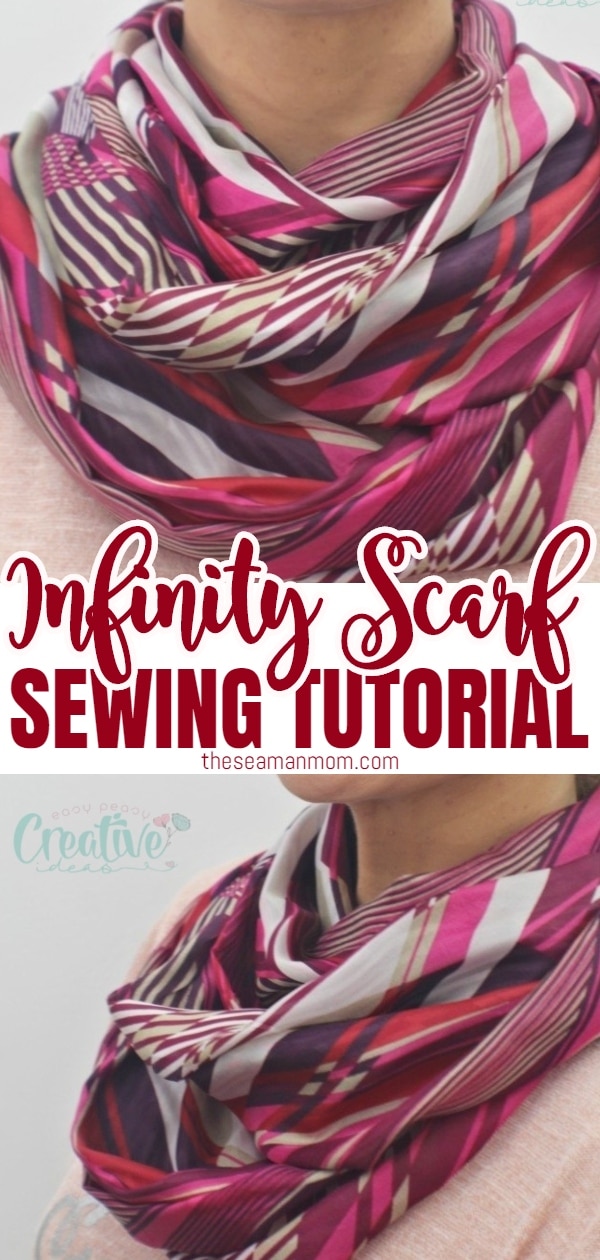
This gorgeous infinity scarf is too easy and quick to pass up
Need an easy peasy sewing project that is perfect for the ultimate beginner? Making an infinity scarf is one of the simplest projects you could start with in your sewing journey! This DIY infinity scarf is ready in less than 10 minutes from start to finish!
How to make an infinity scarf

Are you an ultimate beginner? Or maybe you just want to add new cool items to your wardrobe or simply practice your sewing skills? No matter the reason, this lovely DIY infinity scarf is a great project to work on for sewers of all levels!
What makes this infinity scarf tutorial so awesome? While there are many reasons making a long infinity scarf could be considered a must in your sewing journey, I find that nothing beats putting together such an amazing item in less than 10 minutes! From cutting the fabric to pinning and sewing, my DIY infinity scarf took less that 10 minutes to make! I was in absolute awe when I finished this adorable accessory item!
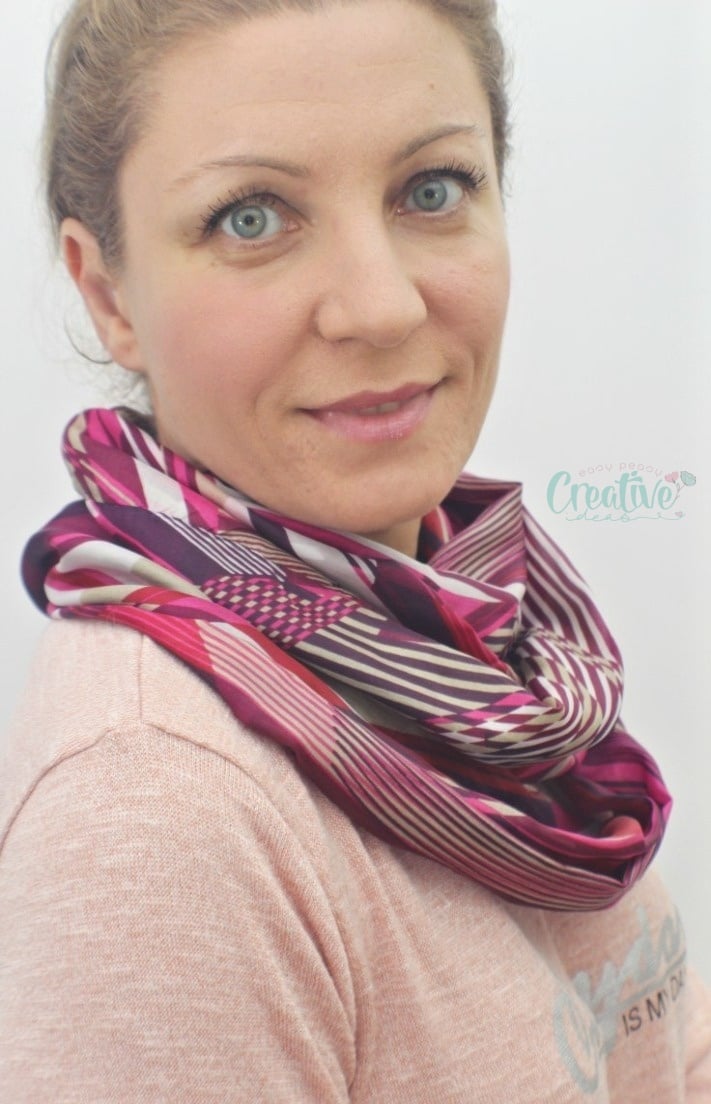
This is a super versatile item that goes great in any season and with any kind of outfit, from a hoodie, tank top or t-shirt, to sweaters or winter jackets.
More beginner projects you might like:
- DIY Bunny pillow
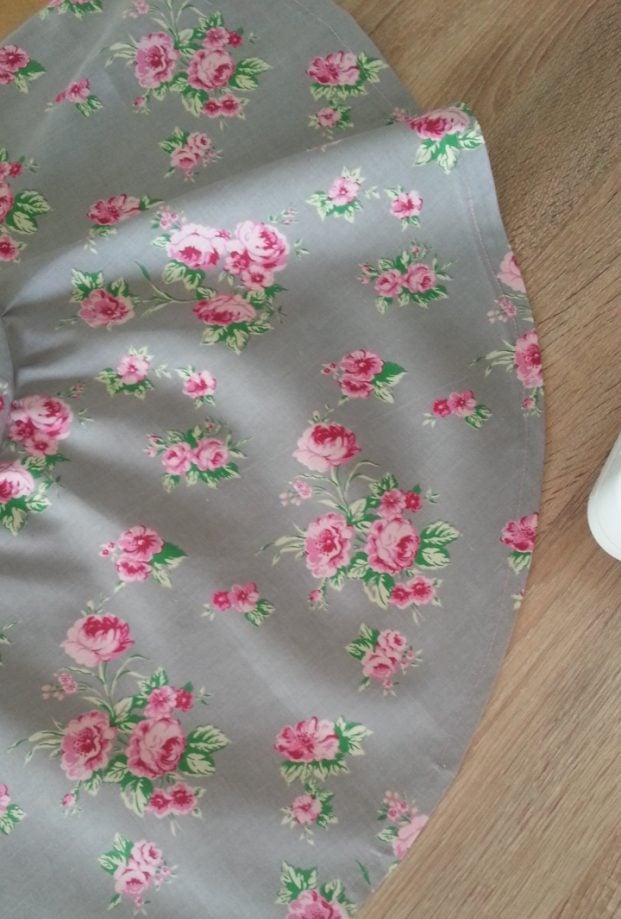
- Round crossbody bag for girls
- Valentine heart garland
- Heart fabric bookmarks
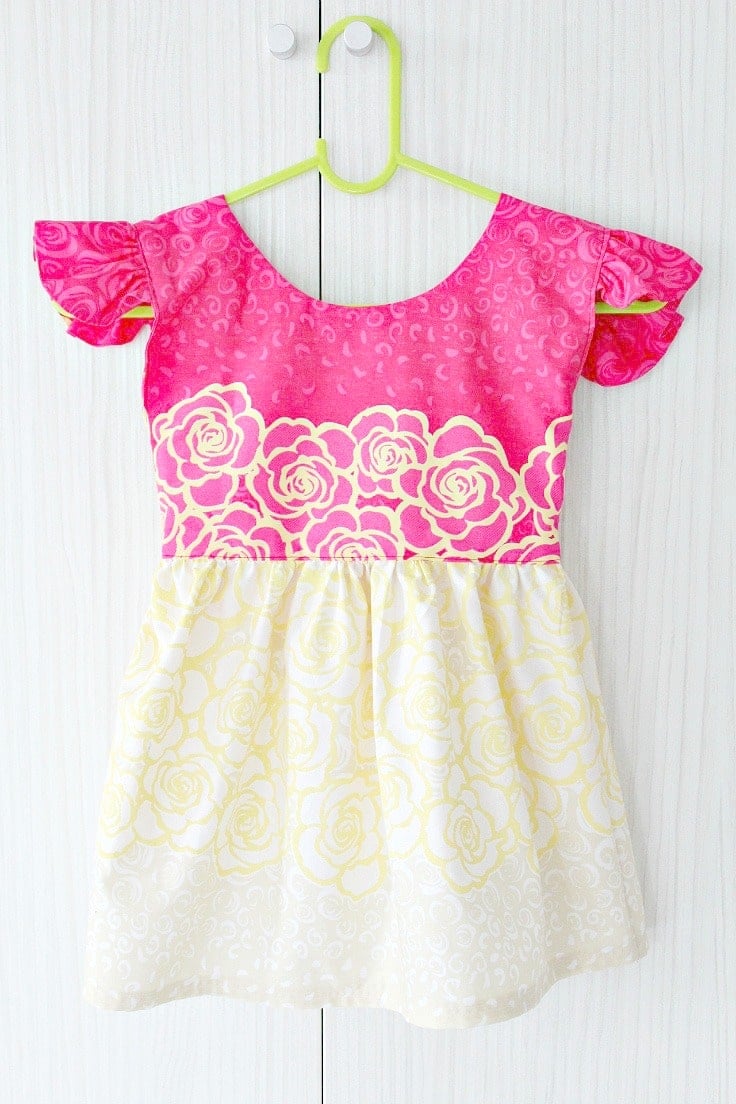
- Reversible skirt tutorial
- 25 gorgeous projects to sew with scraps
- Stunning easy lace headbands
- Batwing top from a scarf
I’m a very chill person (meaning I’m cold all the time, even in the summer!). And I find keeping a scarf and a sweater with me all the time is more than enough to help me feel warm and cozy. Even in warm summer evenings you can find me carrying at least a scarf. I own about a dozen of scarves but not an infinity scarf! So this time I thought I should make my own DIY infinity scarf instead of buying one. I figured it will be easy to make but never realized how crazy easy!
A great project for larger leftover fabrics that cannot be used for larger projects like clothing or large home textiles. For a funnier scarf, sew together different pieces of fabric. They can be complementing or contrasting depending on the final style you need. Also, use a different fabric for each side of the scarf for a reversible infinity scarf.
What is an infinity scarf?
If you’ve never seen one and wondered what is an infinity scarf, is basically a loop of fabric that is worn into a scarf. I’ll get into the fine details below but in a gist, you sew a rectangle into a tube, turn it right side out sew the ends together and wrap the tube around your neck two or three times.
An infinity scarf is a great and easy handmade gift to give to your friends and family and can be made for children, as well as adults. Matching mother-daughter scarves are also a great hit for those who want to look alike. Though, it’s better that only older children use this kind of scarves, as very small ones face the risk of suffocating wile pulling the scarf.
How long should an infinity scarf be?
You can make yours as long or short as you like, as long as you are able to twist it around your neck at least a couple of time, you’re good to go.
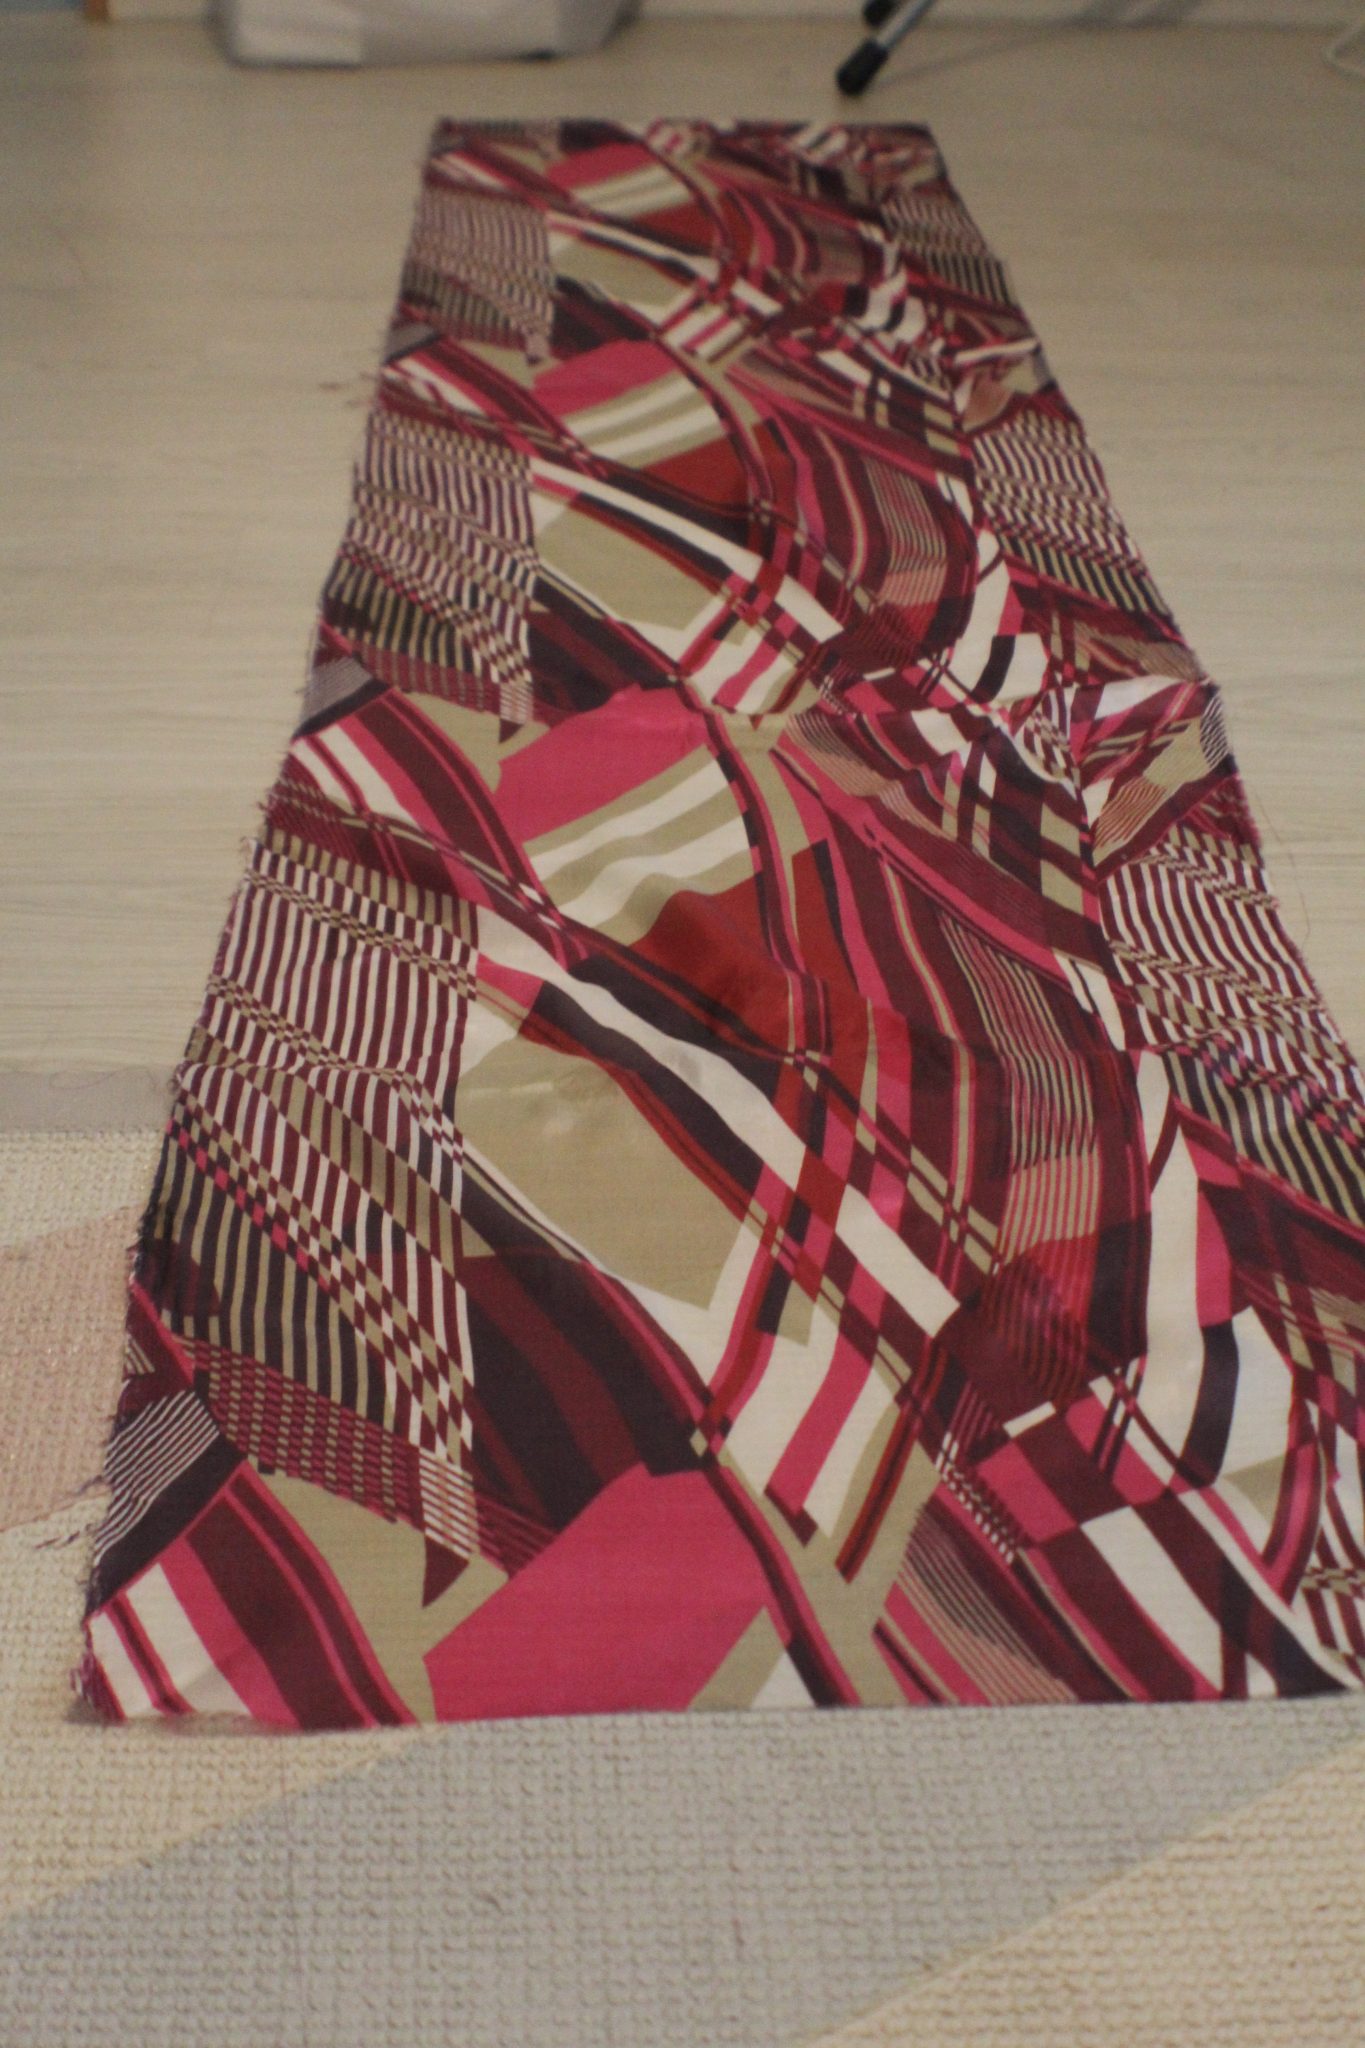
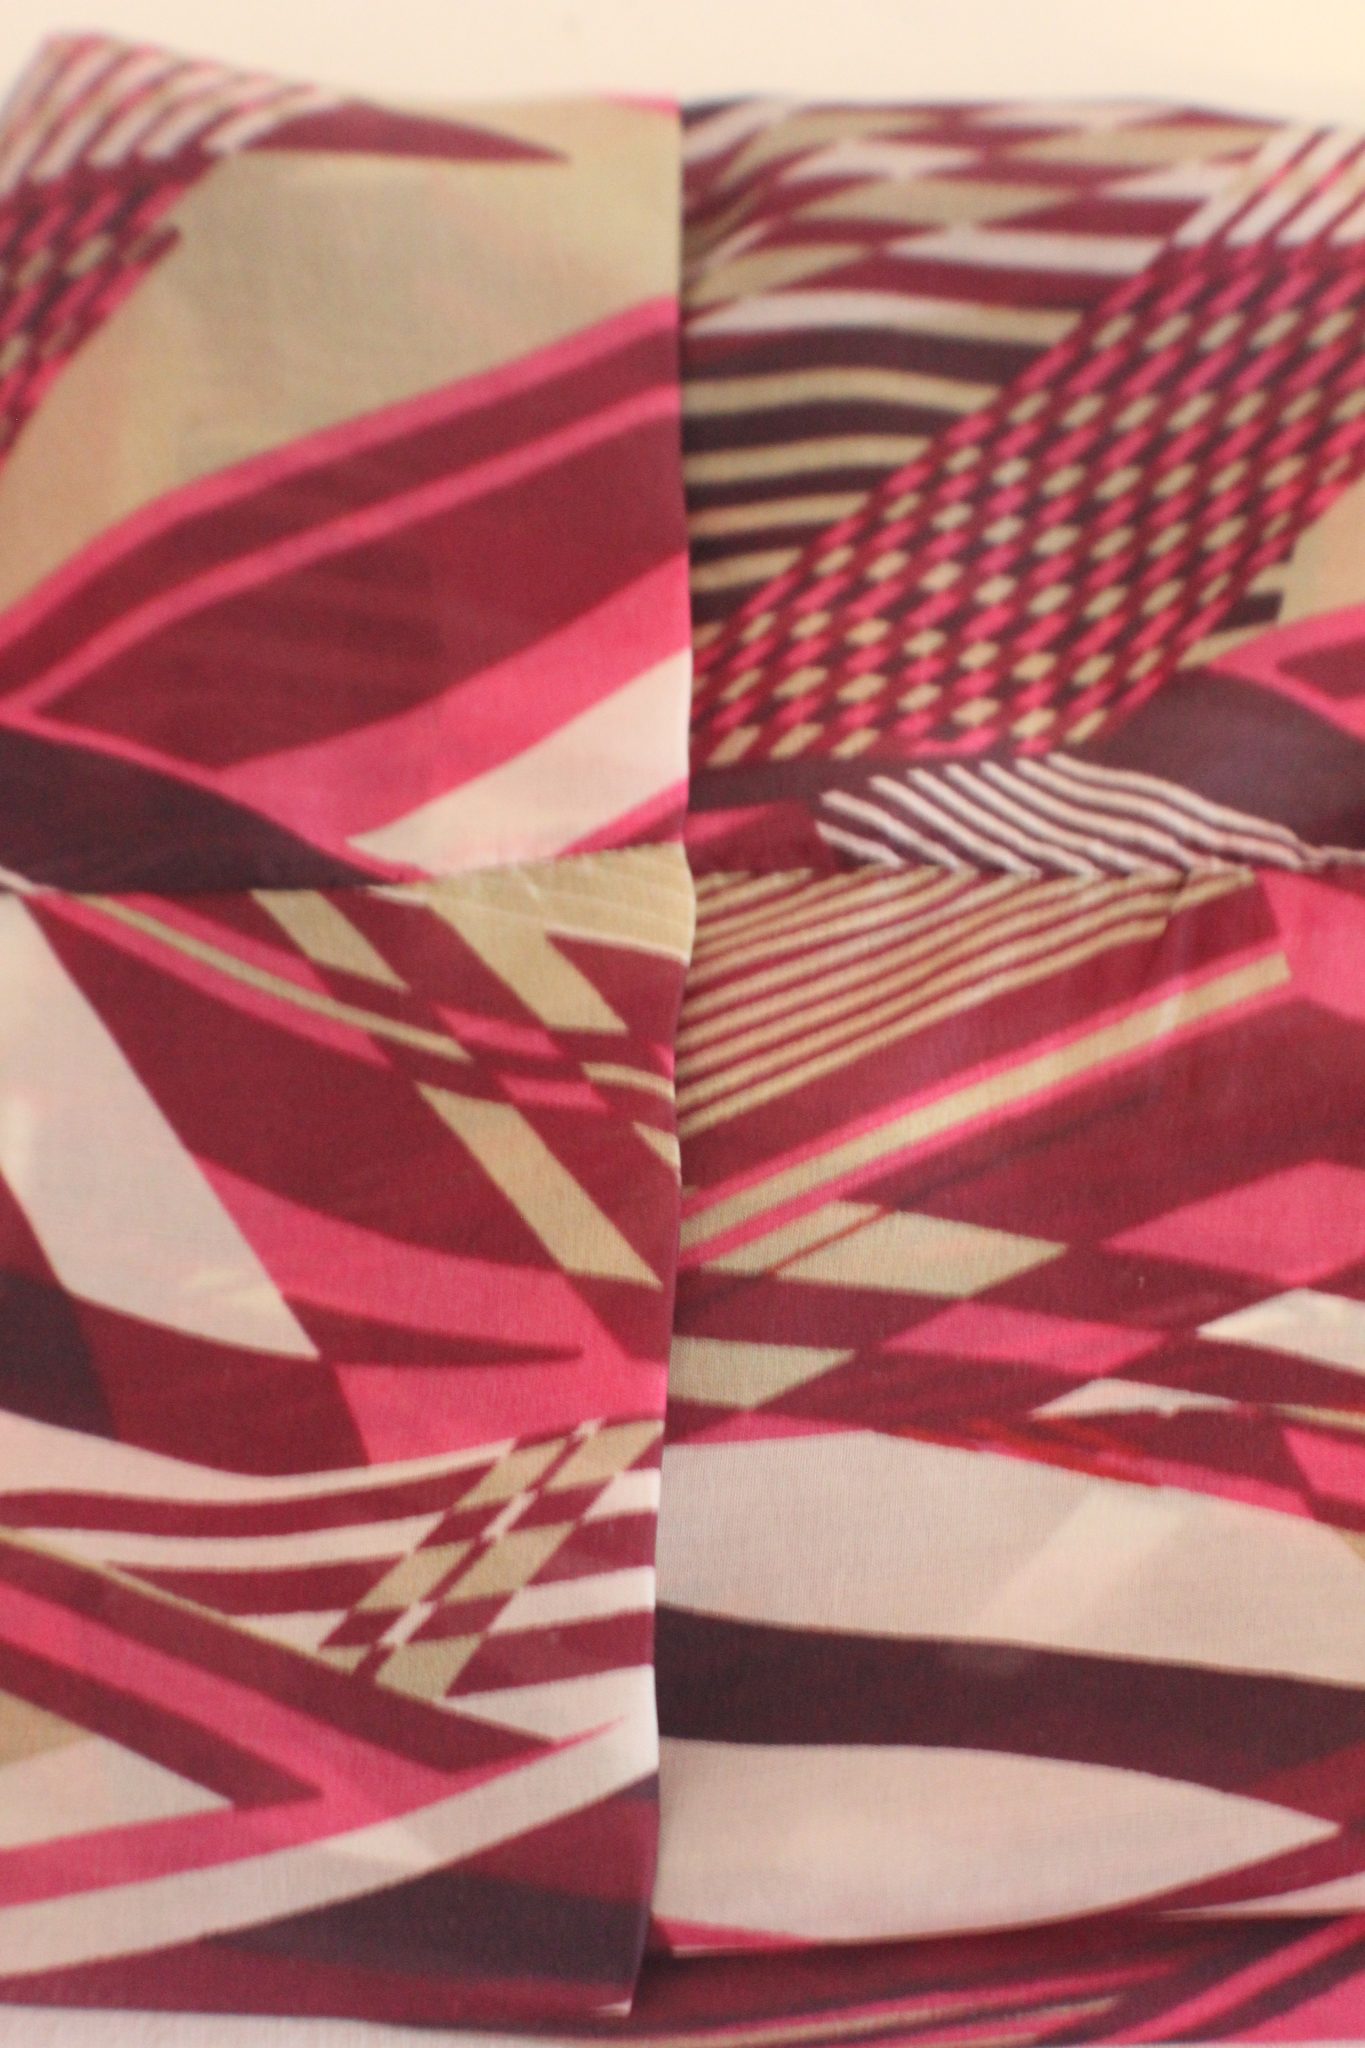
I decided to make mine pretty long as I used super lightweight fabric (I have a few scraps in my stash that I needed to put to a good use) and I wanted my scarf to get some body and volume when I will be wearing it. The square I used to make my scarf was 6 ft long and 15″ wide. Perfect length to wrap my scarf around my neck three times.
What kind of fabric is best for an infinity scarf?
For my DIY infinity scarf I used lightweight fabric because I want to be able to wear this lovely scarf all spring and summer long! But other types of fabric would do well too, especially soft knits and woven, cotton and chambray. Basically any lightweight to medium weight fabrics are good options for an infinity scarf. Because you get to wrap it twice or even three times around your neck, you’ll need fabrics that won’t make the scarf look too bulky.
What are the benefits of wearing an infinity scarf?
- A wider infinity scarf can double as a hood or a scarf-hood if it’s longer, so that you can protect and warm up your head as well as your neck.
- Depending on the length of the scarf and the thickness of the fabric, you can wrap it two or three times around your neck. A lighter fabric goes better for a longer scarf, while a heavier one would be best or a shorter scarf.
- Another great thing: you won’t need to worry about tying your scarf in a specific way and trying ten times to get it right.
- Also, an infinity scarf won’t fly around or untie like regular scarves do.
Ready to learn how to sew an infinity scarf? Here’s the step by step tutorial!
DIY infinity scarf
Materials:
- fabric of choice cut into a rectangle of desired size (mine was 6ft x 15″)
- yardstick
- fabric pen or chalk
- scissors
- matching thread
- sewing machine
- sharp needle if using lightweight fabric as I did
- pressing iron
How do you sew an infinity scarf together?
- Using your yardstick measure a rectangle of the desired size and mark with a fabric pen.
- Cut out the rectangle with scissors. If using lightweight fabric, it may shift so you need to add lots of fabric weights and you may find that bent dressmaker shears or rotary cutter are a great help in cutting slippery, lightweight fabrics.
- Press your rectangle well (adjust the temperature and steam to the type of fabric used).
- Fold the rectangle in half, lengthwise, wrong side out.
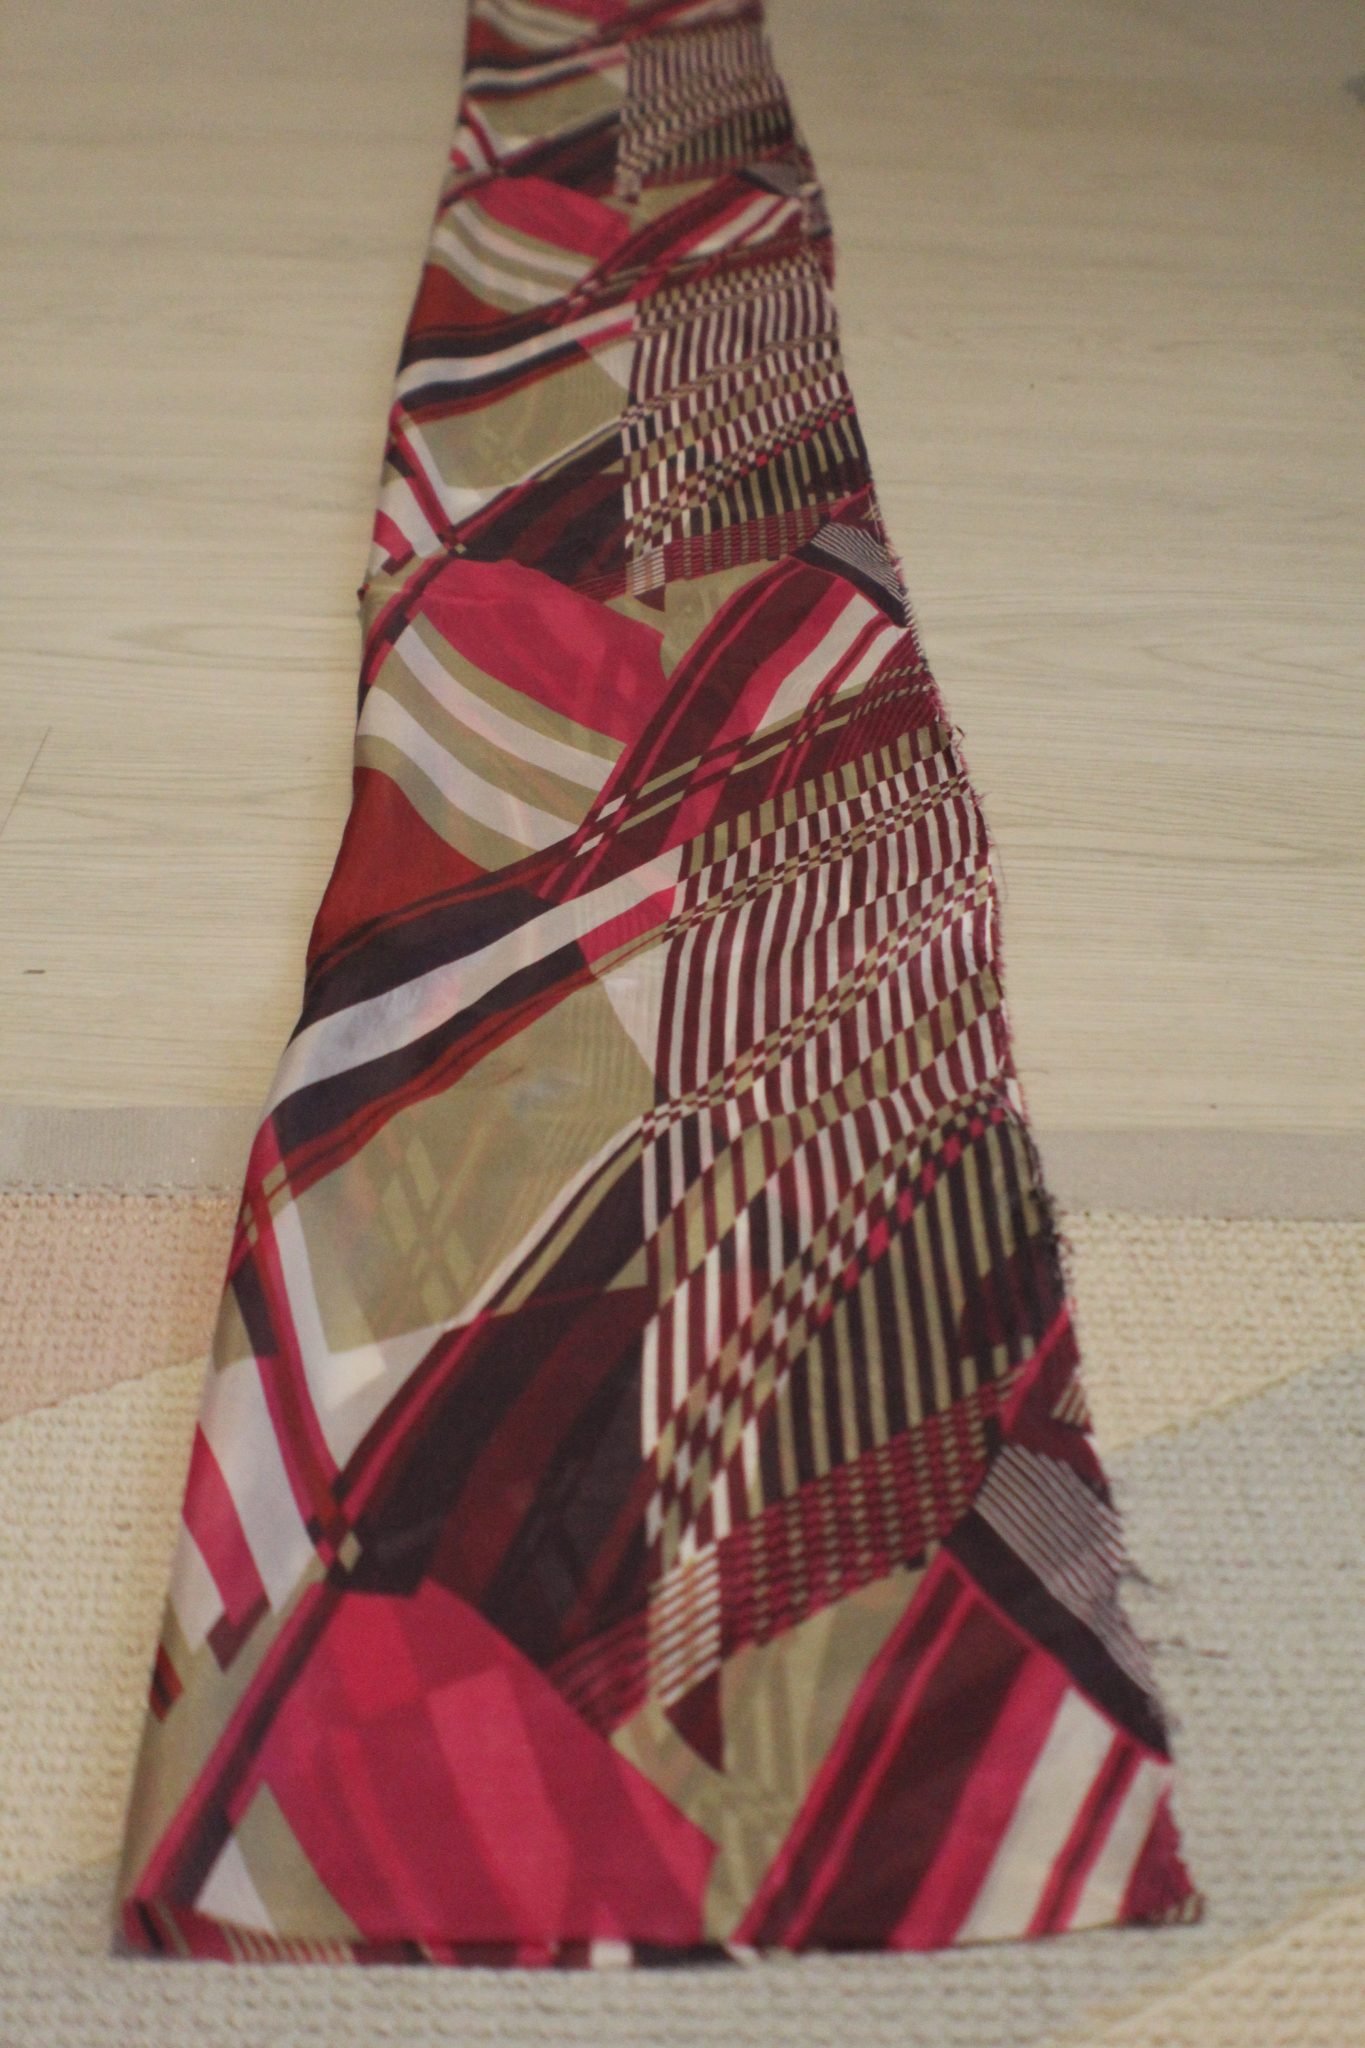
- Lightly press. Try not to leave a permanent crease.
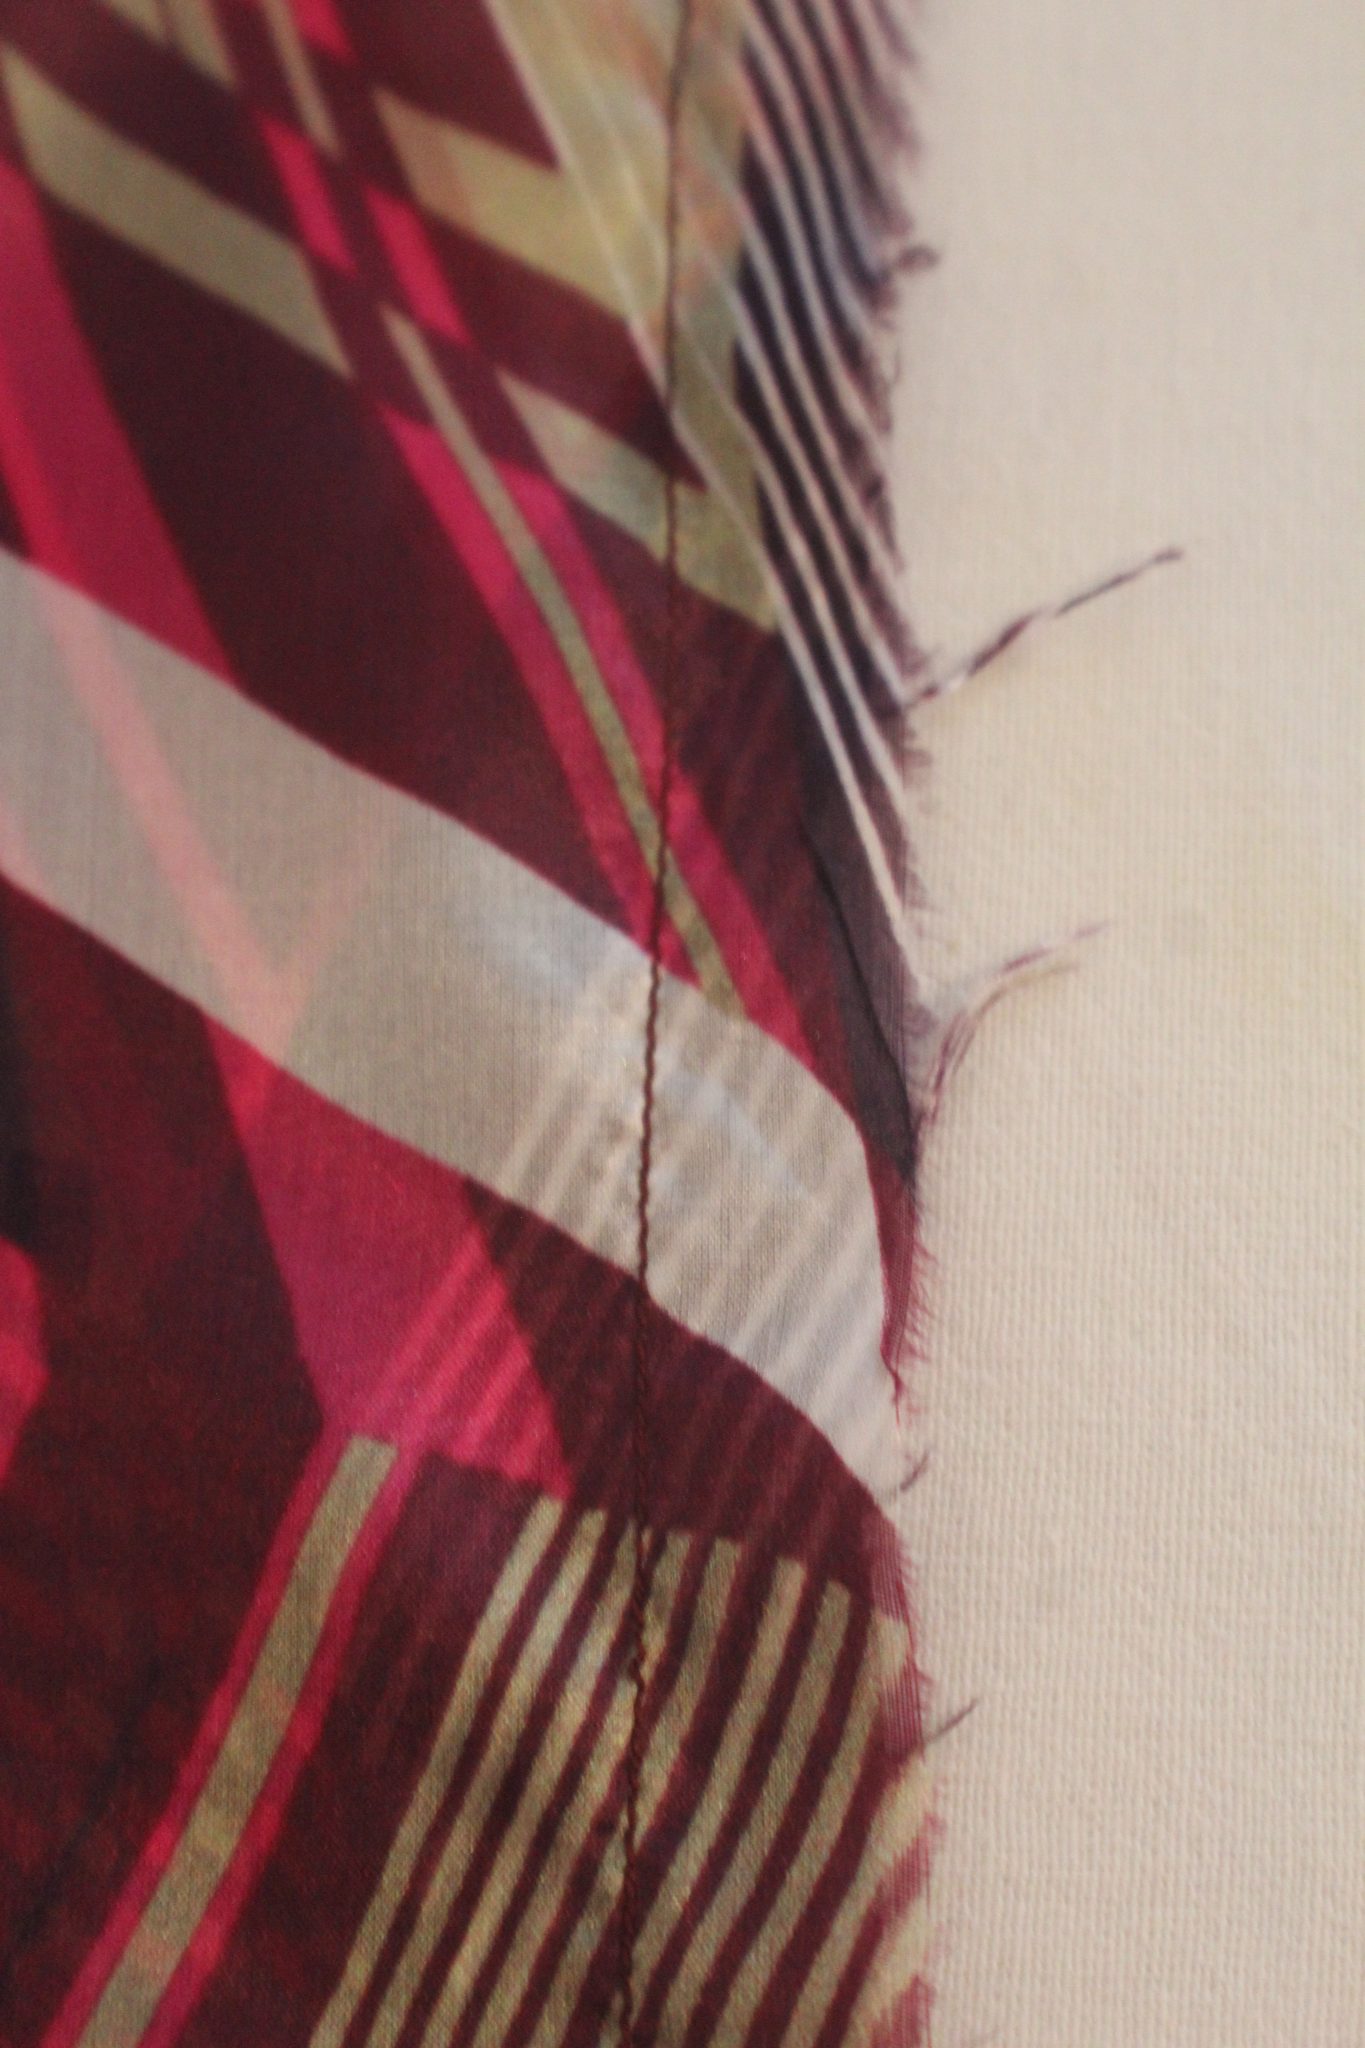
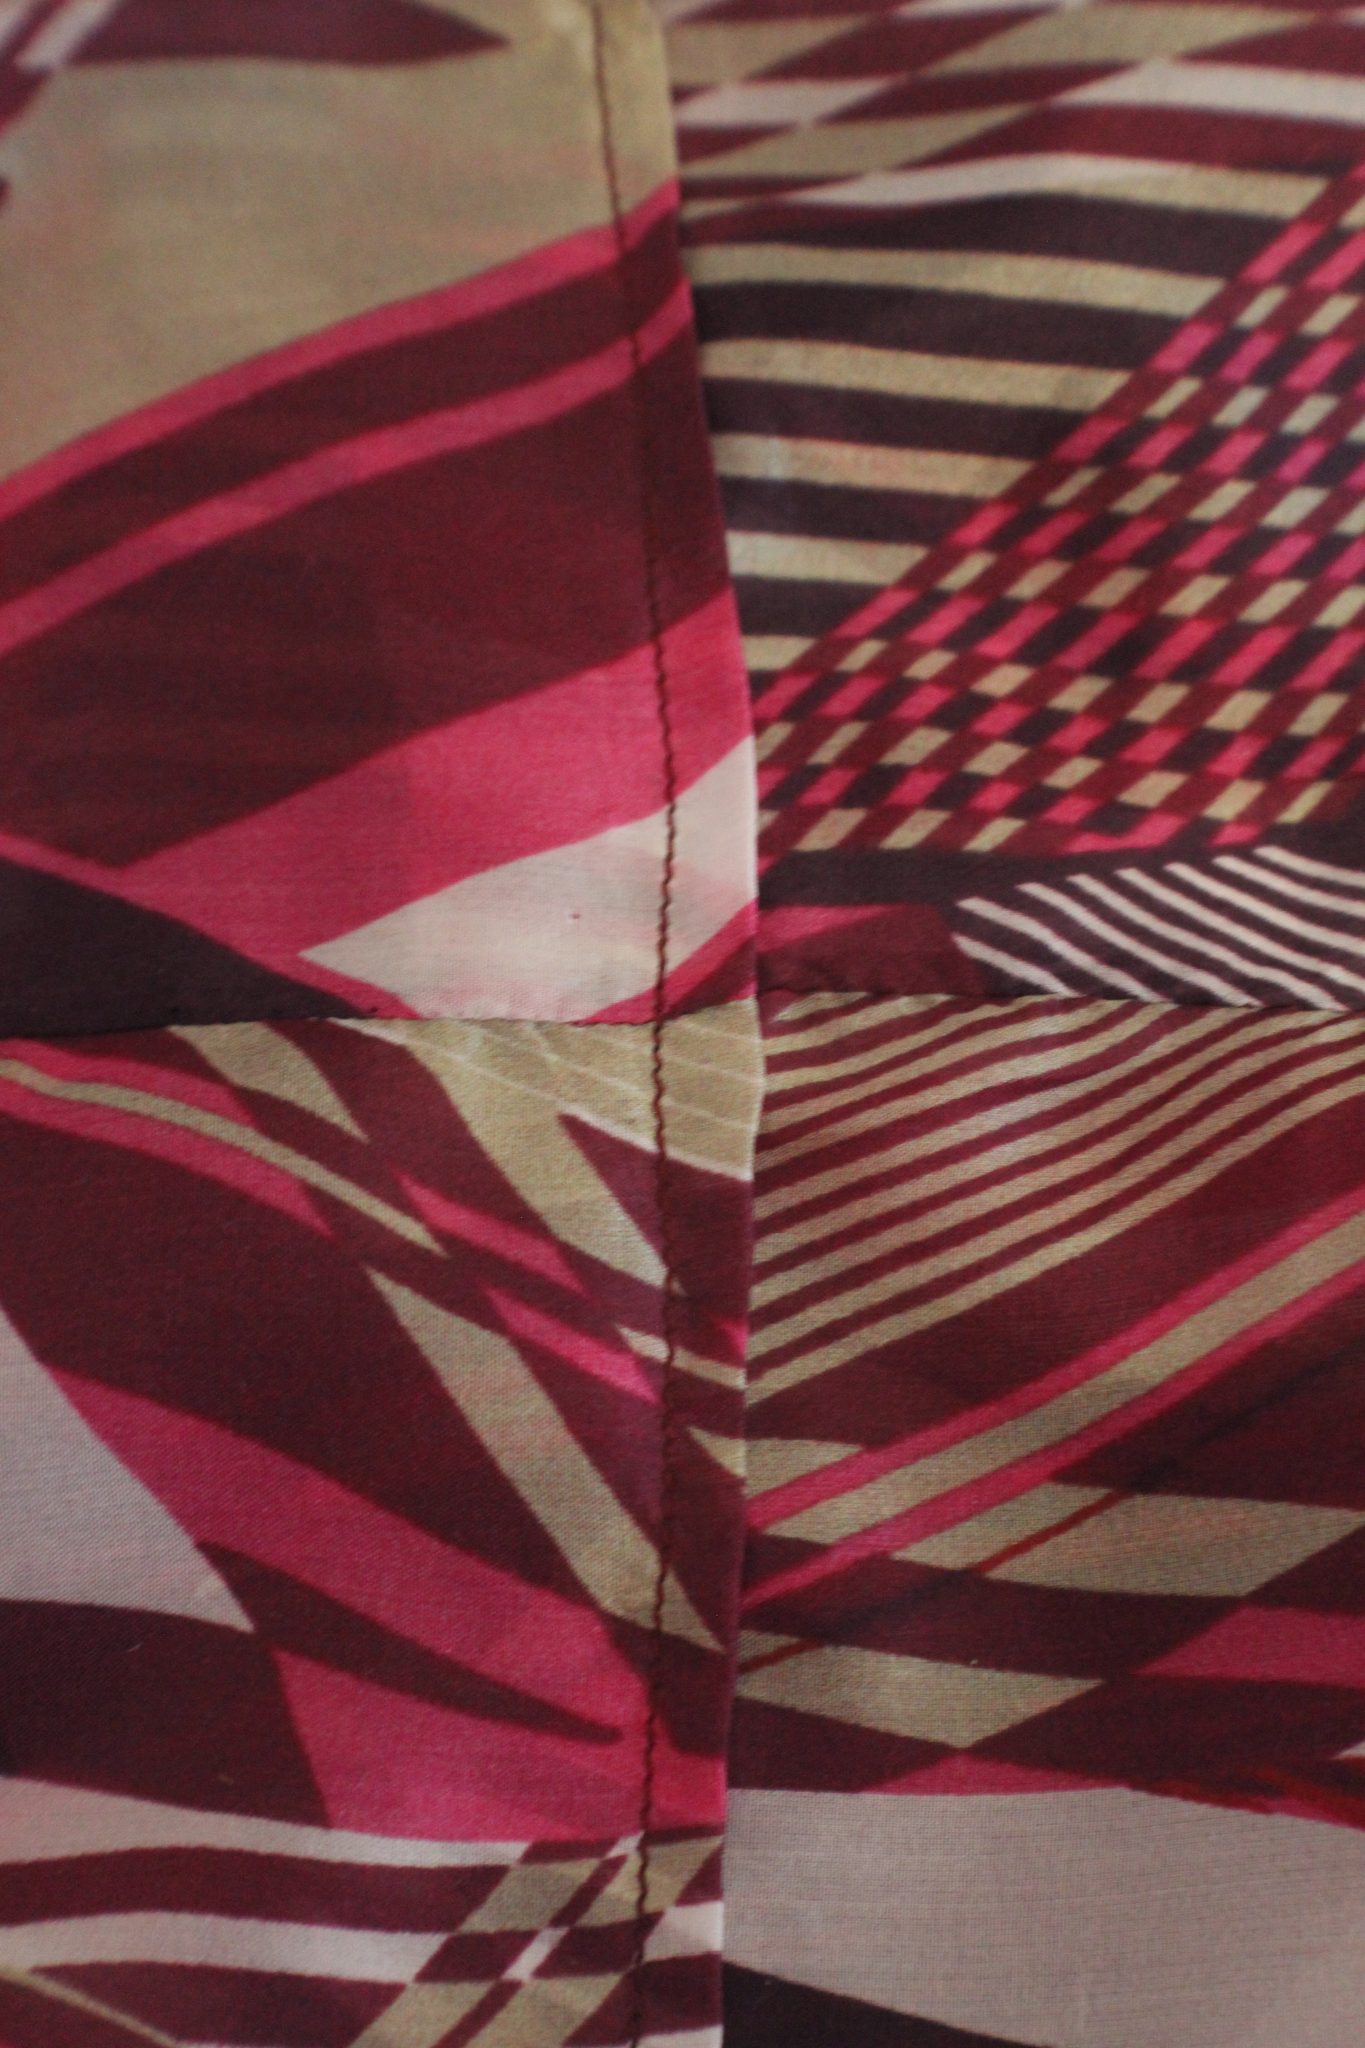
- Sew along the raw edge with 1/2″ allowance. Your rectangle is now a tube.
- Trim the seam to 1/8″.
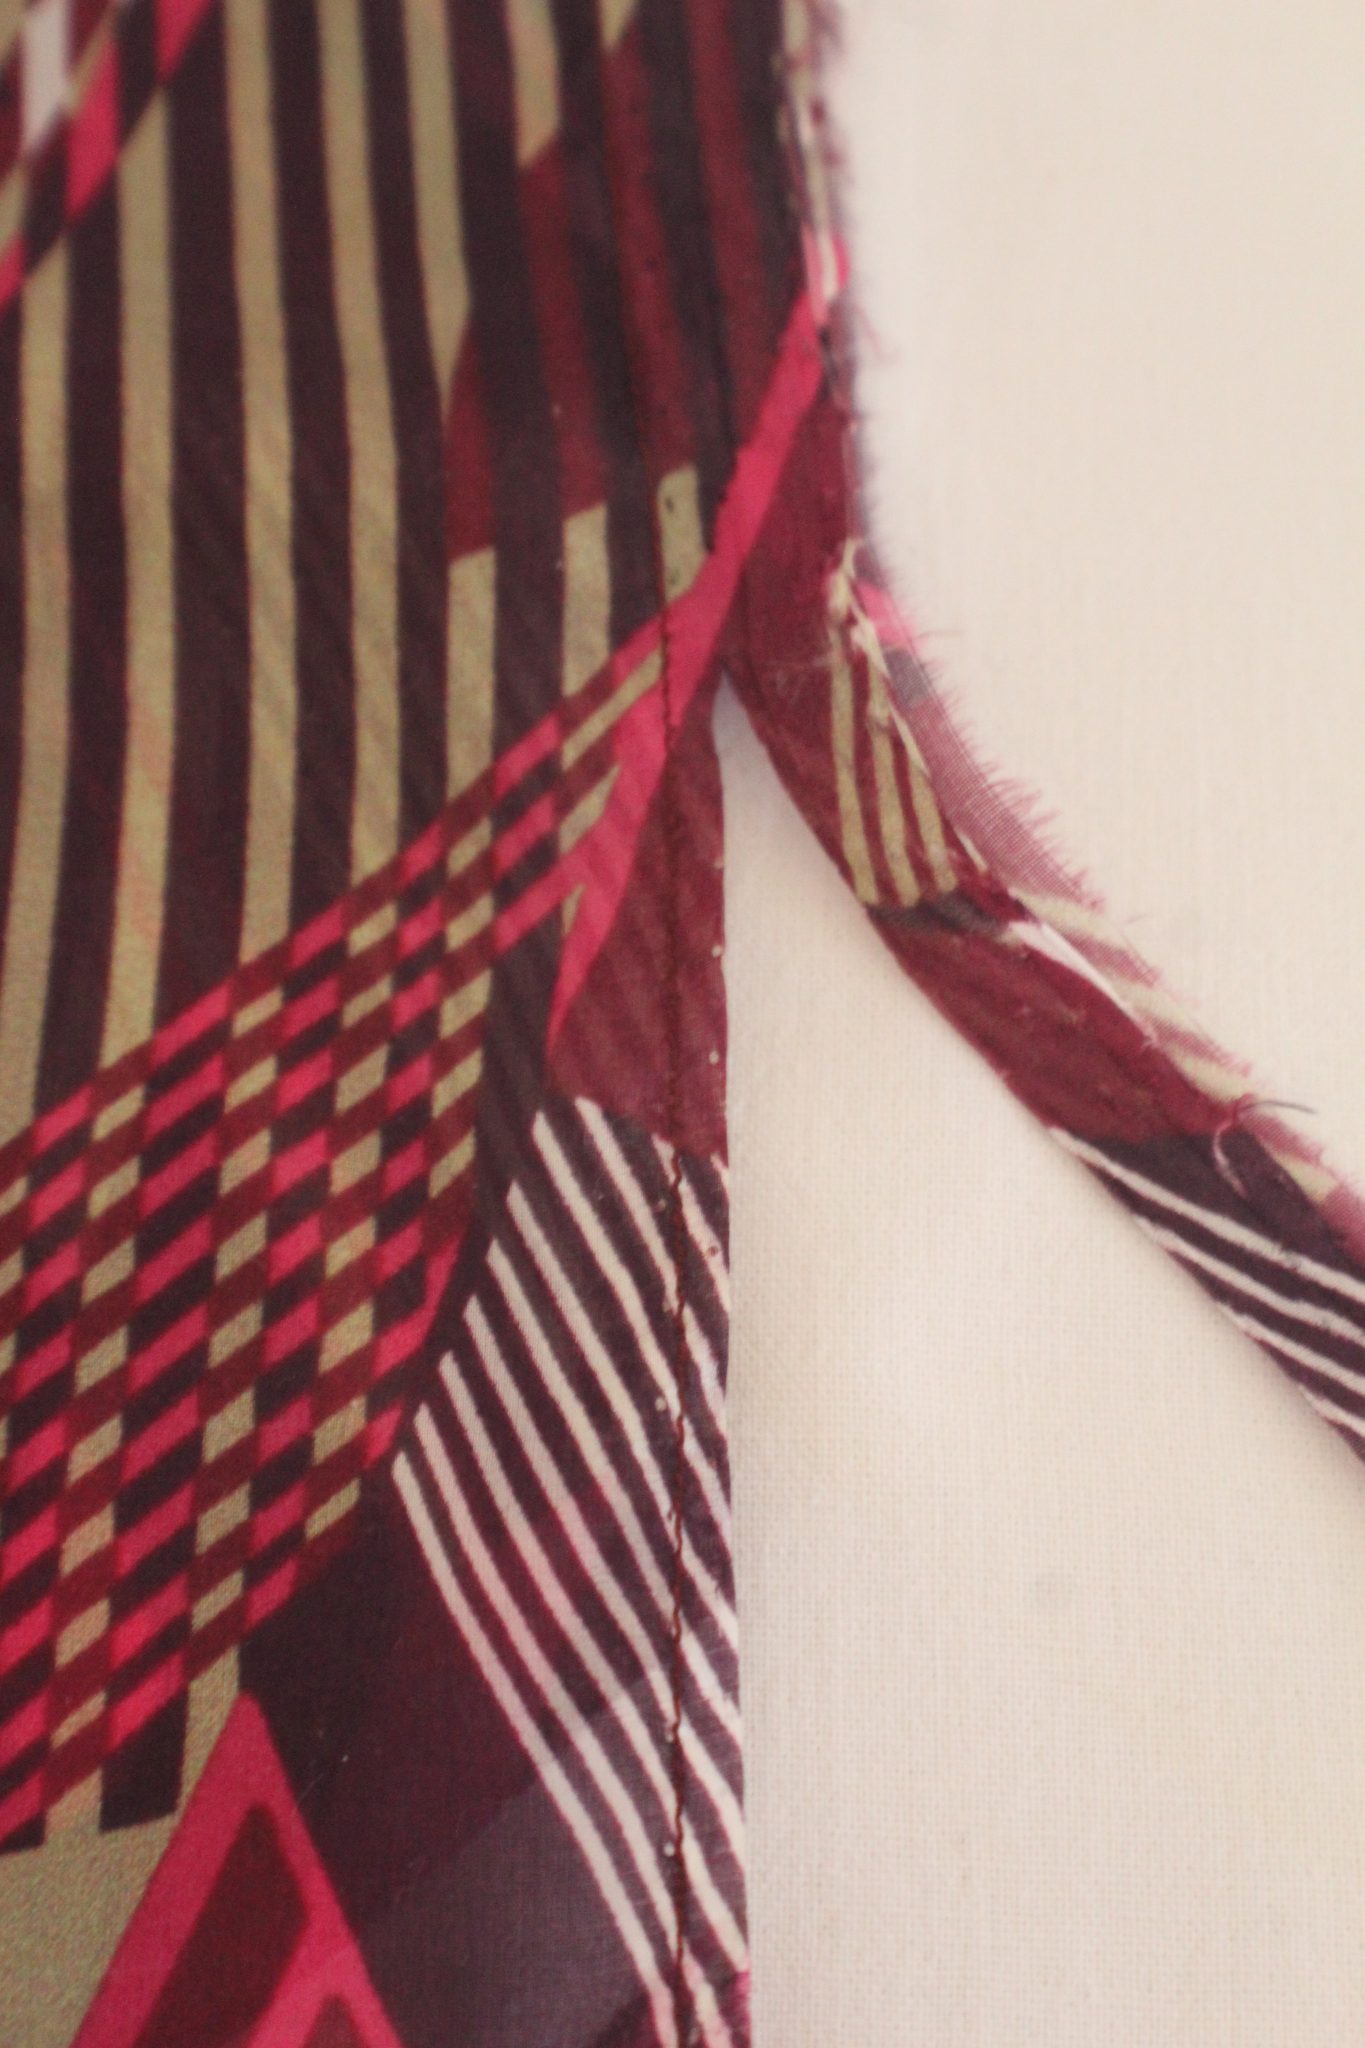
- Press the seam to one side.
- Turn the tube right side out.
- Fold the tube so that the seam falls right in the middle of the tube and press well. You’re aiming to get two sharp edges.

- Fold one end of the tube in, about 1/2″ and press well.
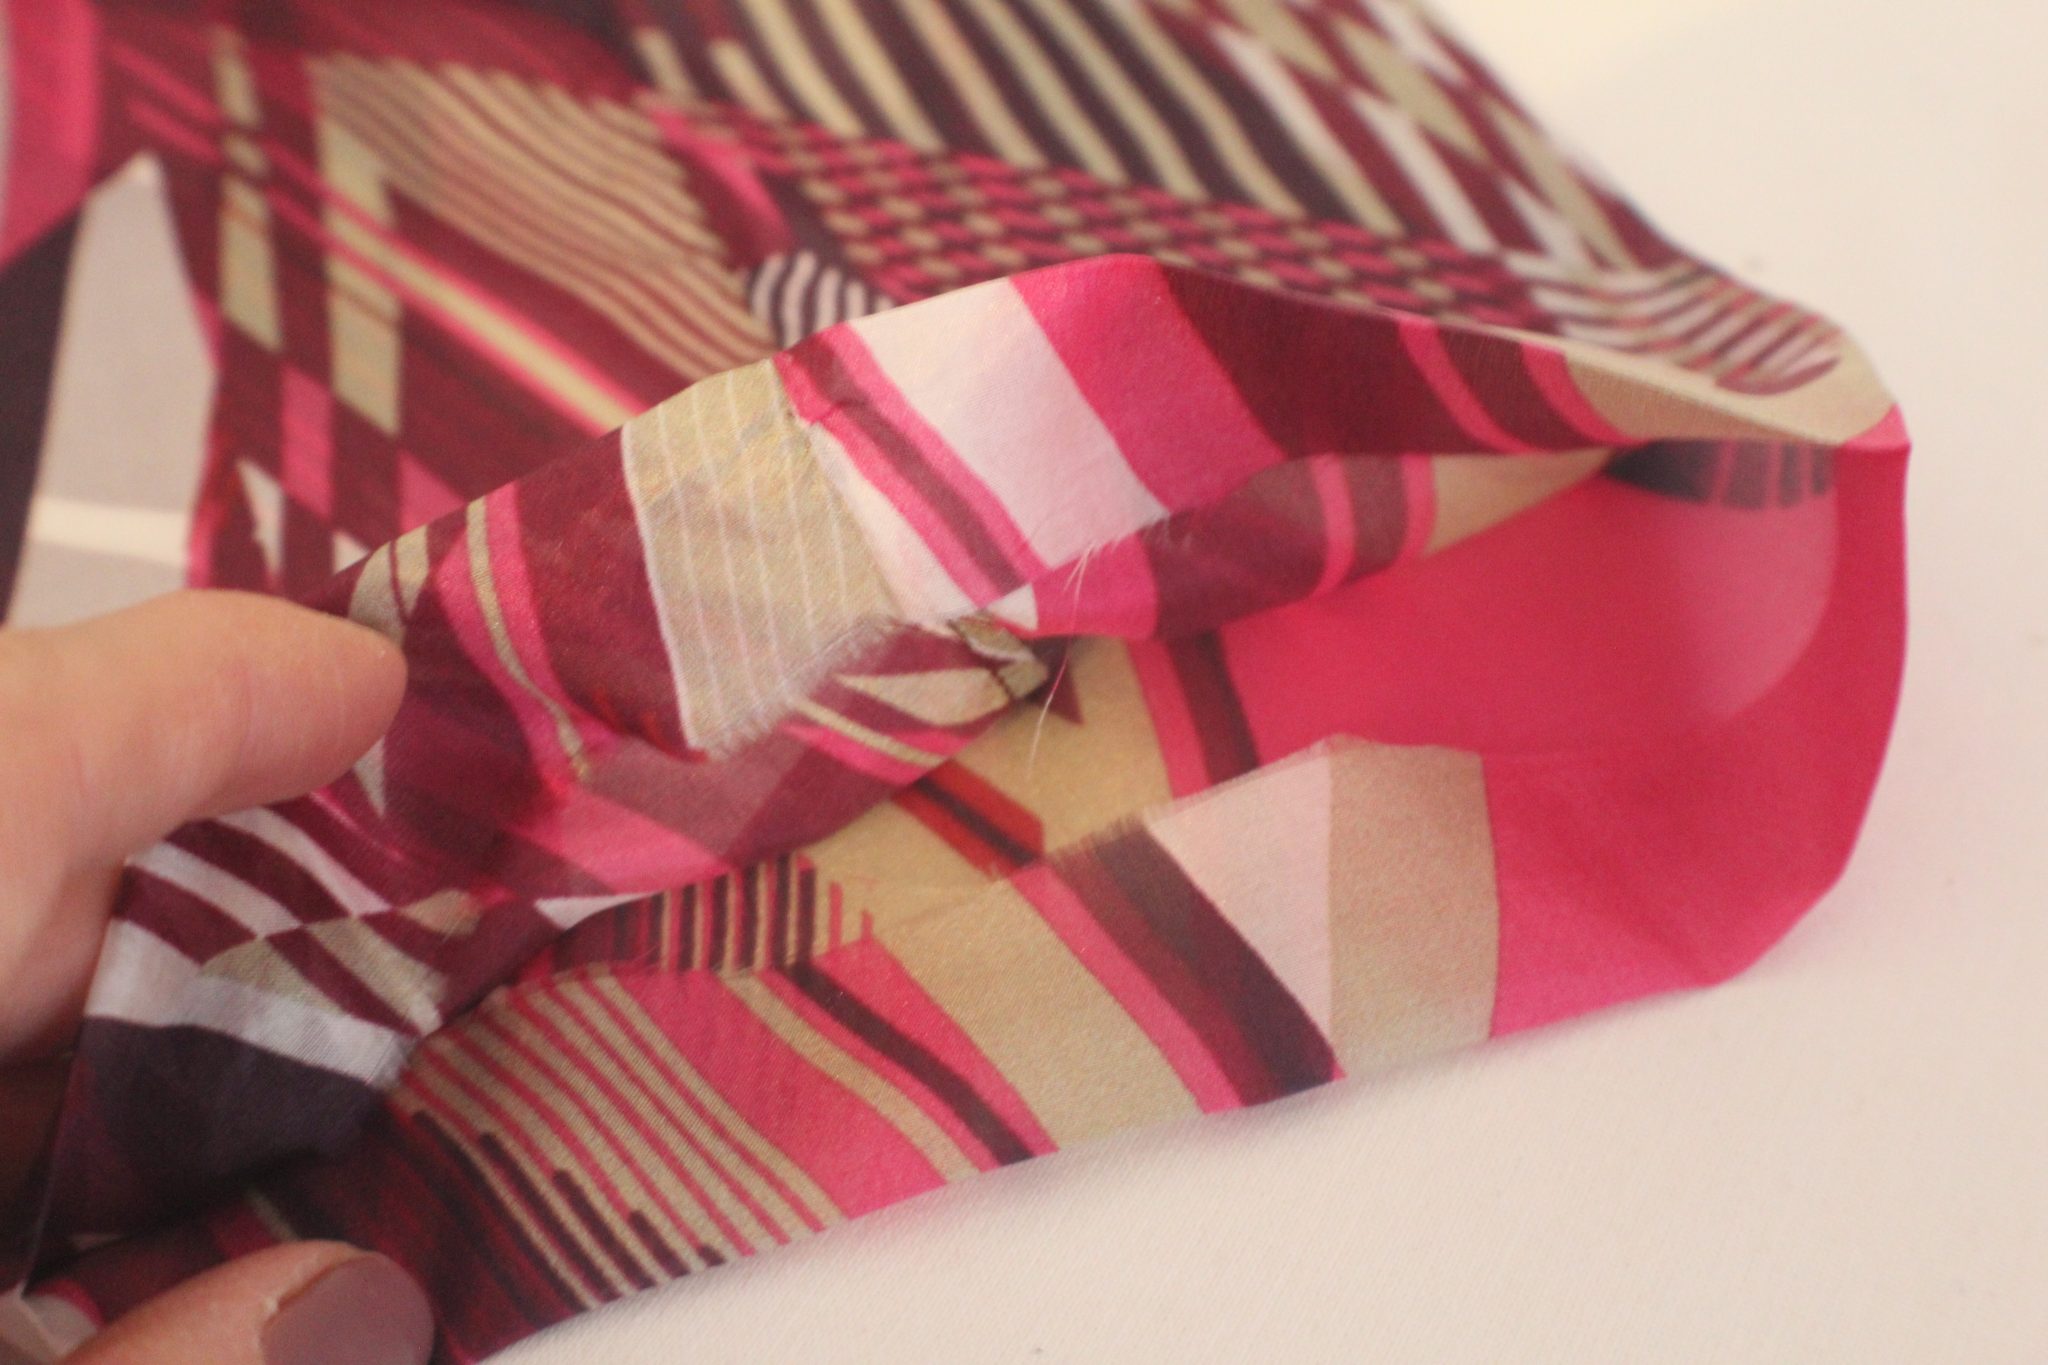
- Slide the unfolded end inside the folded end, about 1/2″.
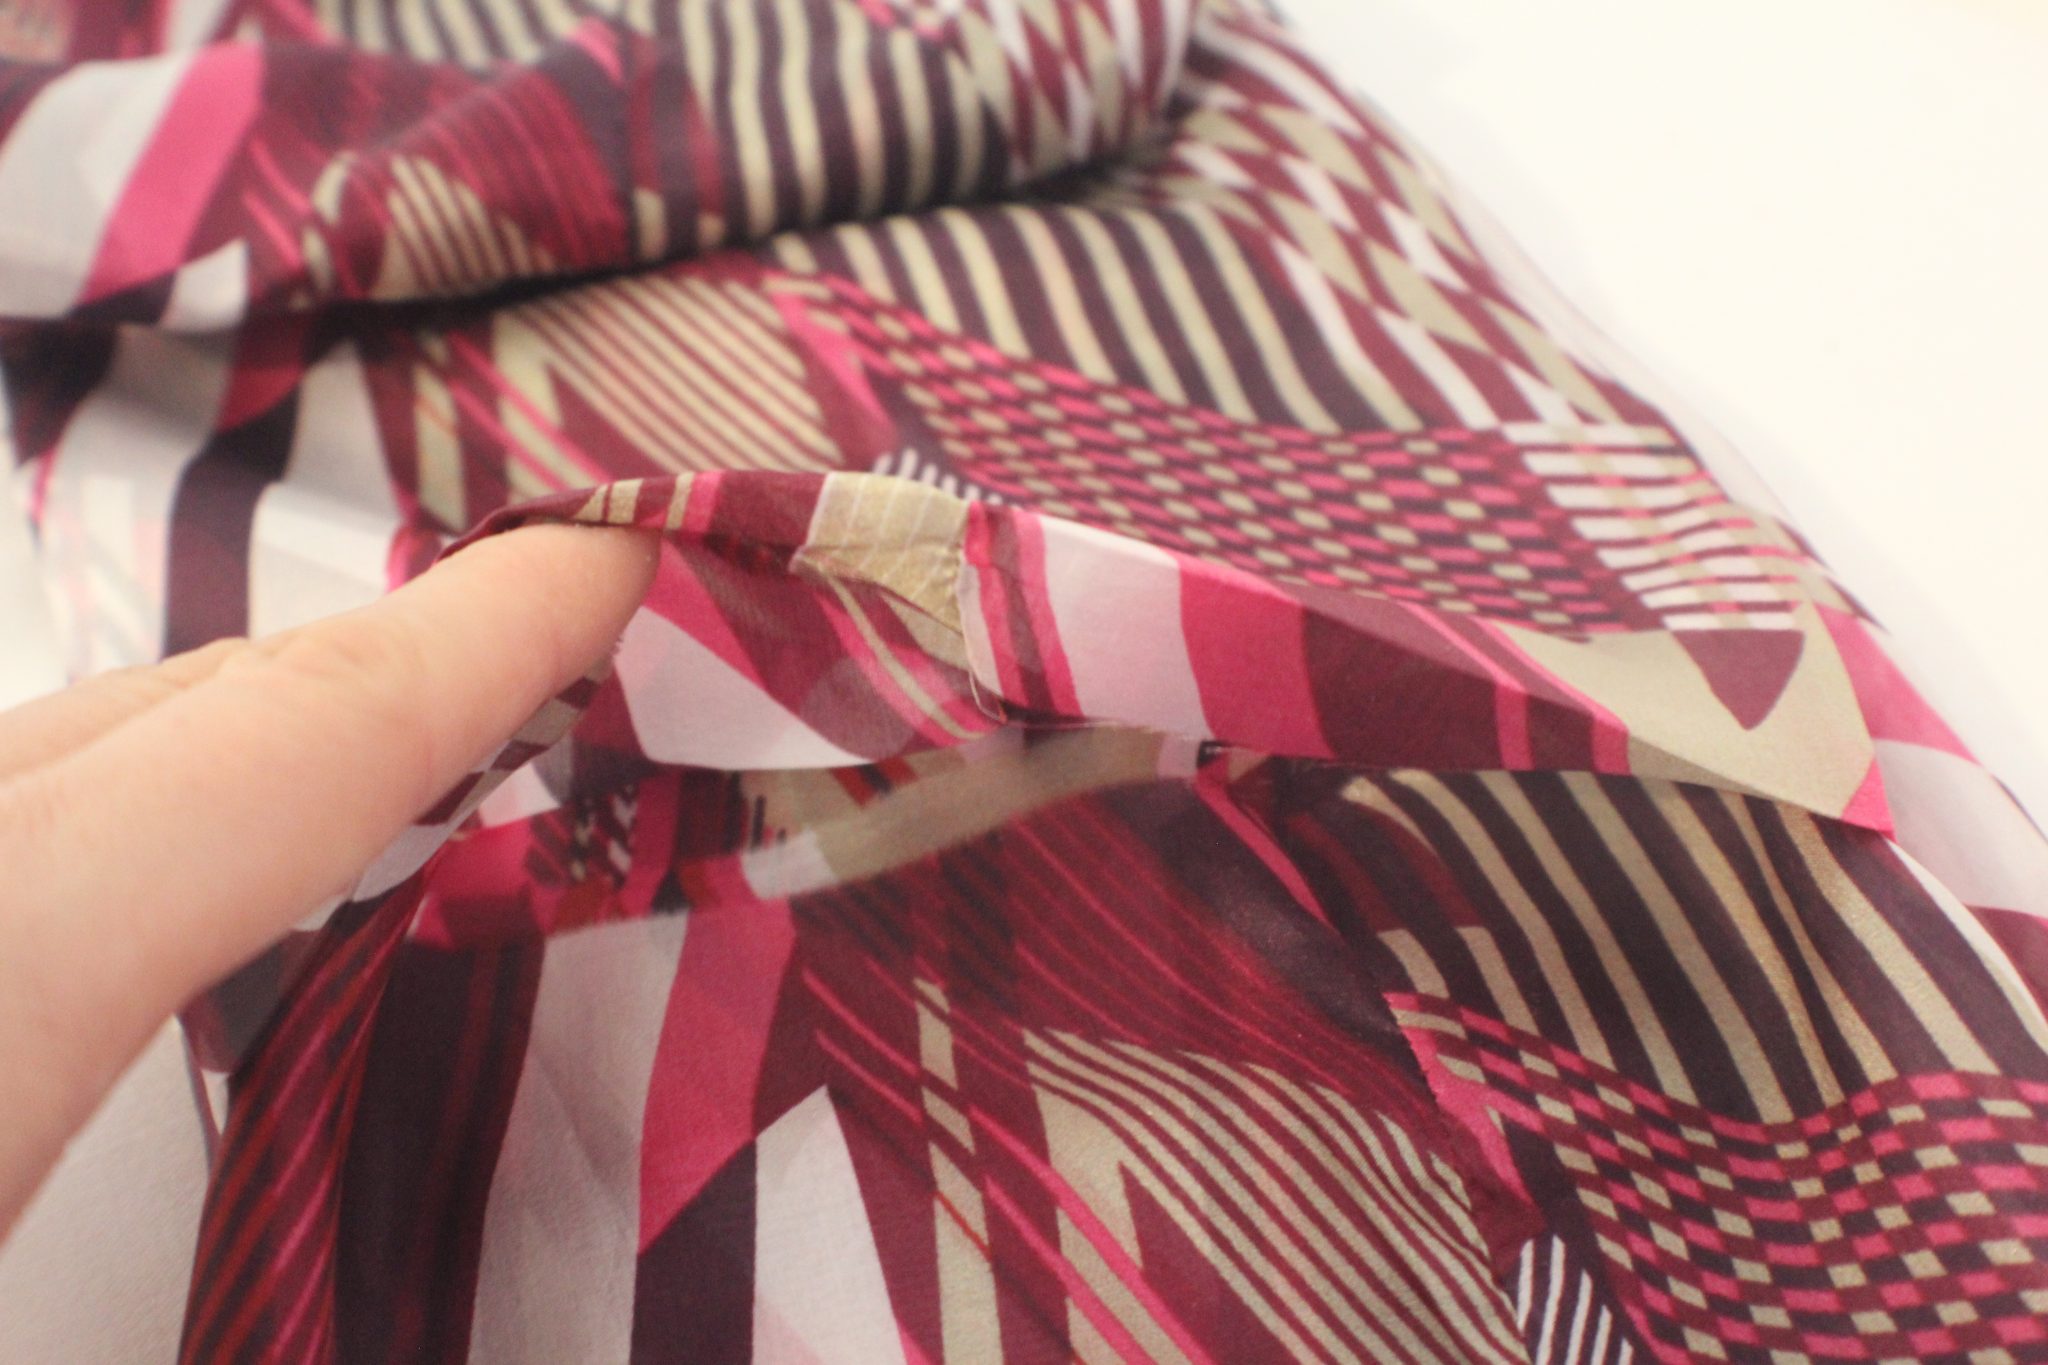
- Make sure the seams align lengthwise.
- Pin and sew with 1/8″ allowance.
- Your DIY infinity scarf is now ready! Just wrap it around your neck and enjoy feeling warm and cozy all the time!
I hope you liked my tutorial and decided to give this a try yourself. Please let me know your thoughts on this or your feedback on how lovely your scarf turned out, in the comments below. And don’t forget to rate this tutorial! Thanks!
Pin to save for later
Most popular sewing projects:

Article may contain Amazon & affiliate links. As an Amazon Associate I earn from qualifying purchases at no additional cost to you.

If you stop short of sewing the first long seam and leave about 3 inches gap at each end you can then sew the join right sides together before slip stitching the gap in the lengthwise seam. This looks better and it hangs in a more fluid way.
Thank you for the tutorial. I’m missing something, though.
At the next to the last step, after the unfolded end is inserted and pinned inside the folded edge – who did you get it sewn? How do you sew a tube under the presser foot? (I feel stupid here.)
Hi Karen. No reason to feel stupid, I see where your confusion is coming from. After inserting the unfolded end into the folded end just sew with 1/8″ across this entire seam, through all 4 layers of fabric. The infinity scarf, in this position, is a tube indeed, but a very wide one so you will not have troubles finding room to sew this last seam. Hope this helps! I wish I had a video to make this step a little less confusing.
Easy instructions with a beautiful scarf at the end. You can also use this to tie up your hair or a belt.
There is only 1 flaw, the half turn when joining the pieces was left out. that is what makes the edge “infinite”. Try it with a small piece of paper: cut a long fairly narrow rectangle, fold ends as if to join, make a half twist on one side then tape together. Now trace the outer edge with your finger and you will notice it is infinite, “♾”. there is only 1 side.
I think i will add a pocket to my scarf.
Thank you for your pattern. they are wonderful and well thought out.
Will use this tutorial to teach my girls to sew.. Luvit
Thanks so much, Maria! Have fun! xoxo