No bake s’mores treats
These s’mores treats are the perfect summer dessert! No bake and ready in no time, these indoor s’mores are a great addition to potluck and barbecue menus!
No bake s’mores bars
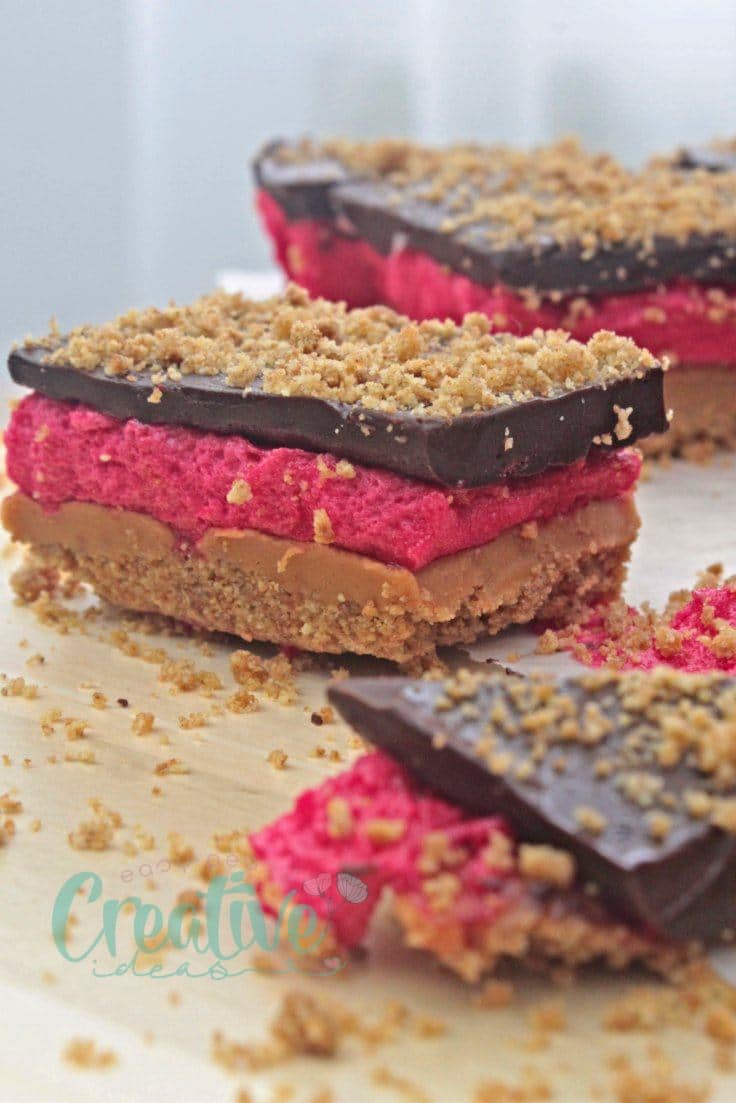
The other day my daughter wanted me to make something sweet for her but I really wasn’t in the mood for baking. It was pretty warm and didn’t want to turn my oven on so I thought I should try something new that is no bake and is ready real quick, like these s’mores treats!
Want more no bake recipes?
- No bake cake batter balls
- Peach cheesecake
- Orange apple cheesecake
- Gooseberry almond bars
- Walnut energy bites
- Death star popcorn balls
- Almond apricot energy balls
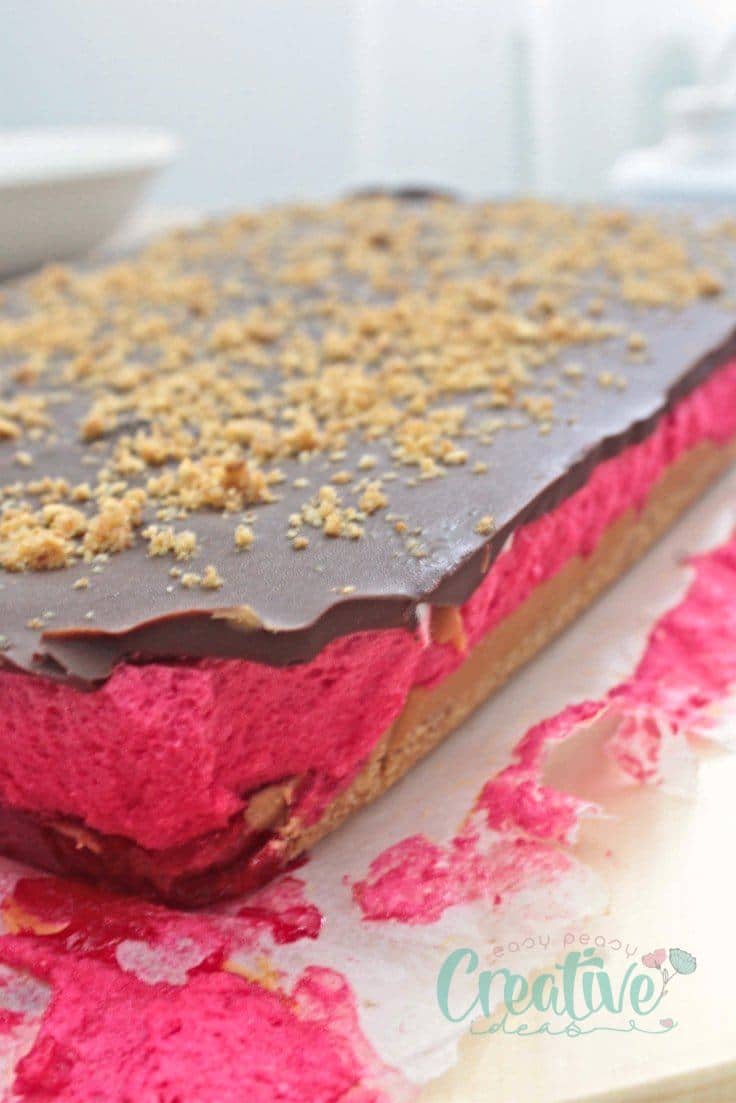
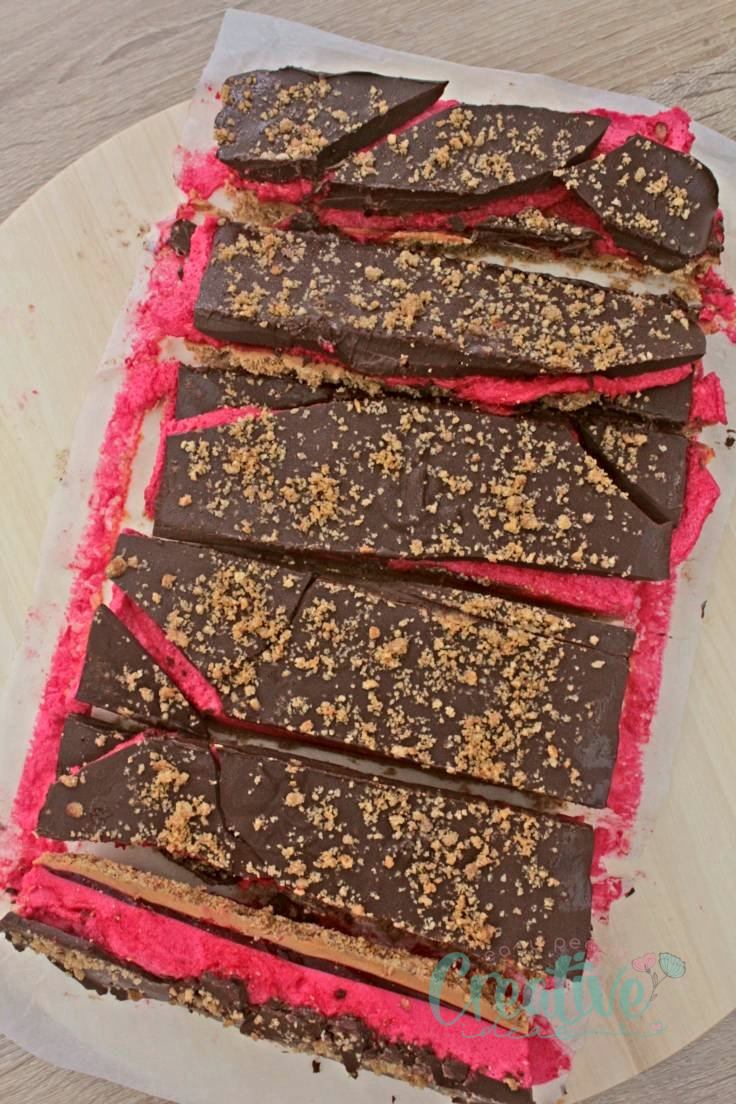
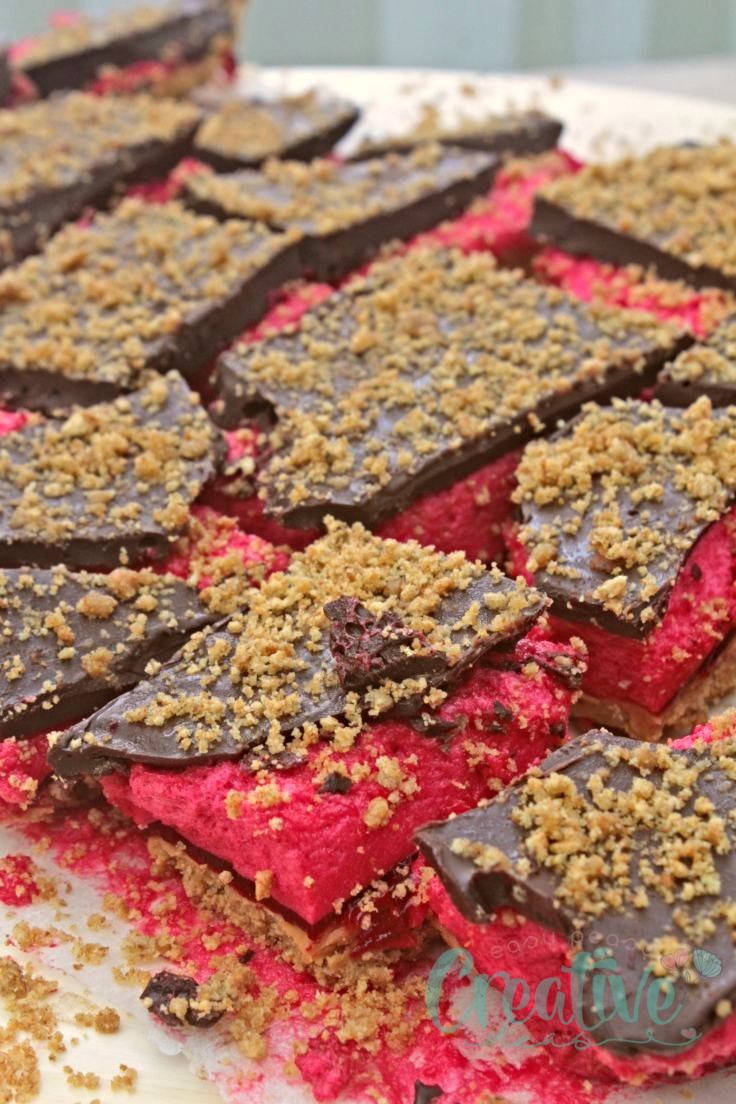
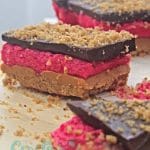
These yummylicious no bake s’mores were initially planned as s’mores bars but since I’m such a mess in the kitchen they turned out a delicious mess too, looking more like candy crack or bark. They did taste like candy heaven though and my daughter was super hyper about the pink marshmallow layer. So these peanut butter s’mores might not look like a fancy dessert but they were a success that didn’t last more than half an hour. Yup, we ended up stuffing our faces with this heavenly yumminess!
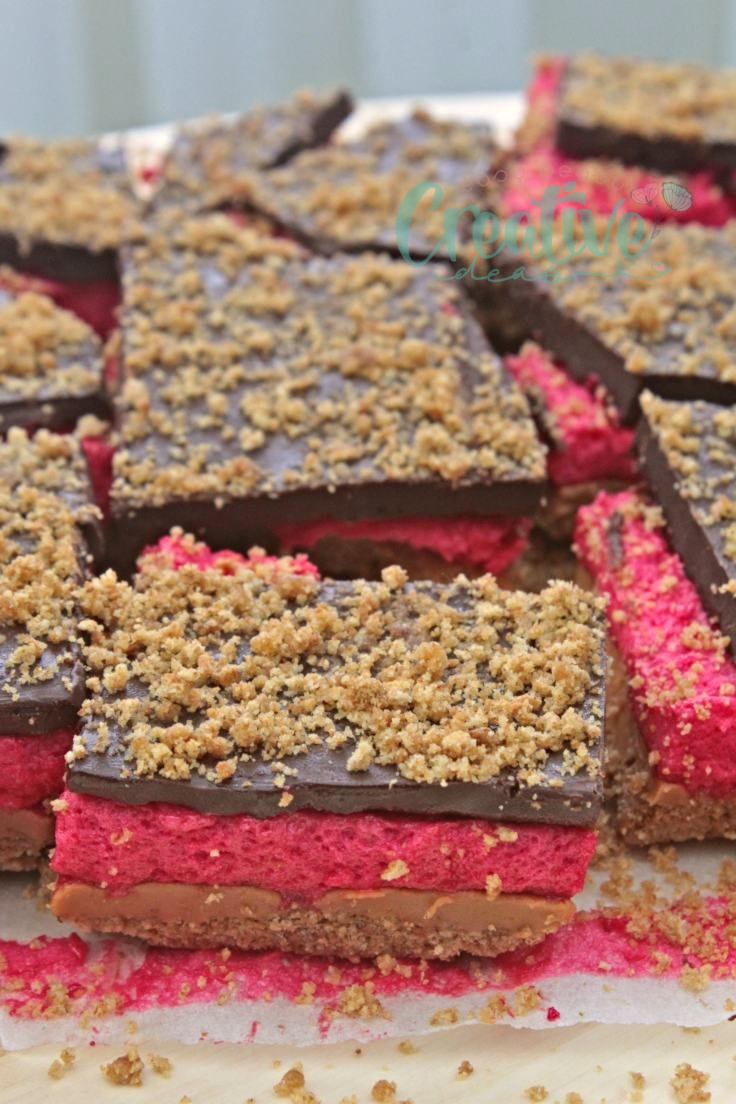
Because my daughter recently discovered the amazing effect peanut butter has on her taste buds I thought I should make her even more happy and decided to add a layer of peanut butter to my s’mores treats. I also added some food coloring to the melted marshmallows and made the marshmallow layer real pink. Needless to say the level of her excitement was up the roof.
S’mores treats
People normally use graham crackers for their s’mores but for this indoor s’mores you can also use unsalted whole wheat cracker. The treats will end up very sweet anyway because of the layers of peanut butter, marshmallow and chocolate.
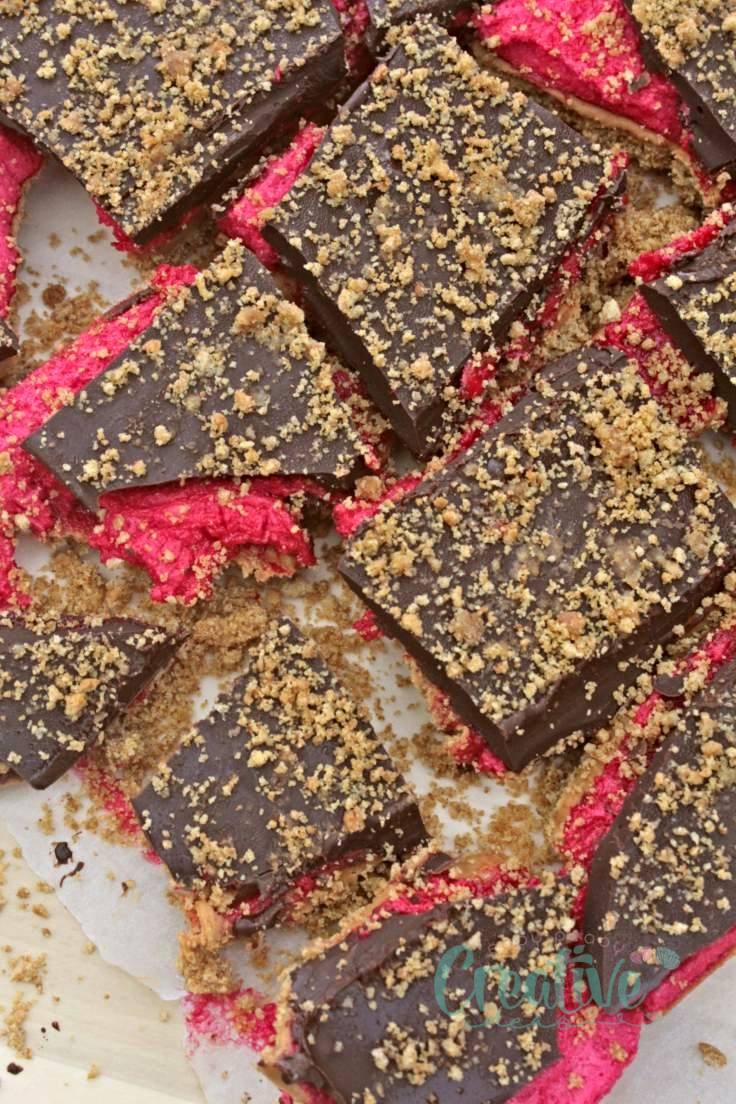
I use dark chocolate as I figured the marshmallow and peanut butter will add too much sweetness to this recipe and it turned out to be a great decision. Milk chocolate would make these too sweet to enjoy!
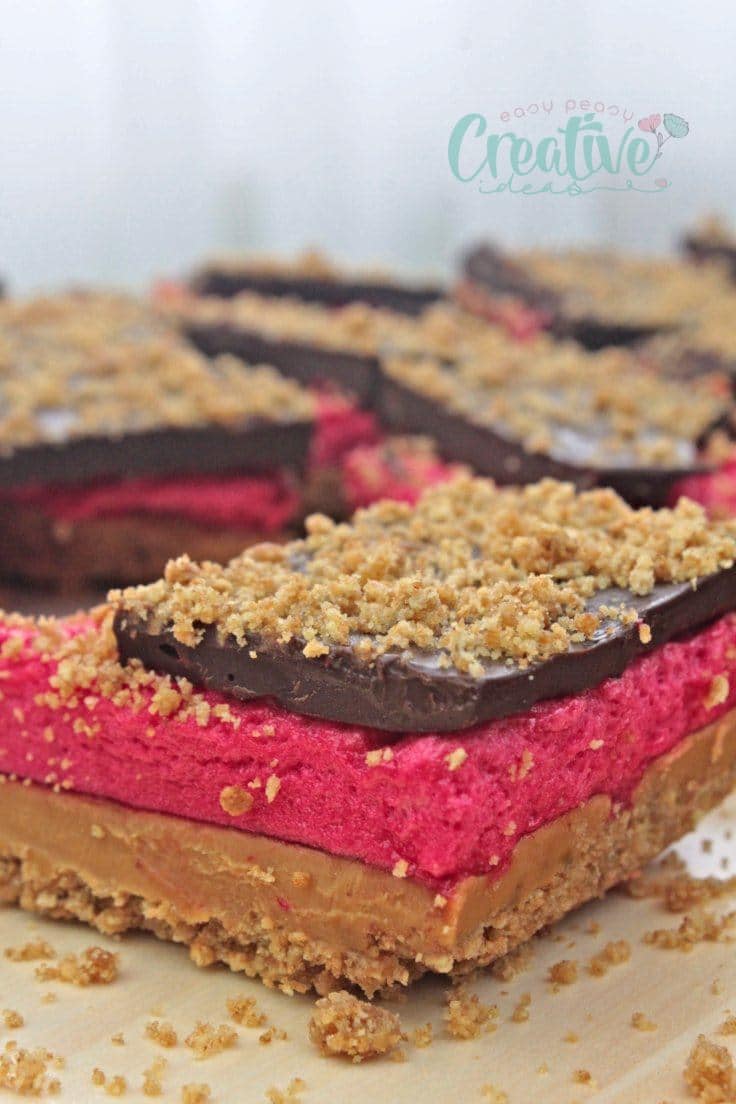
For my s’mores threats I decided to melt the marshmallows so I can add the food coloring and make the middle marshmallow layer a bright pink. But if you couldn’t care less about coloring your marshmallows you can simply add a layer of chopped marshmallows instead.
No bake s'mores treats
Ingredients
- 20 pieces graham crackers or unsalted whole wheat crackers
- 15 tbsp butter melted
- 7 oz peanut butter melted
- 3 cups marshmallows melted
- food coloring optional - for marshmallows
- 20 oz dark chocolate melted
Instructions
- Place crackers in a zip bag and smash with a rolling pin until you get fine crumbs
- Transfer crumbs to a medium bowl and add the melted butter
- Mix well with a spoon so all crumbs are soaked in butter. Save some of this in a small bowl to decorate, if you like
- Layer a loaf pan or a deep cookie sheets with baking paper
- Transfer crackers to the cookie sheet, layer evenly and press with a spoon or a silicone spatula
- Add a layer of melted peanut butter. I used my microwave to melt the peanut butter. I melted gradually, first for 30 seconds then again for 15 seconds
- Place the cookie sheet in a freezer until marshmallows are ready
- Melt the marshmallow in a bowl that is at least twice in size as the marshmallows. The reason is, when melted marshmallows double in size. Melt the marshmallows in the microwave in increments of 30 seconds. Mix with a silicone spatula after each session until marshmallows are completely melted.
- Add a few drops of food coloring and mix well to incorporate. I recommend gel food coloring
- Pour the melted marshmallows in the cookie sheet and spread evenly with a silicone spatula
- Return the cookie sheet to the freezer until the chocolate is melted
- Place half the chocolate in a large bowl and melt in the microwave. Start with 30 seconds than continue in increments of 15 seconds until all chocolate is melted. Mix with a spatula after each session. Add the other half of chocolate and continue melting in increments of 15 seconds until the chocolate is fluid enough to pour
- Add the chocolate layer and spread evenly with a spatula
- I added some crumbs as decor but you can skip this part.
- Return the cookie sheet to the freezer for 10 minutes
- Cut into bars or simply break with your hands. It will be messy in any case but the treats will taste amazing either way!
Video
Nutrition
Pin to save for later
Most popular recipes:
Article may contain Amazon & affiliate links. As an Amazon Associate I earn from qualifying purchases at no additional cost to you.




ABOUT PETRO
Hi, I’m Petro, author and founder of Easy Peasy Creative Ideas. Sewist, crafter, avid DIY-er, foodie, photographer, homemaker and mommy to one. I’m an expert at coming up with quick, clever sewing tips, recycling crafts and simple, easy recipes! You can find my ideas featured in reputable publications such as Country Living, Good House Keeping, Yahoo News, WikiHow, Shutterfly, Parade, Brit & Co and more. Thanks for stopping by and hope you’ll stay for a while, get to know me better and come back another time. Stick around for real fun projects! Read more…