Quilted phone charger holder
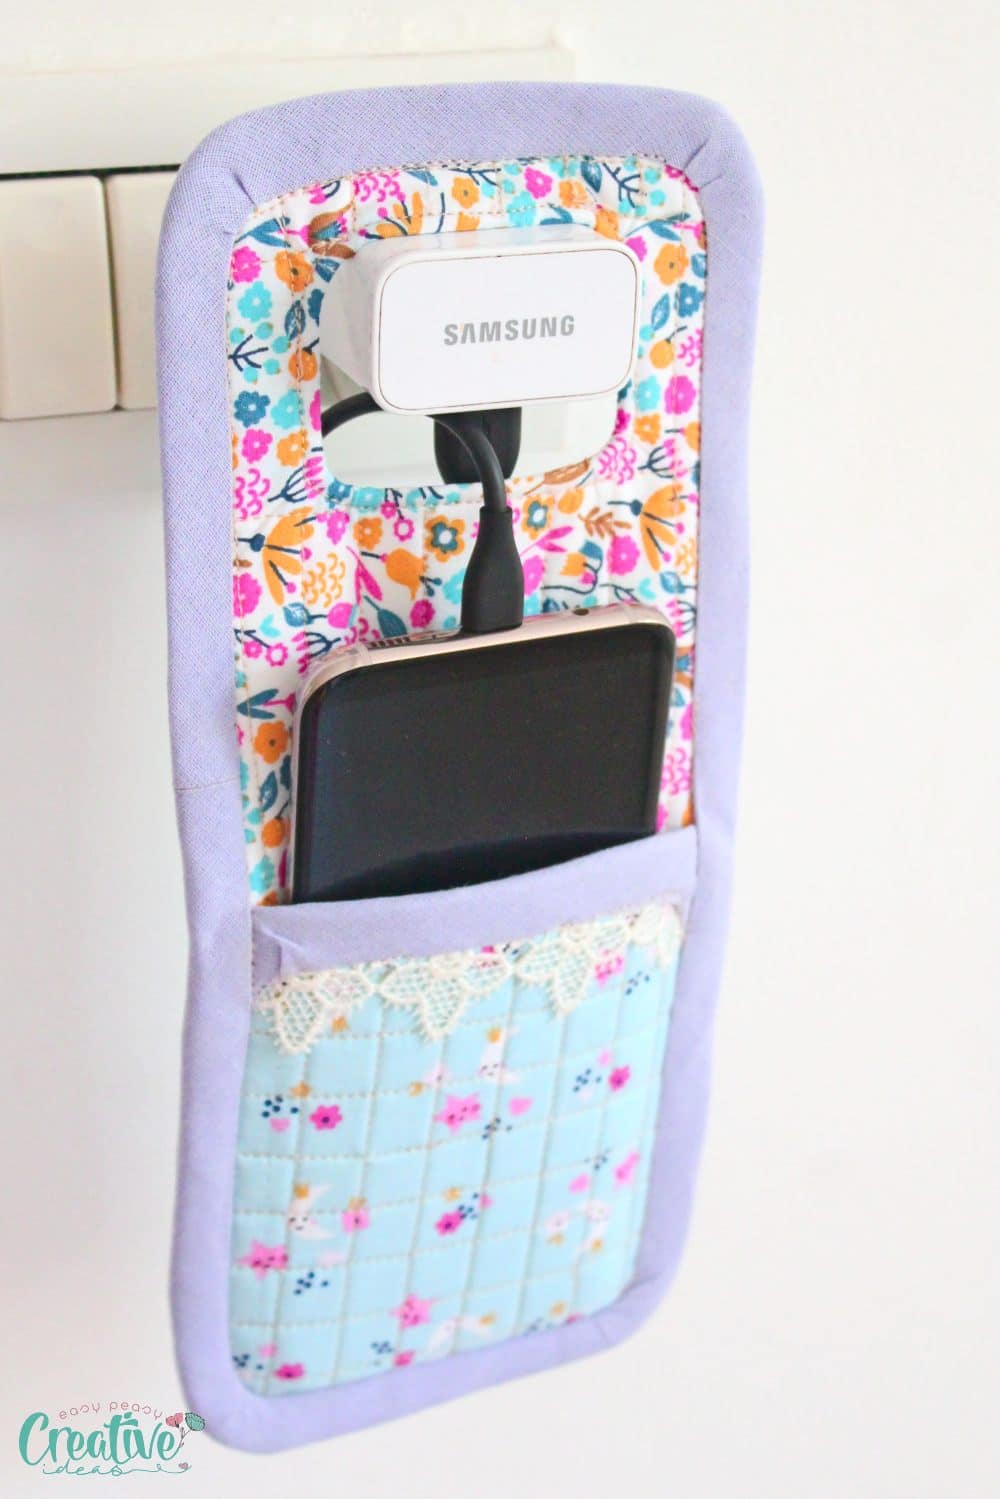
Create a stylish and functional DIY charging station for your phone with this quilted phone charger holder tutorial! This easy-to-make phone charging bag is perfect for organizing cords and keeping them tidy. Surprise yourself with the results of your beautiful handiwork!
Quilted phone charger holder
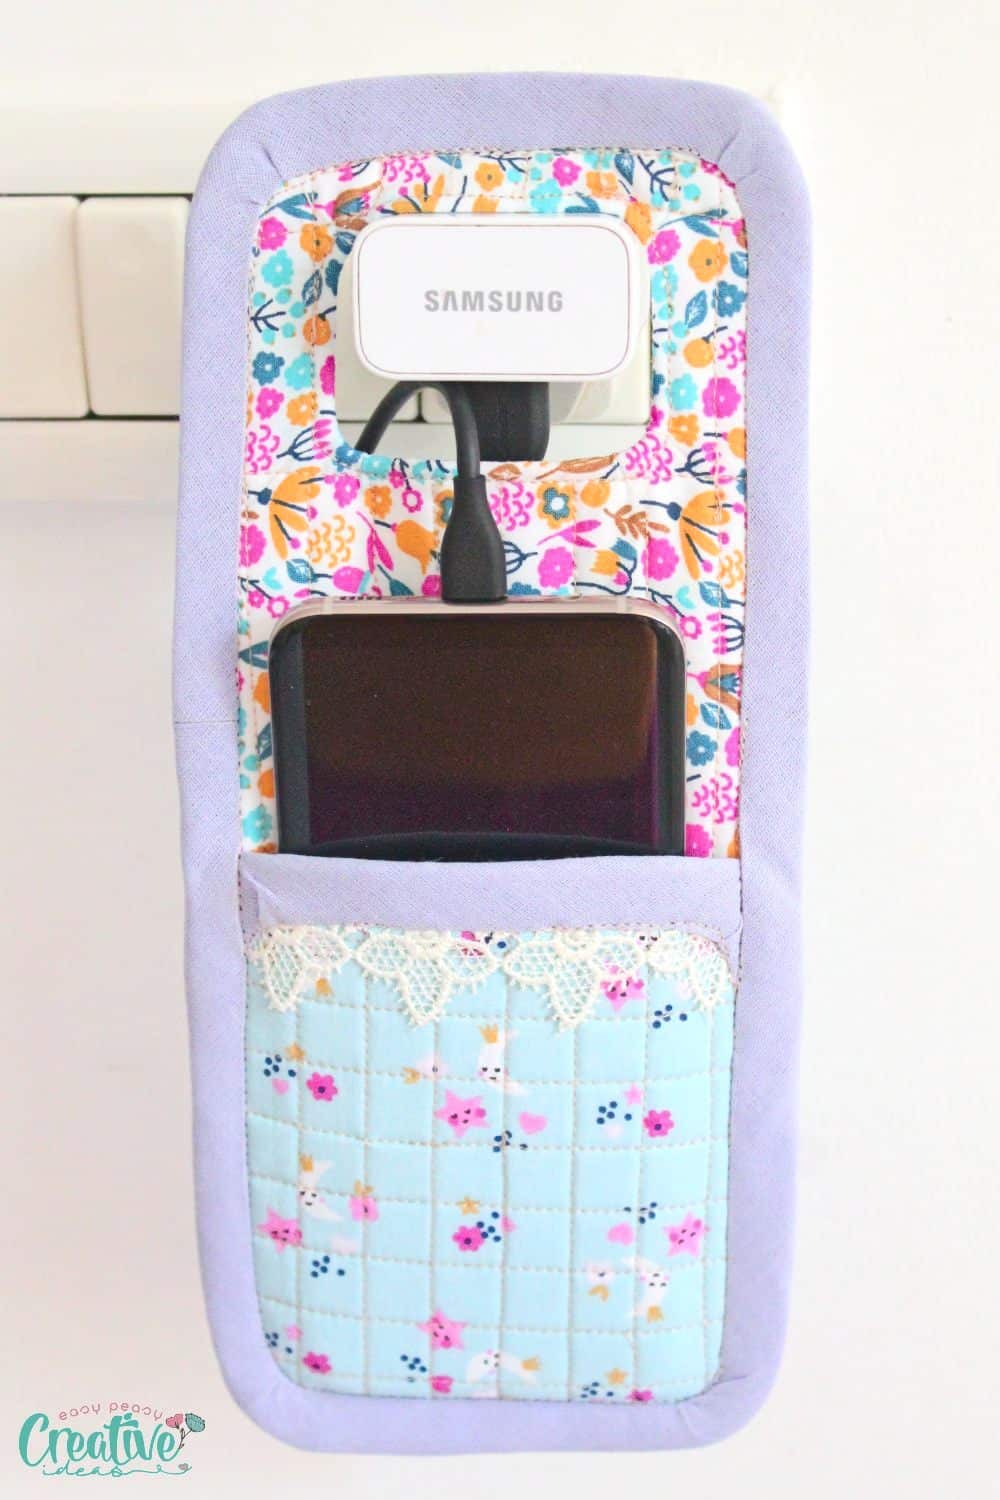
Show off your sewing skills with this fun and easy phone charger holder! With just a few materials, you can make a stylish and functional quilted DIY charging station to keep cords tidy. Whether you’re an experienced seamstress or just learning the ropes, this tutorial will guide you step-by-step through making your own beautiful phone charging bag. Craft something special to add flair to your workspace – start sewing your own quilted mobile charger holder today!
This DIY phone charger holder is easy to quilt and sew and it’s a great opportunity for beginning quilters to practice their skills. The project uses simple techniques and uncomplicated tools – you don’t have to be a quilting expert to make this charging bag. It’s also a great way to use up scraps of fabric, so get creative and show off your unique style!
Need more easy quilting ideas?
- Quilted mugs
- Quilted small coin purse
- Oval pocket potholders
- French braid mini quilt
- Quilted toiletry bag with selvage fabric
- Easy sewing supplies organizer
How long does it take to make the phone charger holder?
It takes approximately 1 hour for beginners to complete the project, quicker if you’re an experienced sewist/quilter.
A lot of my readers have told me via my newsletters that time is their most precious commodity. I understand that, I’ve been in this situation myself for the past 10 years or so, ever since I’ve became a mother. My site is all about helping busy sewing enthusiasts find time to pursue their passion for sewing by providing easy and quick sewing projects, little known tips and tricks to make the best of your time spent at the sewing machine. Just like this quilted phone charger holder tutorial which is designed to be quick and easy so you can get back to your other obligations and commitments.
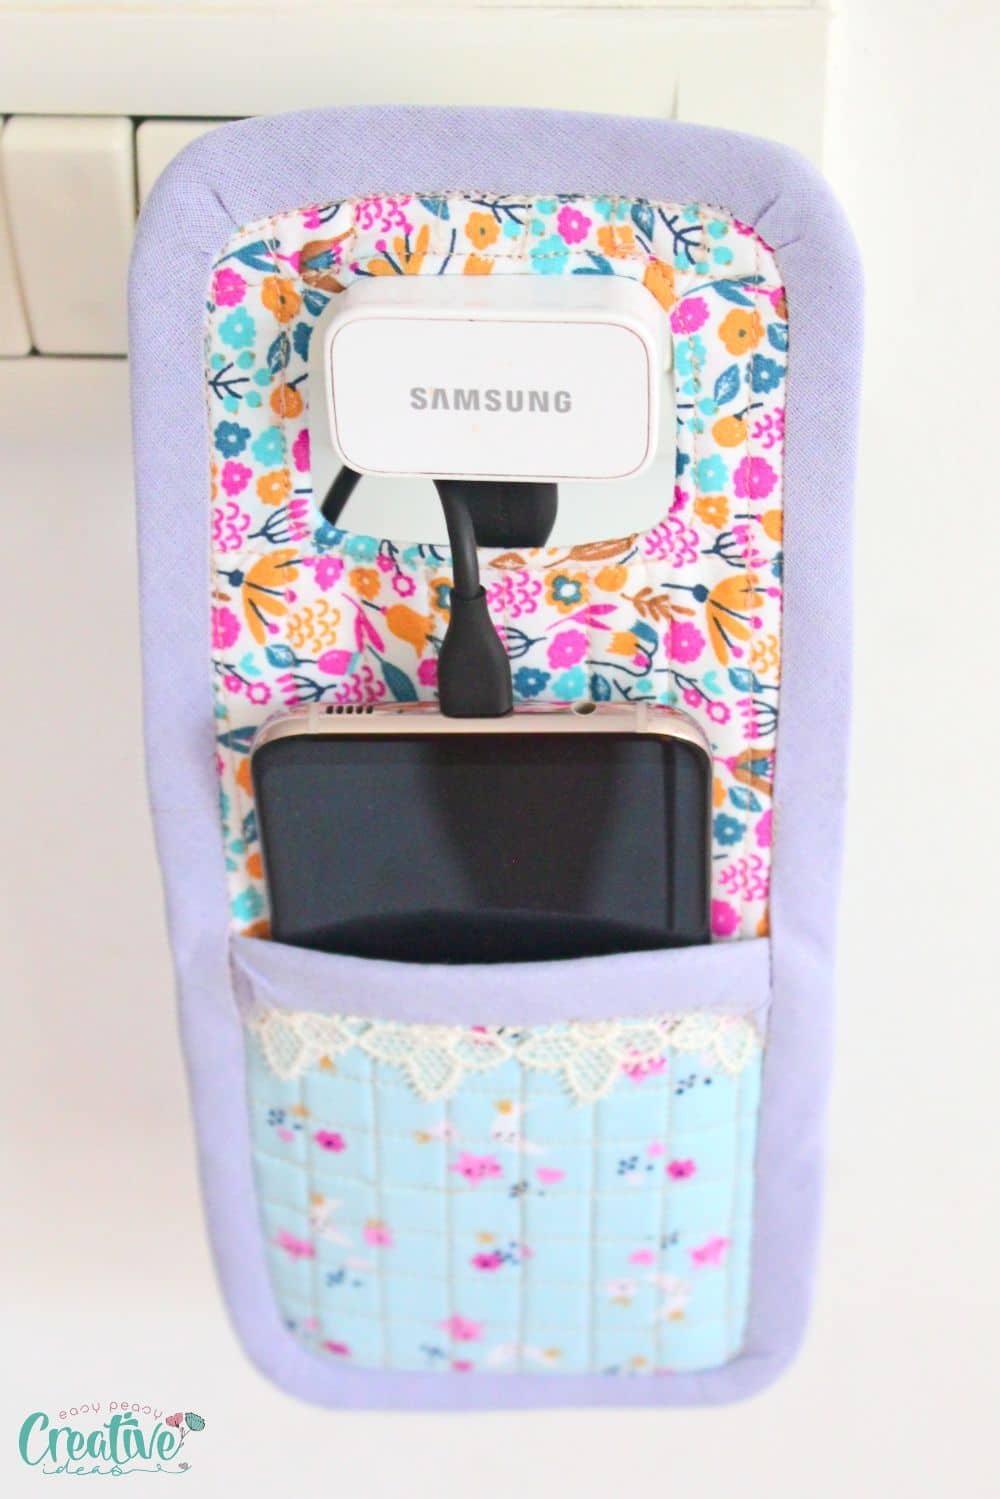
I made things easy for you by drafting a pattern for this quilted phone charger. I used a Samsung Galaxy S8+ to draw it which is a phone on the larger size so you should be able to use this pattern for most smartphones out there. Follow this tutorial for an easy-to-make a DIY charging station that will keep your cords organized and give your home an extra special touch. You’ll love the end result of your beautiful handiwork!
Are there any special skills needed for making this charging bag?
No special skills are required – this tutorial is suitable for all levels of experience! Simple techniques and uncomplicated tools are used in the process so anyone can craft their own beautiful quilted mobile charger holder.
What other items could I store in my homemade phone charger holder?
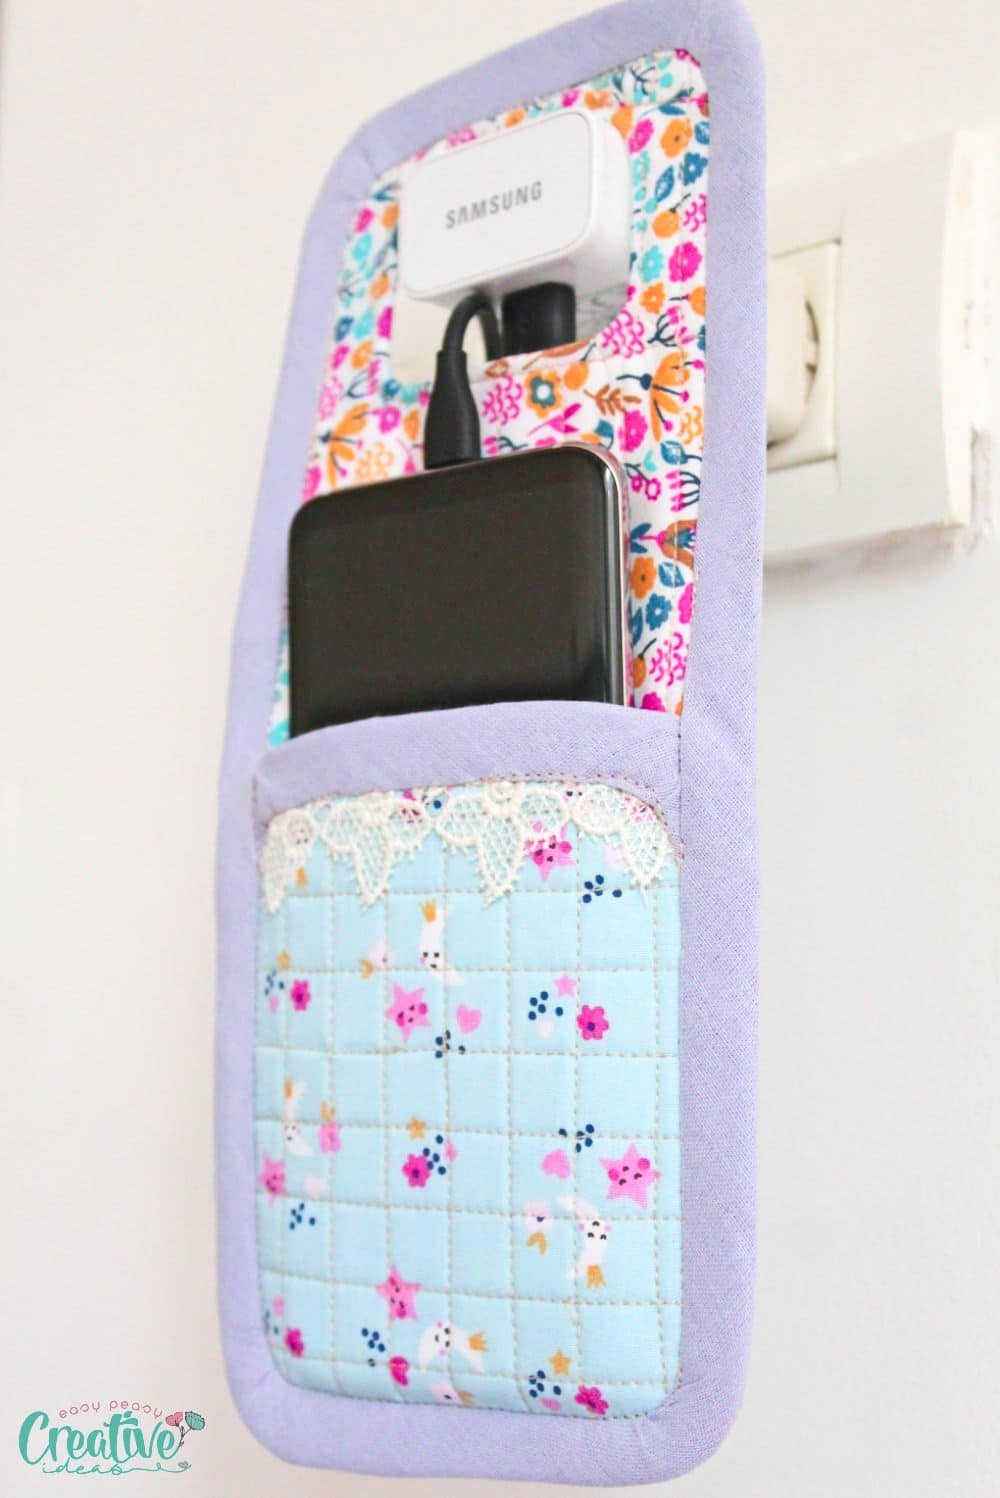
This DIY charging station is perfect for charging your phone neatly but also for storing and organizing cords. You could also use it to store small items like earbuds, batteries, or chargers. It’s a great way to keep your workspace and home tidy and organized.
What is the best way to customize my quilted phone charger holder?
You can customize your DIY charging station with fabric and bias tape/bias binding in different colors, patterns, and textures.
You can also play around with the quilting pattern, trying different techniques such as free motion quilting.
Decorative trims or buttons can be added if you want some extra flair. Get creative and show off your unique style! Have fun and make it your own!
How do I adjust the pattern to fit my phone?
You can easily make the template larger or smaller! Print the pattern out and measure it against your phone. If you need to make it smaller, place the phone on the pattern and trace around it, then add enough allowance for the bias tape and a little wiggle room for the phone and the charging cable.
If you need to make the pattern larger, grab a seam gauge and add as much as needed all around the pattern. For example, if you need to add 1/4 inch all around, measure and mark the pattern at ¼-inch intervals and connect the marks with a pencil or marker.
What materials do I need to make a quilted phone charger holder?
A handful of basic materials are needed for this project:
- Phone charger holder pattern
- Fabric scraps for the charger and the pocket (two strips for each)
- Double fold bias tape (or you can use bias binding; if you are an experienced quilter you most likely have an abundance of both in your sewing box)
- Batting or fusible fleece
- Rotary cutter
- Cutting mat (optional)
- Scissors
- Pins
- Quilting clips
- Fabric marker
- Basting spray
- Matching thread
- Sewing machine
- Lace trim (optional)
- Interfacing – if you want to make your holder extra sturdy.
With these easy-to-find materials you’ll have everything you need to make a stylish and functional DIY charging station for your phone! Let’s get started with the tutorial!
How to quilt this DIY charging station?
Cut the fabrics
- Start by cutting the pattern out. First cut out the entire template.
- Place the holder fabrics right sides together and top them with a piece of batting. Pin together to keep them from moving. Alternatively, you can use a basting spray to keep the layers together.
- Transfer the pattern onto fabrics using the fabric pen and cut out.
- Place the pocket fabrics wrong sides together. Insert a piece of batting between the 2 layers of fabric and pin or clip or use basting spray.
- Cut out the pocket piece from the pattern and place it over the pocket fabrics. Trace onto fabrics and cut out.
Make the main holder
- Cut out the rectangle from the template then place the template again over the batting side. Trace the rectangle onto fabrics using the fabric marker.
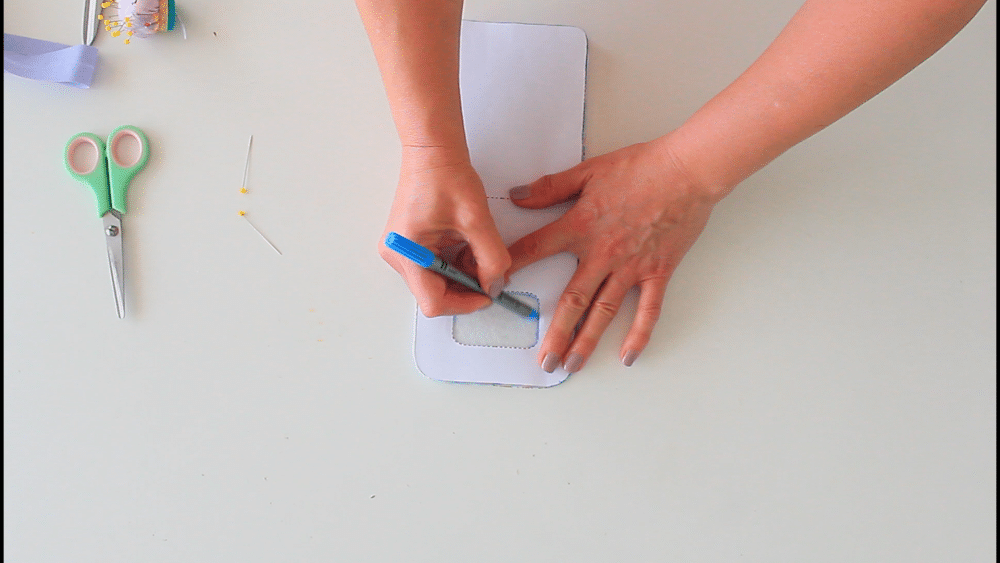
- Sew around the rectangle. Cut out the inside of the rectangle and clip the corners.
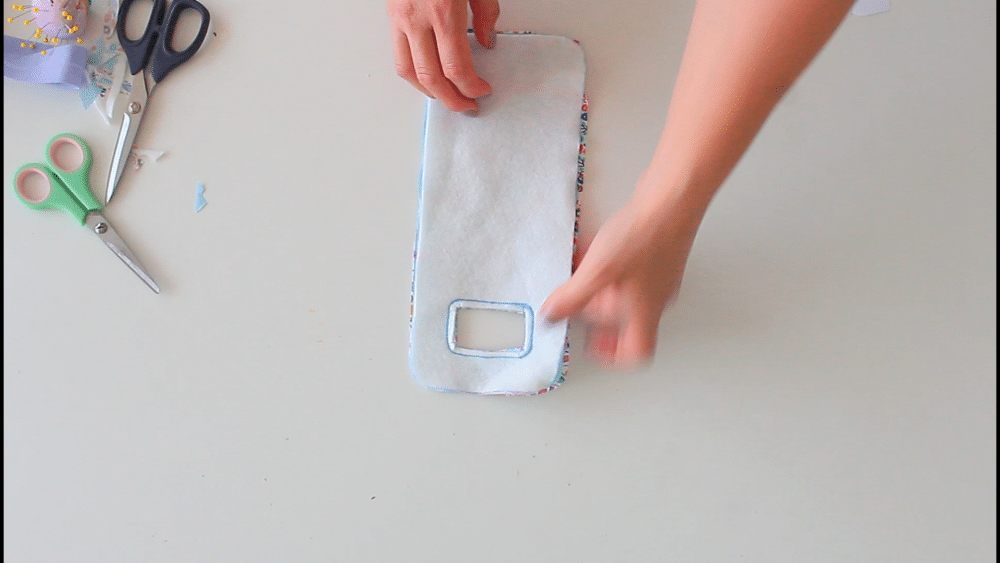
- Push the batting and one layer of fabric inside the rectangle to completely turn them until they meet the other layer of fabric so that the batting is sandwiched between the fabrics and the fabrics are right sides out.
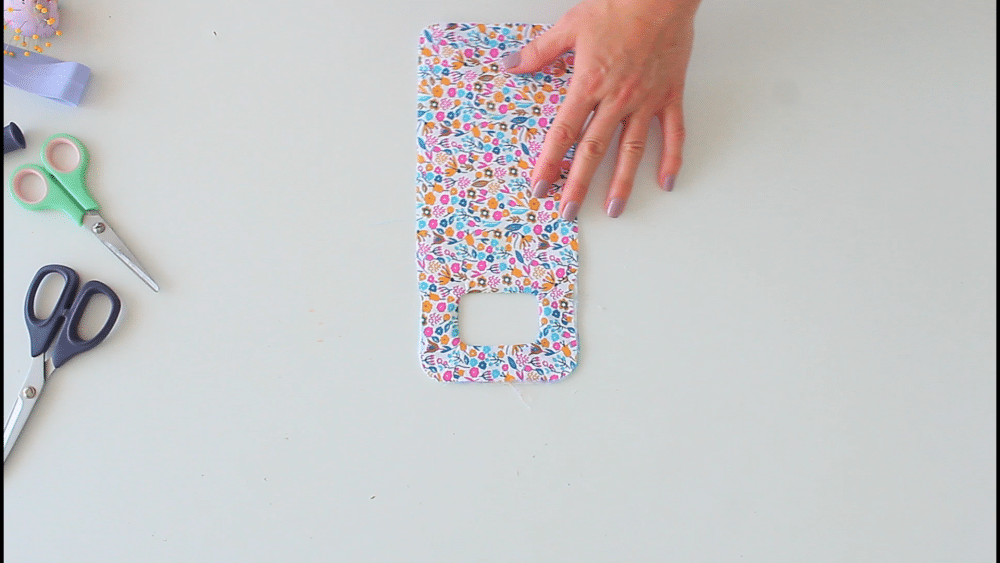
- Smooth out the seam inside the rectangle, press well and topstitch the small rectangle.
- Quilt the pouch with your favorite quilting method. I decided to do some simple parallel stitches, 1″ apart.
Make the pocket piece
- Quilt the pocket panel with your favorite quilting technique. I did 1″ squares to add a bit of a contrast against the back panel.
- Add some lace trim at the top edge of the pocket panel.
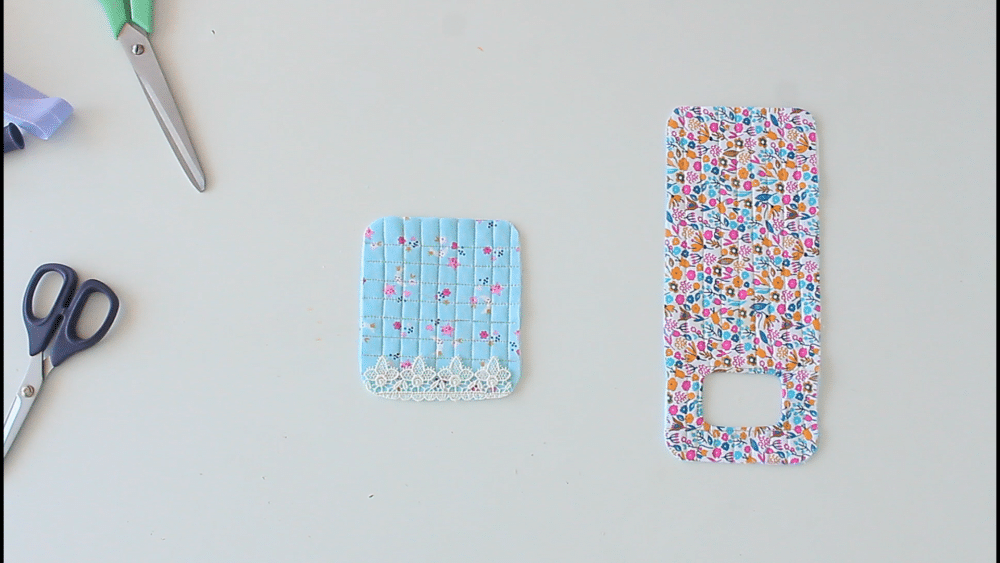
- Cover the top of the pocket in double fold bias tape. I used 1/2″ for this project.
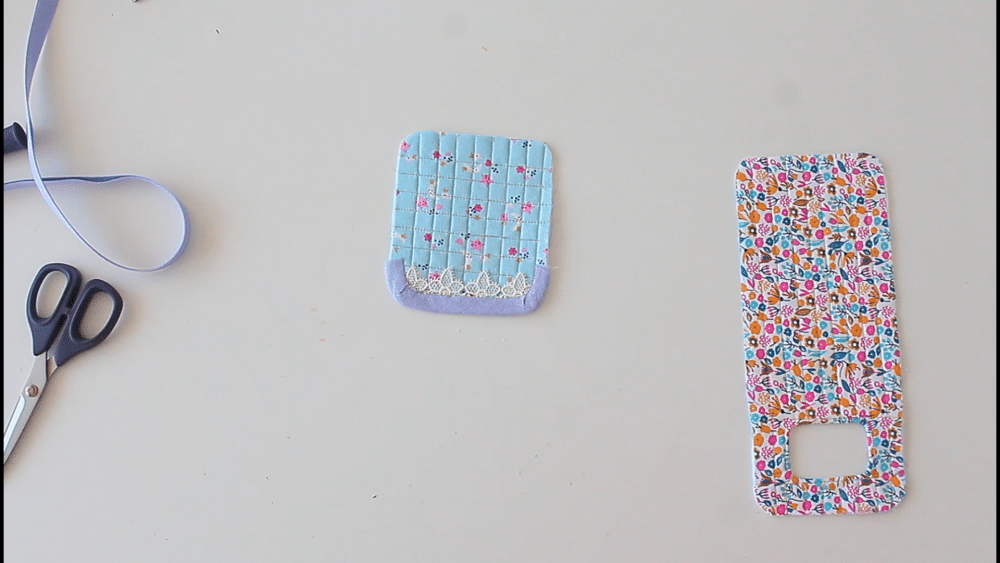
Assemble the pieces
- Place the pocket piece over the main piece and clip. Run a couple of lines of basting stitches to keep the panels together.
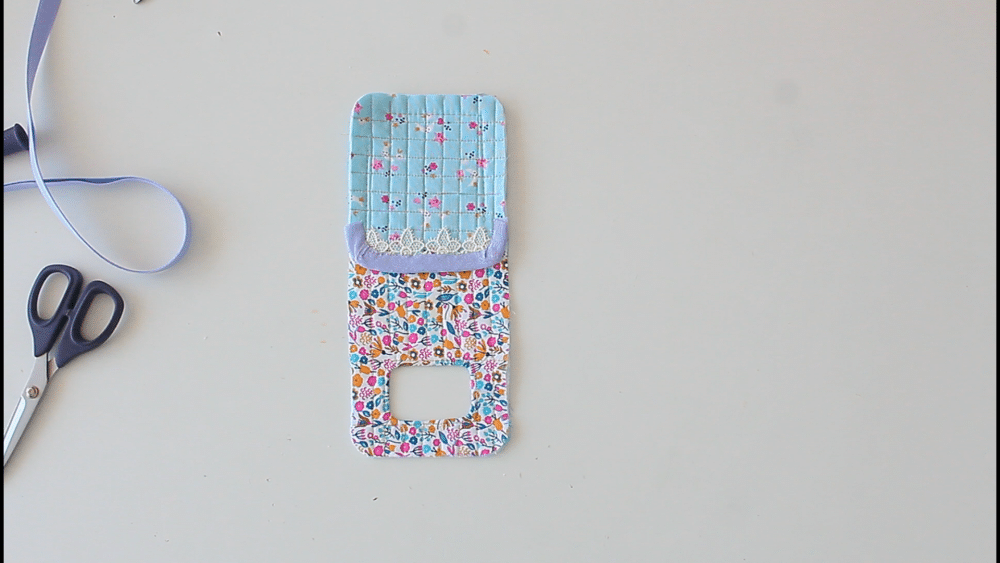
- Attach double fold bias all around the raw edges of the holder and you’re done!
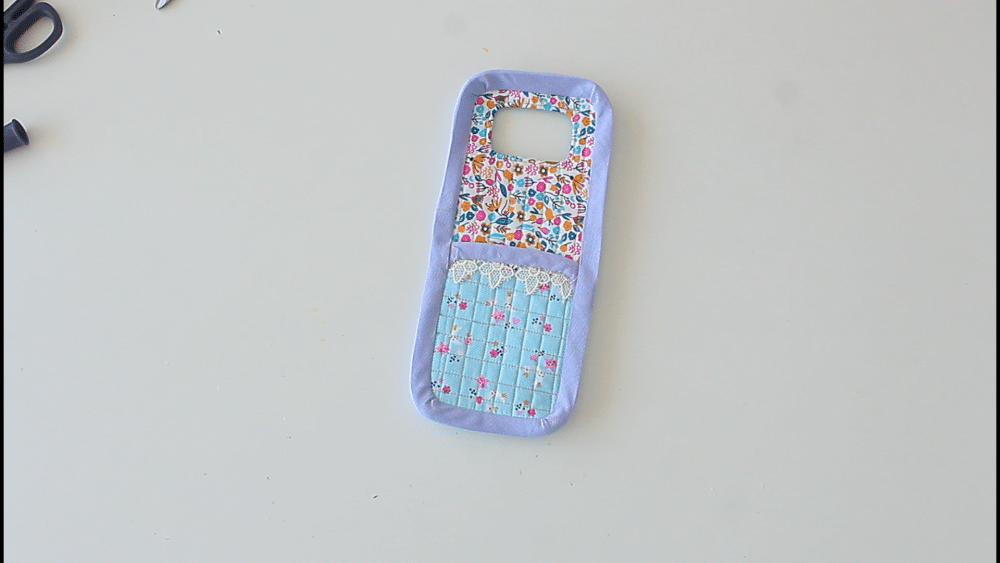
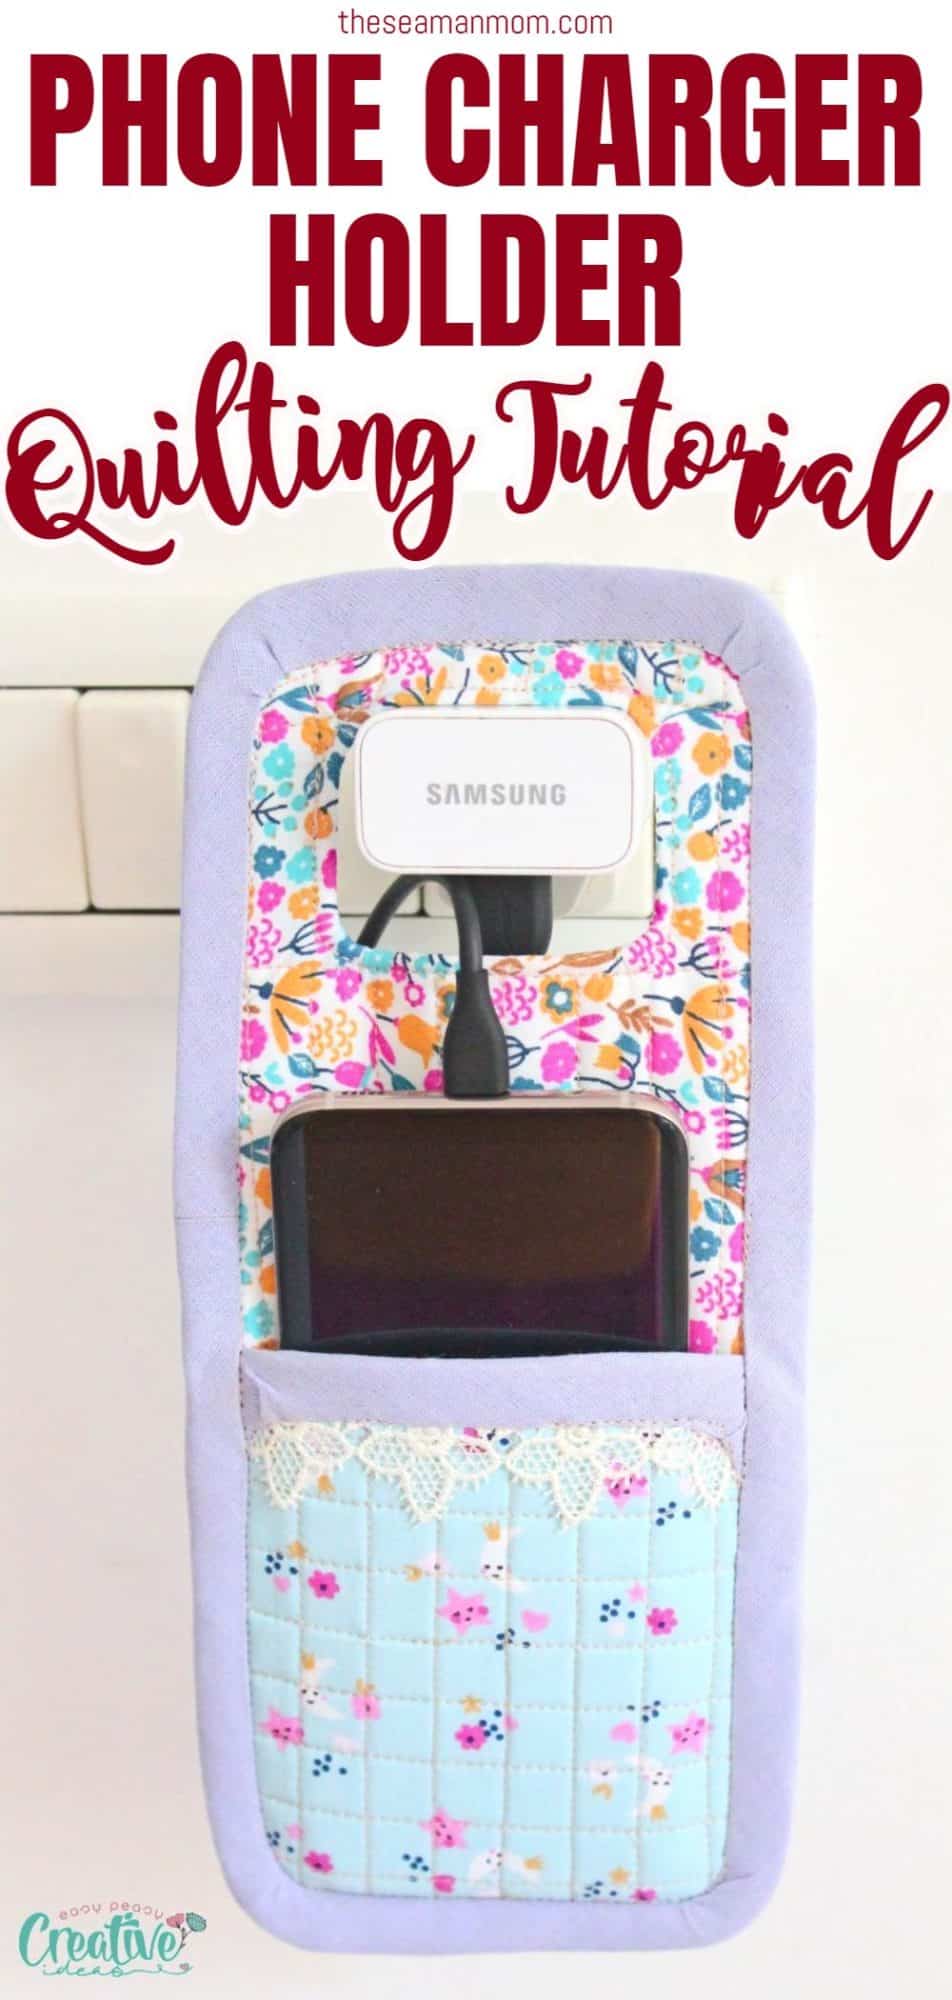
- Plug your charging cord in the socket, hang your cute holder and place the phone inside. Now go make some more holders for the entire family.
Congratulations on making your own beautiful quilted phone charging dock! You can now keep your mobile device in a neat and stylish charging station. Your counters, desks and tables are now free of clutter! Enjoy your handiwork!
I hope this tutorial was helpful in guiding you through making your own quilted phone charger holder. With just a few materials and some basic sewing techniques, you can craft something special to add flair to your workspace. Have fun with it – get creative and show off your unique style! Need more inspiration? Check out my other tutorials on for more easy, non time consuming ideas! Happy sewing!
Pin to save for later
Most popular sewing projects:
- Tips for sewing a round hem
- Corded bag handles
- Flutter sleeve dress pattern
- How to laminate cotton fabric
Article may contain Amazon & affiliate links. As an Amazon Associate I earn from qualifying purchases at no additional cost to you.


I can’t seem to find the template can you help??
Hi Donna. The link is listed in the materials.
I tried to download the phone charger pattern. It would not let me go to that page; it said “too many requests” – on my first try. What good are any directions without the pattern to go with it.?
Terrie, “too many requests” sounds like a technical glitch with either Etsy or your internet. It usually lasts just a few moments, you should be able to access the pattern now.