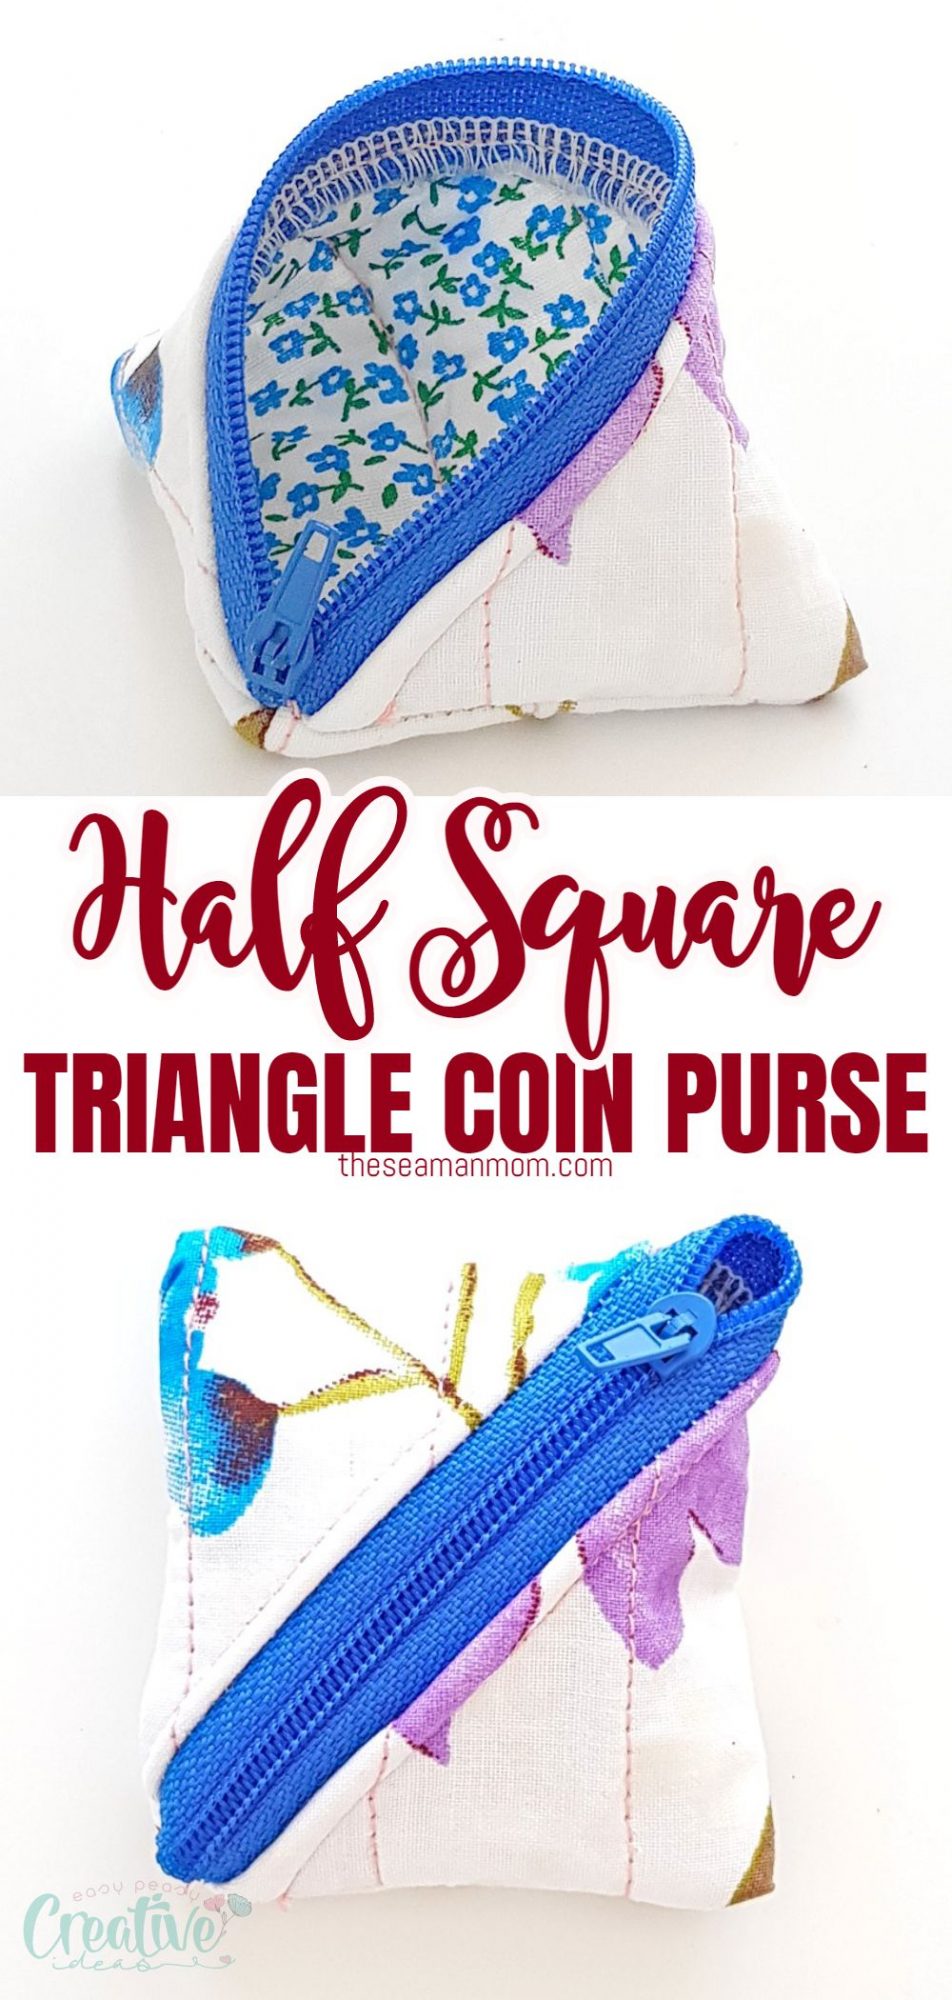
Here is how to make an adorable, easy and practical zipper coin purse
Can’t seem to keep all your coins in one place or can’t find some change when you need it? Here is a super easy tutorial for making a handy dandy half square triangle zipper coin purse in just about 30 minutes!
Zipper coin purse
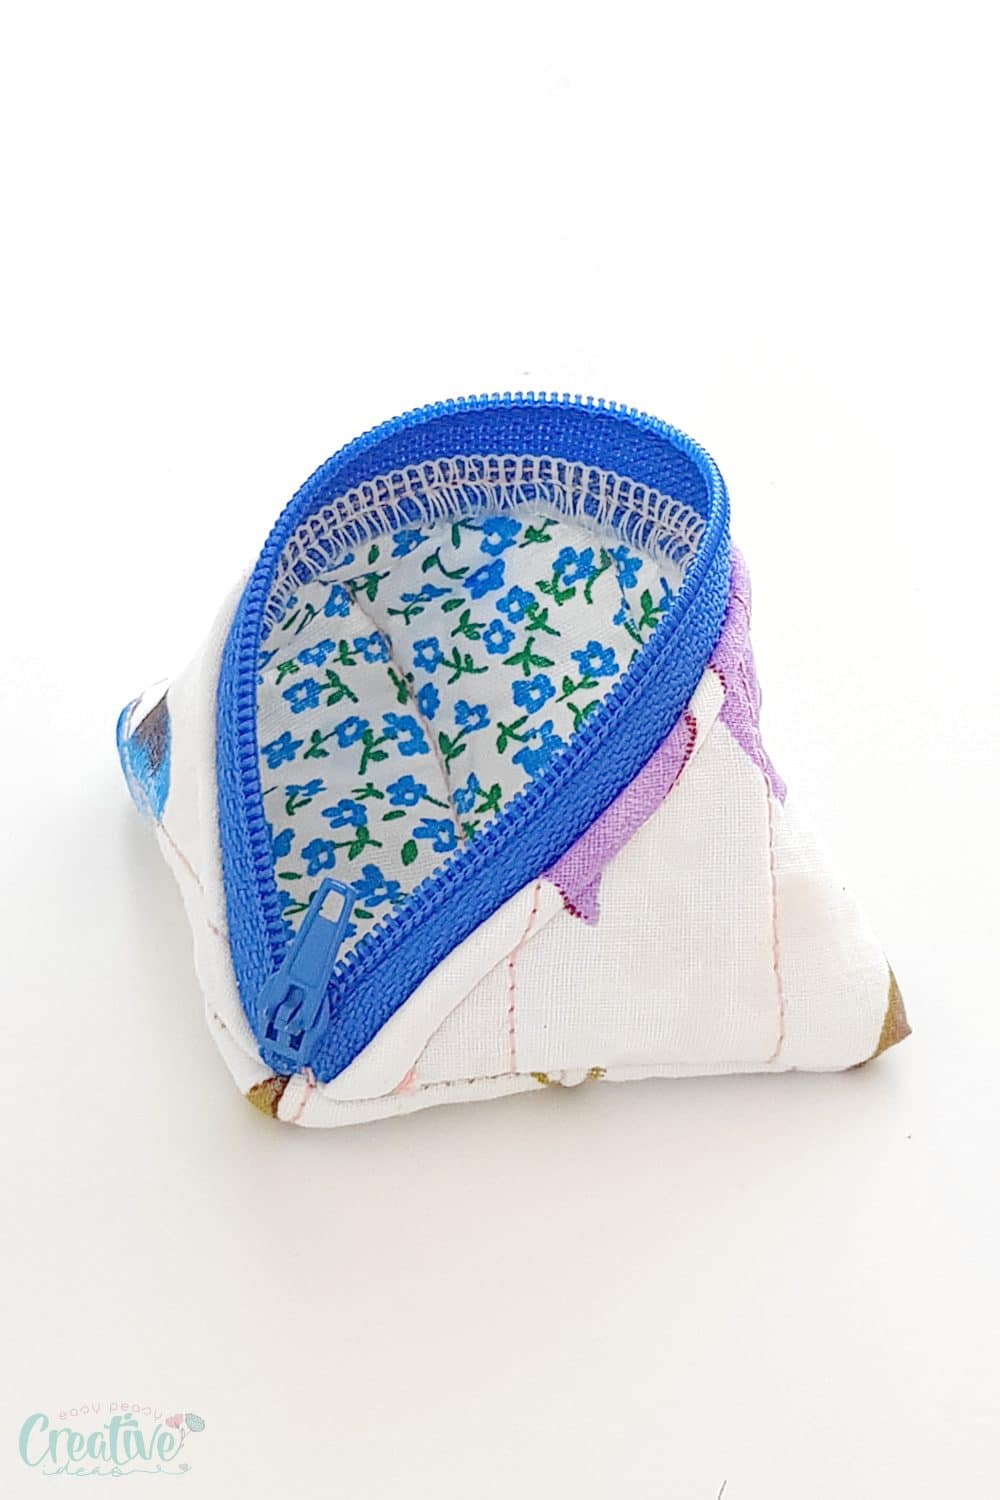
This small zipper coin purse can be kept next to your keys, on your keychain so that you always have your change at hand. This cute half square zipper coin purse comes up in so little time, you’ll be able to make several of them in just one go. Keep your change together and switch purses to match your mood or outfit. After all, they don’t take up so much space.
This tutorial has been converted to a PDF file, available to purchase here. This article is completely free to read.
This simple coin purse sewing pattern is a great scrap project so you won’t need to spend any money on fabric and other supplies. Plus, you get to clean up that scrap box in your sewing room.
Similar projects you will love:
- Round pencil case
- Zipper face mask pouch
- Notebook pencil holder bookmark
- Quilted zipper box pouch
- Lined zipper pouch
- Small quilted coin purse
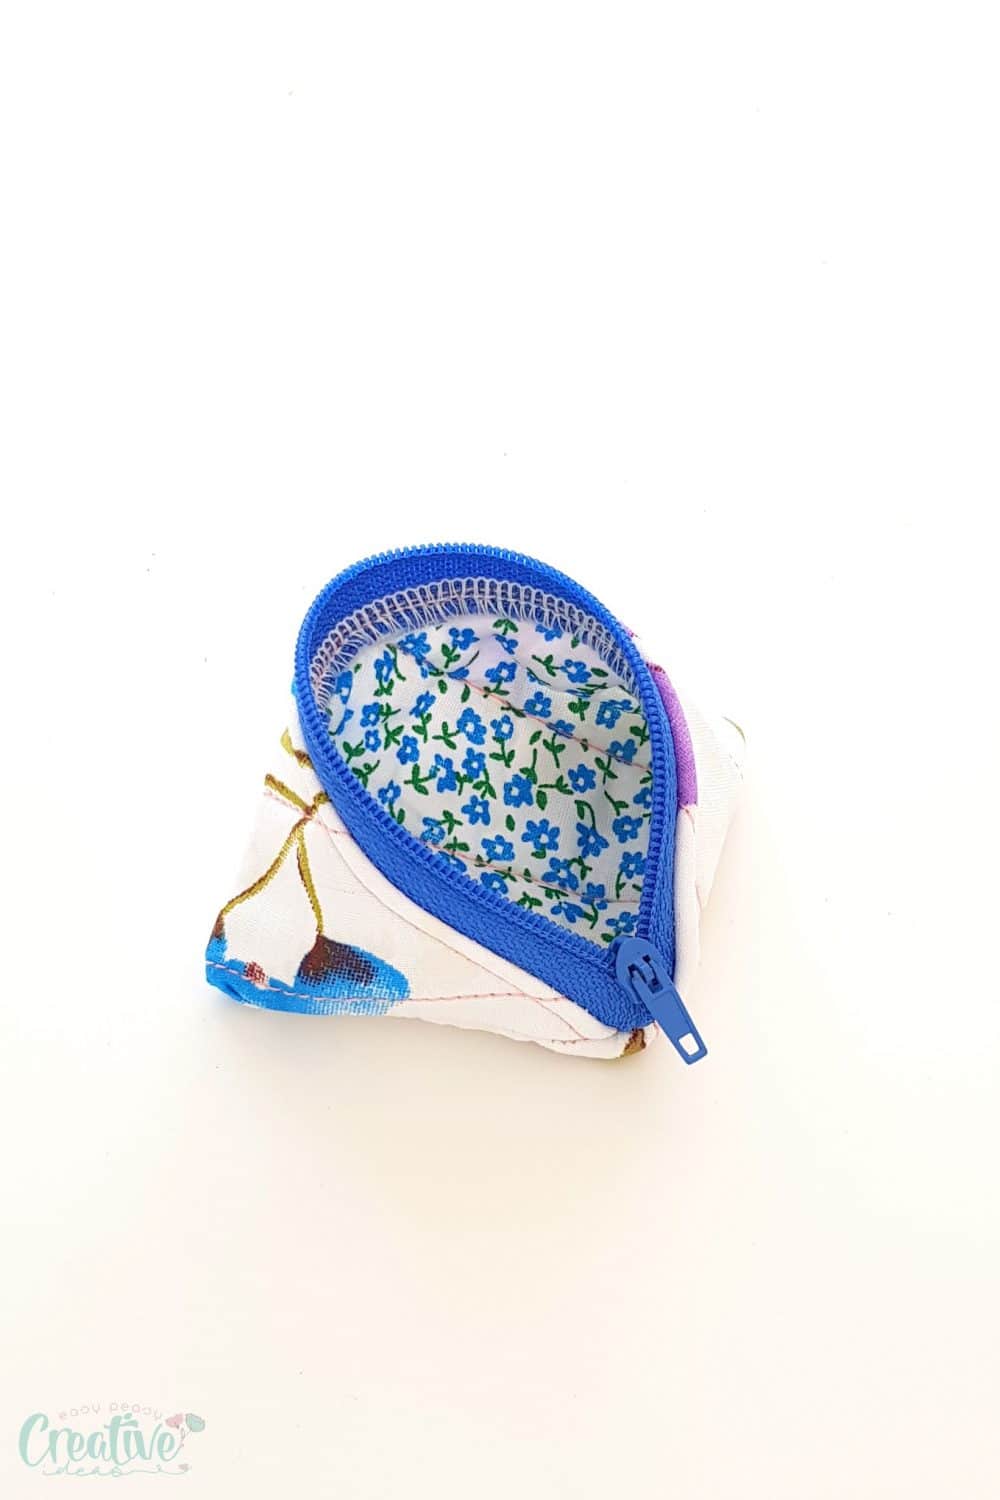
My zipper coin purse is a fun and easy beginner project that only requires basic sewing skills, small scraps and a small zipper. Kids will also love keeping their allowance money in these pouches, and I’m sure you can find some pretty fabric to suit the style of your girly princess or your little sports star.
How to customize your zipper coin purse?
- Add lining to make the pouch sturdier. You can add a contrasting lining to make it look prettier or just use some leftover plain fabric. Just make sure it’s the same stretch as the facing to avoid deformation after long-term use.
- Or cover the raw seams in bias binding instead of serging as I did, to add more interest or a pop of color to your quilted coin purse.
- Feel free to add sequins, ribbons, pompoms, bows or anything you think you think will add a nice and personal touch to your coin pouch.
- Use a lace zipper instead of a regular zipper to add an extra dose of cuteness.
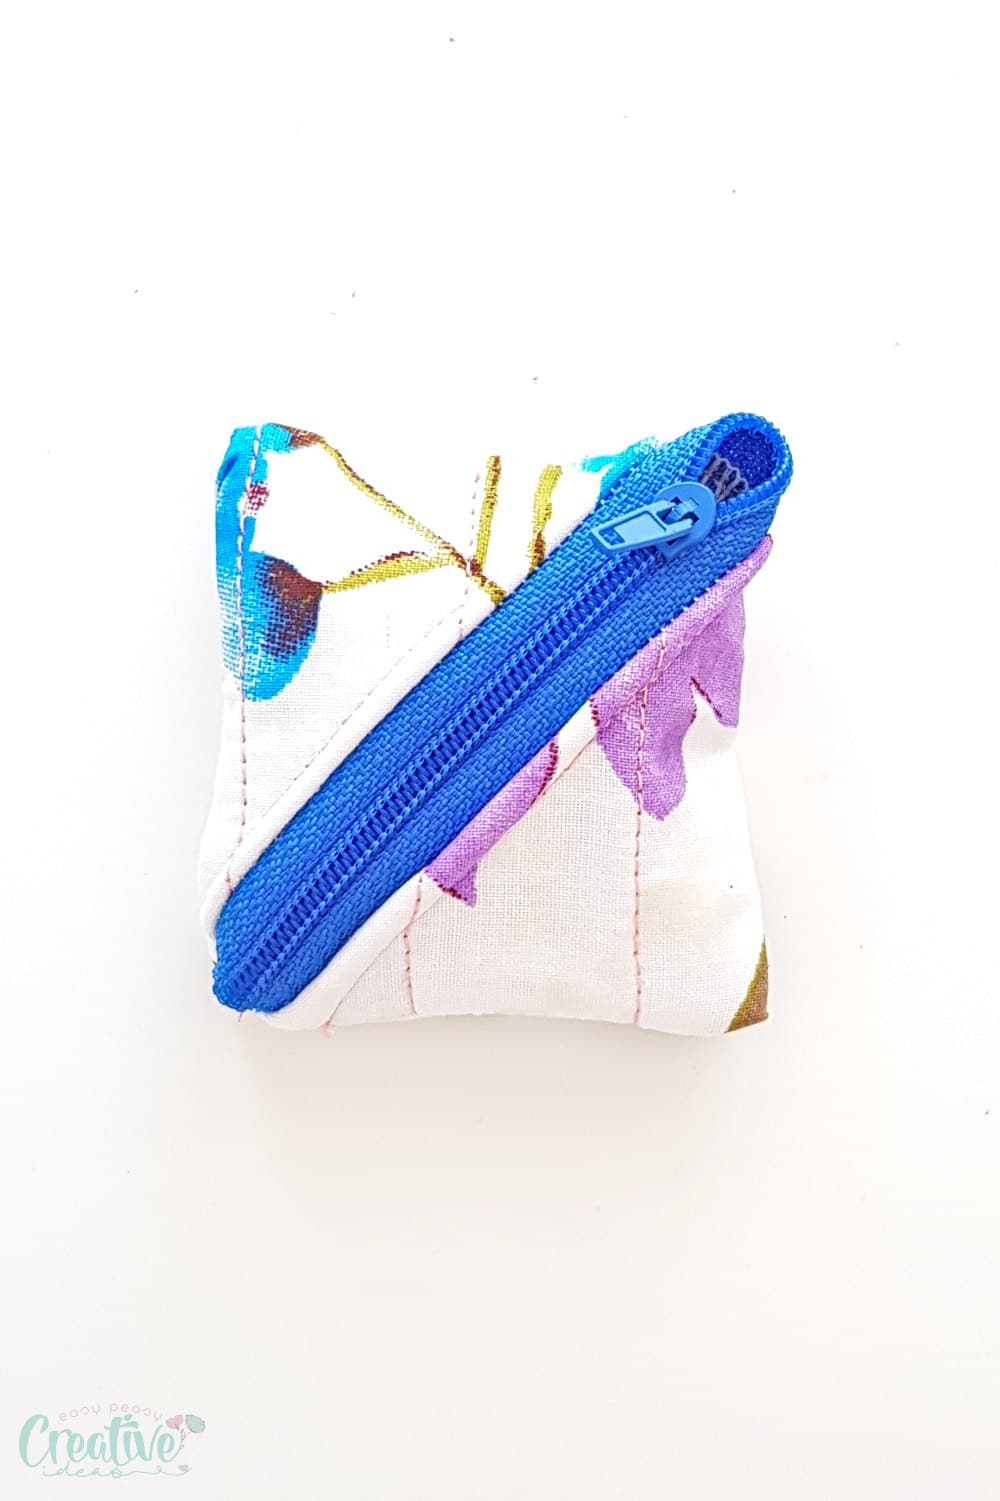
What are some uses for this small coin purse?
- Don’t just think of coins. You can use these pretty little pouches as nice reusable gift pouches for small items like jewelry, toys or accessories. After getting the gift, the receiver can reuse the pouch to keep their own change. I know, double gift!
- These triangle coin pouches will also help you keep your small items like bobby pins and hair ties, band-aids or makeup organized in your purse or small ribbon pieces, clips or pattern weights in your sewing room.
- Need to store slightly larger items? Just make the pouch bigger. There’s no standard measurement when it comes to organizing your stuff. And this zipper coin purse is so easy to adjust to your measurements.
You might want to wash the pouch especially if using it to keep small make up like lipsticks or eyeshadow. In this case, it’s better to turn it inside out and wash it on delicate. Leave to dry naturally, as putting it in the dryer can damage the zipper part.
What would you like to use these triangle pouches for? Let me know in the comments section below.
Coin purse pattern
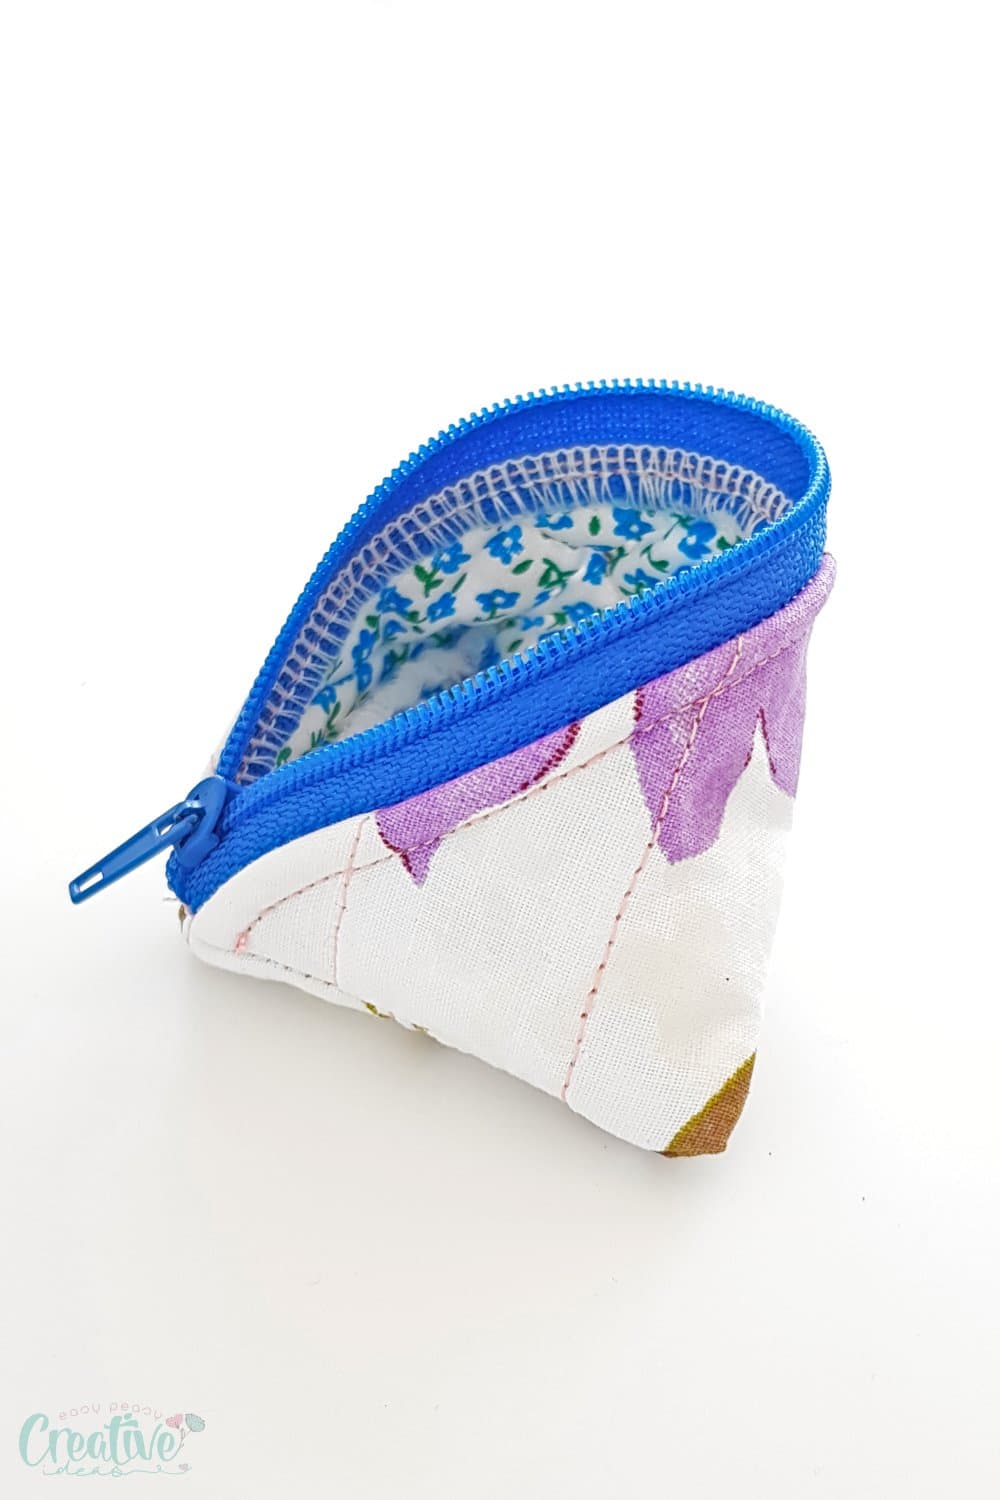
Materials:
- 2 rectangles of cotton fabric scraps
- 1 rectangle of batting or fusible fleece
- zippers
- zipper pulls
- scissors
- chalk pen or fabric marker
- cutting mat
- rotary cutter
- quilting ruler
- clips
- matching thread
- sewing machine
- point turner
How to sew a zipper coin purse?
- Cut both fabric rectangles and the batting in the same size (the larger the rectangles, the bigger the coin purse). Keep in mind that you will make 4 coin pouches out of a rectangle. If you only want to make 1 coin pouch, cut the fabrics and the batting in a triangle shape.
- Place one of the fabrics wrong side up, top with the batting then add the second fabric right side up. Keep the layers together with basting spray of pins.
- Trace lines across the fabric with the help of a quilting ruler and chalk pen or fabric marker. Then quilt the rectangle.
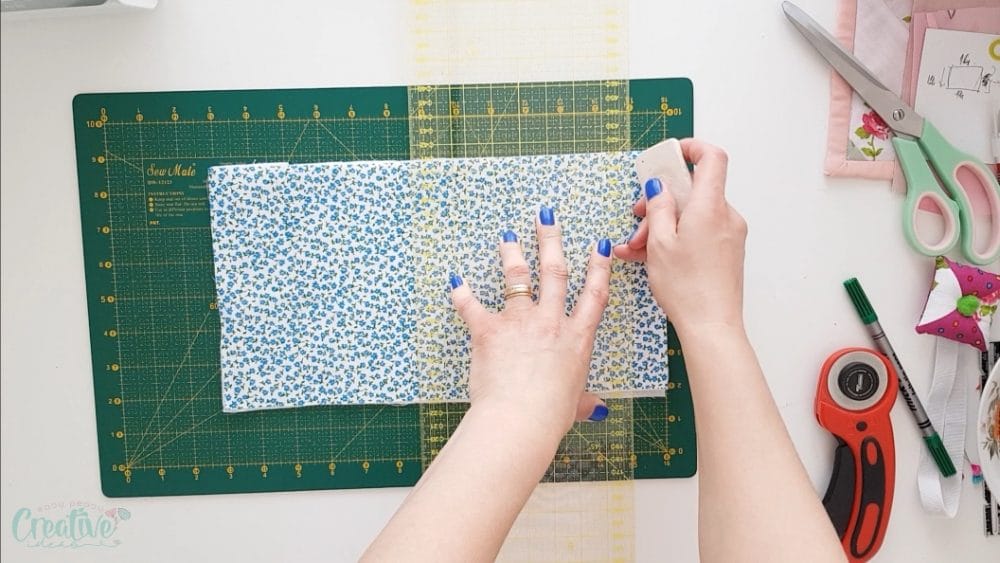
- Place the rectangle on the cutting mat and cut in half with the rotary cutter to get 2 squares.
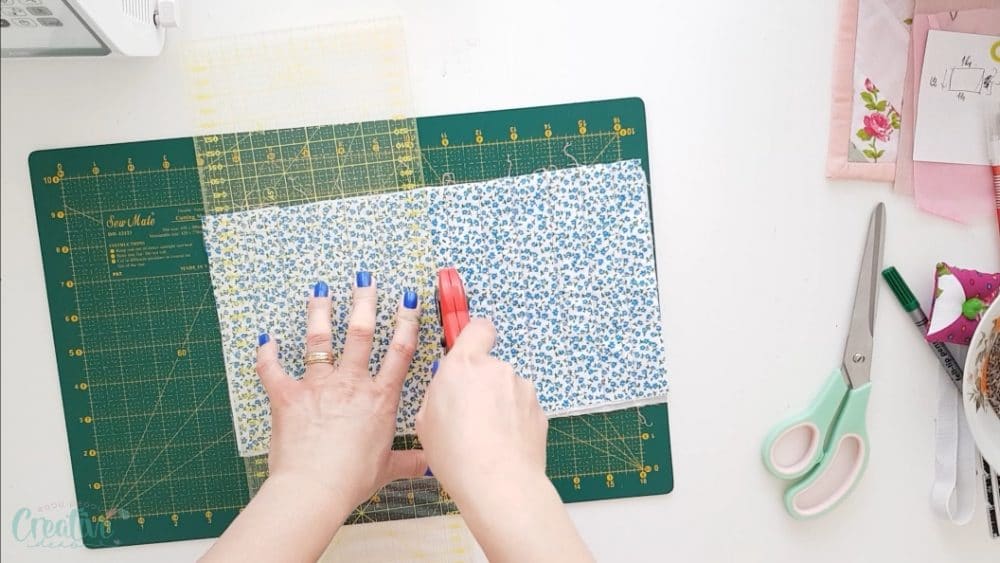
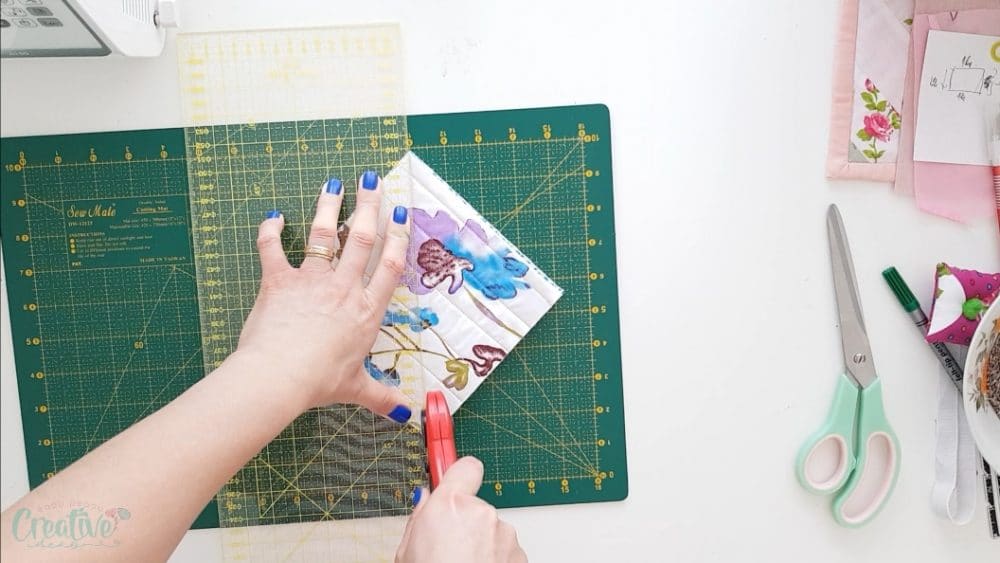
- Place the squares right sides together and cut in half diagonally.
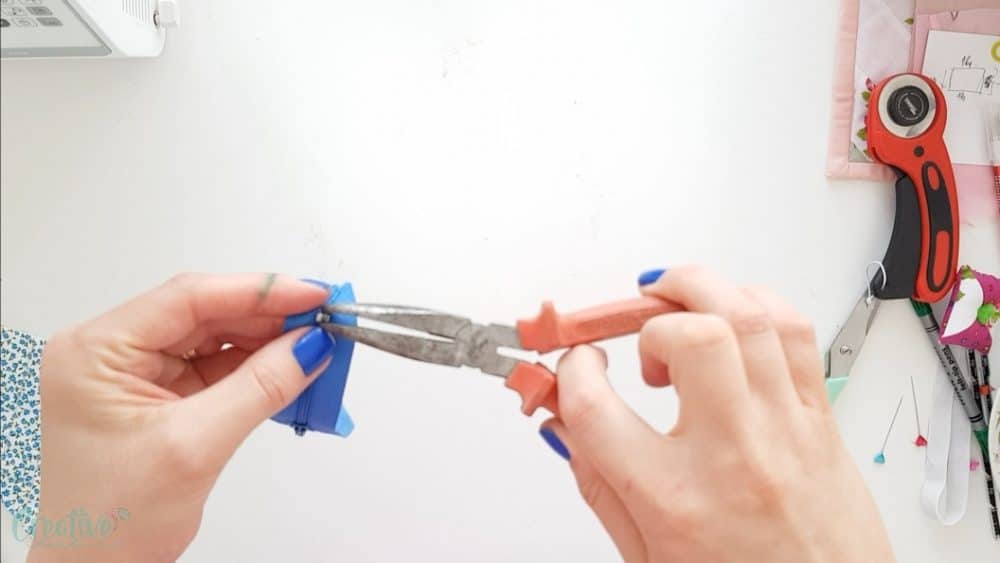
- Take the zipper and remove the metal that keeps the 2 halves together. You will use one half of the zipper per pouch so you need additional zipper pulls if making more pouches in one go.
- Take one triangle and pin the zipper to the long edge (the base of the triangle), onto the wrong side of the fabric. Sew with 1/4″ allowance.
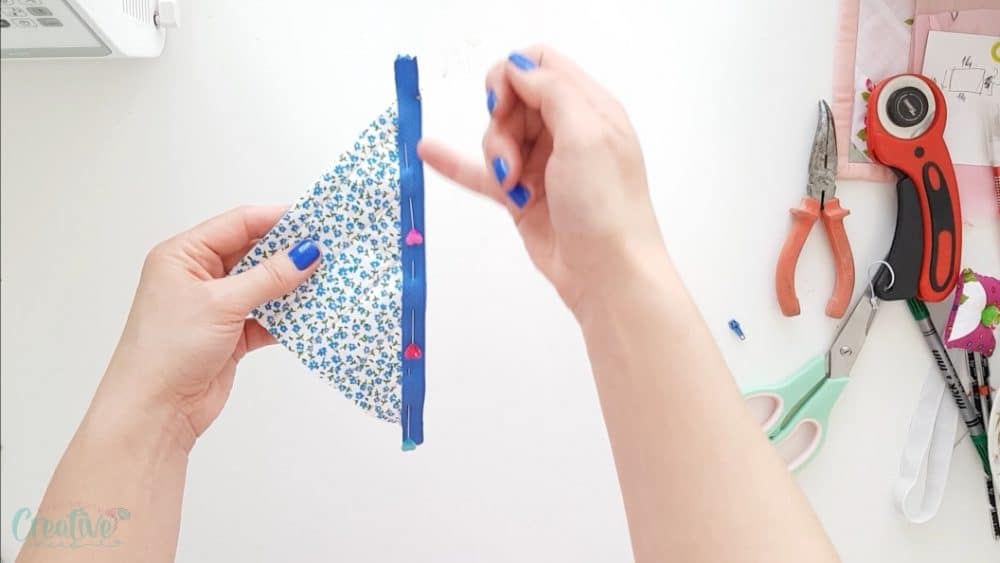
- Fold the serged seam down and topstitch.
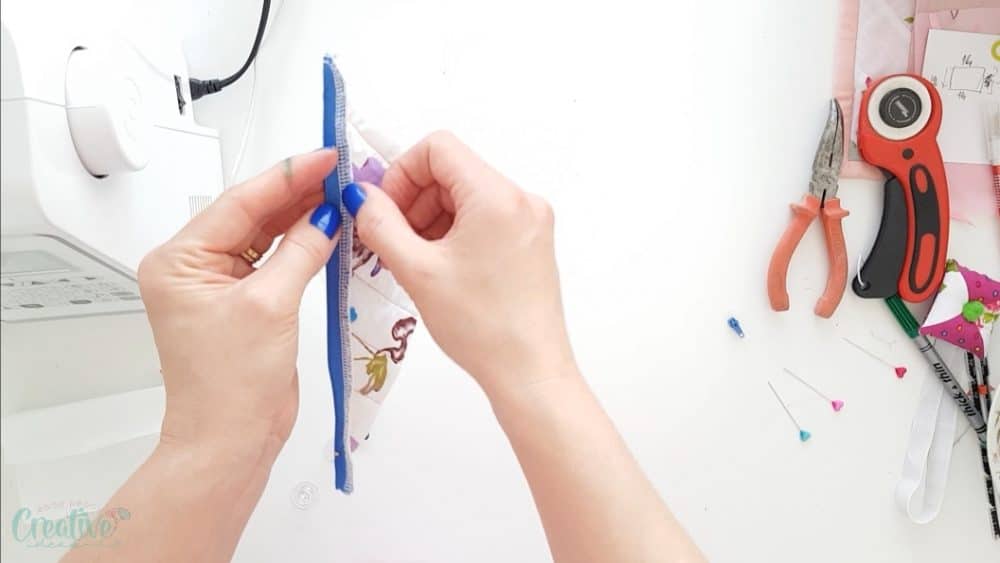
- With the triangle right side up, fold the base corners down to the top corner and clip the sides.
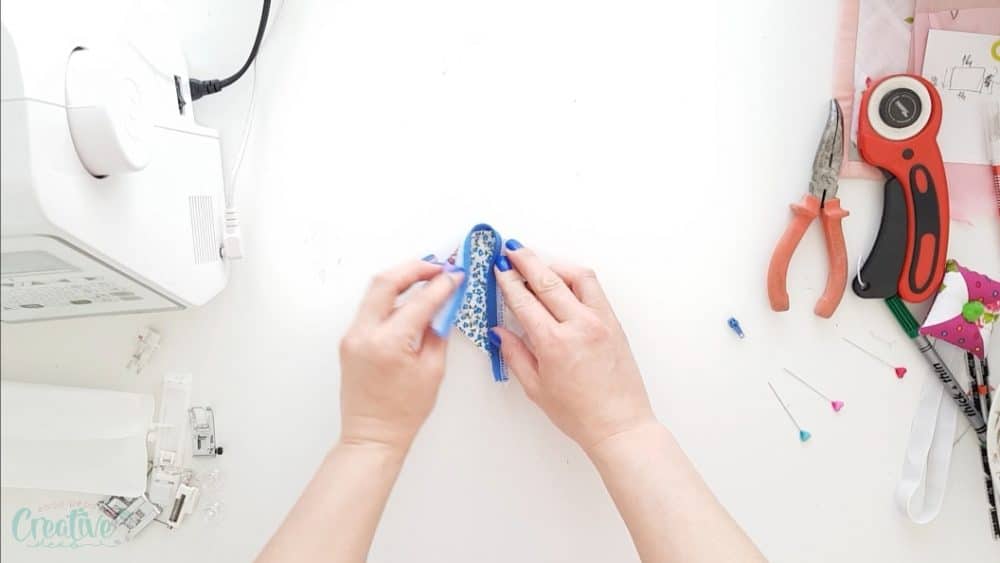
- Insert the zipper ends into the zipper pull and pull the zipper pull up.
- Sew the sides with 1/4″ allowance and finish the seams with a serger, a zig zag stitch or cover in bias binding.
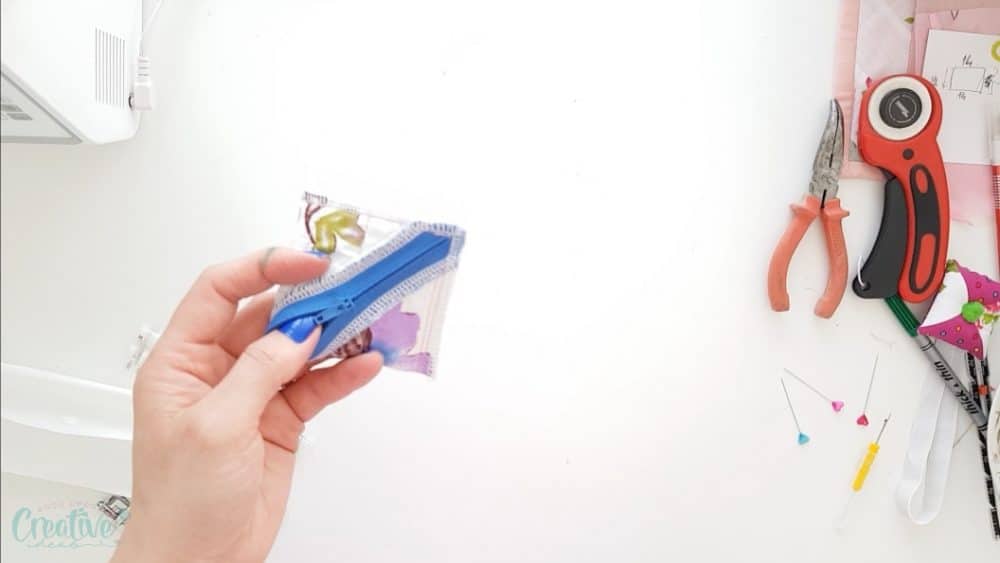
- Open the zipper and turn the pouch right sides out, push the corners out with a point turner and you’re done!
Pin to save for later
Most popular sewing projects:
- Corded bag handles tutorial
- How to sew a round hem
- Flutter sleeve dress pattern
- Laminating cotton fabric
Article may contain Amazon & affiliate links. As an Amazon Associate I earn from qualifying purchases at no additional cost to you.




I found it impossible to get the zipper pull onto the zipper tape. So any advice at that step would be appreciated.
Muy práctico este monedero para guardar botones.
Love this coin purse! It’s such a cute look and efficient way to keep coins, even bills folded up I think. I’d try making one now but I don’t have zippers on hand. A great future project.
Thanks, Tanialee! My daughter loves this little pouch, it’s perfect for small change! She also uses it to carry a small lip balm & hair ties. I hope you’ll find zippers & make some for yourself too, this is such an easy & handy little pouch, you’ll love it! You can even attach it to your keychain!