

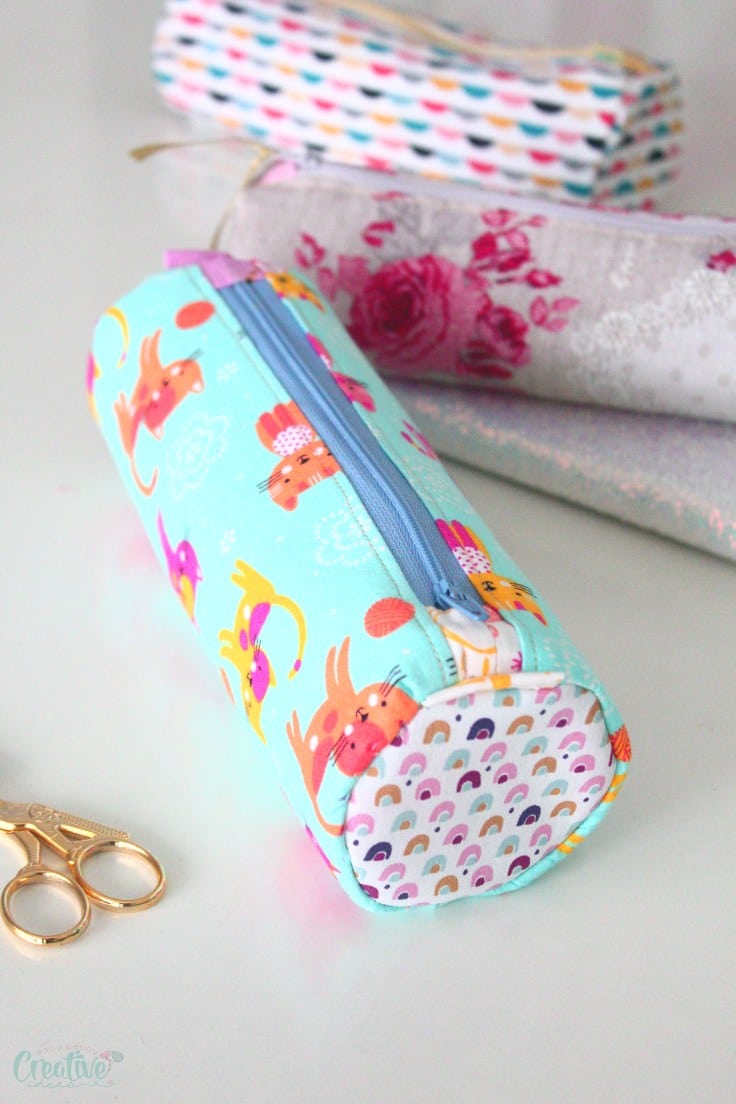
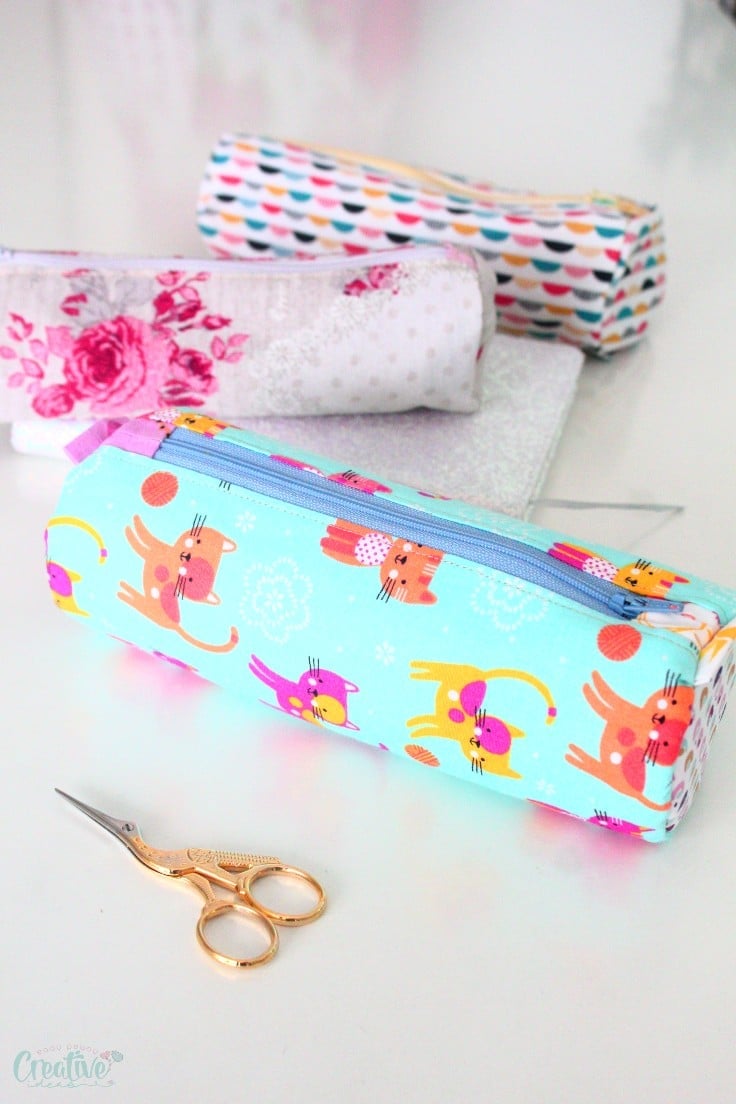
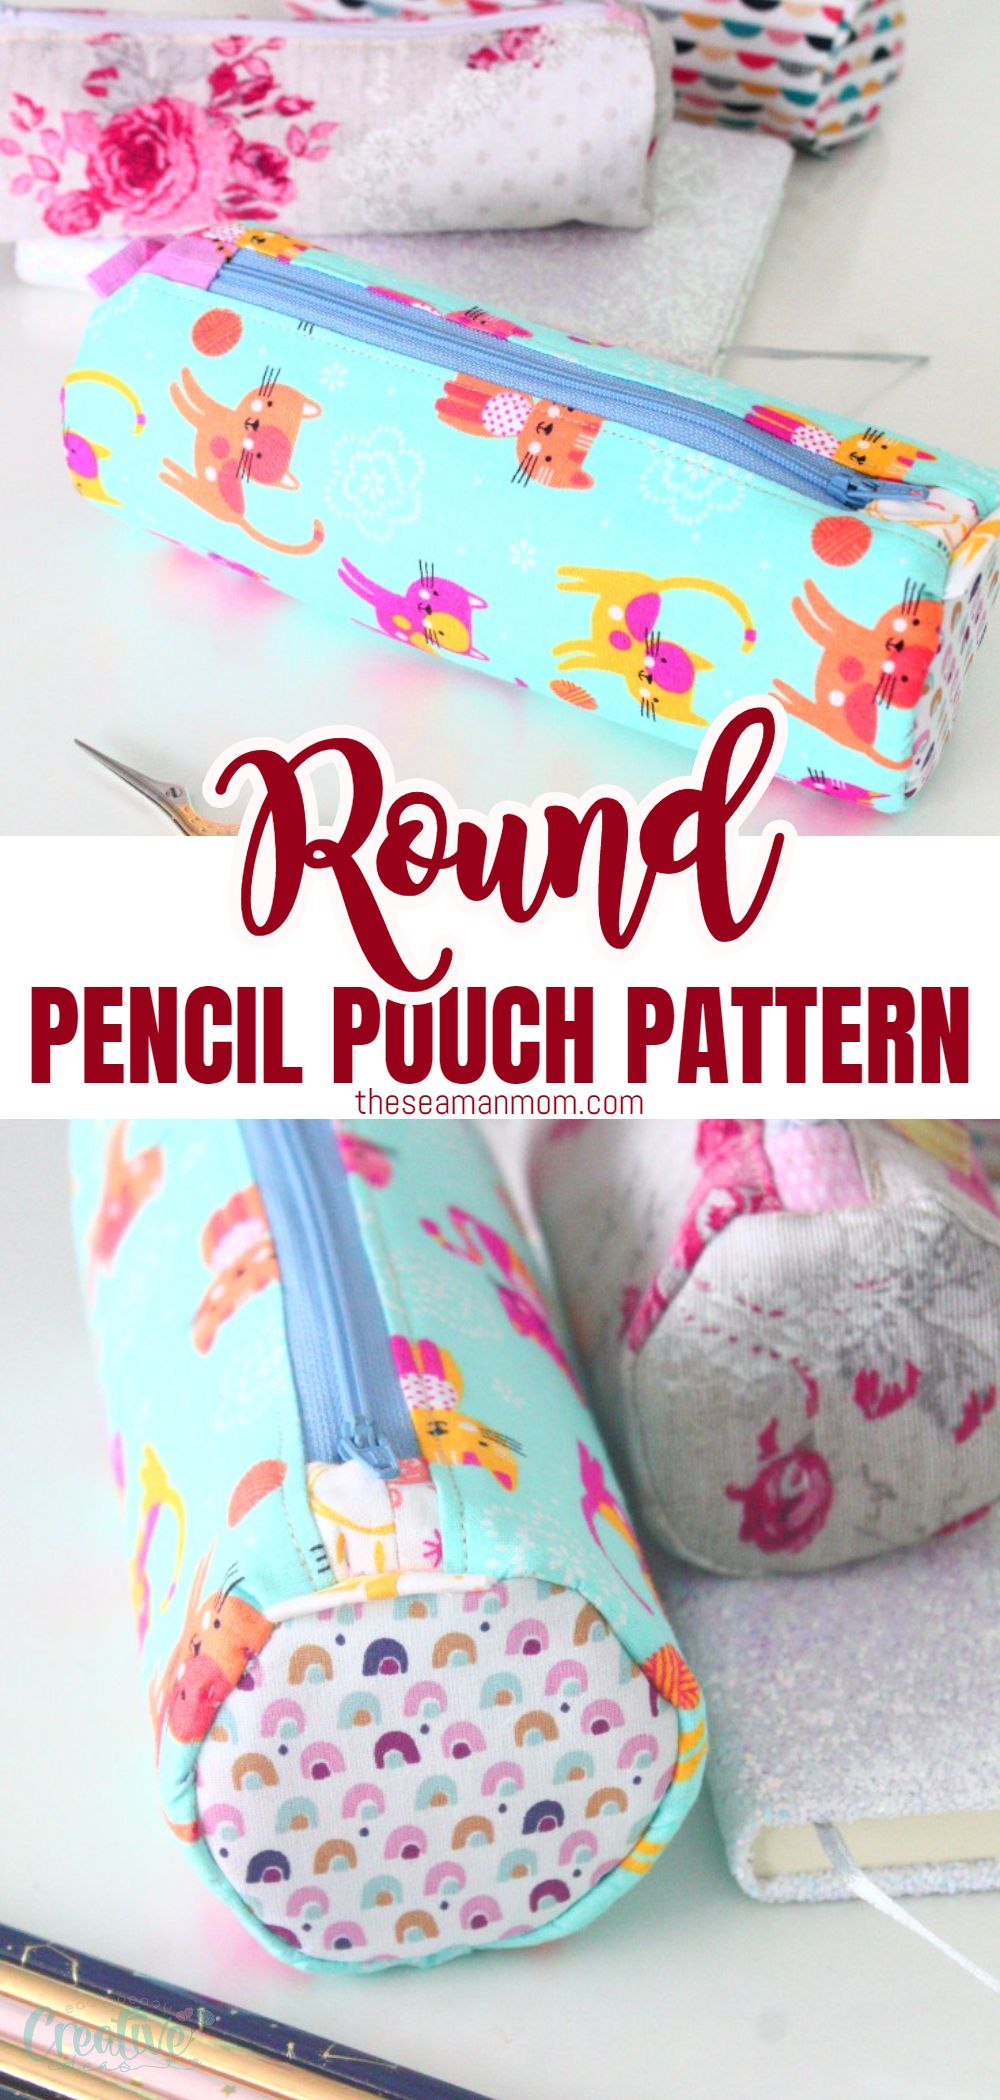
This round pencil case pattern is so easy and adorable, you’ll love sewing it!
It may not be back to school time but your kids can definitely use a new pencil case! I am going to show you a simple round pencil case pattern to make in no-time and uses leftover fabric.
Pencil case pattern
I remember how excited I was at the beginning of a new school year, when I got new supplies, and especially a new backpack or pencil case. It was just like Christmas, only at the end of summer. And I always loved it when mom was whipping a little round pencil case pattern for me! It was the most fabulous thing because I felt special carrying all of my pens and pencils in an adorable case that was handmade with love! Mom loved making things for us, from school supplies to clothes or various items for the home!
As kids are back to school and moms have a lot more time for themselves and their own interests, it may be time to start sewing fun and useful things again. Just like this cute and practical pencil pouch pattern.
Other pouches & bags you will love:
- Zippered face mask pouch pattern
- Quilted snap bag tutorial
- Bunny treat bags
- Notebook pencil holder pouch
- Quilted boxed zipper pouch
- Lined zipper pouch
- Reusable snack bags
- DIY lavender bags
- Half square triangle coin purse
- Elastic pen holder for notebook
This is a very easy measure-and-sew project that doesn’t really need a pattern. I’ll provide my measurements below, in the tutorial but feel free to adjust them to your needs.
Lining is not a must, but it will definitely help add structure and more stability to your pencil case if you’re making it from a softer fabric. In this case, just cut extra pieces from the lining the same size as the facing and sew them together. When making it out of canvas, a single layer is just enough. Still, adding a lining would help add a professional finish.
What are some uses for this round pencil case?
- You can make several pencil pouches as gifts for the kids in your family, your children’s close friends or even neighbors, to help them get those basic needs for school.
- This pencil case pattern is also great as a makeup case if you have room for a round one in your bag, or for keeping crafting supplies like scissors, needles, threads or glue sticks.
- If you are a quilter, you may see the opportunity of making a quilted round pencil pouch. It will definitely stand out and draw everyone’s attention!
How to personalize your pencil case pattern?
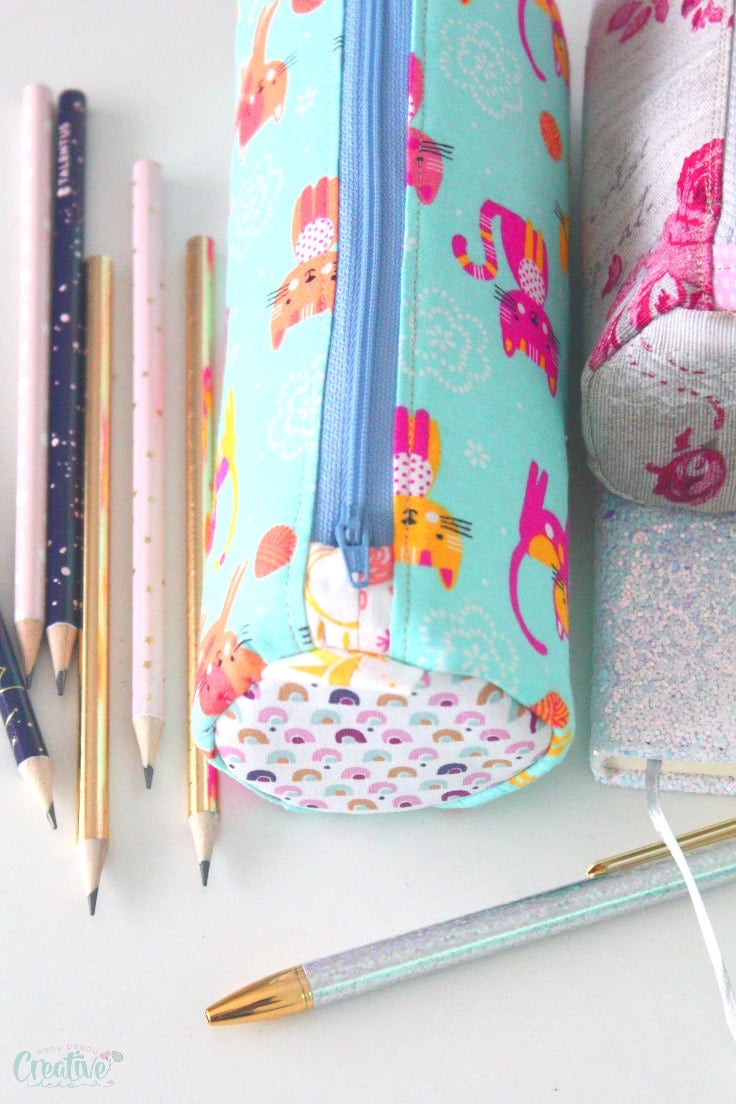
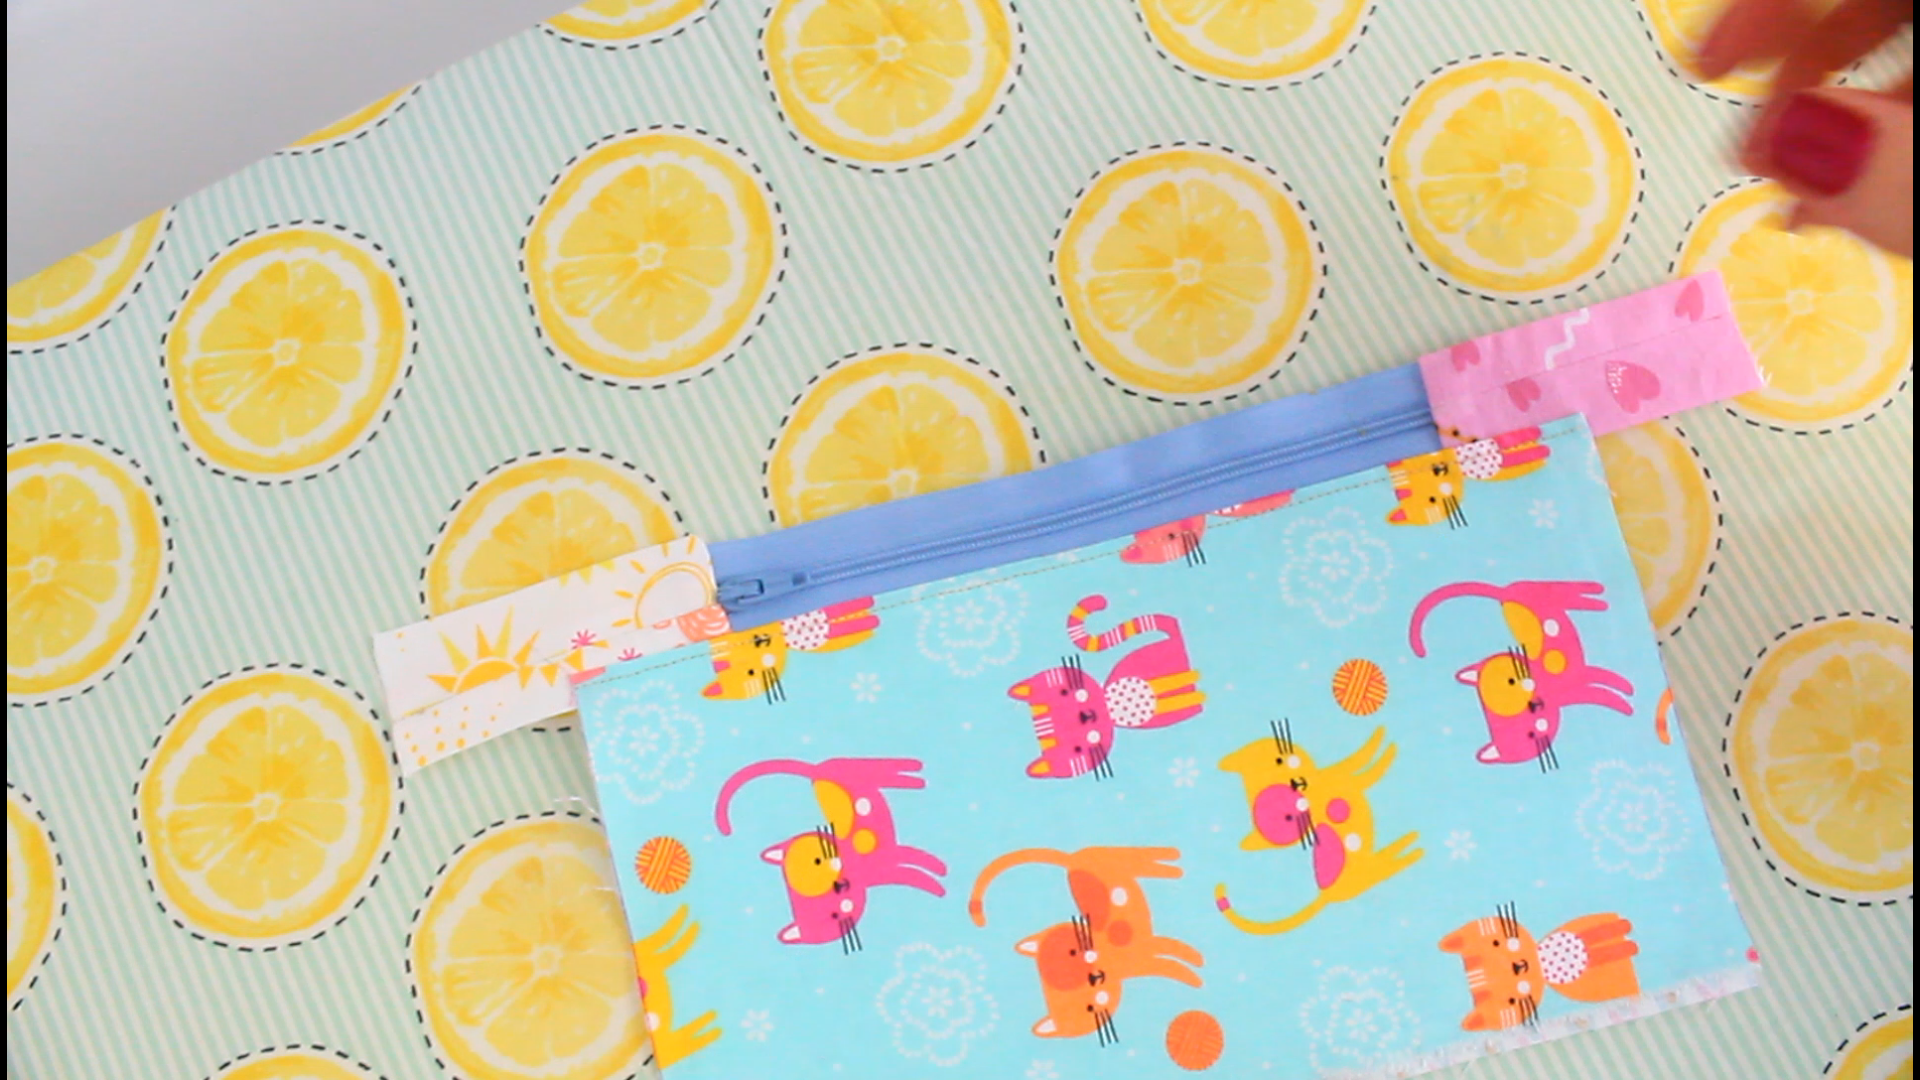
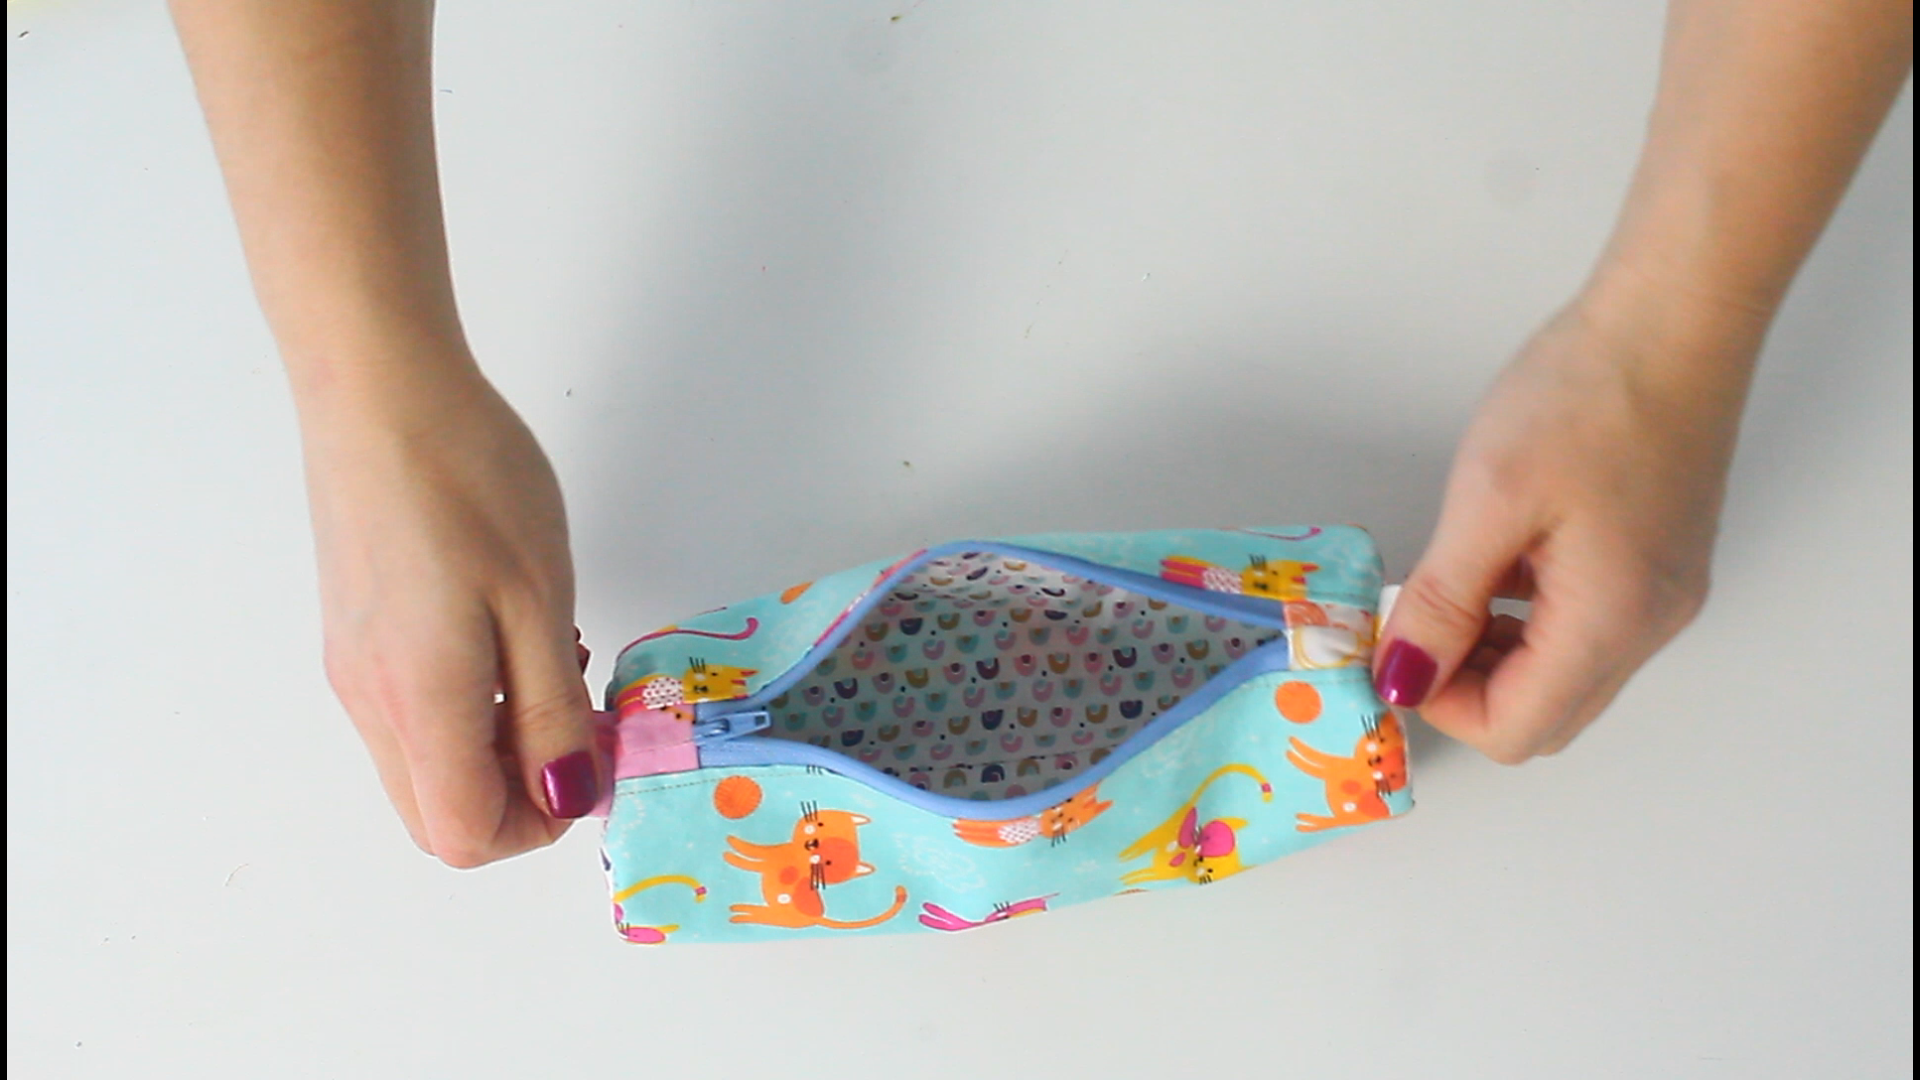
- You can sew the zipper in and add some zipper tabs as I did, as an accent and to give it a nice finish.
- Or you can also leave the zipper longer to be able to open it widely and find what you are looking for easier.
- I also took the opportunity to use those zipper tabs as tabs attached at the ends of the pouch, for pulling the zipper easier. I simply let the zipper tabs longer and just folded them in before sewing them inside the seam. So you could do that too and use different fabrics, or ribbon, or leave those tabs longer.
- To add a cute accent, add a strip of ribbon or leather to the zipper pull, or attach a cute stuffed figurine.
I just hope your kids are safe and happy to be in school again with their friends! Please let me know if they loved this round pencil case pattern as much as mine did!
Pencil case sewing pattern
Materials:
- fabric scraps for pouch and lining
- fabric scraps for the zipper tabs (you can skip this step and just use the zipper as is)
- interfacing (optional but will give body and stability to your pouch)
- zipper
- zipper foot
- quilting clips
- fabric marker
- scissors
- matching thread
- sewing machine
- pressing iron
- hand needle (optional but I find it easier to hand baste round seams before sewing them with my sewing machine)
- 1 and 1/2″ wide bias binding (folded in half so the final width is 3/4″)
How to sew a pencil case?
Cut the fabrics
- To cut the fabrics these are the measurements I followed for my pencil case pattern:
- 2 strips of 5″ by 9″ for the body
- 2 strips of 5″ by 9″ for the lining
- 4 circles of 3 and 1/2″ for the ends
- If you want your pouch thicker and more stable, you need to add interfacing to at least one set of the fabrics. I added interfacing to the outer fabrics on both the pouch and the round ends. If you add interfacing cut it 1/4″ shorter than the fabrics then attach to the fabrics as indicated in the instructions for your particular interfacing.
- You’ll also need a 9″ zipper plus 2 zipper tabs of 3 and 1/2″ long and the same width of the zipper. If you want to learn how I make my zipper tabs here is a short tutorial. The point is the zipper tabs need to be longer than the zipper so you can fold them in and use as pouch tabs later so you can pull the zipper open or close easier.
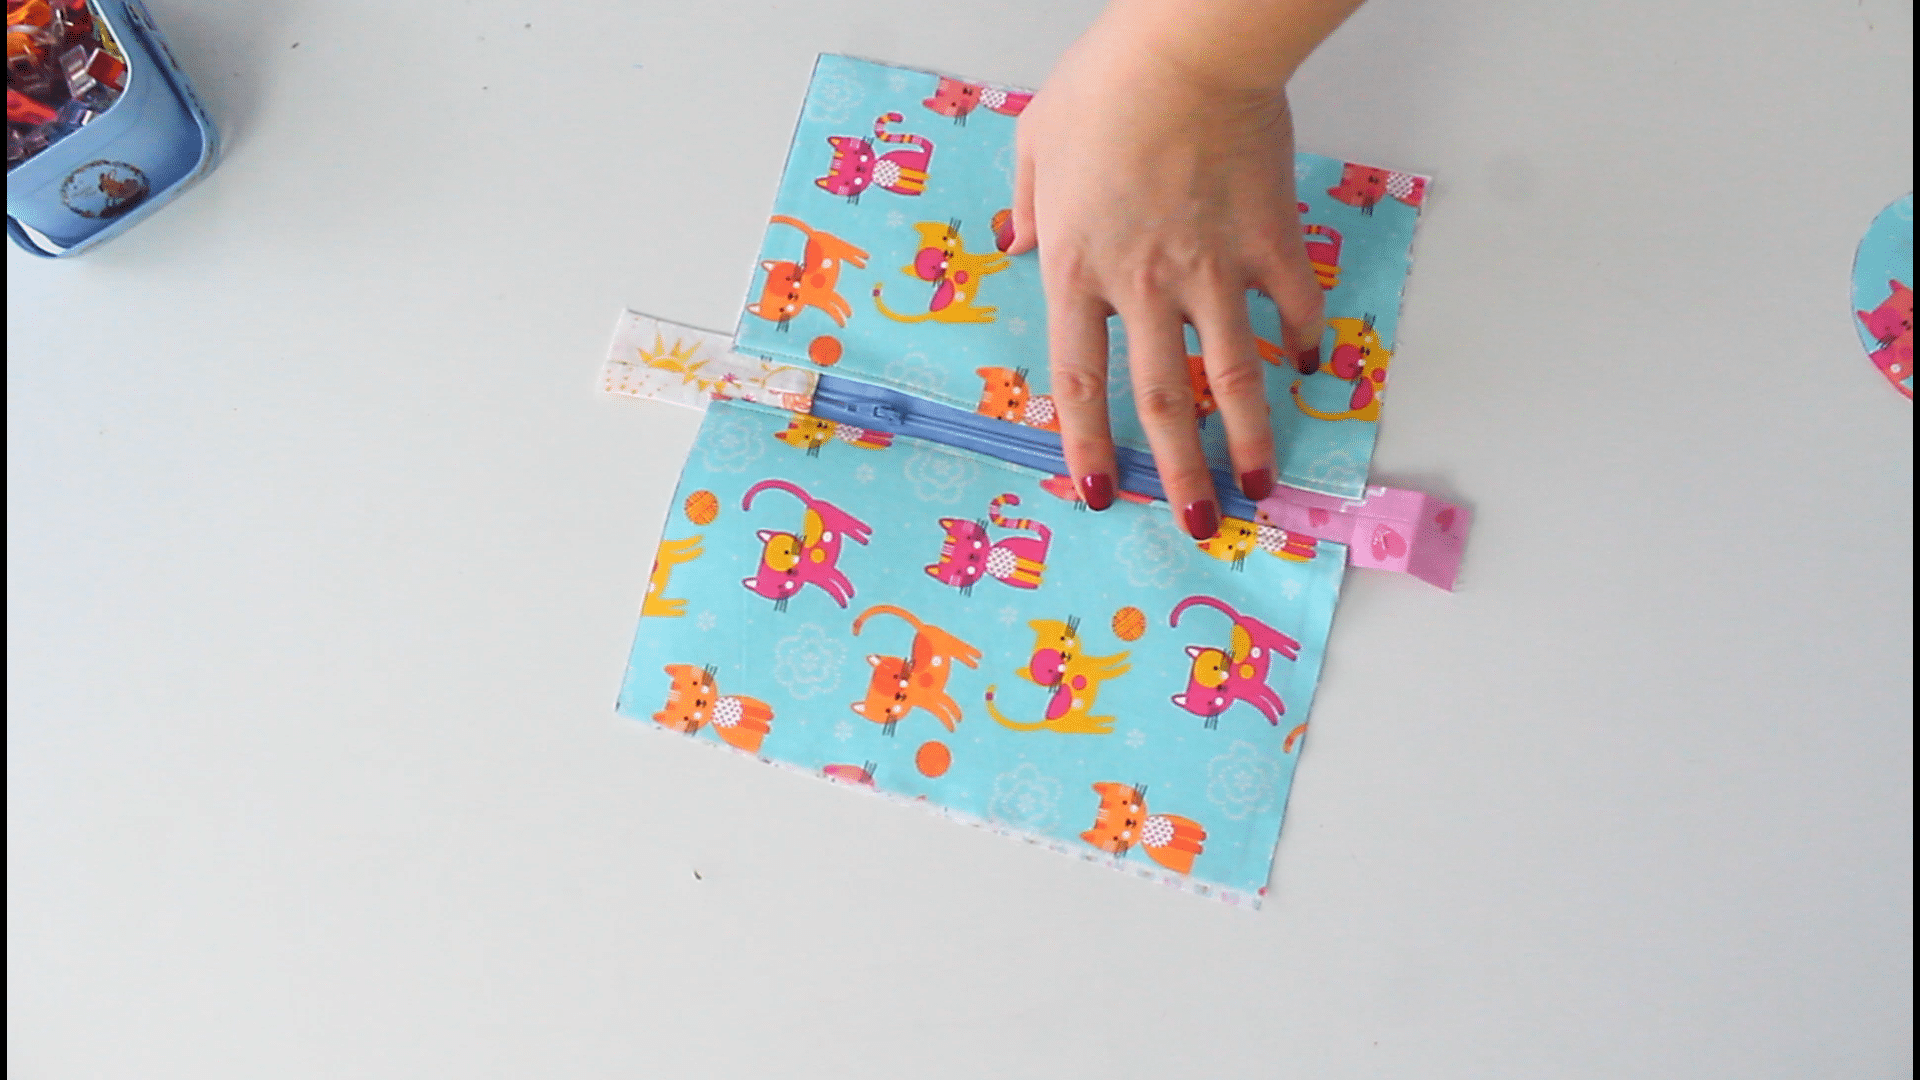
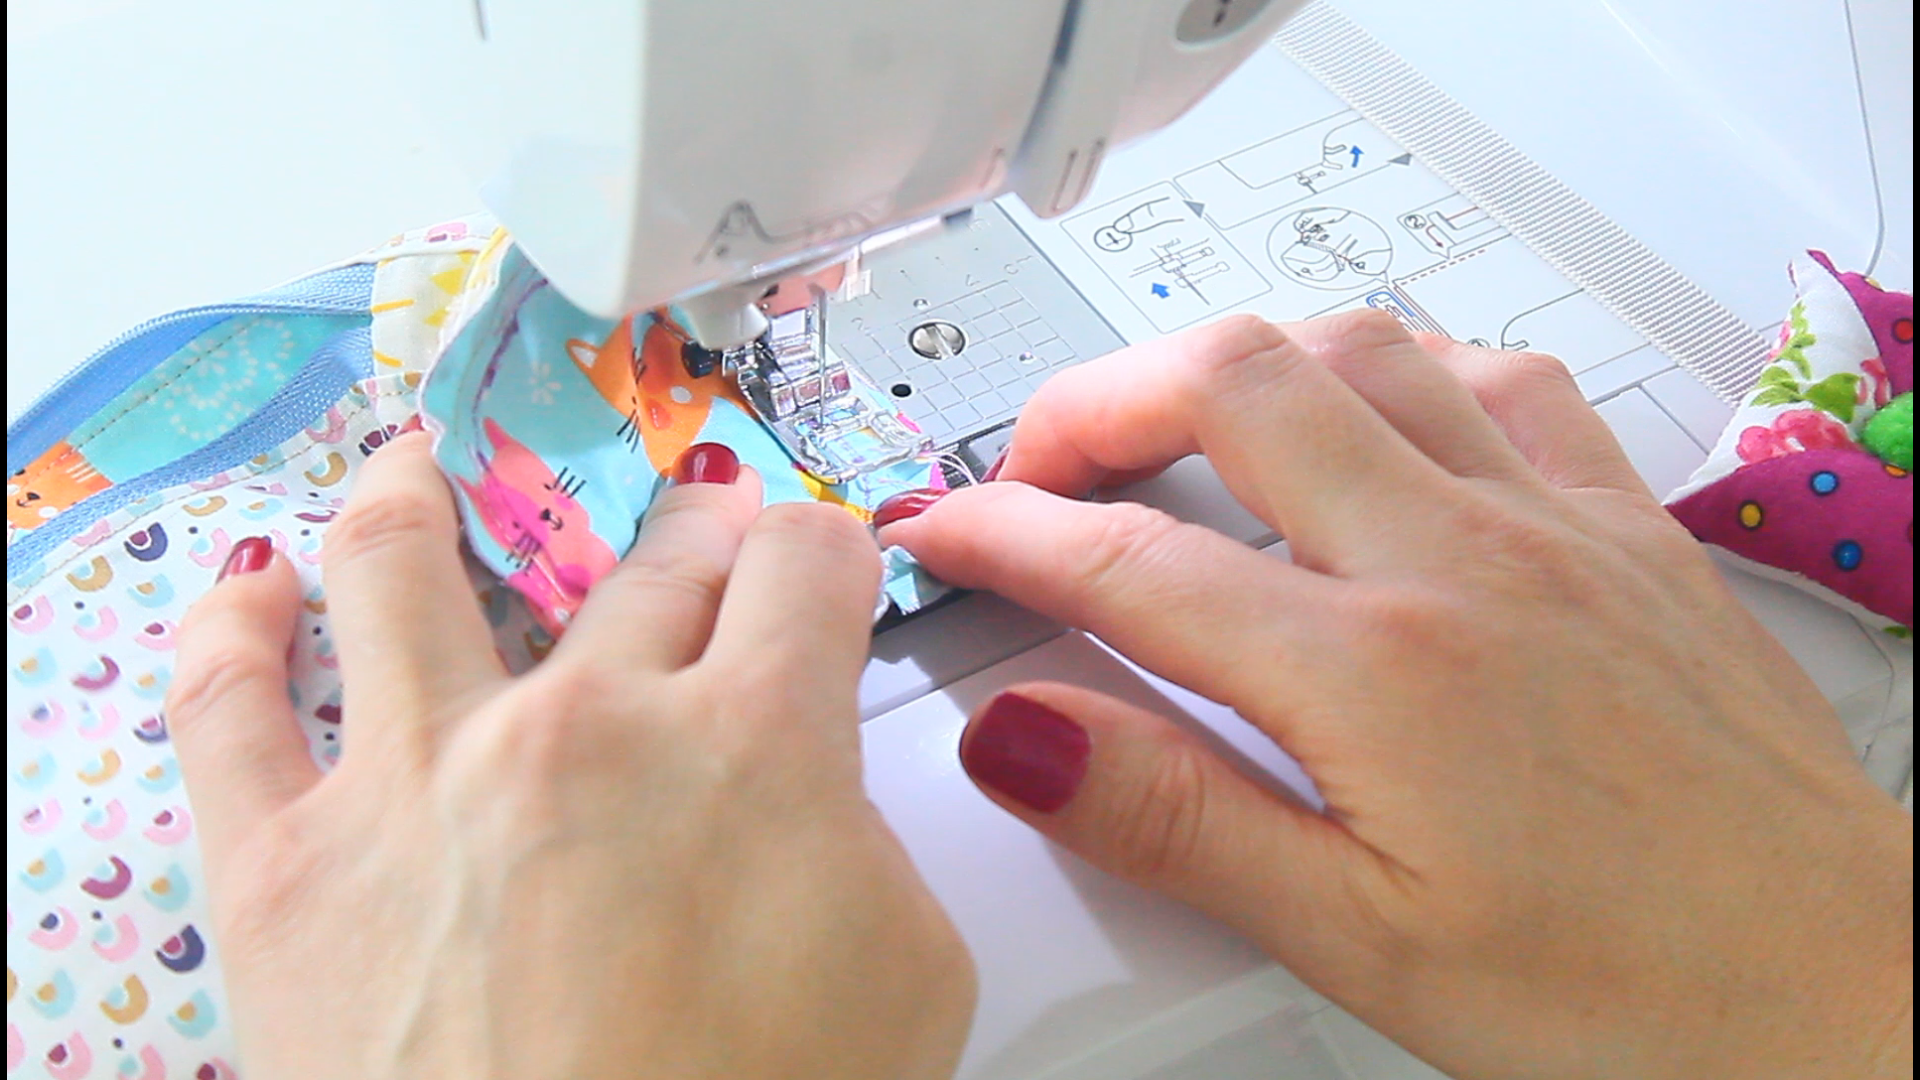
Attach the zipper
- Get one piece of fabric for the body and one piece of fabric for the lining, place them right sides together and sandwich the zipper between these.
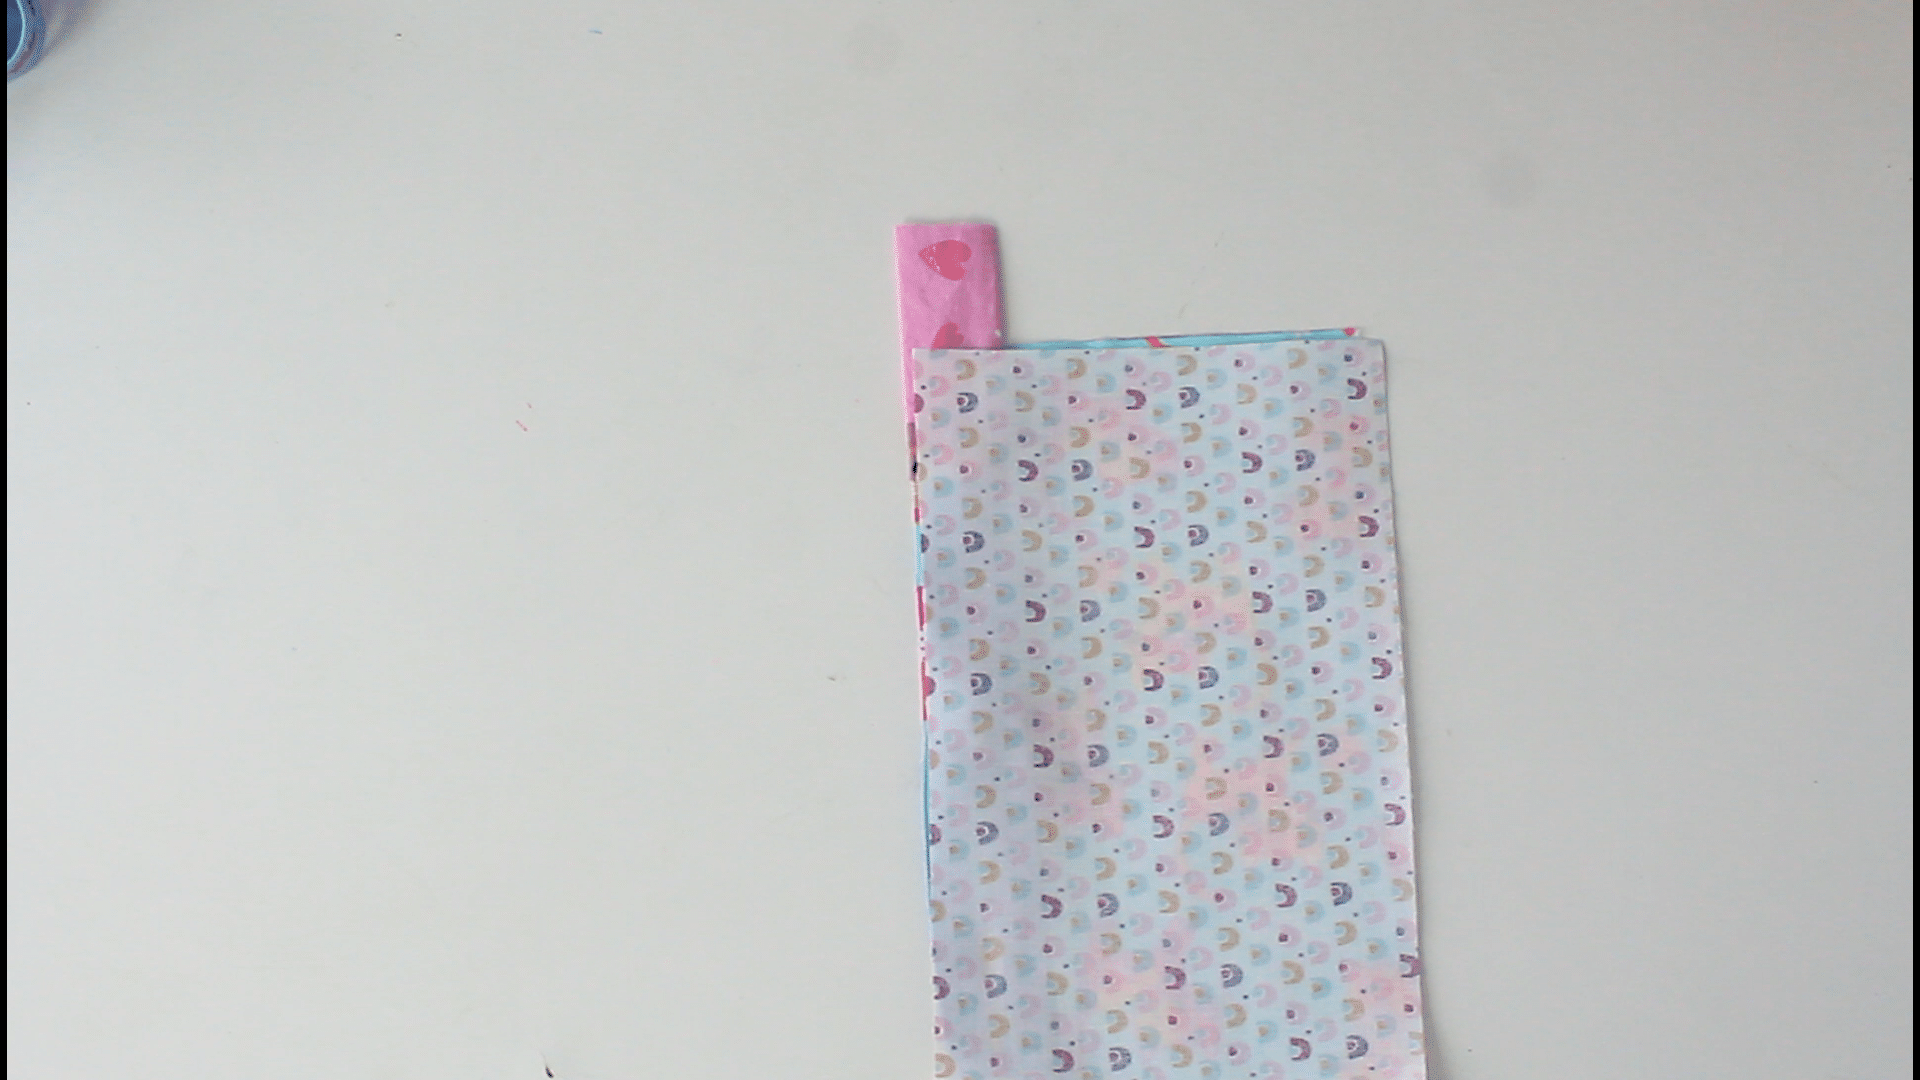
- Clip with quilting clips and sew with 1/4″ allowance. You may need to replace your regular foot with a zipper foot for this step. I didn’t have to as my regular foot allows me to sew over zippers too. The only thing I had to do is lift the foot up when I hit the zipper pull, move the zipper pull out of the way and then continued sewing the zipper to the end.
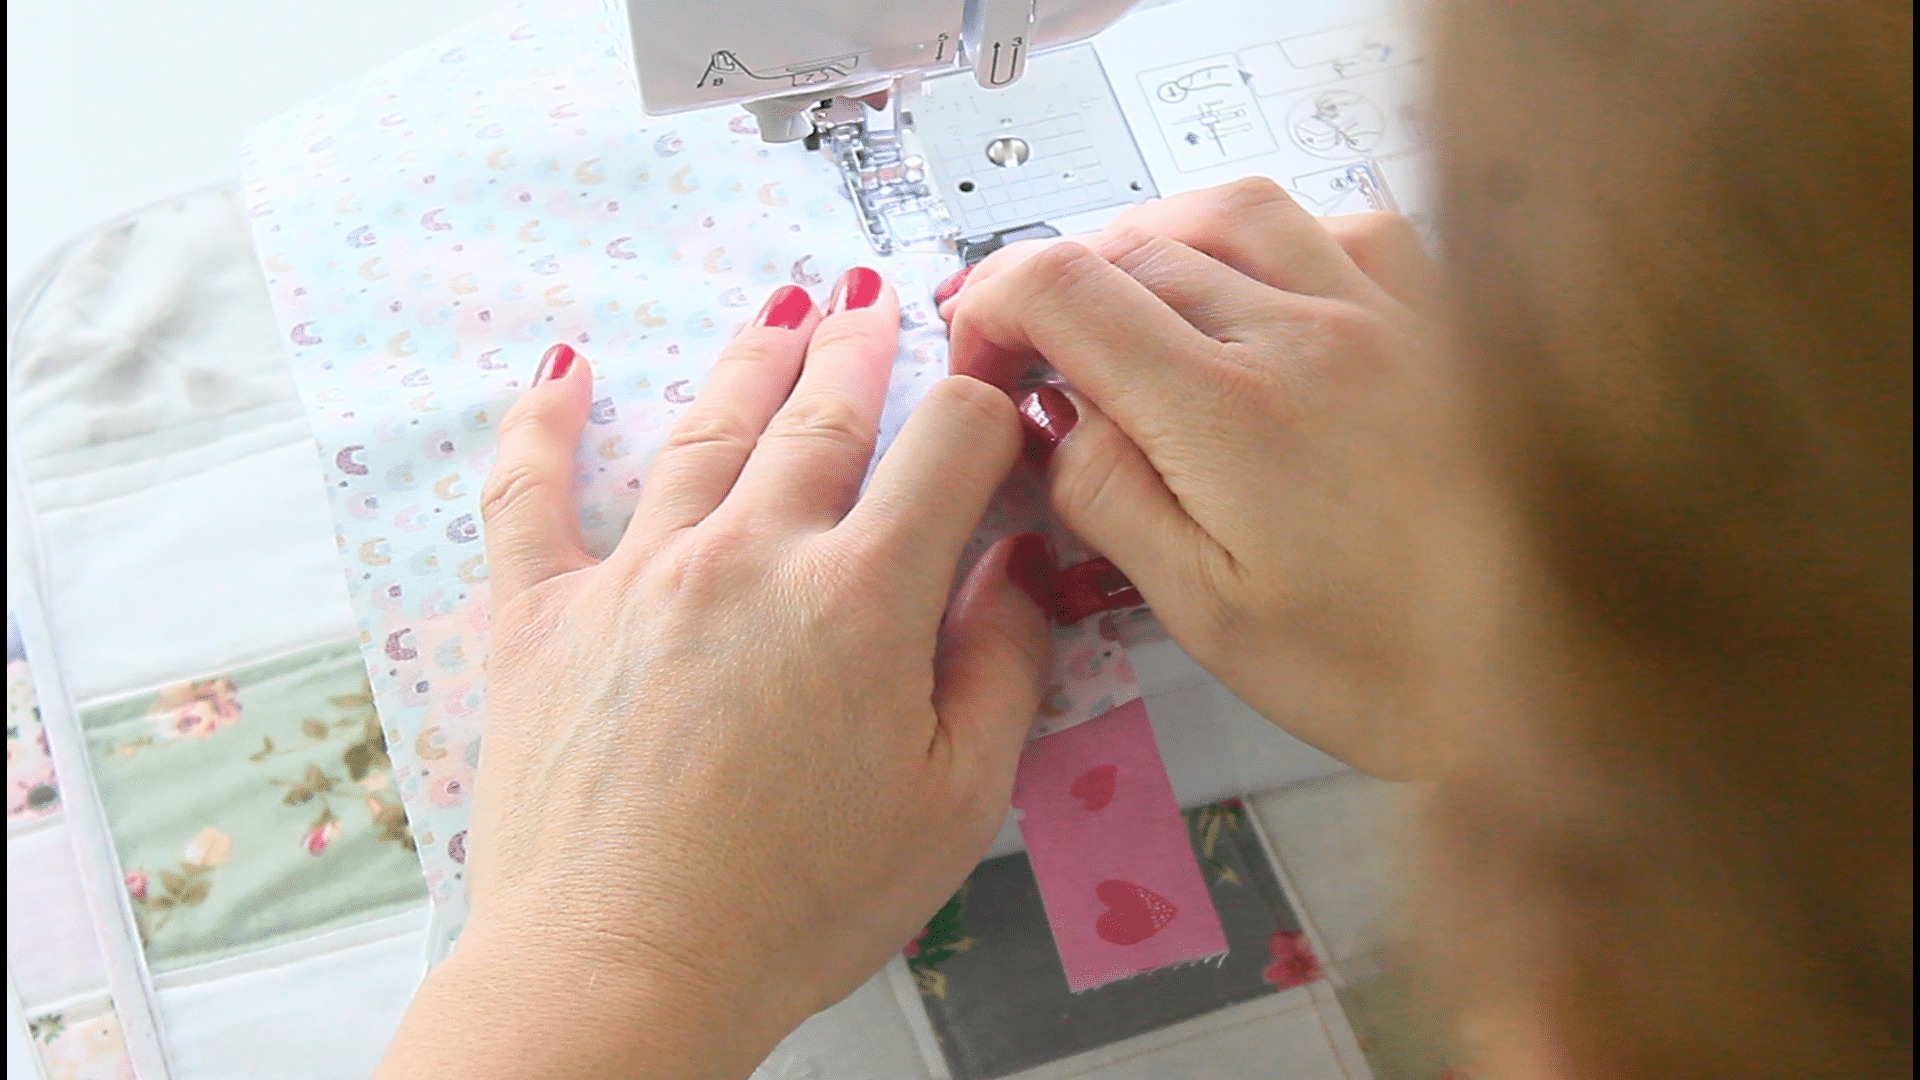
- Once this side of the zipper is sewn, flip the fabrics so they face wrong sides now, press the seam and top stitch along the seam.
- Repeat these steps for the other side of the zipper, using the other strips for the pouch and lining.
Sew the tube
- Once the zipper is sewn on both sides, match the outer fabrics and the lining fabrics, so they’re facing right sides together.
- Clip and sew the outer fabrics with 1/4″ allowance and the lining fabrics with 3/8″.
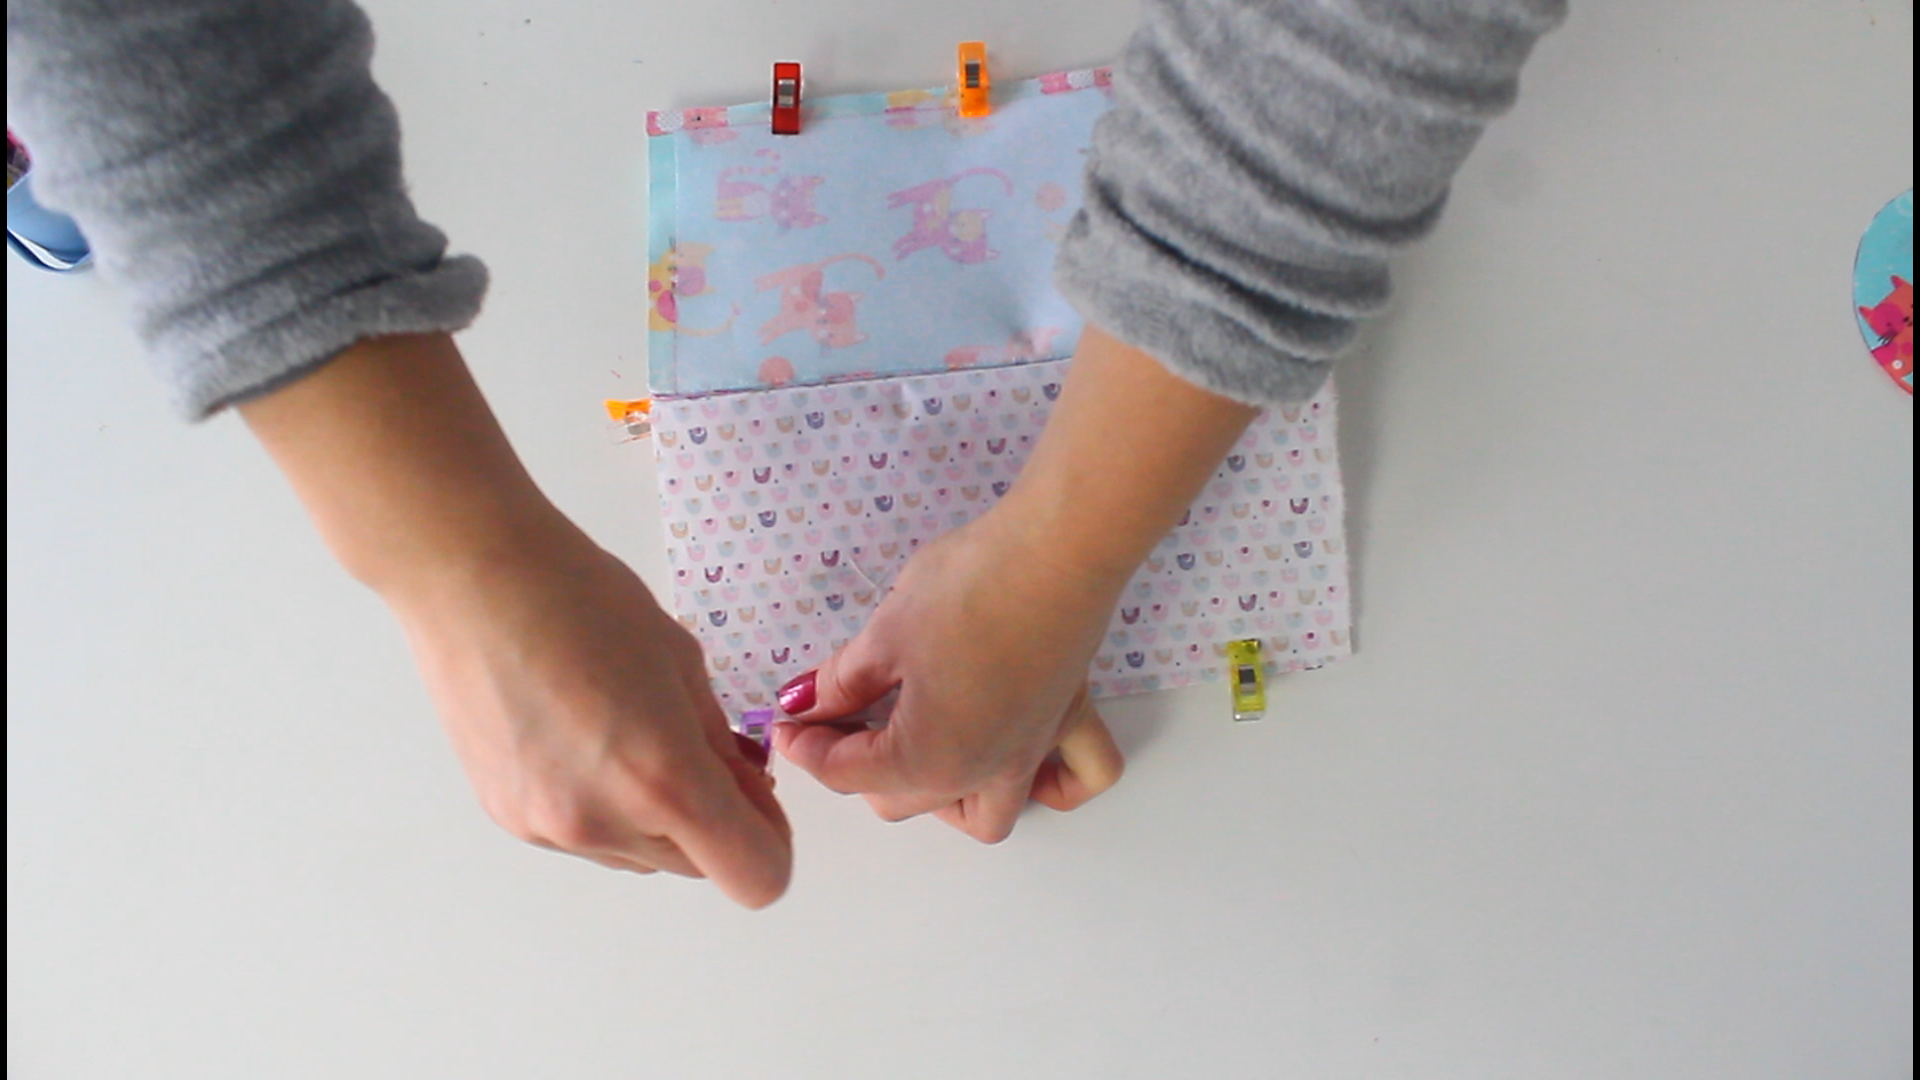
- Press the seams open.
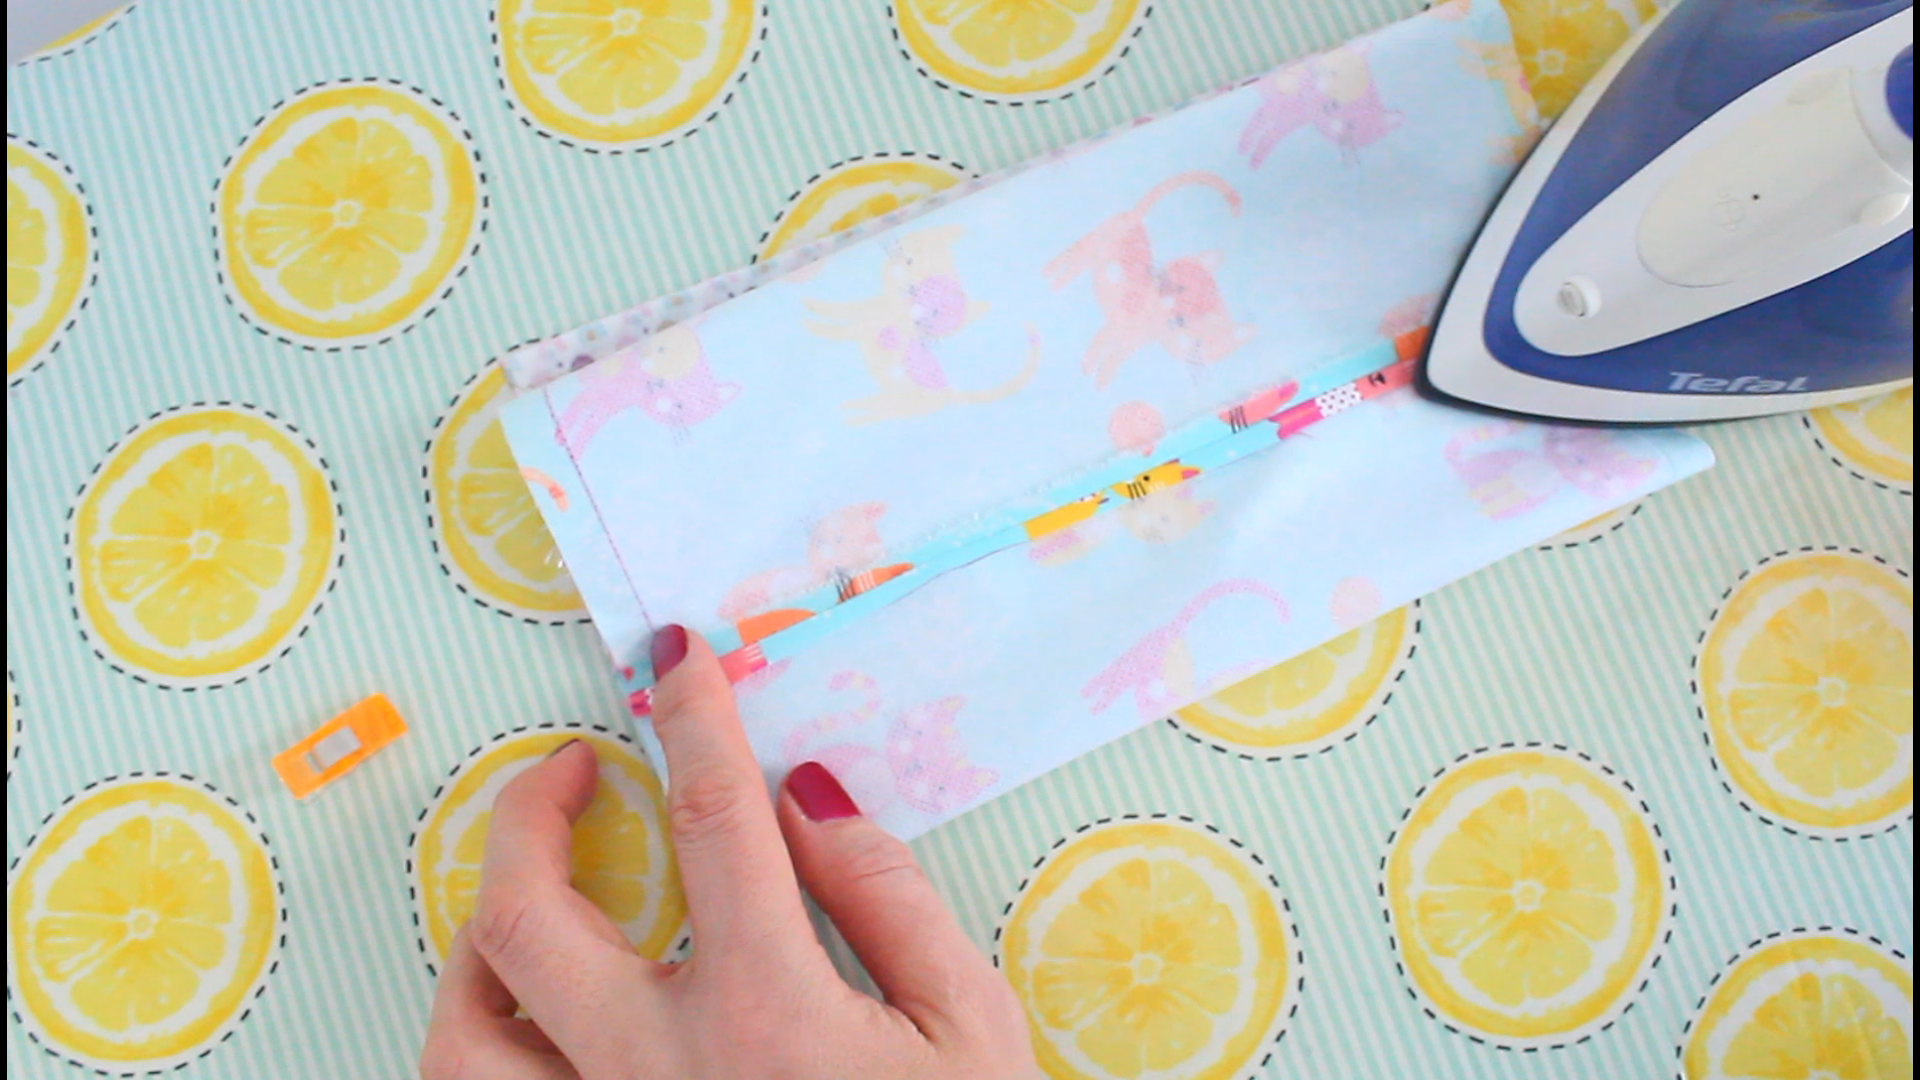
- Turn the tube right side out, with the outer side of the pouch to the outside and the lining inside.
- Fold the zipper tabs to the inside and press. It may help to hand baste them to the pouch to keep them from unfolding.
- Then turn the tube with the lining outside and mark 1/4″ away from the raw edges.
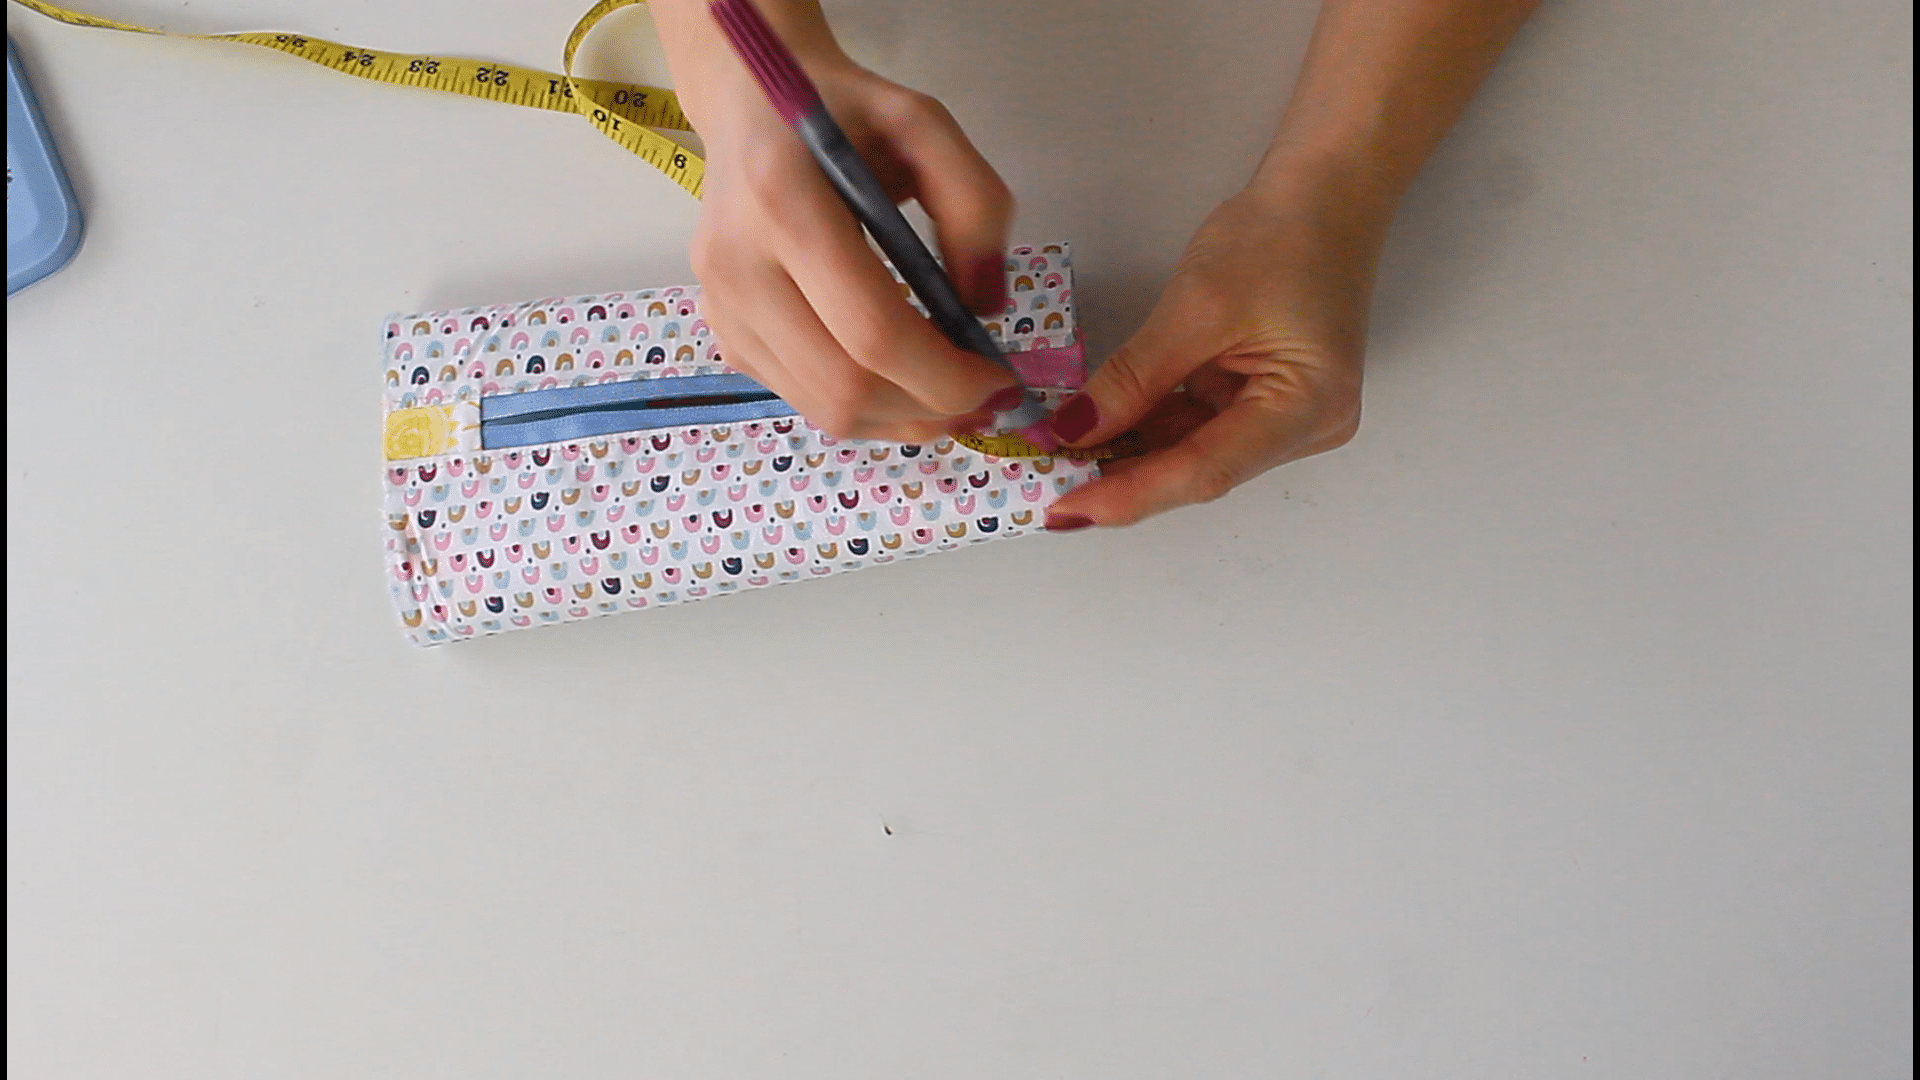
- Clip the edges with your scissors, making sure not to pass the 1/4″ mark.

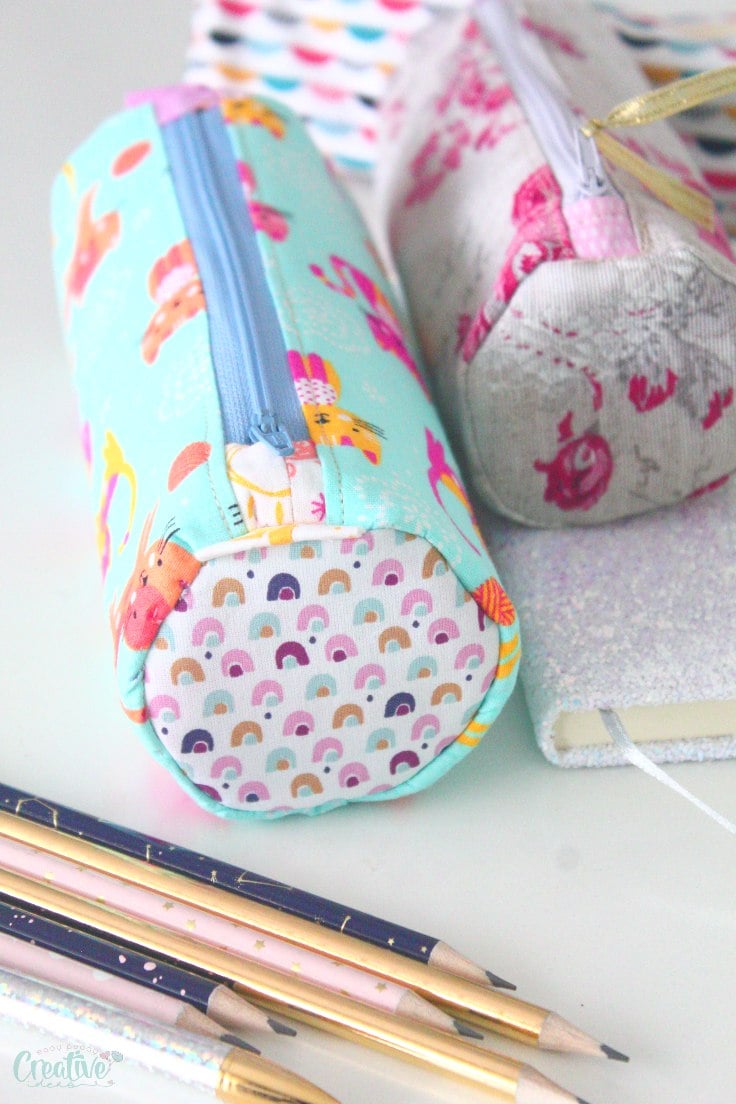
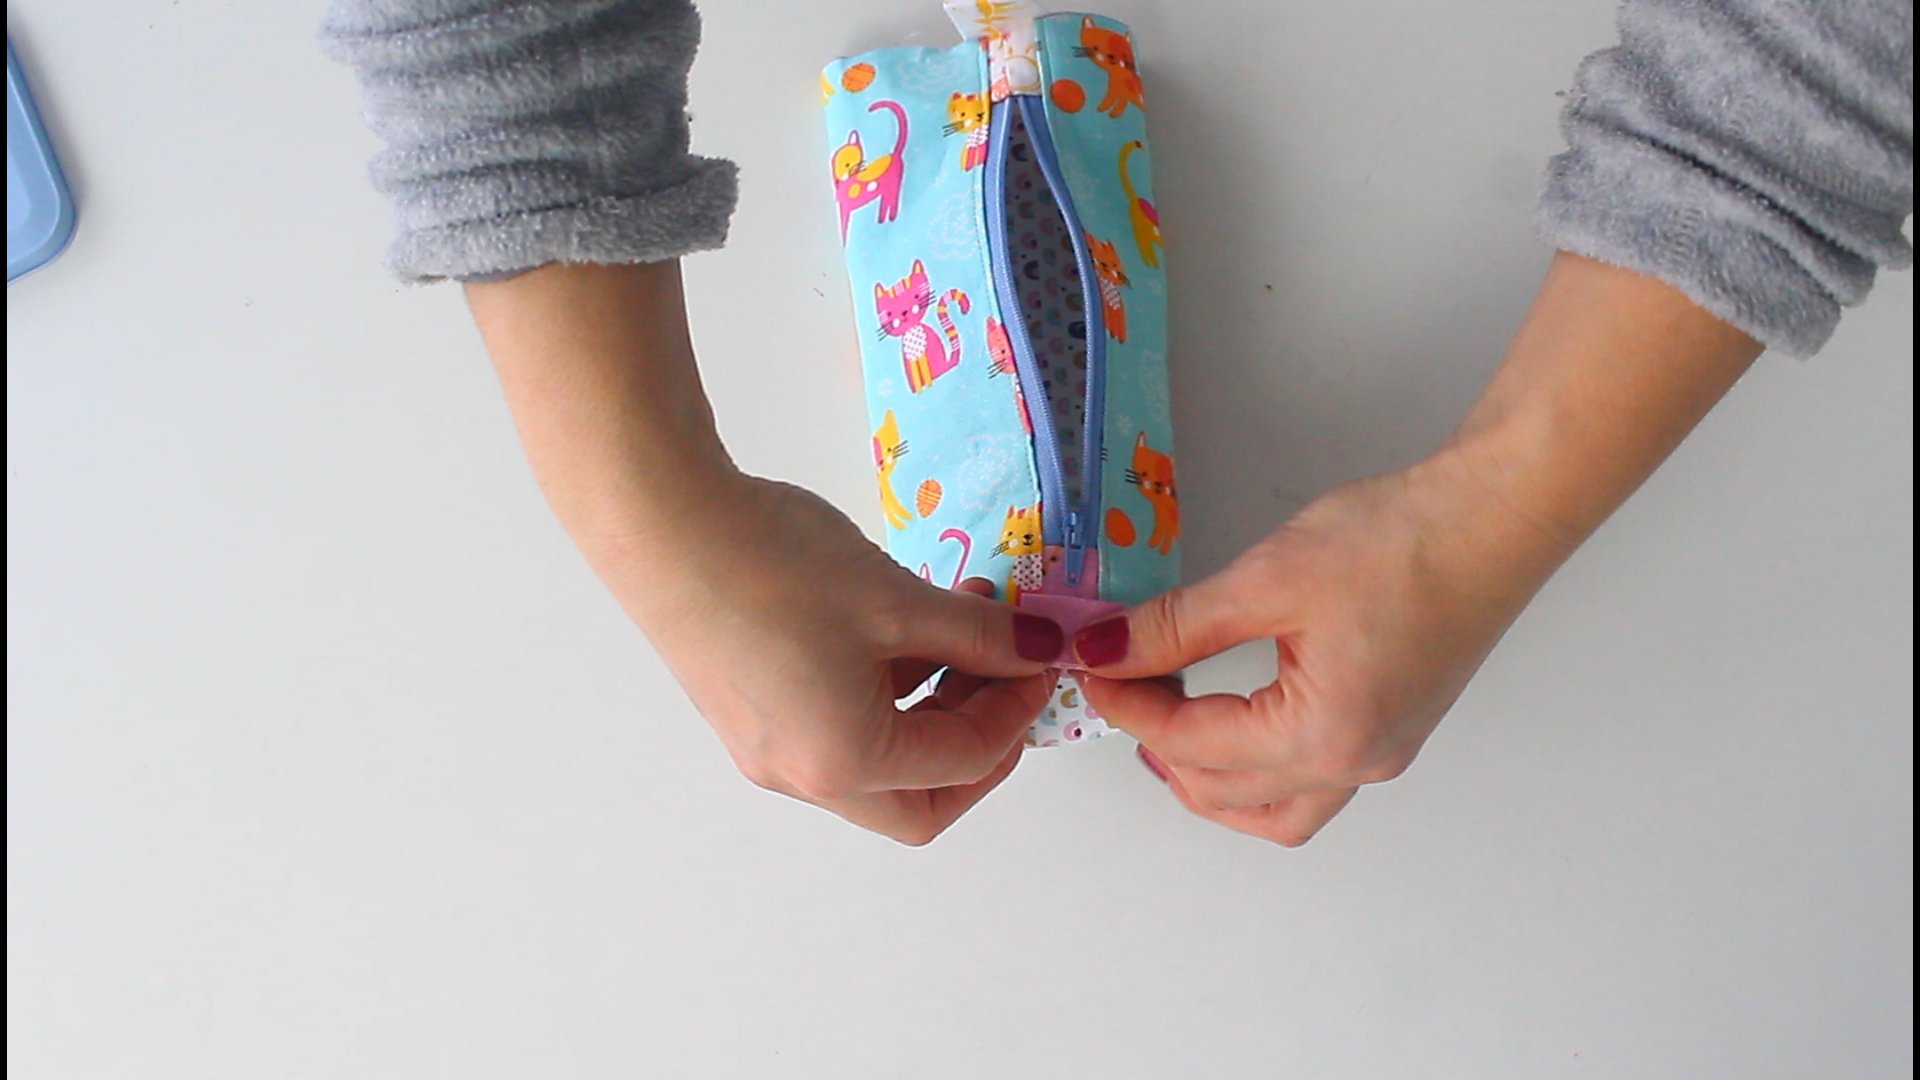
Sew the round ends
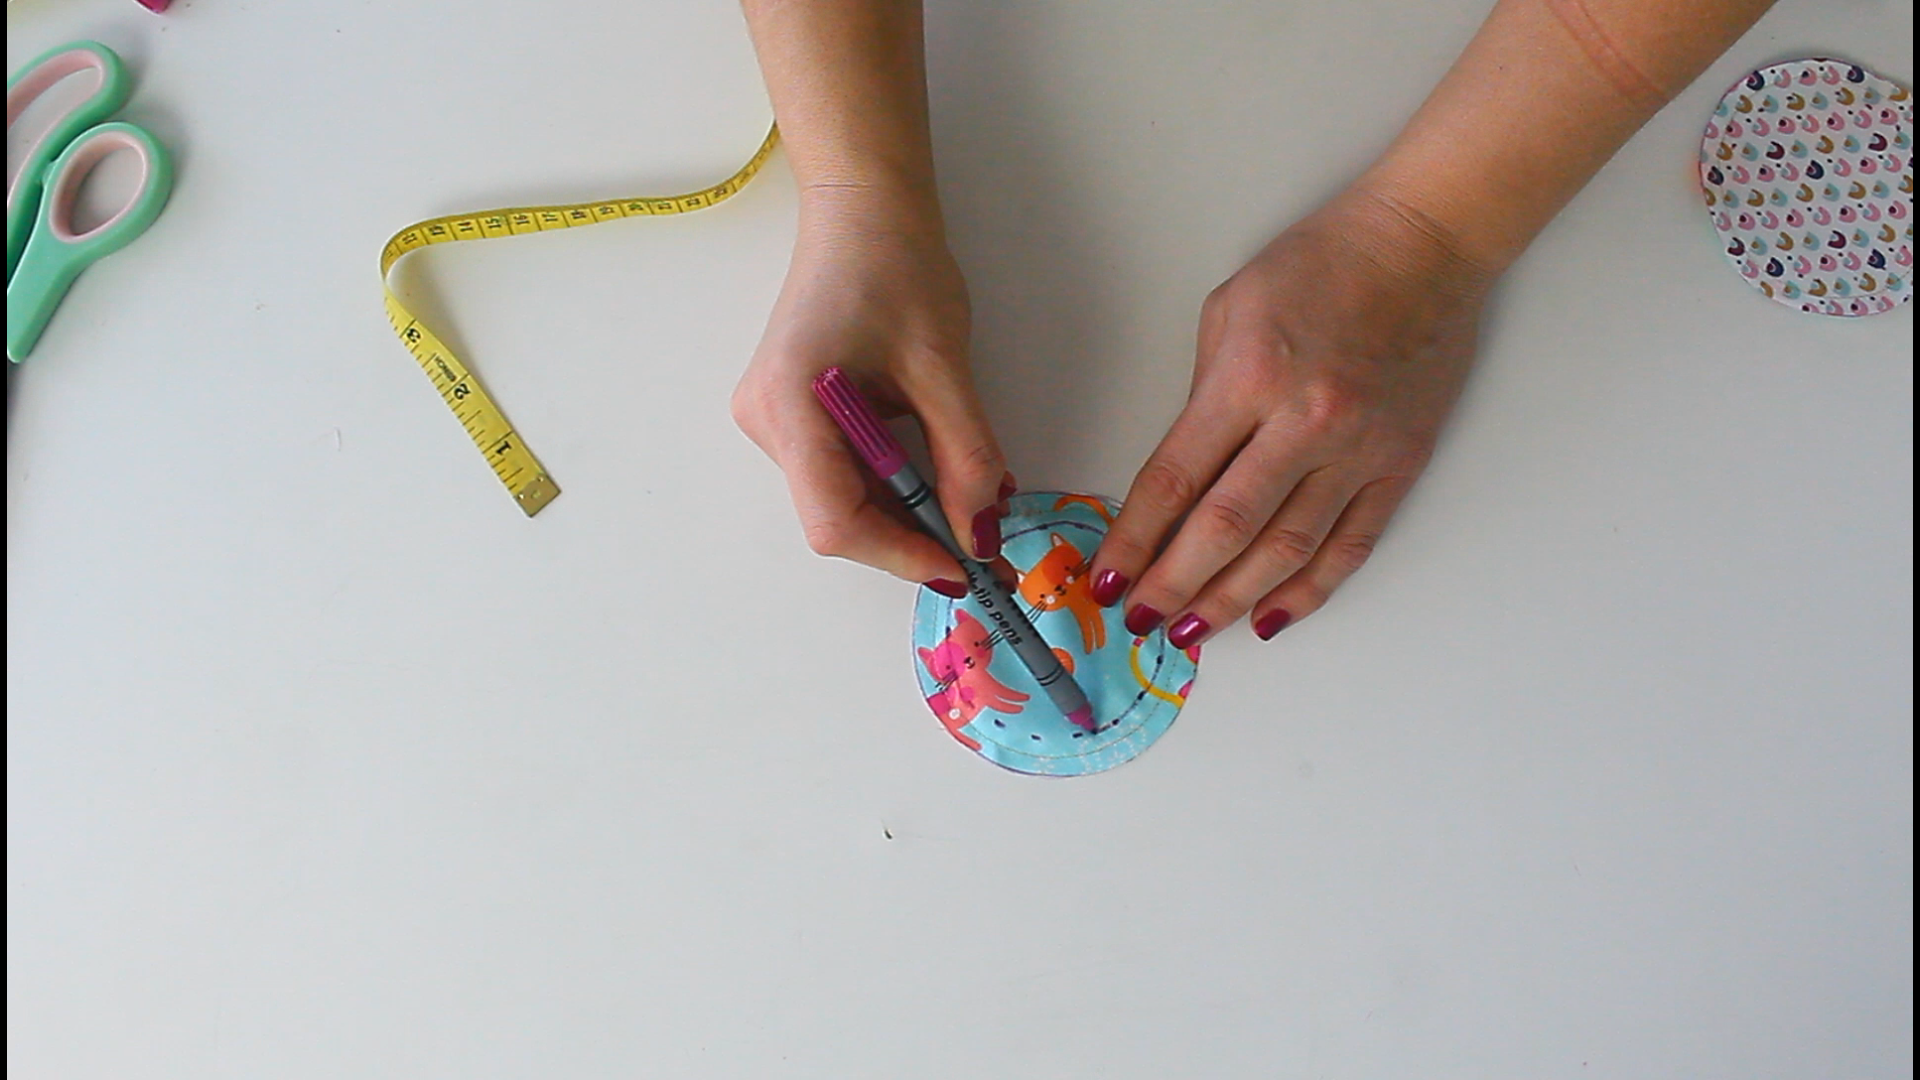
- Place the outer circles and lining circles wrong sides together and run a 1/4″ basting stitch.
- Mark a 1/2″ seam onto the lining circle. This will help you when sewing the round ends to the pouch.
- With the tube lining side out, clip the circles to the tube, also lining side out.
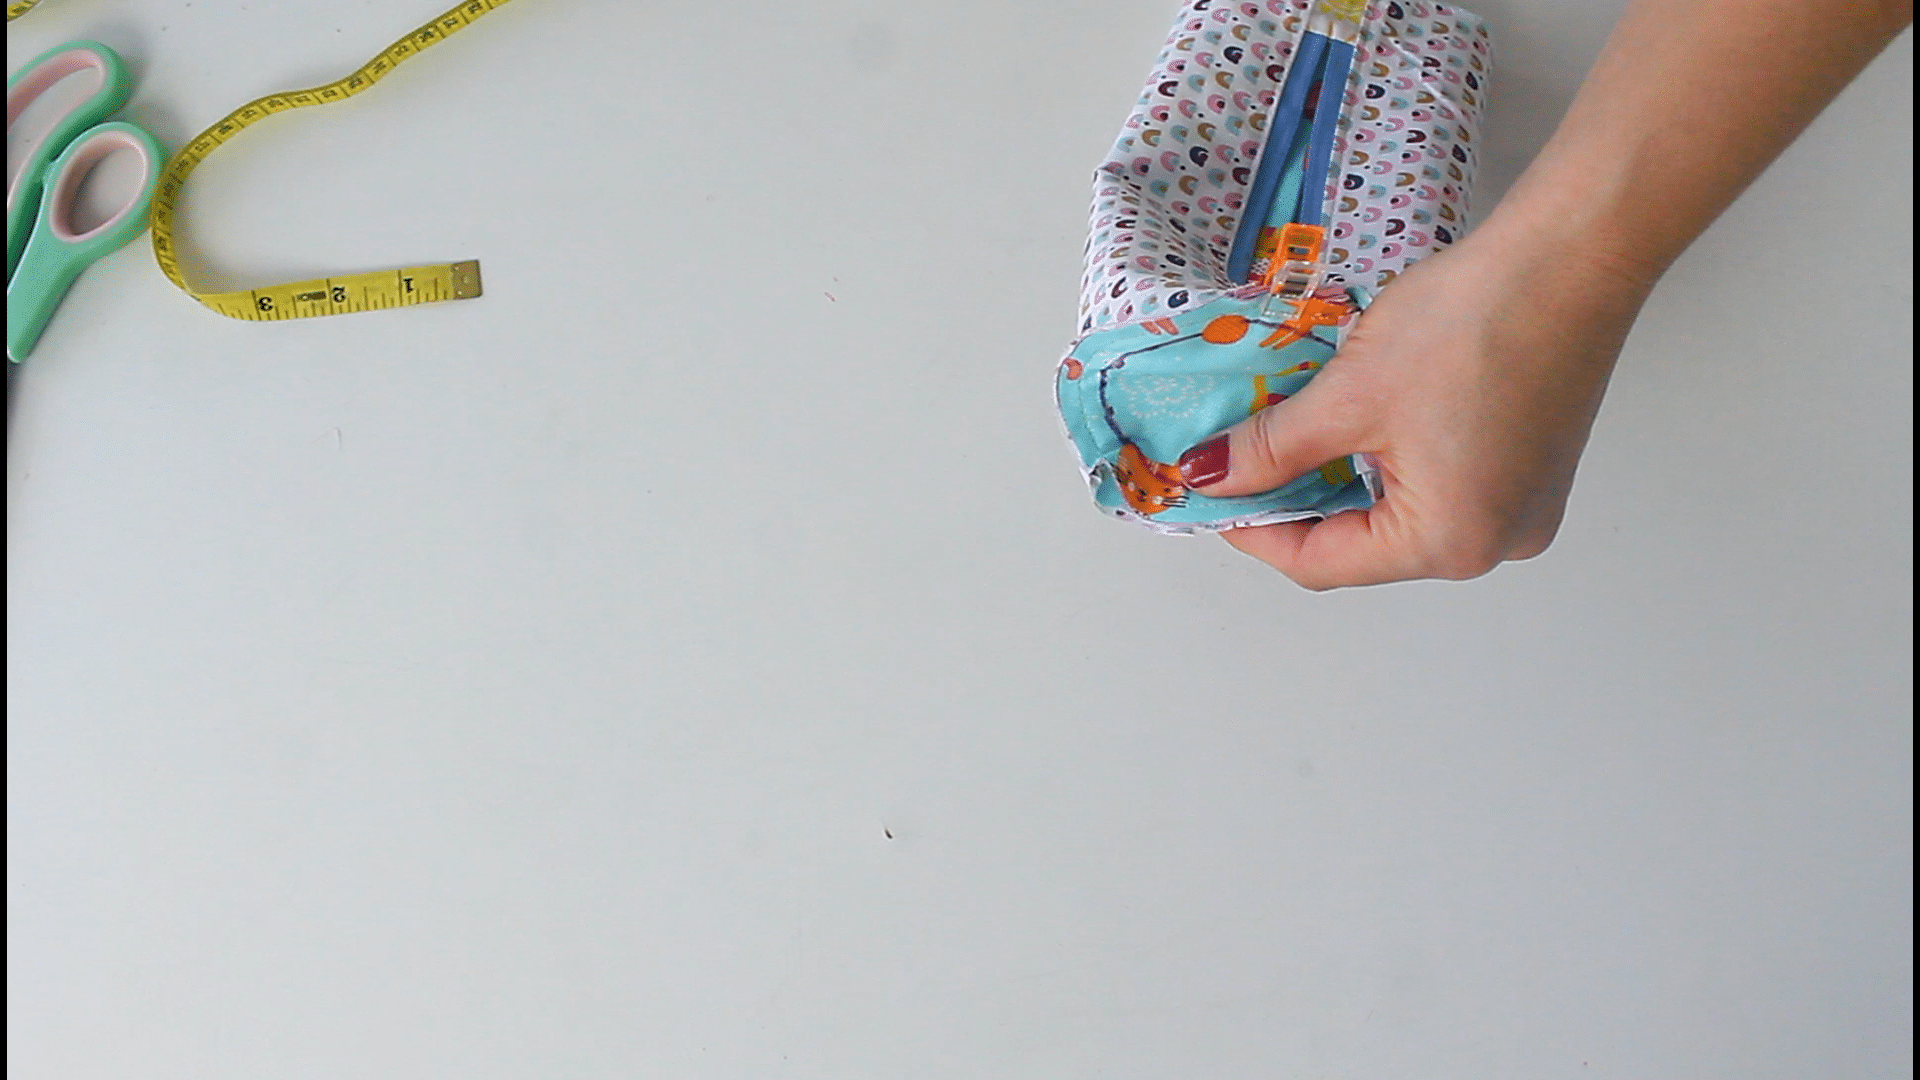
- Hand basting these together now will make sewing them easier.
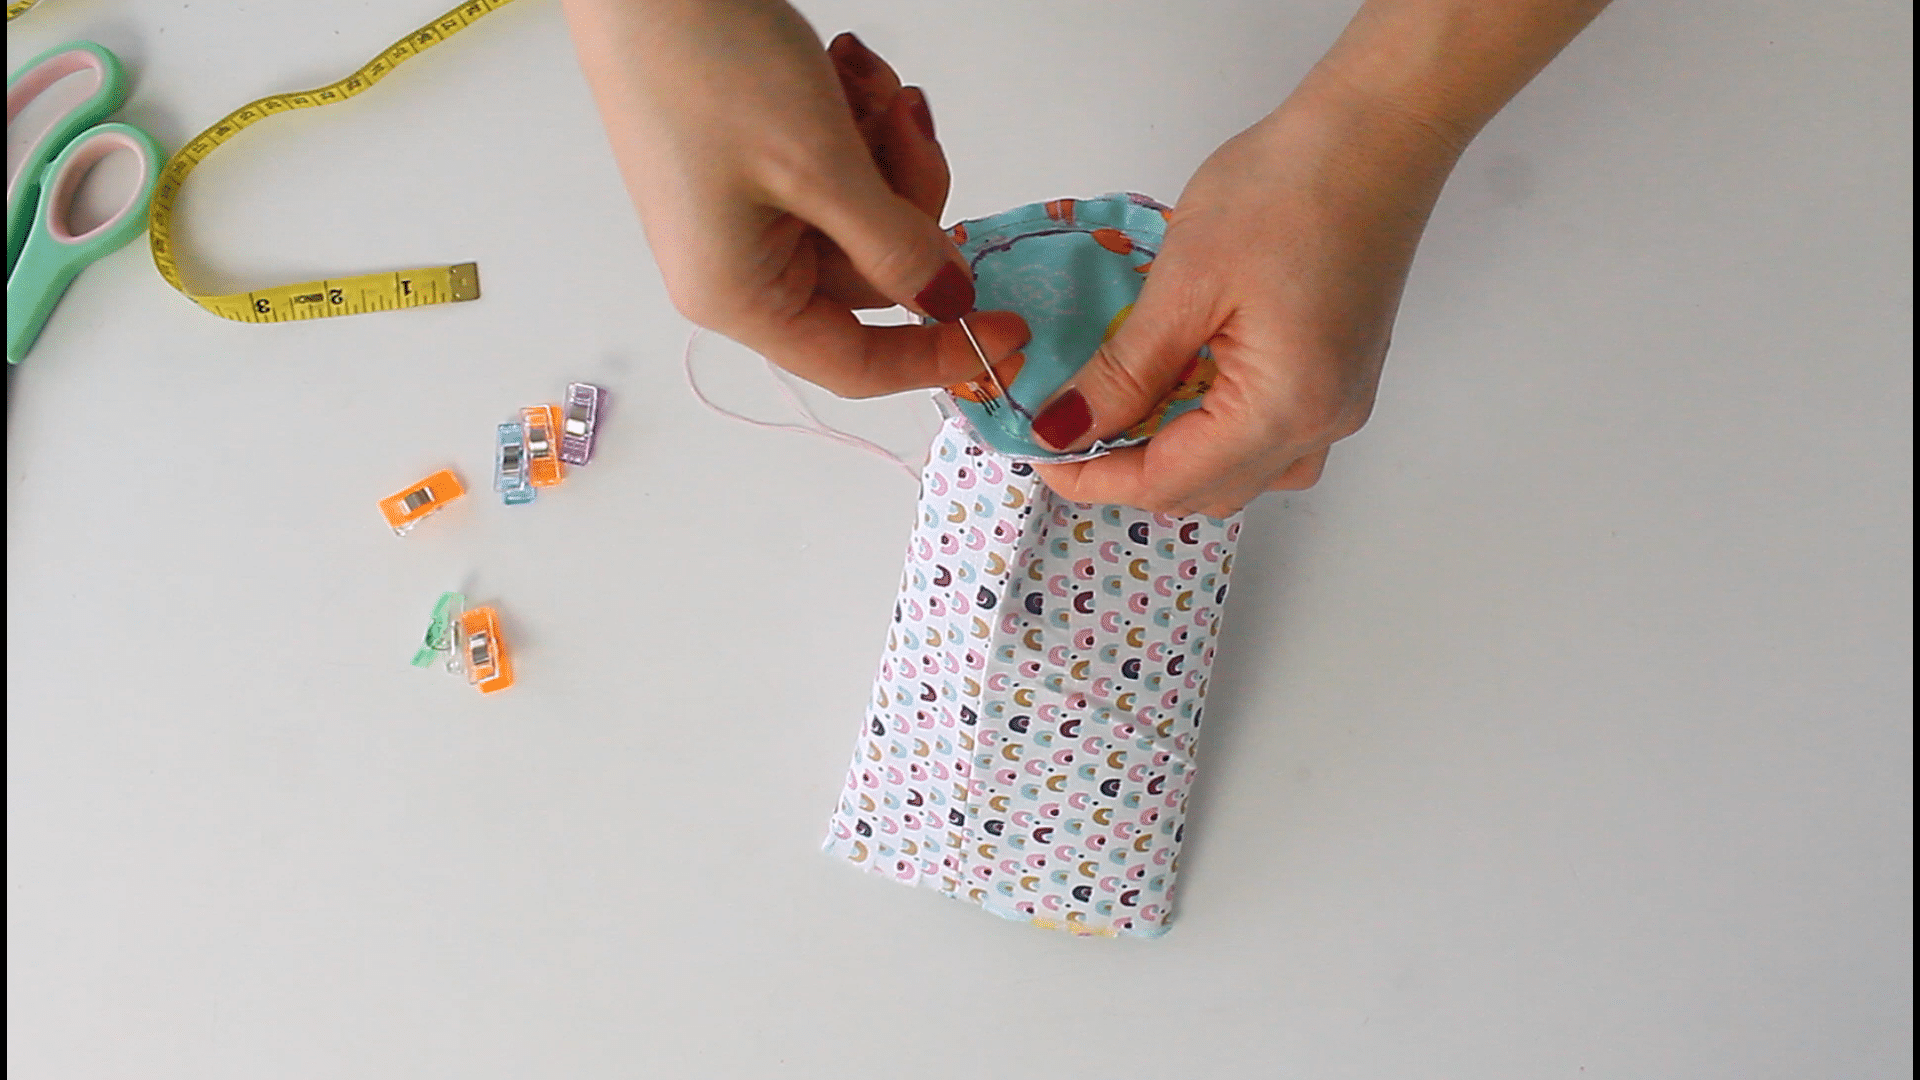
- Move to your sewing machine and sew the tube and circles with 1/2″ allowance, using the 1/2″ mark you traced above as a guide. Sew slow and be careful not to catch the fabric on the other side with the needle.
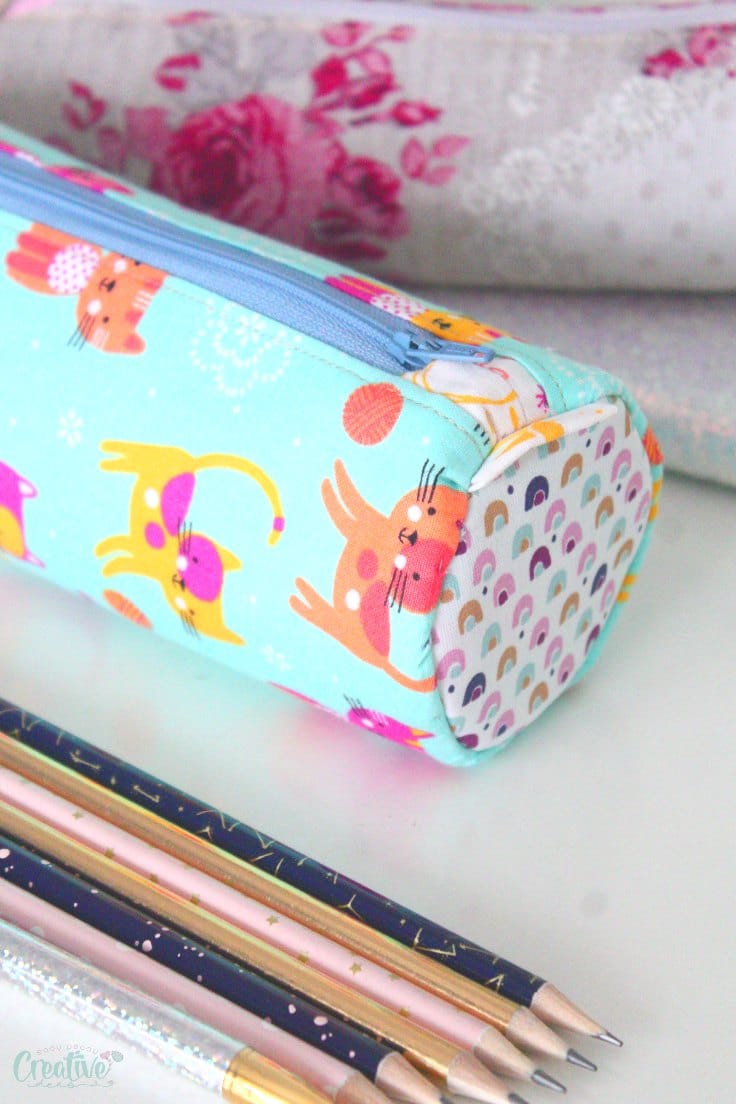
- Trim the seam to 1/4″.
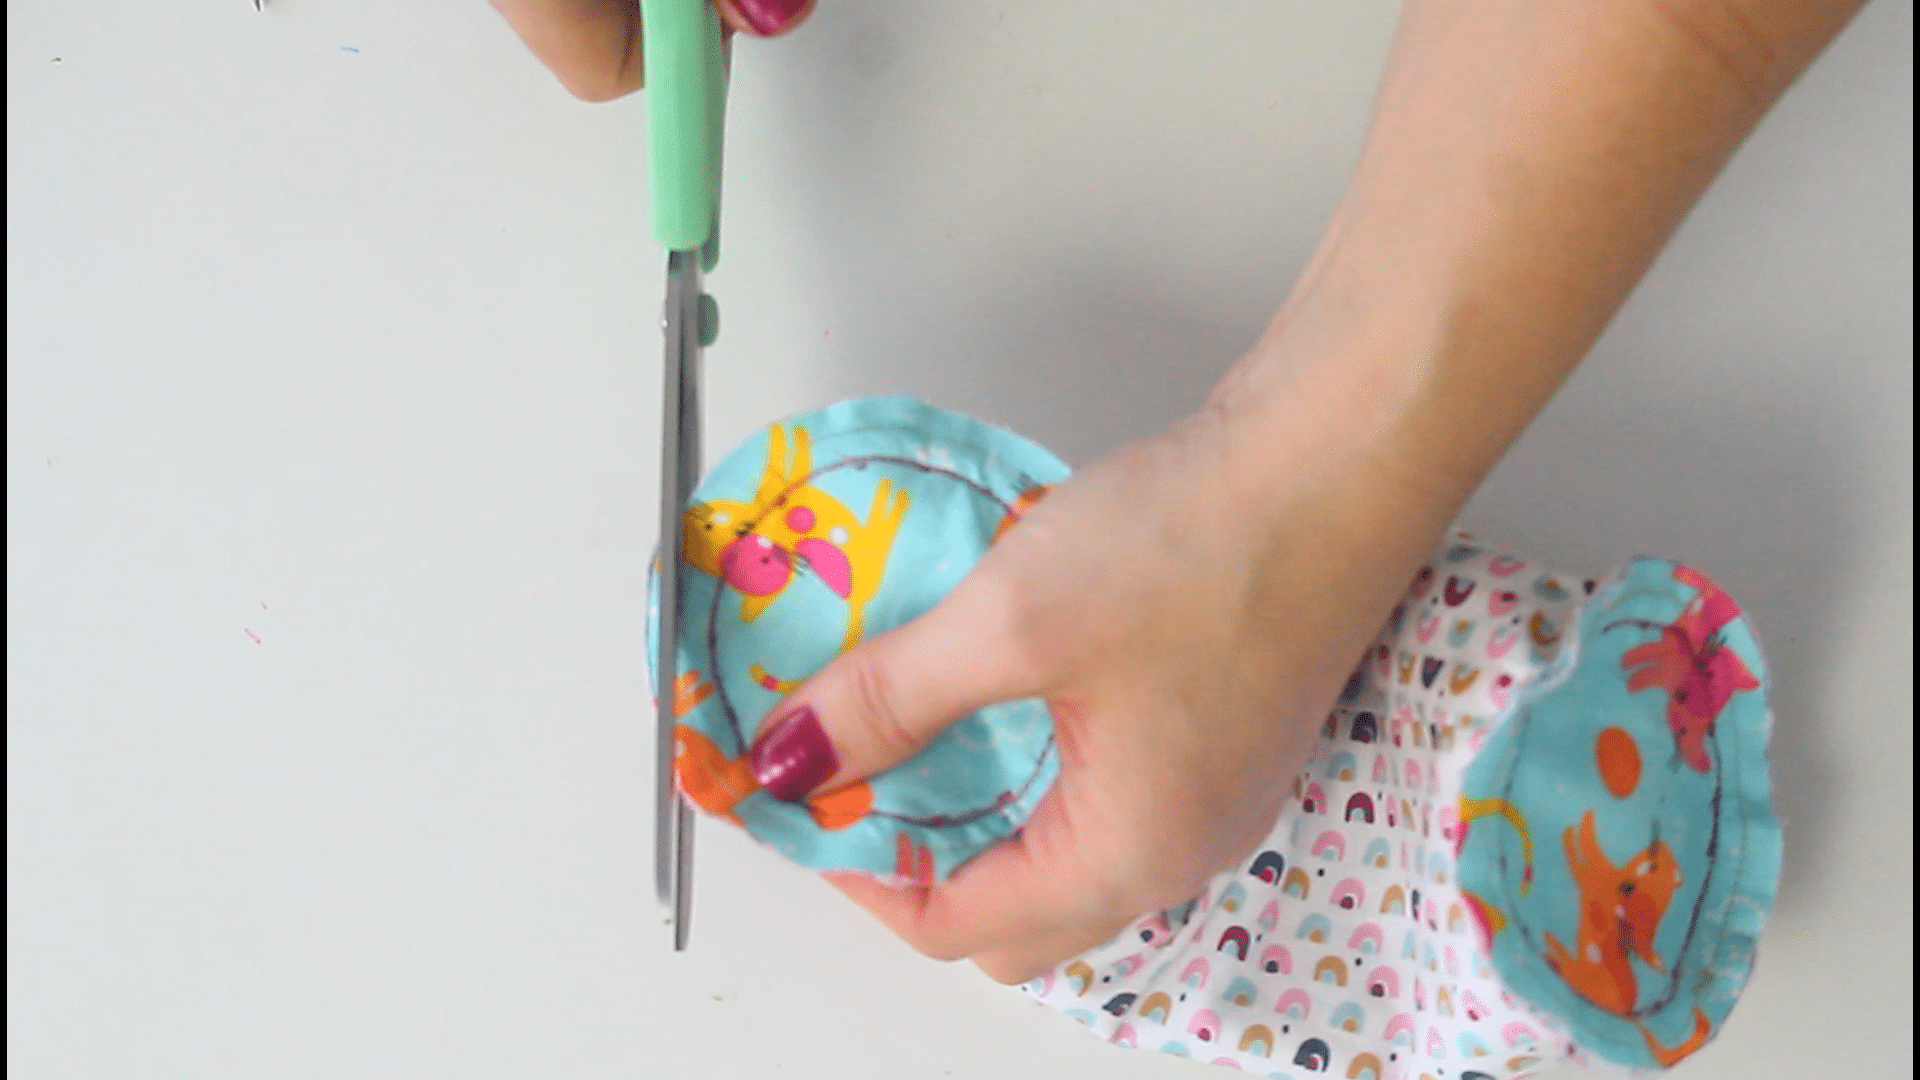
- Attach bias binding to this seam.
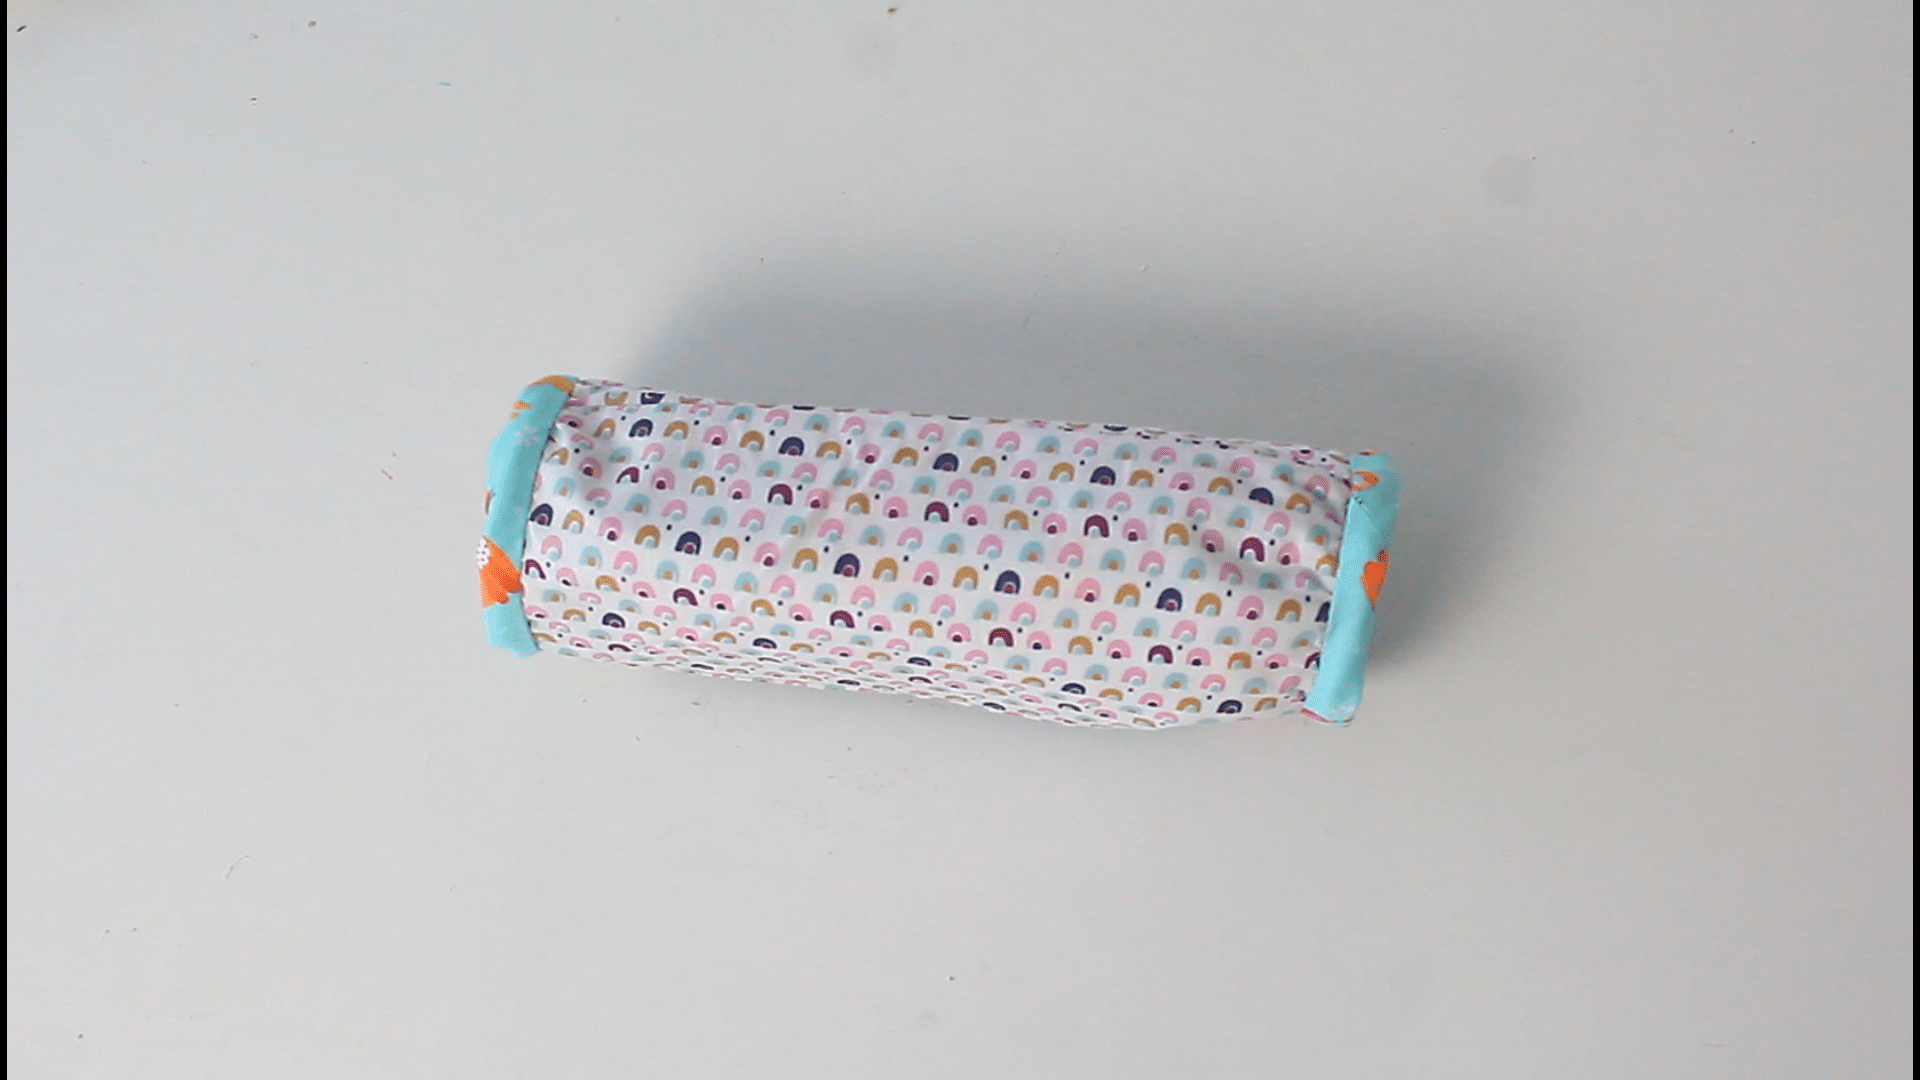
- Turn the pouch right side out and you’re done!
Pin to save for later
Most popular sewing projects:


Article may contain Amazon & affiliate links. As an Amazon Associate I earn from qualifying purchases at no additional cost to you.

Thank you for the pattern! If I were to do a 16 inch long bag and make is also wider, say 6 or 7 inches instead of 5 then would you know how big I would have to make the circles please?
Hi, Lee. About 4 1/2″ should work.