

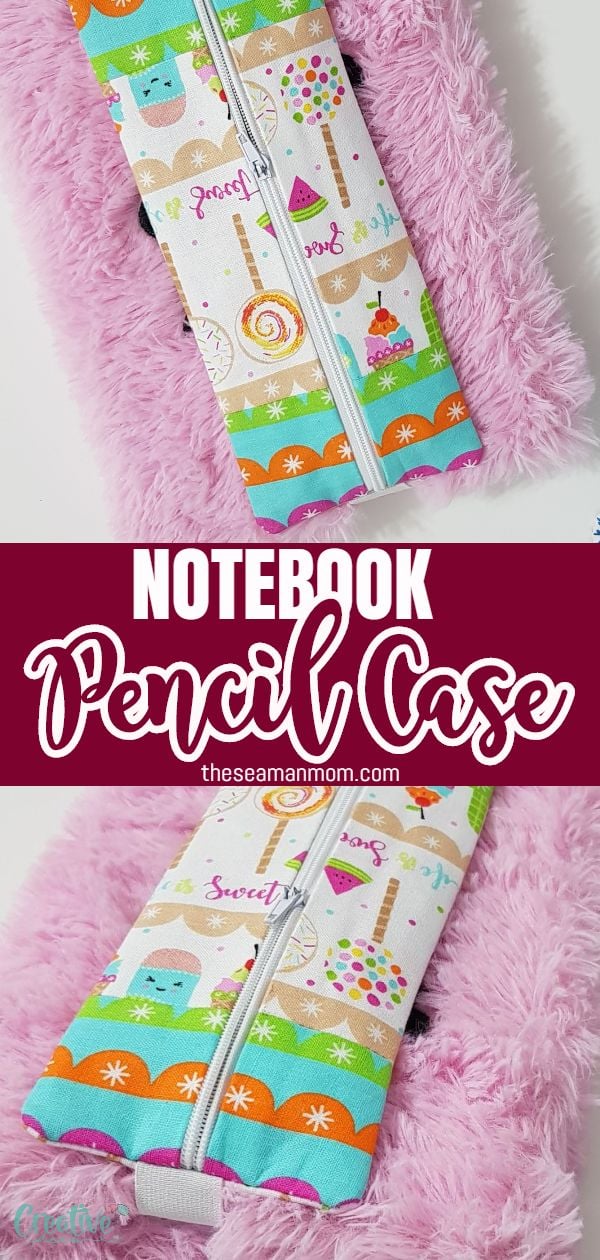
Notebook pencil holder sewing pattern
Need a neat way to keep your pencils, markers and pens organized while on the go? Check out this cute notebook pencil holder that doubles down as a bookmark!
Notebook pencil holder
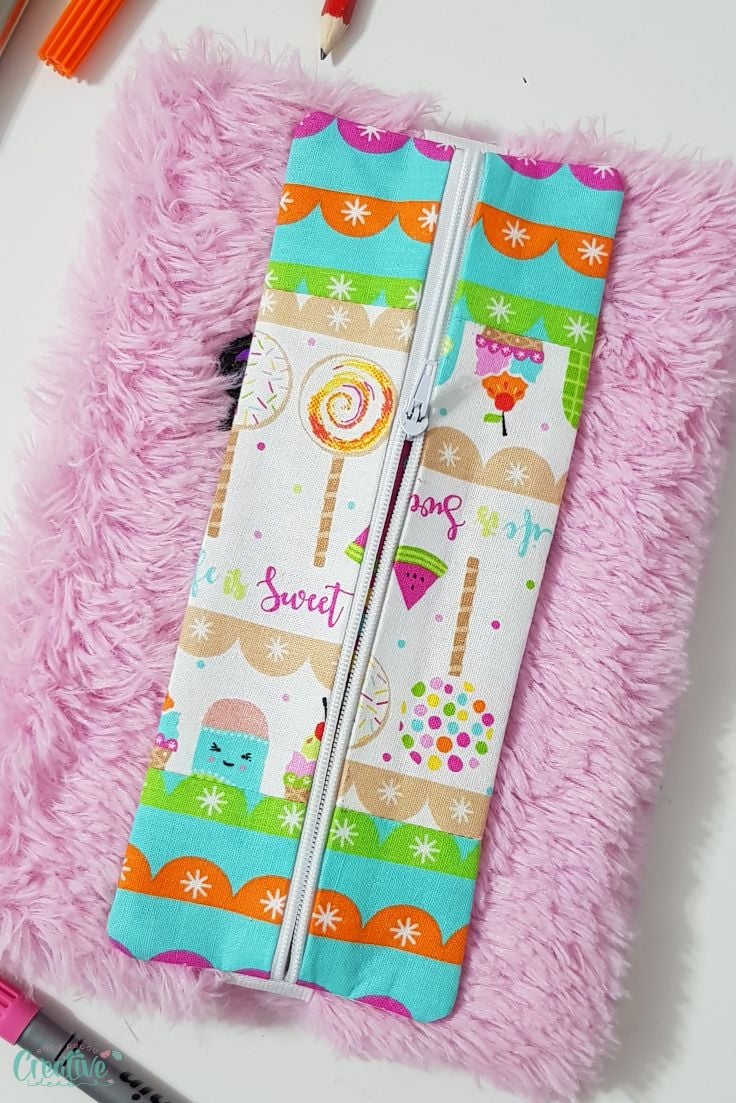
Hey, guys! Today I’ll be sharing a super cute, quick and easy project: a notebook pencil holder that works as a bookmark too! This adorable DIY pencil pouch is perfect to keep pencils, marker and pens on hand but organized while traveling.
More scrap projects you will love:
- Round pencil case pattern
- Quilted pot holders
- Easy coffee cup cozy
- Half square triangles pincushion
- Chicken fabric weights
- Sewing needles holder pincushion
- Elastic pen holder for notebook
My little one likes to draw and color a lot, especially in the car, when she gets bored and there isn’t much to do. She always carries a notebook or a coloring book with her but she has a problem with keeping pencils safe and organized. She usually carries a separate pouch for the pencils but I thought of a better way to make her life easier: a notebook pencil holder that she can use as a bookmark so she knows exactly which pages are colored and which not and also to keep her favorite pencils on hand.
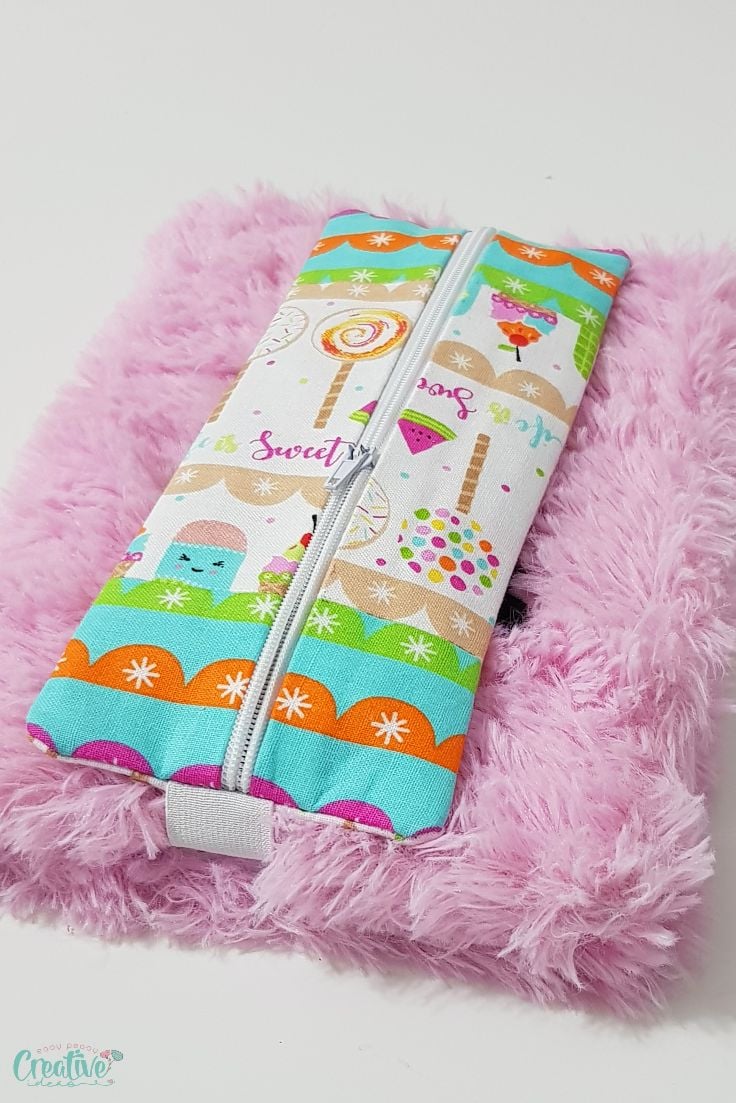
I absolutely loved making this cute notebook pencil case, it was so easy peasy and super quick! This pencil organizer took about 30 minutes to make, from start to finish and it was a wonderful way to use up some of my fabric scraps! And I think it looks super adorable on Ellie’s fluffy unicorn notebook, such a great pair!
The pencil case sewing pattern is available to purchase here.
Elastic pen holder
Materials:
- pencil holder pattern
- craft scissors
- fabric scraps
- medium weight interfacing
- scissors
- elastic
- zipper
- zipper foot
- pins
- matching thread
- sewing machine
- quilting clips
- pinking shears
- blunt tool to push the corners out
Directions:
Prepare the fabric pieces
- Print out your pattern pieces and cut out with craft scissors.
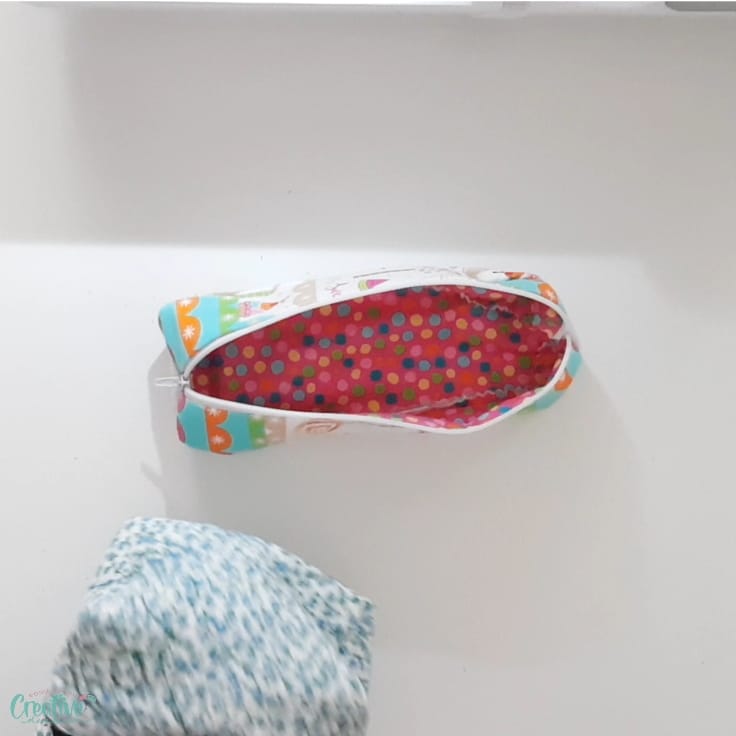
- Cut out the fabric pieces as per the pattern. You should have 6 pieces for the front pouch, 1 piece for the back, 2 pieces for the front lining and 1 piece for the back lining.
- Interface all pieces for the outer pouch.
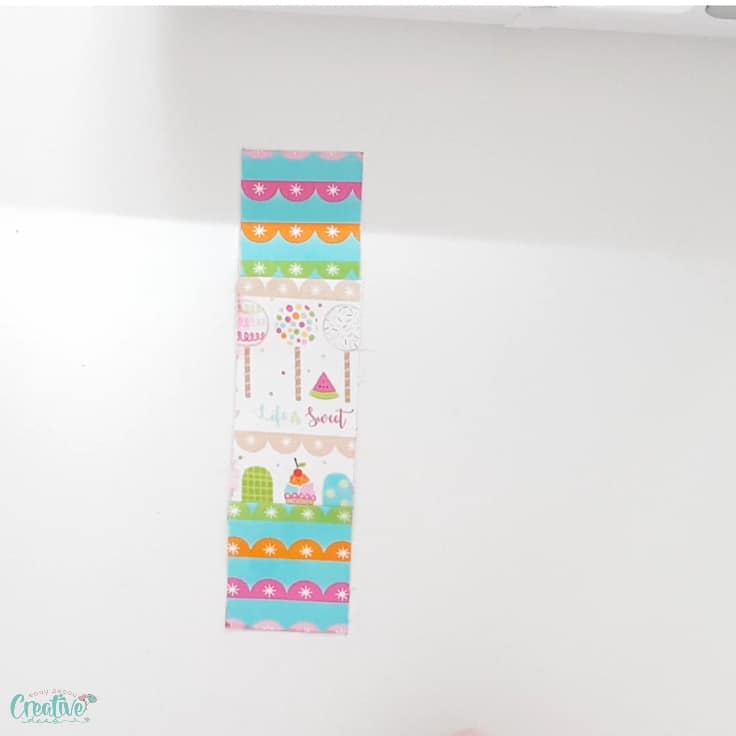
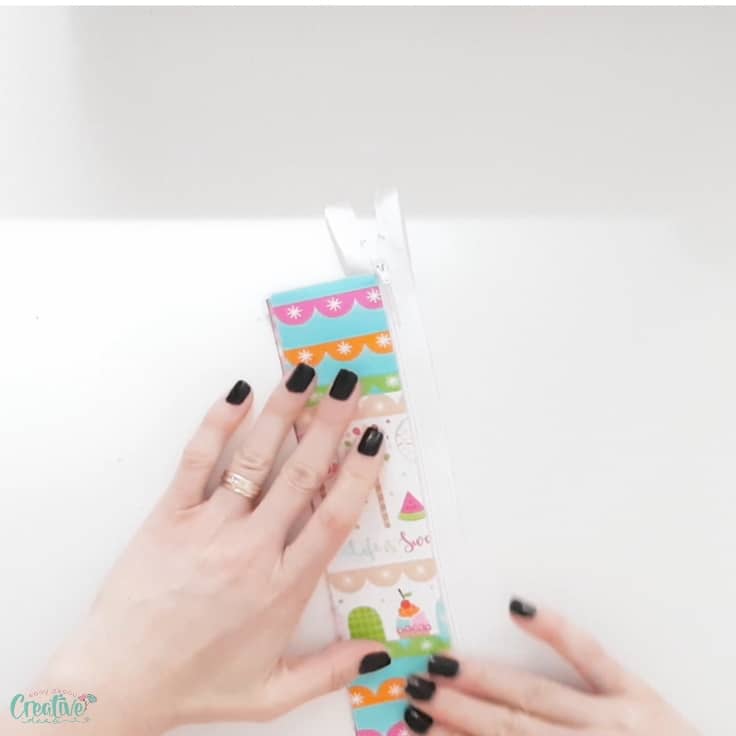
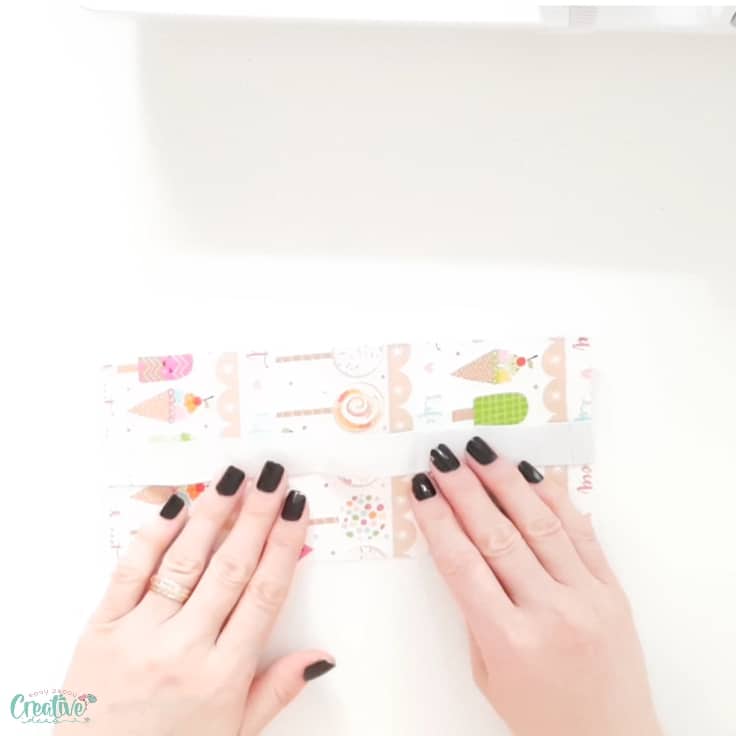
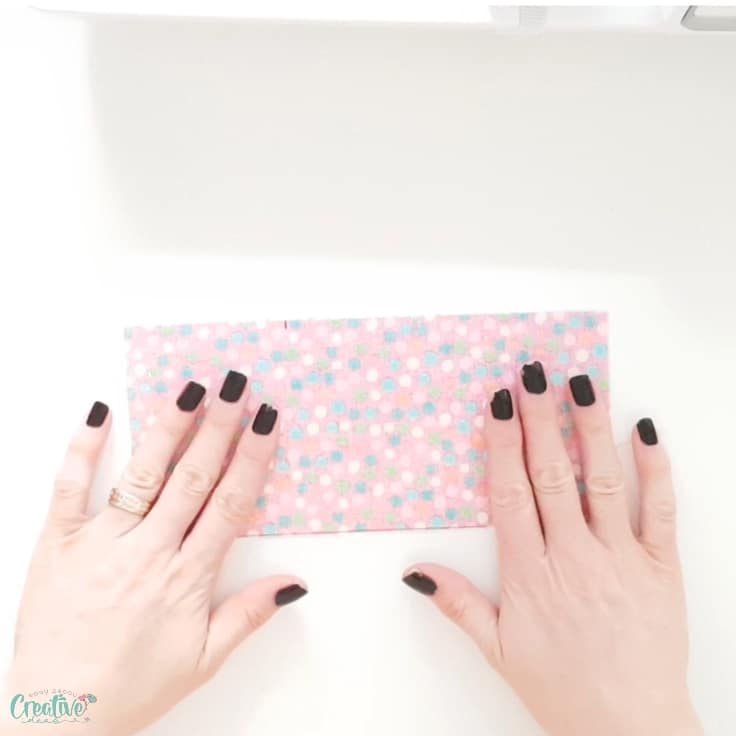
- Grab the front pieces for one side and place them in order right side up.
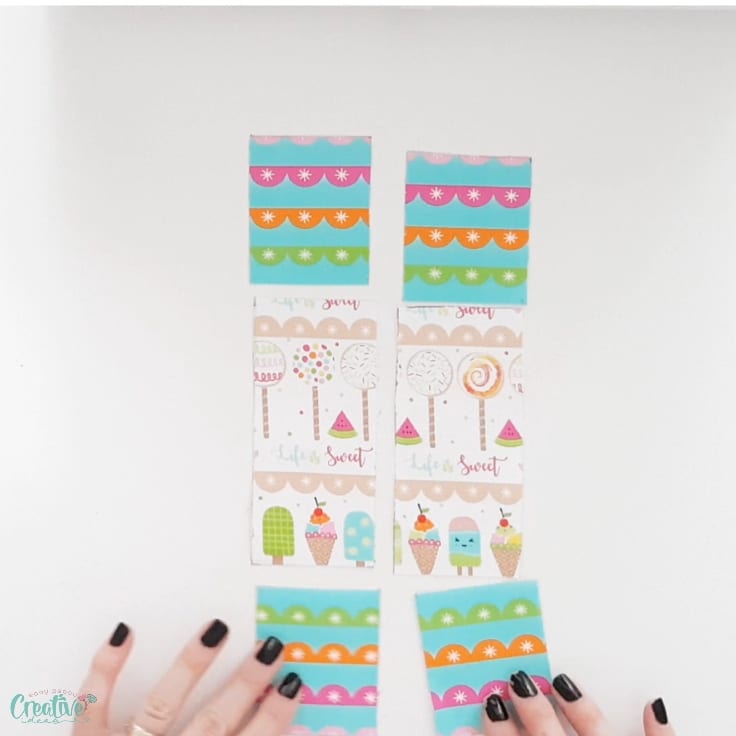
- Flip the top and bottom piece over the middle piece, facing right sides together.
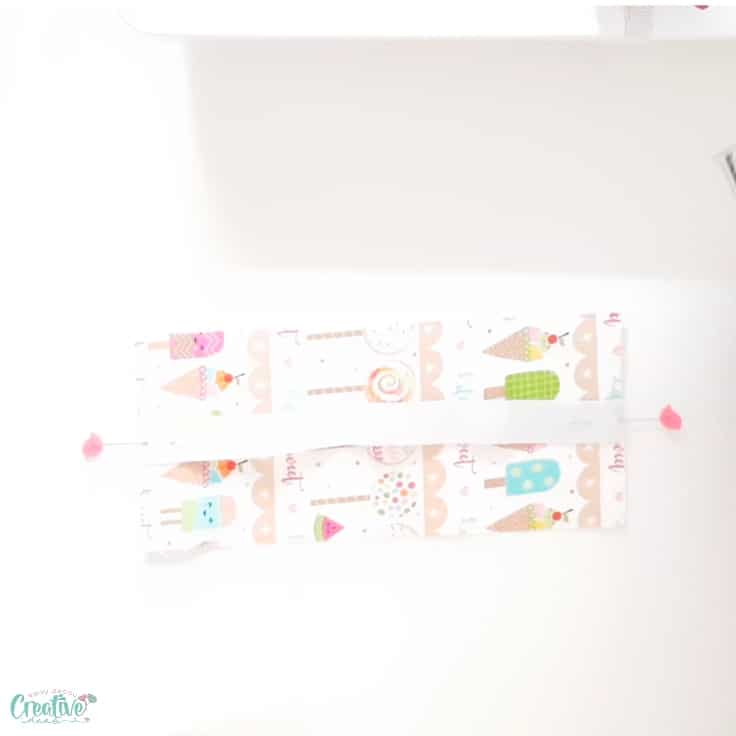
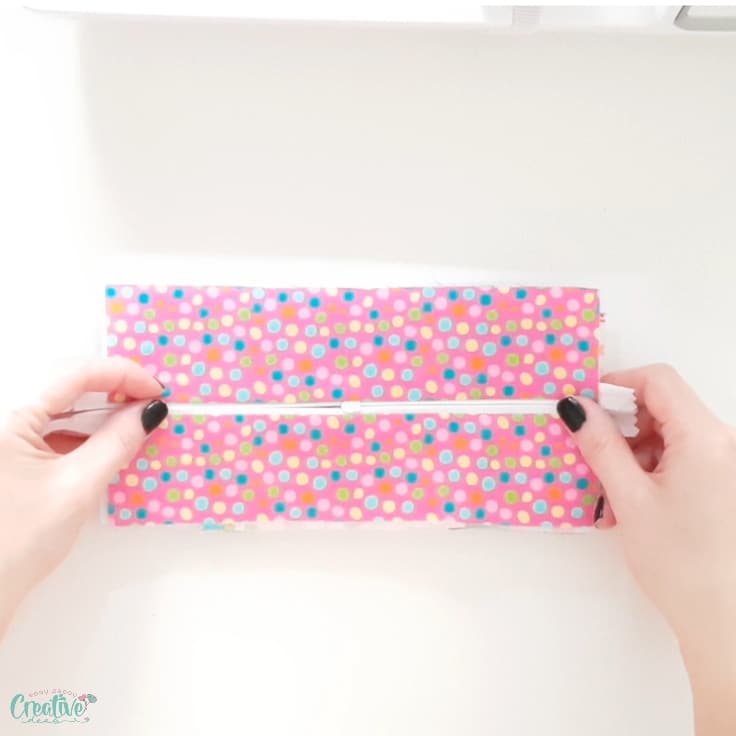
- Pin the top and bottom edges and sew with 1/2″ allowance.
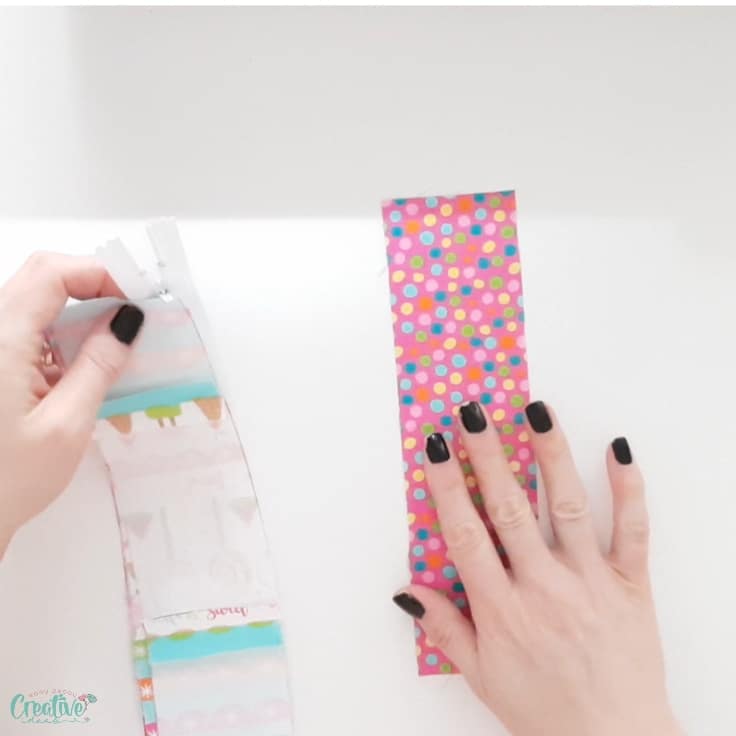
- Open the seam allowances and press well.
- Repeat for the second set of outer front fabrics.
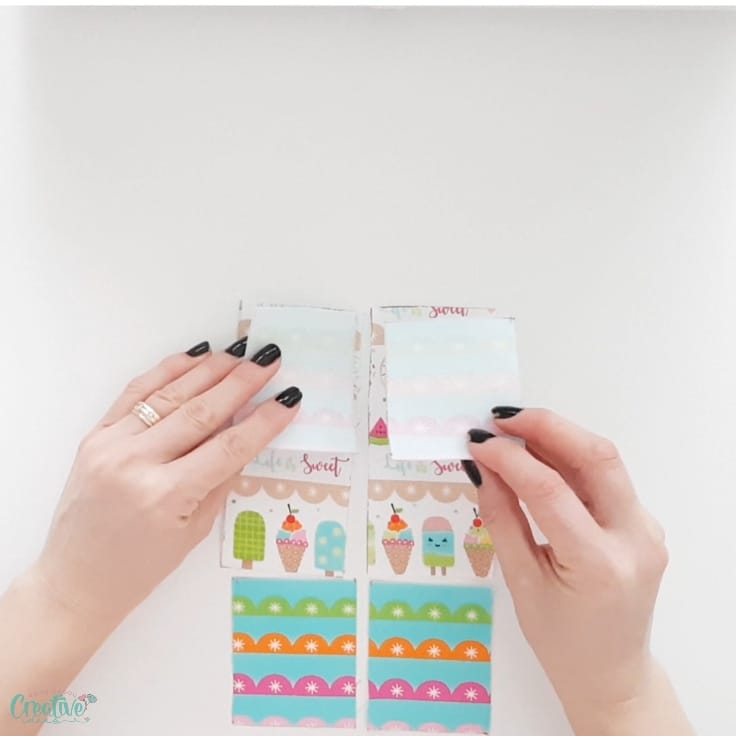
Assemble the left front pouch pieces
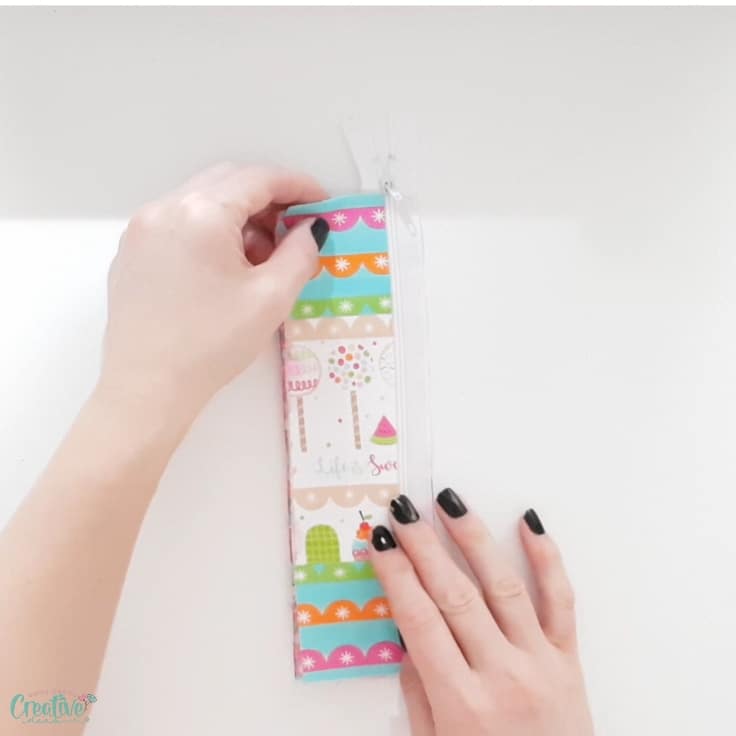
- Get one piece of the front and place it right side up.
- Top with the zipper, the teeth and zipper pull facing down.
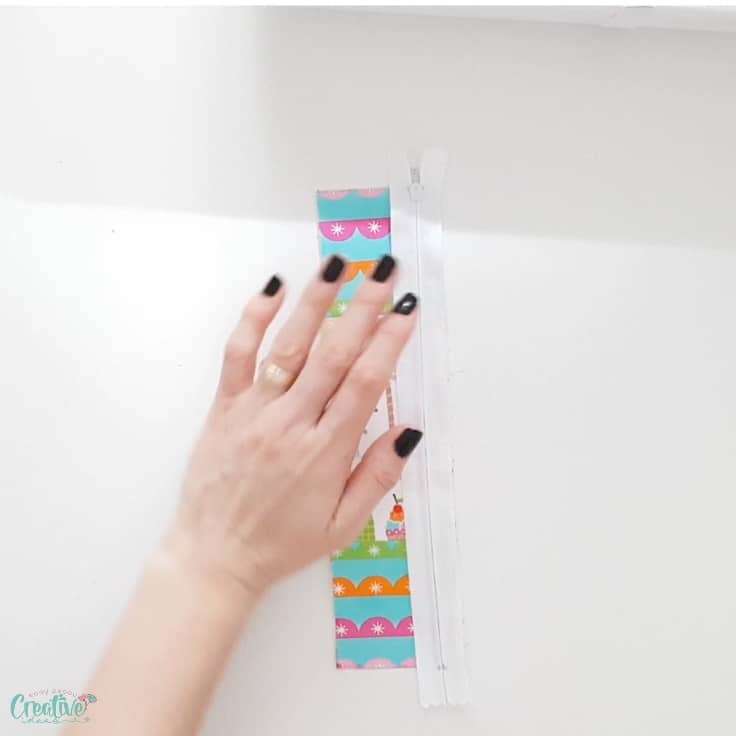
- Top with one of the front lining pieces, wrong side up.
- Clip all three pieces using quilting clips.
- Remove your regular foot and replace with a zipper foot.
- Sew as close to the zipper as possible. If your zipper is longer than the fabrics, push the zipper pull up as much as it will let you, to get it out of your way while sewing.
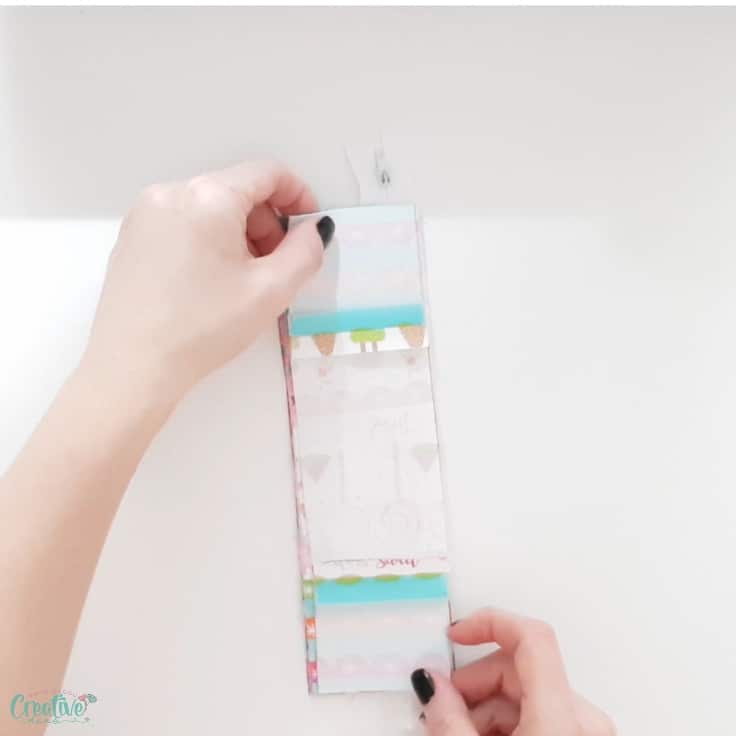
- Flip the lining to the right.
- Then under and press. You can also topstitch if you like.
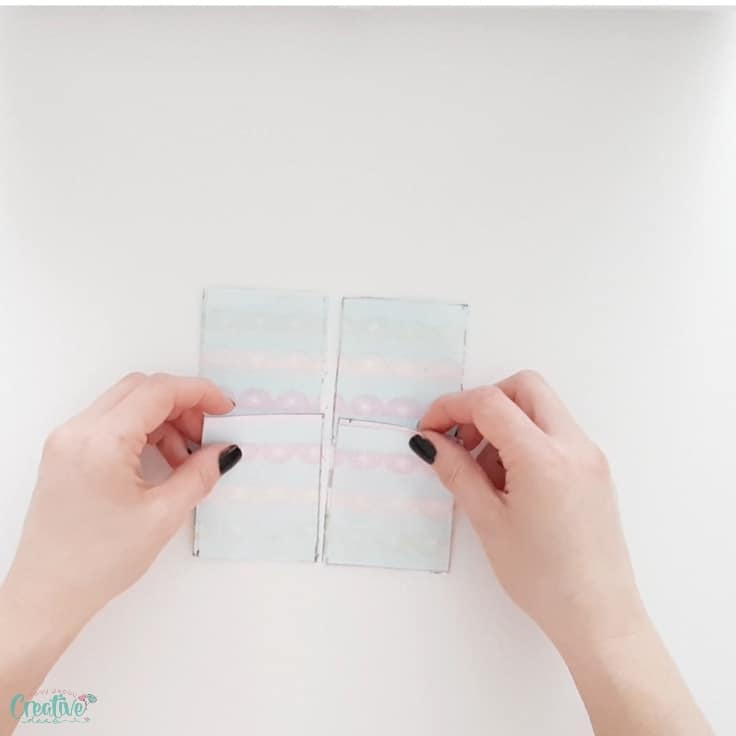
Assemble the right front pouch pieces
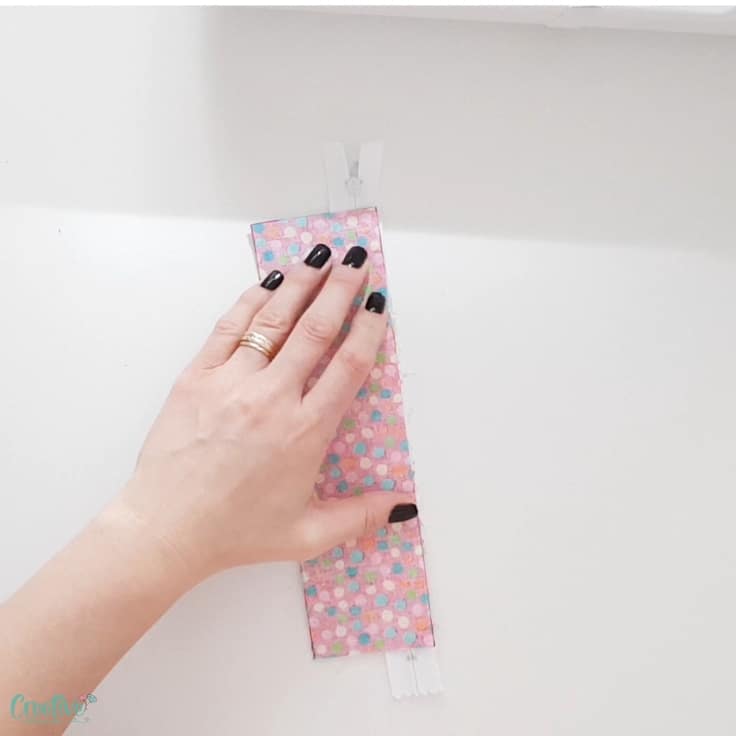
- Place the front lining right side up.
- Top with the left front pouch pieces right side up.
- Add the left front outer fabric wrong side up.
- Clip and sew as close to the zipper as possible.
- Push the second front fabric and the second lining to the right and press well. Top stitch if you like.
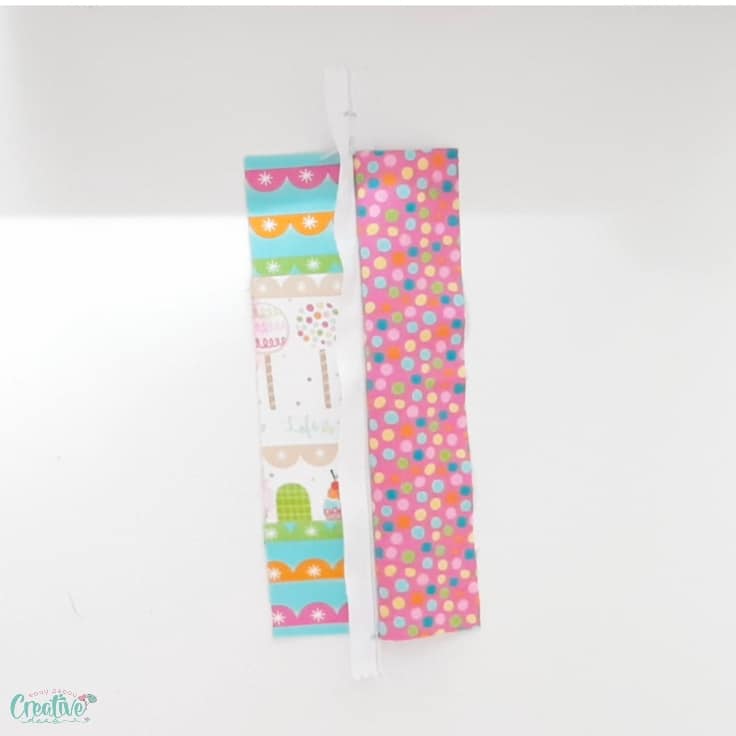
- Open the zipper about half way through then put the front piece on a side.
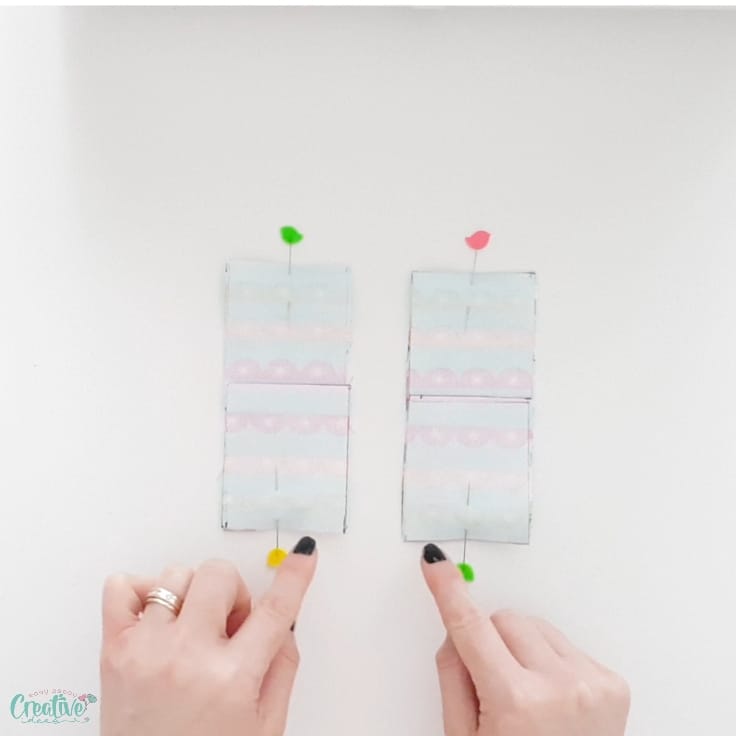
Sew the elastic
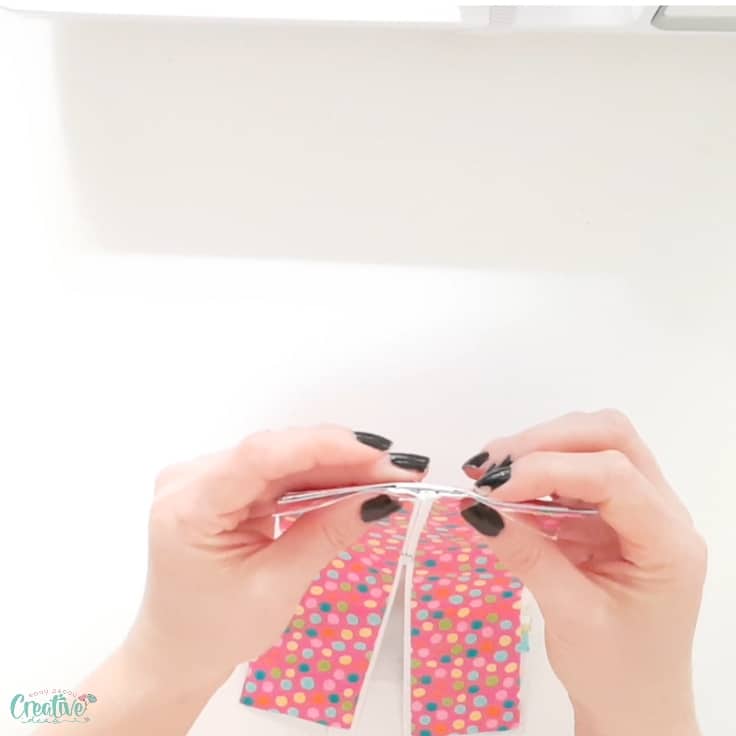
- Get the elastic and measure around a book/notebook to decide on the length needed. Trim the elastic according to your needs.
- Place the back outer fabric right side up and top with the elastic, right through the middle.
- Pin the elastic to the sides and sew with 1/4″ allowance.
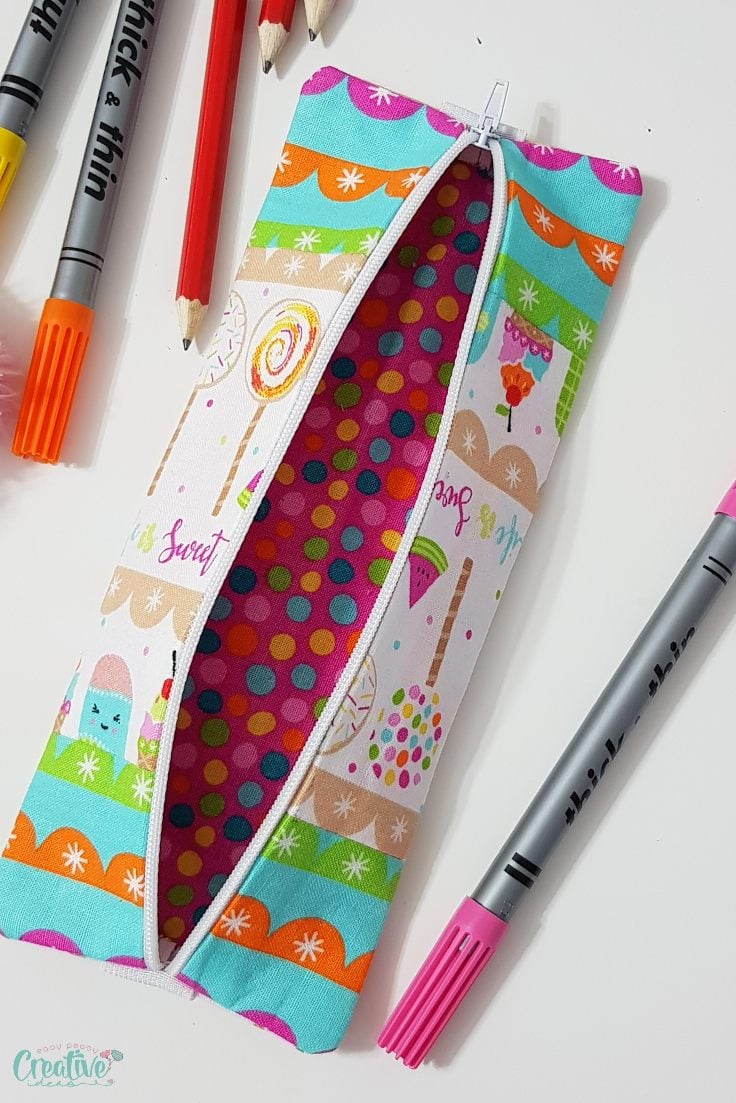
Attach all pieces together
- Place the back lining wrong side up.
- Top with the back outer fabric right side up

- Then top with the front panel sewn above, lining side up.
- Clip all pieces together, making sure the zipper falls right in the middle of the elastic.
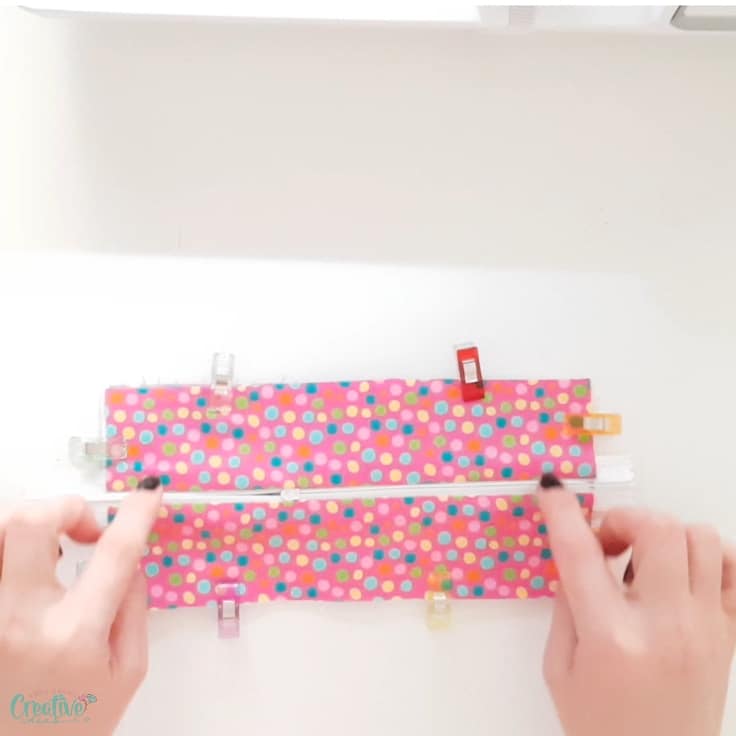
- Sew all around the four edges with 1/2″ allowance, backstitching start and end.
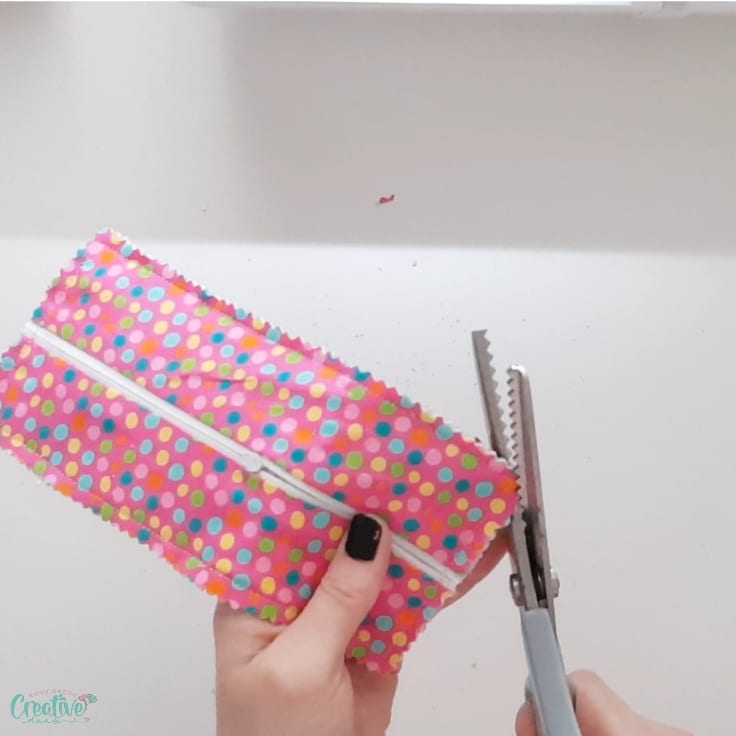
- Using your pinking shears, trim the entire seam to 1/4″.
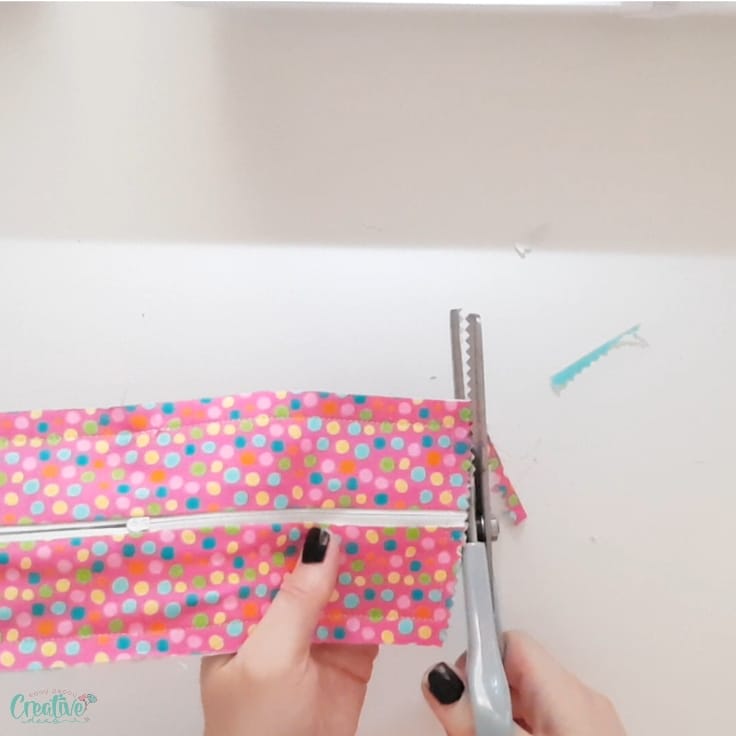
- Also clip the corners to remove some of the bulk in the area.
- Turn the pouch right side out.
- Push the corners out using your blunt tool and smooth out the seams with your fingers.
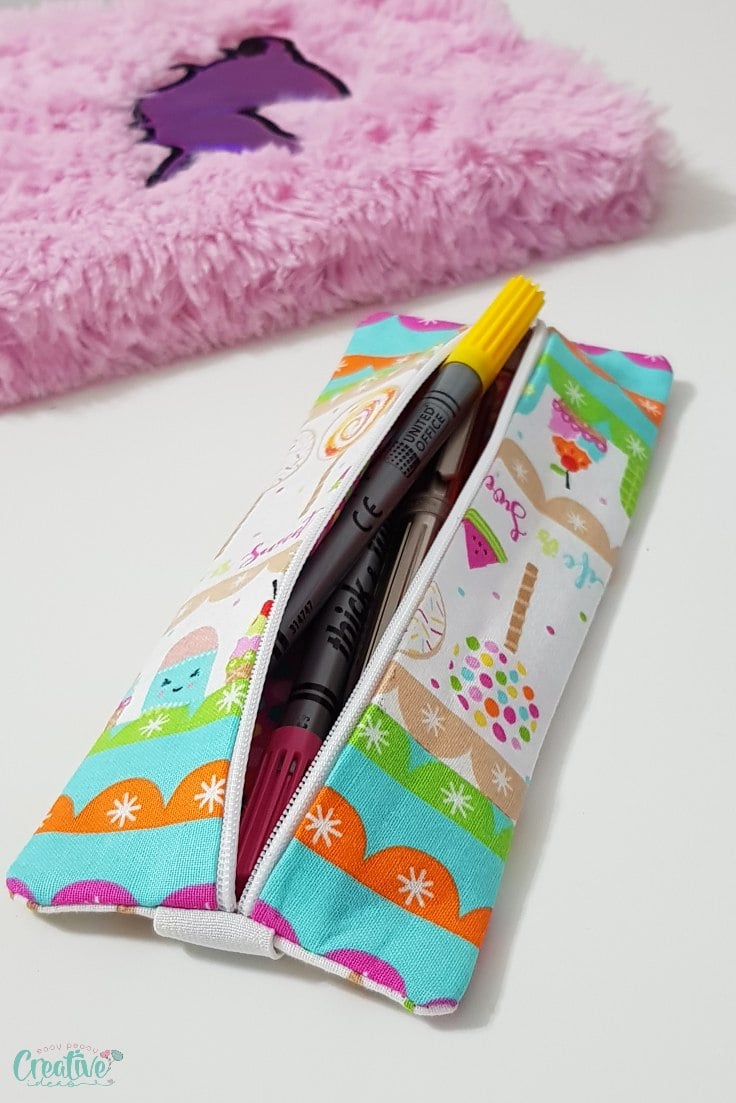
- Give the pouch a nice press, fill with pencils and attach it to your book/notebook!
Pin to save for later
Most popular sewing projects
Article may contain Amazon & affiliate links. As an Amazon Associate I earn from qualifying purchases at no additional cost to you.
ABOUT PETRO
Hi, I’m Petro, author and founder of Easy Peasy Creative Ideas. Sewist, crafter, avid DIY-er, foodie, photographer, homemaker and mommy to one. I’m an expert at coming up with quick, clever sewing tips, recycling crafts and simple, easy recipes! You can find my ideas featured in reputable publications such as Country Living, Good House Keeping, Yahoo News, WikiHow, Shutterfly, Parade, Brit & Co and more. Thanks for stopping by and hope you’ll stay for a while, get to know me better and come back another time. Stick around for real fun projects! Read more…