

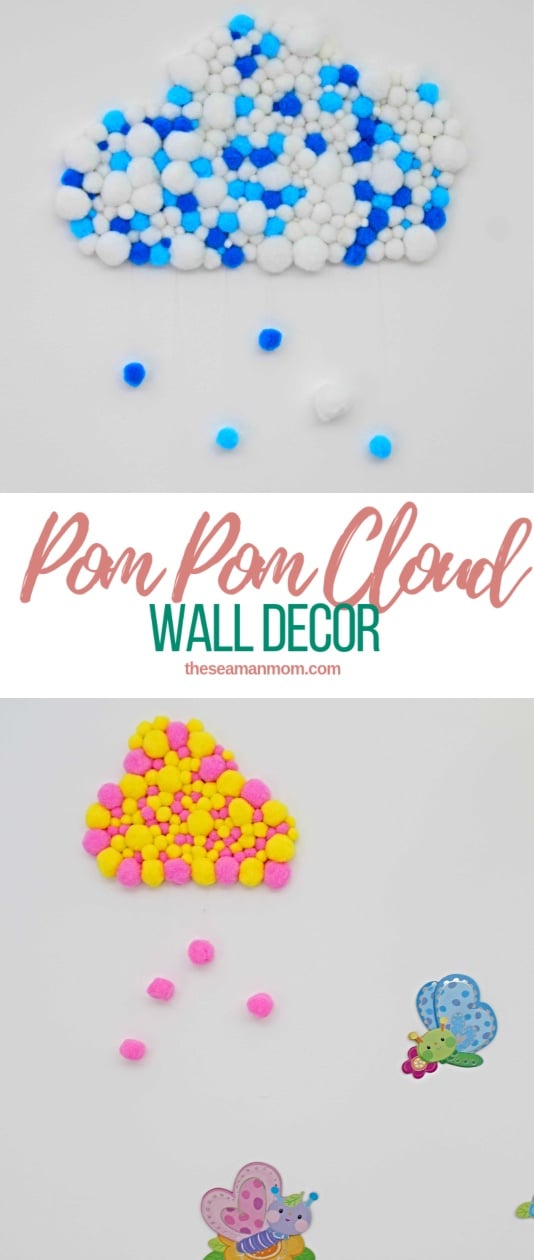
Pom Pom Cloud Wall Decor Idea
Looking for little girl room ideas? Making clouds has never been more fun! This adorable cloud wall decor is so easy and quick using pom poms, and adds so much cuteness to your home decor, you’ll want to make one for everyone in your family!
Pom Pom Cloud
I am so smitten with this gorgeous cloud wall decor! You won’t believe how quick this comes together and is super affordable! I’m seriously thinking about making a DIY cloud for my room too!
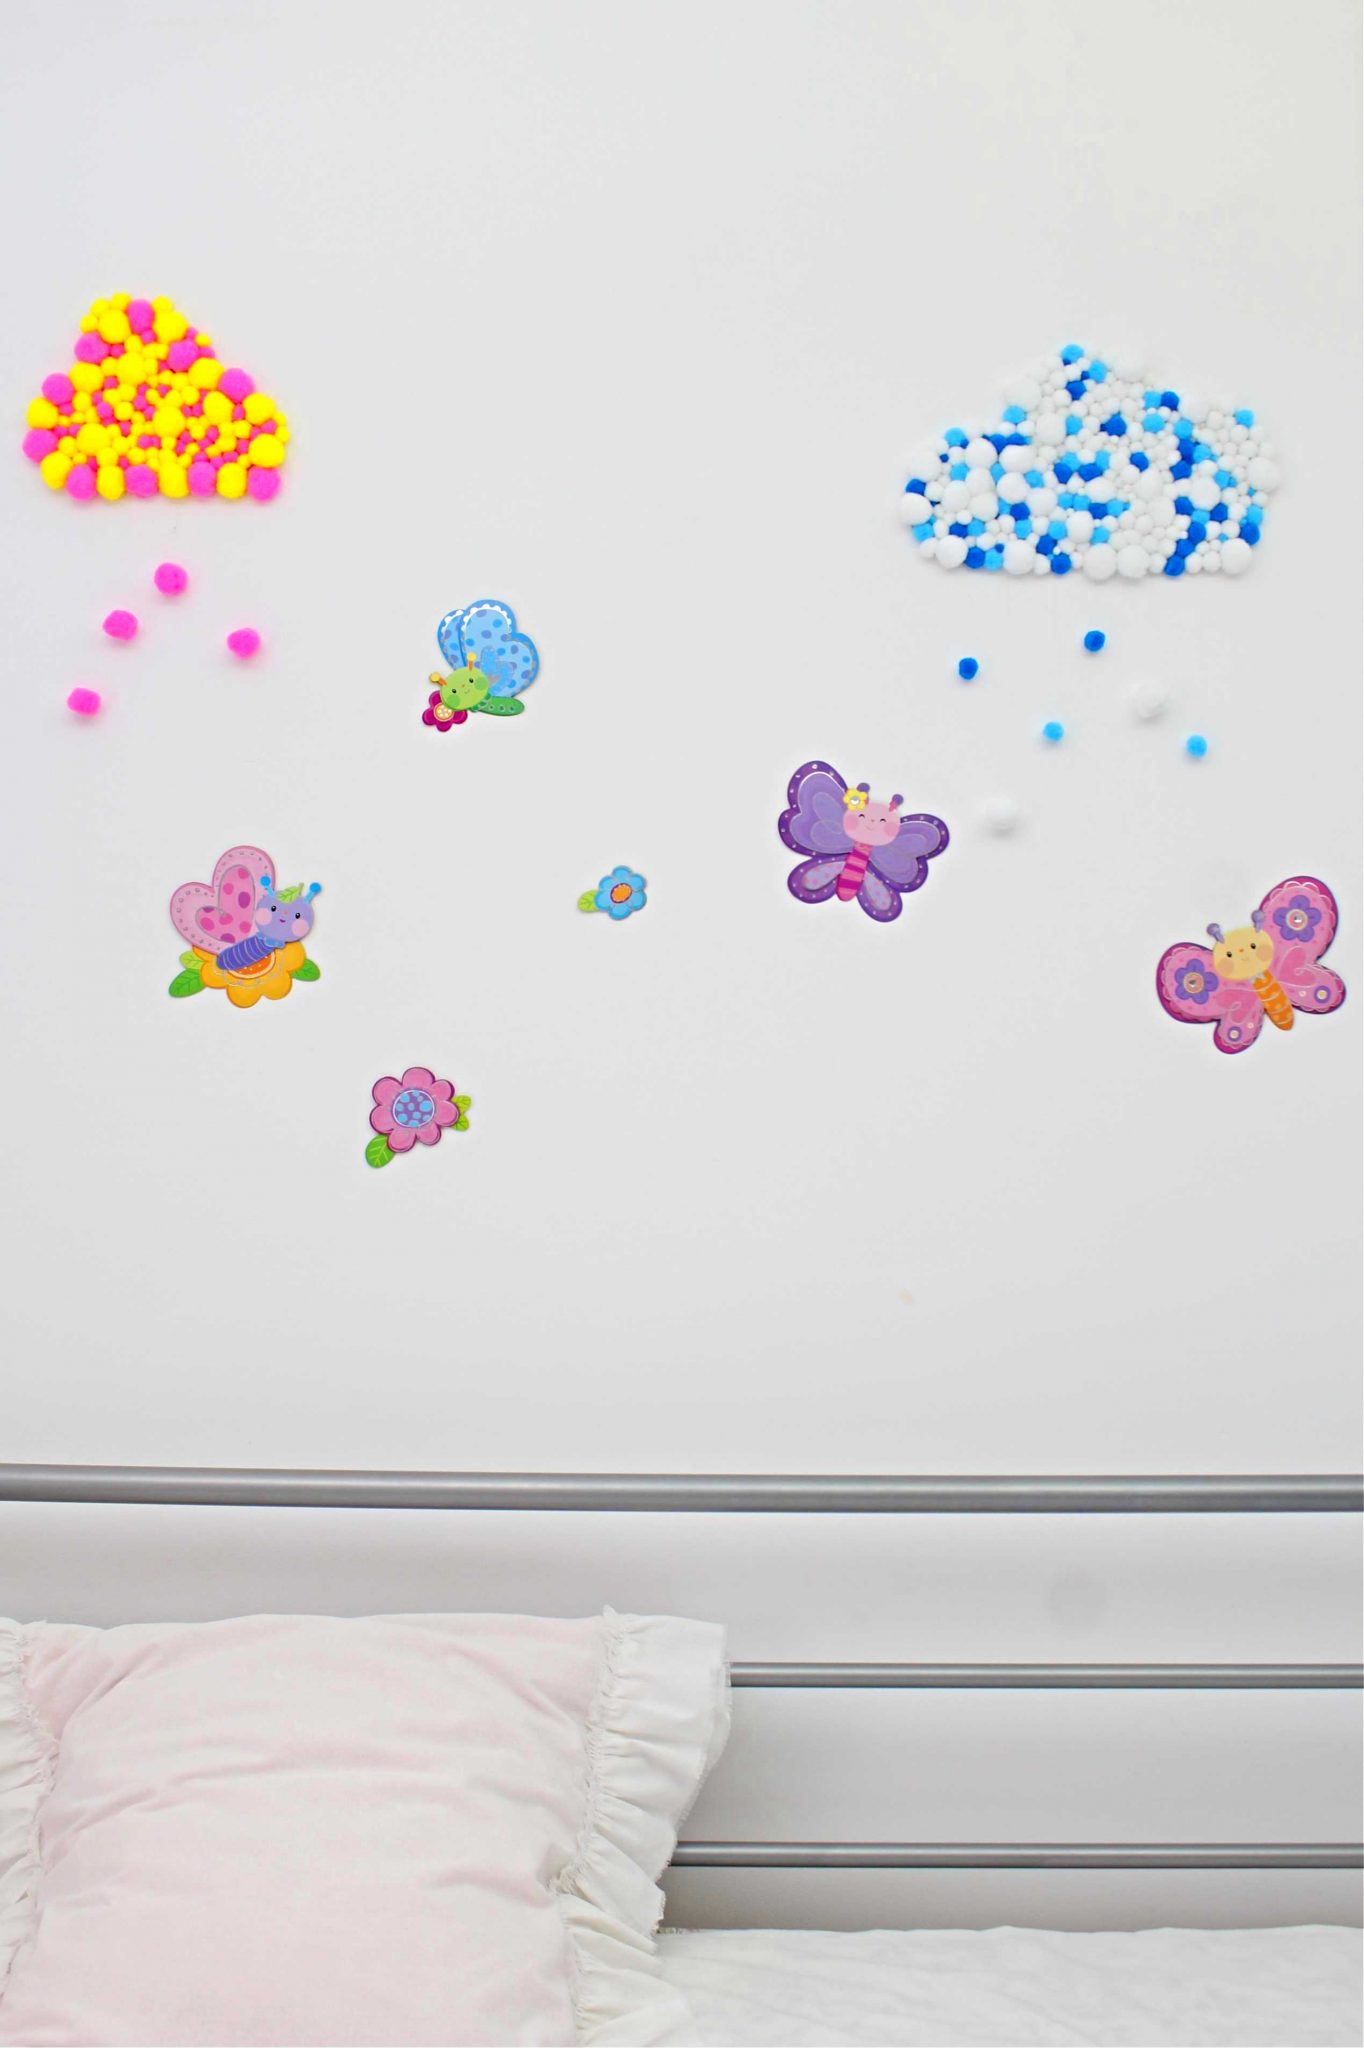
I’ve made this adorable cloud wall decor for Ellie’s room. She basically has two rooms but she only uses one which is teeny tiny and full of toys. But she’s growing and is in need of more space and some privacy and the second room is perfect for these purposes. The only problem is that it looks nothing like a girls room! So I decided to give it a “boost of cuteness” with just a few simple, affordable changes.
Need more pom pom ideas?
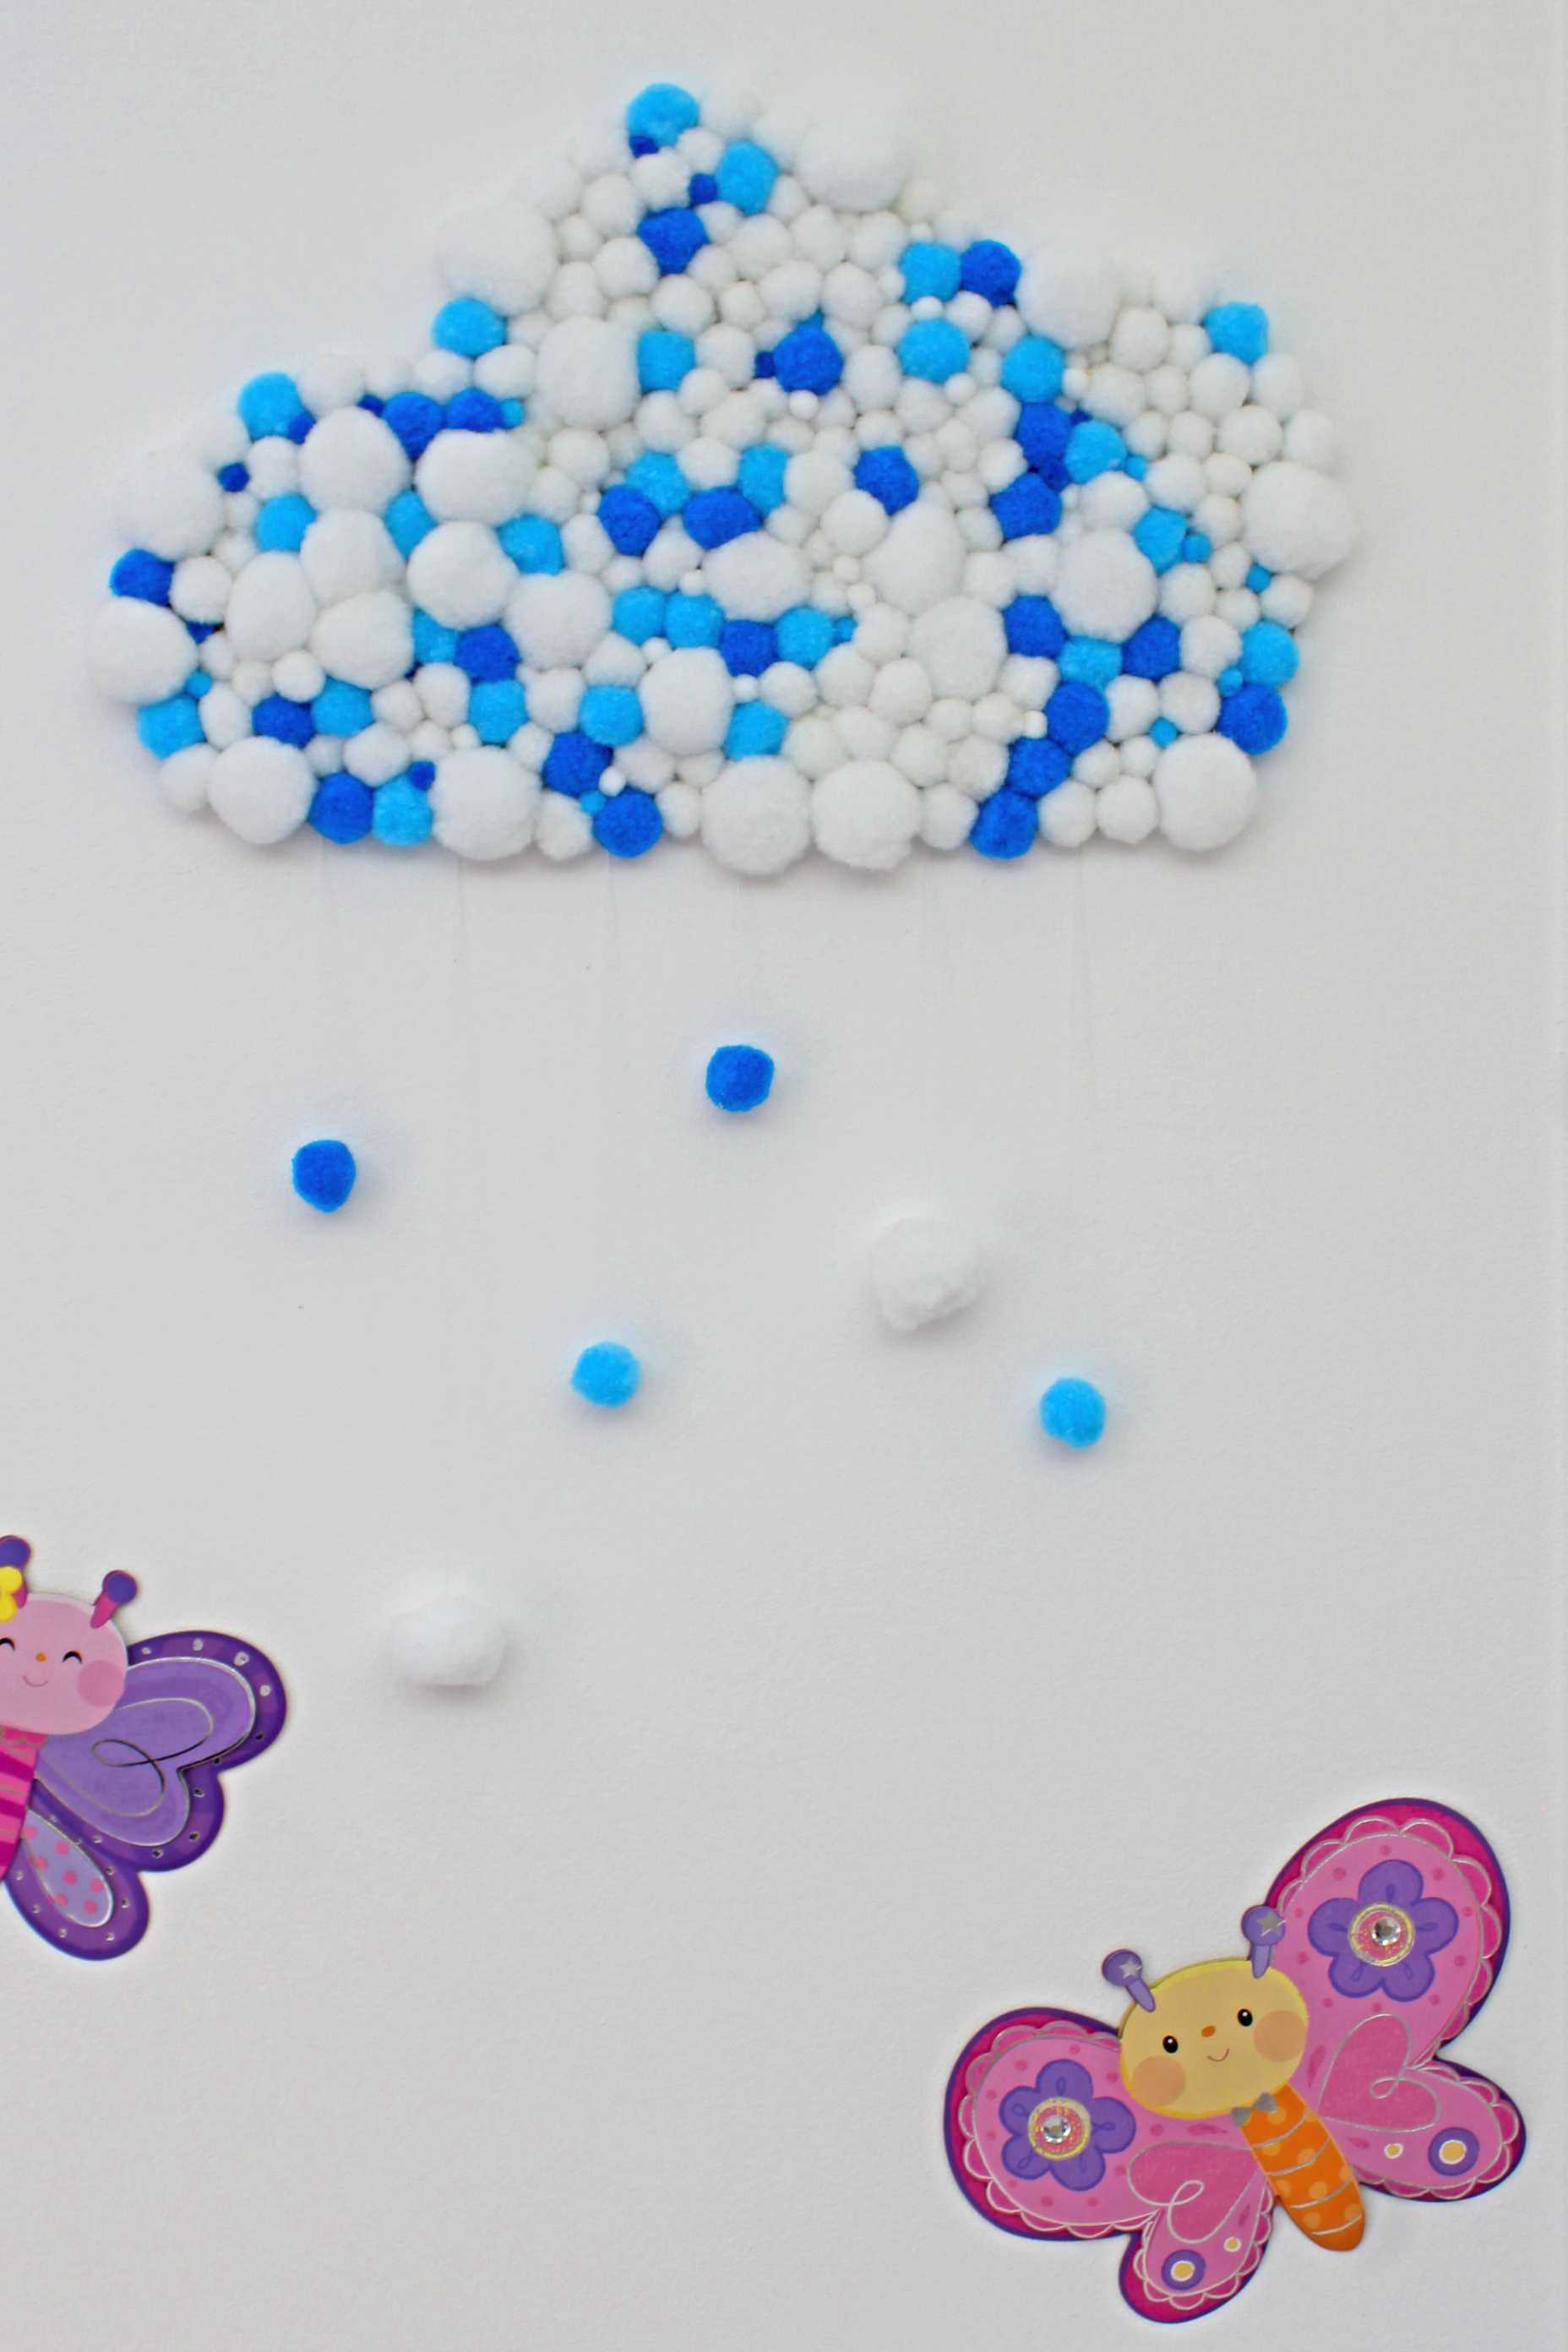
One of these is the bed. I made a super cute bed skirt with layers of sheer fabrics, then I added a bed sheet made in a similar method and ruffled pillows which I’m hoping to be able to feature on the blog soon. Next step is the duvet cover and the bed throw. It’s all done with shabby chic/farmhouse decor in mind which is quite cute if you ask me but I thought I should add something that’s more appropriate for a girl Ellie’s age. So I added a few cute butterfly wall stickers and now I made this cloud wall decor which I think look perfect above Ellie’s bed. Hopefully she’ll be more drawn to this room once everything is ready!
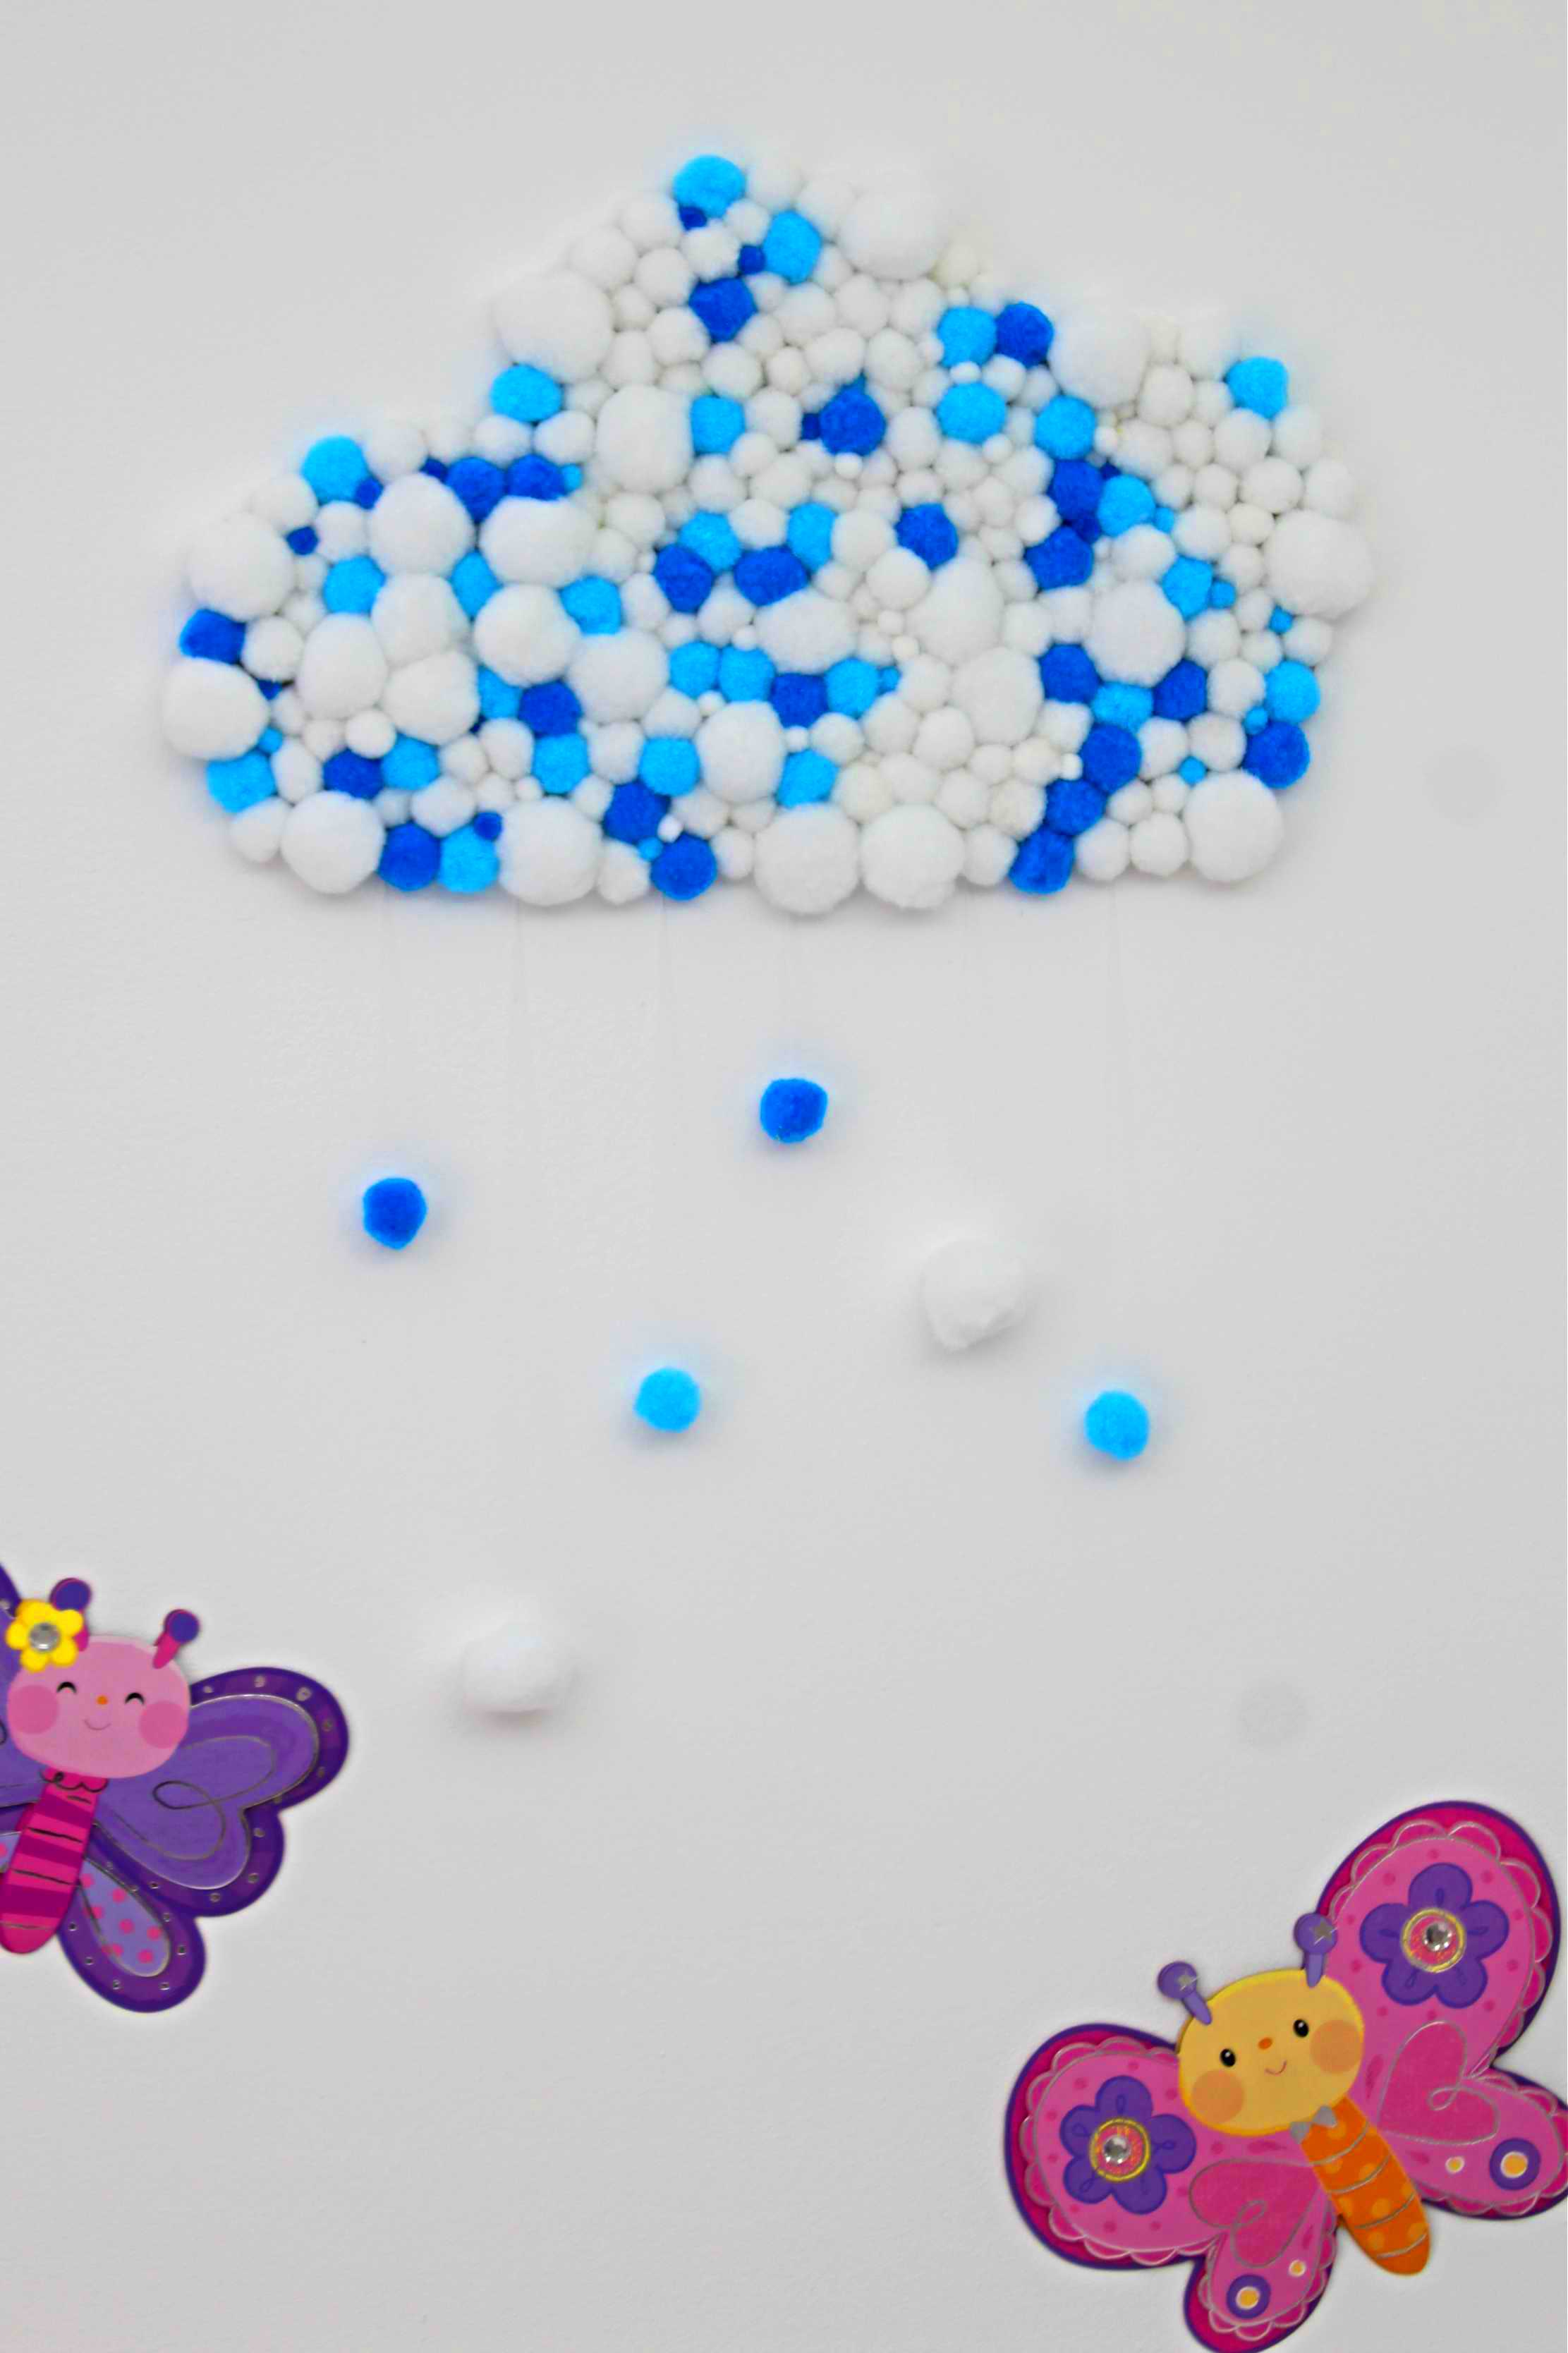
So fluff and bright and cheerful, a perfect fit for a girl’s room, these cloud decorations take little to no time to put together and use very simple materials you most likely have on hand. When making my own cloud wall decor I wanted it to be super durable (I know Ellie will be tempted to touch it a lot!) so I used construction adhesive to glue my pom poms but any strong glue would do the work.
I made a couple of templates for the clouds, if you want to use mine (available to purchase here or get them free when you join my craft newsletter in the form below) but these are super easy to draw yourself. I was after a super quick project and I used store bought pom poms. We have tons of these on hand (Ellie uses them very often in her crafts) and thought it would be a good idea to use them up before they magically vanish (as it happens to many of Ellie’s craft supplies lol). It took less than ten minutes to finish one cloud!
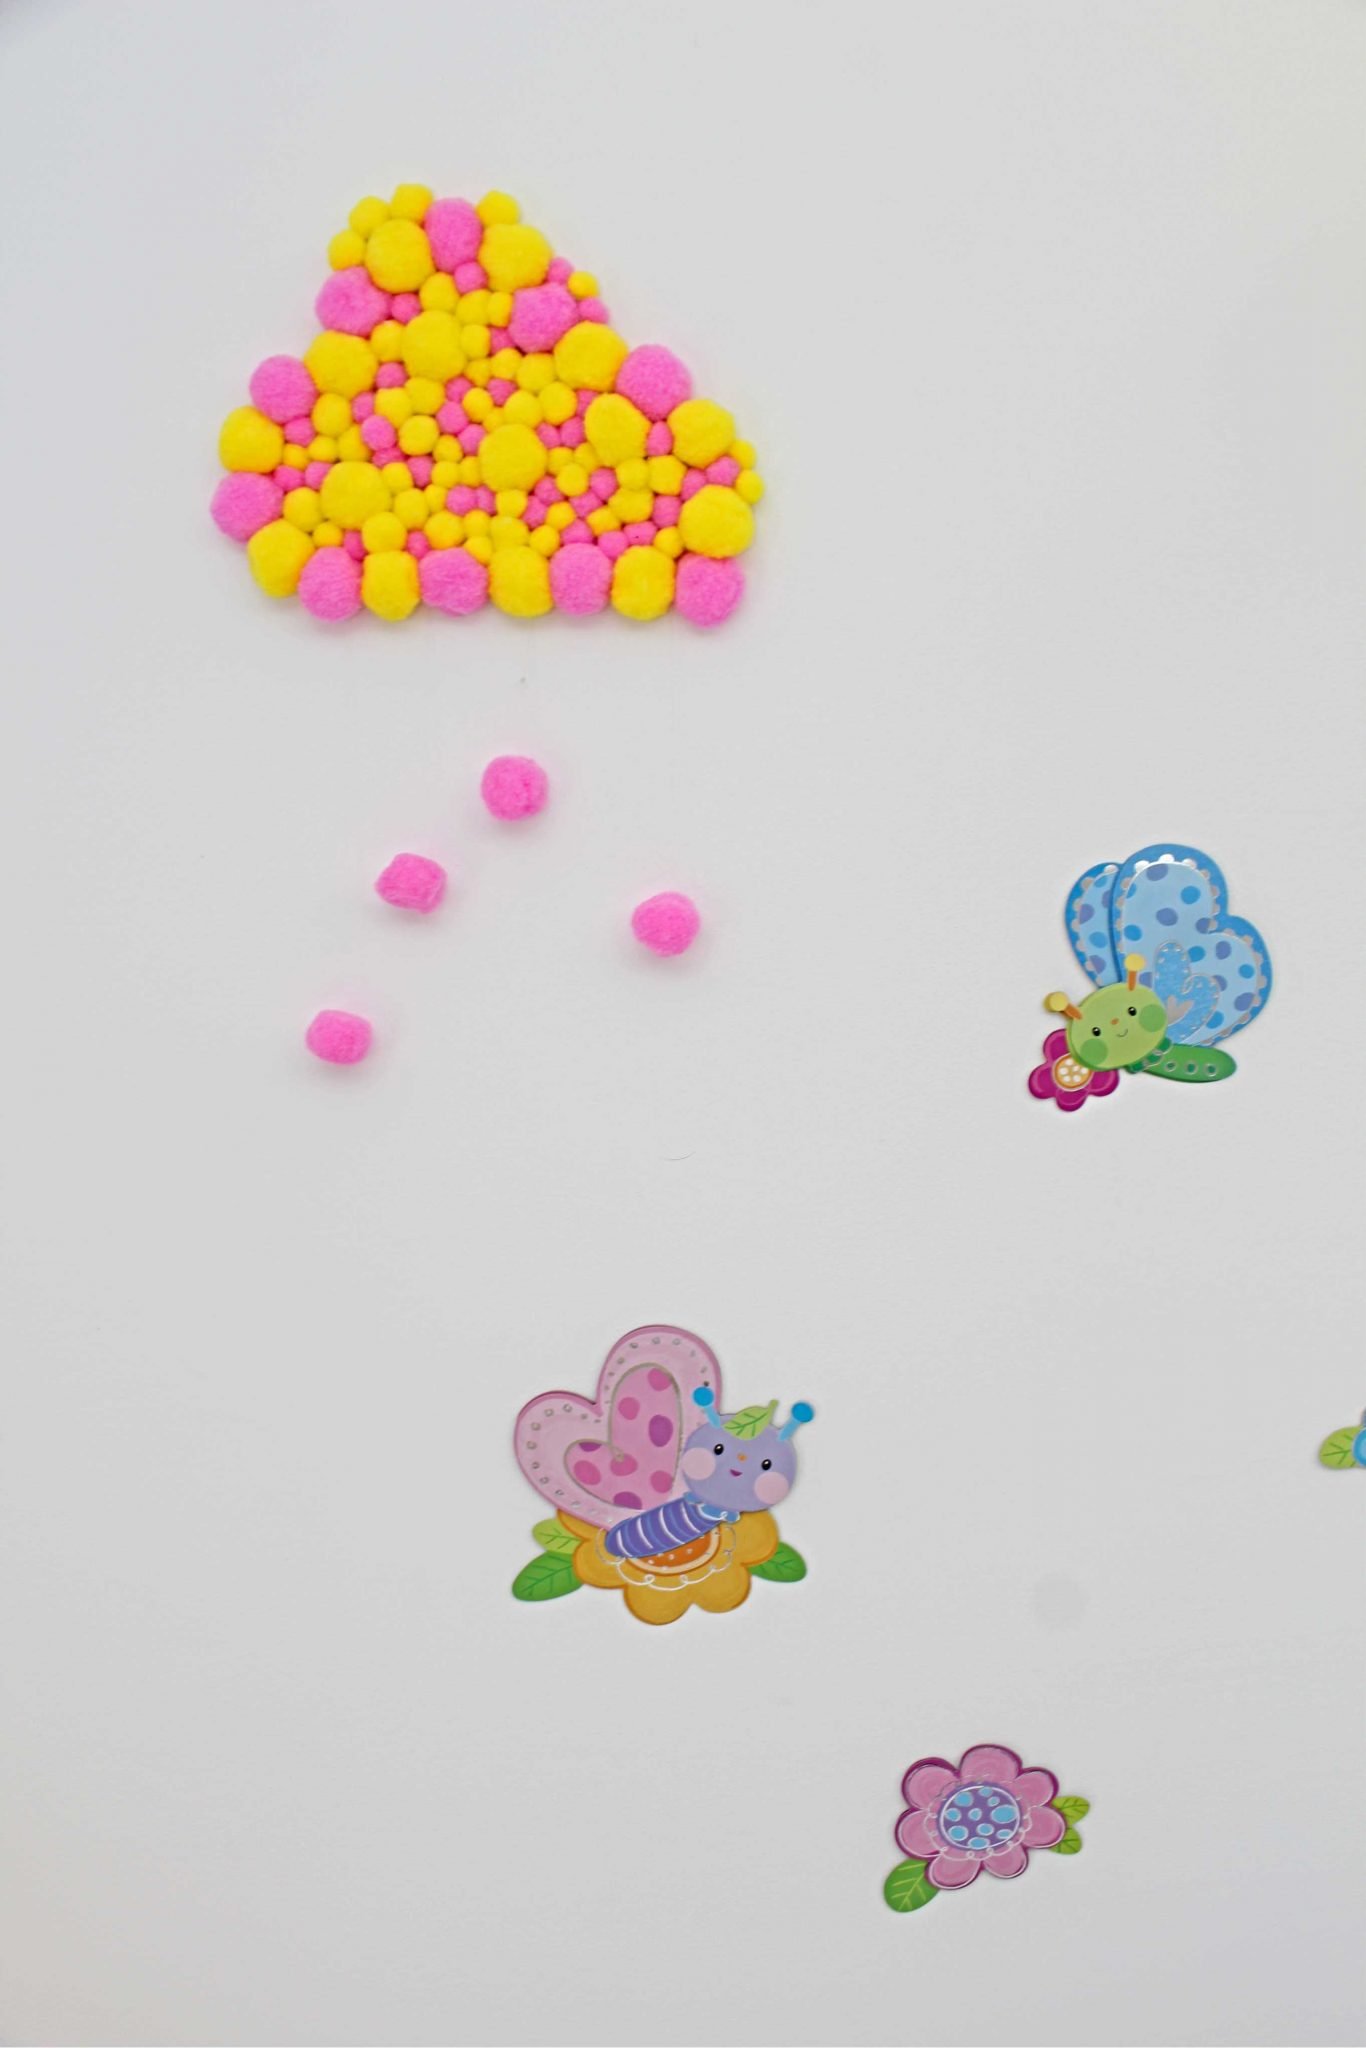
Since my walls are white, I wanted to use contrast pom poms. I felt like mixing up colors and adding a pop of color to Ellie’s room but didn’t want my cloud wall decor to look too “heavy” and overwhelming with too many colors. So I decided to stick to two colors per cloud.
Cloud Wall Decor
Materials:
- cloud template (purchase here or get it free when you join my craft newsletter)
- cardboard or card stock
- pencil
- craft scissors
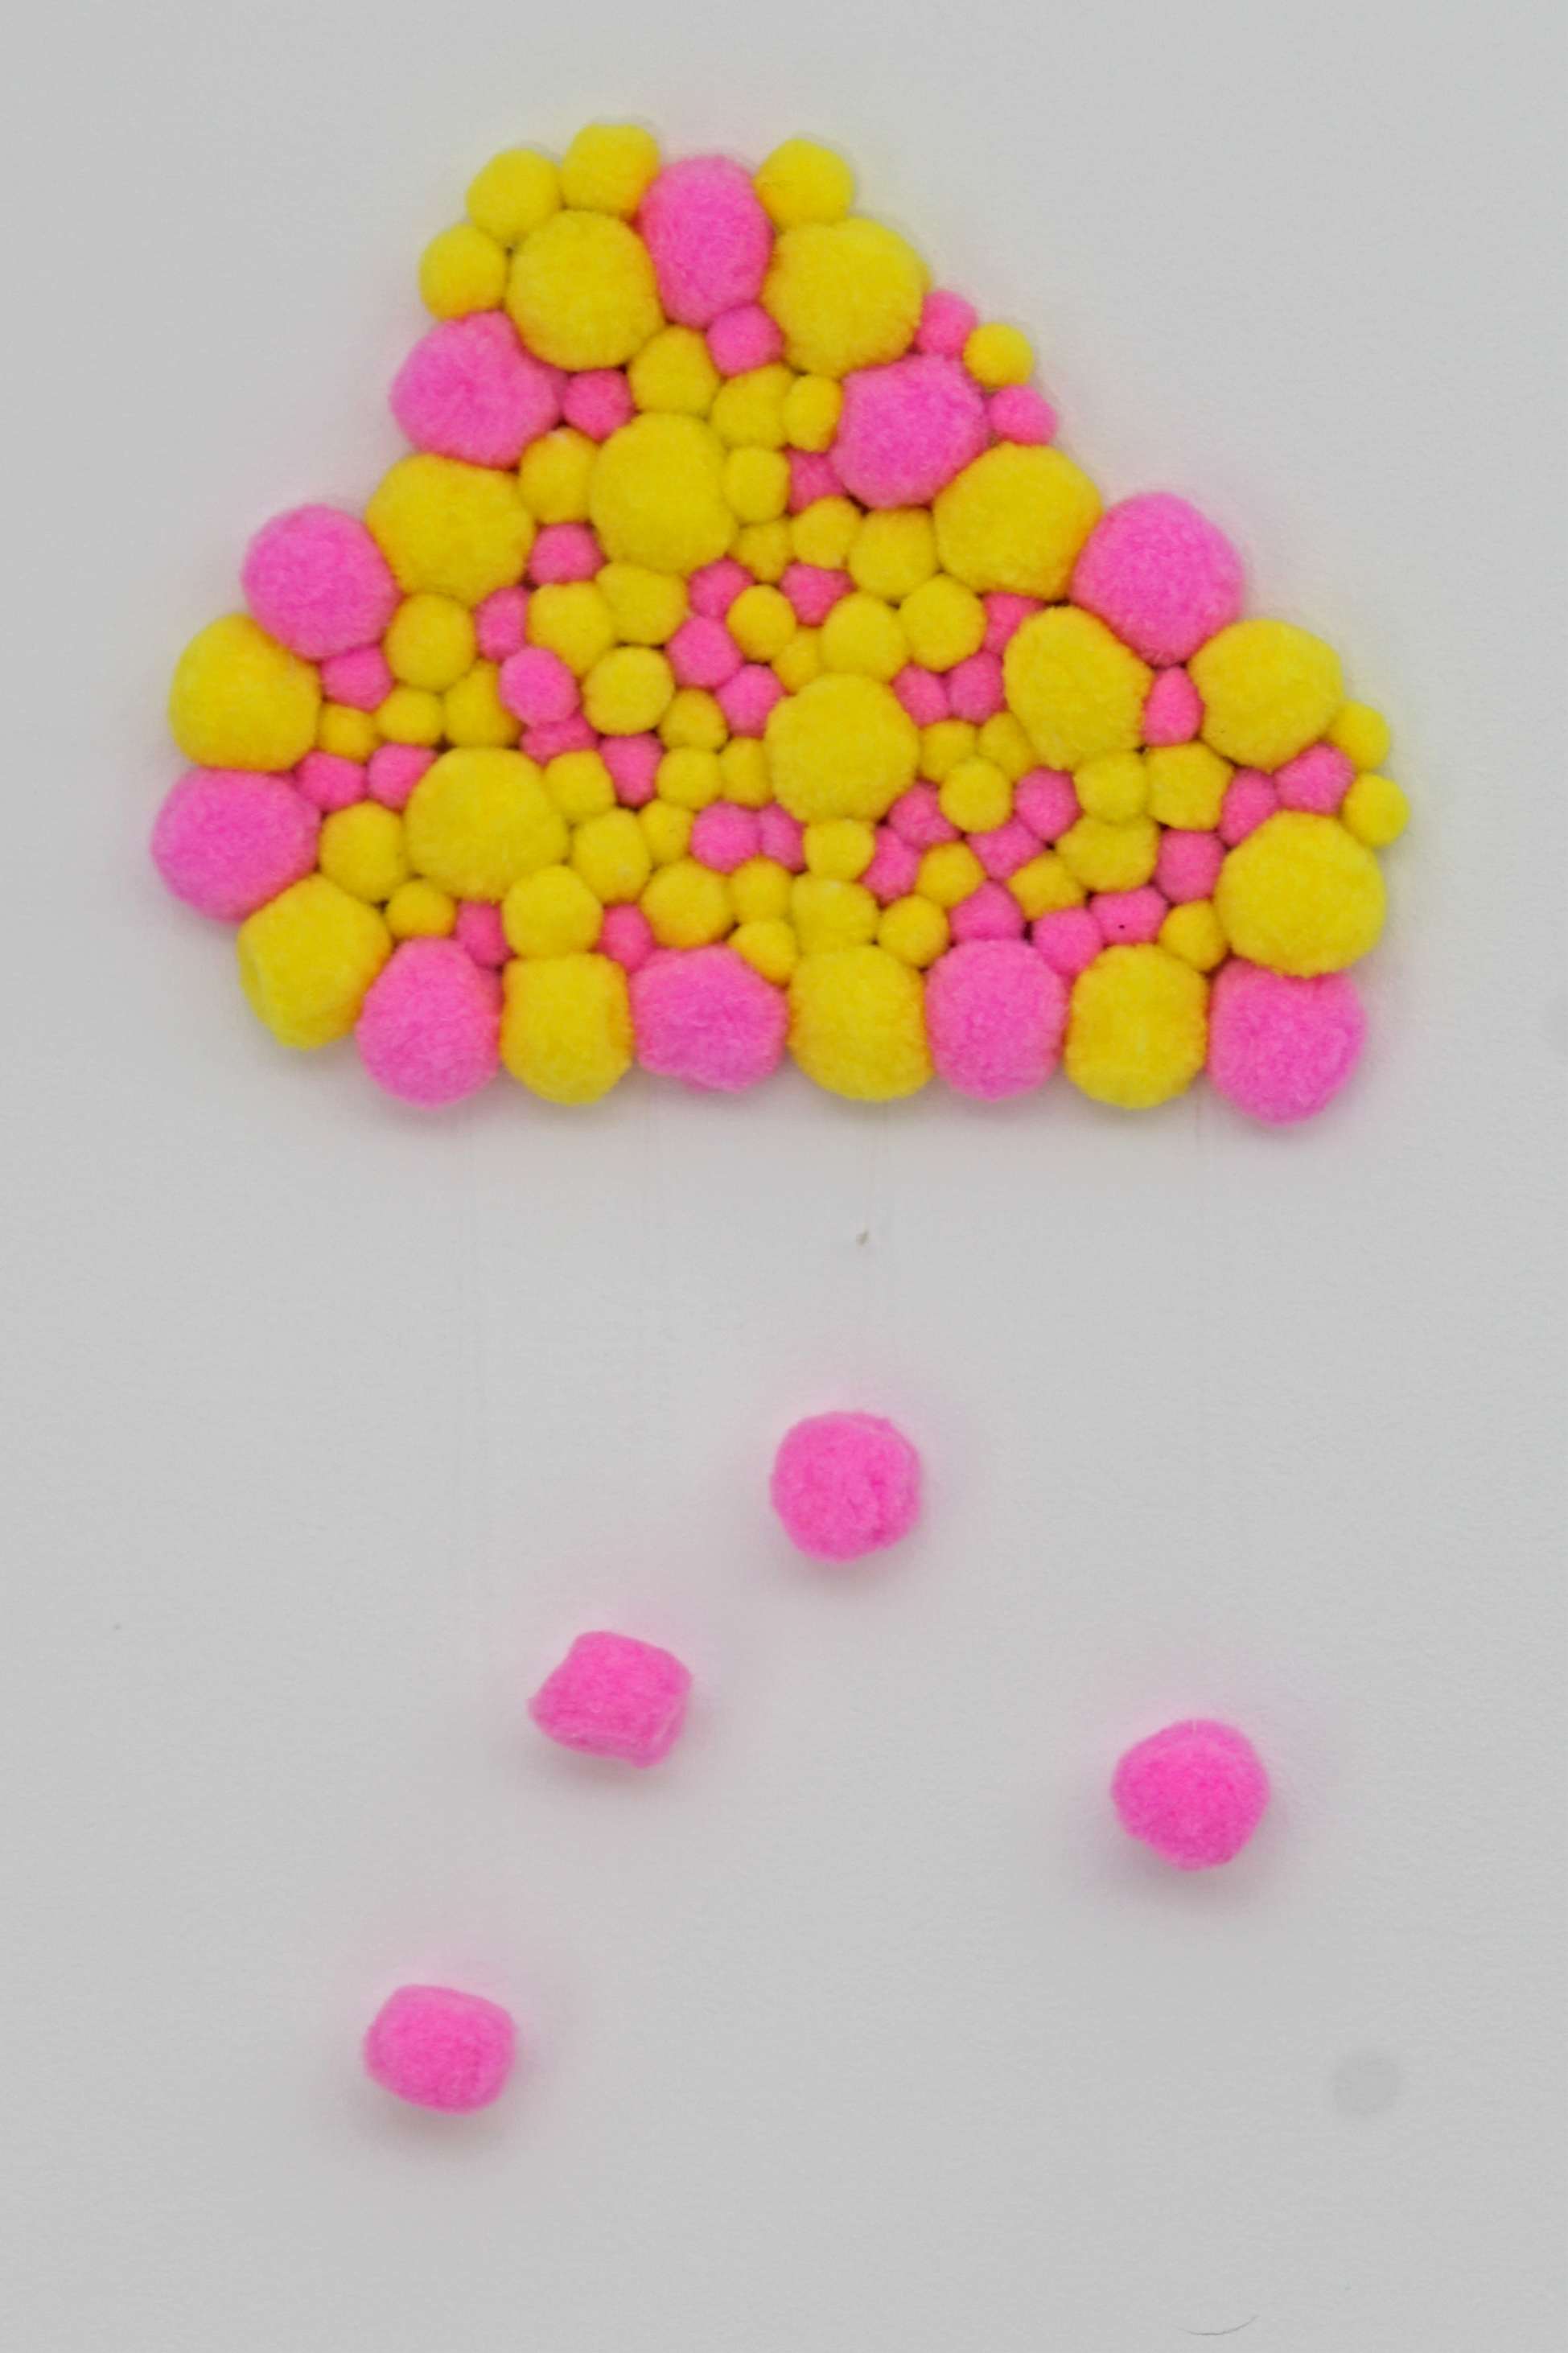
- pom poms (like tons of those!) in three different sizes per color
- construction adhesive or a strong glue
- brush
- thread in the color of your walls
- needle
- double sided tape
Directions:
- Print your template/templates and cut out.
- Place the pattern on a piece of cardboard and trace around the template
- Cut out
- Thread your needle, tie the end in a knot and then thread a pom pom. Pierce through the bottom of your cloud and hang the pom poms, much like rain drops. Tie the end into a knot and let your pom poms hang before moving to the next step.
- Apply a little bit of adhesive to the cloud template and spread with a brush then immediately start adding the pom poms, applying some pressure. Work in small sections and be careful when spreading the adhesive not to touch the pom poms already glued to the cloud. I wanted to make the edges first and used the largest of my pom poms for the edge and then filled the inside with the other sizes, adding a few of the large pom poms here and there.
- If you find that the inside of your cloud is not filled in properly, add just a dab of adhesive to the smallest pom poms and press the pom poms into those tiny gaps, one at a time.
- Leave to completely dry before moving to the next step. If using the recommended adhesive this should not take more than an hour.
- Turn your cloud face down and attach double sided tape to the back of the cloud.
- Stick the pom pom cloud to the wall.
- Now take a step back and admire your super adorable cloud wall decor!
Pin to save for later
More decor ideas you might like:
- Glittery jar luminaries
- Rustic twig photo frame
- Recycled flower vase tutorial
- Sun & feather wall decor
- Wine bottle art home decor
Most popular craft:
Article may contain Amazon & affiliate links. As an Amazon Associate I earn from qualifying purchases at no additional cost to you.
ABOUT PETRO
Hi, I’m Petro, author and founder of Easy Peasy Creative Ideas. Sewist, crafter, avid DIY-er, foodie, photographer, homemaker and mommy to one. I’m an expert at coming up with quick, clever sewing tips, recycling crafts and simple, easy recipes! You can find my ideas featured in reputable publications such as Country Living, Good House Keeping, Yahoo News, WikiHow, Shutterfly, Parade, Brit & Co and more. Thanks for stopping by and hope you’ll stay for a while, get to know me better and come back another time. Stick around for real fun projects! Read more…