

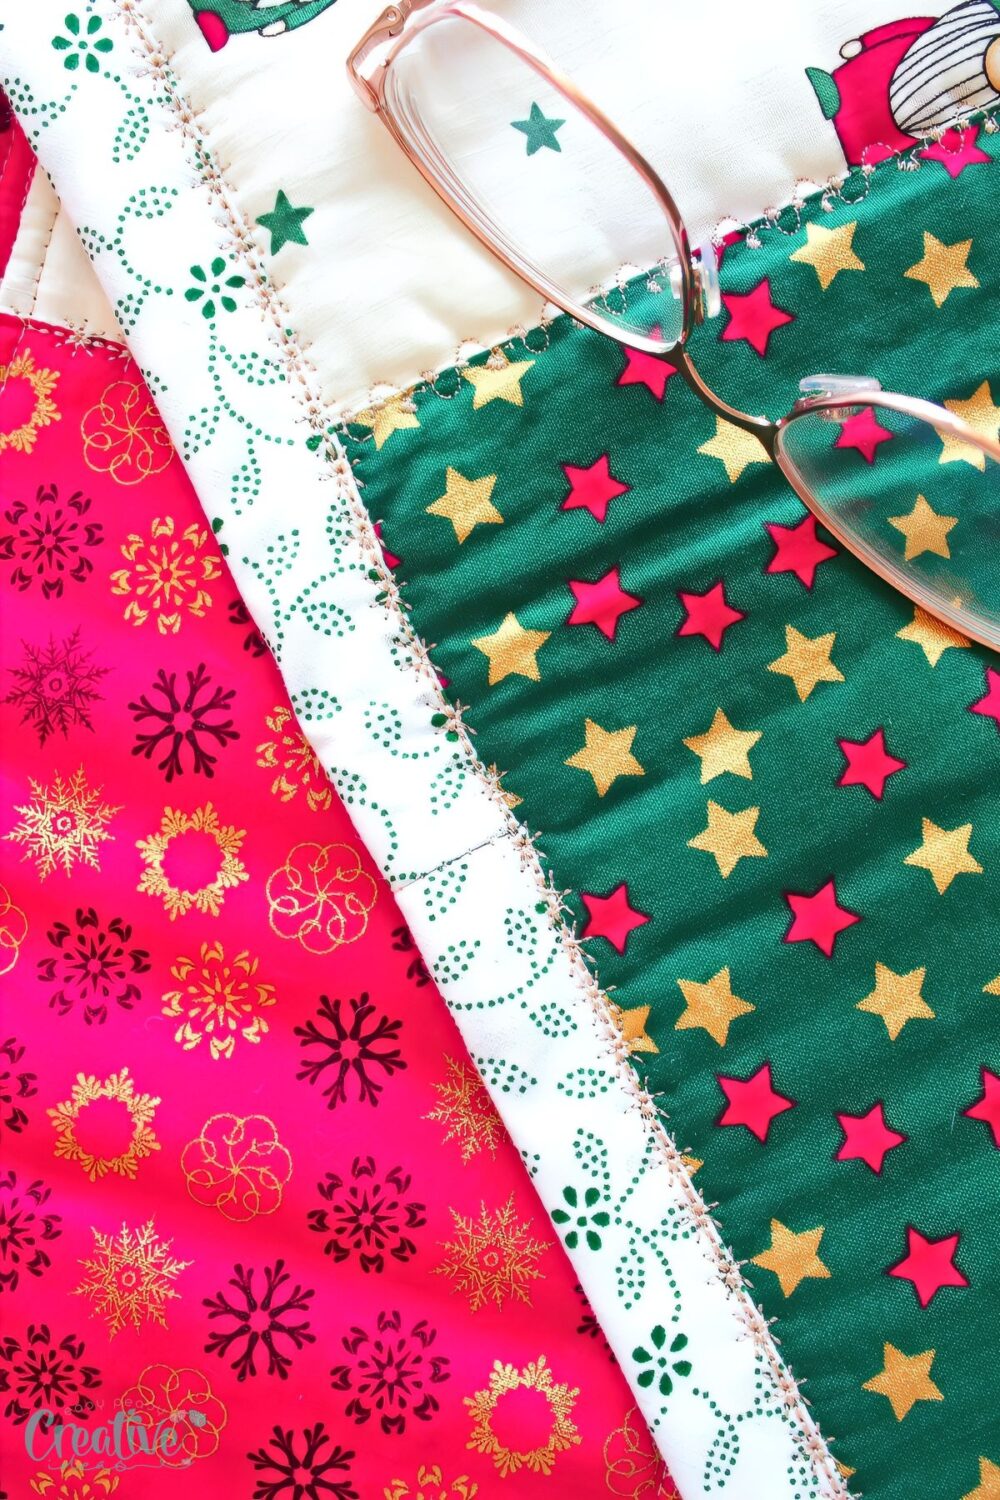
How to join bias binding the “lazy way”
Today let’s explore a simple technique for how to join bias binding flawlessly. In this simple tutorial I’ll be offering an insight into joining bias binding on a quilt with what you might be tempted to call “the lazy method”. You’ll be amazed at how easy this can be and the flawless results it can bring to your sewing projects!
Learning how to join bias binding on quilt projects doesn’t have to be a daunting task. With the right guidance and some practice, you can master the simple technique of seamless bias binding joins that will make a great impact on the look of your quilting projects.
Whether you’re a newbie or a seasoned sewist, you’ll find that learning how to sew bias binding together is a valuable skill that can be applied to a multitude of sewing scenarios. Today, I’m thrilled to guide you through this process, making it as simple and enjoyable as possible. This is the first method you can use to join binding strips. Check out method number two and method number three and decide which one suits your style and skills best.
Why I Love This Method? There’s nothing quite like the satisfaction of creating something beautiful with your own hands, and that’s why I absolutely adore this method that I use to join bias binding ends pretty often. There are a few other methods out there but to me, this is the easiest, the fastest and fuss-free method. Not only does it yield stunningly smooth results, but it’s also incredibly beginner-friendly. No more head scratching for me!
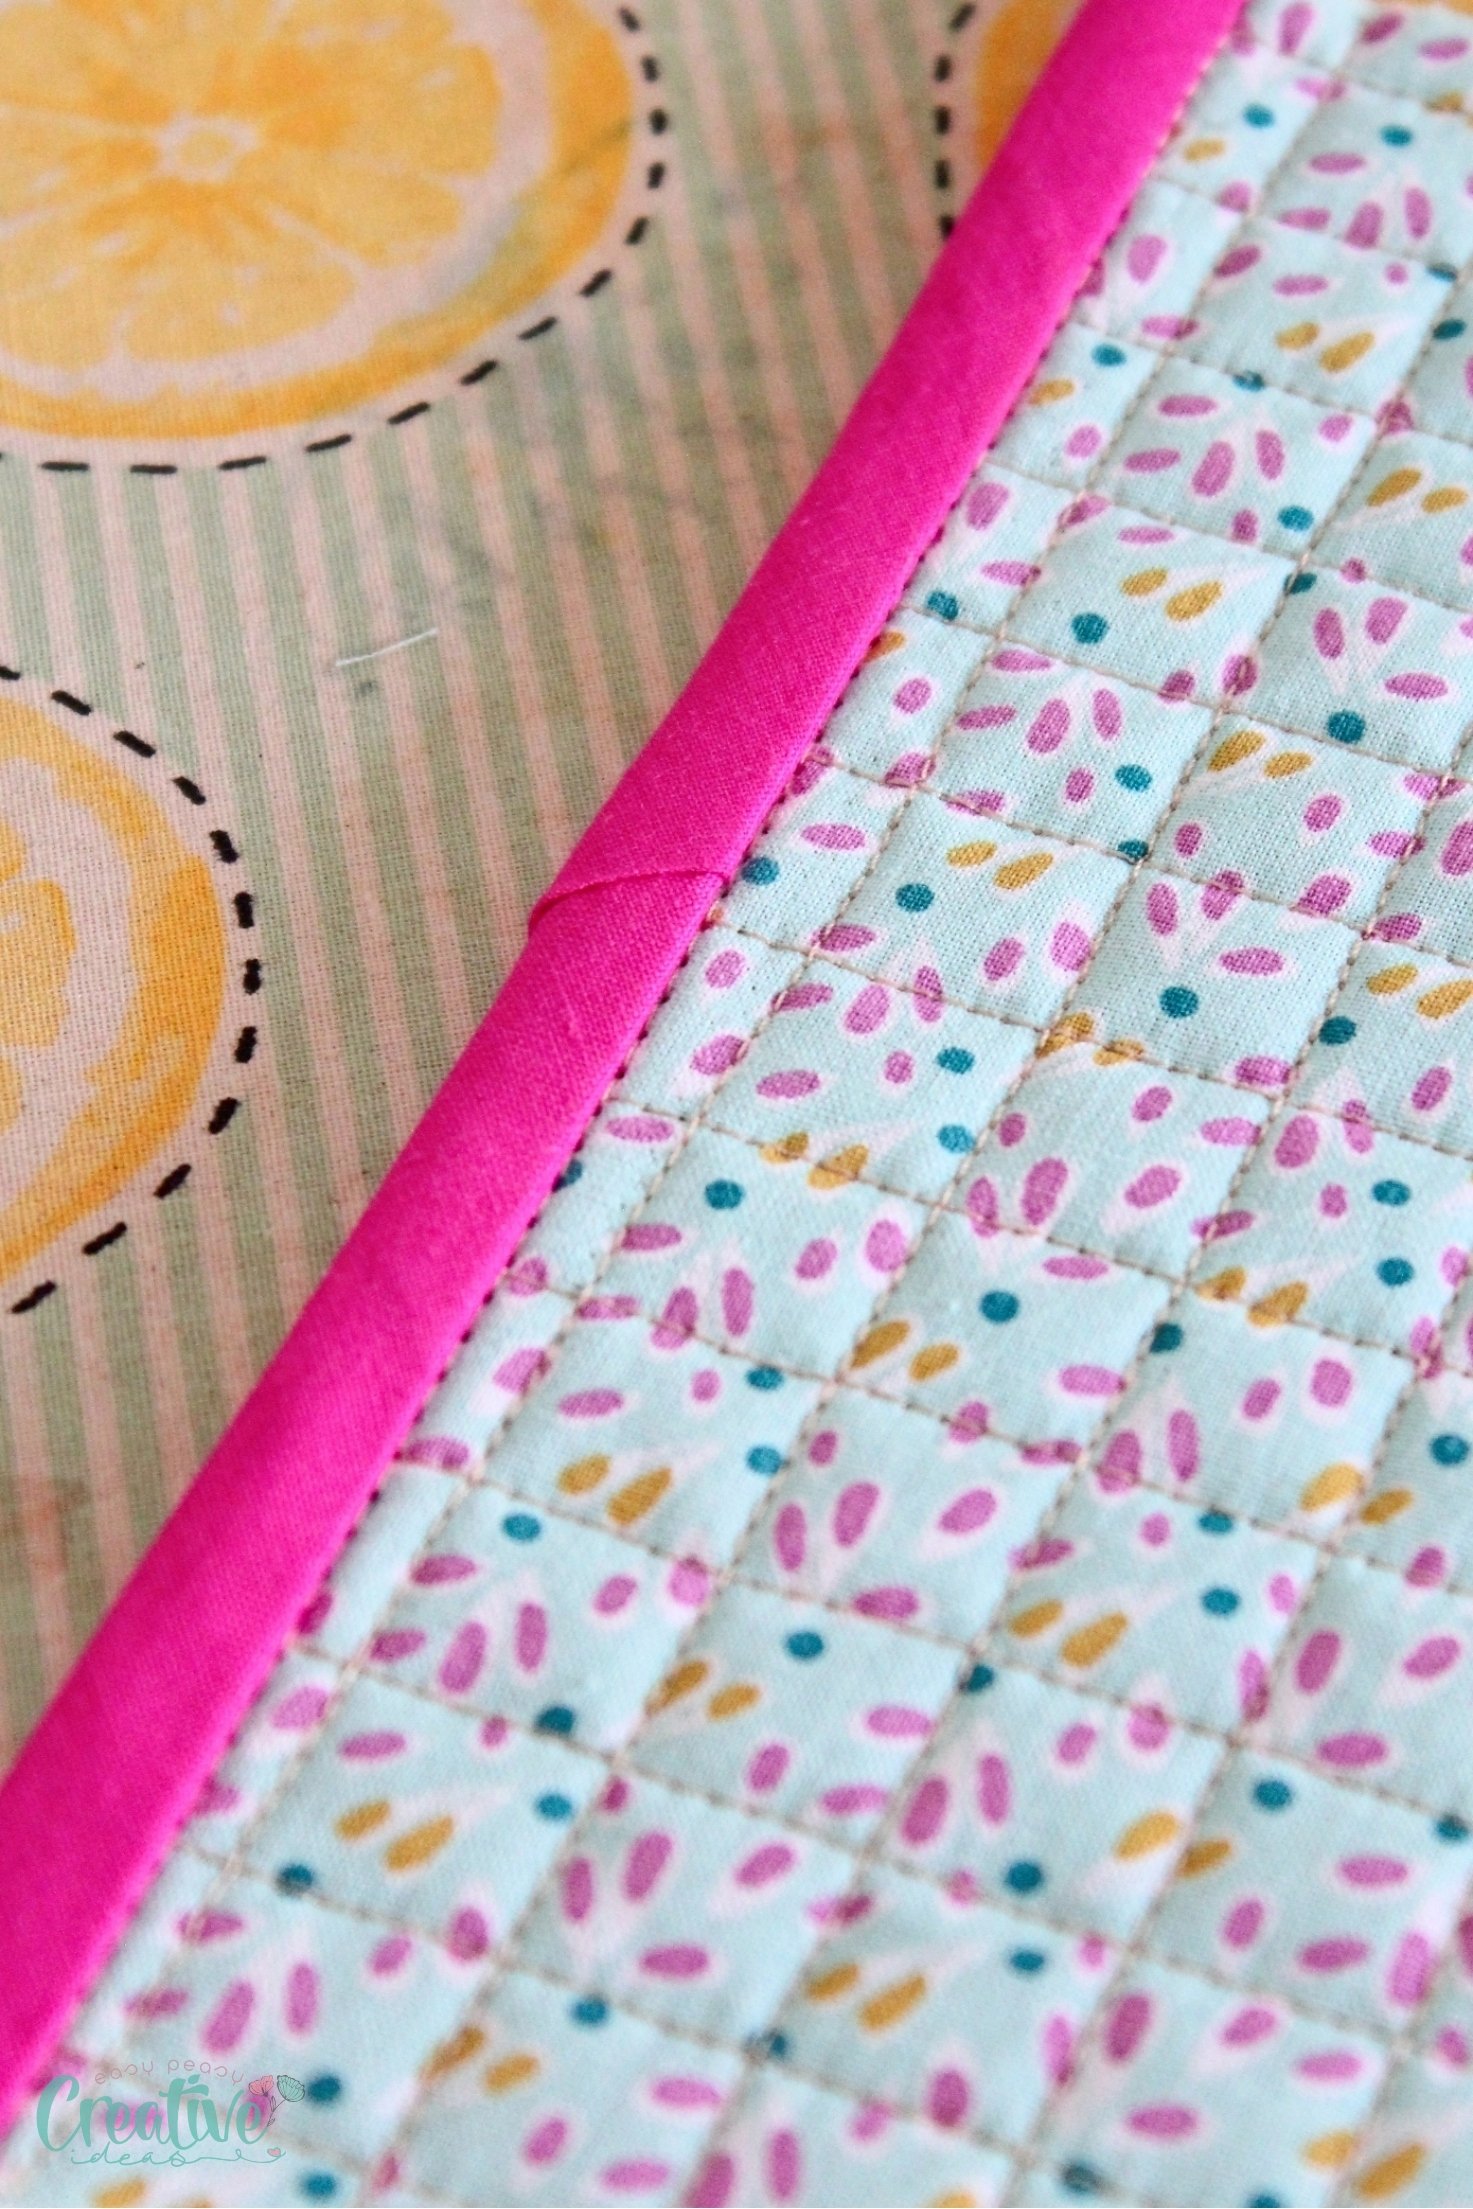
The satisfaction of seeing a quilt come together with beautifully joined bias binding is unmatched. With this technique, edges meet with a crisp seam, with not much bulk in it, leaving your project with a neat, professional appearance. Some might call it the “lazy method” but hear me out through the end of the tutorial and you’ll see why it’s the perfect solution.
How to join bias binding
Materials needed for this project:
- Bias binding strip
- Quilting project or quilted scraps where you can practice (advisable if this is your first time finishing binding strips)
- Matching thread
Substitutes:
If you’re short on commercial bias binding, you can always create your own from any fabric that complements your project. I for one am a big fan of making my own bias binding and bias tape strips, I haven’t used a store-bought one in ages. Here’s the entire series related to making and using bias.
Equipment:
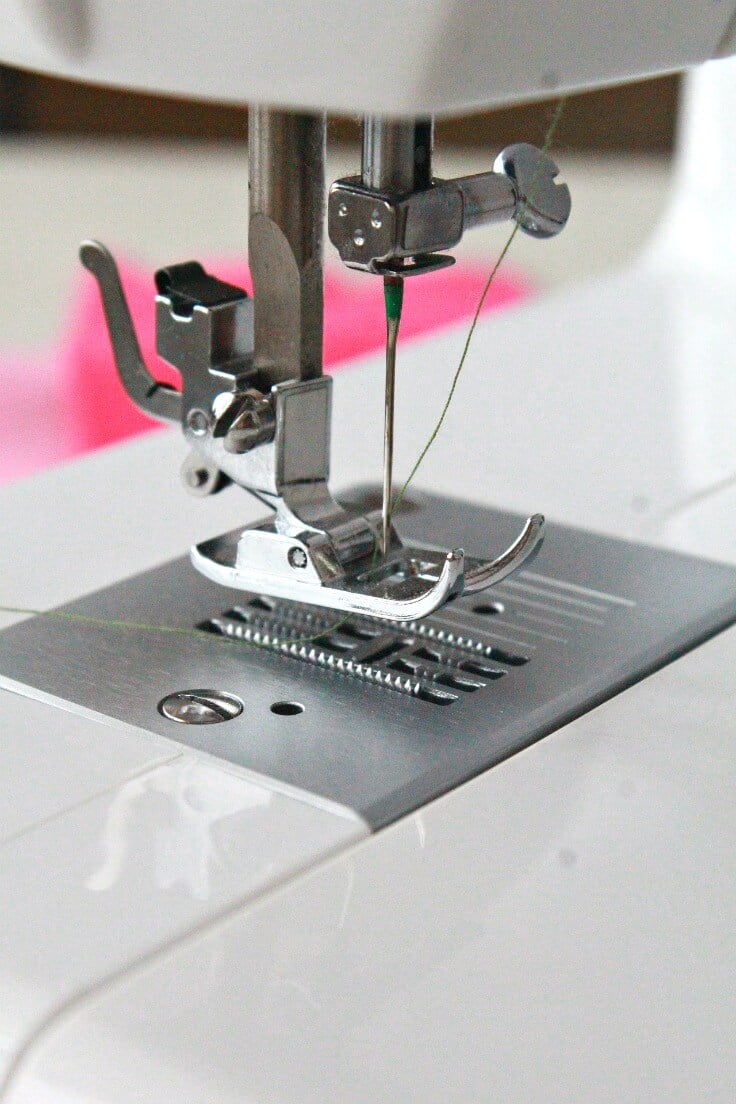
- Sewing machine
- Iron and ironing board (it helps to have an ironing pad at hand)
- Fabric scissors
- Fabric marker
- Pins
- Wonder clips
Step-by-step directions for sewing bias binding ends together
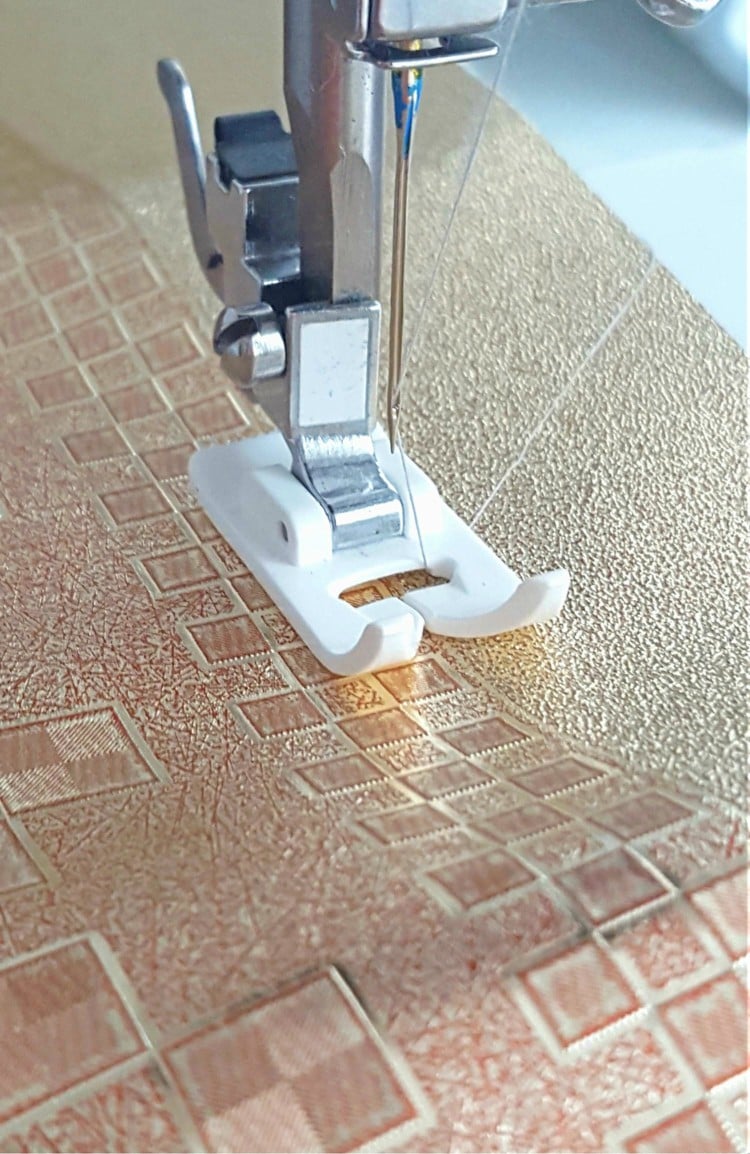
- Start by sewing the raw edge of your bias binding to the raw edges of the quilt, leaving about 2 inches of the binding strip open at the starting end.
- When you almost reach the other end of the binding, stop sewing about 2 inches away from the other end.
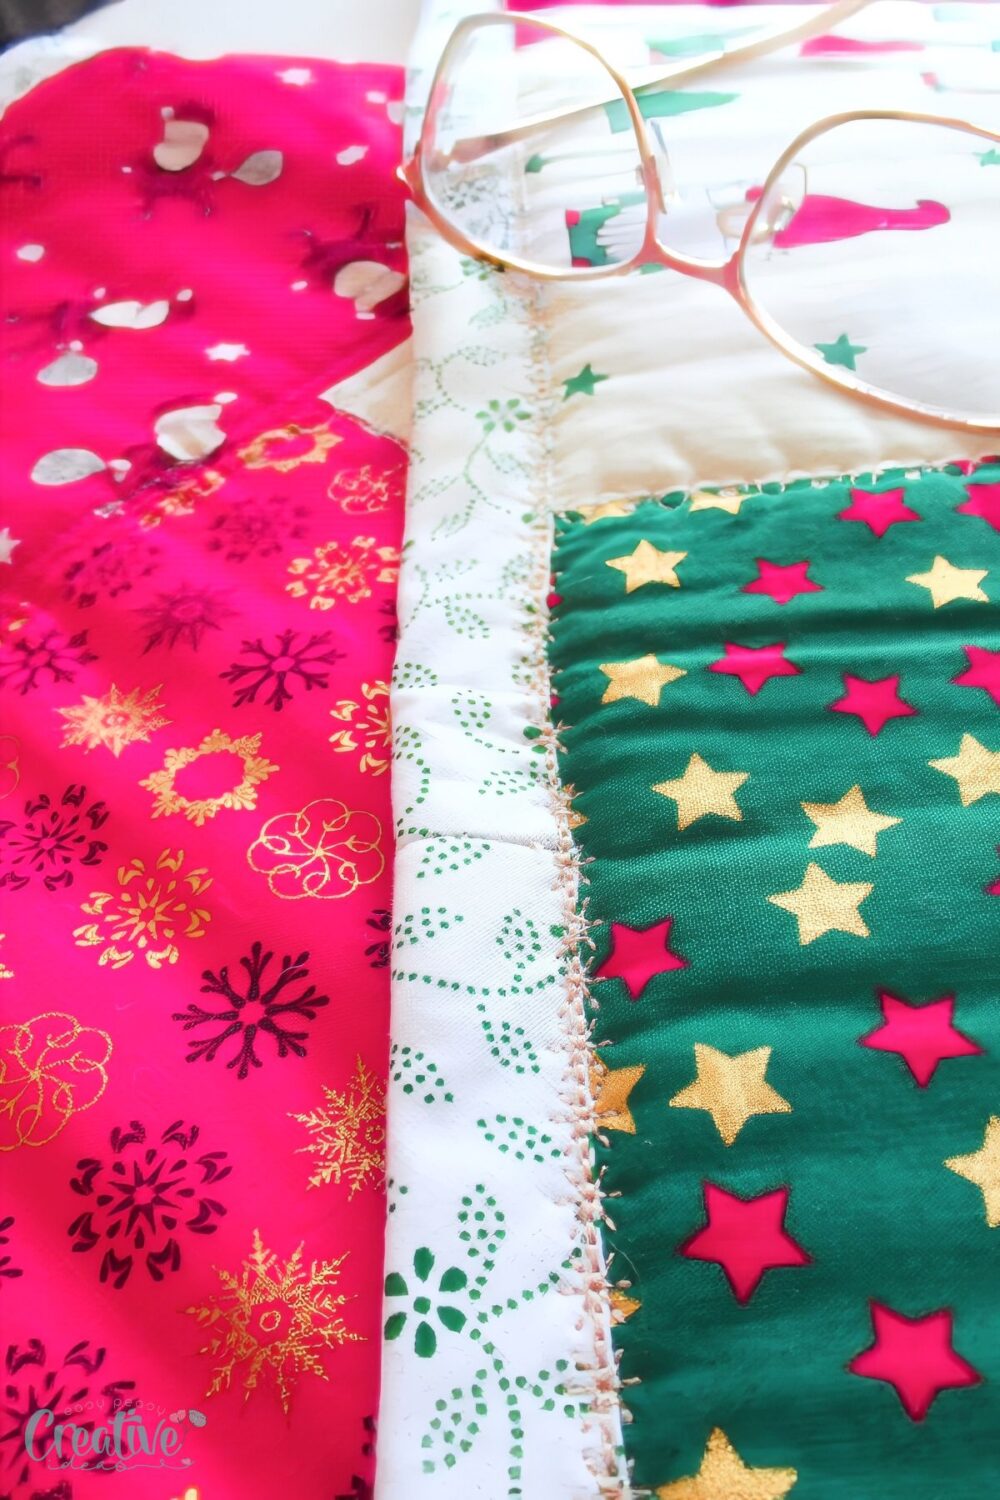
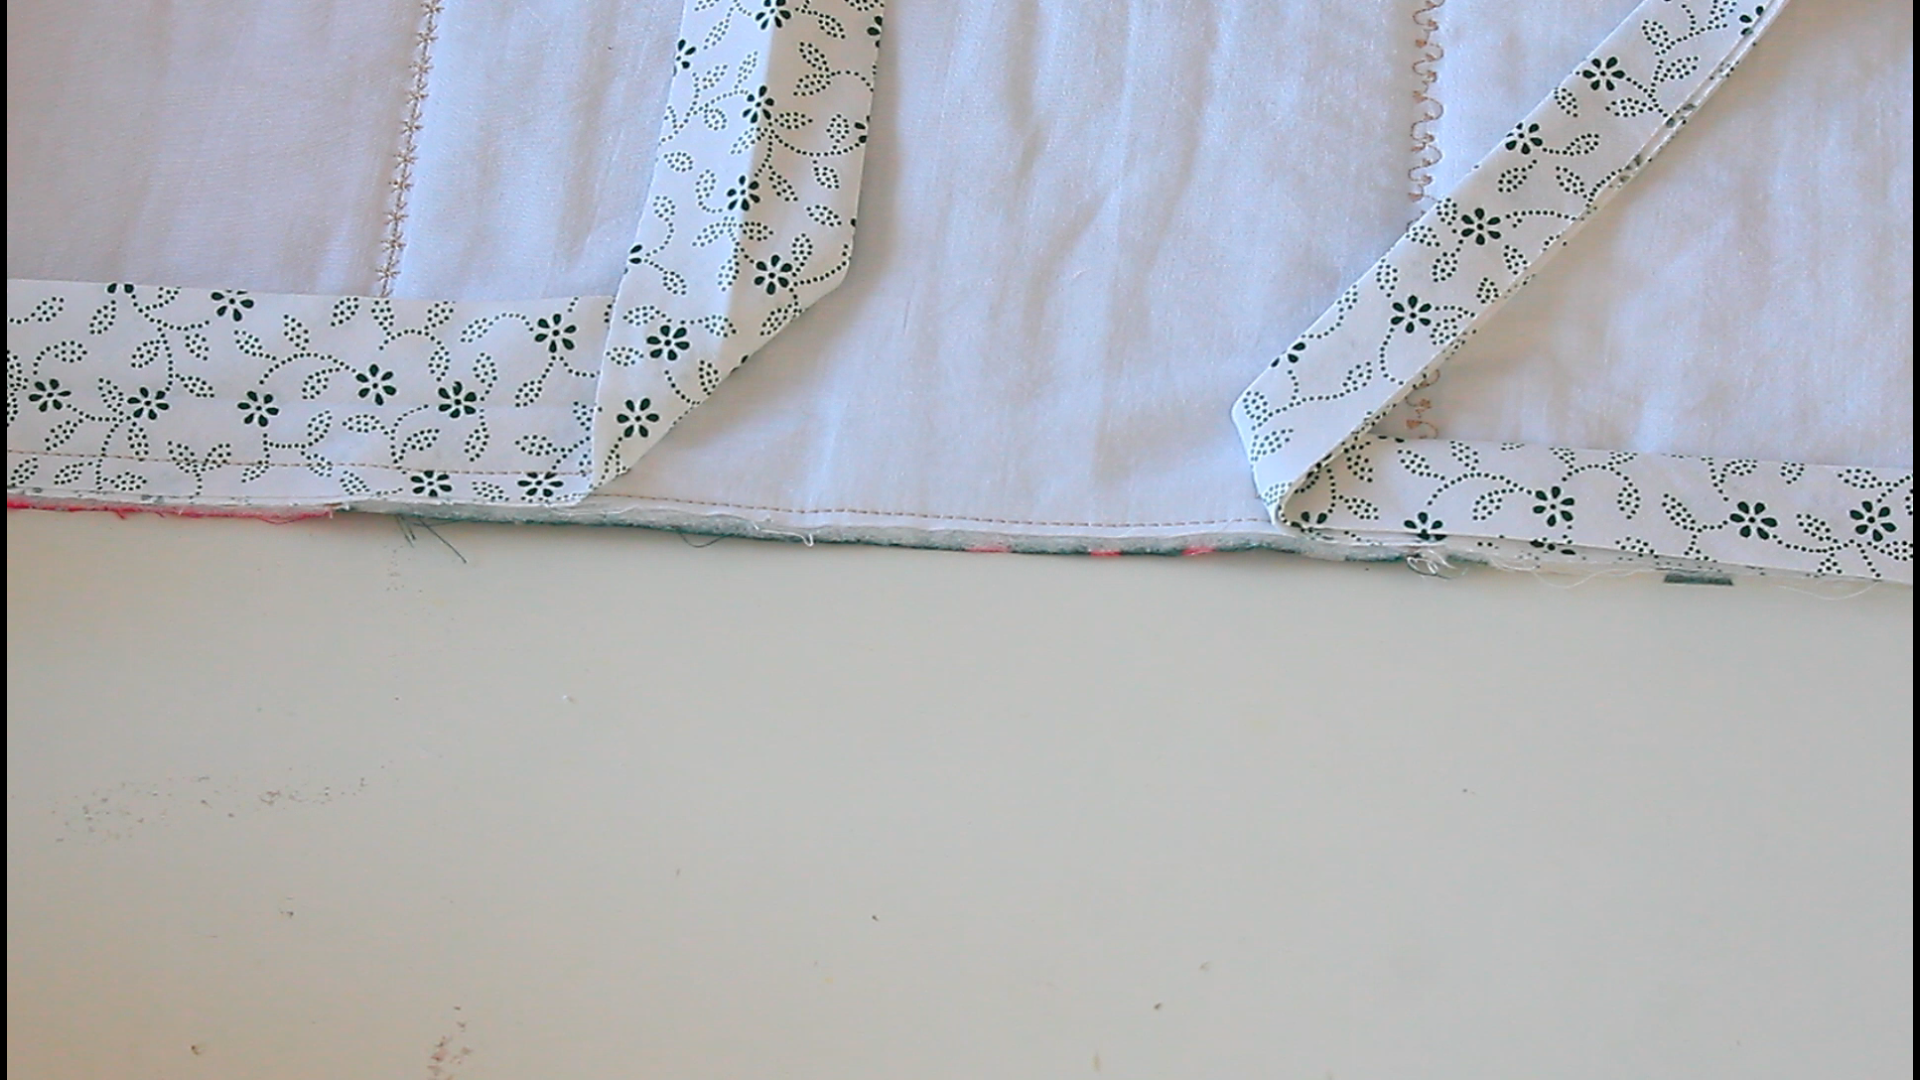
- Take your quilt off the machine and lay it flat on a surface.
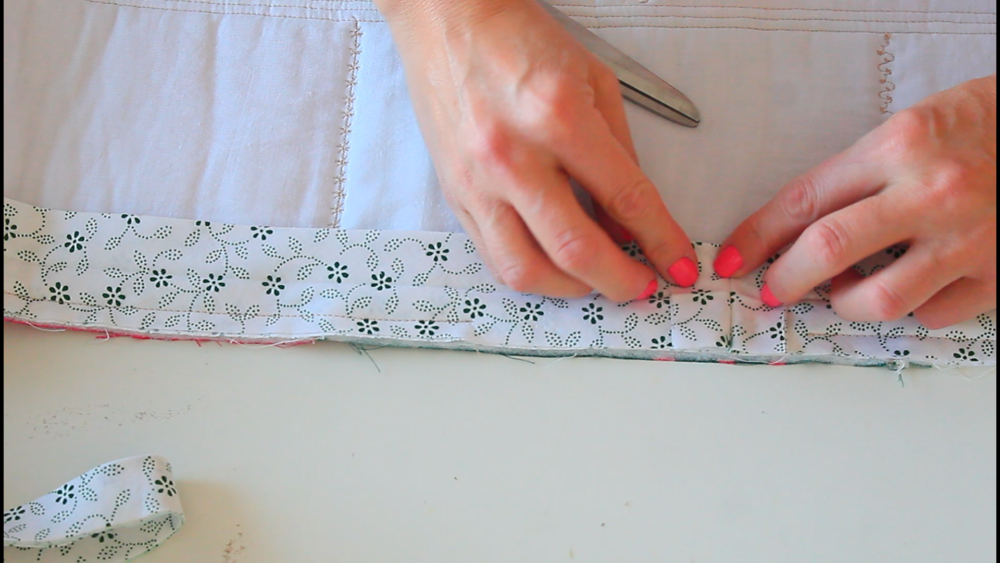
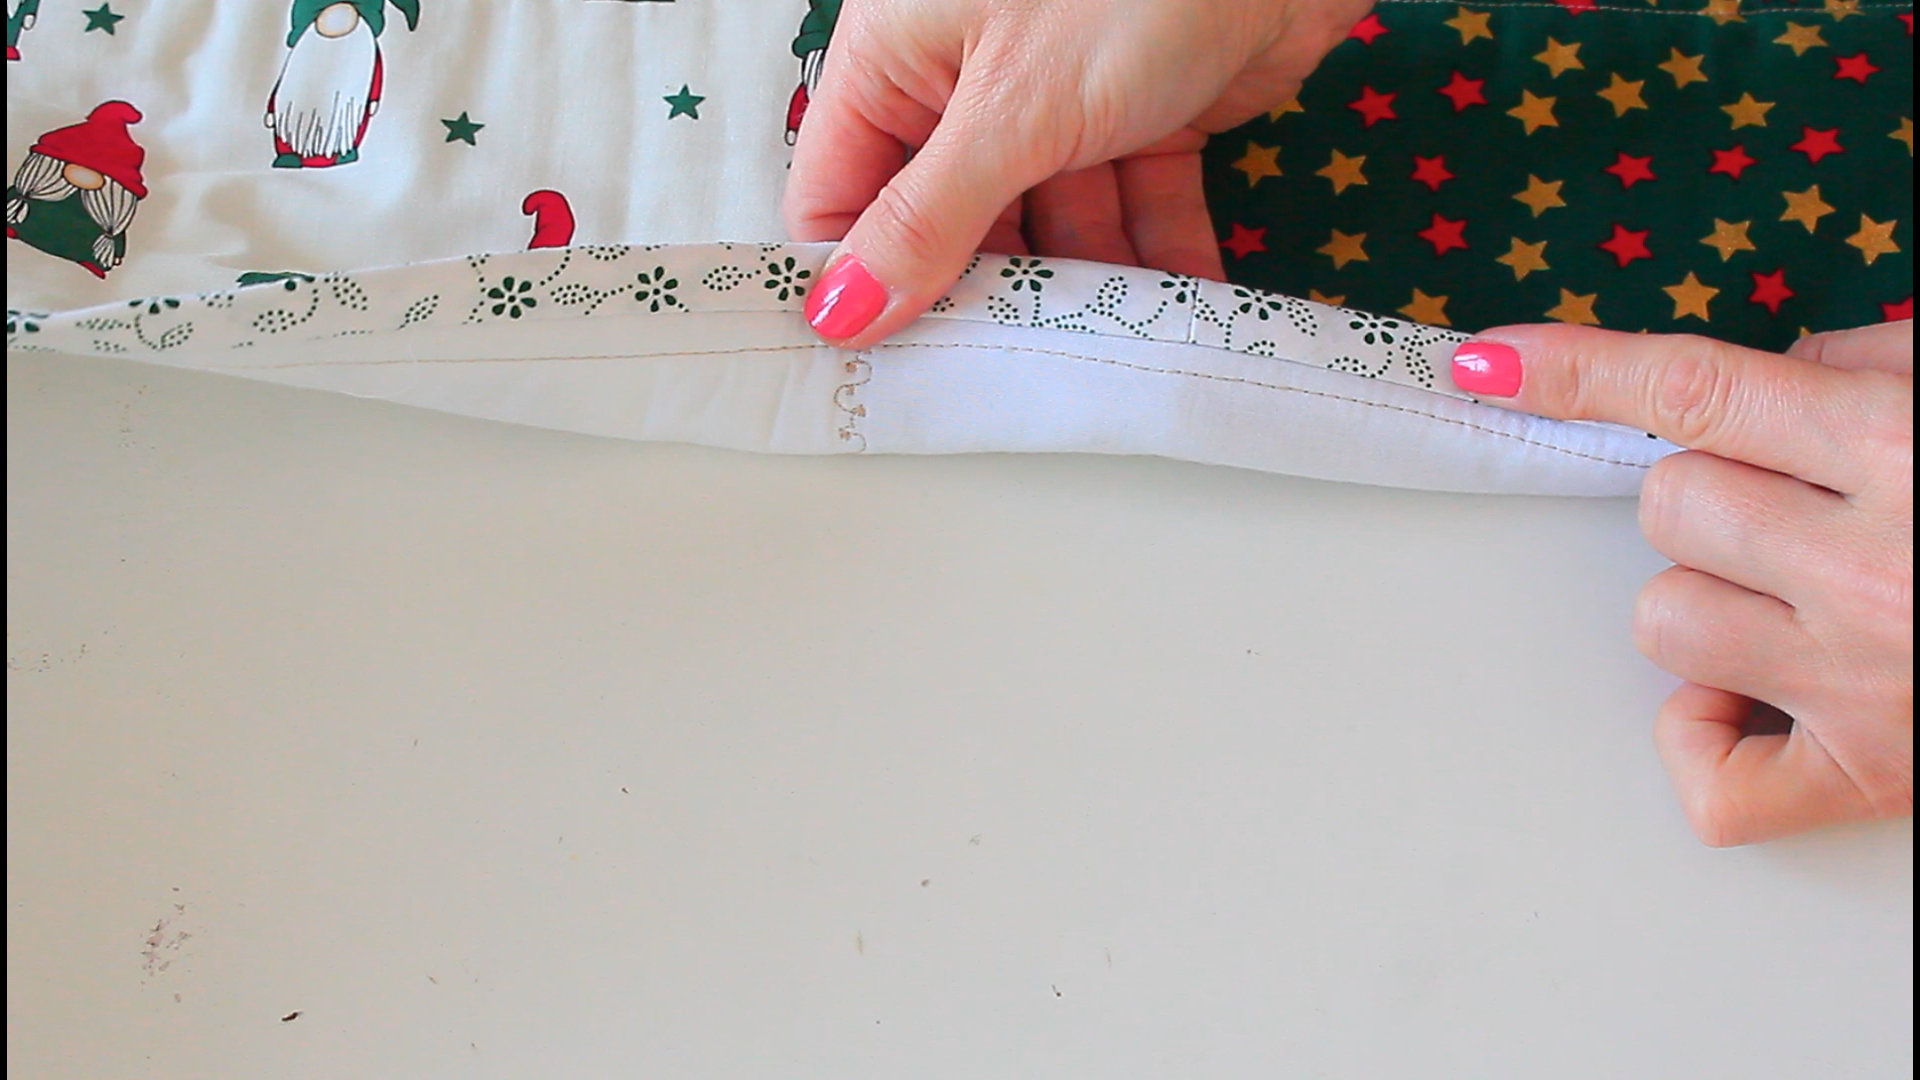
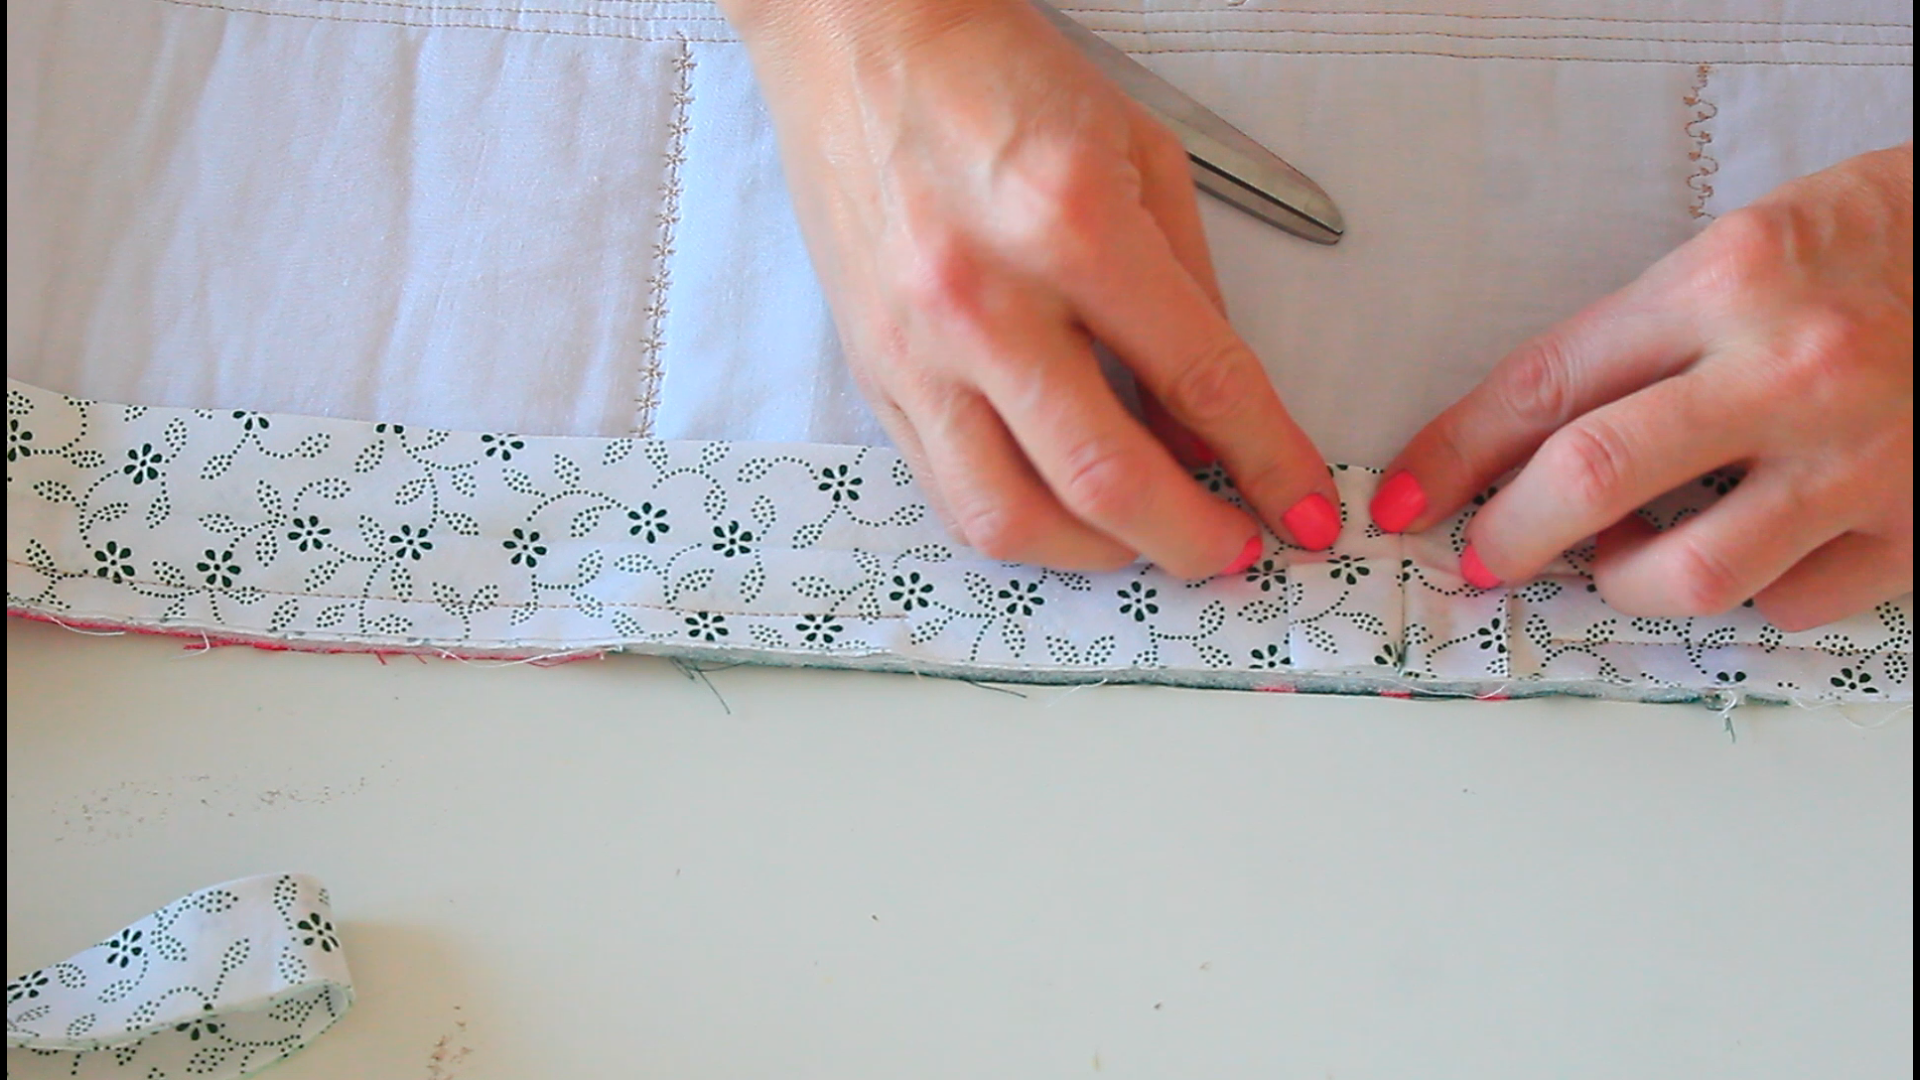
- Meet the bias ends.

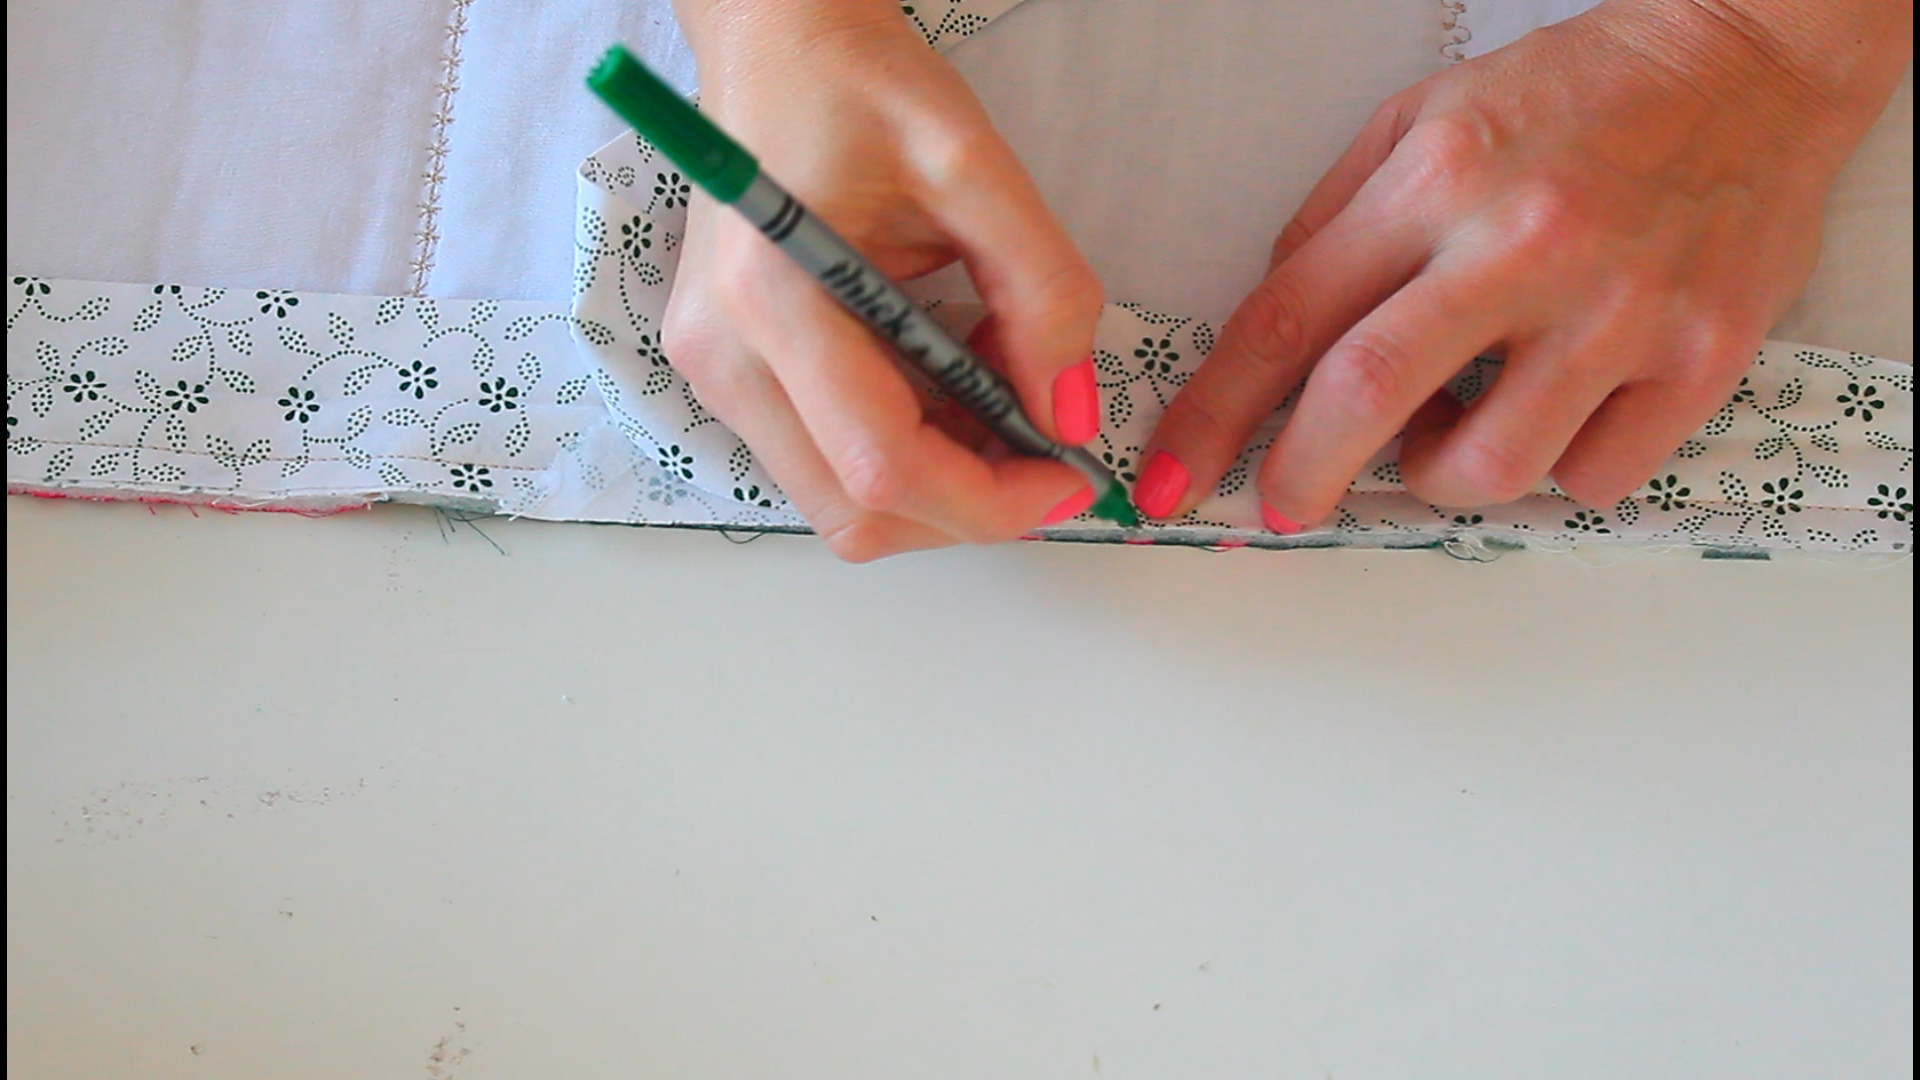
- Mark the point where the ends meet.
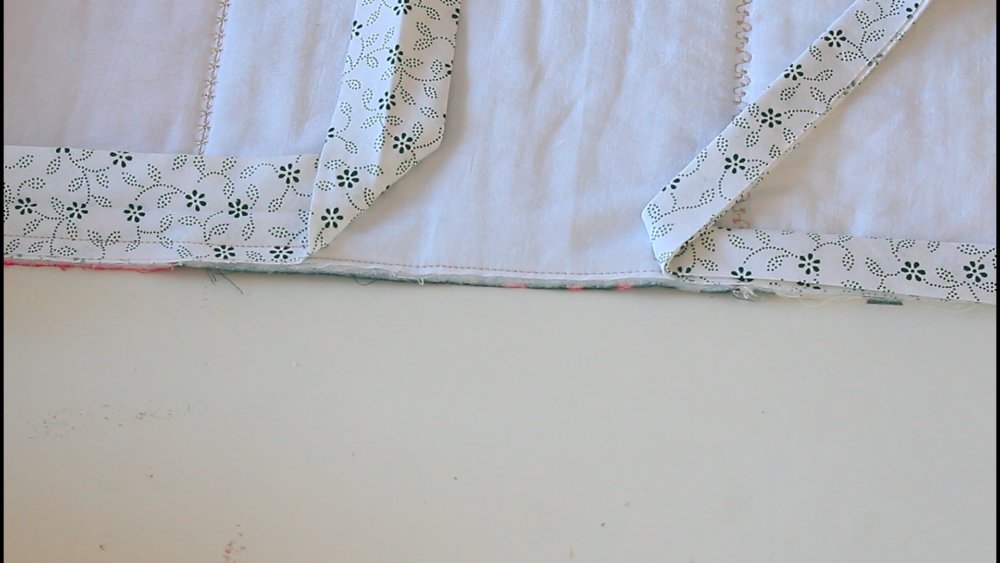
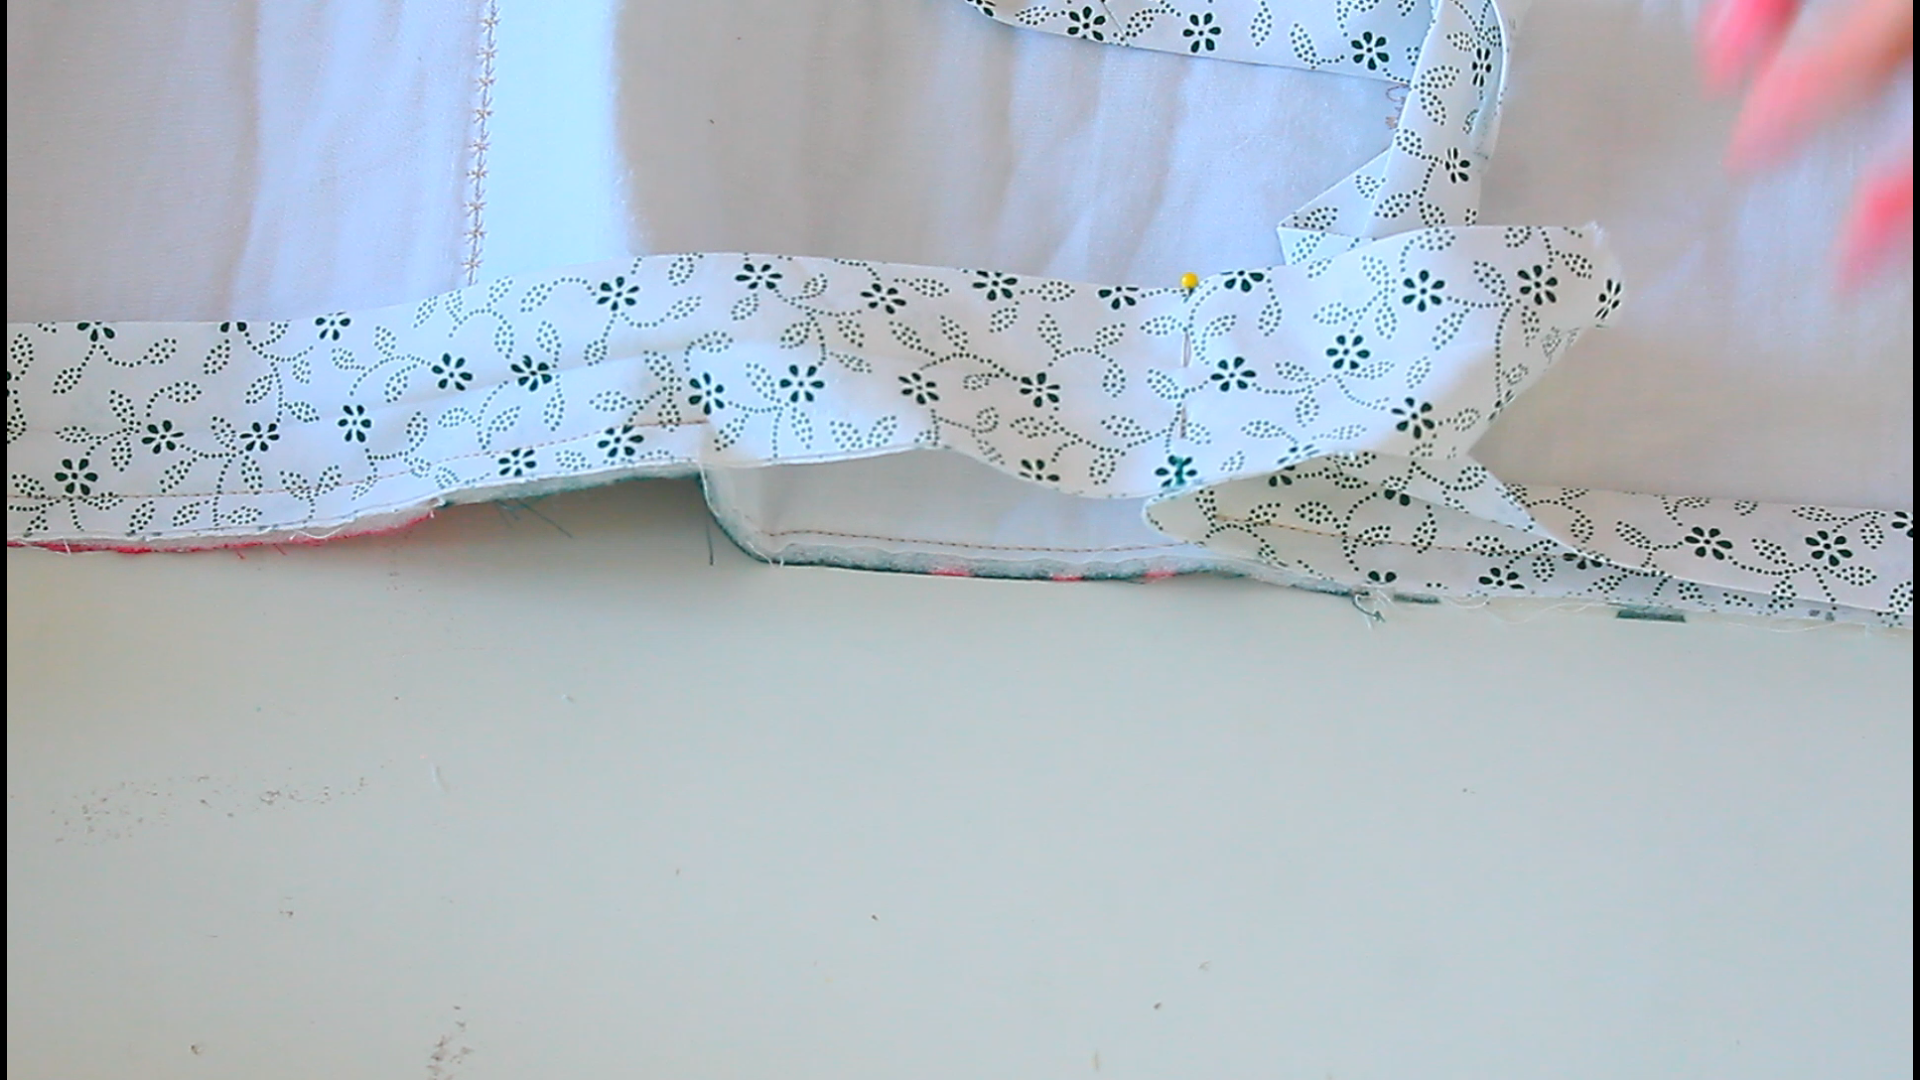
- Pin along the marked area then sew.

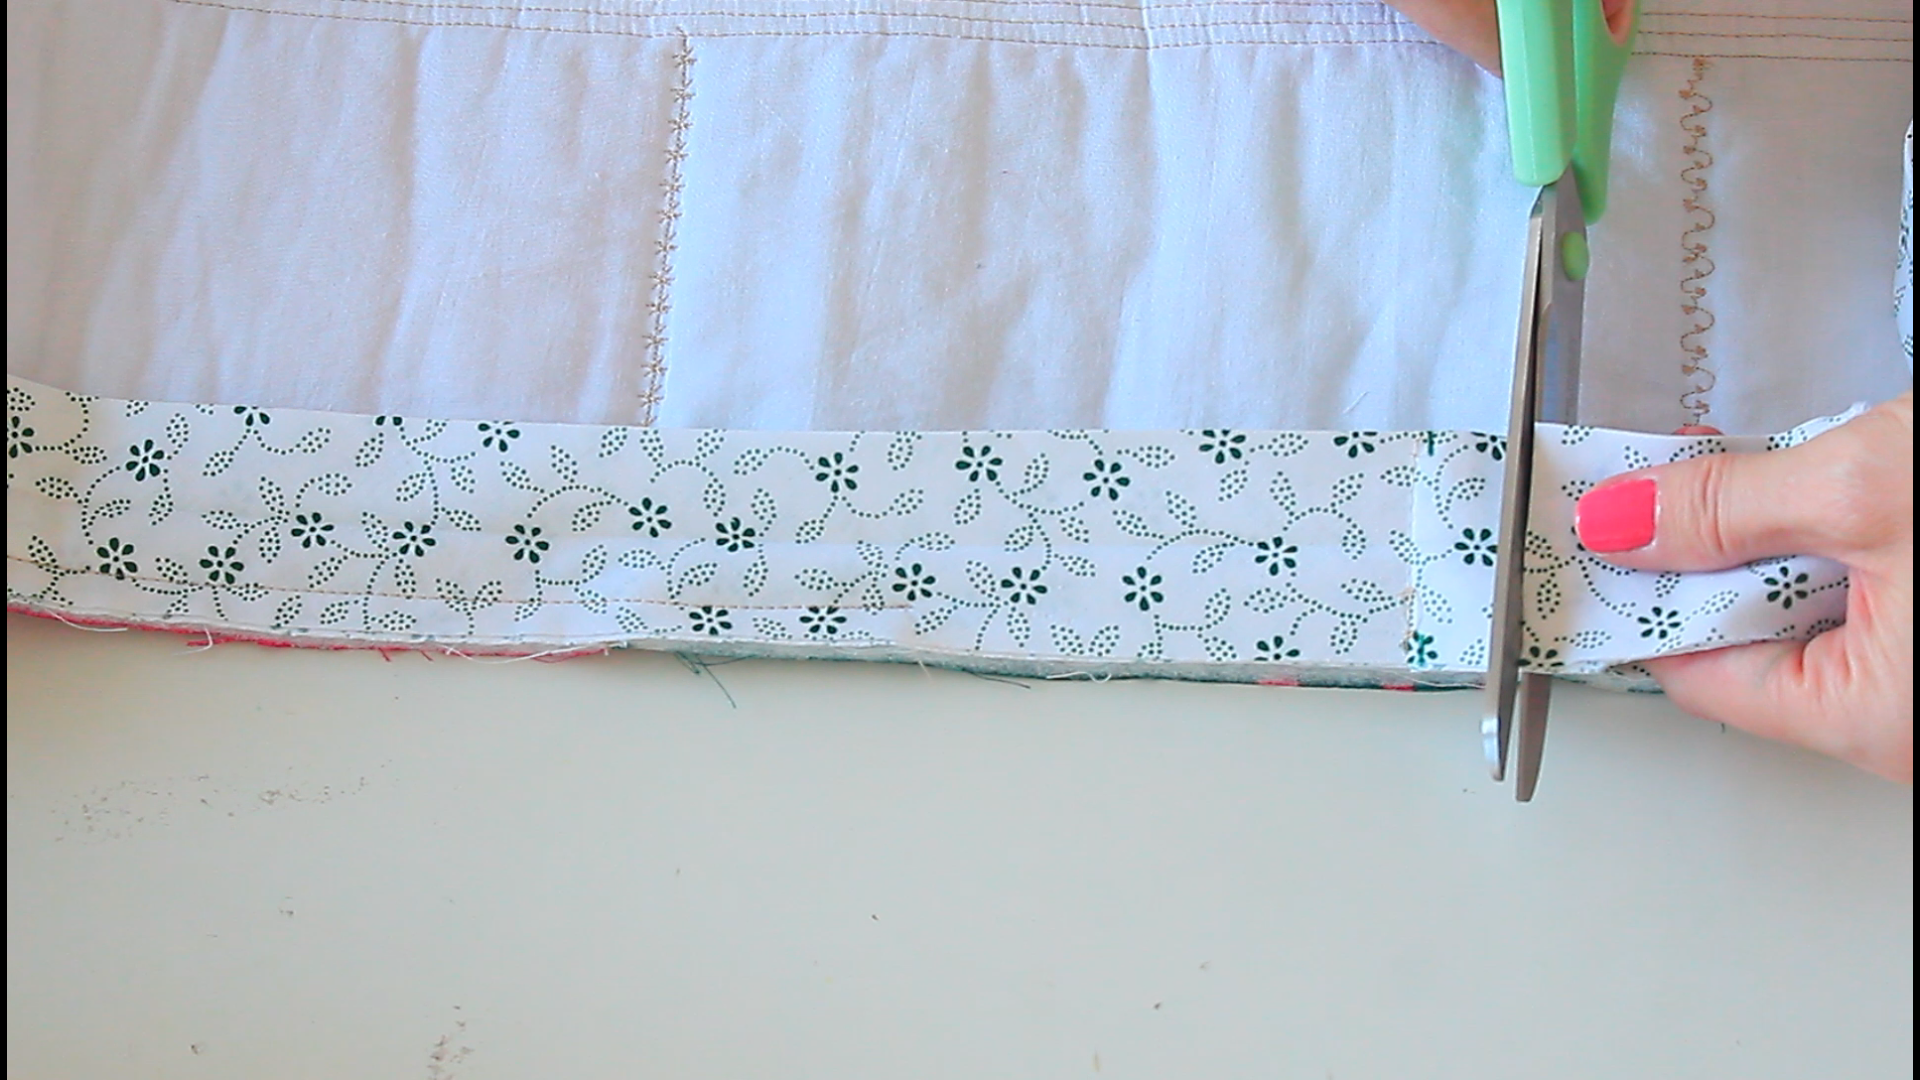
- Trim the excess strips, leaving about 1/2″ of each.
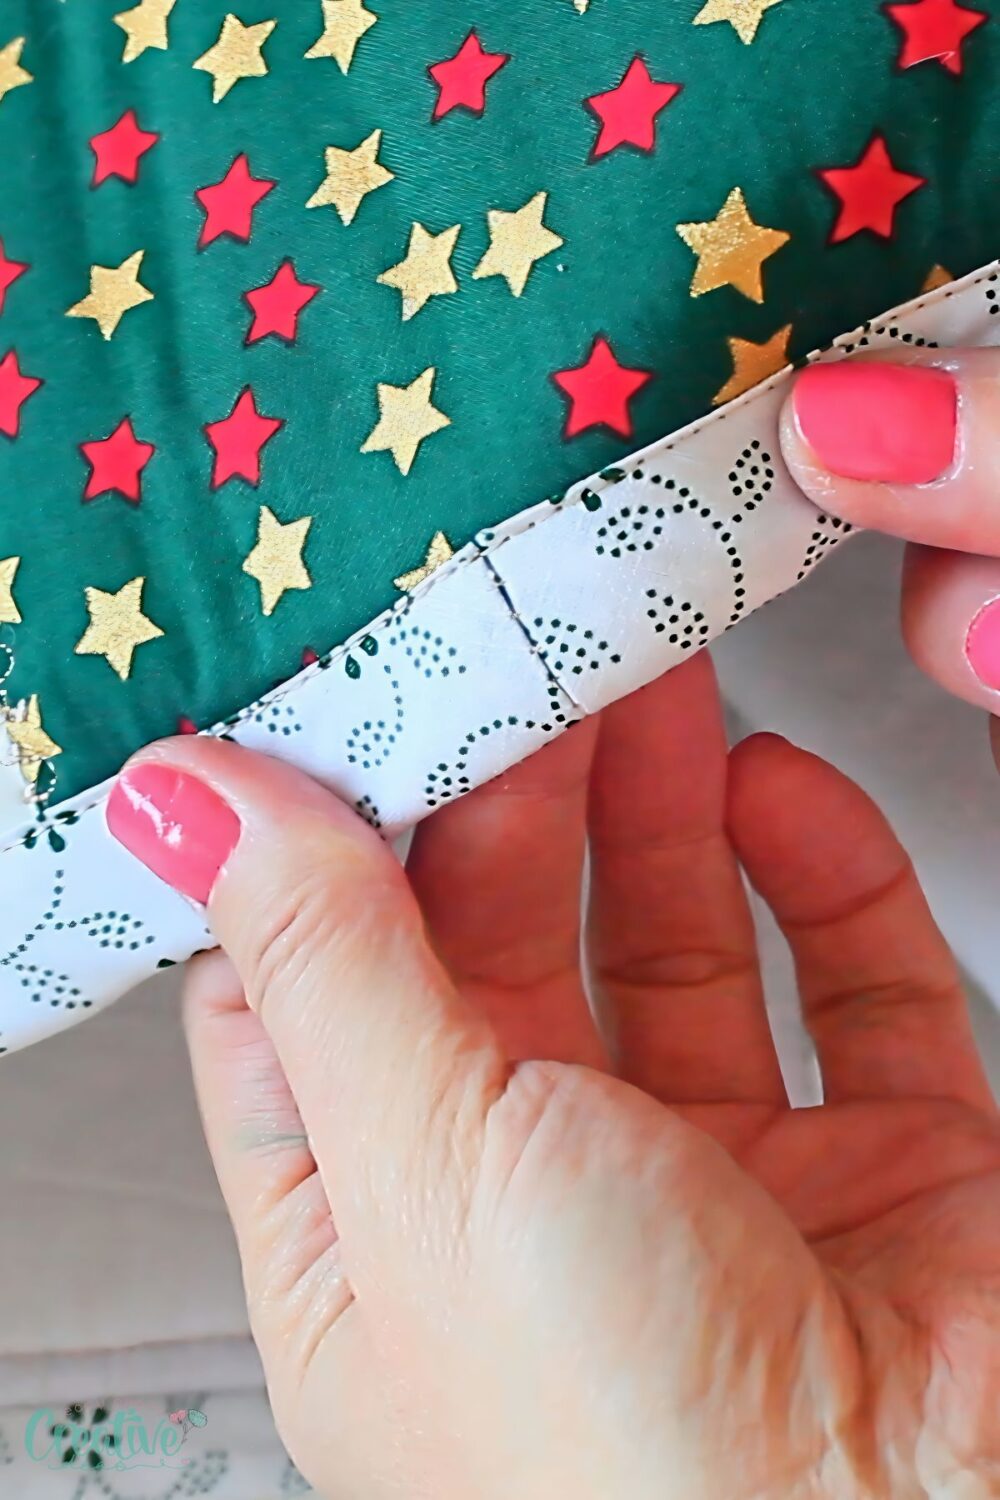
- Align the binding against the quilt edge, fold the ends again to a side and press.
- Continue sewing the bias to the quilt, from where you left and stopping where you first started to sew.
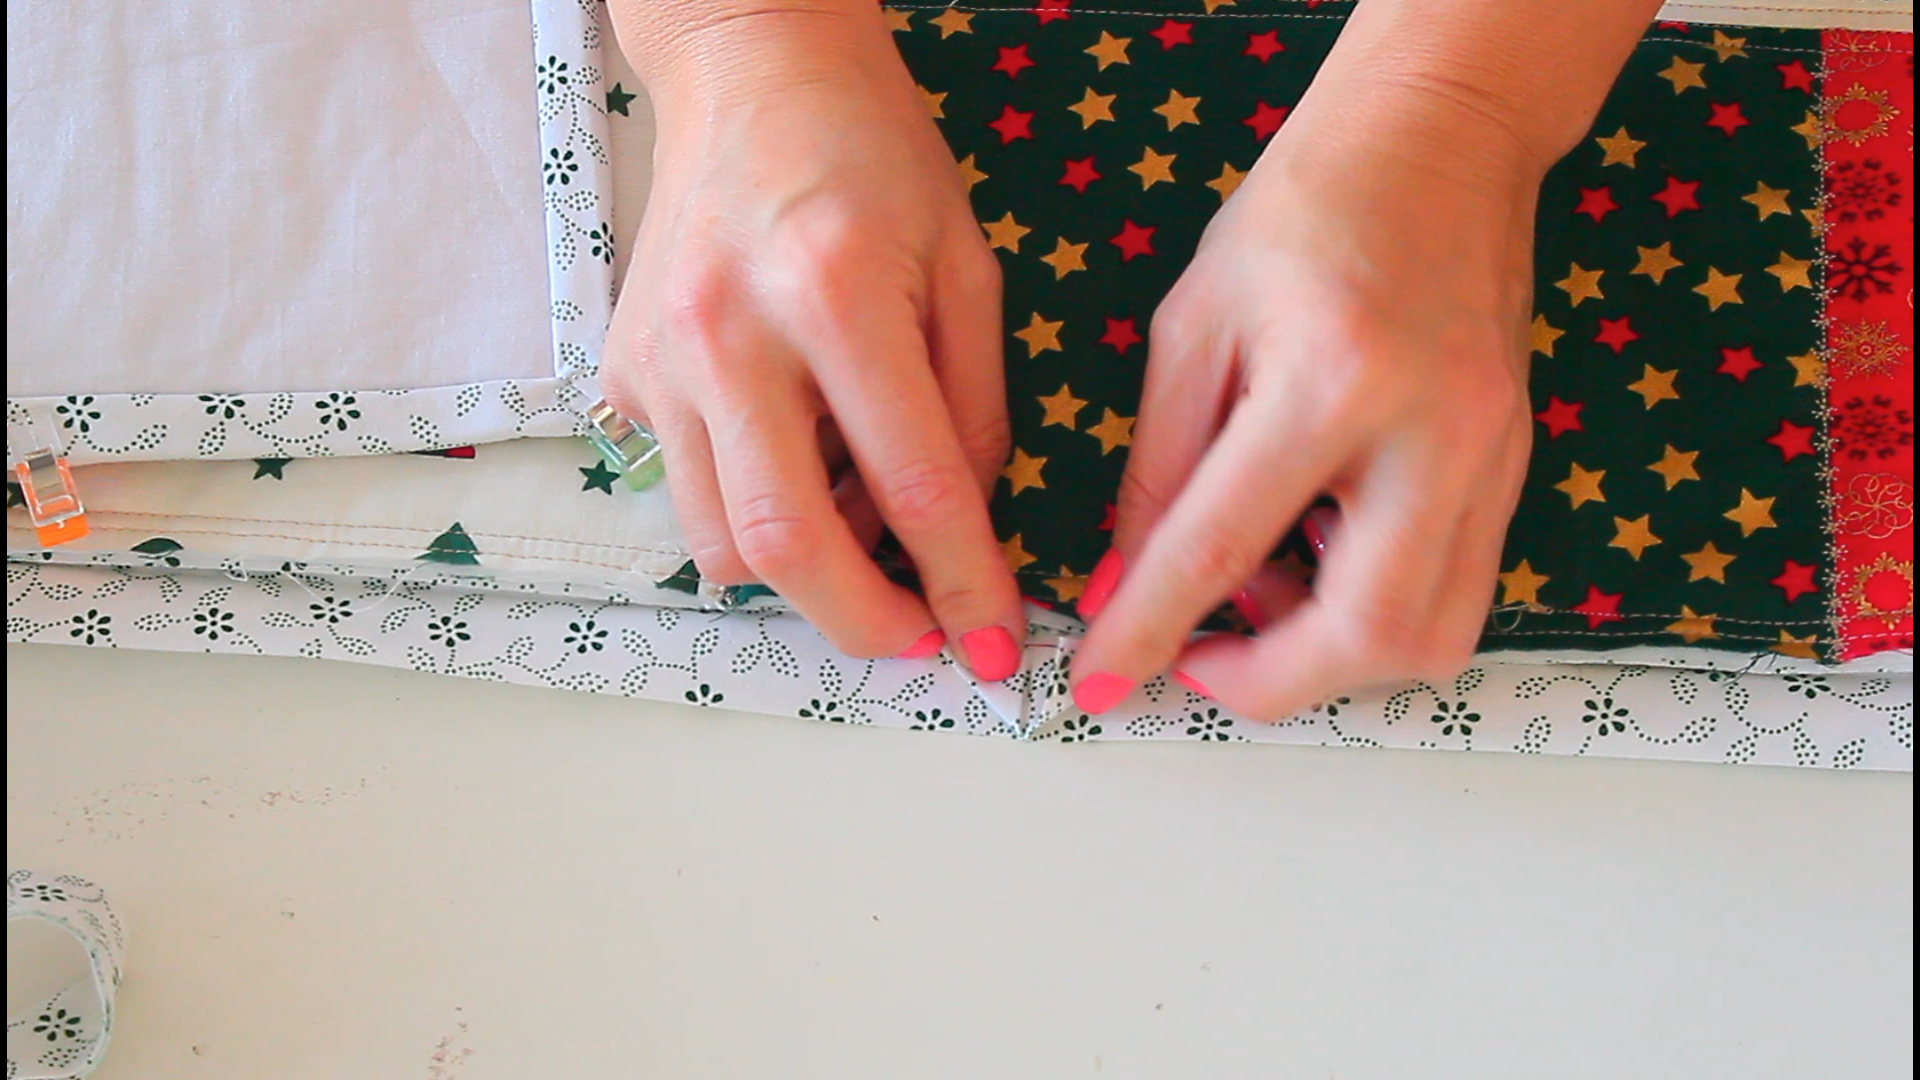
- Flip the quilt to the opposite side.
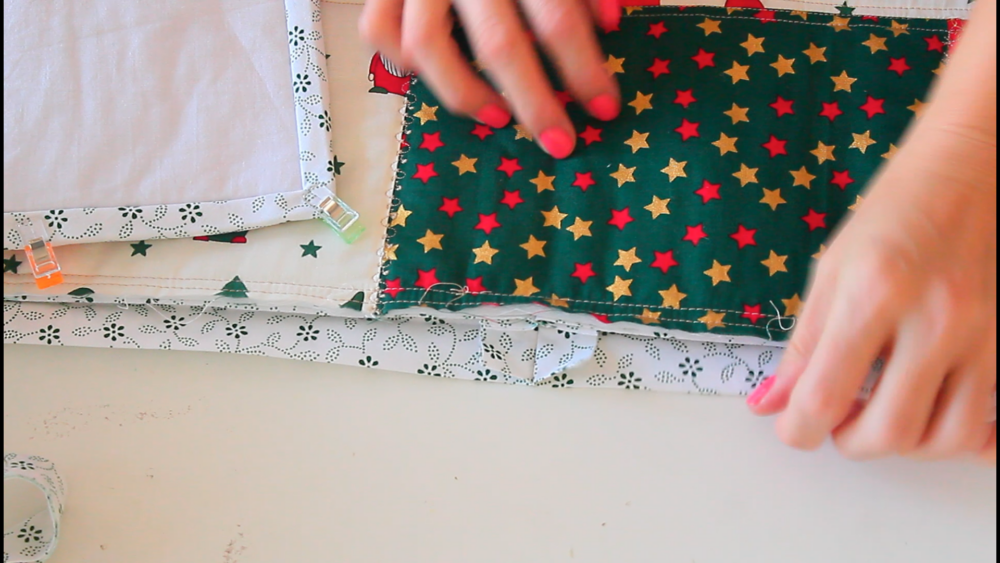
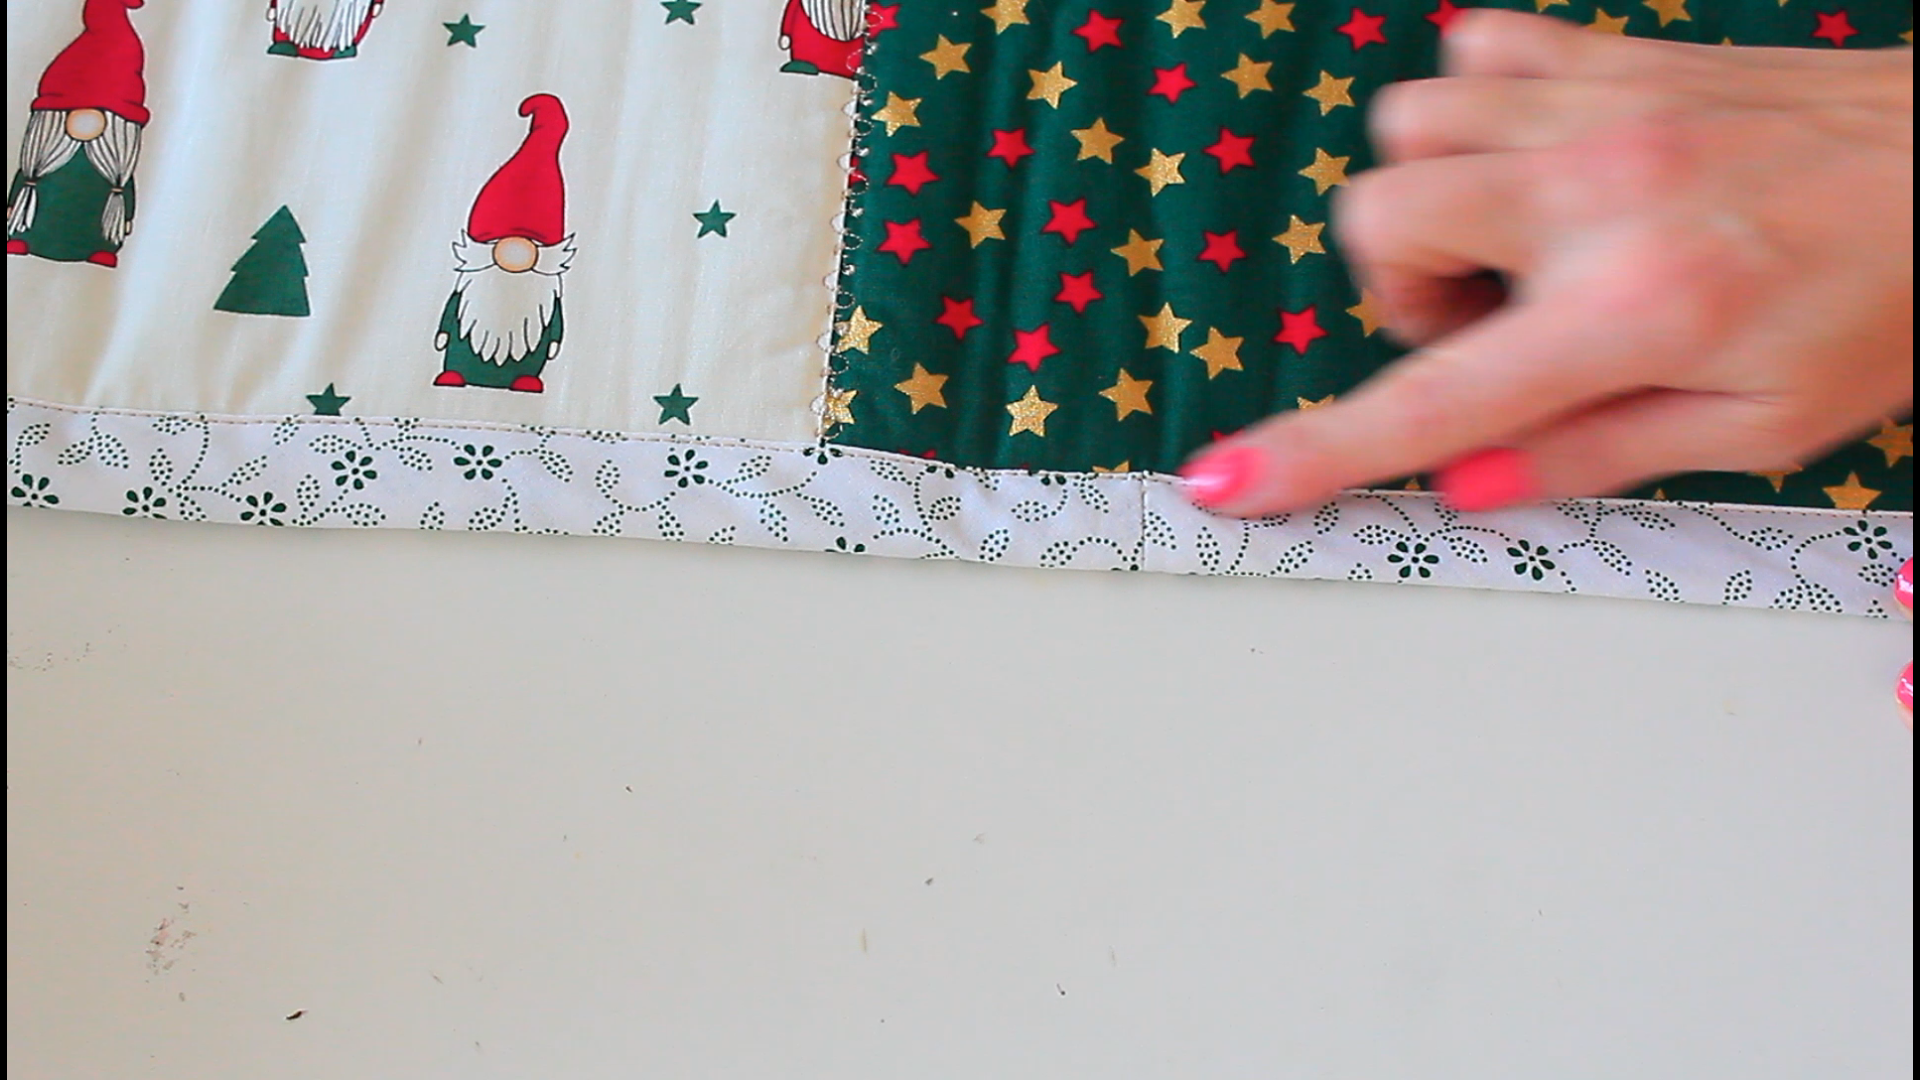
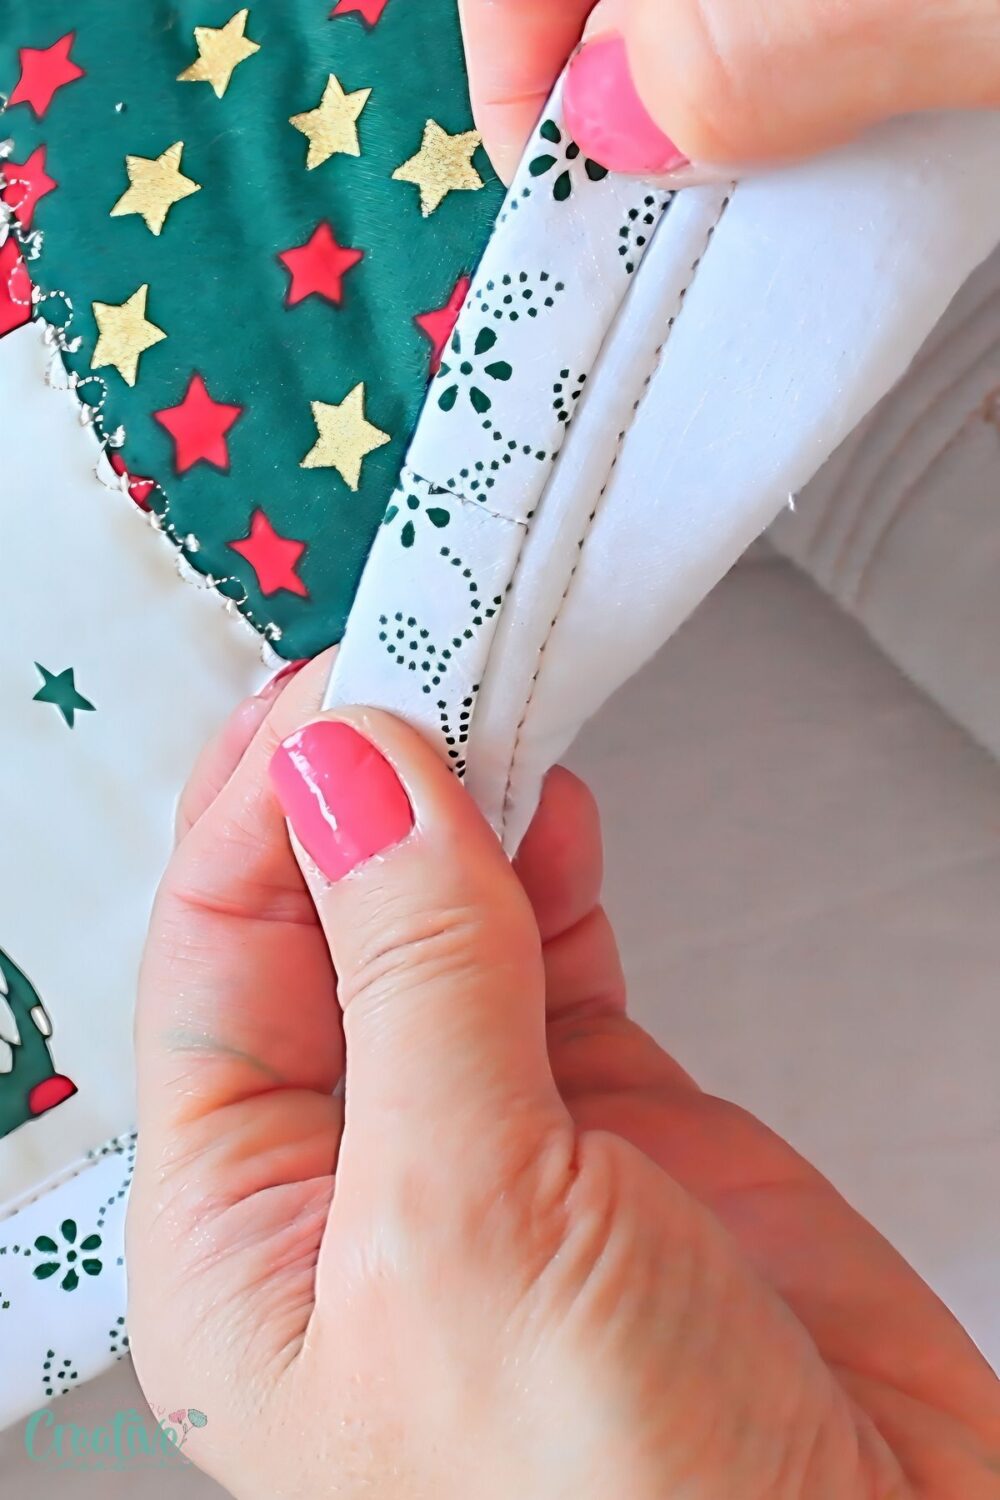
- In the joining seam of the binding, press down the little corners of the ends to form two small triangles and press.

- Fold the bias binding over the quilt edge and clip in place with wonder clips.
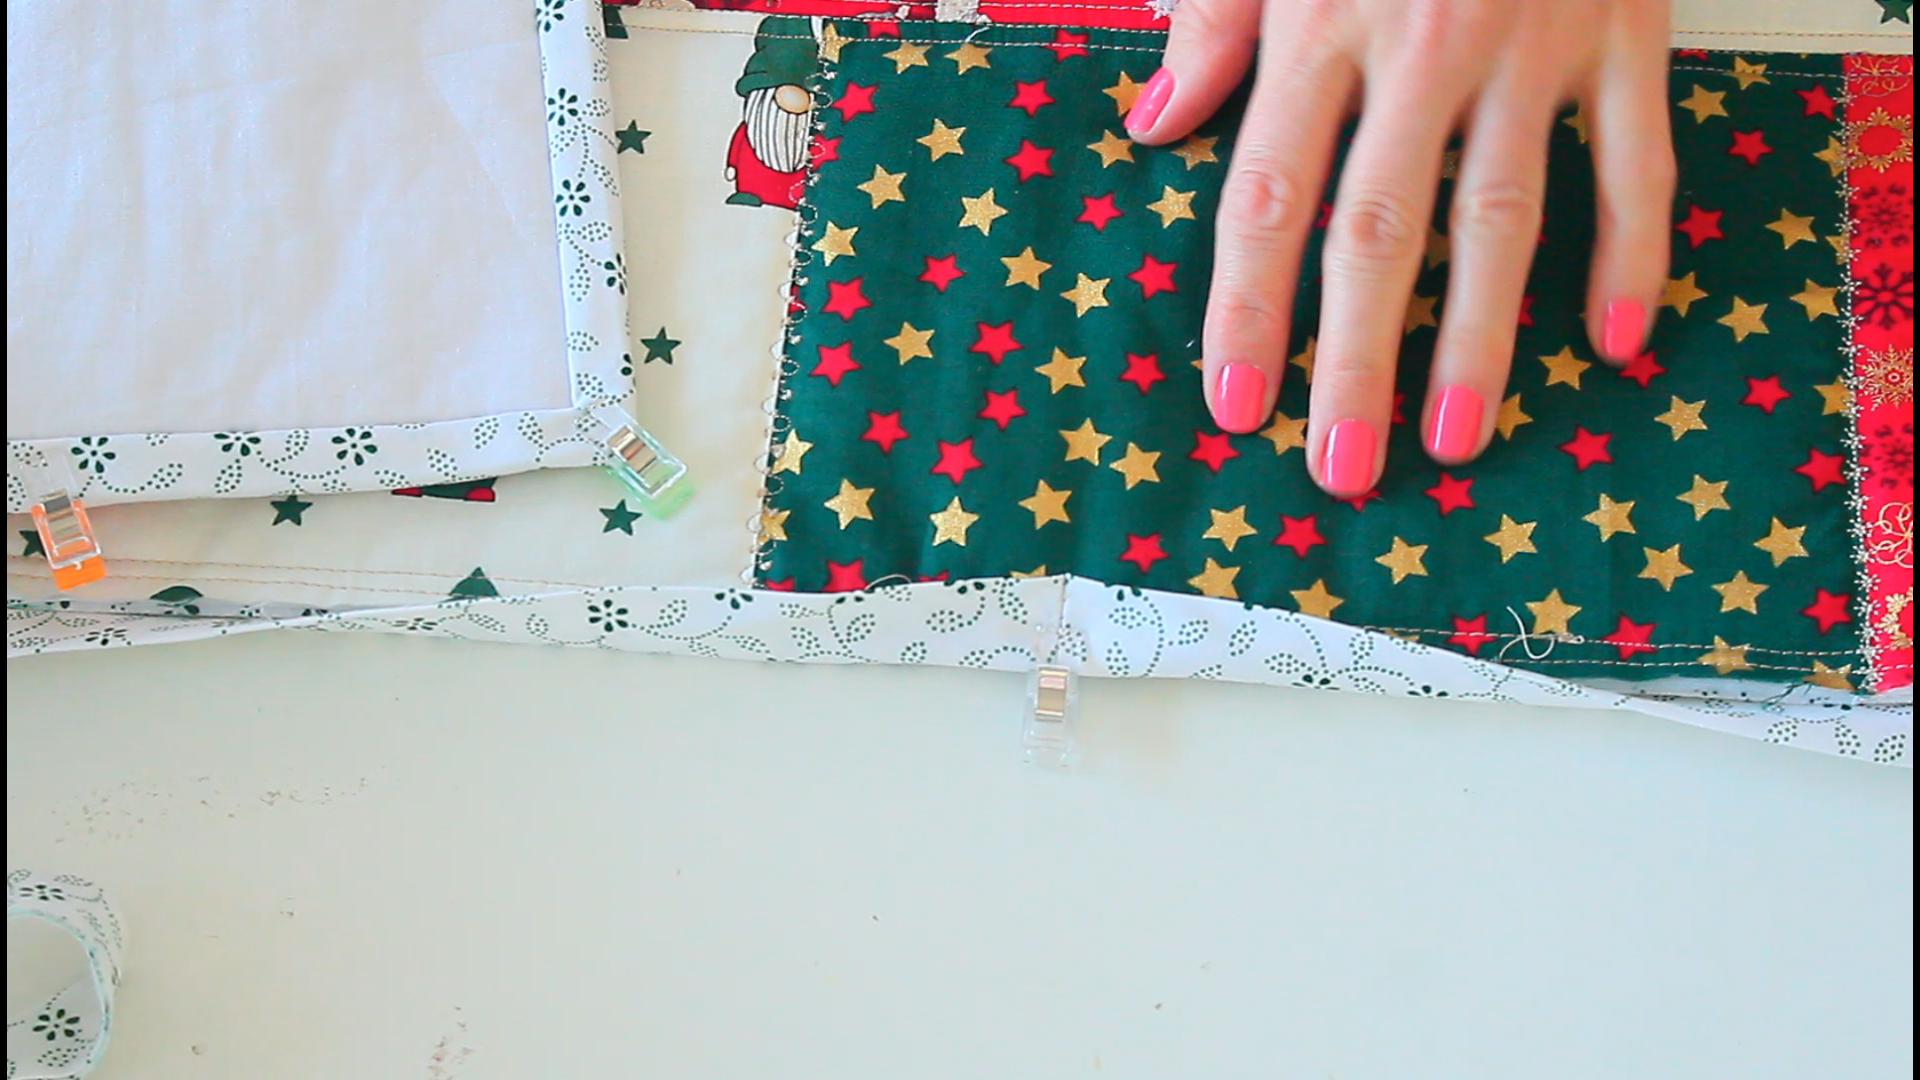
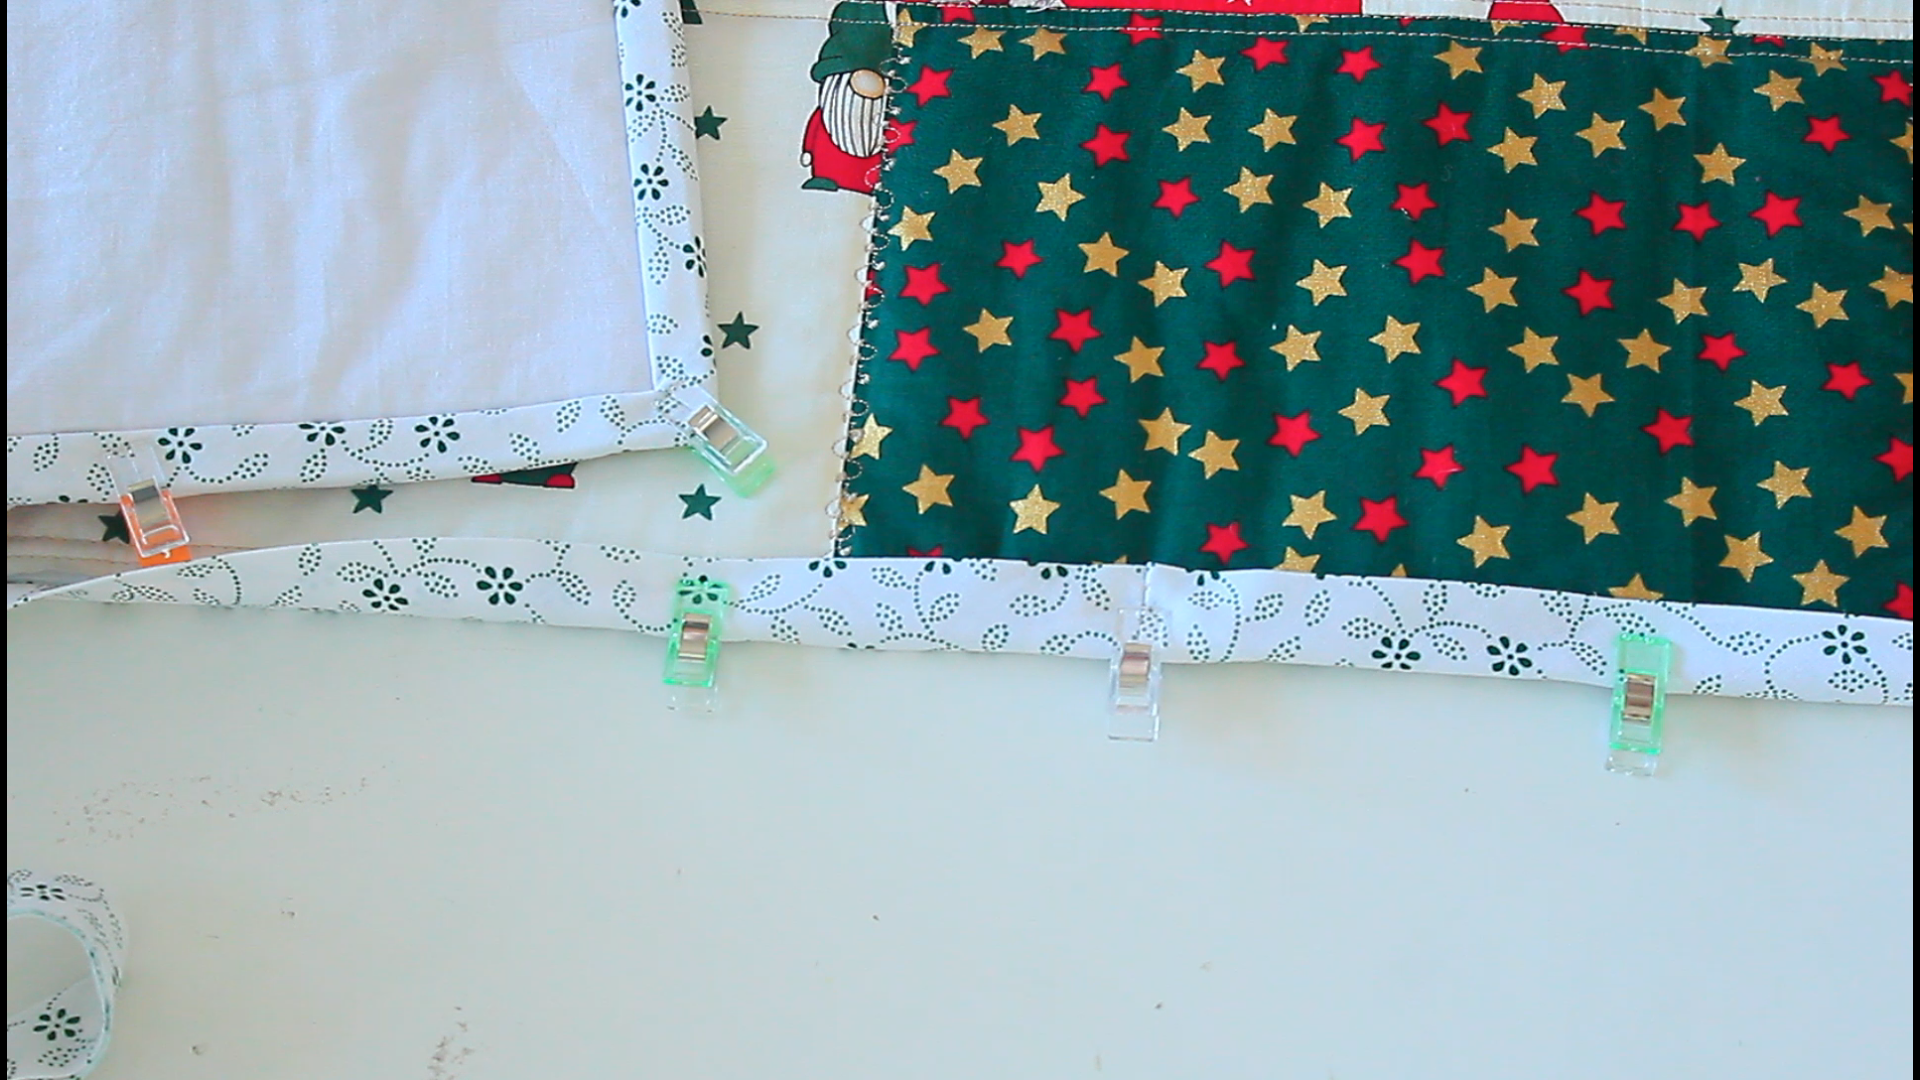
- Stitch in the ditch to finish attaching the binding to the quilt onto the other side of the quilt. In this tutorial you’ll find a little trick I use to sew the perfect stitch in the ditch.
- Give the binding a nice press and you’re done!
Where to use this method
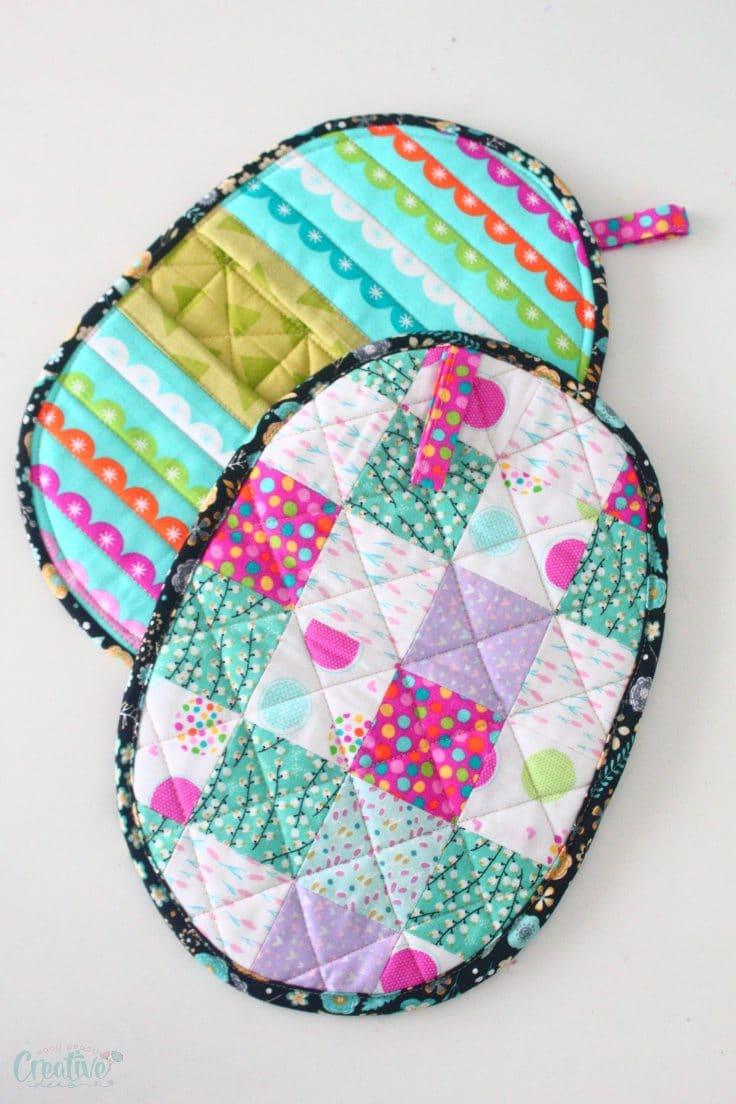
There is a large variety of quilting tutorials that benefit from this bias binding method. Here are a few favorites from my website:
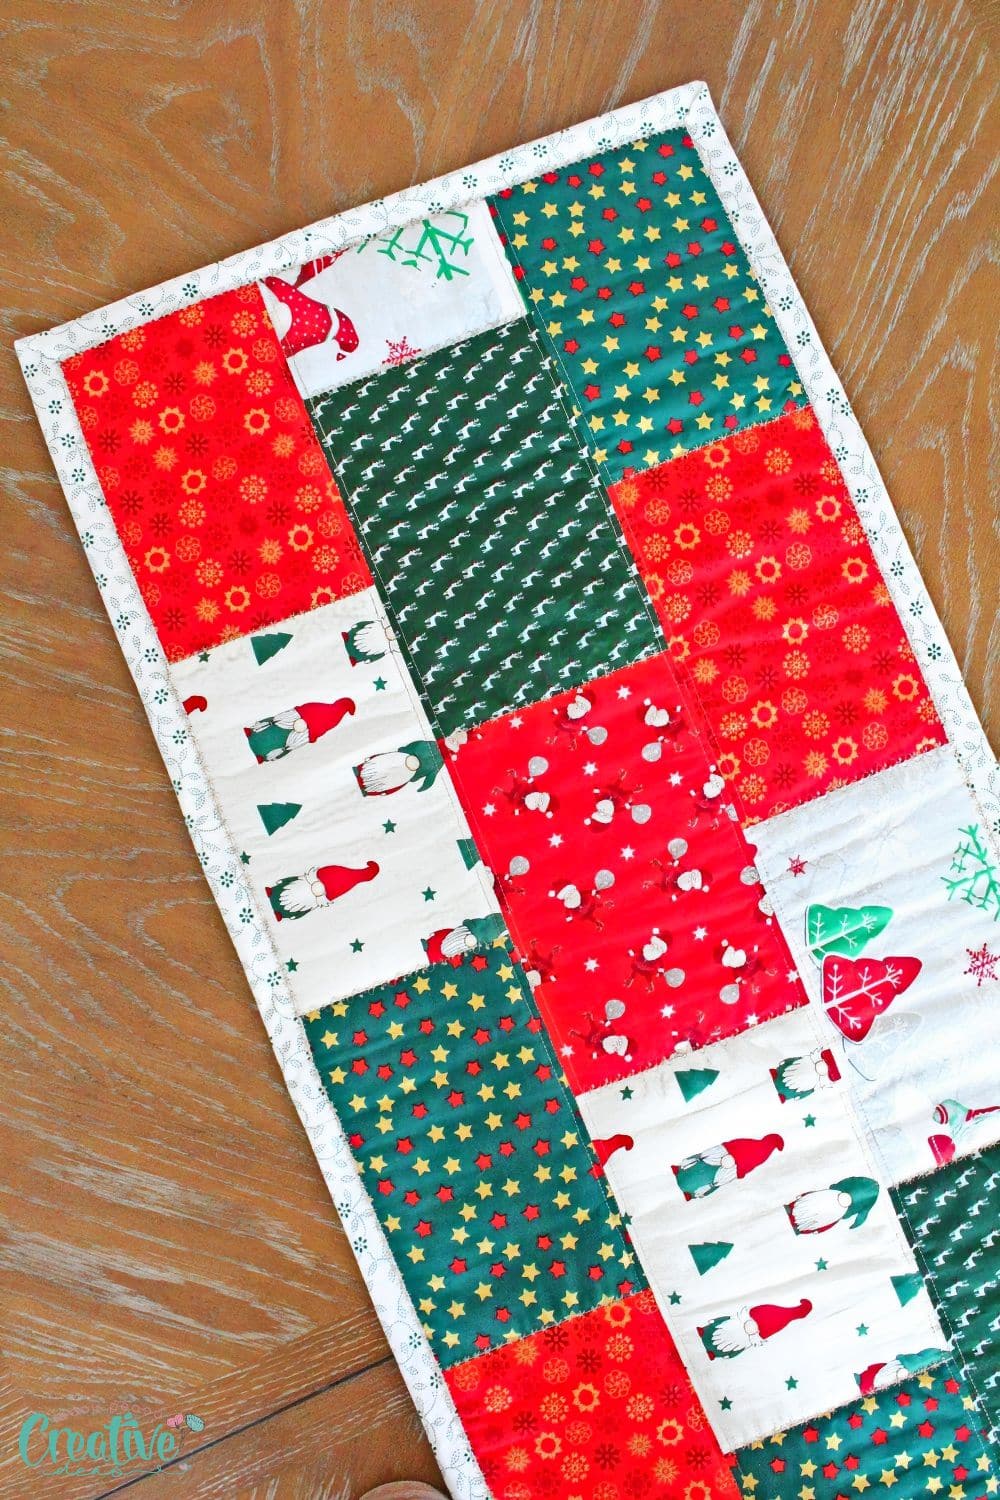

With this “lazy” method, expect to achieve a smooth, even finish on your binding. If any irregularities arise, simply unpin the section and re-align for a better fit. But chances are you won’t run into any issues with this easy, tried-and-tested method.
Frequently Asked Questions
Can I join bias binding without a sewing machine?
Yes, you can hand-sew bias tape using a slip-stitch for similar results.
Will this method create a lot of bulk in the joining seam?
Contrary to popular belief, this method actually doesn’t create a lot of bulk, probably just as much as other methods. The ends of the binding are folded to a side and then into small triangles to reduce bulk in the joining seam and the finishing seam sewn to the binding edge.
What if I want a more durable finish?
To ensure your bias binding stays put, you can also topstitch along the joining seam for added reinforcement.
More sewing tips you’ll enjoy:
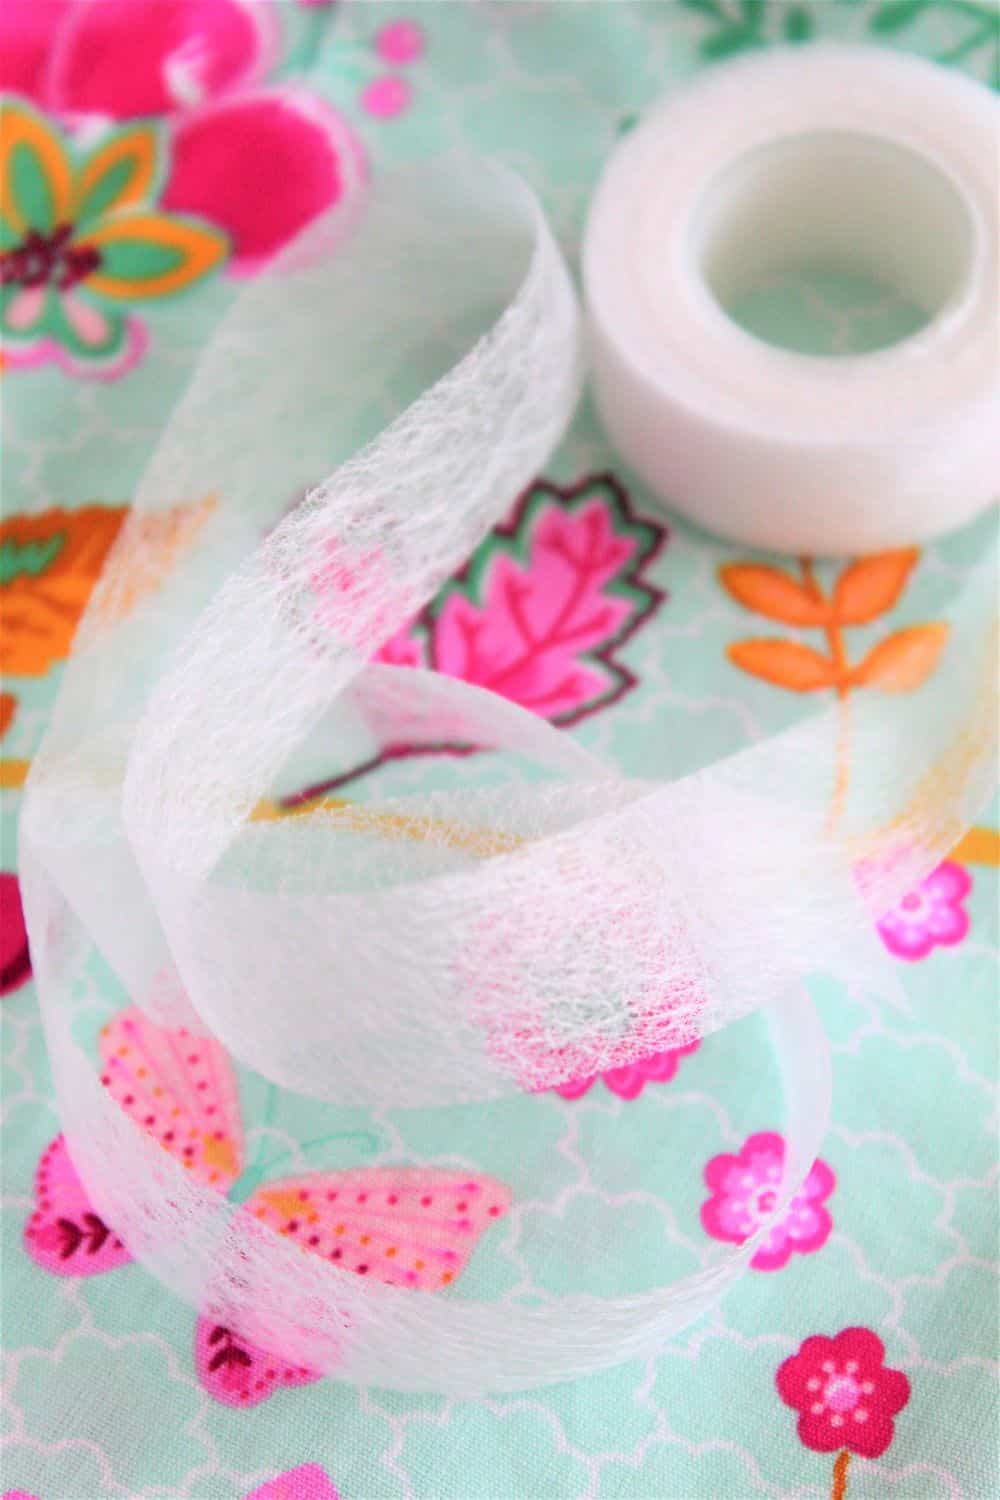
- How to use hemming tape in sewing
- How to adjust the presser foot pressure on your sewing machine
- Tips for sewing vinyl with a home sewing machine
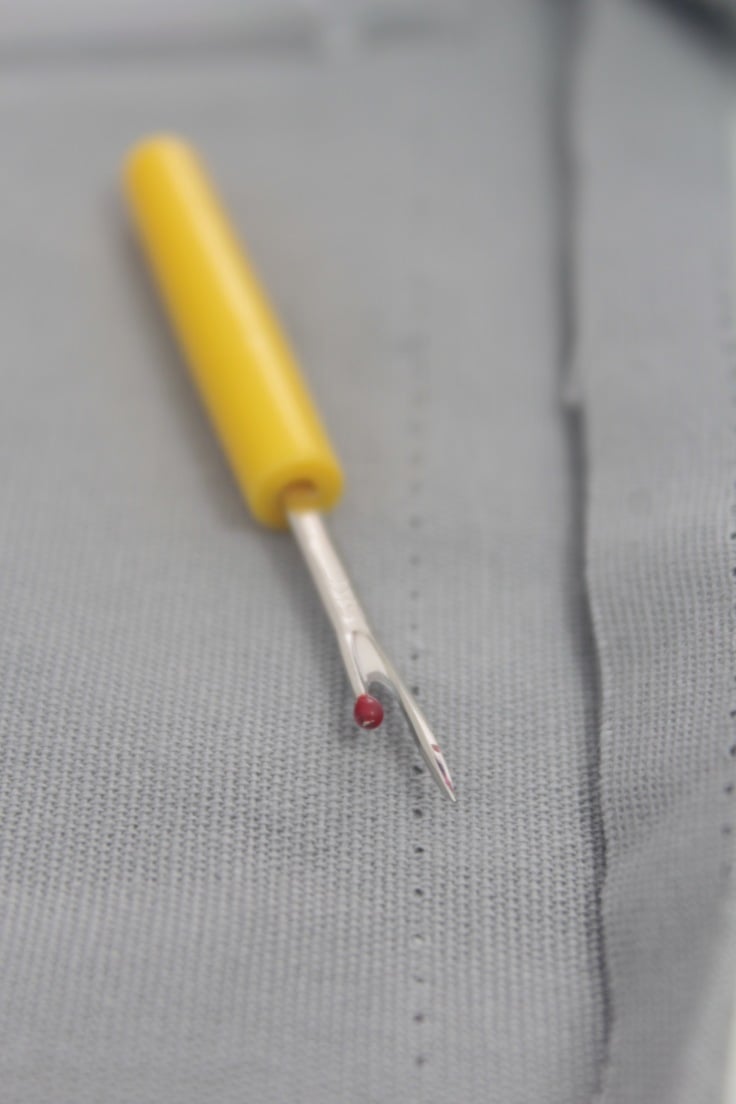
- How to use the seam ripper properly
- How to sew binding ends together
I hope you’ve enjoyed learning how to join bias binding, and that you’ll make use of it in your future projects! Keep on creating with confidence and let me know if you have any questions, in the comments section below. Have fun and Happy sewing!
Most popular sewing projects


- Tips for sewing a round hem
- Corded bag handles
- Flutter sleeve dress pattern
- How to laminate cotton fabric

How to join bias binding
Materials
- Bias binding strip
- Quilting project or quilted scraps where you can practice - advisable if this is your first time finishing binding strips
- Matching thread
Tools
- Iron and ironing board (it helps to have an ironing pad at hand)
- fabric scissors
Instructions
- Start by sewing the raw edge of your bias binding to the raw edges of the quilt, leaving about 2 inches of the binding strip open at the starting end. When you almost reach the other end of the binding, stop sewing about 2 inches away from the other end.

- Take your quilt off the machine and lay it flat on a surface. Meet the bias ends.
- Mark the point where the ends meet.
- Pin along the marked area then sew.
- Trim the excess strips, leaving about 1/2" of each.
- Align the binding against the quilt edge, fold the ends again to a side and press. Continue sewing the bias to the quilt, from where you left and stopping where you first started to sew.
- Flip the quilt to the opposite side.
- In the joining seam of the binding, press down the little corners of the ends to form two small triangles and press.
- Fold the bias binding over the quilt edge and clip in place with wonder clips.
- Stitch in the ditch to finish attaching the binding to the quilt onto the other side of the quilt.
- Give the binding a nice press and you're done!


Video
Article may contain Amazon & affiliate links. As an Amazon Associate I earn from qualifying purchases at no additional cost to you.
ABOUT PETRO
Hi, I’m Petro, author and founder of Easy Peasy Creative Ideas. Sewist, crafter, avid DIY-er, foodie, photographer, homemaker and mommy to one. I’m an expert at coming up with quick, clever sewing tips, recycling crafts and simple, easy recipes! You can find my ideas featured in reputable publications such as Country Living, Good House Keeping, Yahoo News, WikiHow, Shutterfly, Parade, Brit & Co and more. Thanks for stopping by and hope you’ll stay for a while, get to know me better and come back another time. Stick around for real fun projects! Read more…