

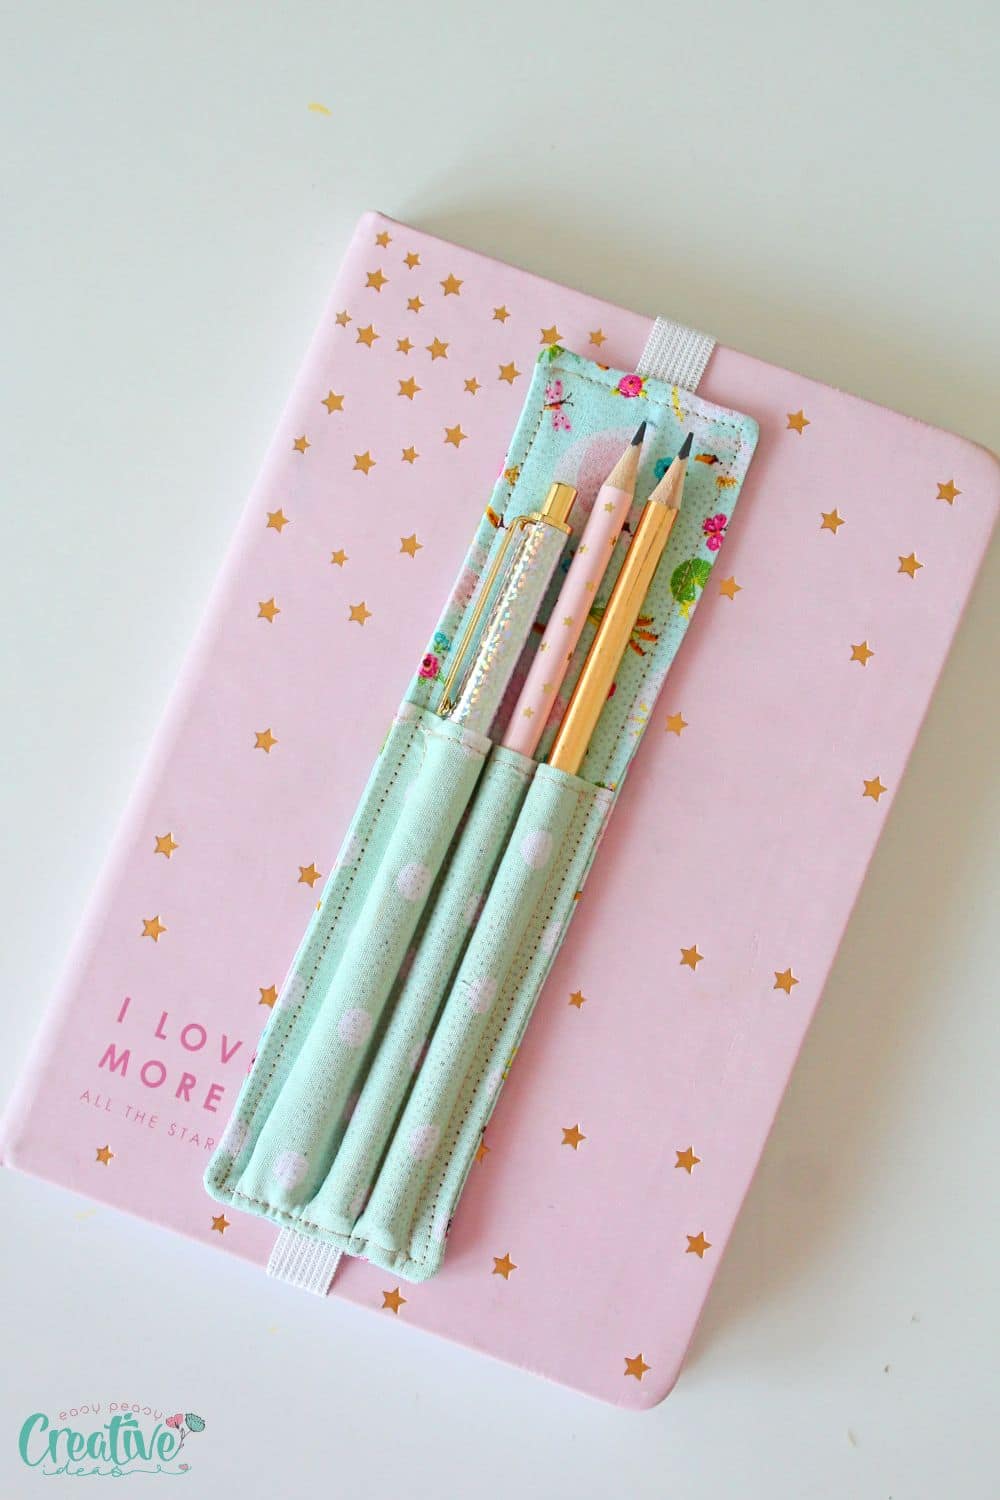
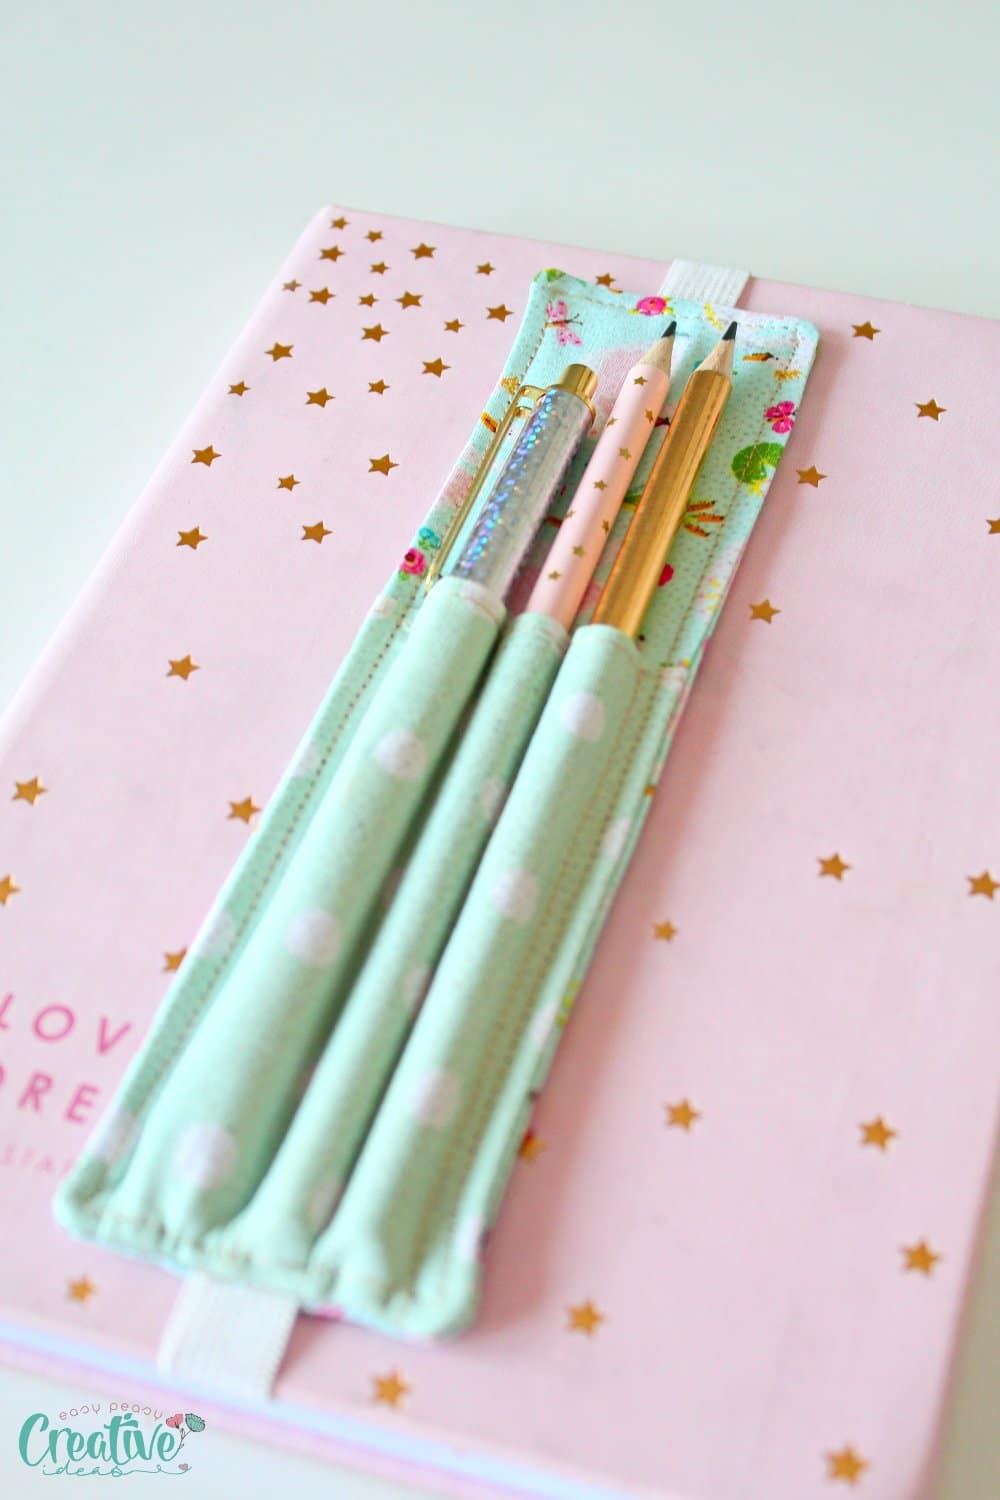
How to sew a pen holder for notebook
Sew yourself a handy DIY pen holder for your notebook or journal so you’ve always got something to write with when inspiration hits. With just a few simple supplies and a bit of creativity, you can whip up a holder that not only fits your style but also keeps your pen right where you need it—attached to your notebook, ready for whenever you need to jot something down.
If you were looking for an easy and quick project, this easy DIY Pen Holder is something you can sew in 30 minutes or less. This handy fabric pencil holder pattern is perfect for beginners and can be customized to fit any size notebook or journal. This pen holder for notebook DIY is not just easy, but it also brings a fun, personalized vibe to your stationery stash.
This article has been converted to a PDF file, available to purchase HERE! However this tutorial is free to read on the website.
In this tutorial I’ll cover the materials needed, step-by-step instructions, and some tips for personalizing your pen holder pattern and how to make a pen holder that fits multiple notebooks. You’ll also discover special sewing techniques that will make assembling the pen holder a breeze.
So gather your materials and get ready to embark on a creative journey!
How to make a pen holder for notebook
Materials needed
For this pen holder for notebook DIY you will need a few key materials:
- Fabric: Opt for a fabric that is both durable and visually appealing. Consider choosing a material that complements your notebook or reflects your personal style. Fabric scraps are perfectly fine for this project and you’ll need two strips for the body and one strip for the pencil pocket (the loops)
- Sewing needle and thread: Make sure to select a needle appropriate for your fabric and a thread that matches or complements it. The needle should be strong enough to handle the fabric without breaking, while the thread should be durable and secure.
- Scissors: To cut the fabric and thread. It’s important to have sharp scissors that can easily glide through the fabric, ensuring clean cuts. This will contribute to the overall quality and appearance of your DIY pen holder.
- Elastic: To hold the pen holder securely in place. Opt for an elastic band that is wide enough to keep the pen holder securely attached to the notebook.
- Measuring tape or ruler: To ensure precise measurements.
- A rotary cutter and a table mat: to cut your fabric with high precision.
- Interfacing: Light or medium weight fusible interfacing fused to the wrong side of the fabric pieces.
Instructions to sew the pen holder
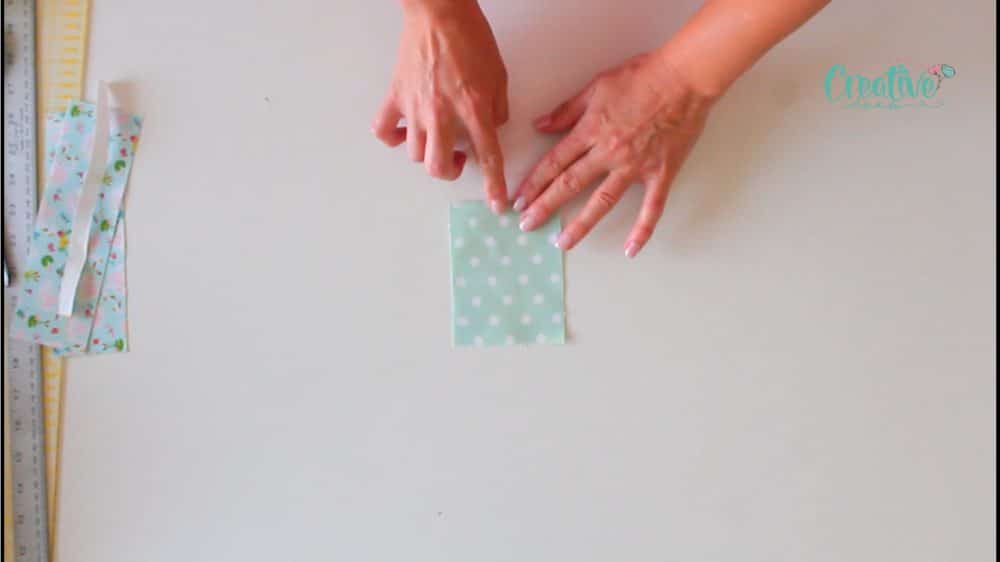
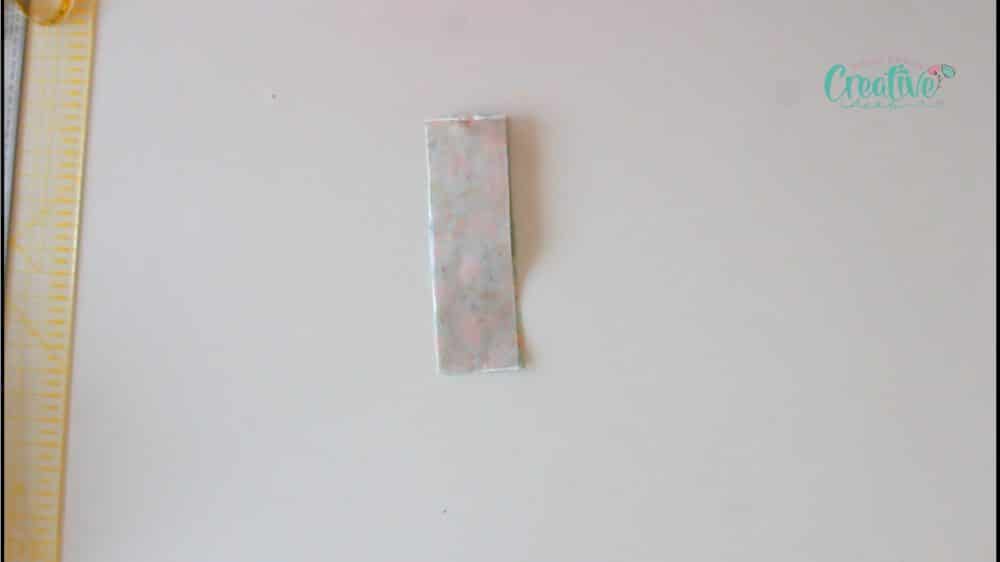
Prepare the fabrics
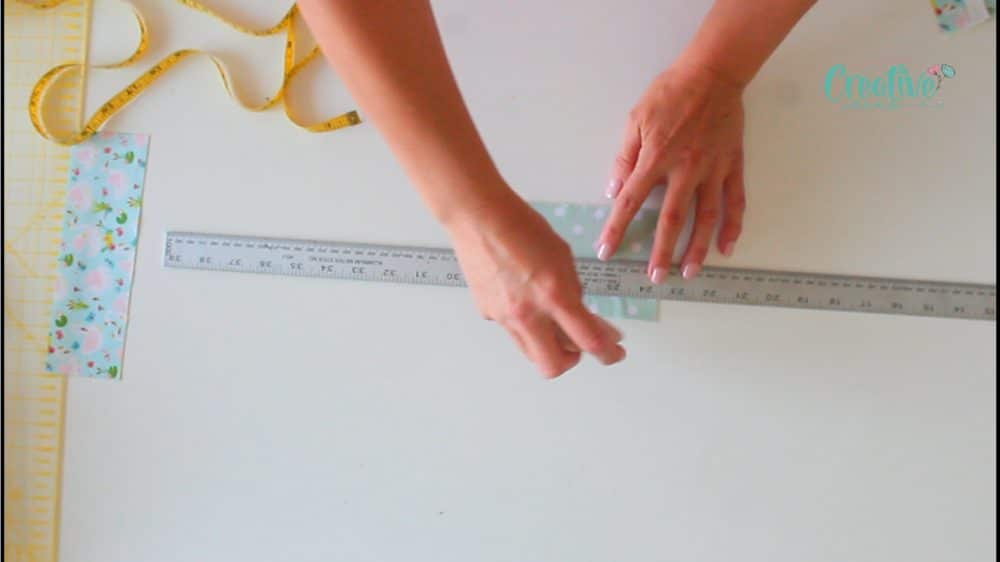
The first step in making your pen holder is to measure and cut the fabric according to the desired dimensions. By customizing the size, you can ensure that the pen holder will fit snugly around your notebook, holding your pens securely in place. Remember, accurate measurements are key to achieving a functional and well-fitting pen holder.
I made my pencil holder for a notebook of 8 1/2″ by 6″. If you want to use my measurements, here they are:
- 2 strips of fabric (for the body) of 2 1/2″ by 8″
- 1 strip of fabric (for the pocket/loops) of 3 1/2″ by 9″
- 1 strip of elastic of 8″ long (my elastic was 1/2″ wide but a bit wider will provide even more stability)
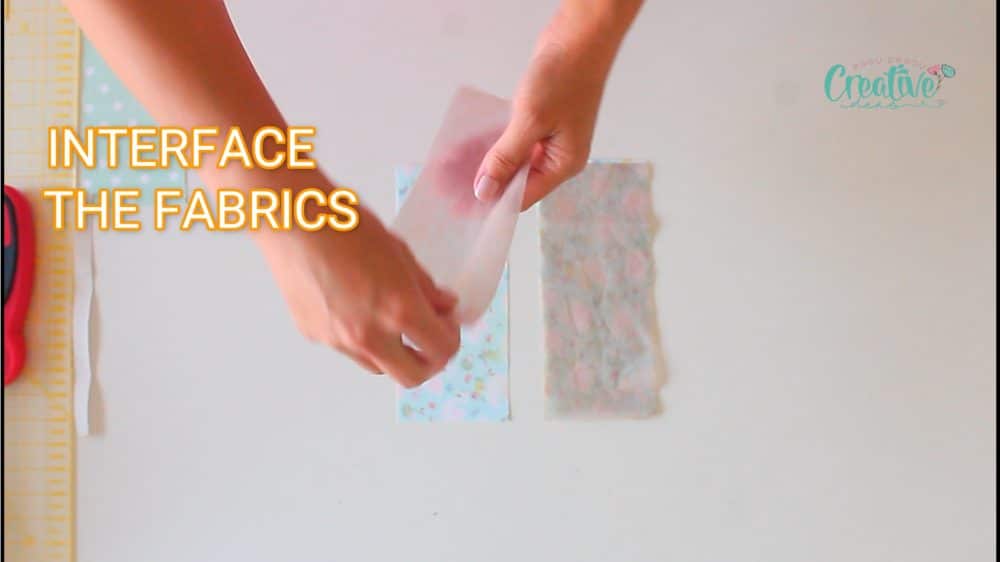
Once you have cut the fabric to size, it’s time to interface all fabrics so cut the interfacing in the same size of the body fabric strips and half the height of the pocket fabric.
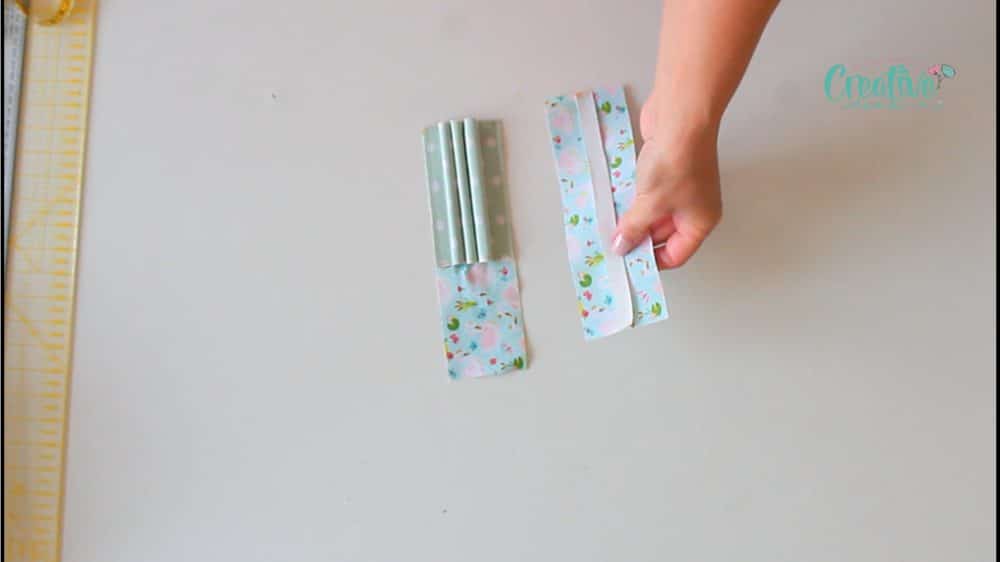
Create the pocket/loops panel
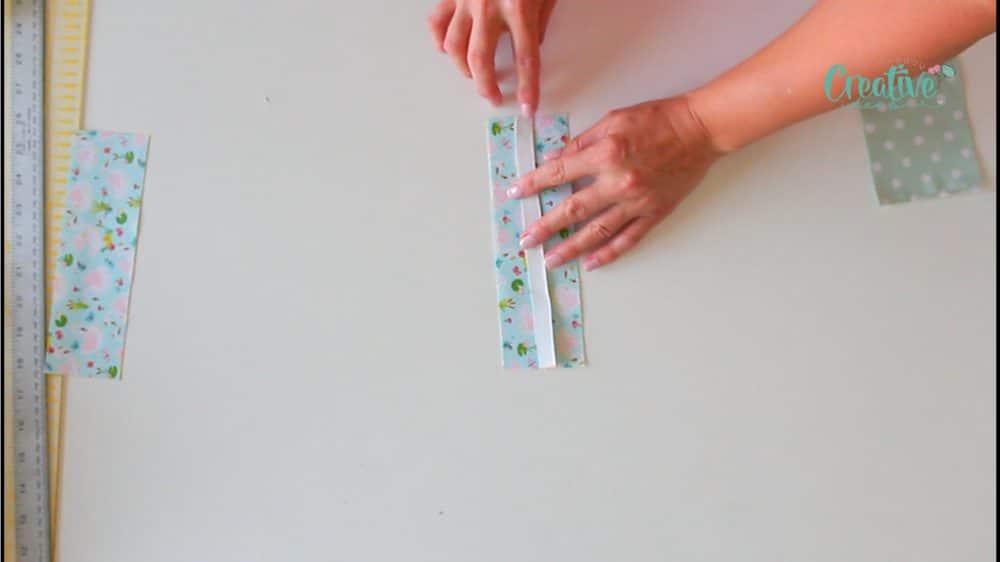
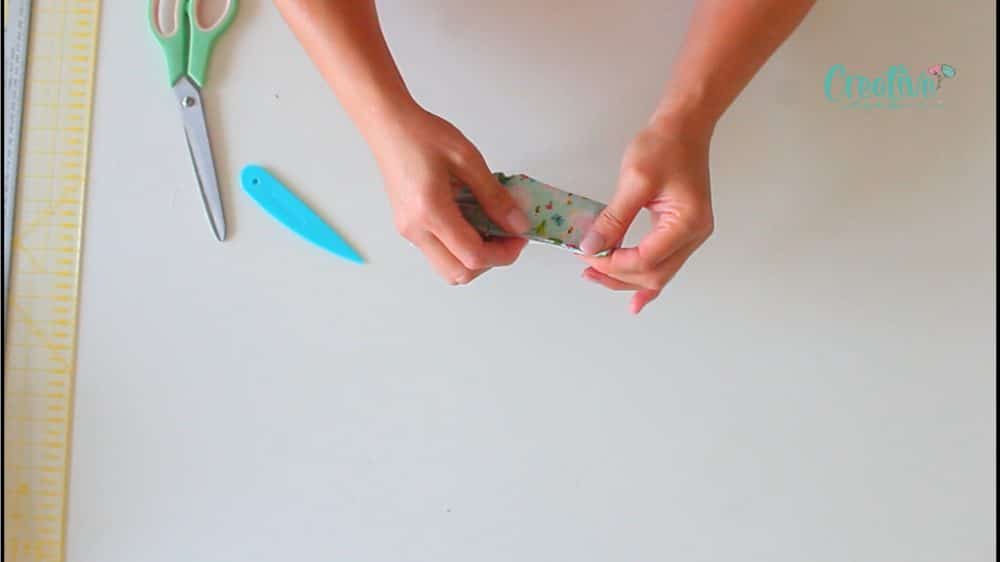
- Fold the pocket fabric in half lengthwise. This will create a long, narrow rectangle. Top stitch the folded top.
- Place one of the body fabrics right side up. Pin the elastic to the middle of the top and the bottom edges. Sew the elastic with 1/8″ seam allowance.
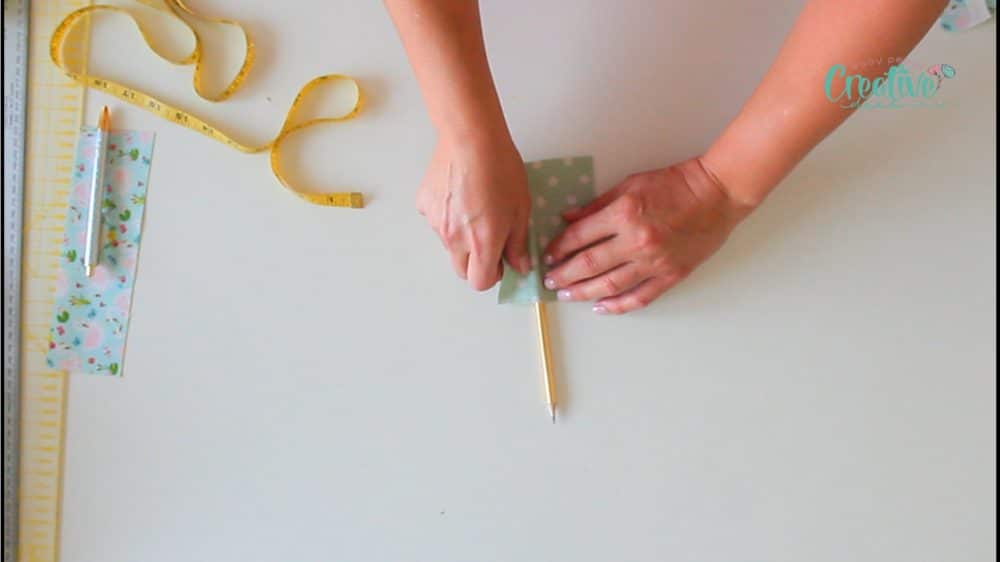
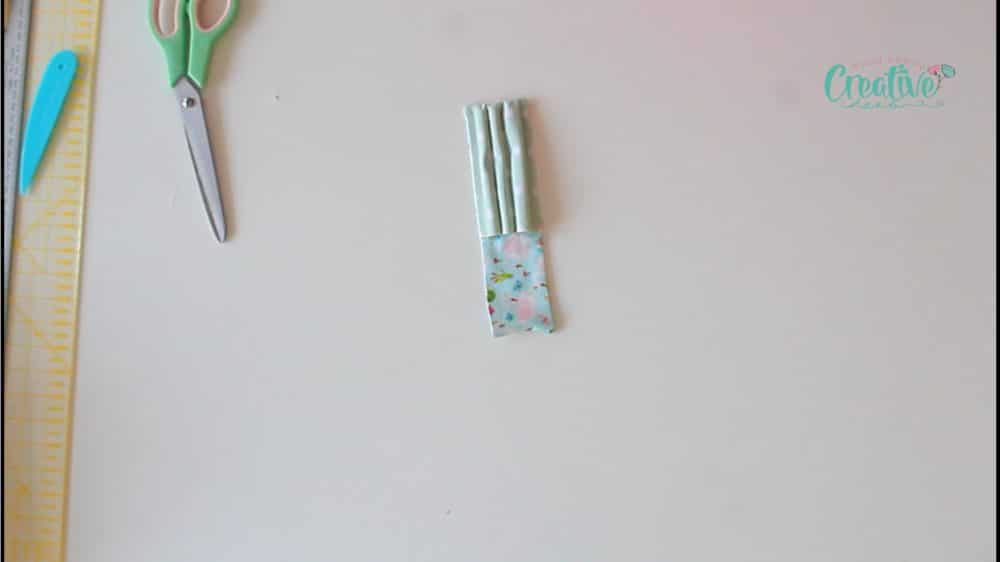
- Mark 1/2″ on each side away from the edge.
- Start marking the loops according to the width of your pens or pencils you plan on using with this holder.
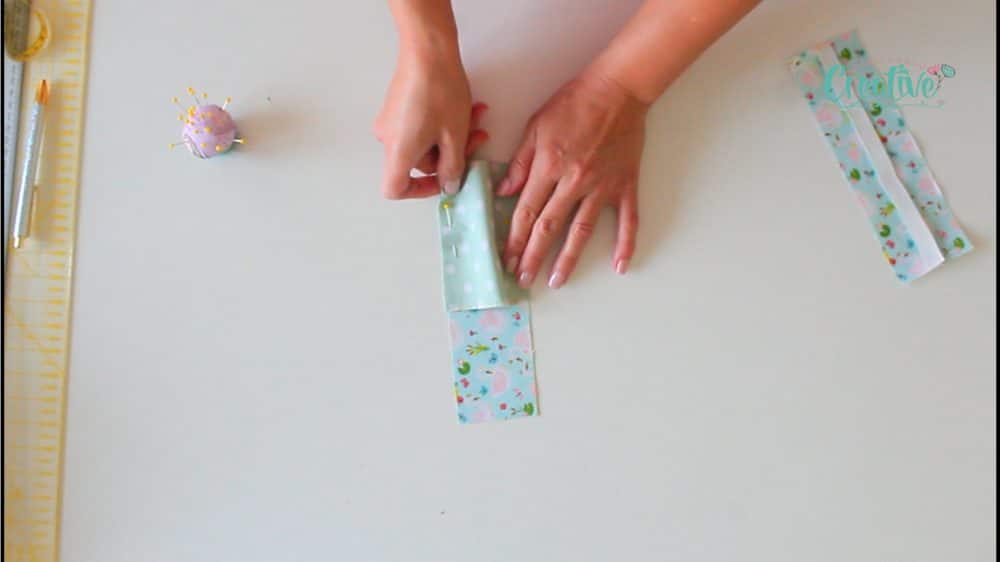
- Place the second fabric strip right side up and top it with the folded pocket fabric placed with the fold upwards.
- Pin the sides so the edges align.
- Sew the sides with 1/4″ allowance.
- Sew the loops to the back fabric as marked above.
Sew both panels together
- When done sewing all loops, top this panel with the other fabric strip for the body, placed wrong side up. So the back and the front of the holder are facing.
- Pin and sew with 1/4″ seam allowance, leaving a gap of about 2″ in one of the sides of the holder. Make sure the gap is above the pocket.
- Clip the corners then turn the holder right side out.
- Smooth out the seams and push the corners with a blunt tool.
- Push the gap inside and press.
- Sew all around the pen holder with 1/4″ seam allowance. Make sure you don’t catch the elastic in the seam.
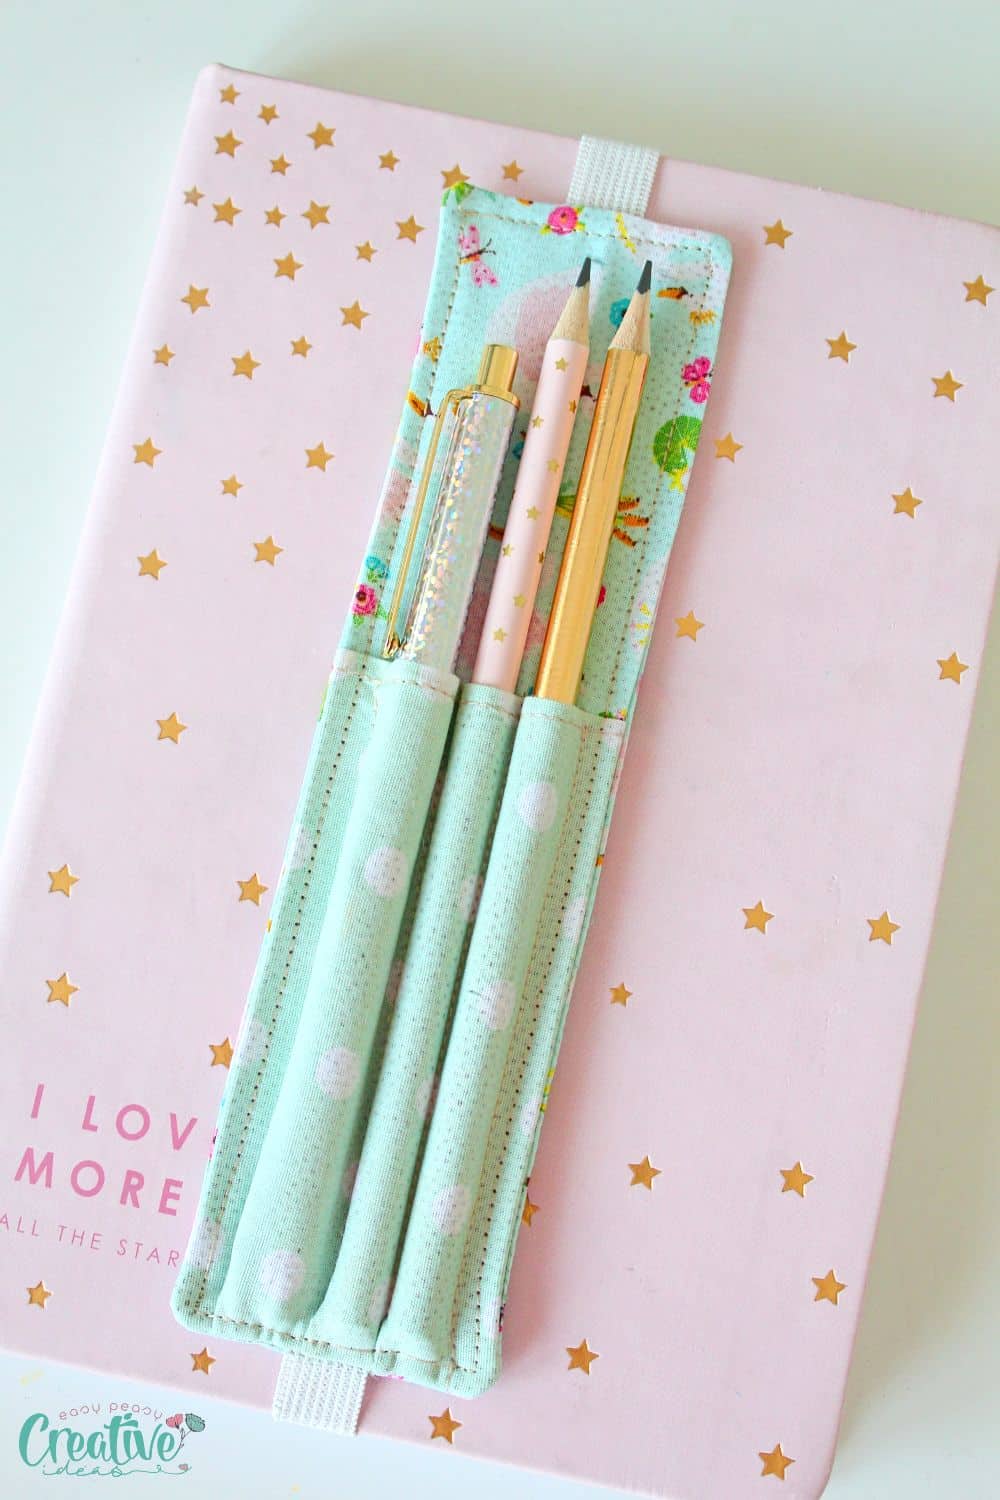
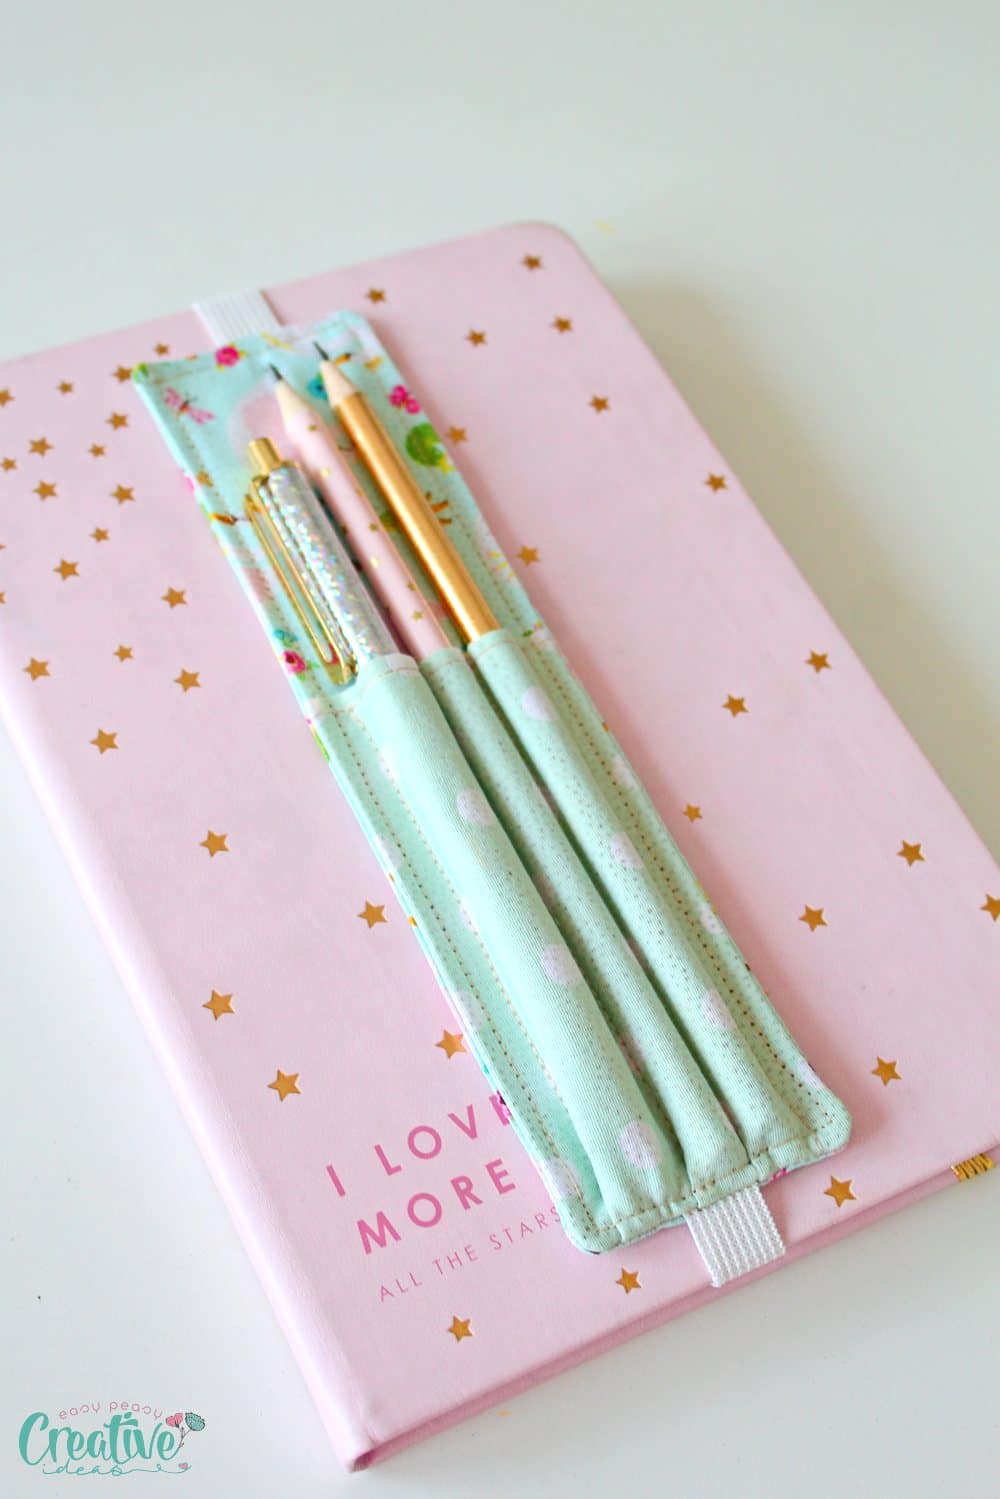
Once you have put any finishing touches you like, your DIY pen holder is ready to be used. Slip it onto the cover of your notebook, and you’ll have a convenient and stylish way to carry your pens wherever you go. With your writing essentials neatly organized in one place, you’ll never have to search for a pen again.
Tips for a durable and long-lasting pencil holder
When creating your pen holder, durability is key to ensure it withstands regular use and maintains its functionality over time. Here are a few tips to help you achieve this:
- Use sturdy fabrics, such as canvas or denim, that can withstand the weight and movement of your pens without tearing or fraying easily. Reinforcing the edges or using double layers of fabric can also add extra durability.
- Consider incorporating additional reinforcement into your design. Adding a layer of interfacing or using a heavyweight fusible web can provide stability and prevent your pen holder from sagging or losing its shape.
- Another tip is to pay attention to the stitching. Reinforce stress points, such as the pen loops, with extra stitches or zigzag patterns to prevent them from coming undone.
- Using a strong thread, such as nylon or upholstery thread, can ensure that your pen holder withstands the test of time.
- Additionally, if you plan on frequently carrying your pen holder or using it on the go, consider adding a closure/flap mechanism. This could be a button and loop, a snap fastener, or even a zipper. A secure closure will not only protect your pens but also prevent any accidental spills or damage.
Frequently asked questions
What is the best fabric?
You’ll want to select a fabric that is durable and can withstand the daily wear and tear of holding pens or other writing utensils. Cotton or canvas fabrics are popular choices due to their sturdiness and longevity.
If you prefer a more classic or professional appearance, solid or subtle patterned fabrics in neutral shades would work well. But if you want to infuse some personality and vibrancy into your notebook pen holder, consider using bold prints or colorful fabrics to bring your creation to life.
Keep in mind that you’ll be sewing multiple layers together, so a medium-weight fabric will provide the necessary stability while still allowing you to work with it easily. Lightweight fabrics may not hold their shape as well, while heavy fabrics can make sewing cumbersome.
Don’t forget to wash and iron your chosen fabric before starting your project. This step ensures that any shrinkage or color bleeding happens before sewing, preventing any issues down the line.
Are there any special techniques that can help?
One helpful technique is to mark your seam allowance using a fabric marker. This helps you sew an even seam allowance all around your DIY pen holder.
Another technique to consider is backstitching. When sewing the pen holder, it’s important to reinforce the beginning and end of each stitch to prevent unraveling or fraying. Backstitching involves sewing backward for a few stitches before continuing forward, creating a secure and stable seam. This technique also adds durability to your pen holder and guarantees that it will withstand everyday use.
Furthermore, using a smaller stitch length can enhance the strength and stability of your pen holder. A shorter stitch length creates more stitches per inch, resulting in a stronger seam. This can be particularly beneficial when sewing multiple layers of fabric together, as it ensures that the pen holder will withstand the weight and pressure of holding pens.
How do I make sure that my DIY pen holder is secure in my notebook?
There are a few key steps you can take. First and foremost, consider the positioning of your pen holder within the notebook. Placing it near the spine or towards the center of the notebook can help distribute the weight of the pens more evenly.
Moreover, designing and sewing your pen holder in the same height as your notebook as well as adding a medium strong elastic to the back, will offer more stability to the holder when attached to the notebook. The elastic should not be too loose or too tight, just a bit smaller than the height of the notebook. A wider elastic will also provide more stability to the pen holder than a narrow one.
How can I customize my pen holder?
Feel free to experiment with different fabrics, patterns, and colors to create a pen holder that matches your personal taste. Whether you prefer bold and vibrant designs or subtle and minimalist aesthetics, there are endless possibilities to explore.
Consider incorporating elements like buttons, ribbons, a colorful elastic or even lace elastic or even embroidery to add an extra touch of creativity.
Can I make a pen holder that will fit multiple notebooks?
If you have multiple notebooks and need a pen holder that can accommodate them all, there is a simple way to create a DIY pen holder that will fit multiple notebooks, providing a convenient and efficient solution for your writing needs:
- Start by making your notebook as tall as the smallest of your notebooks.
- Choose a quality elastic that will not lose flexibility with wear.
- Instead of using an entire piece of elastic, cut it in half and add a piece of fabric between the 2 pieces of elastic. This will allow your pen holder to expand and contract with each notebook size with ease without compromising the elastic.
More easy sewing ideas you’ll love
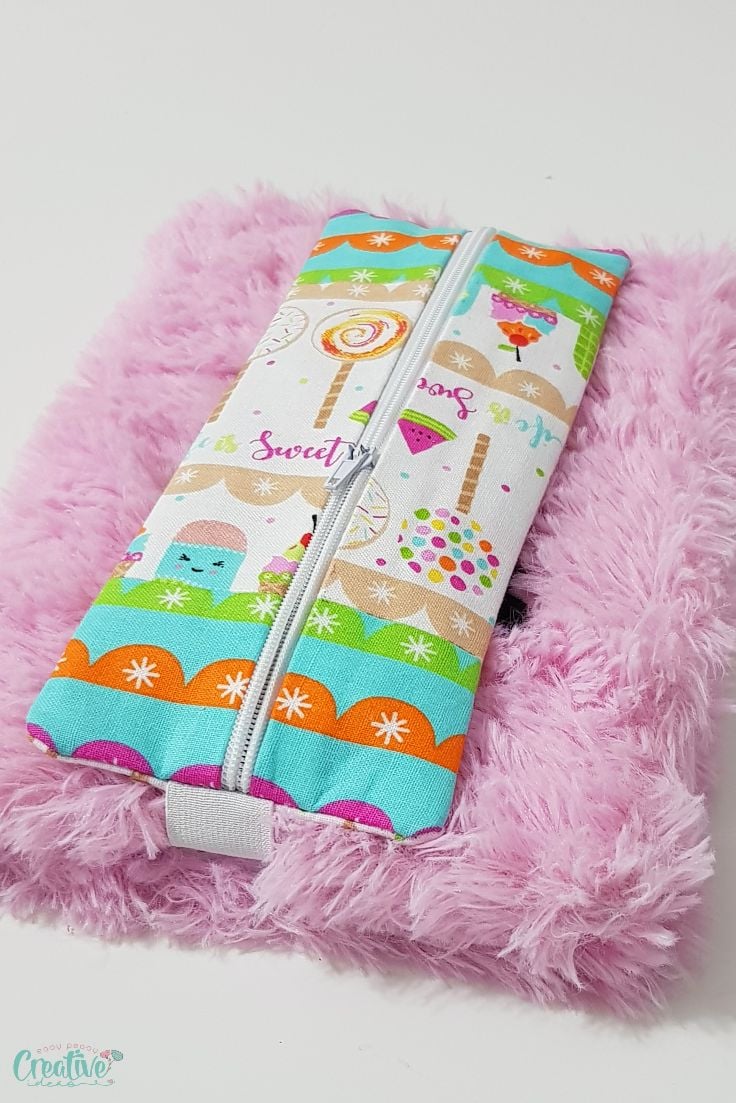
- Notebook pencil pouch
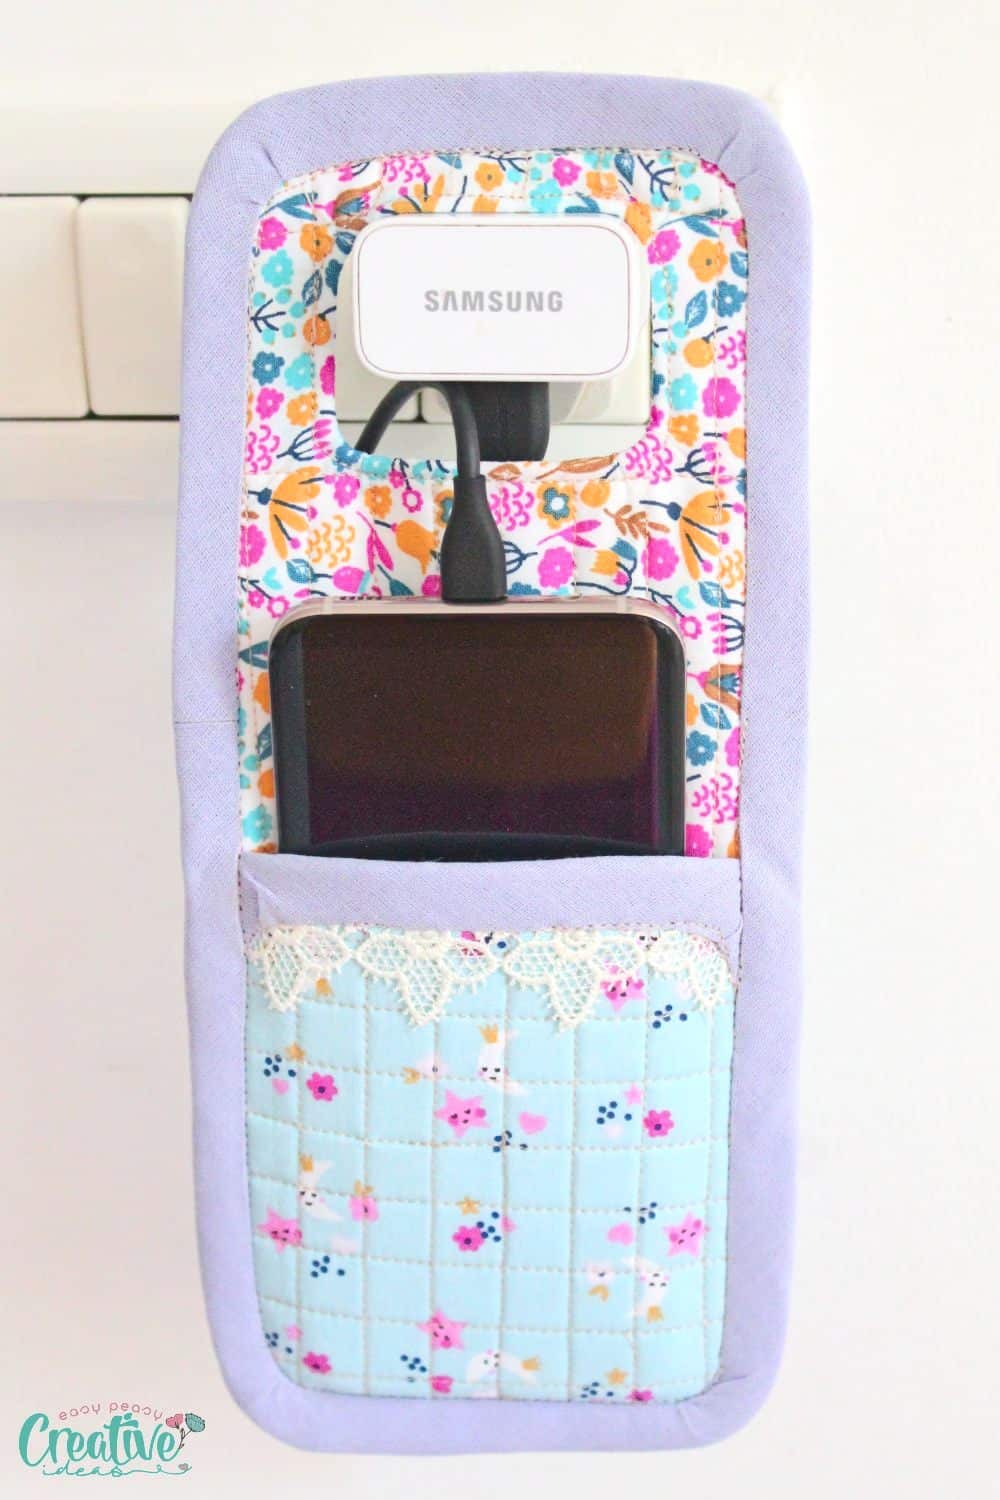
- Quilted phone charger holder
- Plastic bag holder
- Crazy easy cutlery holder
- Round pencil case
- DIY hand warmers
This DIY pen holder is a practical and stylish solution for ensuring you always have a writing utensil at hand for capturing your ideas. Start making your own pen holder today and enjoy the benefits of having a writing utensil readily available for all your creative and practical needs. Happy sewing and let your ideas flow!

Pen holder for notebook DIY
Materials
- Fabric scraps two strips for the body and one strip for the pencil pocket
- Matching thread
- Elastic
- Interfacing - light or medium weight
Tools
- scissors
- measuring tape
- Sewing needle
Instructions
Prepare the fabrics
- The first step in making your pen holder is to measure and cut the fabric according to the desired dimensions. By customizing the size, you can ensure that the pen holder will fit snugly around your notebook, holding your pens securely in place. Remember, accurate measurements are key to achieving a functional and well-fitting pen holder.
- I made my pencil holder for a notebook of 8 1/2" by 6". If you want to use my measurements, here they are:
- 2 strips of fabric (for the body) of 2 1/2" by 8"
- 1 strip of fabric (for the pocket/loops) of 3 1/2" by 9"
- 1 strip of elastic of 8" long (my elastic was 1/2" wide but a bit wider will provide even more stability)
- Once you have cut the fabric to size, it's time to interface all fabrics so cut the interfacing in the same size of the body fabric strips and half the height of the pocket fabric.
Create the pocket/loops panel
- Fold the pocket fabric in half lengthwise. This will create a long, narrow rectangle. Top stitch the folded top.
- Place one of the body fabrics right side up. Pin the elastic to the middle of the top and the bottom edges. Sew the elastic with 1/8" seam allowance.
- Mark 1/2" on each side away from the edge.
- Start marking the loops according to the width of your pens or pencils you plan on using with this holder.
- Place the second fabric strip right side up and top it with the folded pocket fabric placed with the fold upwards.
- Pin the sides so the edges align.
- Sew the sides with 1/4" allowance.
- Sew the loops to the back fabric as marked above.
Sew both panels together
- When done sewing all loops, top this panel with the other fabric strip for the body, placed wrong side up. So the back and the front of the holder are facing.
- Pin and sew with 1/4" seam allowance, leaving a gap of about 2" in one of the sides of the holder. Make sure the gap is above the pocket.
- Clip the corners then turn the holder right side out.
- Smooth out the seams and push the corners with a blunt tool.
- Push the gap inside and press.
- Sew all around the pen holder with 1/4" seam allowance. Make sure you don't catch the elastic in the seam.
Video
Most popular sewing projects:


- Tips for sewing a round hem
- Corded bag handles
- Flutter sleeve dress pattern
- How to laminate cotton fabric
Article may contain Amazon & affiliate links. As an Amazon Associate I earn from qualifying purchases at no additional cost to you.

On you matereal list your first says to cut two strips, is it two and a half by eight? Your are missing a number.
Hi, Debbie. Yes, that would be 2 1/2″ by 8″. Thanks for the heads up!