DIY pin cushion from recycled picture frame
Love making your own pincushions? This easy peasy DIY pin cushion craft will show you how to make a frame pin cushion in just a few minutes, using a recycled photo frame!
Picture frame pin cushion

If you’re anything like me, you’re always in need of more pin cushions! For some reason I keep adding pins to my collection and I find it hard to part ways with the old ones, even though they’re in such a bad condition! So I had no choice but to make another DIY pin cushion to accommodate my new pins.
I still have this huge, trio pumpkin pincushion that I use for most of my pins but it’s not large enough to add more pins to it. I also have a tiny pincushion that I use for the smallest of my pins. So now I’m the proud owner of three pincushions! And I have a hunch this won’t be the last one I make!
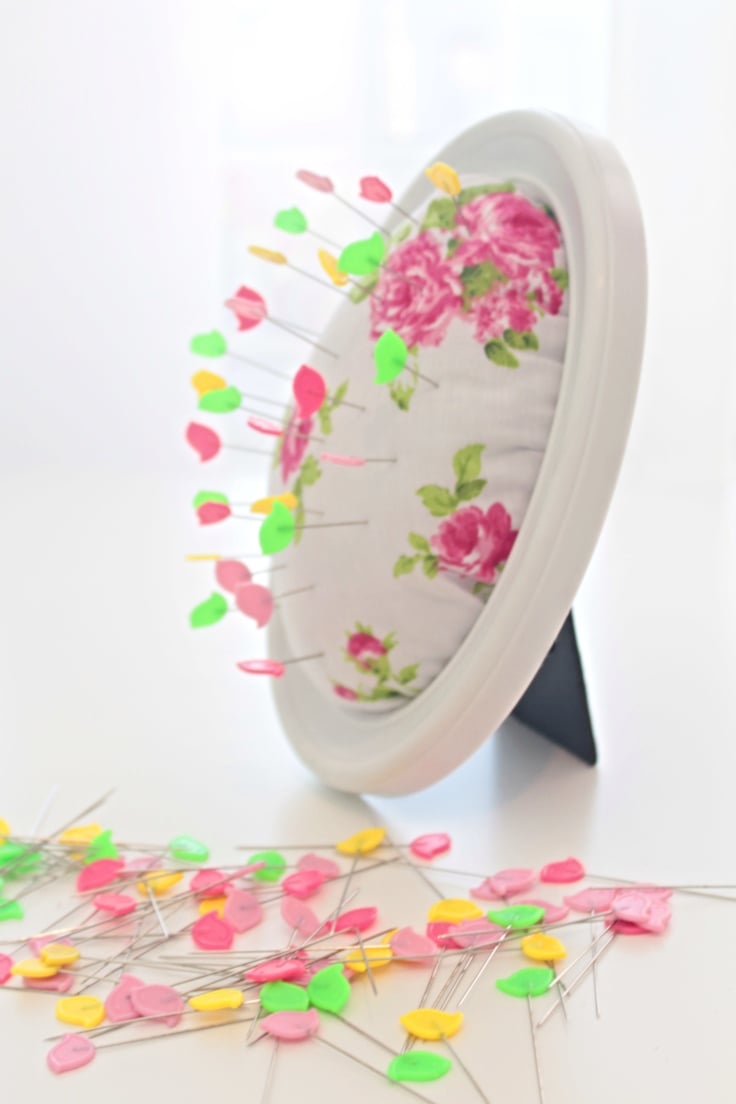
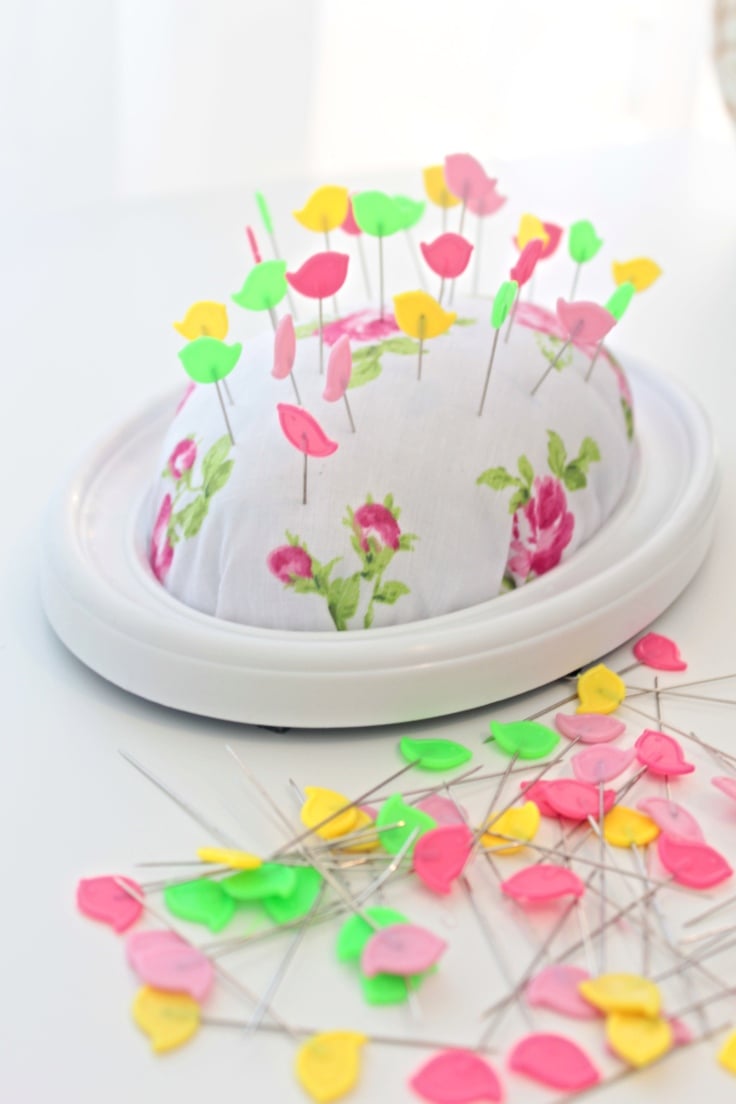
And I really like fashionable pin cushions, like this frame pincushion! This lovely pin cushion is so easy to make and it’s ready in less than 5 minutes! It’s not super large but large enough to fit all of my newly purchased pins and it doesn’t take up a lot of space, in spite of its rather unusual dimensions.

Want more cute ideas to make?
- Bunny pillow
- DIY bed skirt
- Rope bowl
- Chicken fabric weights
- Fabric trivets with fabric twine
- DIY frame key holder
- DIY fabric keychains
- Wrist pincushion tutorial
I wanted something special and cute in my DIY pin cushion, to match these adorable pins I just got! So I picked a photo frame in an oval shape which I also find it has a slight hint of vintage. I thought about sanding the edges a little to give it an even more vintage/rustic look but I was afraid I might ruin the frame as it’s made out of plastic, not wood.
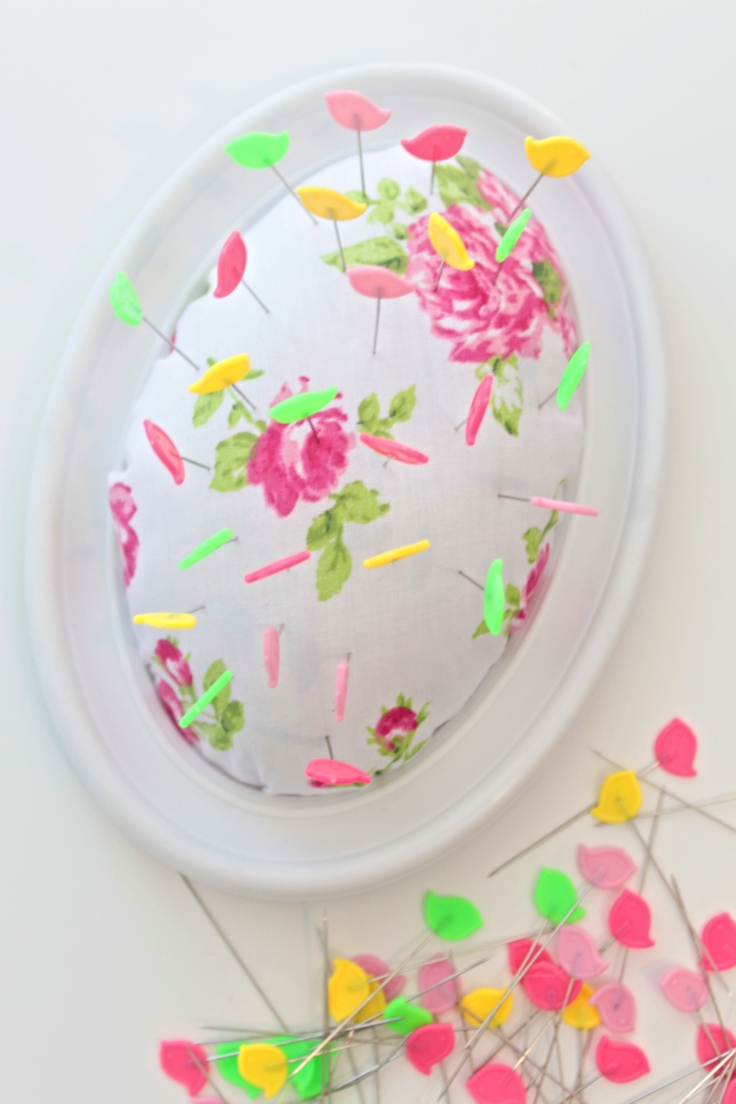
This adorable DIY pin cushion is not only cute and practical but looks great in the decor of my sewing room! And I love that I can use it two ways: hanging on a wall, particularly useful when I pin at my table or ironing board. Or flat when I pin large pieces of fabric on the floor.
I didn’t over stuff my frame pincushion with poly fill because the new needles are pretty fragile and I was afraid if I pin them to a harder pincushion I may bends them. I do find this pincushion a bit weak for my stronger pins though. So choose the amount of stuffing based on your pins.
DIY pin cushion

Materials:
- photo frame
- poly-fill
- fabric scraps
- scissors or pinking shears
Directions:
- Remove the backing and the glass of your photo frame and set all pieces aside. My frame had a really fragile glass which I broke when I was trying to put it back and cut my finger in the process. So handle with care or just remove completely from your project if the backing is strong enough to hold the stuffing in place.
- Place the frame wrong side up.
- If your poly-fill is very fluffy and airy, take about two handfuls of poly-fill and squeeze in your hands until you get a compact, smaller ball.
- Get a piece of fabric scrap that is a few inches larger than the frame and place it over the frame.
- Pick the frame with one hand and gently push the fabric down through the hole of the frame. Push as much as the fabric size allows, taking in consideration how big you want your pin cushion.
- Fill the hollow with poly-fill.
- Place the photo frame backing over the poly-fill and secure with the little feet located on the frame (if your frame comes with one, if not use strong adhesive tape)
- Trim the fabric using your scissors or pinking shears.
- Even out the fabric around the right side of the frame.
- And you’re done! Your DIY pin cushion is ready for your new pins!
Pin to save for later

Most popular sewing projects:
Article may contain Amazon & affiliate links. As an Amazon Associate I earn from qualifying purchases at no additional cost to you.


So cute! Great idea and lovely to hang on the wall so you always find it. And helps keeping the sewingtable tidy.
I absolutely love this idea. I’m new to sewing and have a lame little pin cushion, my first project I have not been happy with it. This weekend I am making this project. Thanks so much for this idea.
Thanks, Marilyn! I’m glad you liked my idea!