DIY Tinted Lip Balm
Have you been looking for a quality, all natural color lip balm? Then why not make your own natural lip balm recipe? This DIY tinted lip balm uses only natural ingredients so it’s safe for you and the environment. It is also super effective and soothing for your chapped lips! If you are one of those who don’t like to wear lipstick regularly, this lip balm is a great alternative. You will never leave the house without it!
DIY tinted lip balm
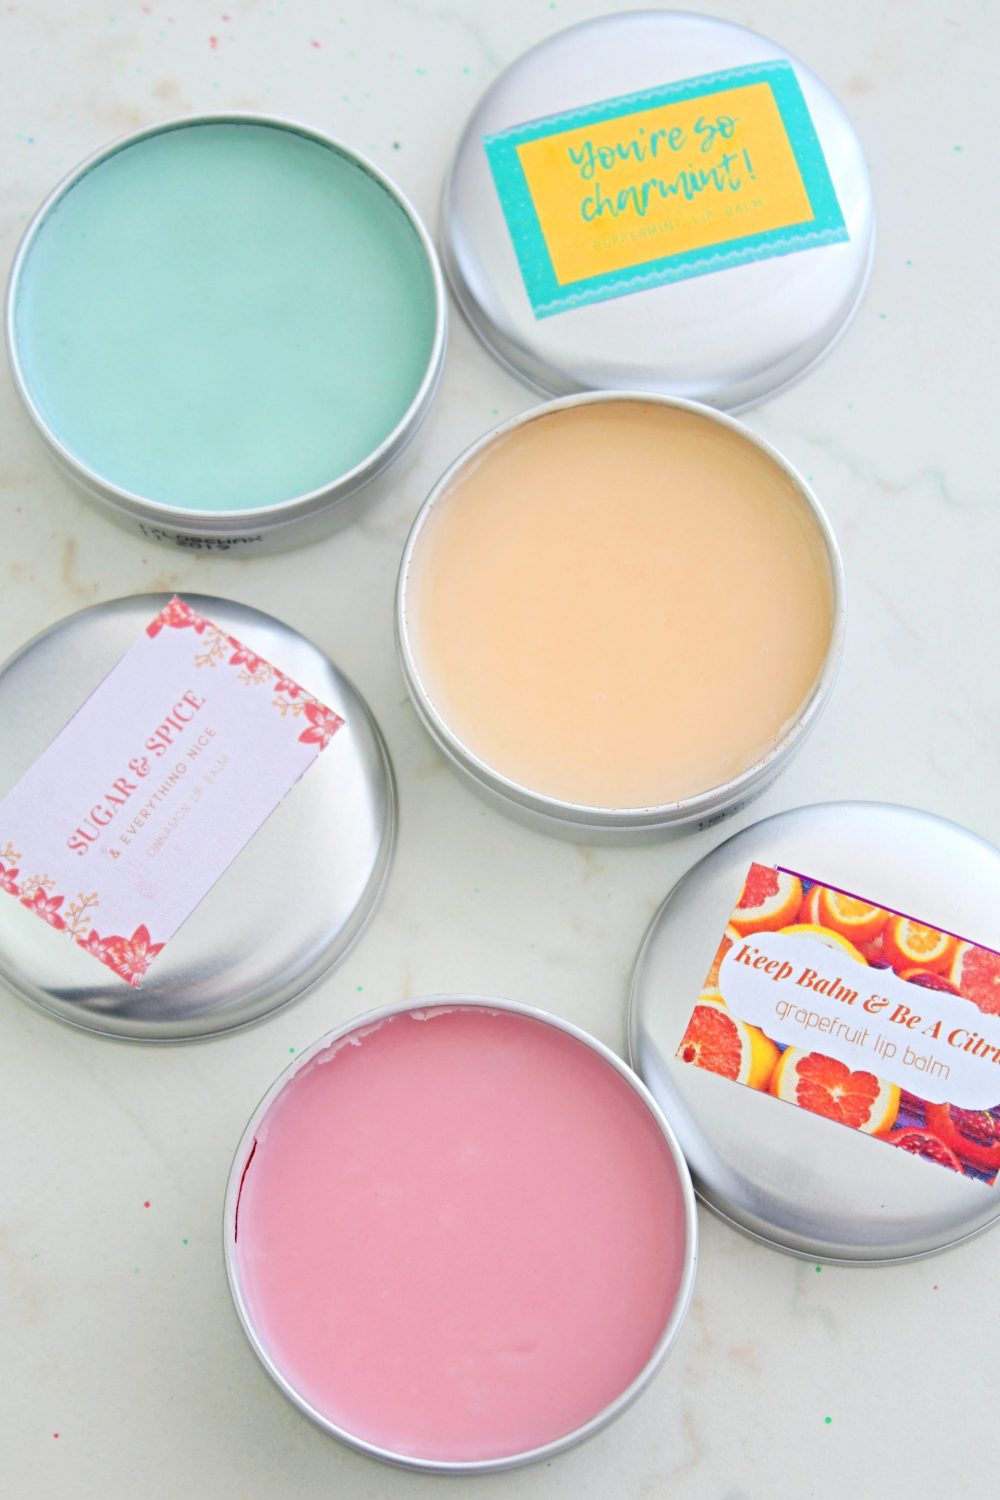
I struggle so much with chapped lips, no matter the season! It aggravates in summer but windy weather is a real killer! With conventional lip balm bought from the stores, you are never sure of the ingredients used. None of these worked for me anyway and I had underestimated how sensitive my lips are. But now that I know I’ve decided to get ready for the cold season with a DIY tinted lip balm! Besides, this DIY recipe is so easy to make within 10 minutes you have your lip balm. There is no need to be nervous that it’s your first time to make a homemade lip balm. It was my first time too and I did it! And you can do it too.
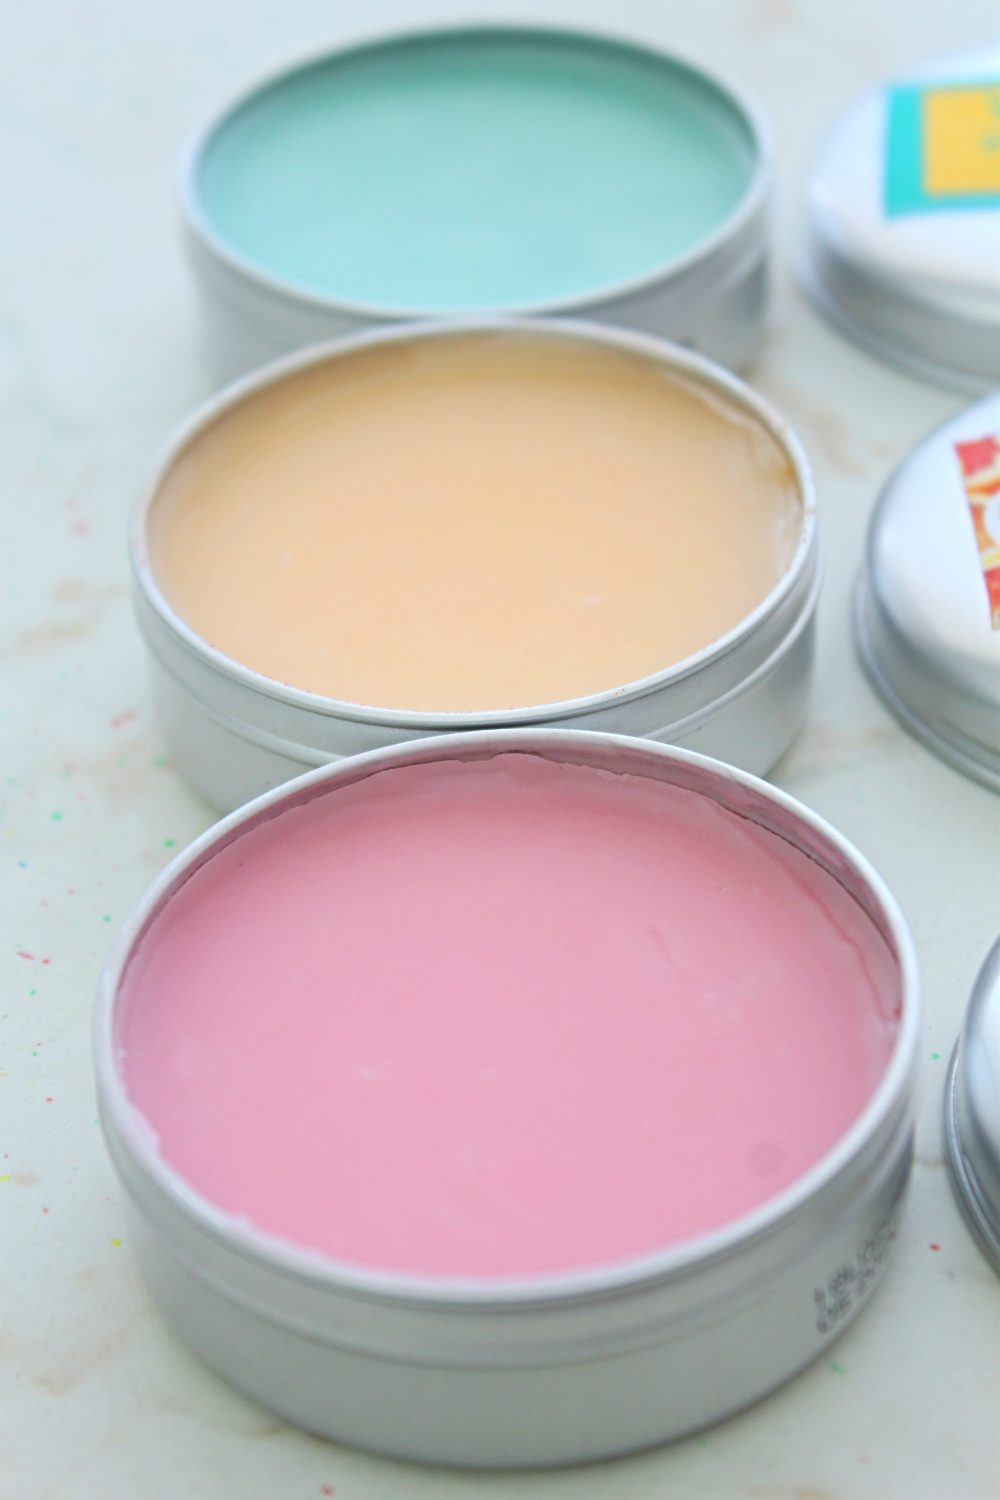
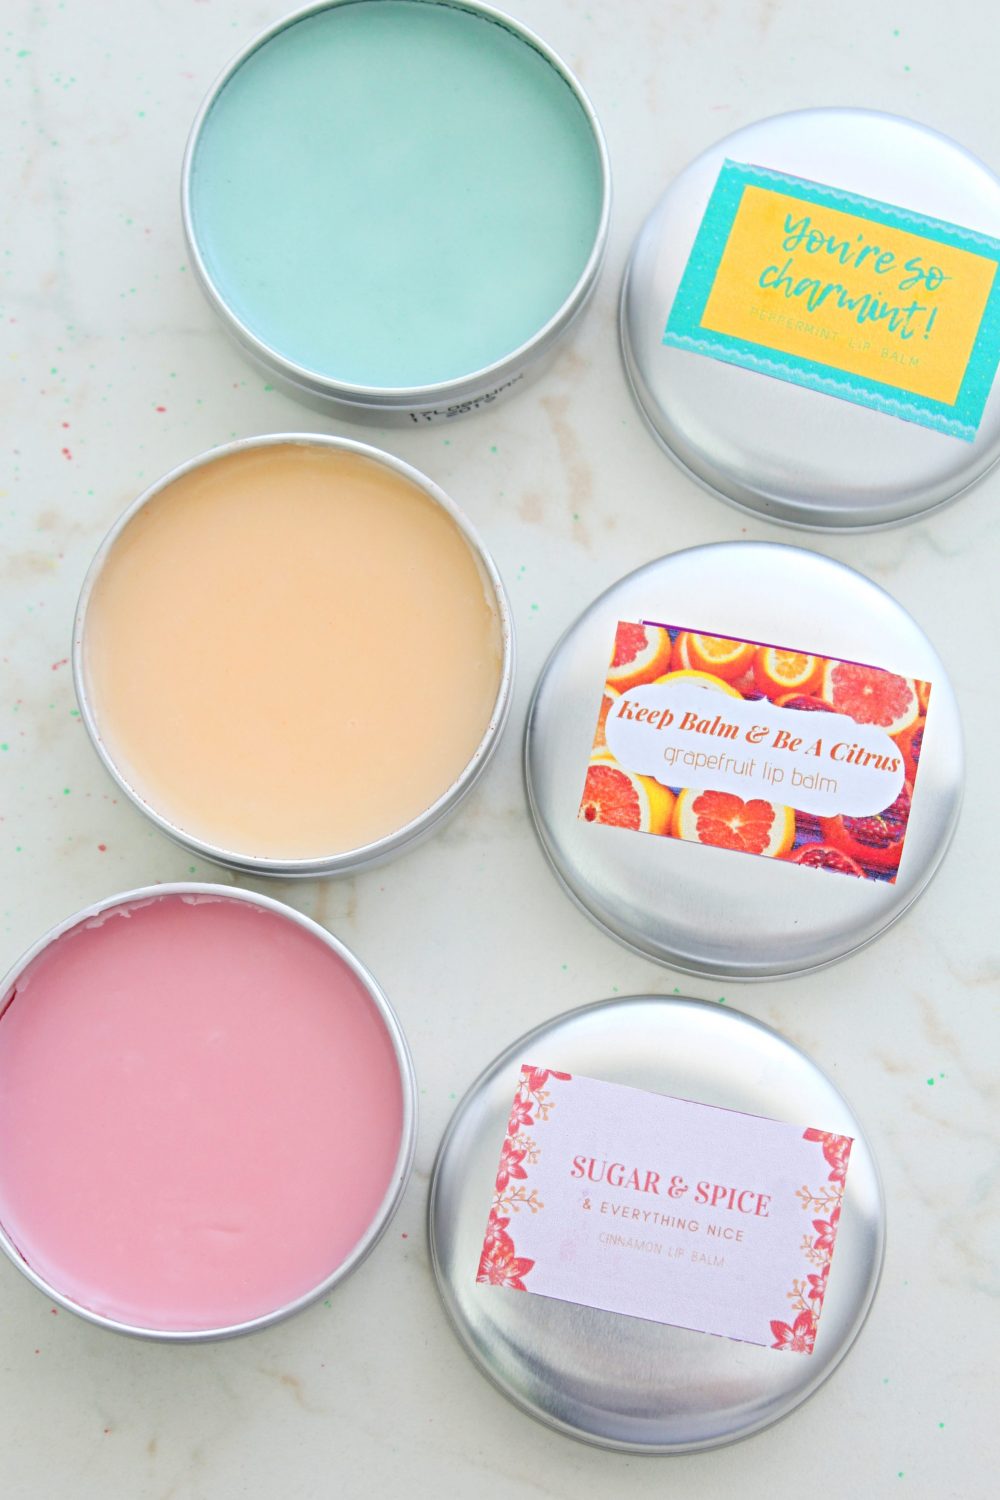
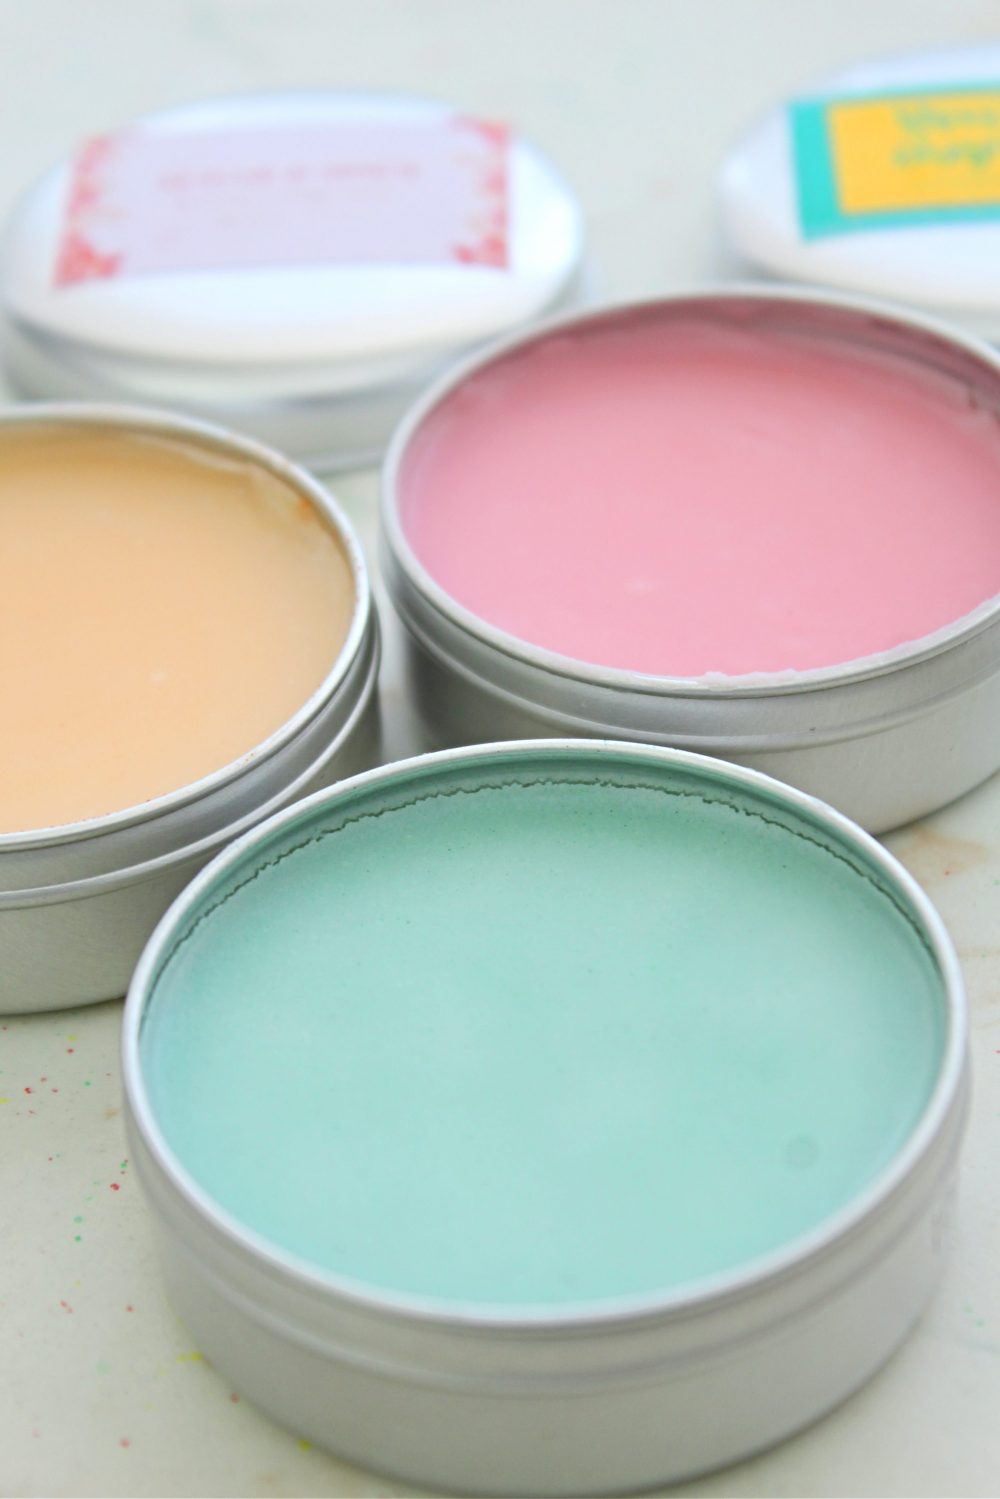
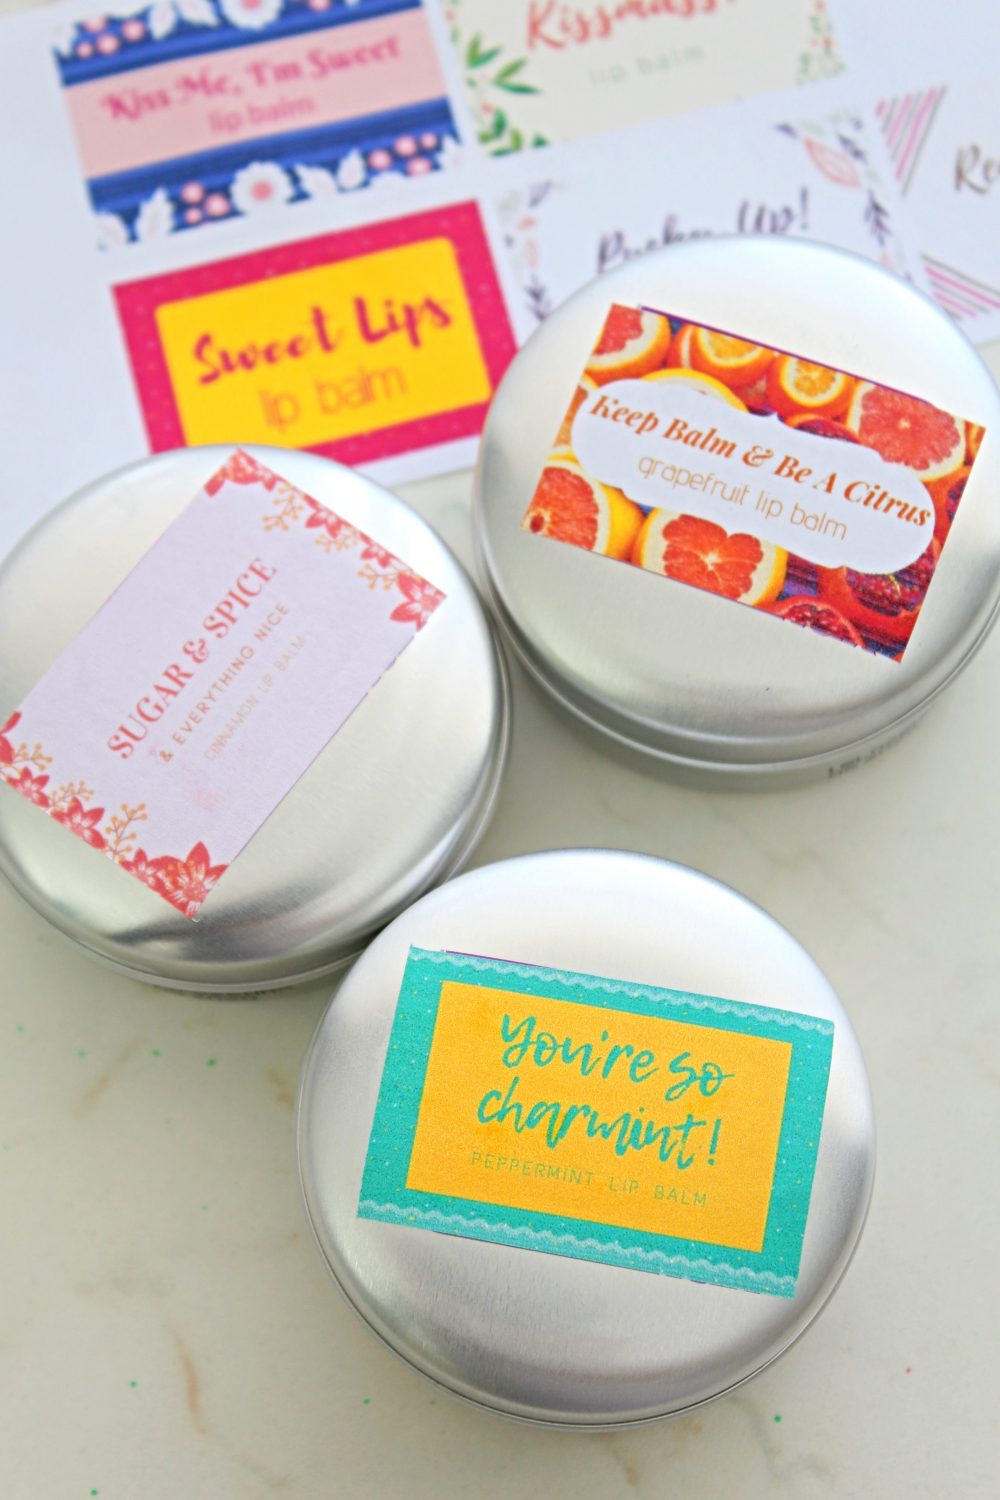
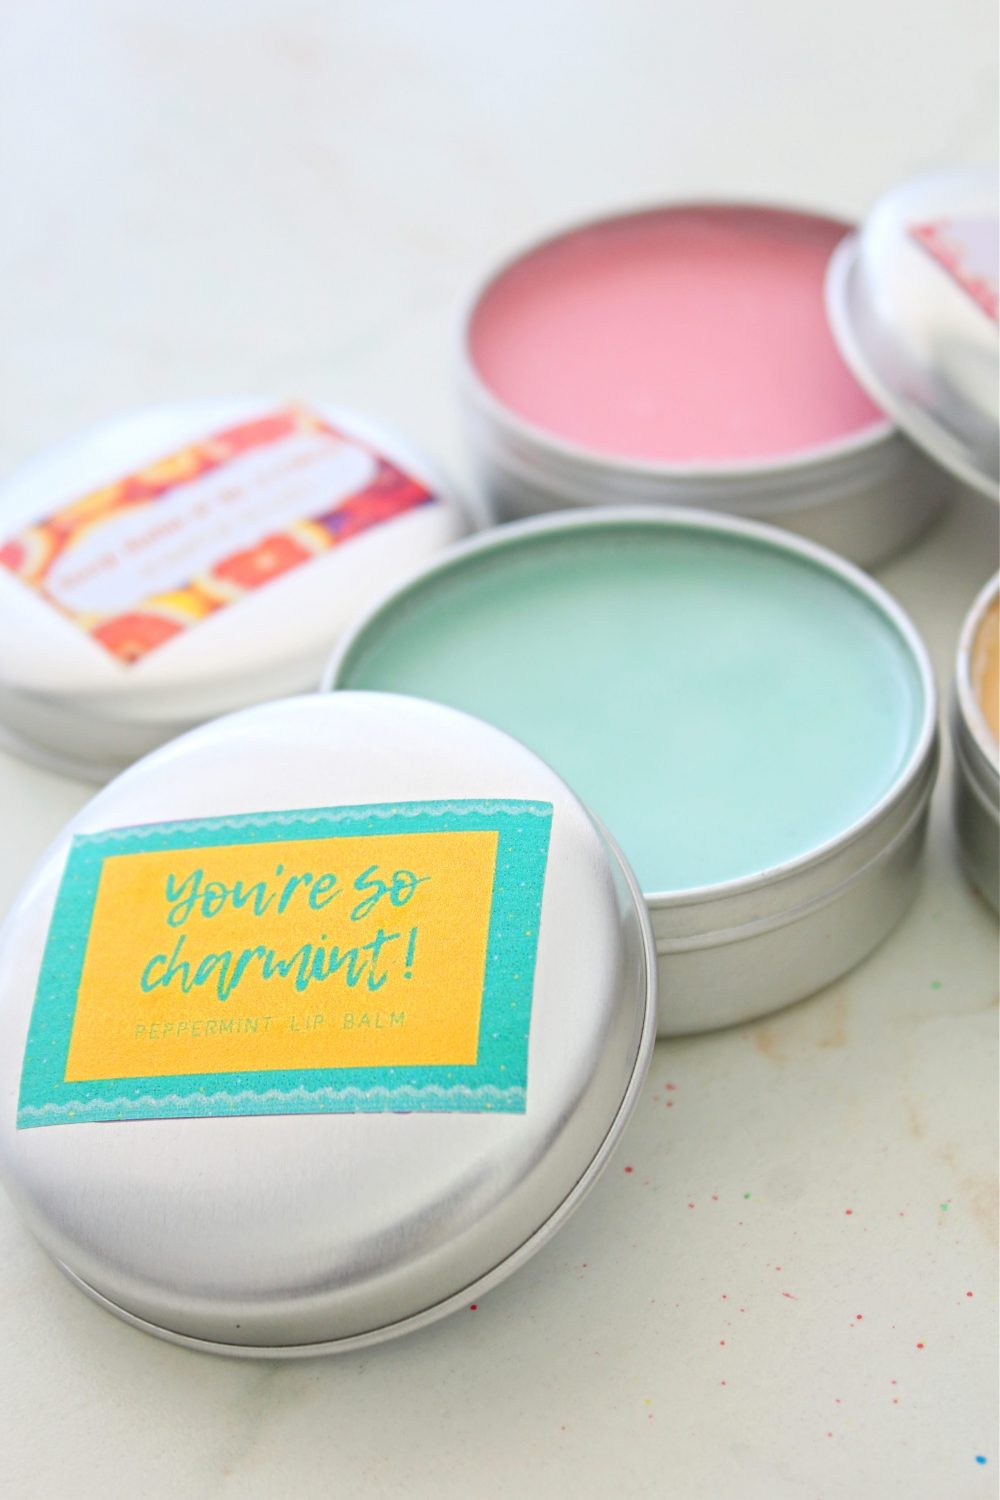
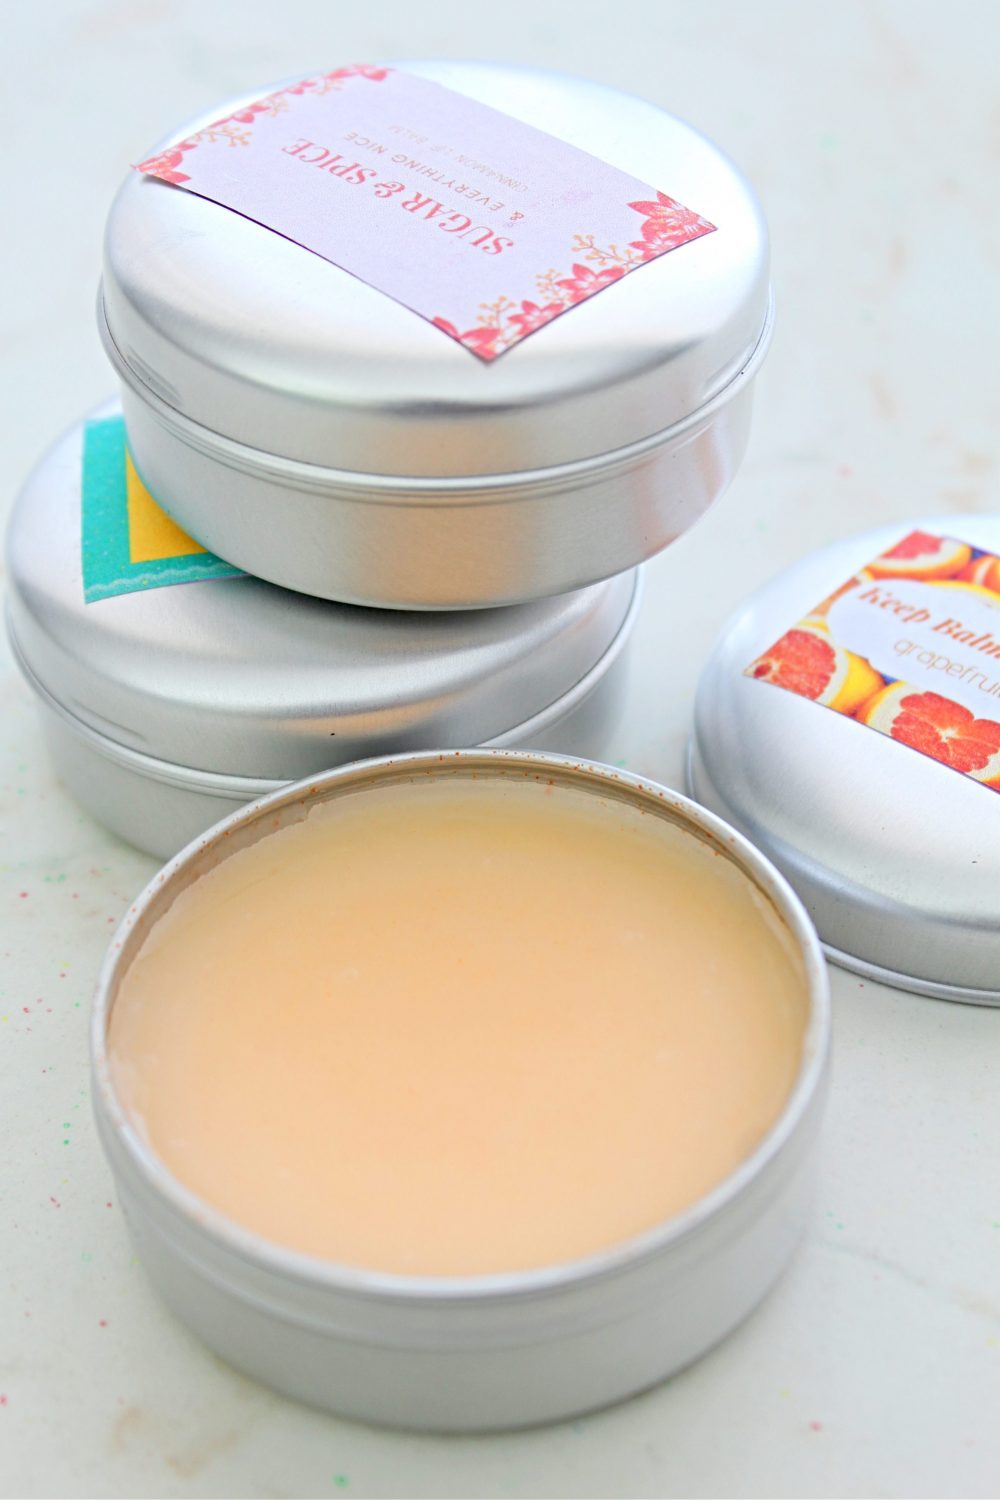
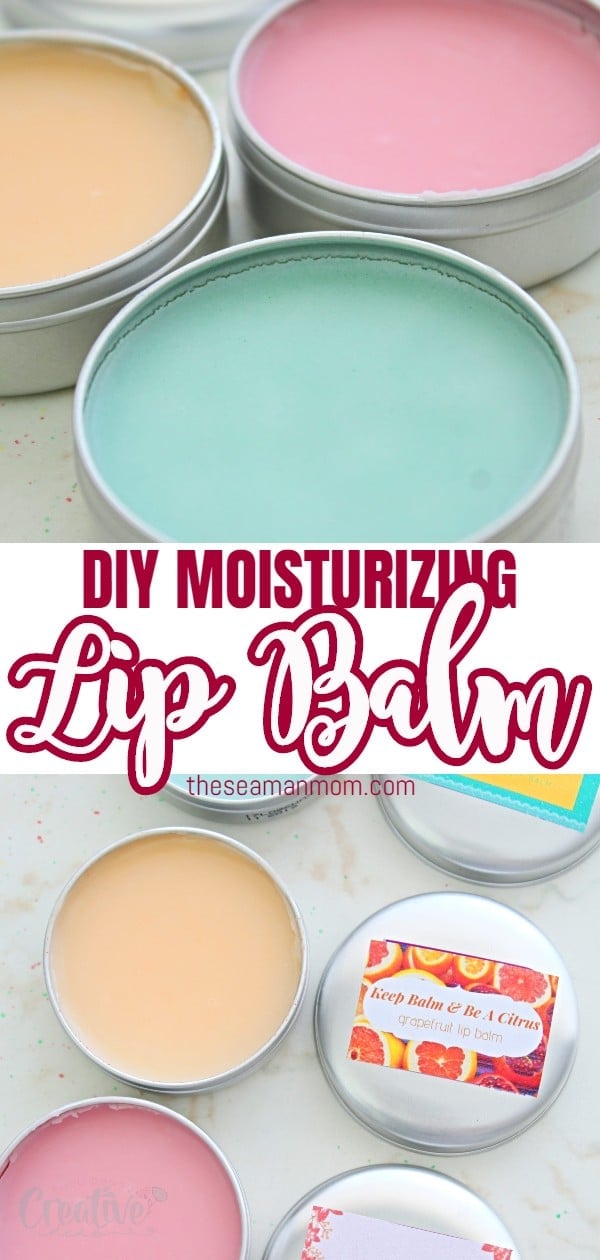
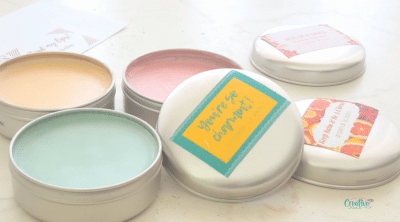
In fact, I got really excited and made three. Plus I couldn’t make up my mind on the color and flavor of my all natural lip balm (yup! these beauties are not only functional and effective but are so yum and flavorful too!). So I thought I should give myself a few options. I opted for pink, orange and mint color and I chose cinnamon, grapefruit and peppermint essential oils to flavor and scent my homemade lip balm recipe.
Need more natural DIY’s?
- Cinnamon honey lip scrub
- DIY vapor rub
- Gel air freshener
- Baking soda air freshener discs
- Homemade coconut toothpaste
- Deodorant for sensitive skin
- Lavender lemon hand scrub
- Pumpkin spice body scrub
- Homemade citrus rose soap
- The best DIY headache balm
- Coconut lime scrub
- Lavender coconut lip scrub
How long does this lip balm lasts on lips?
This DIY tinted lip balm looks cute with all those sweet colors but that’s not all! My DIY lip balm recipe is so powerful and lasts for hours (literally!), I don’t think I’m ever gonna go back to the store bought version. I tend to lick my lips a lot (mainly to moisturize them which instead turns them dry) and I normally need to apply lip balm or gloss a few good times a day. Naturally, beeswax protects your lips from loss of moisture while allowing your skin to breathe. That is why I chose it.
Not with this DIY tinted lip balm! As I write this post it’s been about 5 hours since I applied it and this DIY beeswax lip balm is still sticking to my lips although I had food and water a couple of times since applying it.
How do you make tinted lip balm recipe?
The reason I think this amazing DIY lip balm with coconut oil is so super lasting it’s the all natural ingredients. I used five ingredients only: coconut oil, almond oil, beeswax, essential oils and gel food coloring.
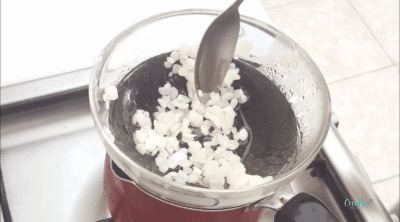
For the beeswax, I first shredded it into small pieces using a grater. The smaller the beeswax, the easier it is to melt it. But if you buy the beeswax in pellets, skip the shredding process and just melt it because the pellets are already small.
Beeswax and coconut oil has natural SPF properties. They are a great anti-bacterial and moisturiser and you can kiss goodbye to chapped lips forever! On the other hand, Almond oil is lubricating and protects the lips from harsh weather elements. It also gives your lip balm a good shelf life.
The final result seems and feels a bit too solid but once rubbed with the finger, my DIY tinted lip balm transfers really well to the finger and then to the lips where it sticks like glue. I am super impressed I tell you! I never expected this result!
How to preserve homemade lip balm
To keep your homemade lip balm in good shape, there are a few tips you need to keep in mind when buying ingredients and storing the lip balm.
- Buy ingredients with an expiration date that is not too close in the future.
- If you buy your ingredients a day before use, store them in the refrigerator. This will increase their lifespan. Natural products tend to go bad easily because they have no added preservatives.
- To retain your lip balm in a solid-state, always keep it at room temperature.
- To extend the shelf life of your product, keep it in the fridge when at home.
- Don’t let the lip balm come into contact with water as it can start to grow molds. Good hygiene is very important. The last thing you need is an infection on your lips as a result of contamination.
- Make sure you store your natural lip balm in containers that are clean, sanitized and dry.
Can you make un-tinted lip balm with this recipe?
I like to use food coloring in lip gloss and lip balm recipes but you can always leave your natural lip balm un-tinted if you don’t like any of these flavors. The coconut oil and beeswax have a sweet natural taste and scent so it’s okay to do without the flavors. But I think it looks so adorable with a bit of a color so I chose something safe like food coloring.
There’s a little trick involved when using food coloring though which I highlighted below, in the instructions. Here’s how to make your own DIY tinted lip balm. The ingredients below are for one medium container of lip balm and they are all readily available from a local supply store.
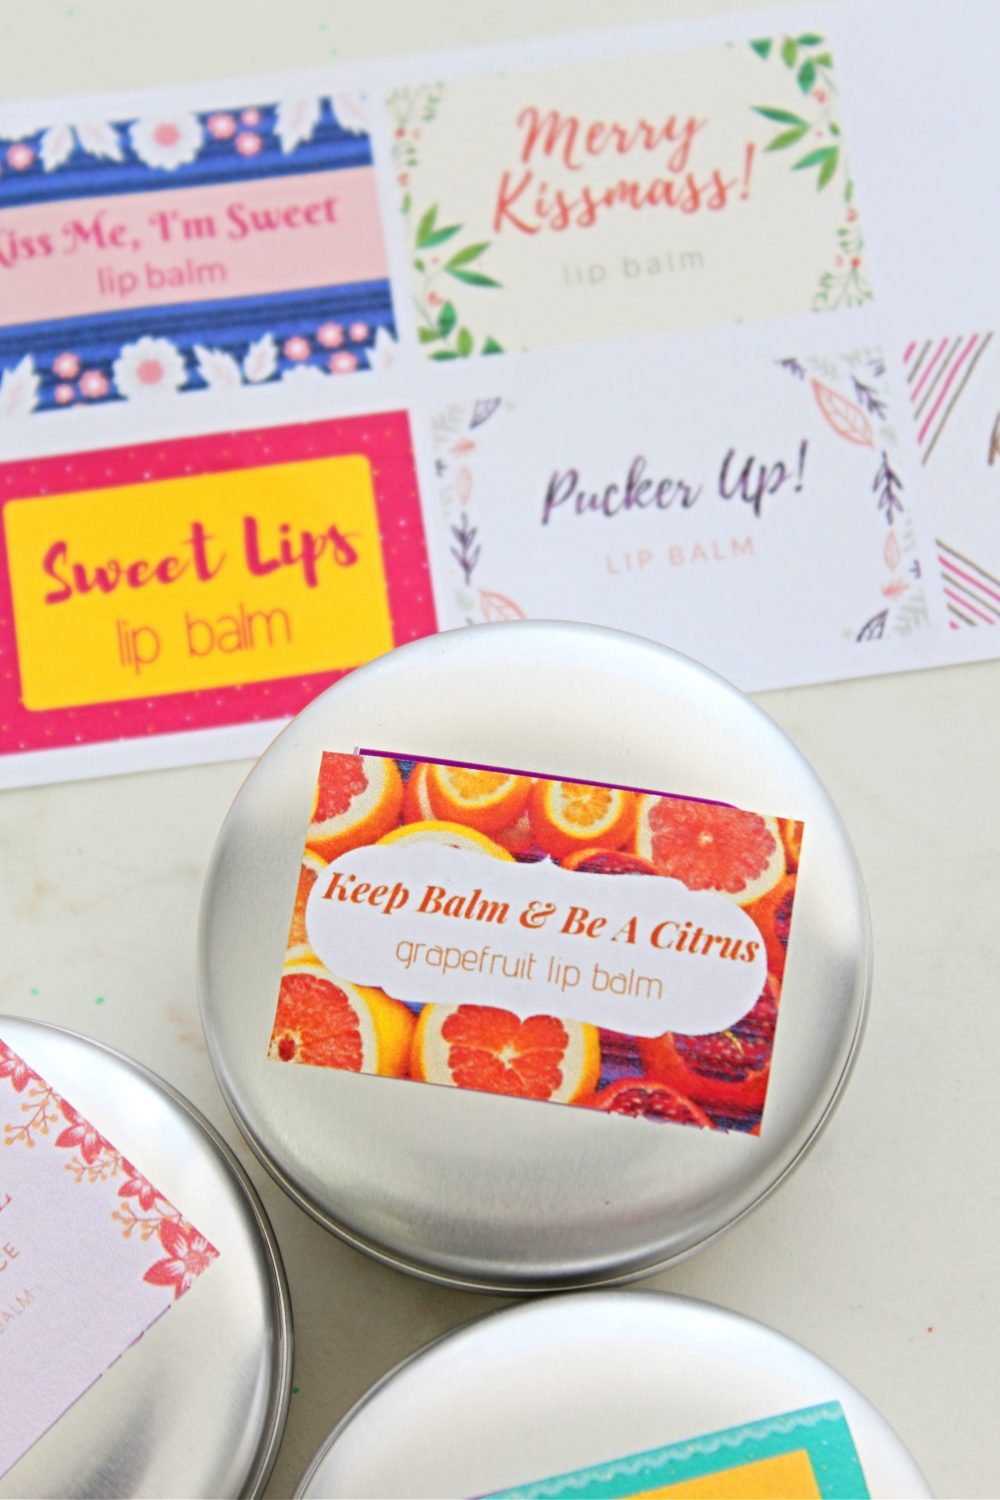
P.S These lovely lip balms would make such a nice and affordable gift idea for holidays. There is nothing as meaningful as a homemade gift. You can package them in different shapes and sizes of lip balm containers and gift all your friends!
I made a few cute labels for you to use on your homemade lip balm. They’re free for my email subscribers but if you don’t want to subscribe, these are available to purchase here.
Beeswax lip balm recipe
Materials:
- 2 tablespoons coconut oil
- 2 tablespoons almond oil
- two tablespoons bees wax
- 6 drops essential oils of choice
- food coloring (quantity depends on how deep you want the color)
- labels optional (available here)
You will also need:
- a bain marie/double boiler or a small saucepan and a medium glass bowl
- teaspoon
- bamboo sticks
- lip balm containers
How to make colored lip balm with beeswax:
Melt ingredients
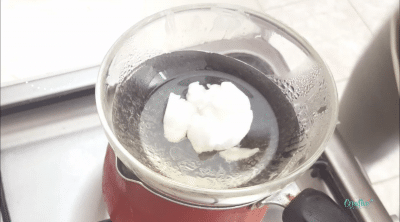
- You need to melt the ingredients on a bain marie or through a bain marie method as I did. Fill the saucepan with some water and place the bowl on top. The top of the bowl should be larger than the saucepan so it sits on the saucepan half way trough and should not touch the water.
- Bring the water to a boil and turn the heat on low.
- Put the beeswax in the glass bowl and melt
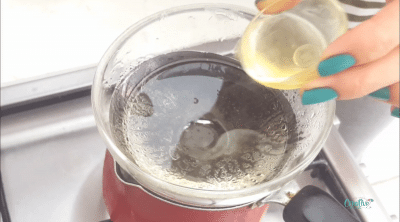
- Add coconut oil and melt
- Pour almond oil and mix well
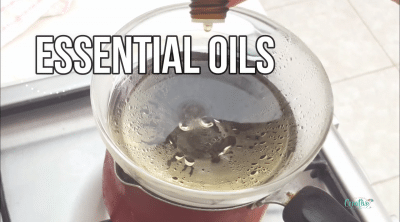
- Add essential oils of choice. For the pink balm I used cinnamon, for the orange I used grapefruit and for the mint one I used peppermint.
Tint the balm
- Mix well then remove the bowl from heat. If you don’t want a tinted balm, pour the content into a medium container or a couple of small container and leave overnight before using.
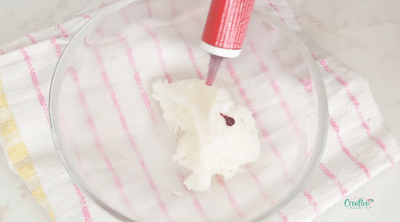
- If you want a tinted lip balm, leave the bowl on a side until the liquid solidifies just a little then add food coloring. For the pink one I added 3 drops red food coloring, for the orange I used 4 drops yellow food coloring and for the mint I used 10 drops green food coloring. The food coloring I used is gel not liquid.
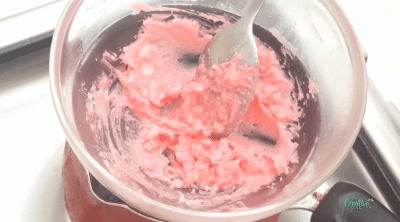
- Mix well until the food coloring is completely incorporated into the balm then return to saucepan and melt the balm again. When completely melted, pour the liquid into containers and leave overnight to solidify.
- Add a cute label to your container and you’re ready to use your natural lip balm!
If you liked this tutorial please let me know in the comments below! And if you come up with new ideas for essential oils combinations or options for coloring this balm, please feel free to share your ideas!
Pin to save for later
Print the DIY card
DIY tinted lip balm
Materials
- 2 tbsp coconut oil
- 2 tbsp almond oil
- 2 tbsp bees wax
- 6 drops essential oils of choice
- food coloring quantity depends on how deep you want the color
- labels optional
Tools
- teaspoon
- bamboo sticks
Instructions
- Melt beeswax on a bain marie

- Add coconut oil and melt

- Pour almond oil and mix well

- Add essential oils of choice. Remove the bowl from heat.

- If you want a tinted lip balm, leave the bowl on a side until the liquid solidifies just a little then add food coloring.

- Mix well until the food coloring is completely incorporated into the balm then return to saucepan and melt the balm again. When completely melted, pour the liquid into containers and leave overnight to solidify.

- Add a cute label to your container

Video
Most popular DIY’s:
Article may contain Amazon & affiliate links. As an Amazon Associate I earn from qualifying purchases at no additional cost to you.



I can’t wait to make this lip balm. I also want to make the natural deodorant recipe too. Thank you for sharing all these natural recipes!
Tried making the lop balm but failed 😢I’ll try again.
What size metal container did you use?
They’re about 2 1/2″ by 1″
Dear
I wanted to make colored lipbalm. So I followed the instructions. Food coloring added after it was solid, and then reheated but when I poured it in the containers I saw the drops I spilled were white again. The coloring is suddenly gone. And I added 5 drops of hot pink. So it was really pink. It is Almost like I’ve never put The color in. 🙁
Please help.
Hi, Ellen. I’m sorry, never heard of this happening! I used gel food coloring from Wilton and just a couple drops were more than enough to give the balm a bit of a tint as seen in the video and photos.
Two things… you could just be noticing that the fact that the color shows up a lot better when the balm is solid. This is completely normal. It has to do with how the light refracts. Think of an ice cube- kind of whitish in color, but water, as a liquid, is clear. Same kind of thing. Secondly, this recipe is oil-based (not water based). If you are using liquid food color (or even a liqua-gel which is a cross btwn liquid and gel) then you will have a heck of a time getting the color to disperse because water and oil don’t mix! You can opt for powder food coloring or they even make oil-based food coloring (often called candy/ chocolate food coloring).
Jen, I used gel food coloring with no problems. The trick was to let the lip balm solidify a bit then add the food coloring & mix well.
If you use a powdered colour, do you still add it when the balm has solidified a bit and then melt it again, as shown with the liquid colouring? We’ve tried putting powder in when the balm was first made and melted, and found the powder sunk.
Yes, same process for powder.
Can I use tubes for the lip balm?
Hi Rhonda! I never tried it with tubes but I don’t see a reason you can’t. You probably need to pour the mixture while still warm and liquid.
Where do you get the essential oils? How do you know the ones you buy are safe for the skin? I’ve looked for essential oils before and they all seem like they were made for diffusers.
Hi Page. I’ve been using Young Living for years, this DIY included and I could not be happier. Here’s more information about it https://theseamanmom.com/young-living-oils-starter-kit/
Can you just add the food coloring without solidifying it? What will happen if so? How many lip balms were you able to make with this recipe?
Hi Camille. In my experience the food coloring will drop to the bottom without solidifying first. I made 4 medium recipients & a small one.
Hi! I’m really looking forward to making those with my students!
When you say 4 medium recipients and a small one, what size (in oz) are we talking about? I’m trying to gage what I need to order ;)
Thank you so much!
I love the recipe it was so easy to make thank you they turned out exactly the way u made
Referring to beeswax is it white or yellow beeswax you use and is the coconut oil fractionated organic.
Hi Katie. Beeswax is white and coconut oil is extra virgin, both seen in the video.
What is the shelf life of these lip balms?
Laura, I wouldn’t use any beauty product, natural lip balm included, for more than 6 months.
Just have one question do you have to use glass or can you use metal?
I’m not sure what the question is, Kasey. If you’re referring to the glass bowl used for melting the ingredients, metal would do too if it’s meant to stand use in high temperatures such as the oven’s. I used a glass bowl because it was fitting perfectly on top of my saucepan. If you’re referring to the containers to store the balm, mine are metal so both would do just fine.
They look lovely I can’t wait to try them!
Thanks, Lorrie! I’m very glad you like these! Enjoy!