

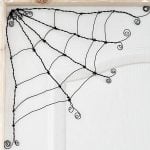
Spooky Cute DIY Spider Web
This adorable yet spooky DIY spider web will add the perfect touch to your home décor and is surprisingly easy to make, using craft supplies that you likely already have lying around your home! In this tutorial, I’ll walk you through each step on how to craft a wire spider web that will be the centerpiece of your Halloween party decorations. Not only is it a fun project to undertake, but it also allows for a great deal of creativity, letting you customize your spider web to fit the theme and ambiance of your party perfectly!
This super cool DIY spider web is the perfect fit for a home décor that is a bit out of ordinary! I do like the classic spider web decoration ideas but it seems like everybody has one these days and they get quite boring to look at after a while. So I thought I should make my own Halloween spider web decoration, using plain, ugly, boring wire!
I stumbled upon a wire spider web on Etsy and I got so psyched! This web totally had my name on it, it was practically begging me to buy it! I was almost there only to cool down real fast when I saw the price. A shocking $75 for something I figured it won’t cost me more than $10 and almost anyone can make. I though I should give it a try and make my own, using supplies I already had on hand as I was no longer willing to pay any money for this project (budget freak here! lol).
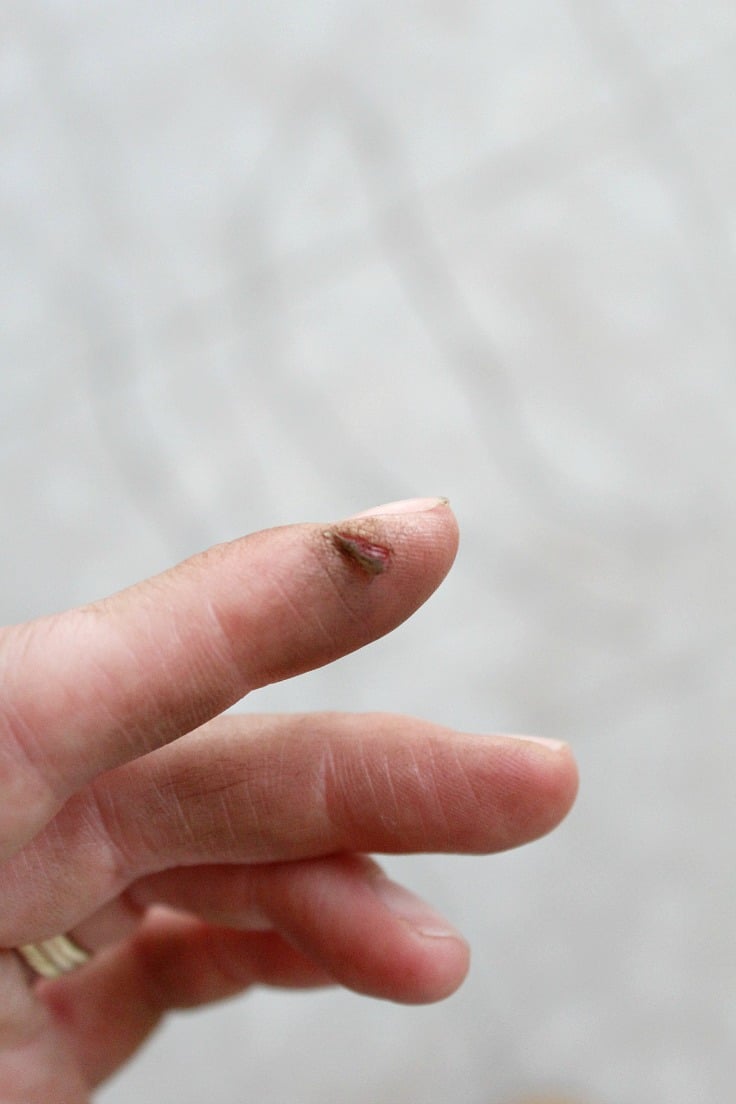
Making my own DIY spider web was really, really easy! The only part I found a bit tricky was curling the wire as I didn’t have proper pliers at that time. Round tip pliers work so much better for this project but if you don’t want to spend any money for something you may never use again, I made a very short video below, to show you how I curled the wire with the pliers I had. Kind of a rookie video but it’ll do for now!
How to make a DIY spider web
Materials you need
- wire (or barbed wire if you feel adventurous and have it on hand; I didn’t)
- pliers (round tip are the best)
- cutting pliers (to cut the wire)
- measuring tape
- gloves (if you can work with gloves on; I can’t but I did hurt a finger pretty badly because of that)
- optional, black spray paint and primer if your wire is not painted or is of a different color.
How to make a spider web step-by-step instructions
1. Step one – Making the “frame”
- Start by deciding how wide your web will be (Mine had 20″ long on each side)
- If you make yours as big as mine, grab the wire roll and cut 2 x 40″ wires
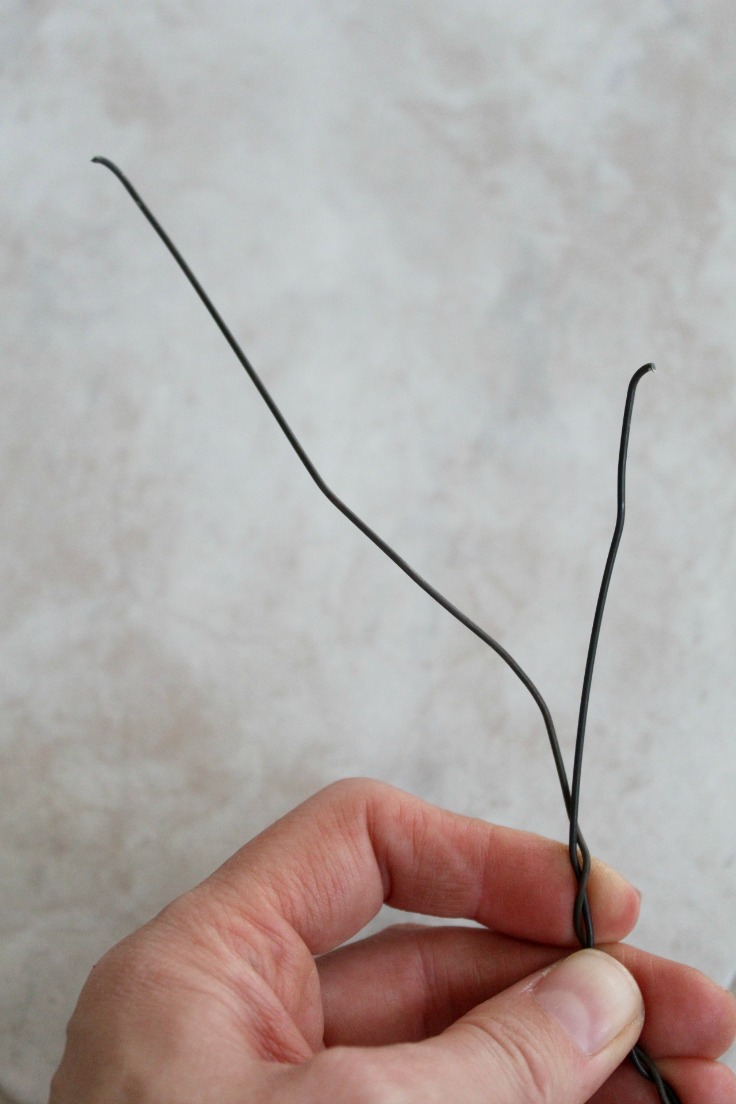
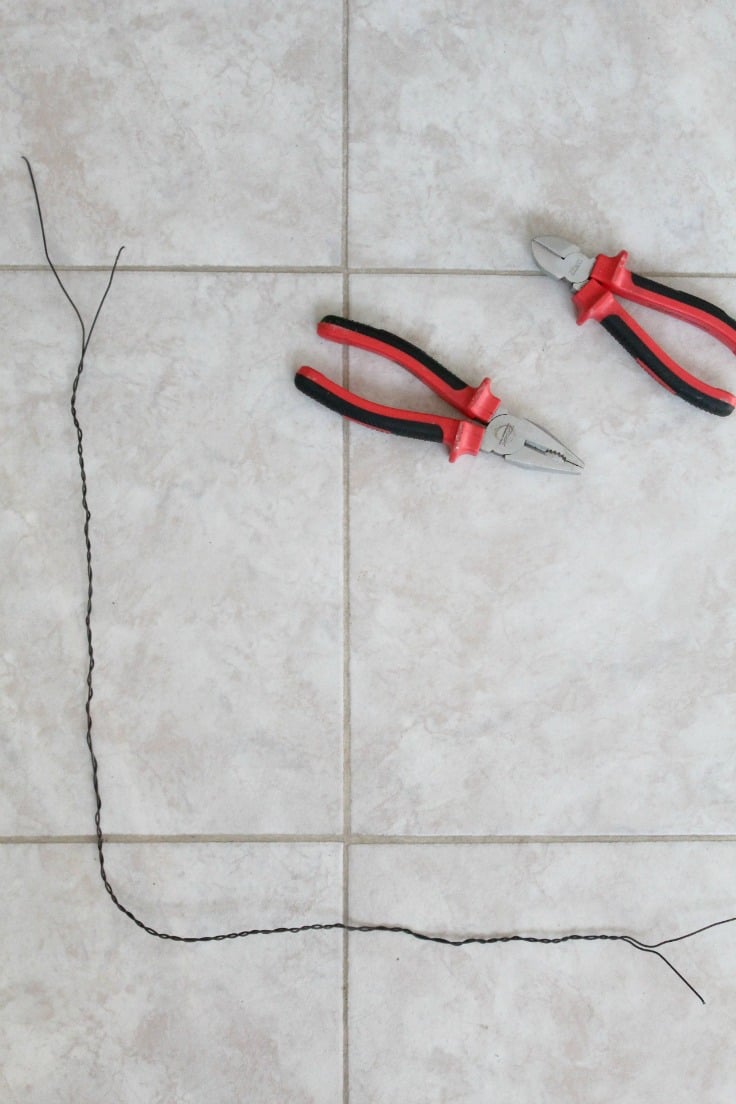
- Twist the wires around each other, leaving one longer than the other at each end
- Bend the newly formed double wire to a 90 degrees (this is the main frame)
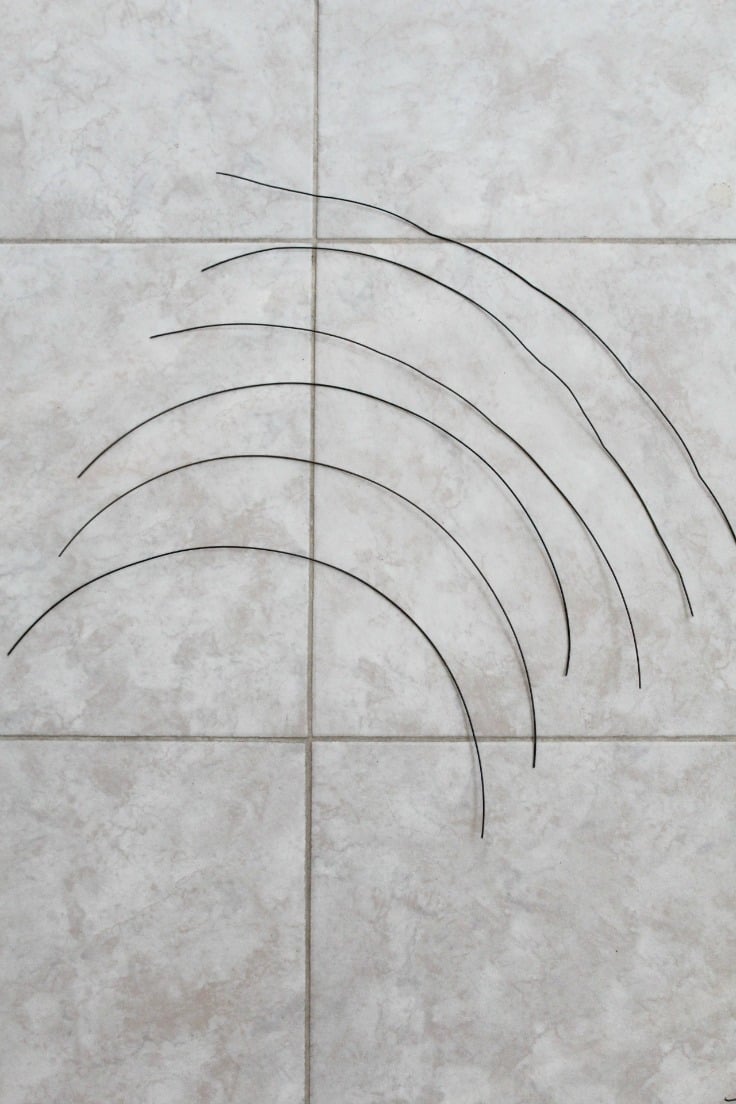
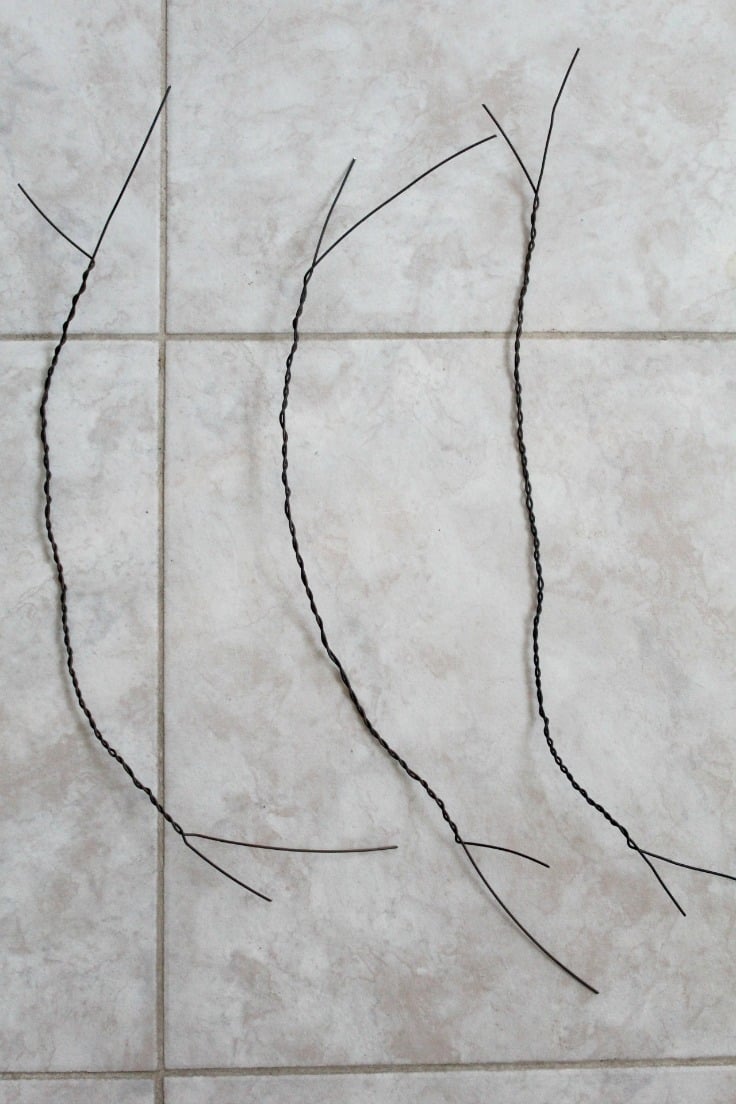
2. Step two – Making the inside of the web
- Cut 6 x 18 ” wires
- Grab 2 of these at a time and twist around each other as you did with the main frame above (I’ll call these wands)
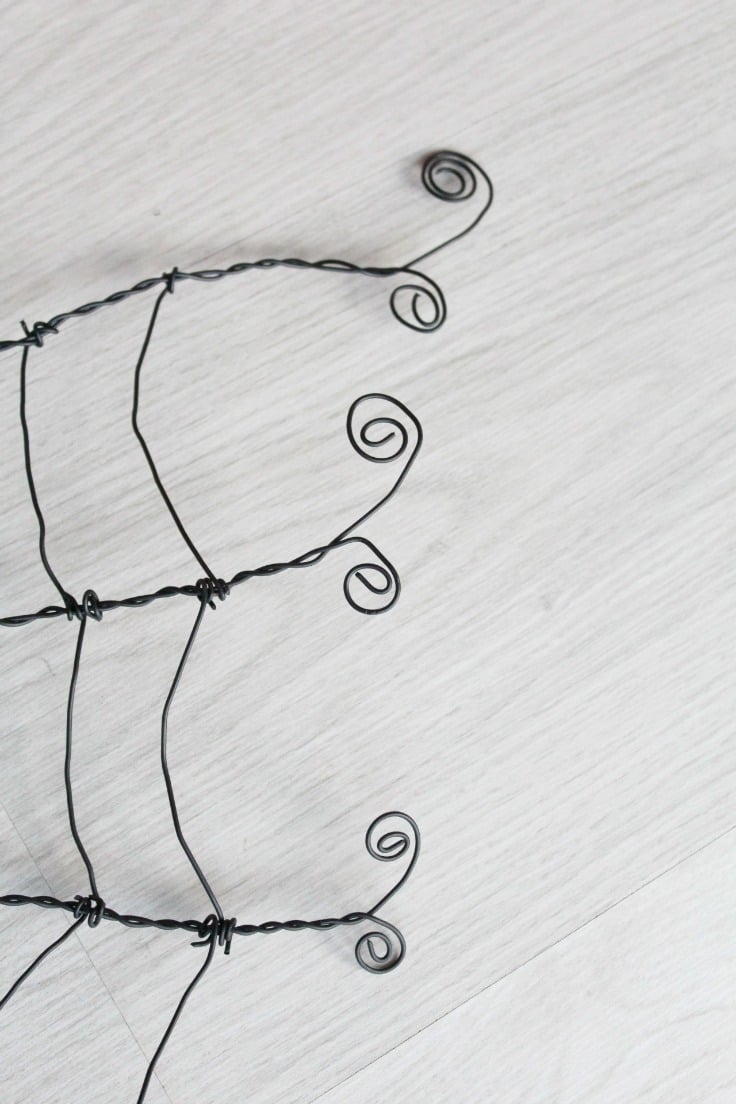
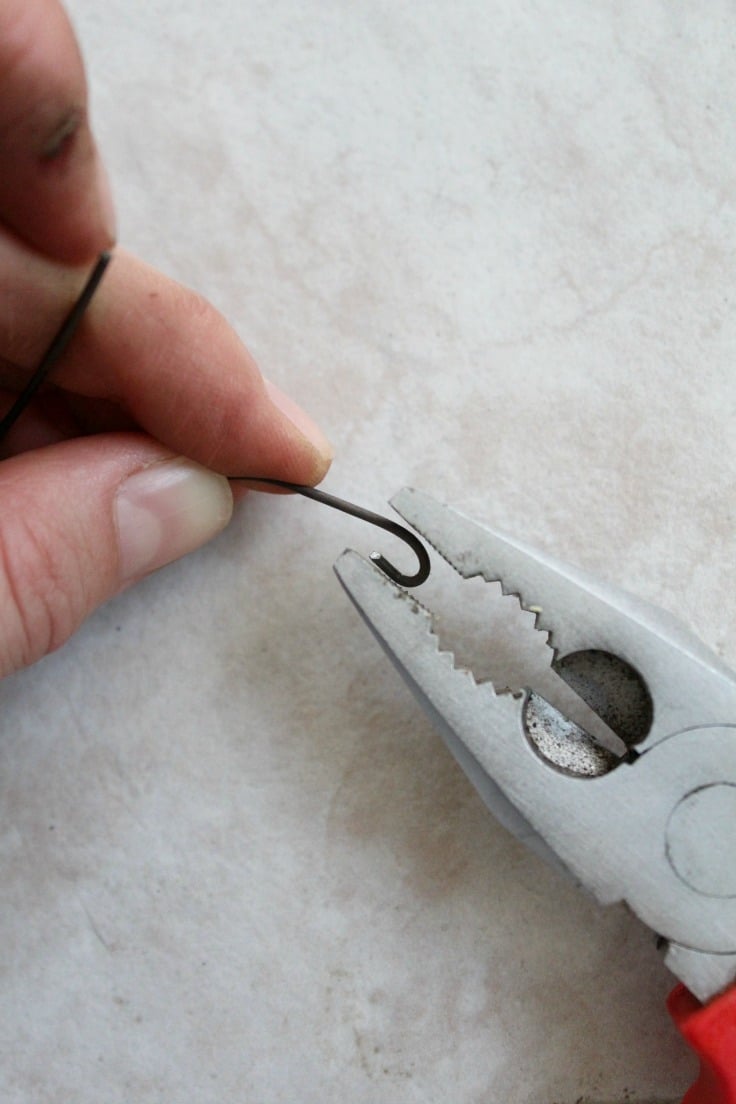
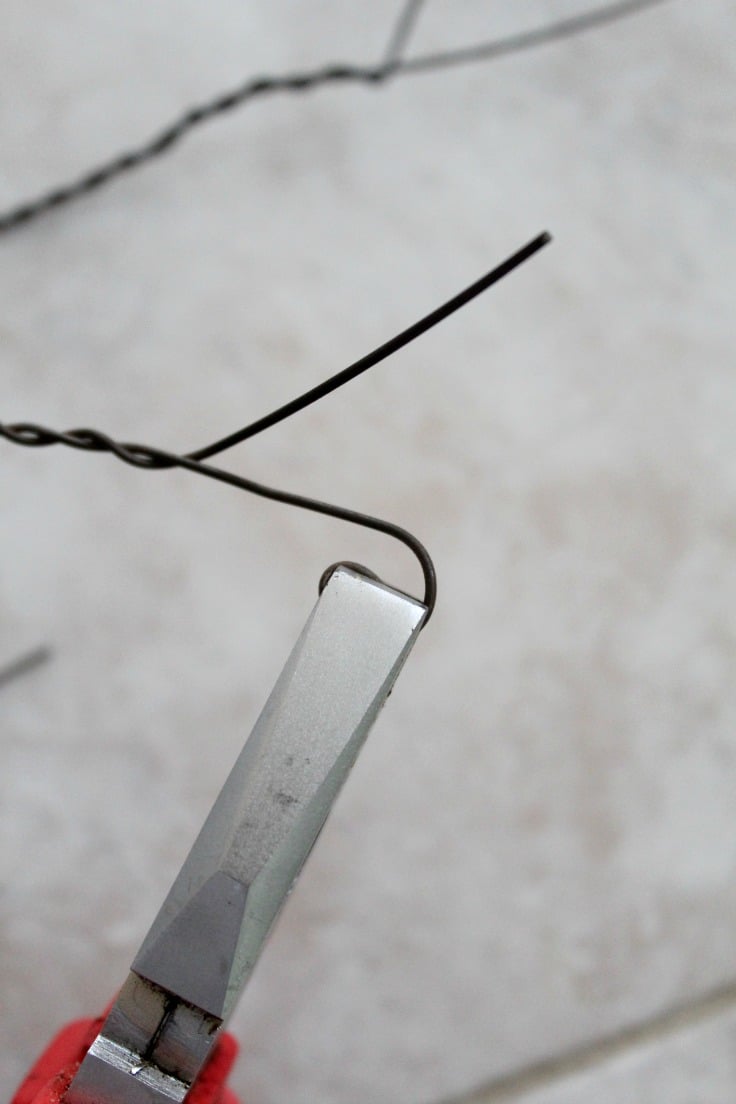
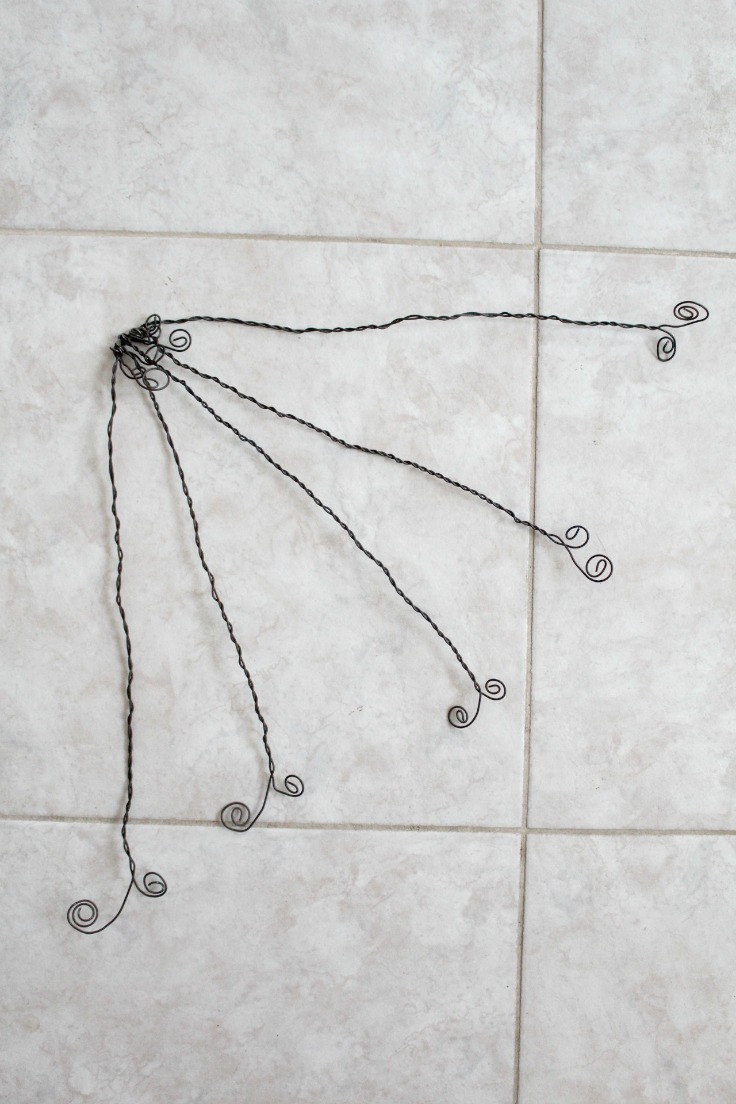
3. Step three – Making the curls
- You need to curl the ends on all wands
- Grab one end and begin working on one wire at a time on each end
- Grab the wire end with your pliers and make a small loop
- Twist the loop under until you get the curl you like
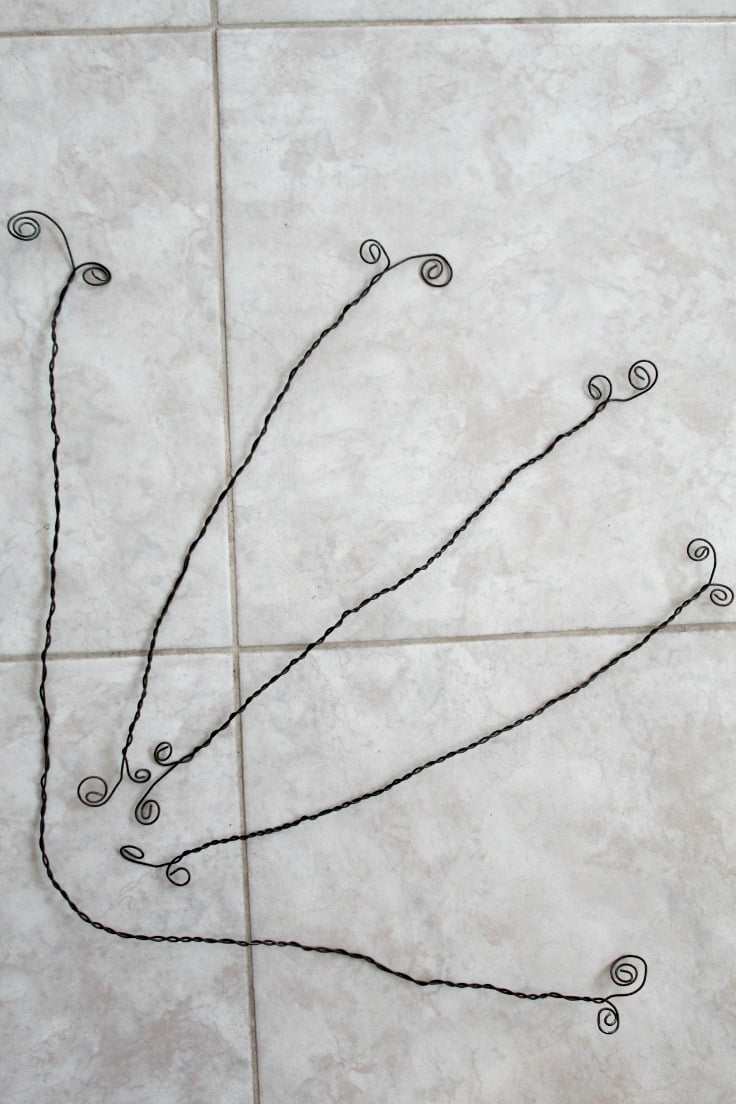
- Do the same with the other wire on the same end and repeat for all wands
- This is how it should all look like once curling is done
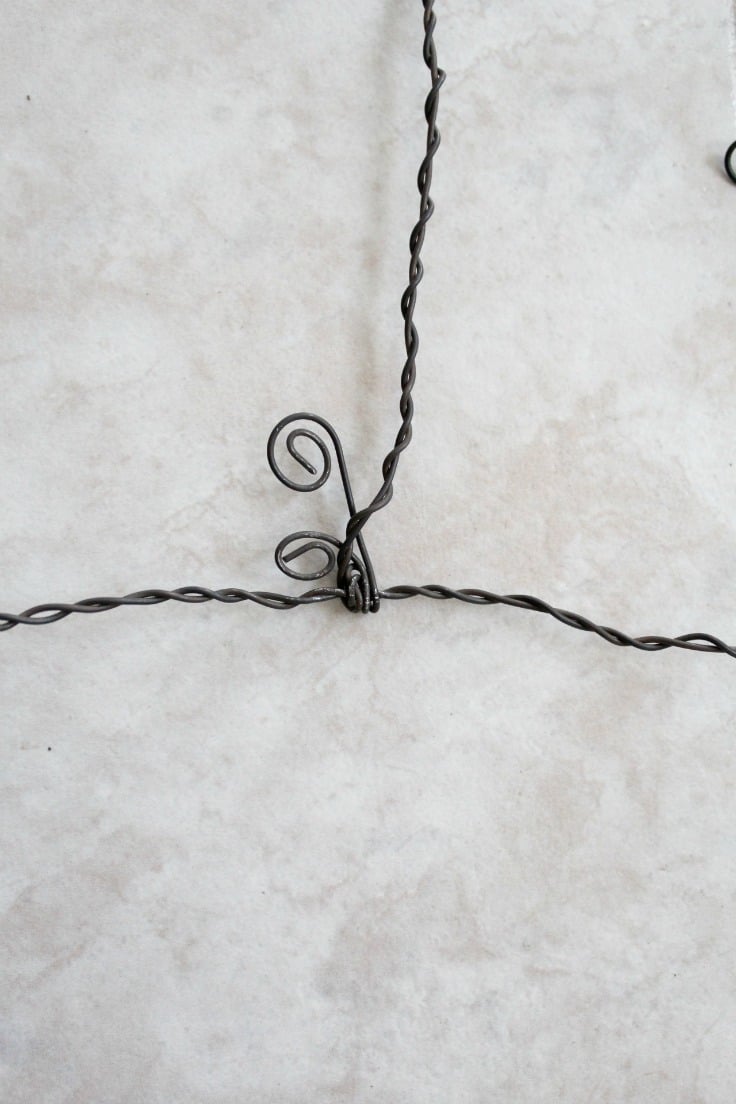
4. Step four – Attaching the curled wires to the frame
- Take one of the wands and twist one end around the middle of the main frame, using your pliers to set in place. Push the curly part towards the inside.
- Do this with all 3 wands
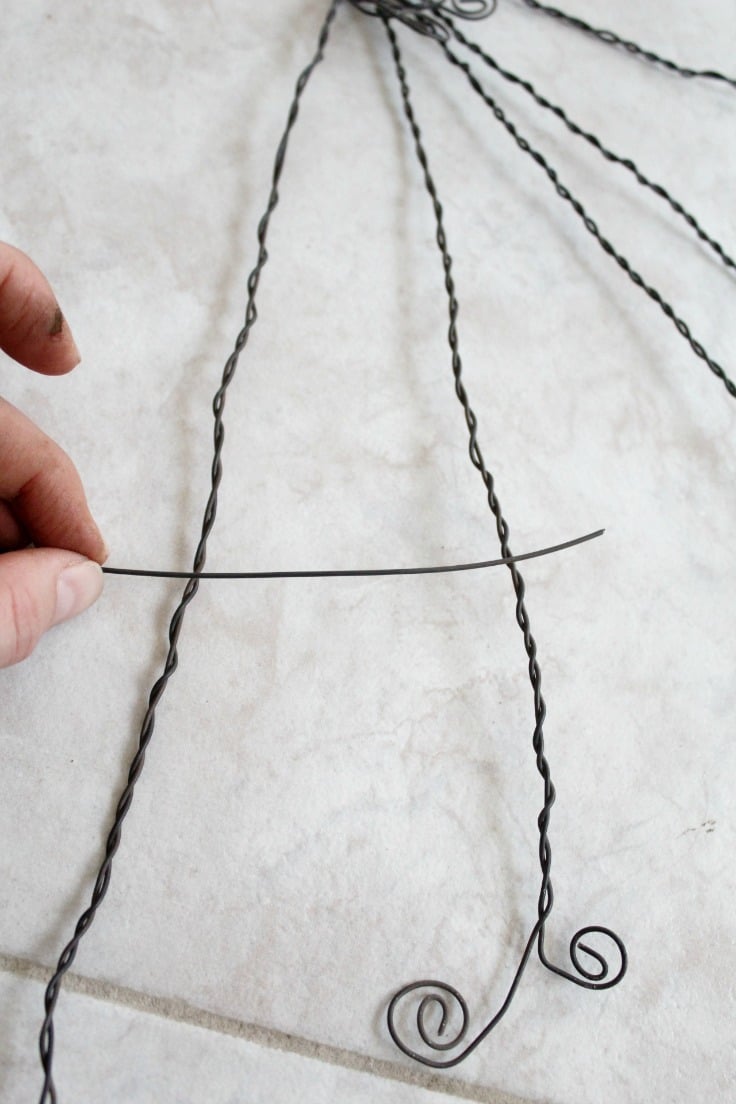
5. Step five – Making the net
- Cut a few wires to form the inside web net (you may need longer or shorter wires; or you can use a very long piece of wire, though I found this method harder)
- Join each wand with these wires until you are happy with how your net looks like
- Slightly bend each small wire in between wands, towards the center of the web.
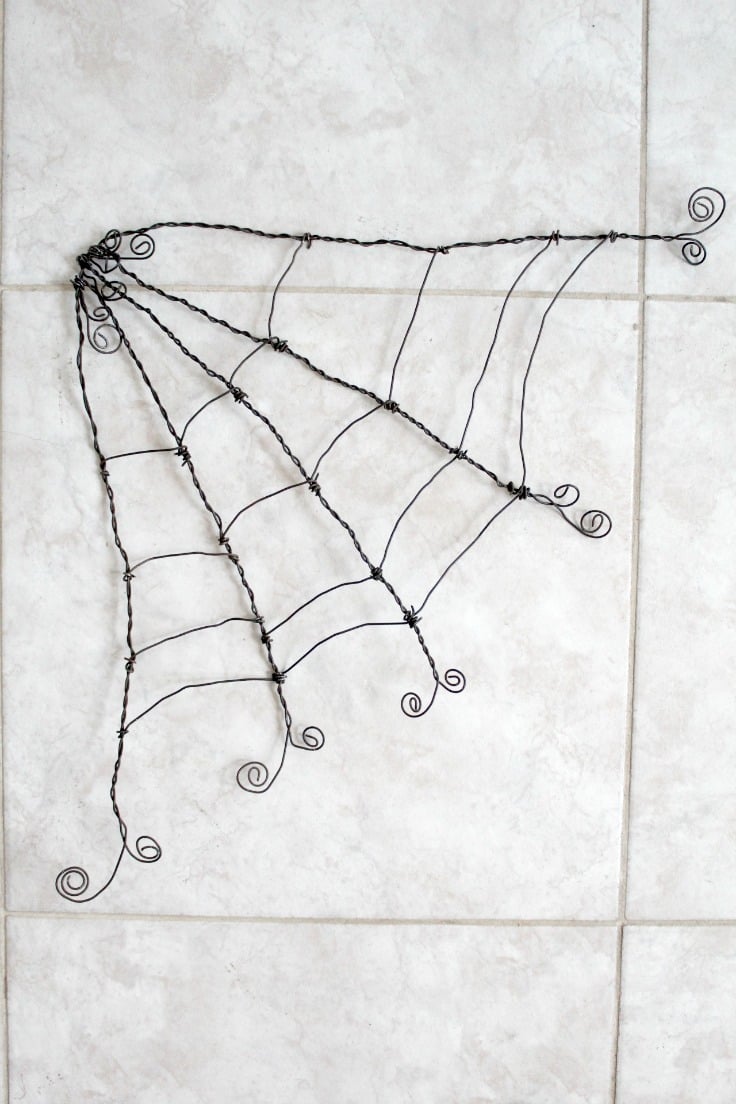
- Optional – prime and spray paint the web if you like a darker color and a more polished look (I did)
- Now hang your beautiful art anywhere around the house or outdoors and wow your guests!
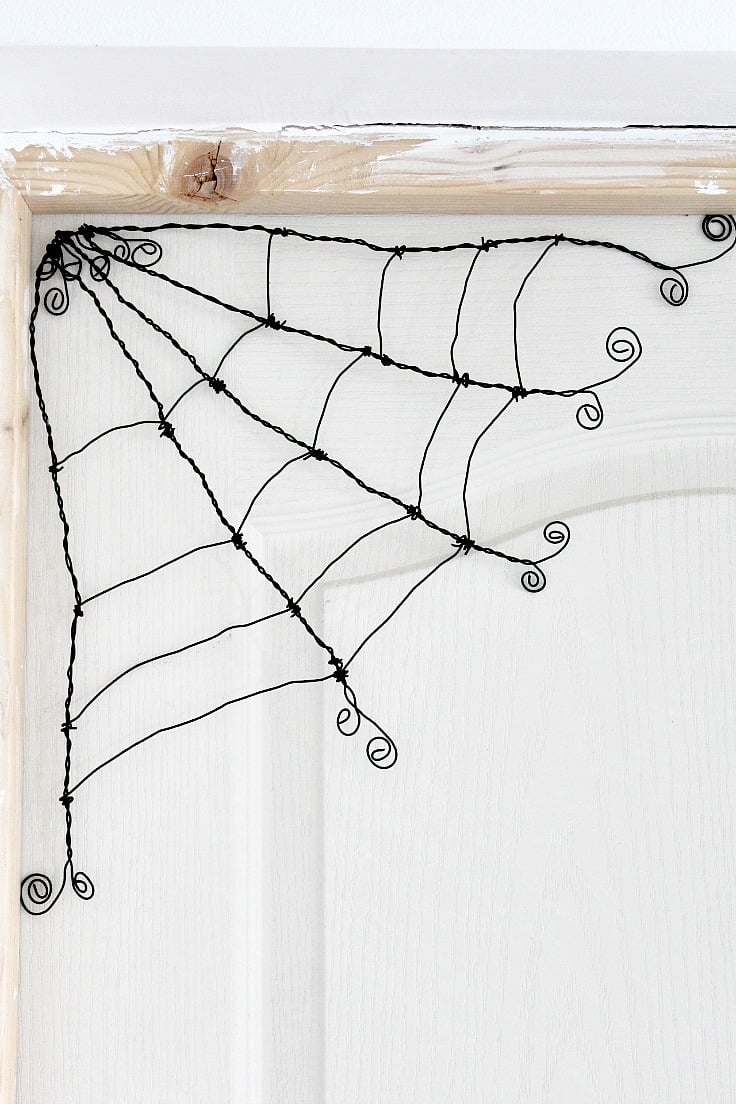
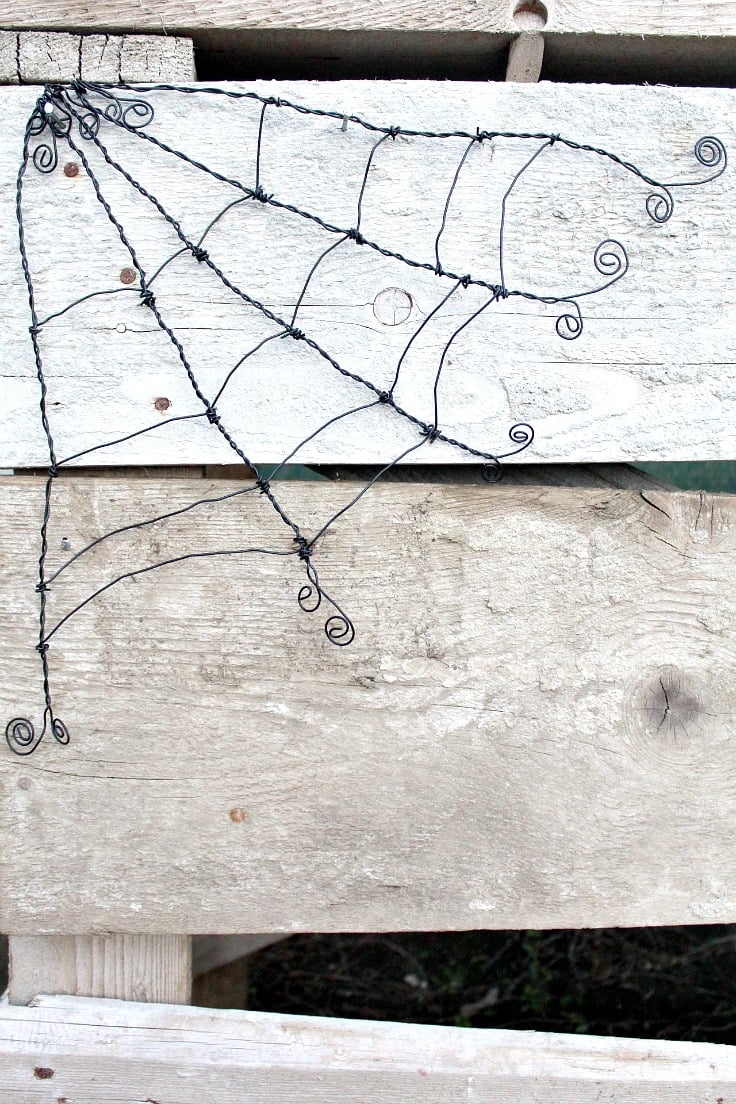
Hang your wire spider web from the ceiling or on your front door instead of a wreath or just display it on a shelf. I hooked my Halloween spider web to a door for photography purposes but I find this design works really well outdoors so I hooked mine in the backyard. So if you plan an outdoor party or have antique looking furniture or doors, this DIY wire spider web is the perfect addition to your décor.
Craft variations
There are many different ways you can vary the design and look of your wire spider web, depending on your personal preferences and creative vision. Here are a few ideas to get you started:
- Add a pop of color: Instead of using plain silver or black wire, try using colored wire to create a more vibrant and eye-catching spider web. You could even use multiple colors for a multicolored effect.
- Incorporate different materials: Instead of just using wire, consider adding other materials such as beads, feathers, or ribbons to create a more textured and intricate web.
- Change up the shape: Instead of sticking to the traditional circular or triangular spider web shape, try experimenting with different shapes like hearts, stars, or even letters to spell out spooky words like “BOO” or “EEK”.
- Use different sized wire: Varying the thickness of your wire can create a more dynamic and interesting spider web design. You could also use different types of wire, such as twisted or braided, to add even more texture to your web.
- Add spiders: No spider web is complete without some creepy crawly inhabitants! You can purchase fake spiders from a craft store or make your own using pipe cleaners and googly eyes. Add them to your spider web for an extra touch of spookiness.
Frequently asked questions
- How long does it take to make a wire spider web?
The time it takes to create a wire spider web can vary depending on your skill level and the complexity of your design. On average, it can take anywhere from 30 minutes to an hour.
- Do I need any special tools or materials?
No, you likely already have all the necessary tools and materials at home to start crafting your wire spider web. Basic craft supplies such as craft wire, wire cutters, and pliers are sufficient. However, if you decide to incorporate additional materials, you may need a hot glue gun or some craft glue to secure them in place.
- Can this project be done with kids?
Absolutely! Crafting a wire spider web can be a fun and creative activity to do with children. It’s an excellent opportunity for them to practice their fine motor skills and creativity. For younger children, make sure to supervise them closely, especially when using tools like wire cutters and hot glue guns. You might also consider using materials that are easier and safer for them to handle, such as pipe cleaners instead of craft wire, for their versions of the spider web.
- How can I display my wire spider web?
There are numerous ways to display your wire spider web. One popular option is to hang it in a window or doorway using a small hook or suction cup. This not only showcases your creation but also casts interesting shadows when the light hits it. Another idea is to attach it to a wall or a backdrop as part of a larger Halloween decoration scene. If you’ve created smaller webs, they could also be great additions to a Halloween table setting or attached to the outside of lanterns for a spooky evening glow.
More creative ideas you will enjoy
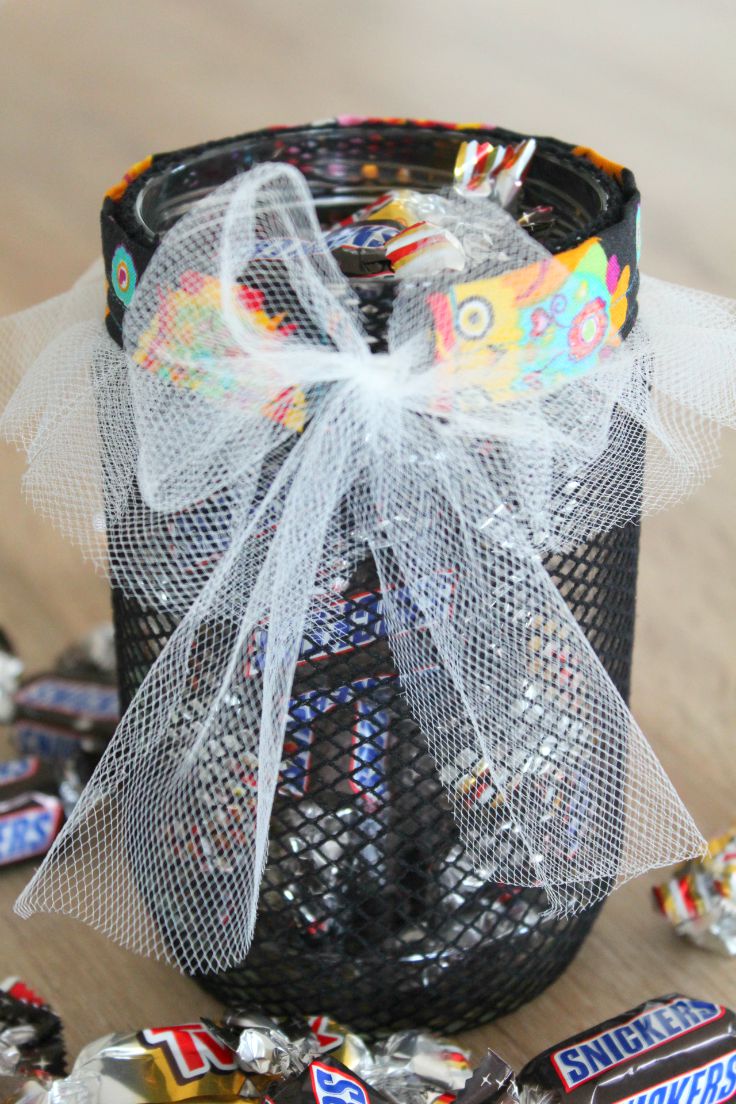

- Halloween treat jar
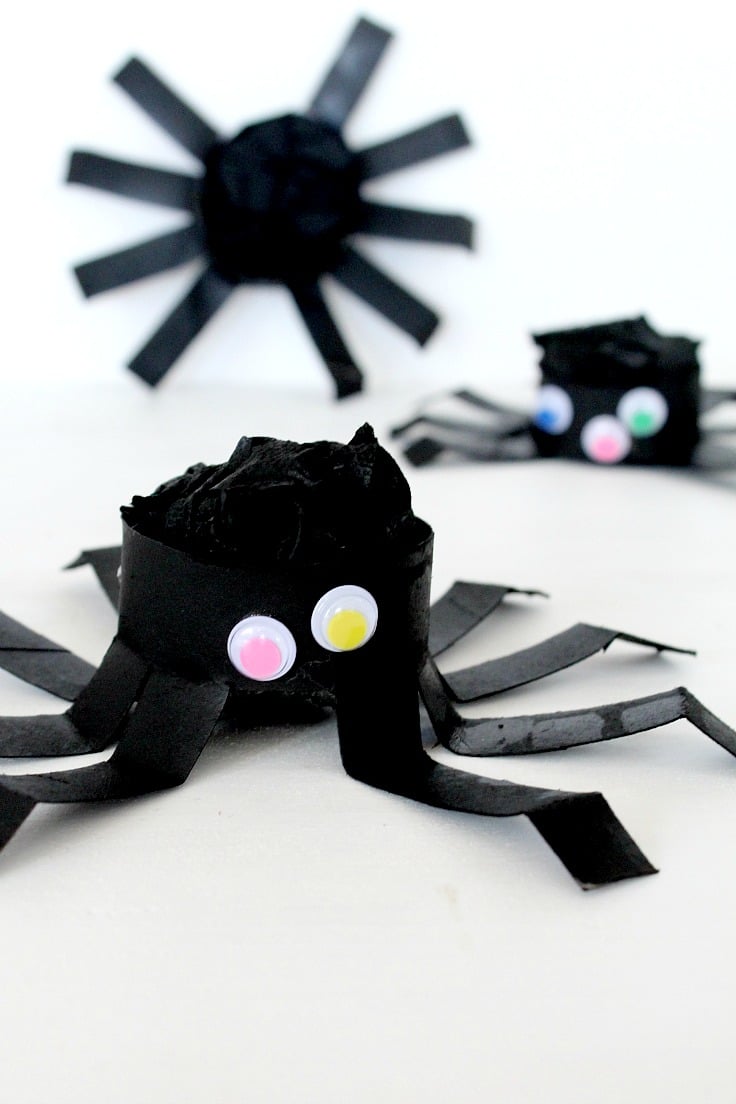
- Recycled Halloween spiders with paper tubes
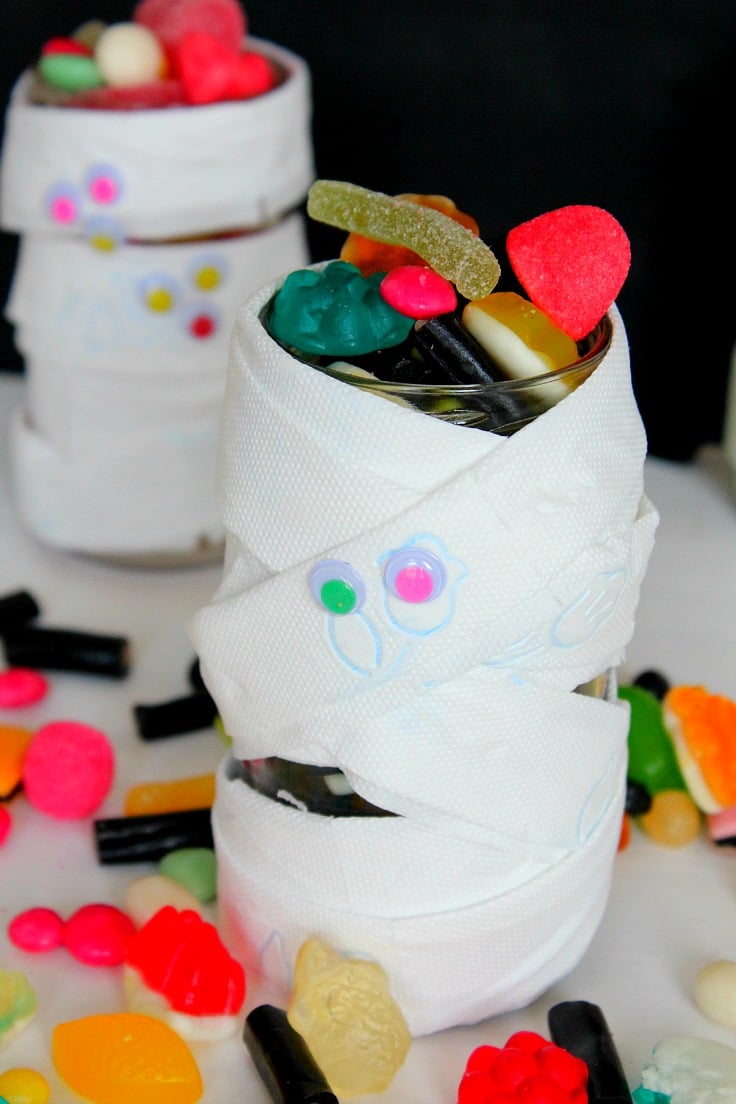
- Mummy treat jars
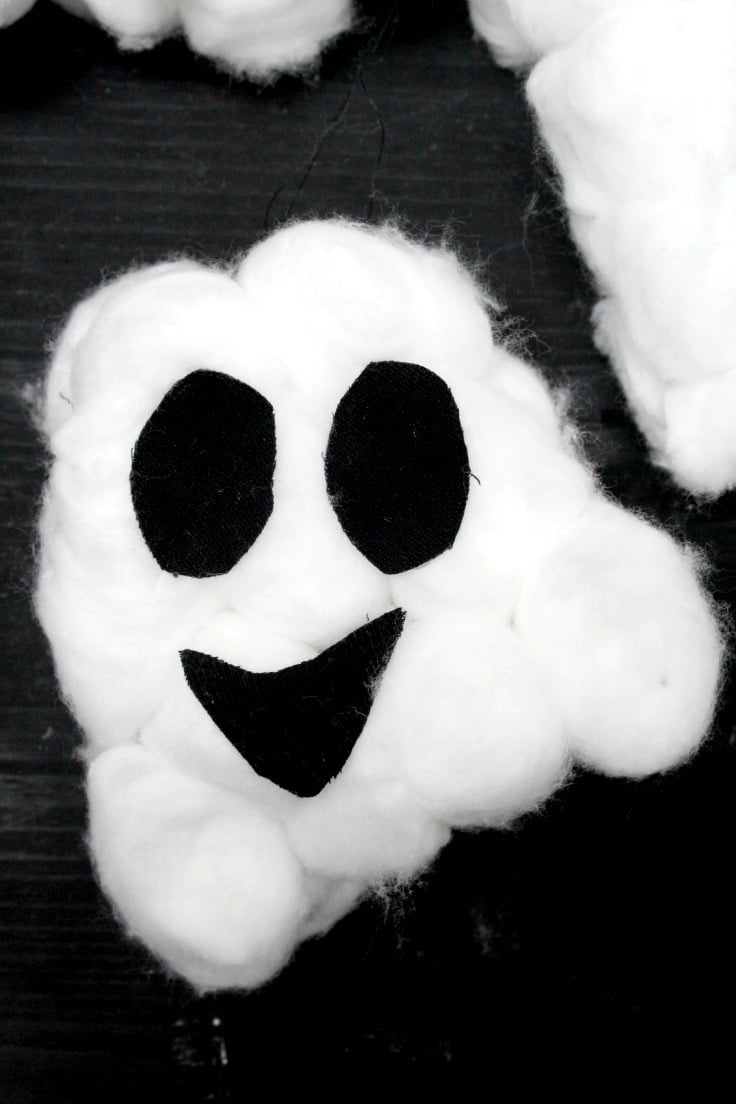
- Fluffy Halloween ghosts
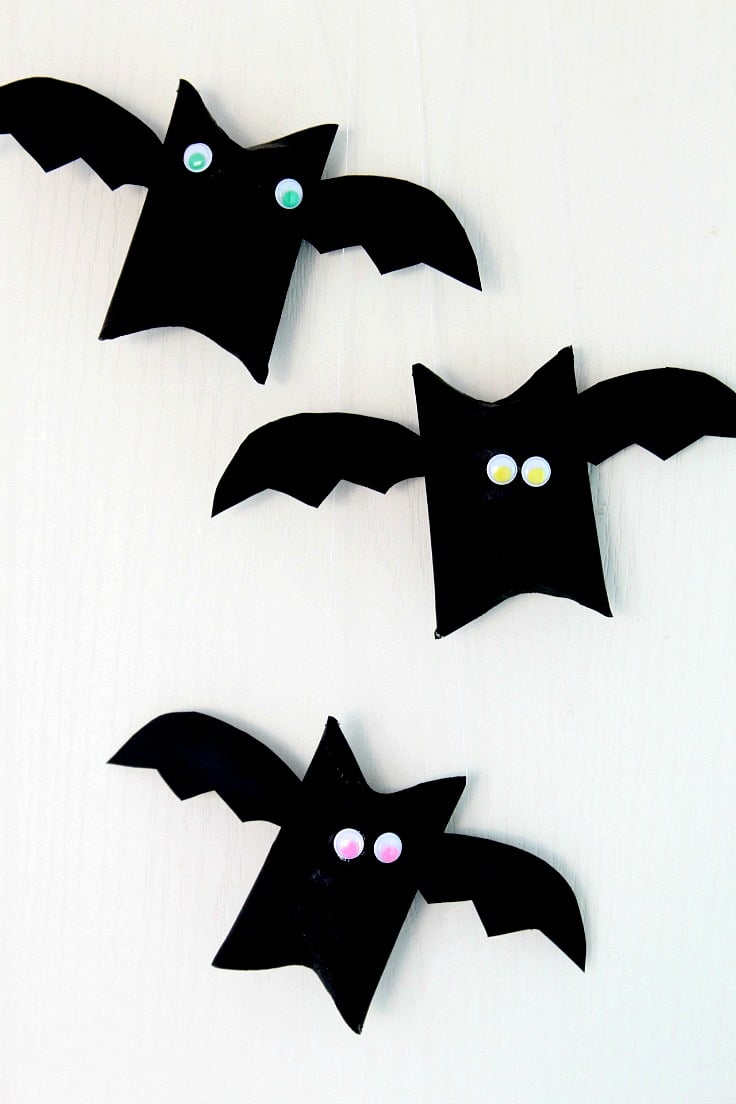
- DIY paper bats
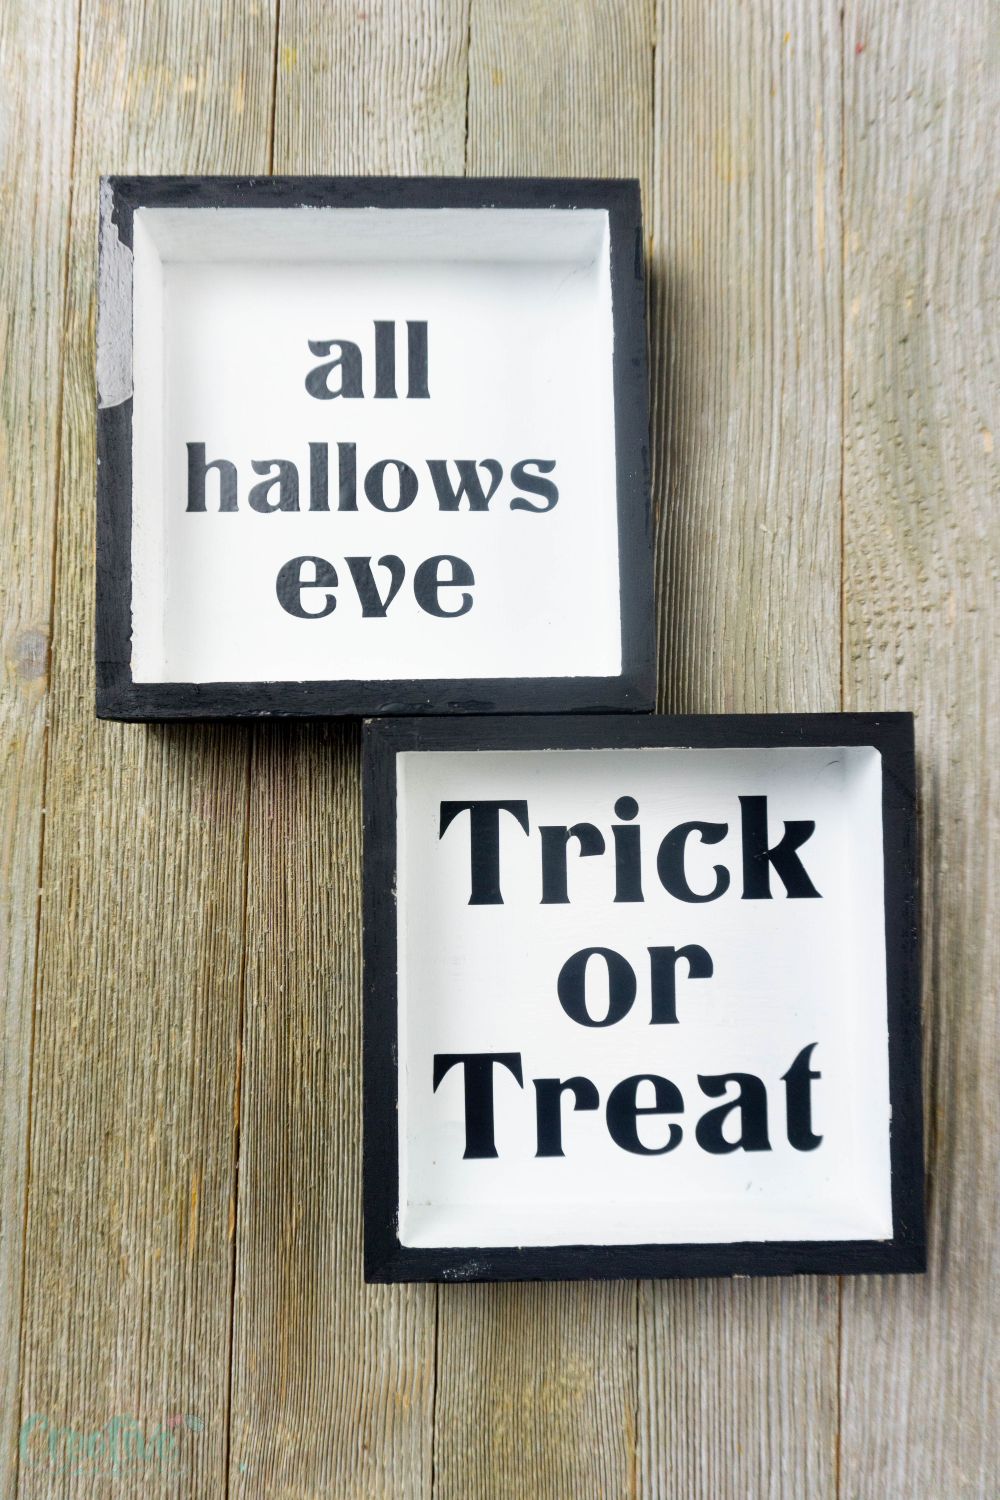
- Farmhouse Halloween wood signs
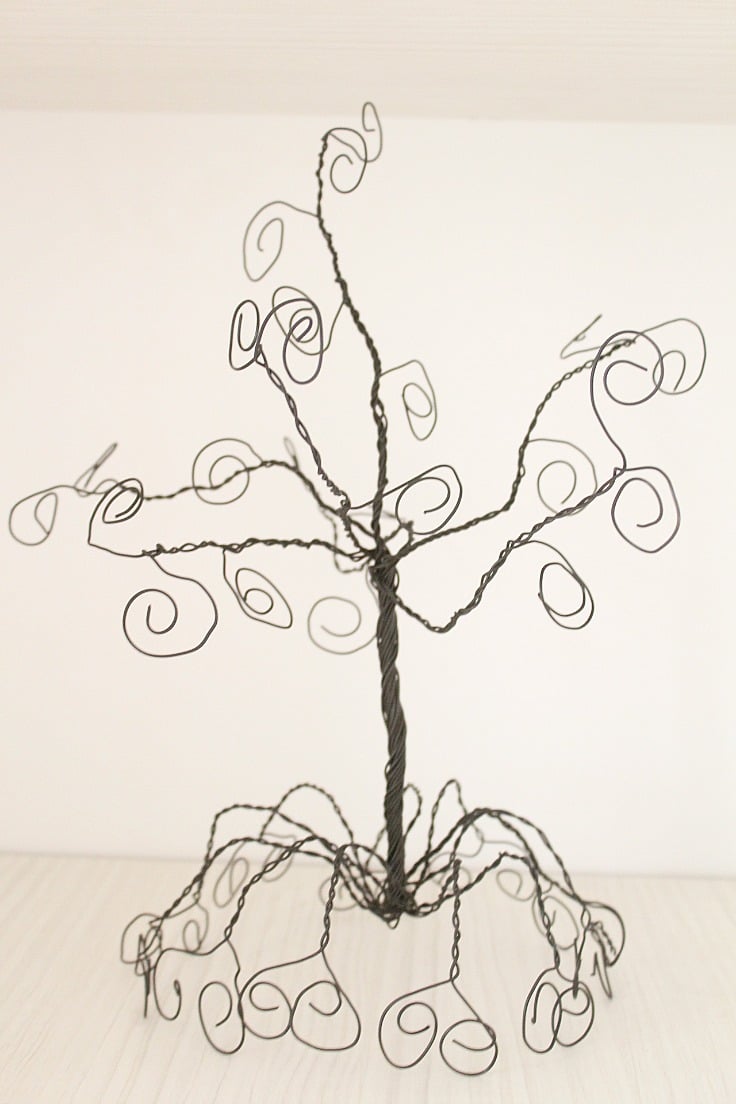
- Wire jewelry holder tree
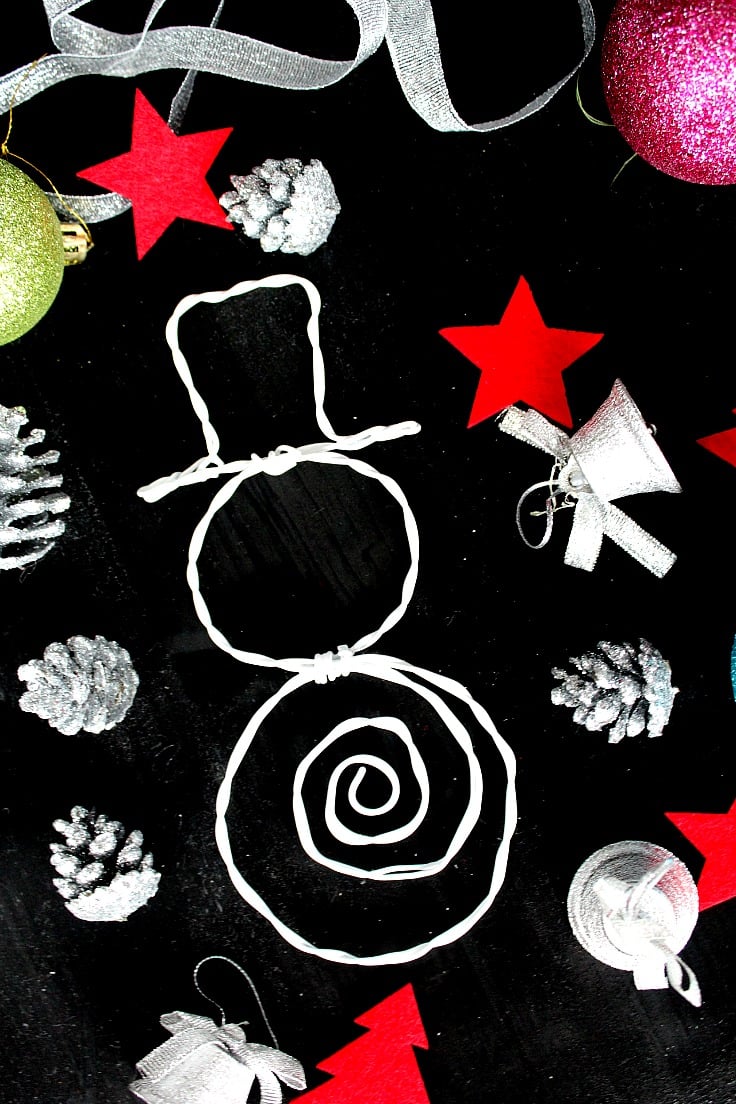
- DIY wire snowman Christmas decoration
- Wire headband tutorial
Whether you’re decorating for Halloween or just like to add some arachnid-inspired décor to your home, make this DIY spider web, a fairly easy project that doesn’t require much skill. Just as a spider weaves its silk, you will use wire to design your spiderweb. You can use a circle design or a triangular as I did, if you like to get more creative.
I hope you enjoyed my tutorial and you decided to make your own soon. Please let me know your thoughts in the comments below, I love hearing from my readers!
DIY spider web with wire
Materials
- wire or barbed wire if you feel adventurous and have it on hand; I didn't
- black spray paint and primer if your wire is not painted or is of a different color
Tools
- measuring tape
- gloves
Instructions
- Start by deciding how wide your web will be (Mine had 20" long on each side). If you make yours as big as mine, grab the wire roll and cut 2 x 40" wires. Twist the wires around each other, leaving one longer than the other at each end

- Bend the newly formed double wire to a 90 degrees (this is the main frame)
- Cut 6 x 18 " wires
- Grab 2 of these at a time and twist around each other as you did with the main frame above (I'll call these wands)
- You need to curl the ends on all wands. Grab one end and begin working on one wire at a time on each end. Grab the wire end with your pliers and make a small loop
- Twist the loop under until you get the curl you like
- Do the same with the other wire on the same end and repeat for all wands. This is how it should all look like once curling is done
- Take one of the wands and twist one end around the middle of the main frame, using your pliers to set in place. Push the curly part towards the inside.
- Do this with all 3 wands
- Cut a few wires to form the inside web net (you may need longer or shorter wires; or you can use a very long piece of wire, though I found this method harder)
- Join each wand with these wires until you are happy with how your net looks like. Slightly bend each small wire in between wands, towards the center of the web. Optional – prime and spray paint the web if you like a darker color and a more polished look.
Video
Article may contain Amazon & affiliate links. As an Amazon Associate I earn from qualifying purchases at no additional cost to you.

Can’t wait to try this!
I really like this idea but need to know what gauge of wire did you use?
Hi Judi. I’m happy you liked my tutorial and considering giving it a try. It really doesn’t matter what gauge you choose as long as it’s easy to bend and twist with your hands. Using pliers makes it easier but a flexible gauge is always the best choice makes.
What a fun project, Petro! Pinning!
Tanks so much Michelle! Hugs :)
Ouch! Beautiful idea but I hope your finger is feeling better!
Thanks so much Emma. It’s doing well now, it was painful just for the day. But lesson learned. Better spend more time on a project wearing gloves than having that happen.
Maybe just wrap finger tips with white “medical” tape. If you put one piece front to back over the nail and wrap a couple times around, you should have it covered but still have flexibility.
That is one fabulous tip, thanks so much! Genius!