

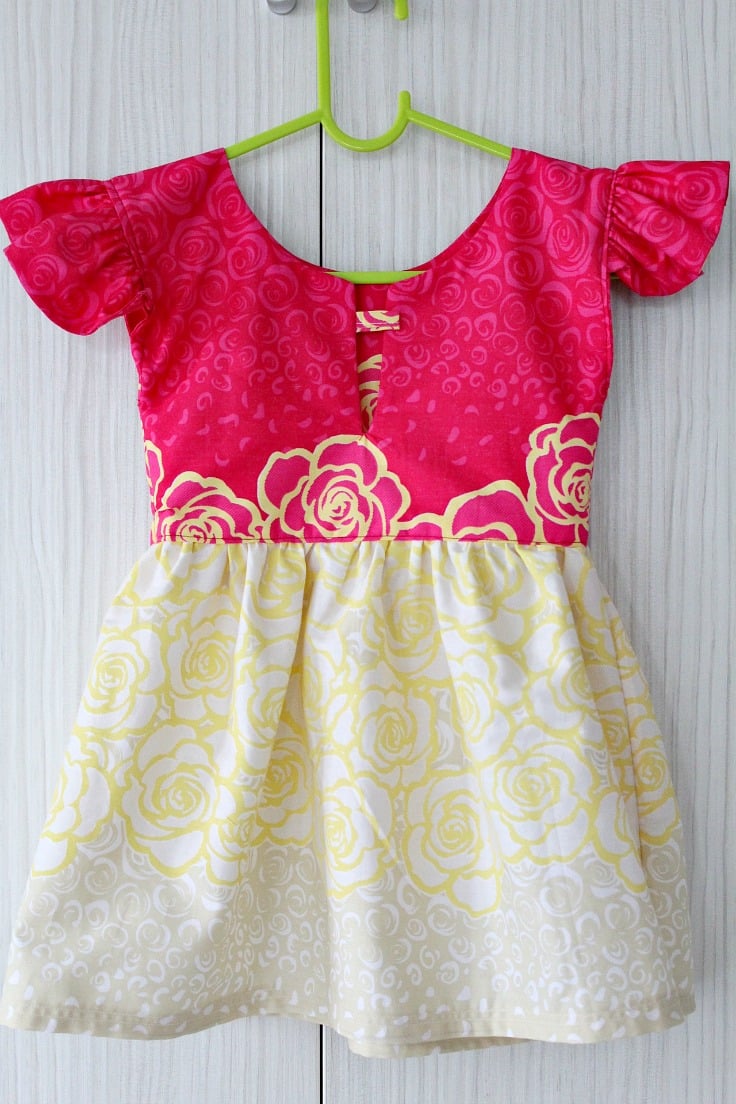
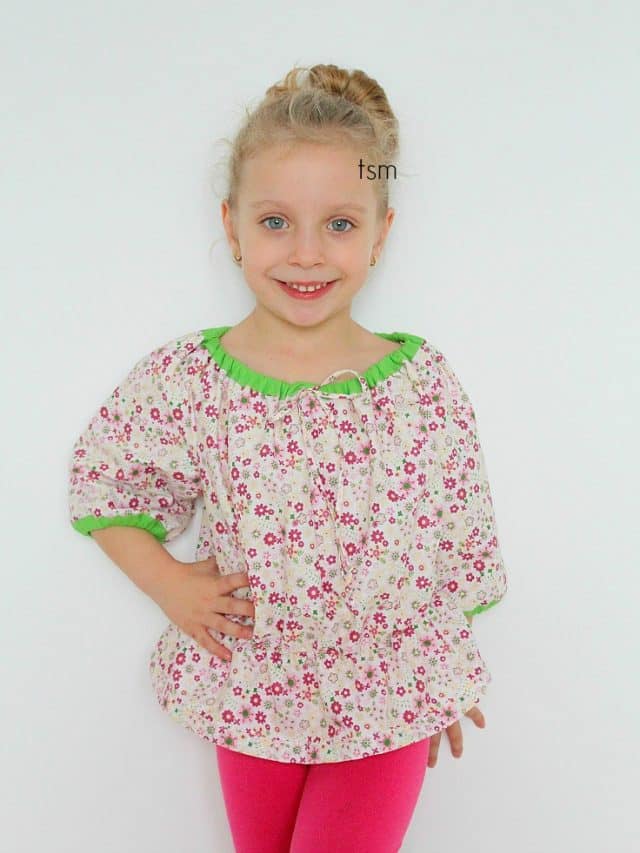
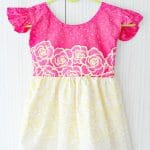
Flutter sleeve dress pattern for girls
Learn how to create an adorable, sweet flutter sleeve dress pattern for little girls with this easy-to-follow, step-by-step guide. This sewing tutorial is ideal for anyone looking to create a fashionable and easy-to-make flutter sleeve dress. Whether you’re a beginner or an experienced sewist, this guide provides step-by-step instructions to help you create a beautiful dress that’s perfect for any wardrobe.

Making this lovely flutter sleeve dress pattern is not a challenge at all, as it’s so easy to draft and sew, even with limited time and using a basic sewing machine. I’ll guide you through the process of creating your own flutter sleeve dress pattern, from taking proper body measurements to sewing the final garment. I’ll also provide tips and tricks along the way to help make the process even smoother.
This DIY flutter sleeve dress showcases my love for crafting unique, hand-made children’s clothing like this simple pillowcase dress, this Paper bag skirt, or this Simple gathered dress for girls. It’s the epitome of cuteness, perfect for little girls who love to dress up. After dedicating about 3 hours of easy work, you’ll successfully complete a charming, vibrant, and colorful flutter dress.
You’ll love this tutorial because it’s super simple, perfect for beginners. No need to worry about drafting patterns, sewing complex sleeves, or mastering curved underarms – this flutter sleeve dress pattern is for you! It’s also great for those without a serger and limited sewing machine options, making it easy to achieve a neat finish without serging the fabric. Let’s explore the supplies and the steps to create this adorable flutter sleeve dress.
How to make a flutter sleeve dress pattern
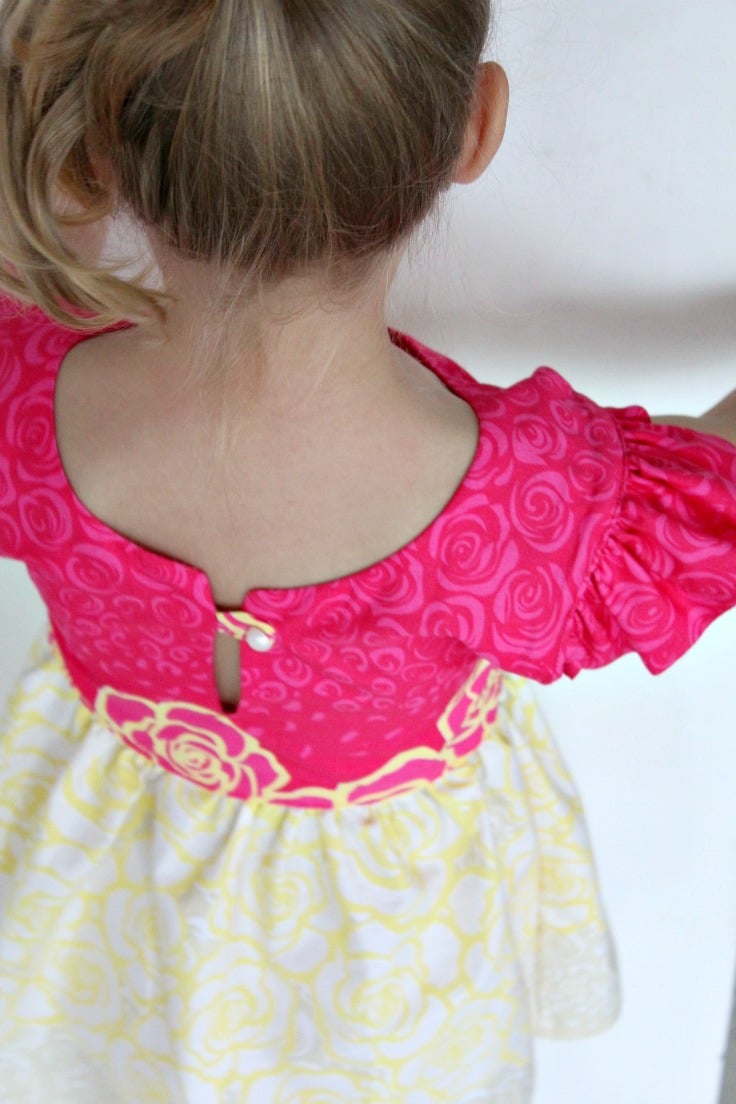
Notes: This flutter sleeve dress pattern fits a 4-year-old girl, about 40″ tall, 40 lbs. I measured shoulder width and from shoulders to under the chest for the bodice size. Then, from shoulders to knees for the dress length. I used an old dress to approximate the neckline but added a back opening with a button to ensure it fits over my daughter’s head.
Materials needed:
- 100 % cotton fabric in 2 different patterns – fabric 1 for bodice and sleeves and fabric 2 for skirt (optional; you can use same fabric for both bodice & skirt): 64 cm W x 100 cm H for bodice = 25″ W x 39″ H; 136 cm W x 40 cm H for sleeves = 53 ” W x 16″ H; 122 cm W x 68 cm H for skirt = 48″ W x 26″ H)
- contrast or matching thread
- Sewing machine and serger if you have
- scissors
- ruler
- baking paper to draw the pattern
- Fabric marker
- 1 button
- small piece of ribbon, fabric, elastic or lace to make a loop for the button
Step-by-step instructions:
Make the pattern and cut the fabric
Please note conversions from cm to inches are approximate.
- Start by cutting the fabrics for the Bodice: 2 times 12″ x 20″ – Fabric 1
- Cut 4 piece of 13″ x 4″ – Fabric 1
- Then cut 2 pieces of 24″ x 13″ for the skirt – Fabric 2 (if you want to make the skirt longer add an inch or two to the height)
Make the bodice
- Put bodice fabrics together facing wrong side
- Decide which one is going to be the outer bodice
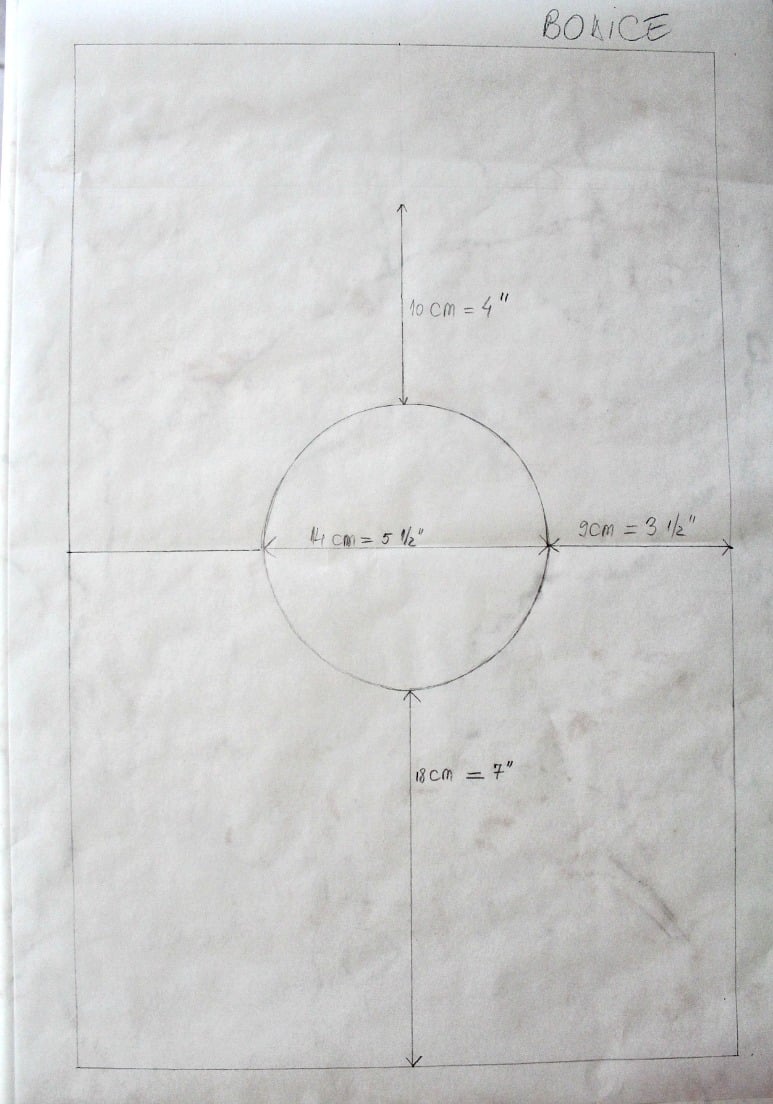
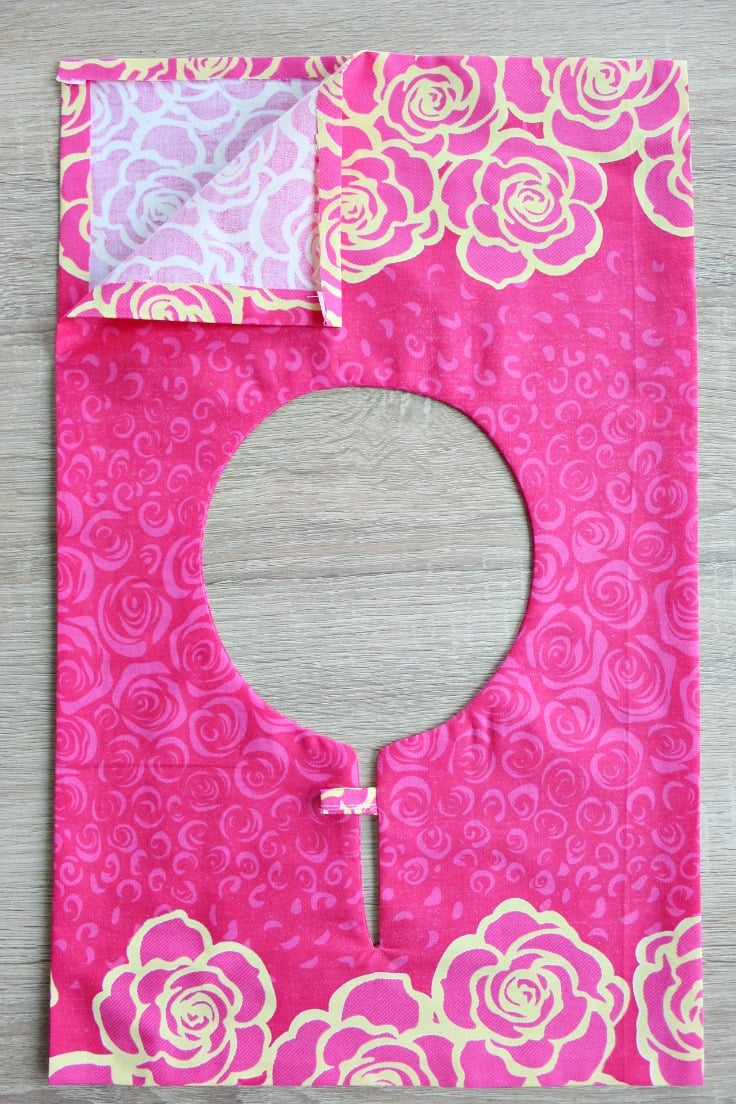
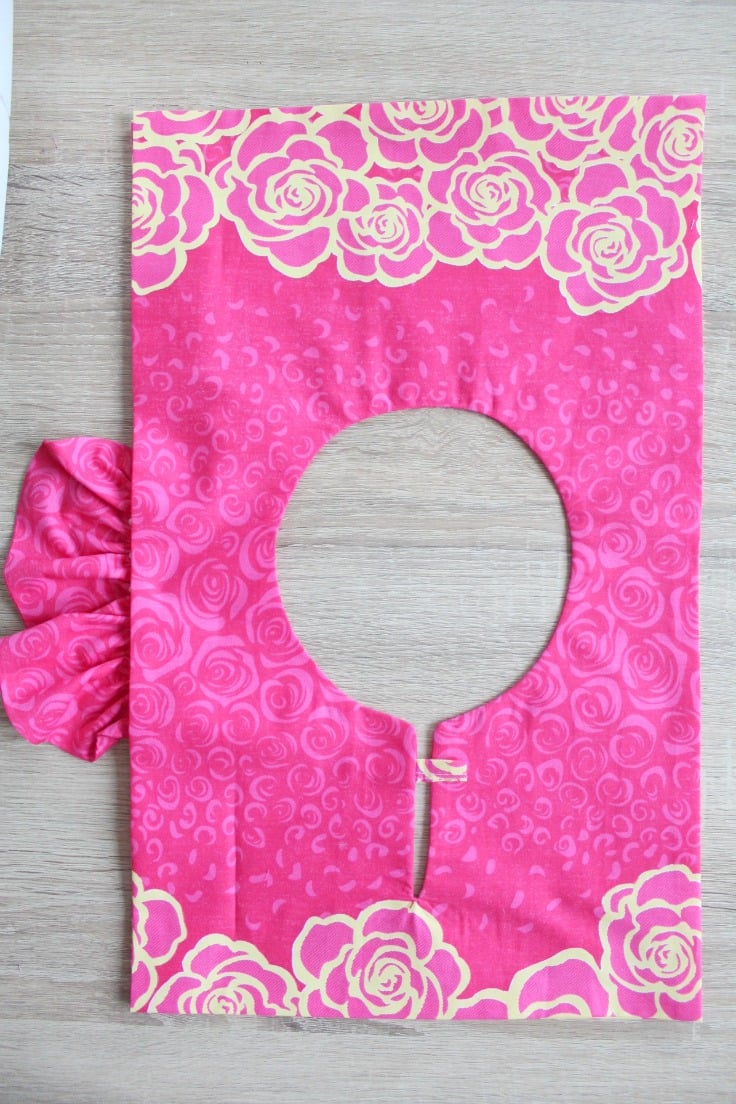
- On the “outer” bodice fabric draw a circle for the neck using the measurements in the photo above.
- Leave a 4″ slit in the back.
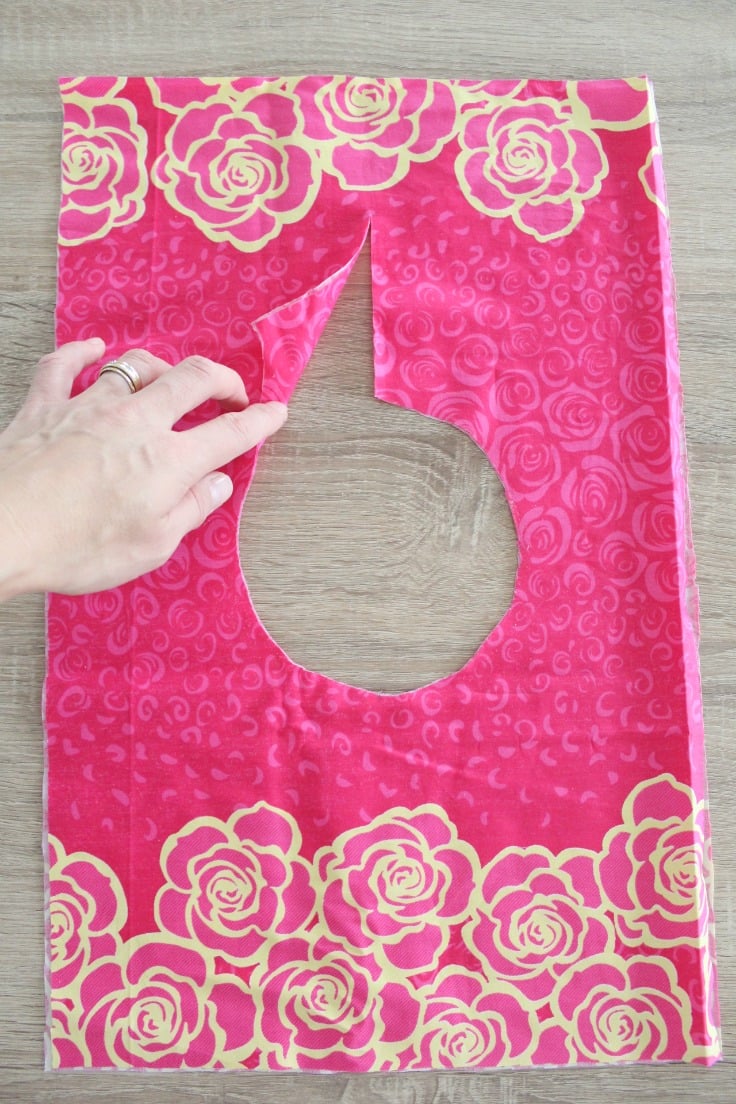
- Cut out the circle and cut down the slit.
- Put the bodice fabrics right side together
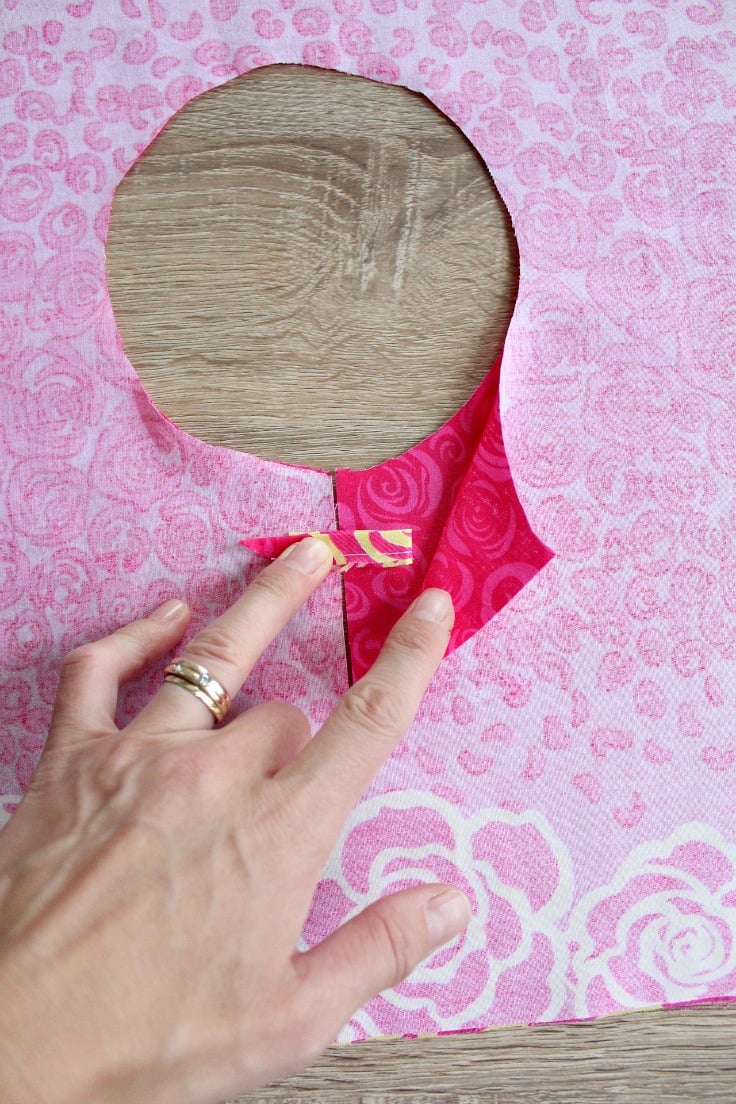
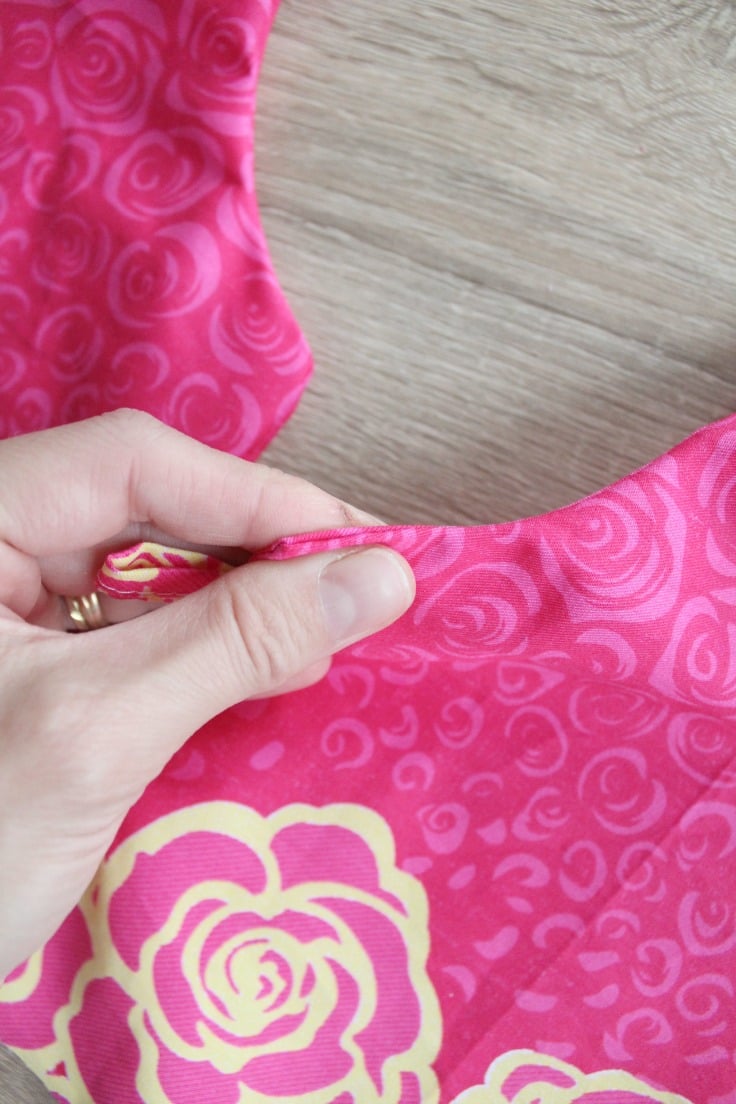
- Take the lace, elastic, ribbon etc piece and make a loop
- Place the loop in between fabrics, on the slit, as close to the top as possible
- Sew the fabrics together with 1/8″ seam allowance, around the hole and line.
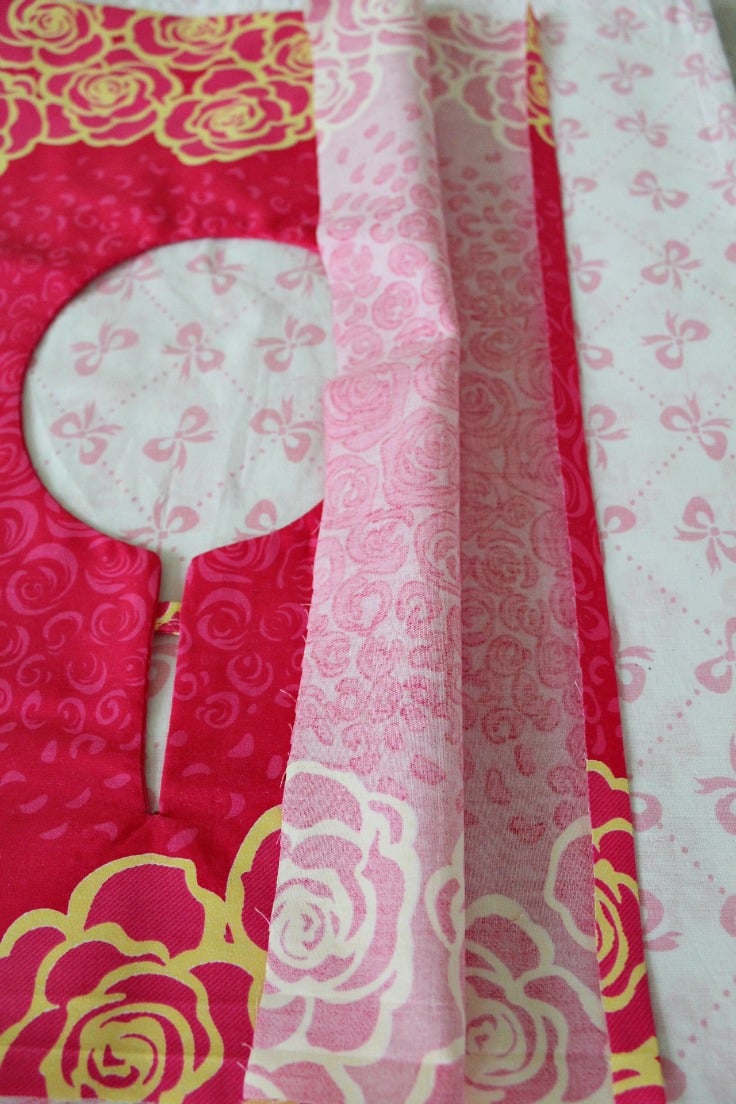
- Clip around the circle as shown here.
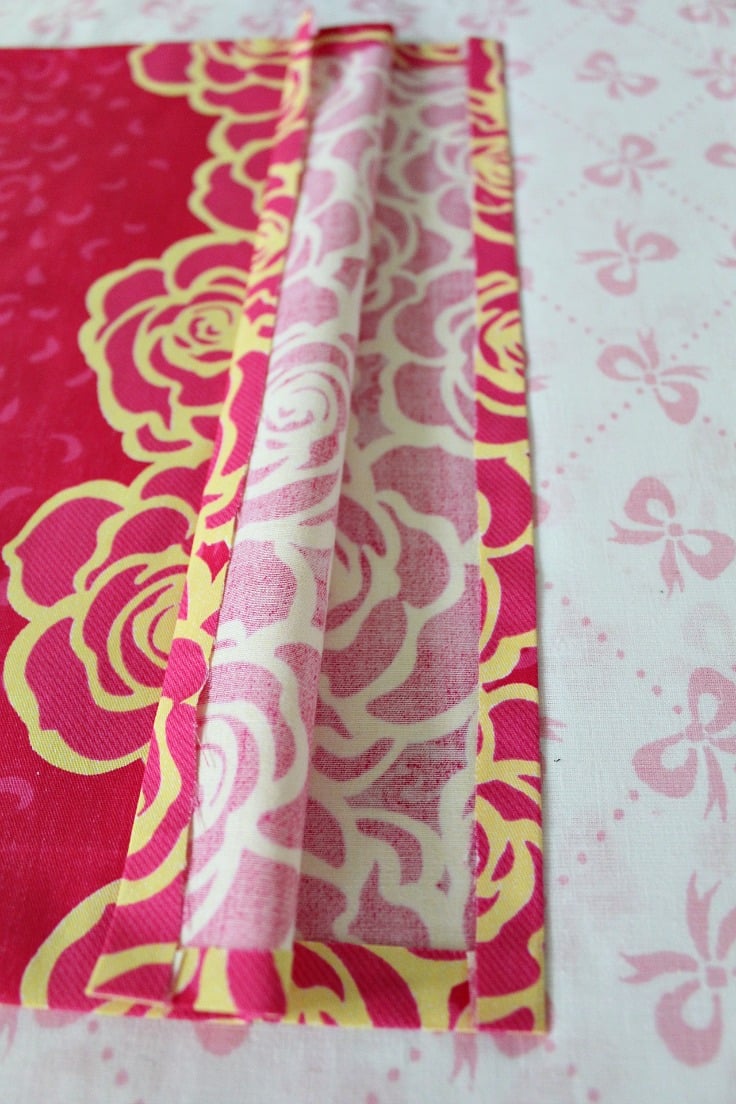
- Turn the fabrics right side out, finger press and iron press
- Serge the top and bottom edges of the bodice. If you don’t have a serger, use the zig-zag stitch on your machine to finish seams or fold fabric in twice, 1/8″ each fold (note: this works well on thin to medium fabrics only)
Sew the flutter sleeves
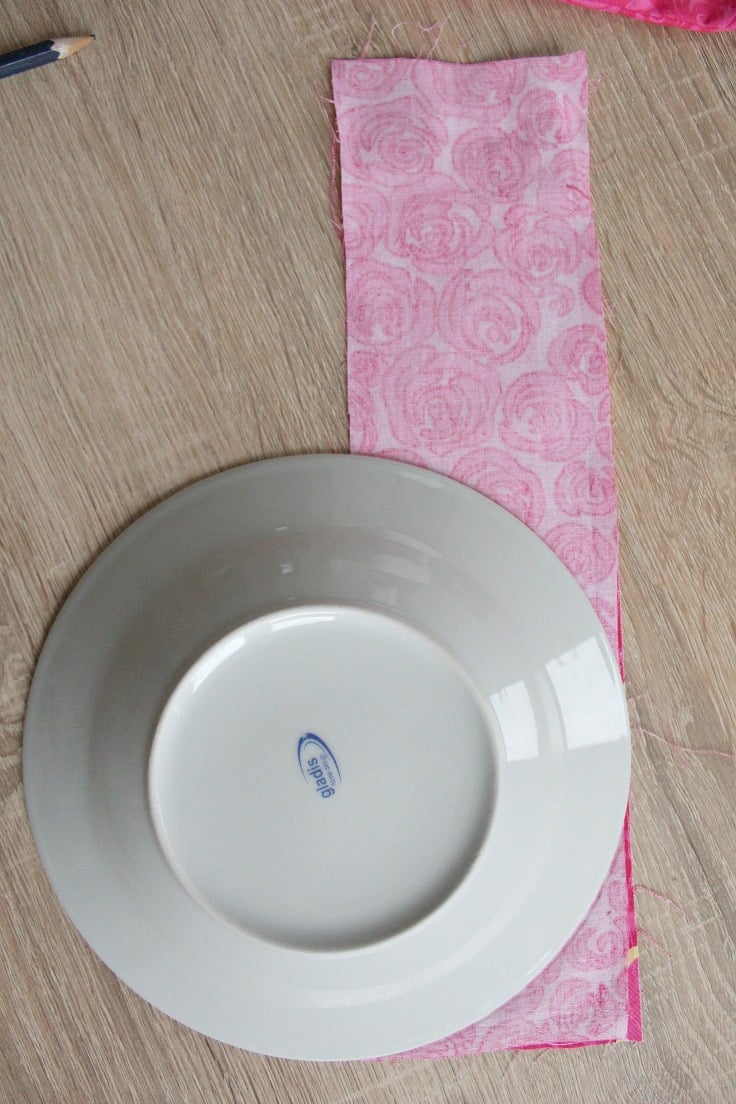
- Take the sleeve fabrics pieces and use something round like a bowl to round off the edges
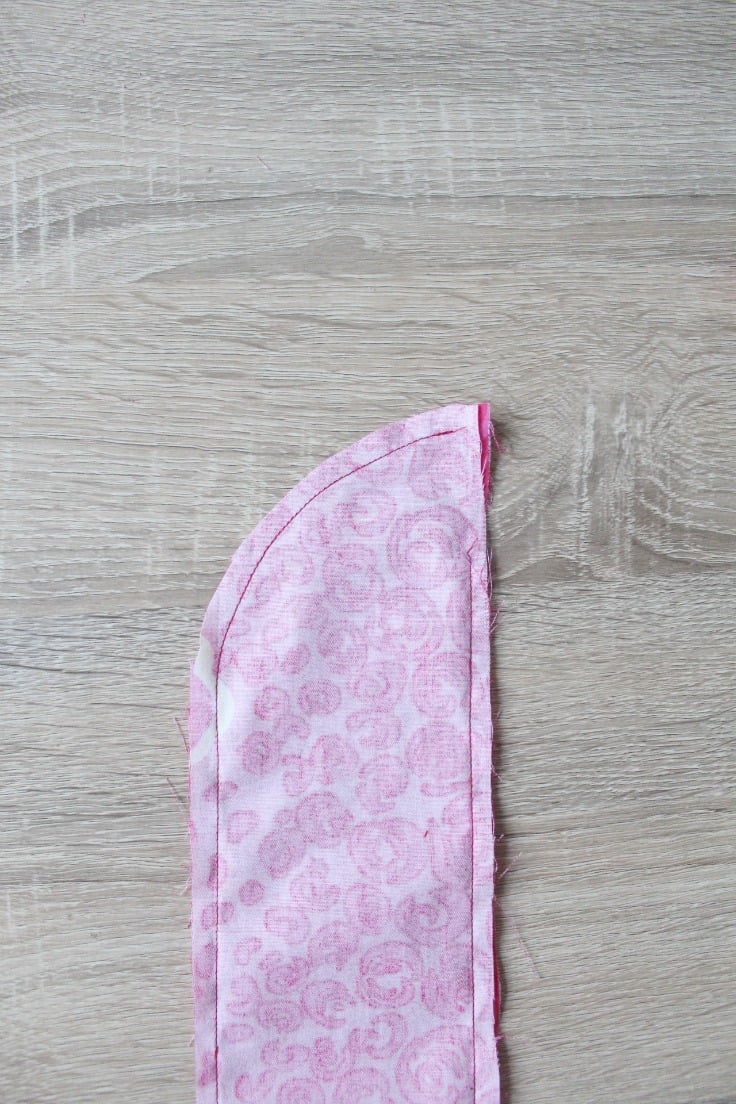
- Cut along the line
- Put 2 fabric pieces right side together
- Sew all around, leaving an opening on the straight side of the fabric, to turn the fabric right side out
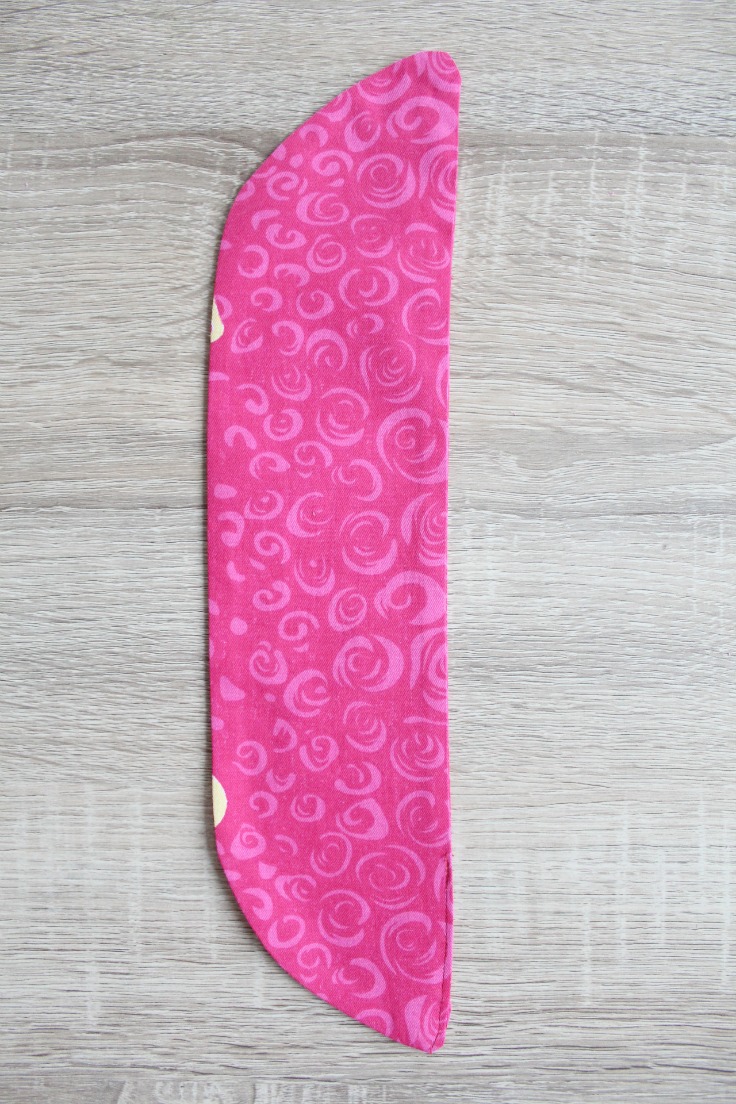
- Turn the fabric right side out and top stitch to close the sleeve opening
- Finger press and iron press
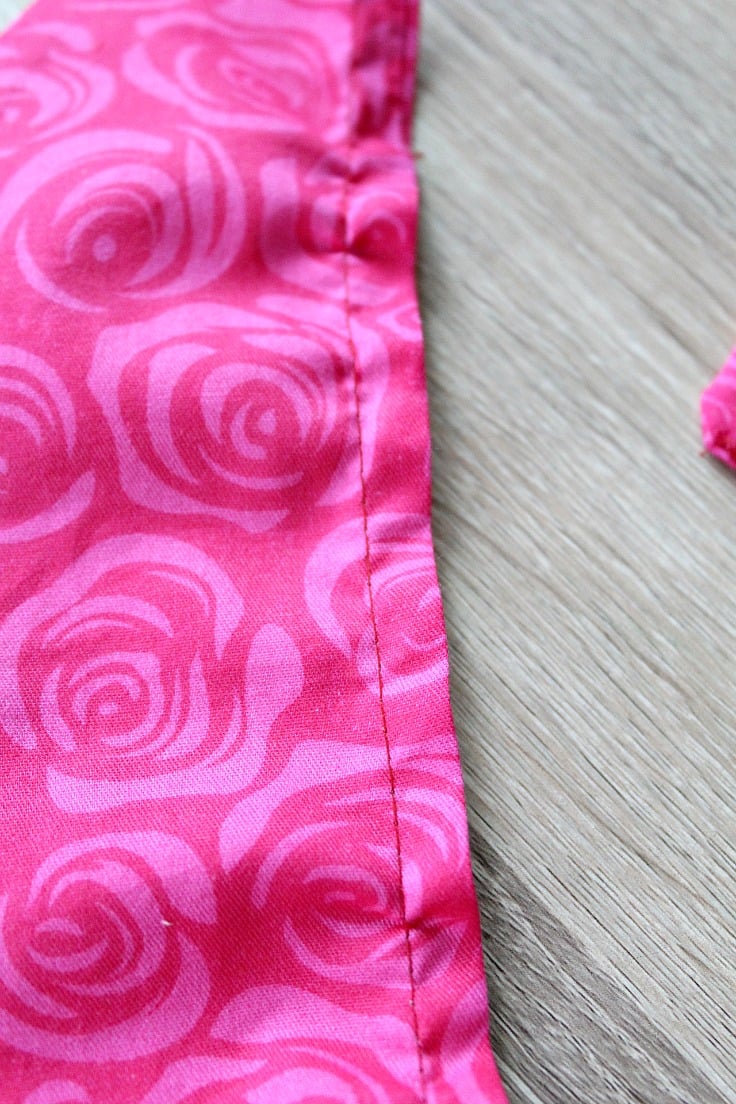
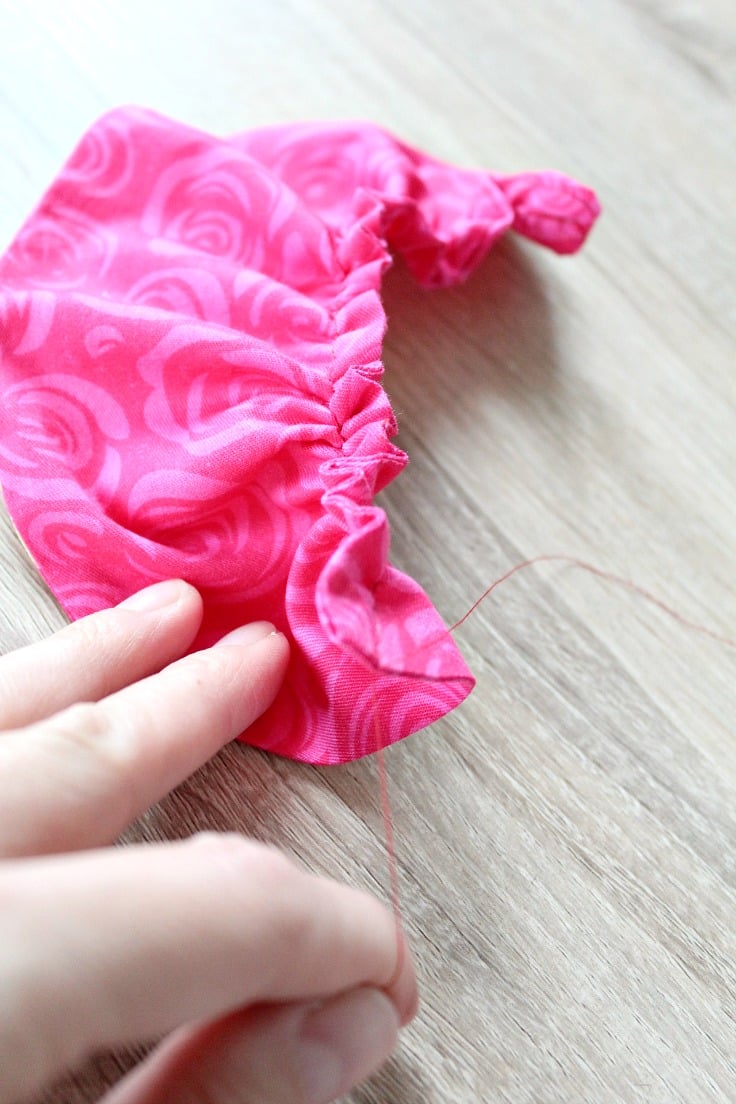
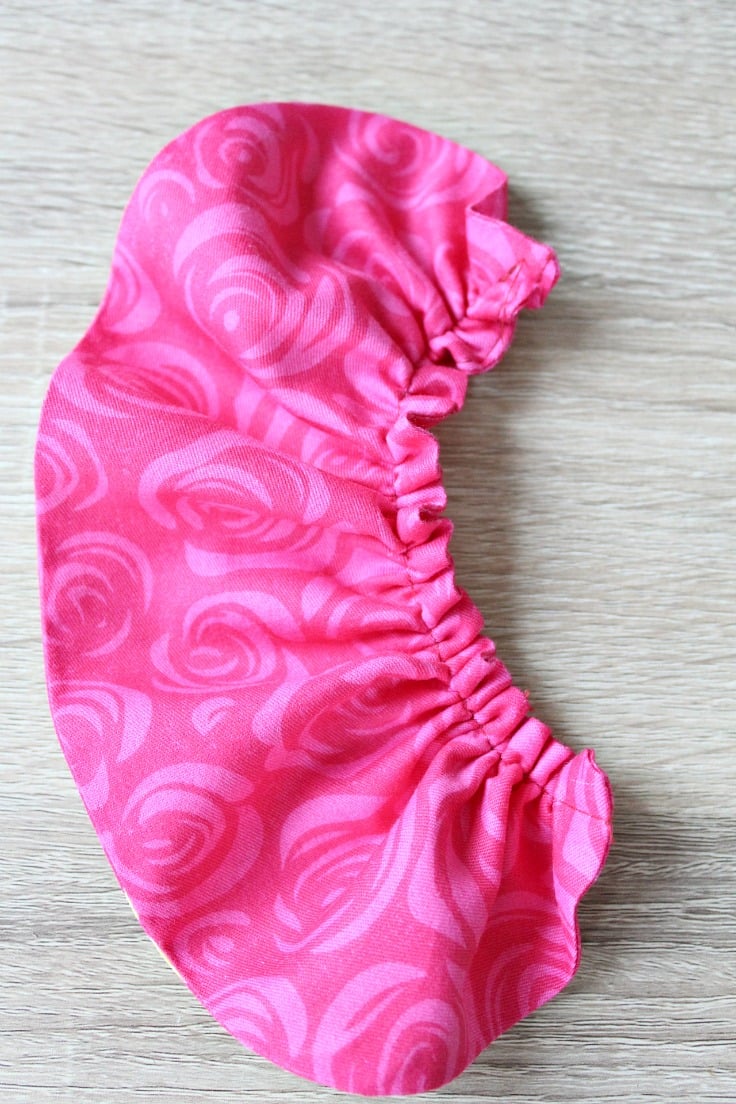
- Gather the sleeve using a loose stitch setting on your machine. Back stitch at one end, where you start sewing the loose stitch. When finish stitching, leave at least 6 cm = 2″ long thread out. Pull fabric with one hand and on one thread with the other hand. Gather as much as you like.
- Repeat for the other sleeve
Attach the sleeves to the bodice

- Take your bodice, place the sleeve in between outer and inner bodice fabric, with the outer right side out, pin the sleeve centered on the hole for the neck and sew in place
- Place the outer bodice over and stitch all the way through, stopping 1″ before the ends
Attach the skirt to the bodice
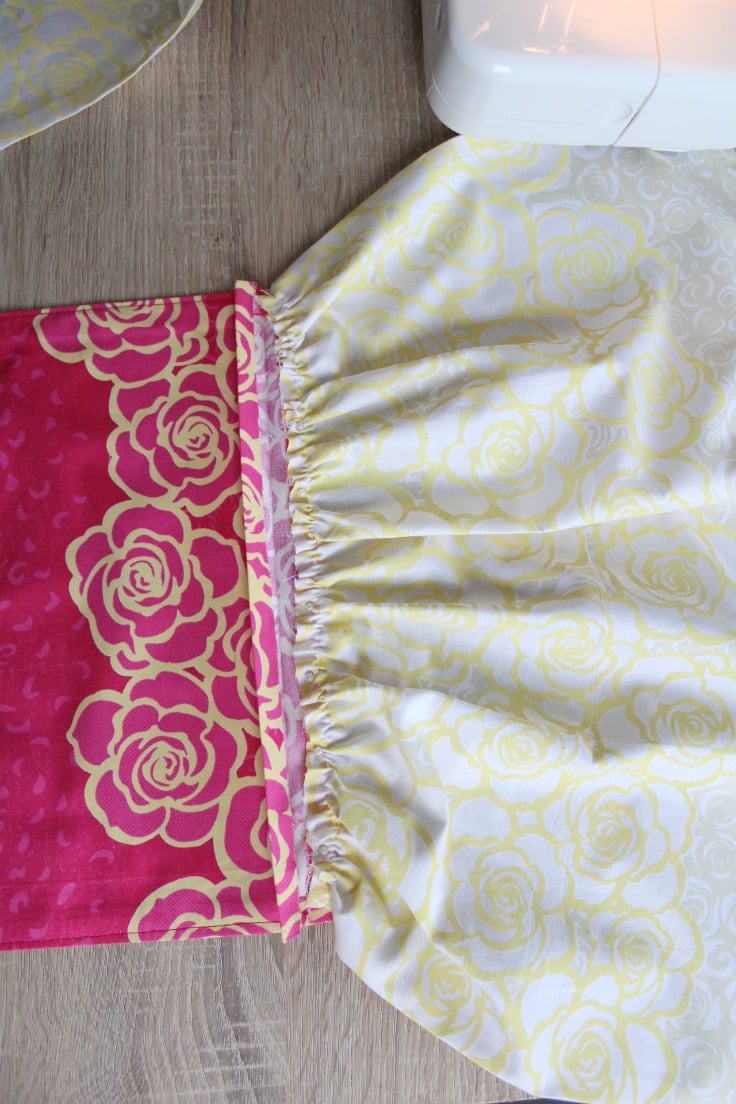
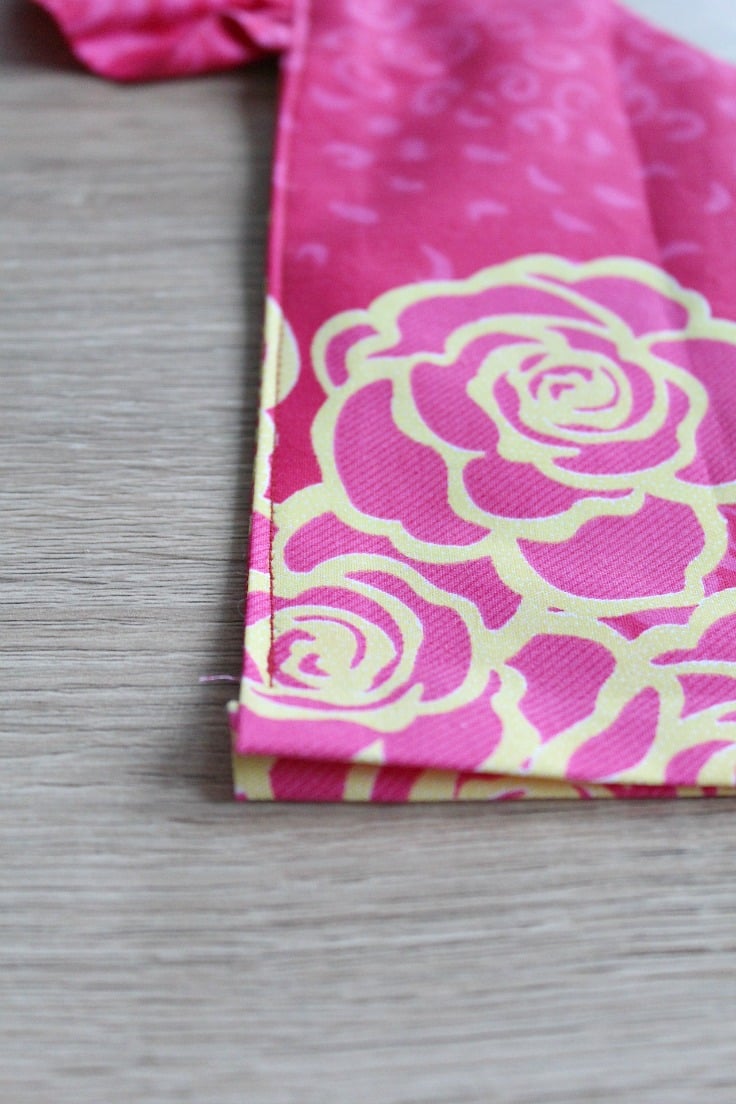
- Take your skirt fabrics and serge on all sides or fold fabric twice as indicated above to finish the seams. If you use a serger, fold fabric twice only on the hem. Sew 2 stitches on the hem.
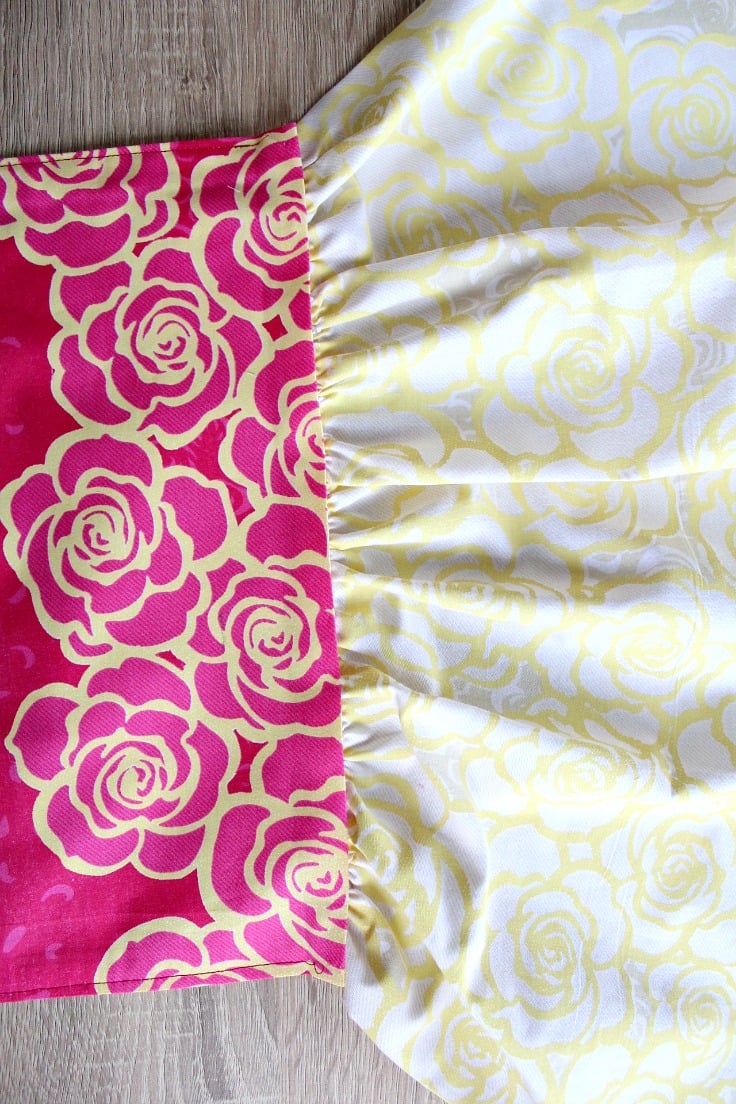
- Gather the skirt fabrics so that they match the bodice’ width
- Take bodice and place right side out
- Place gathered skirt fabric right side out in between bodice fabrics and stitch to the inner bodice fabric.
- Place outer bodice over and stitch again
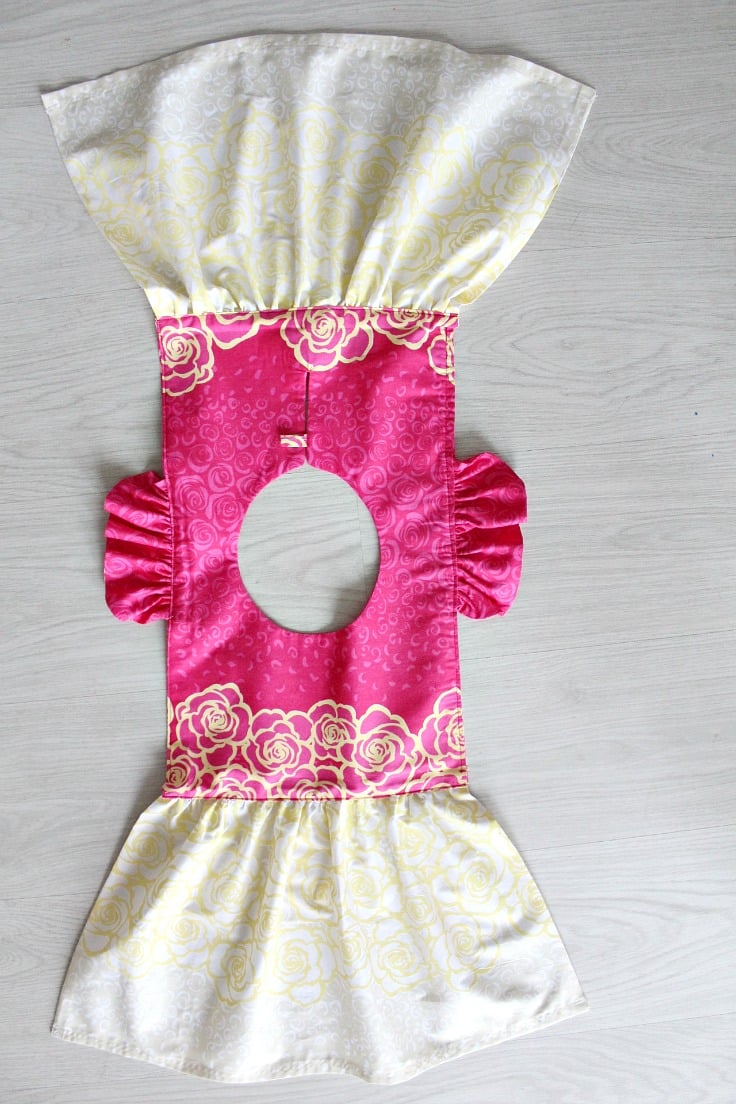
- Now it should all look like this and all you have to do is stitch the sides together, starting from the hem and stopping 3″ past the body. I wanted this dress to be a surprise to my daughter and took the chance, I didn’t have her try it on before sewing the sides but I suggest you don’t skip this step as your dress might need some adjusting. If all fits well, just sew the sides down.

And you’re done!! Enjoy your hard work and give yourself a good pat on the shoulder for an excellent job done!
Tips to make sewing this dress easier
- Don’t forget to pre-wash, dry and press your fabric before starting. This will prevent any shrinkage after the dress is completed.
- Make sure you leave enough seam allowance to the sides of the dress. The width will reduce because of the fabric folding.
- If you notice you don’t have enough seam allowance, unfold the seams and just finish them with a zig zag stitch before sewing the sides.
- When sewing the back opening, make sure to reinforce the stitching around the loop to prevent it from tearing or unraveling over time.
- If you’re using a fabric with a pattern or print, make sure to align and match up your pieces before sewing to ensure a cohesive look.
Dress variations
- To add a little more flair to your flutter sleeve dress, you can opt to make pleats in the fabric at the waistline and add a cute bow or sash. This will give the dress a more defined shape and add some extra cuteness.
- You can also experiment with different fabrics such as cotton for a breezy summer look or flowy fabrics like chiffon for a more elegant dress.
- If you want to make the dress longer, simply lengthen the skirt pieces and add some ruffles at the bottom for a fun and playful look.
- You can also play around with different sleeve lengths such as cap sleeves or elbow-length sleeves. Just remember to adjust the measurements accordingly.
- Using this tutorial as a guide, add a flutter sleeve to other garments such as an A line dress pattern for girls or a simple blouse for a cute and unique twist.
Frequently asked questions
- What age range is this dress pattern suitable for?
This dress pattern is designed for a 4-year-old girl, but adjustments can be made to fit other sizes as well.
- Do I need to have advanced sewing skills to make this dress?
No, this tutorial is perfect for beginners and only requires basic sewing knowledge and techniques.
- Can I use a serger for this dress?
Yes, a serger can be used for finishing the edges of the fabric, but it is not necessary. You can also opt for achieving a neat finish by using a zig-zag stitch on your sewing machine.
- How long will it take to complete this dress?
The estimated time to complete this dress from the pattern making to sewing and finishing the details is about 3 hours, but it may vary depending on your sewing speed and experience. Experienced sewists might need as little as 1 hour.
- Can I make this dress without a back opening?
Yes, you can omit the back opening and instead use stretchy fabric or add a zipper for closure. Just make sure to adjust the measurements accordingly. I just find this kind of opening the most convenient and easiest to make.
More beginners sewing projects you will enjoy
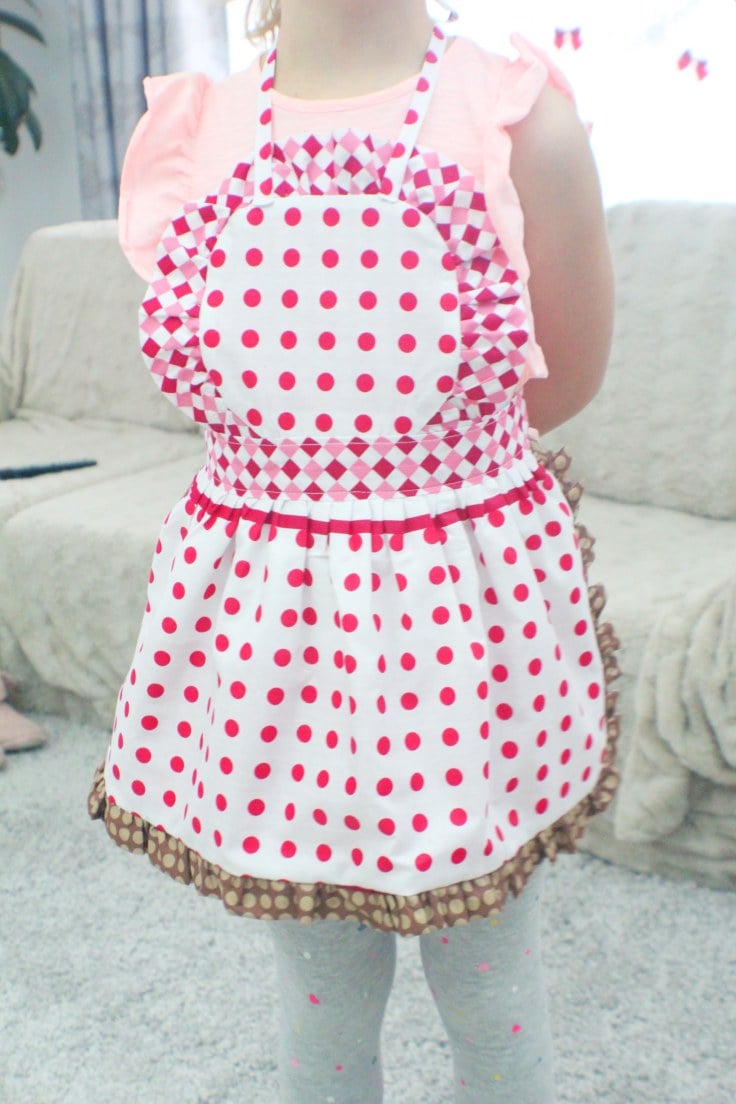
- Reversible kids apron
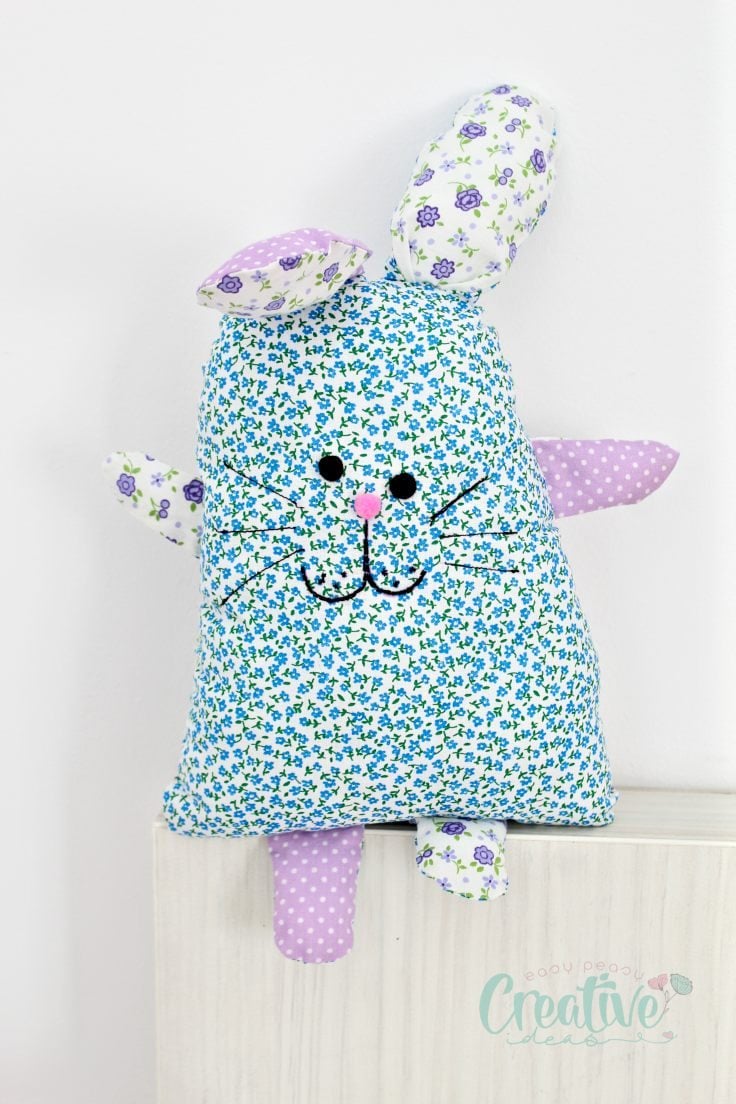
- Bunny pillow
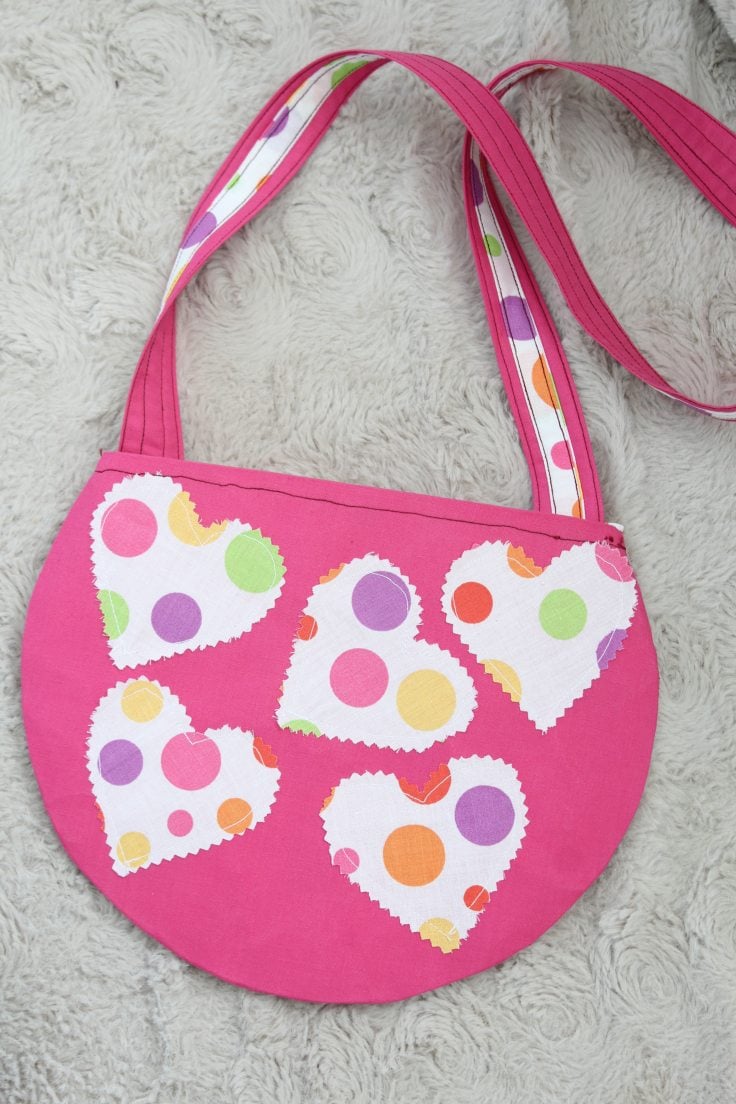
- Round crossbody bag
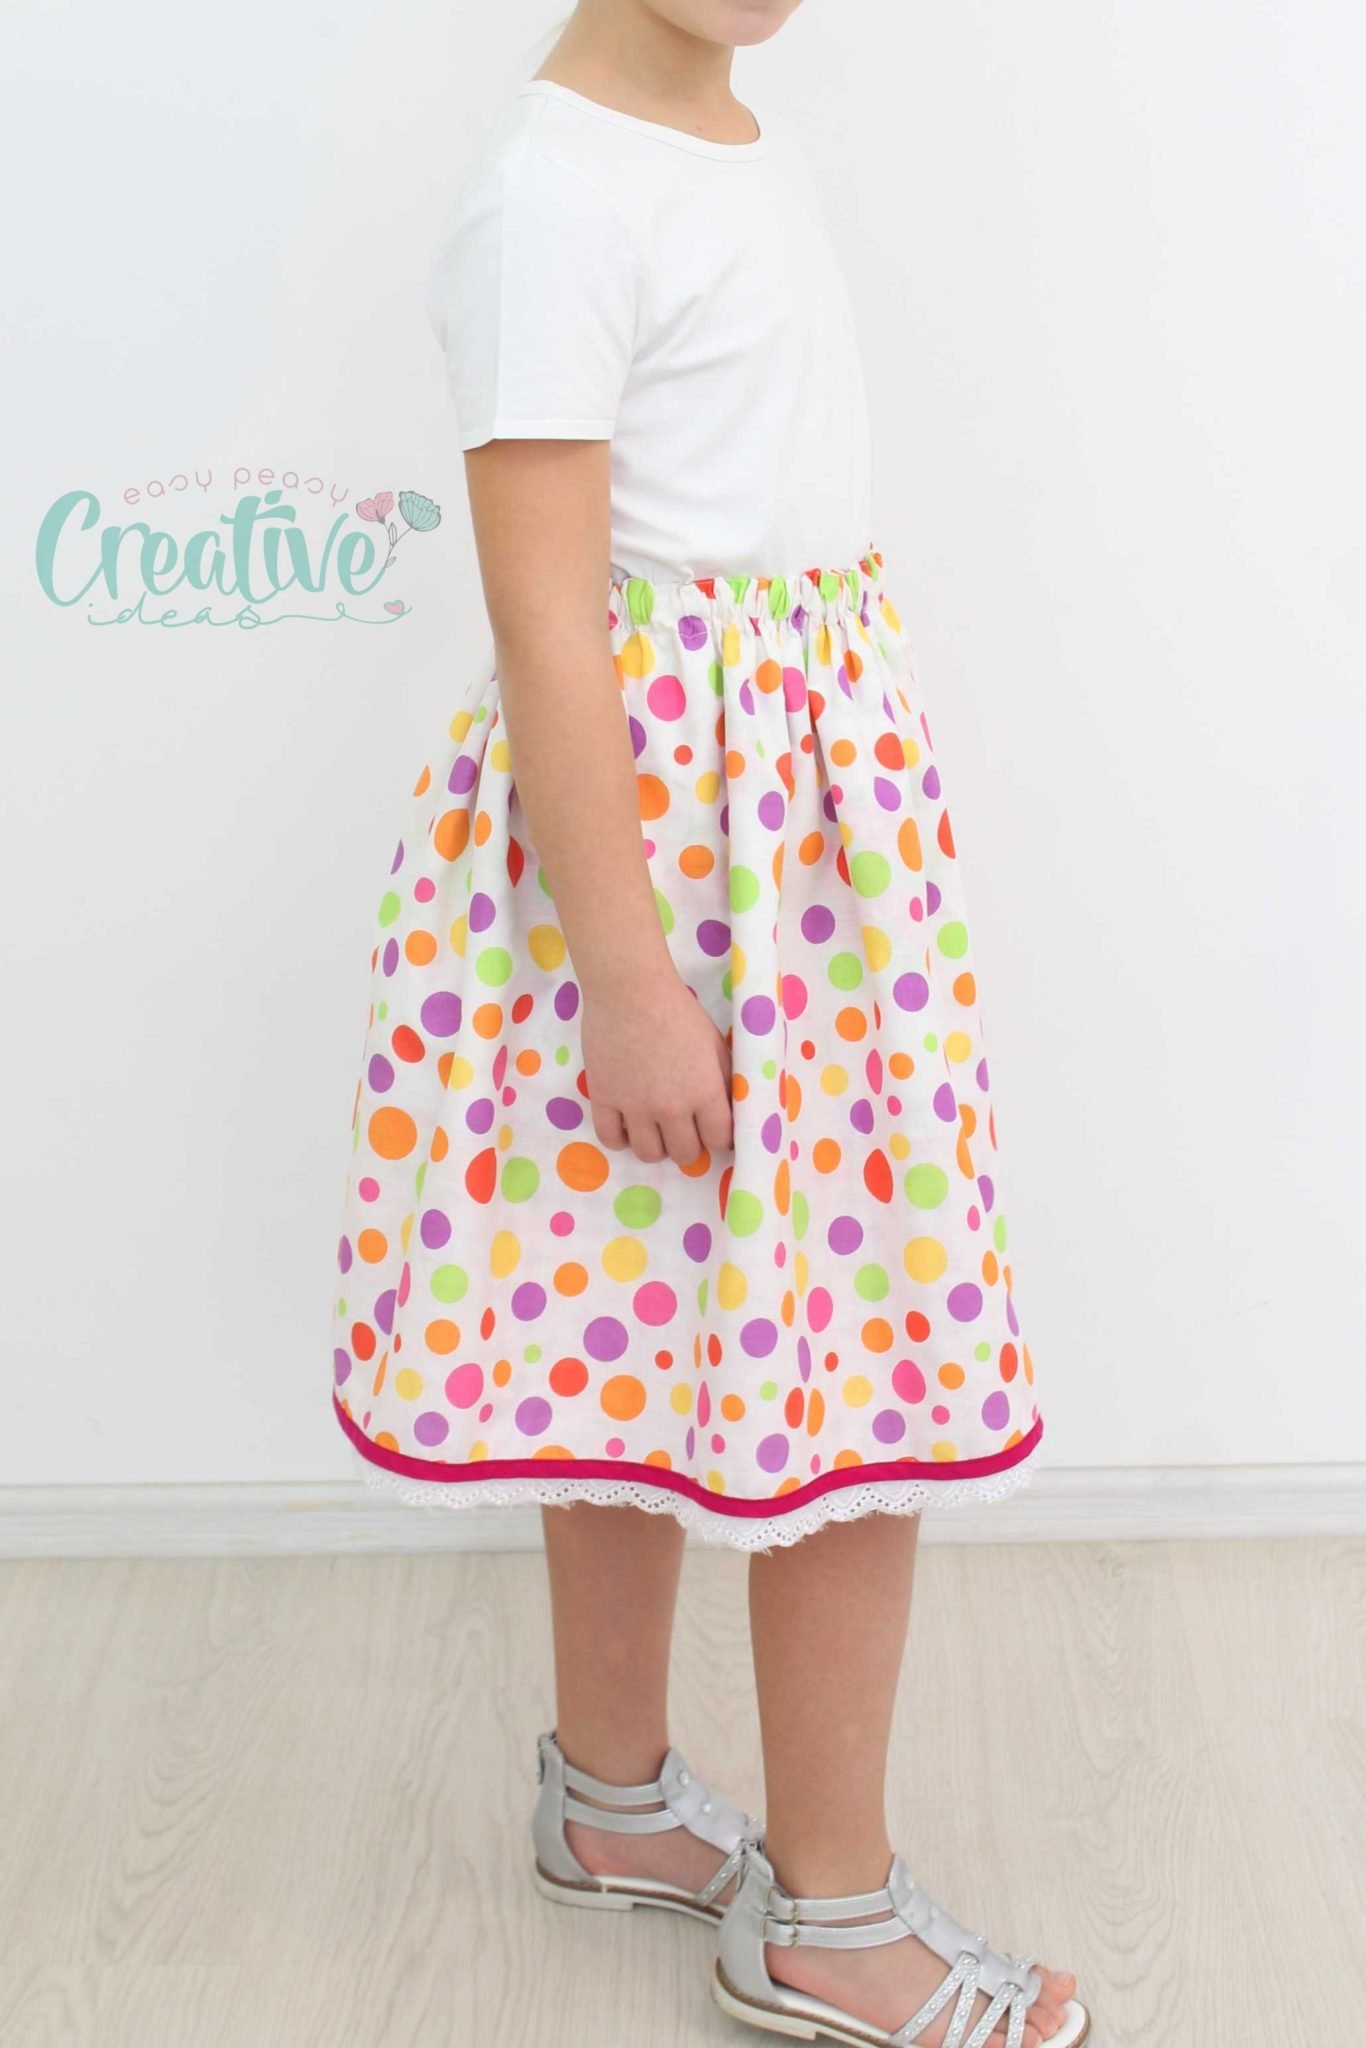
- Reversible skirt tutorial
- Hello Kitty coin purse
- Peasant blouse pattern
- Chicken fabric weights for beginners
- Handy reusable fabric bowl cover tutorial
- DIY rope bowl tutorial
- Basic pillowcase sewing tutorial
You’ll absolutely adore every flutter sleeve dress pattern you create! The beauty of this technique is that it can also be applied to craft a flutter sleeve top pattern. I’d love to hear how your flutter sleeve dress turned out, so please share your experiences in the comments below. Thank you and happy sewing!
Flutter sleeve dress pattern
Materials
- cotton fabric in 2 different patterns - fabric 1 for bodice and sleeves and fabric 2 for skirt for bodice = 25" W x 39" H; for sleeves = 53 " W x 16" H; for skirt = 48" W x 26" H)
- contrast or matching thread
- small piece of ribbon fabric, elastic or lace to make a loop for the button
Tools
- scissors
- ruler
- paper to draw the pattern
- 1 button
Instructions
- Start by cutting the fabrics for the Bodice: 2 times 12" x 20" - Fabric 1
- Cut 4 piece of 13" x 4" - Fabric 1
- Then cut 2 pieces of 24" x 13" for the skirt - Fabric 2 (if you want to make the skirt longer add an inch or two to the height)
- Put bodice fabrics together facing wrong side
- Decide which one is going to be the outer bodice
- On the "outer" bodice fabric draw a circle for the neck using the measurements in the photo above.
- Leave a 4" slit in the back.
- Cut out the circle and cut down the slit.
- Put the bodice fabrics right side together
- Take the lace, elastic, ribbon etc piece and make a loop
- Place the loop in between fabrics, on the slit, as close to the top as possible
- Sew the fabrics together with 1/8" seam allowance, around the hole and line.
- Clip around the circle as shown here.
- Turn the fabrics right side out, finger press and iron press
- Serge the top and bottom edges of the bodice. If you don't have a serger, use the zig-zag stitch on your machine to finish seams or fold fabric in twice, 1/8" each fold (note: this works well on thin to medium fabrics only)
- Take the sleeve fabrics pieces and use something round like a bowl to round off the edges
- Cut along the line
- Put 2 fabric pieces right side together
- Sew all around, leaving an opening on the straight side of the fabric, to turn the fabric right side out
- Turn the fabric right side out and top stitch to close the sleeve opening
- Finger press and iron press
- Gather the sleeve using a loose stitch setting on your machine. Back stitch at one end, where you start sewing the loose stitch. When finish stitching, leave at least 6 cm = 2" long thread out. Pull fabric with one hand and on one thread with the other hand. Gather as much as you like.
- Repeat for the other sleeve
- Take your bodice, place the sleeve in between outer and inner bodice fabric, with the outer right side out, pin the sleeve centered on the hole for the neck and sew in place
- Place the outer bodice over and stitch all the way through, stopping 1" before the ends
- Take your skirt fabrics and serge on all sides or fold fabric twice as indicated above to finish the seams. If you use a serger, fold fabric twice only on the hem. Sew 2 stitches on the hem.
- Gather the skirt fabrics so that they match the bodice' width
- Take bodice and place right side out
- Place gathered skirt fabric right side out in between bodice fabrics and stitch to the inner bodice fabric.
- Place outer bodice over and stitch again
Notes
Article may contain Amazon & affiliate links. As an Amazon Associate I earn from qualifying purchases at no additional cost to you.
ABOUT PETRO
Hi, I’m Petro, author and founder of Easy Peasy Creative Ideas. Sewist, crafter, avid DIY-er, foodie, photographer, homemaker and mommy to one. I’m an expert at coming up with quick, clever sewing tips, recycling crafts and simple, easy recipes! You can find my ideas featured in reputable publications such as Country Living, Good House Keeping, Yahoo News, WikiHow, Shutterfly, Parade, Brit & Co and more. Thanks for stopping by and hope you’ll stay for a while, get to know me better and come back another time. Stick around for real fun projects! Read more…