

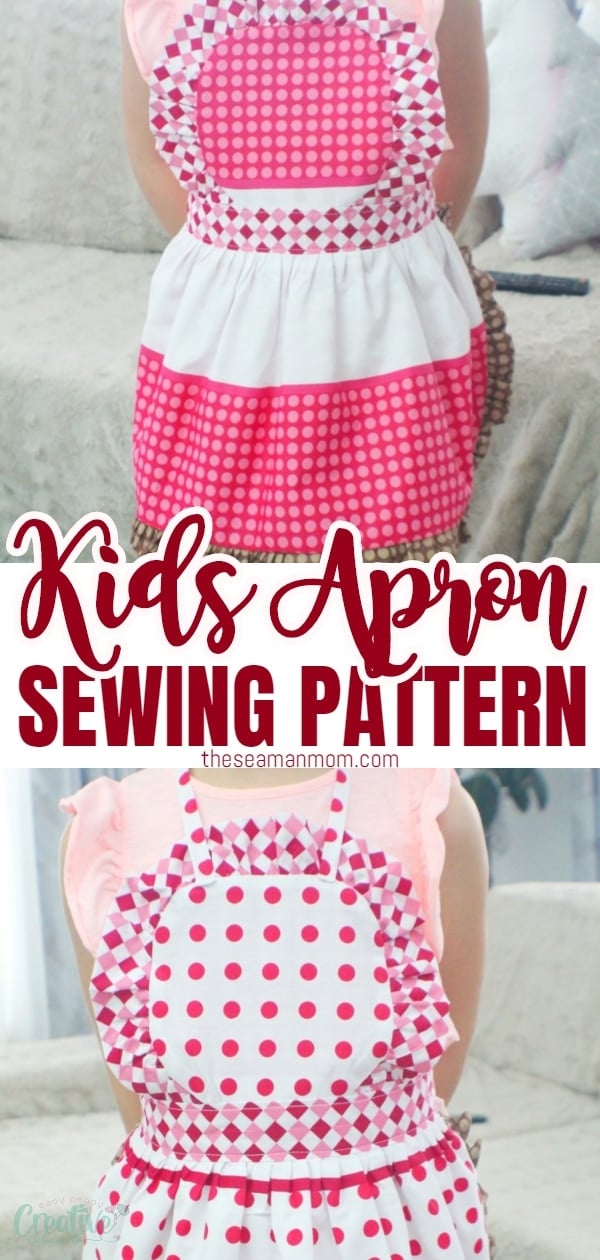
Reversible Kids Apron Pattern With Ruffles
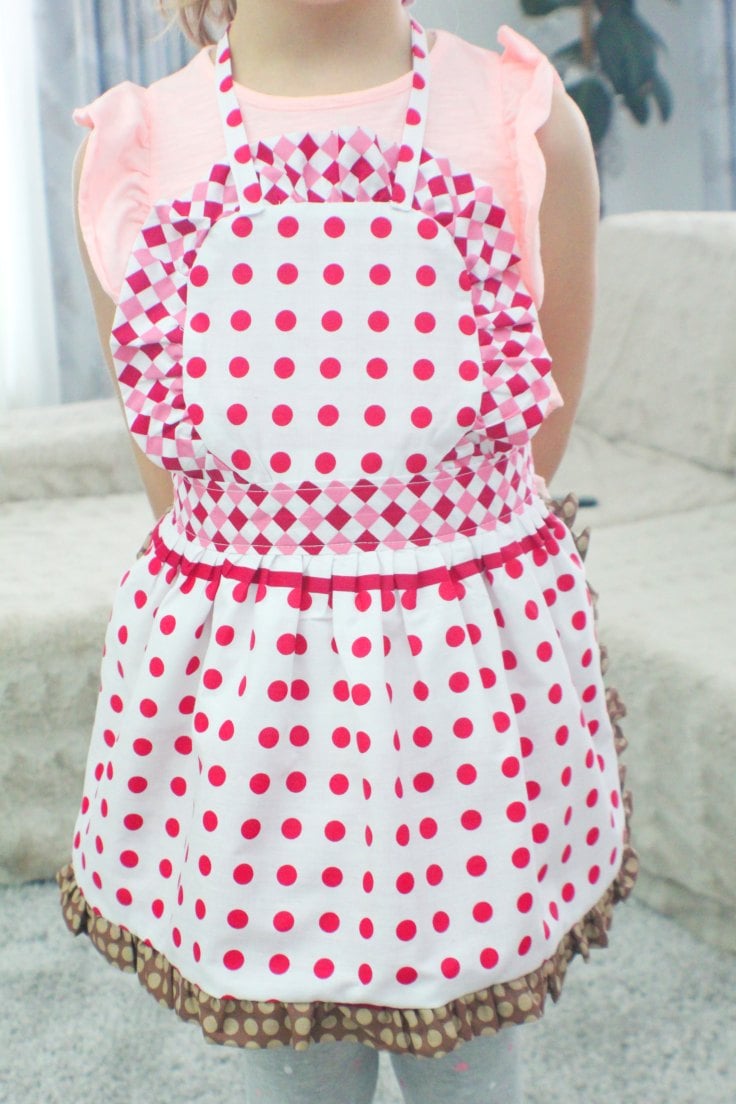
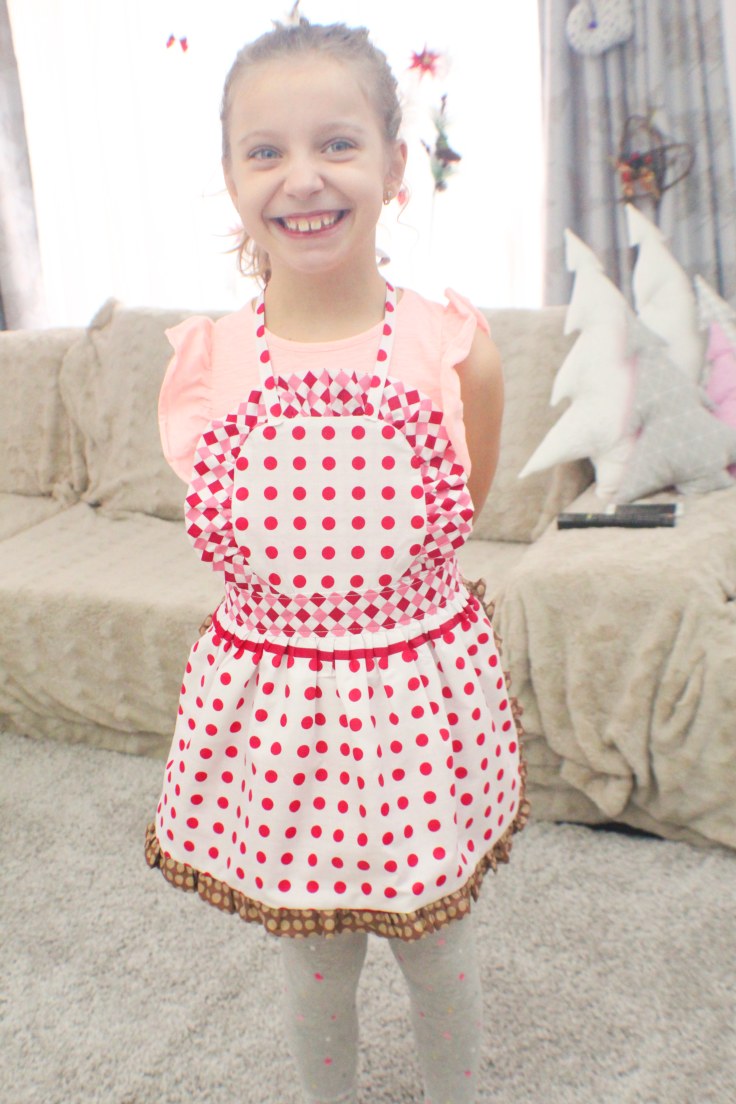
Looking for cute children’s aprons ideas? A kids apron pattern is a great gift idea, so easy to make and comes together in no time! This reversible child’s apron pattern looks so adorable, every little girl will be excited to wear it!
Kids apron pattern
Since I spend a pretty good portion of my time in the kitchen, I made a couple of cute aprons for myself, a retro ruffled apron and a half apron. But lately Ellie showed interest in helping me with house chores, kitchen included so I thought I should reward and motivate her even more with a kids apron pattern!
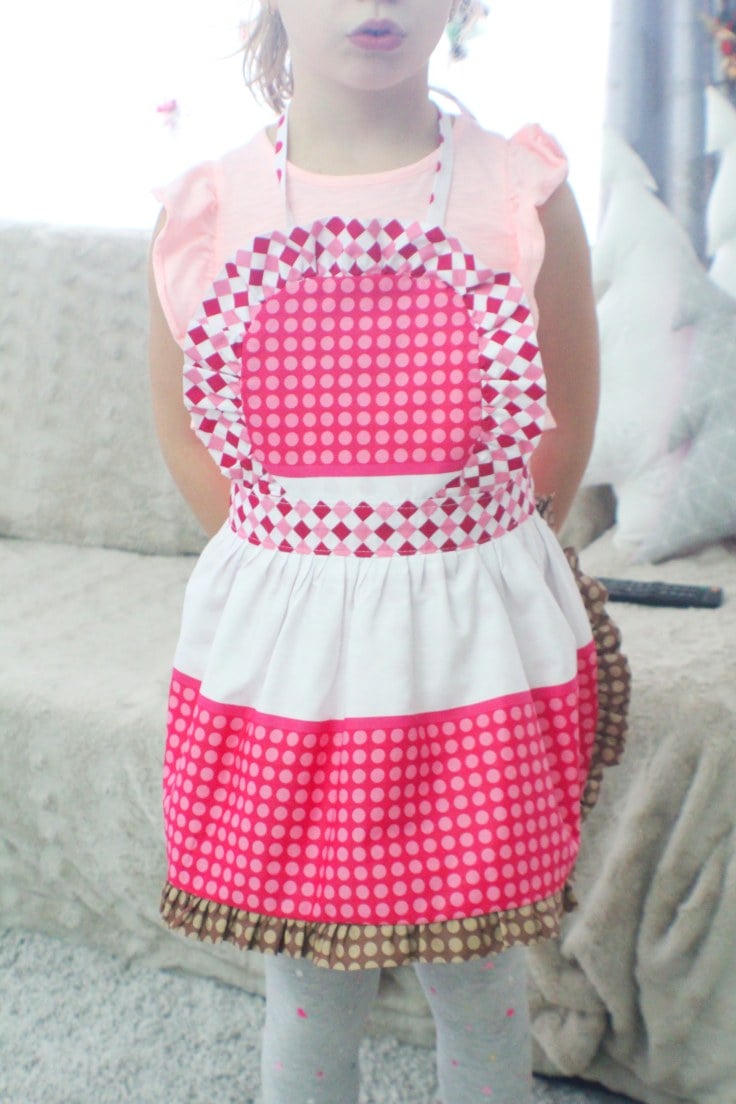
If you were on the lookout for a kids apron, I totally recommend this reversible apron pattern (I know, I’m biased lol) But seriously, this girls apron pattern is not only super cute but so easy to make. And ready in less than an hour, so this kids apron pattern could be a great last minute gift idea too!
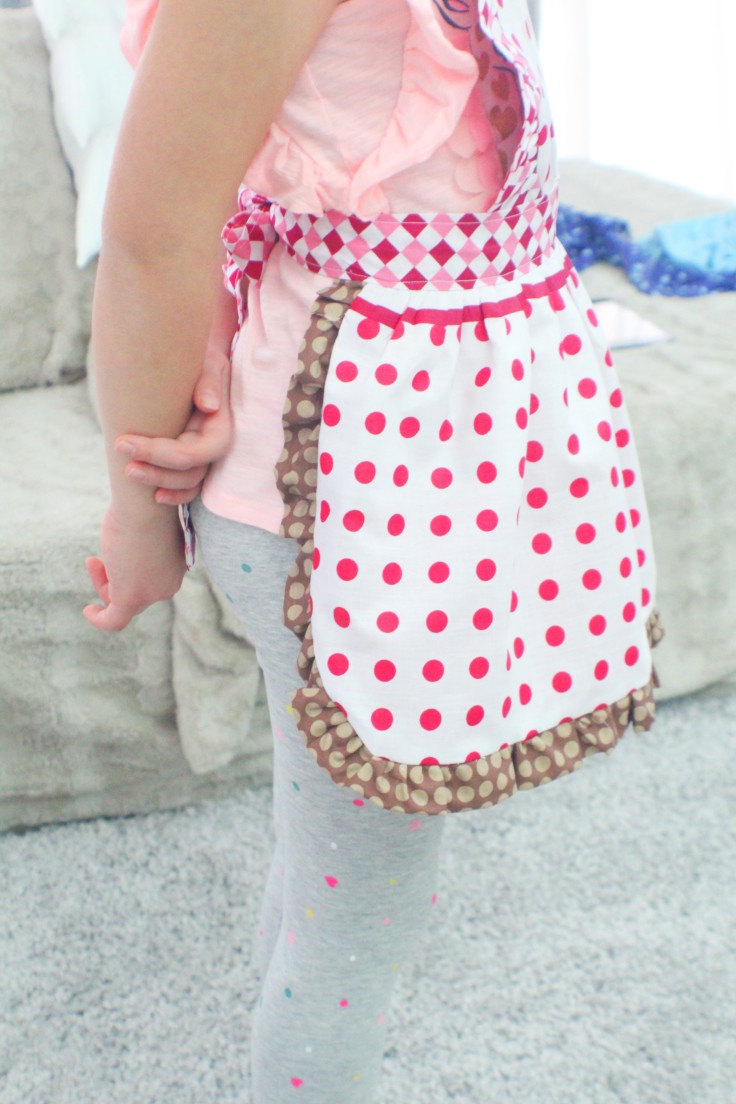
For this project I wanted a frilly apron too, as I made my aprons in a similar way. So I made this reversible apron with ruffles around both pieces, top and bottom. I used my recently purchased ruffling foot because I wanted to test and see if it’s as amazing as I thought it would be when I decided to purchase it. It’s safe to say that I’m more than pleased with the decision, the ruffler helped this kids apron pattern finish a lot faster and gave it a very nice touch with all those perfectly even ruffles! But I’ll get to it some other time, now we need to focus on this child’s apron pattern.
More kids projects you might like:
- Bunny pillow for kids
- Round crossbody bag
- Reversible skirt tutorial
- Hello Kitty coin purse
- Sleeveless A line dress pattern
- Paper bag skirt
- Girls peasant blouse pattern
- Easy box pleated skirt
If you are a beginner sewer and wondered if this is a good project for you, I would say it totally is! But only if you’ve sewn ruffles and triple layers of fabric before. This project required you to make the ruffles (if you don’t have a ruffling foot you can use this tutorial to make even ruffles) and also to insert the ruffled strip in between the two sides of the apron which can be a little tricky. So I would say this project is more suitable for advanced beginners (is that even a term?) or intermediate sewers.
This kids apron pattern is available for purchase here.
Child’s apron pattern
Materials:
- about 2 yards of cotton fabric
- apron pattern
- scissors
- yardstick
- fabric pen
- ruffling foot (optional)
- matching thread
- sewing machine
Directions:
Preparing the fabrics
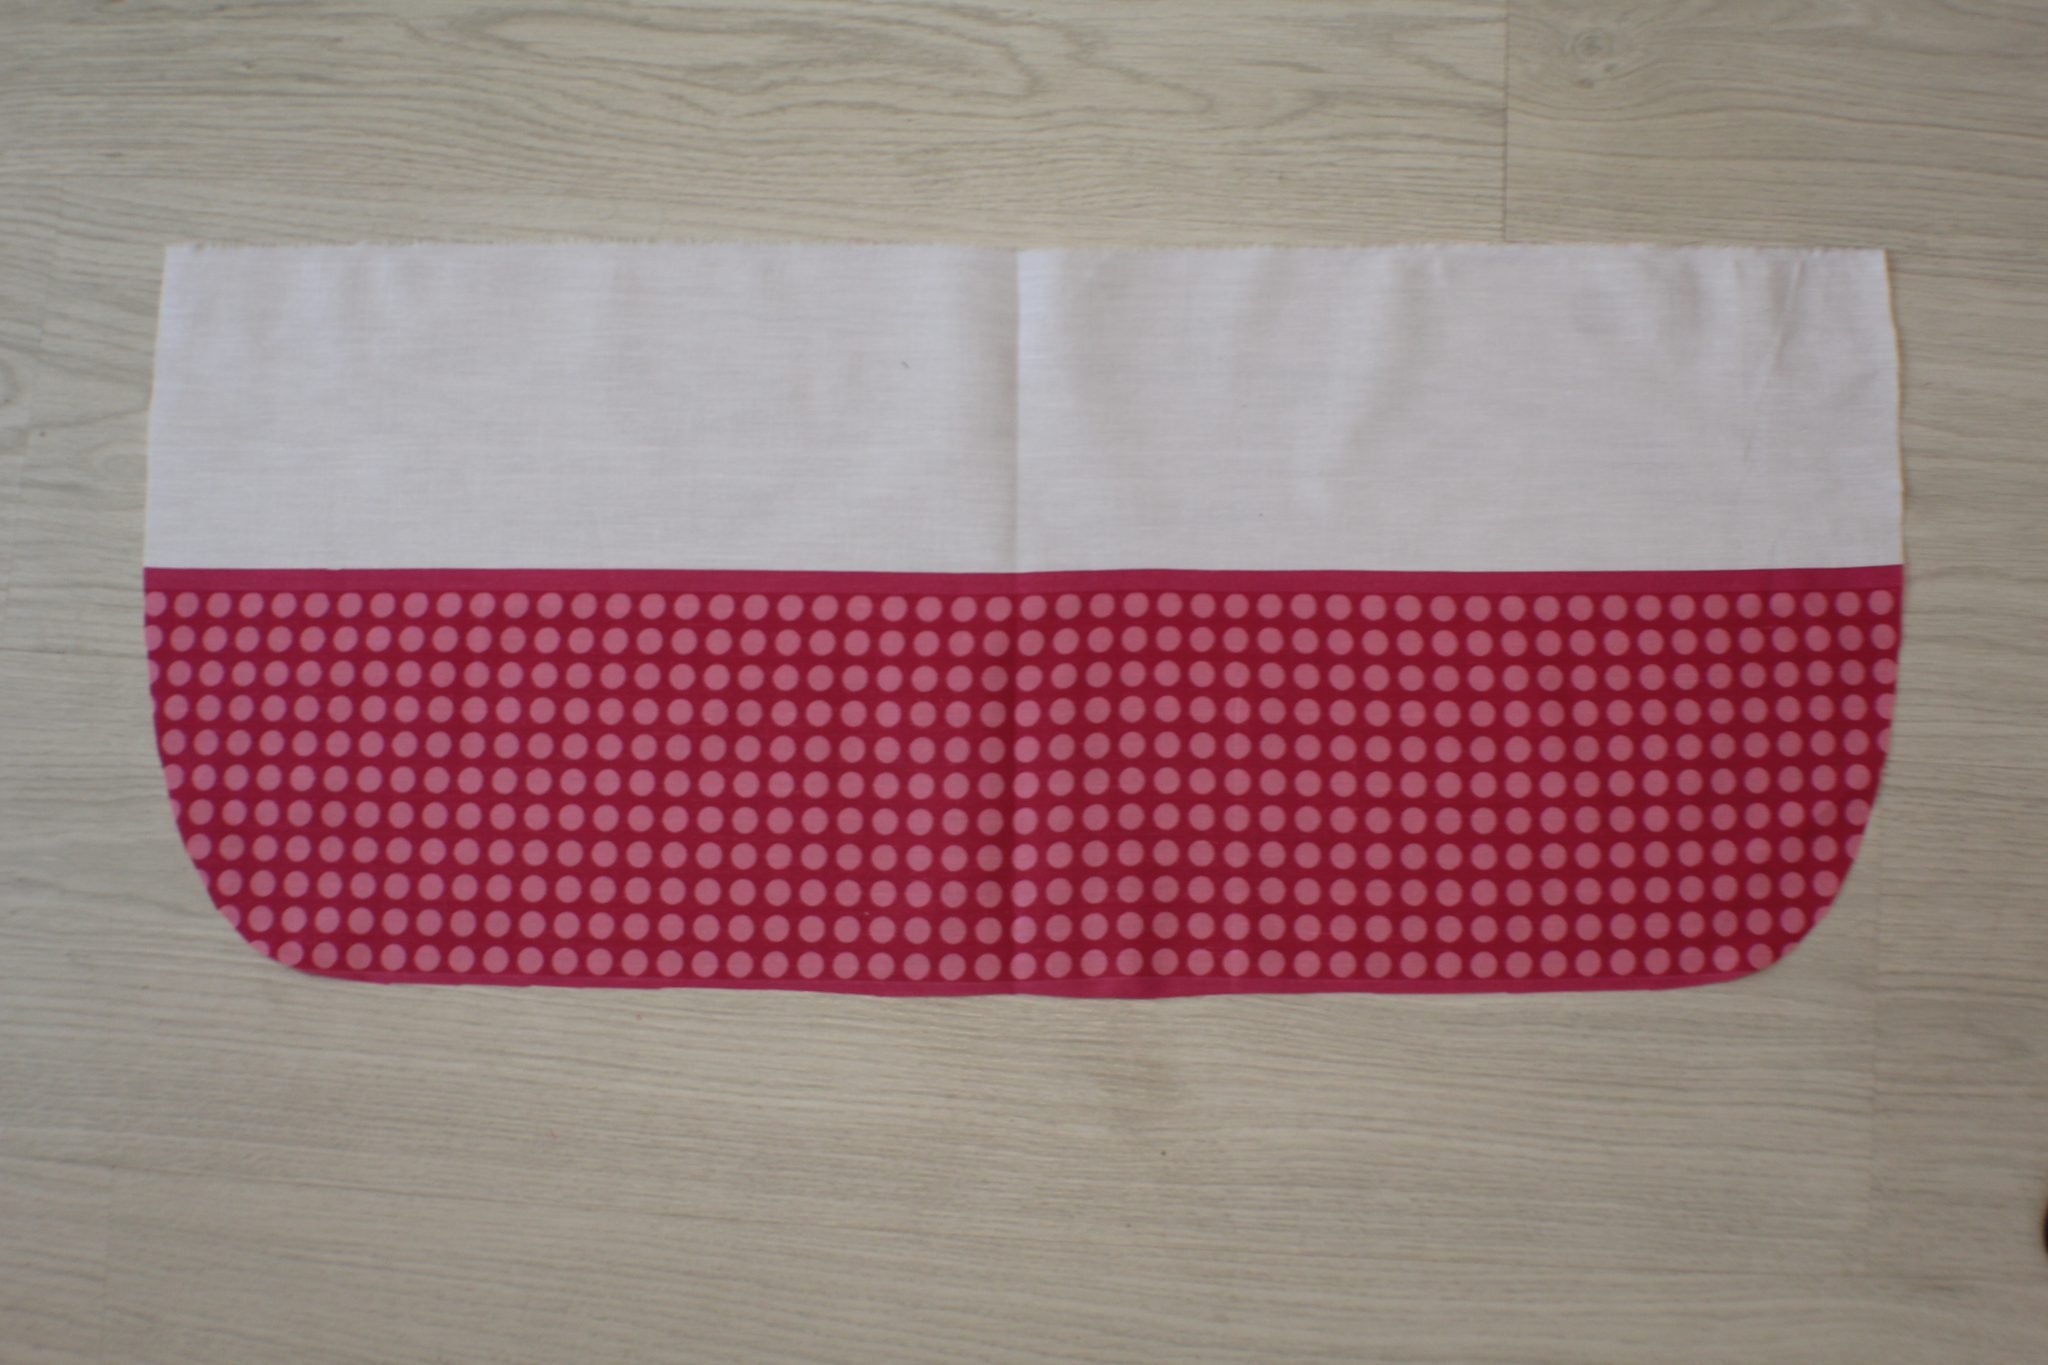
- For the bottom apron piece, cut 2 rectangles of about 25″ x 12″, place them right sides together and fold in half.
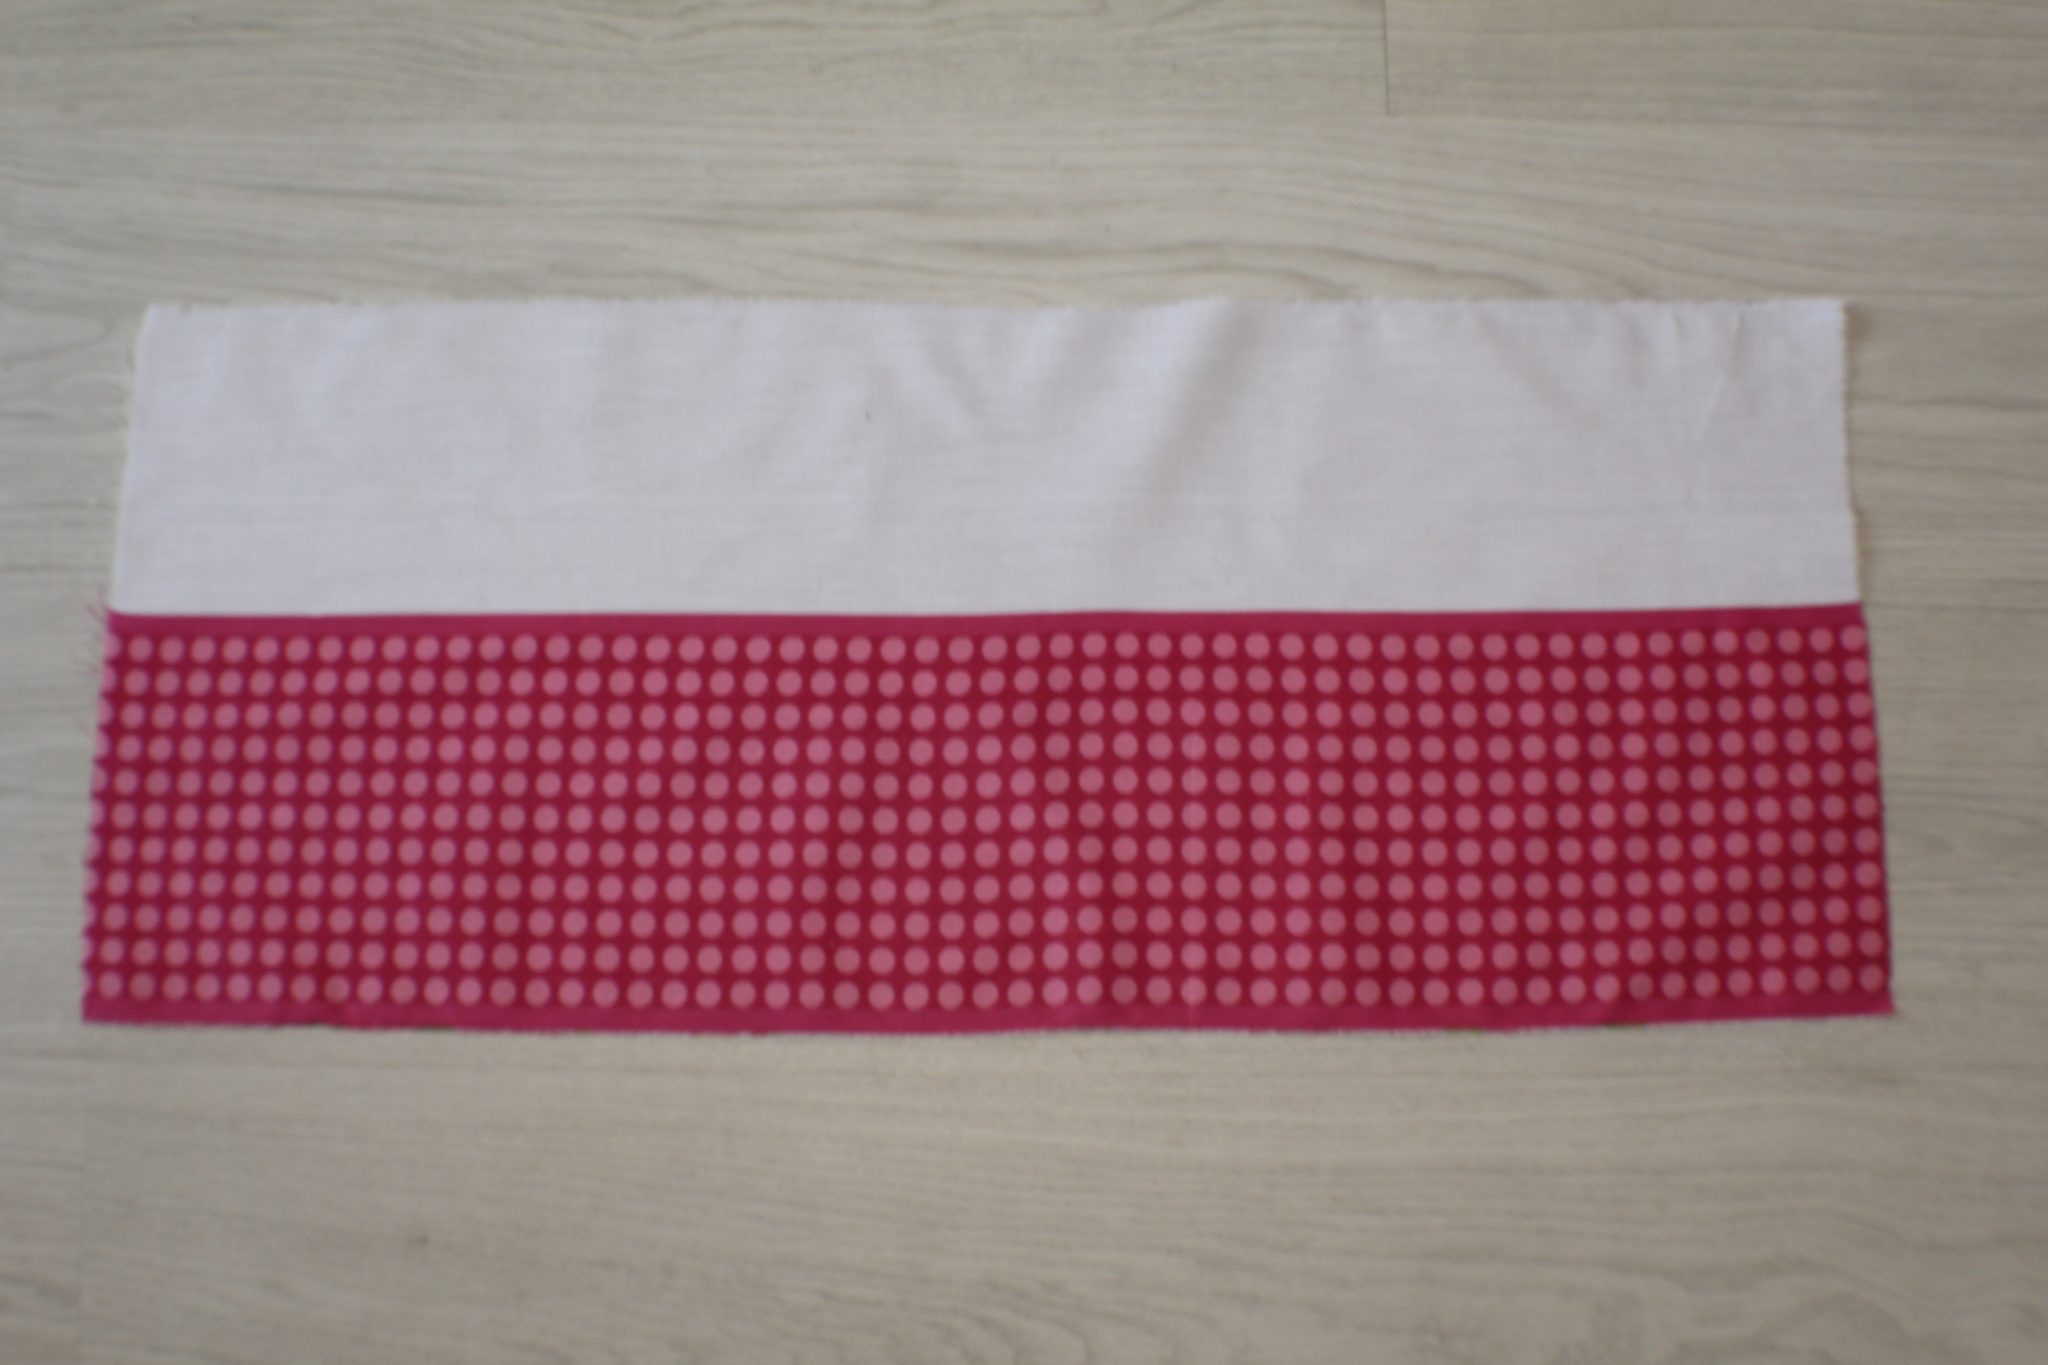
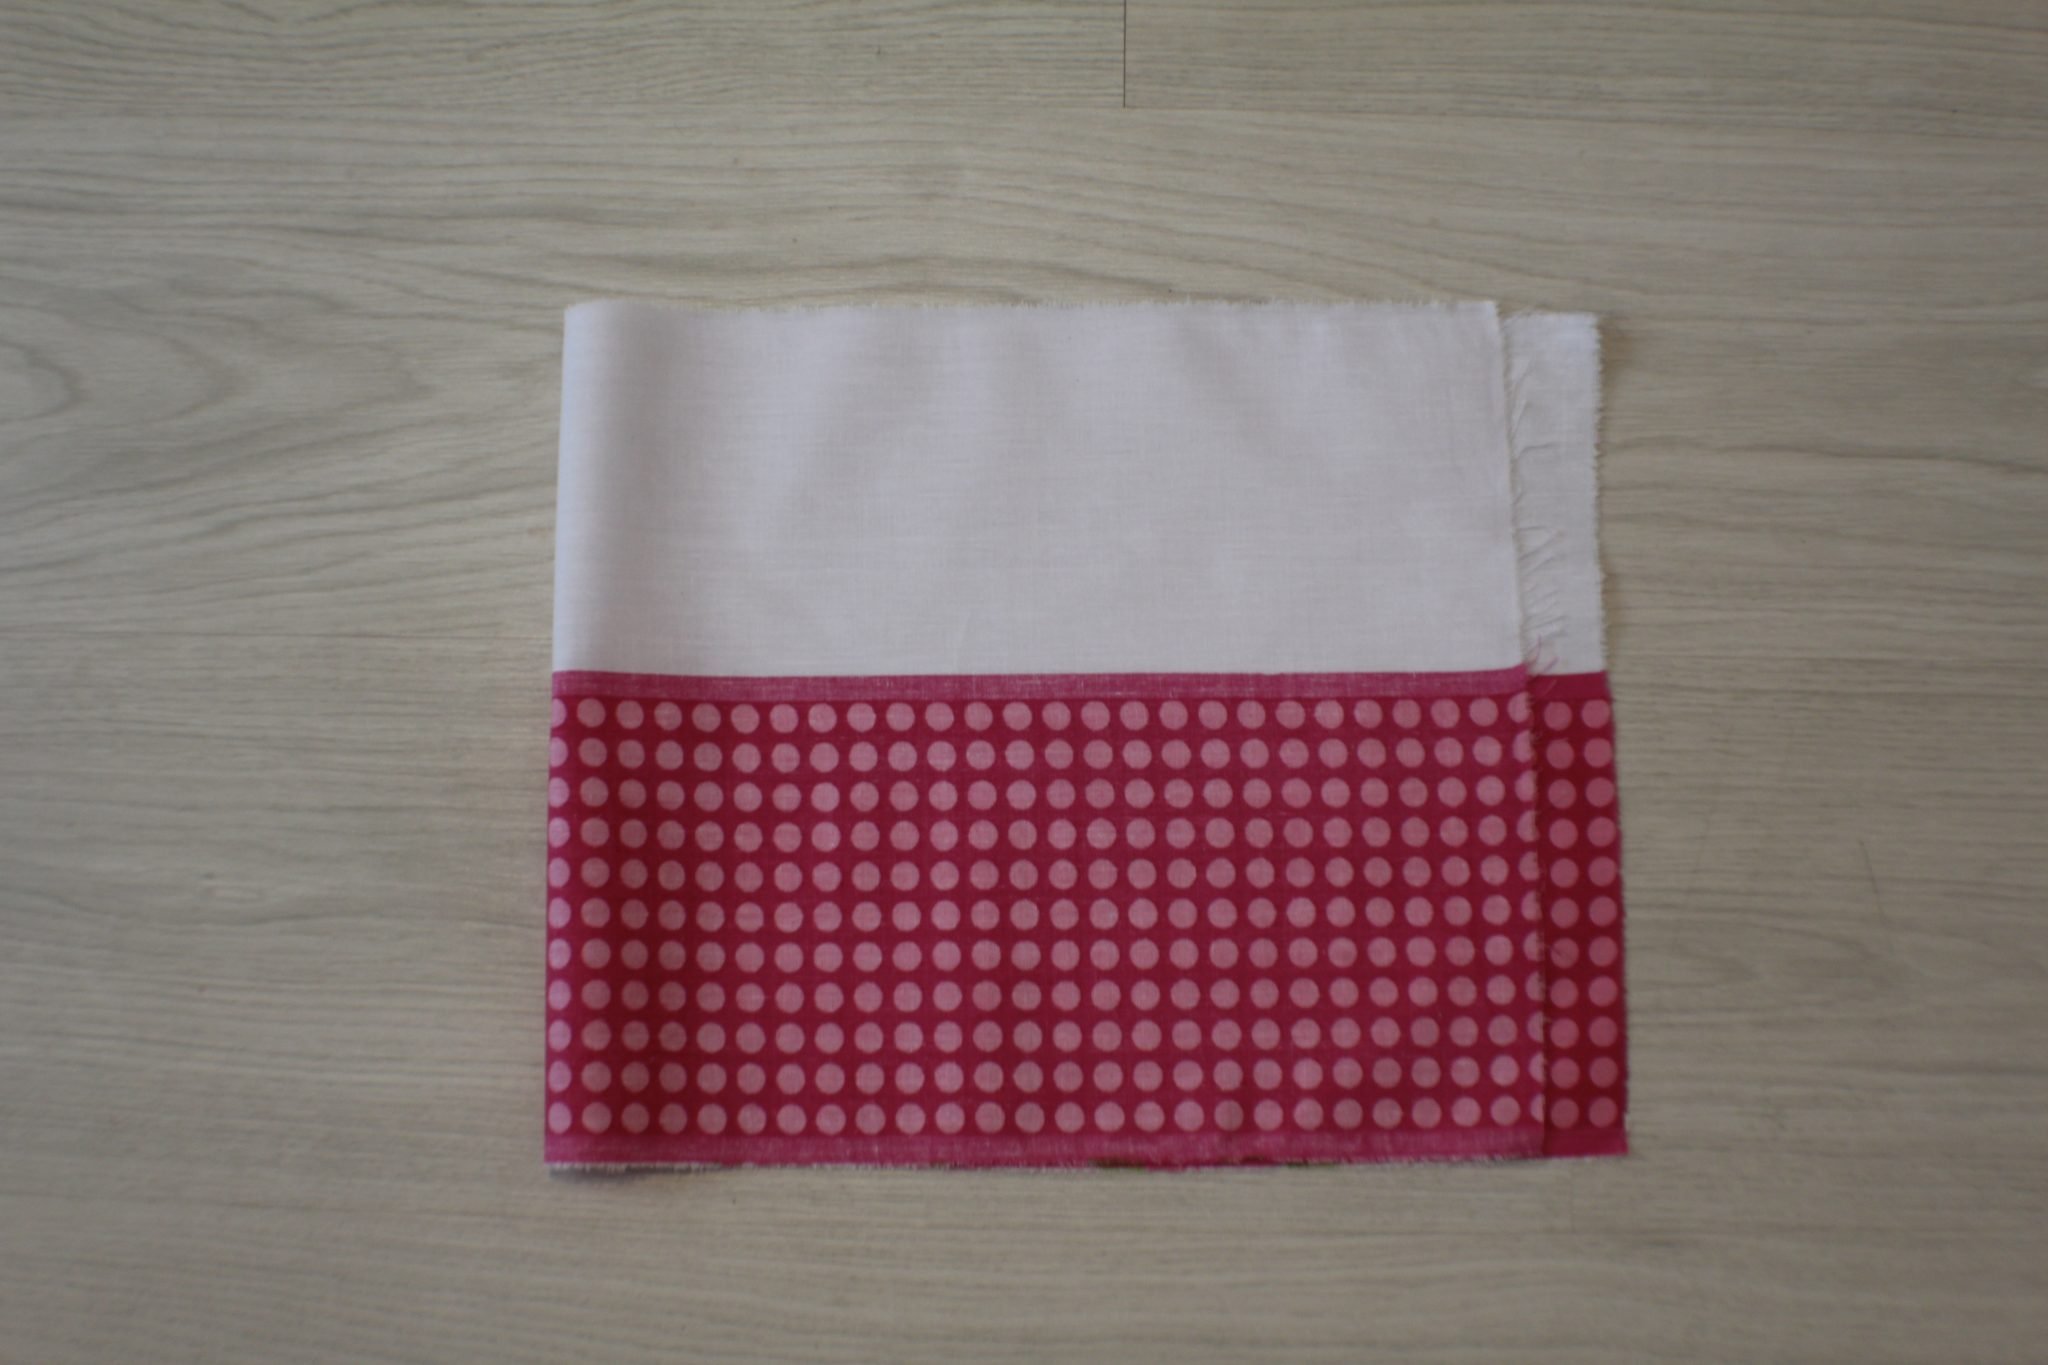
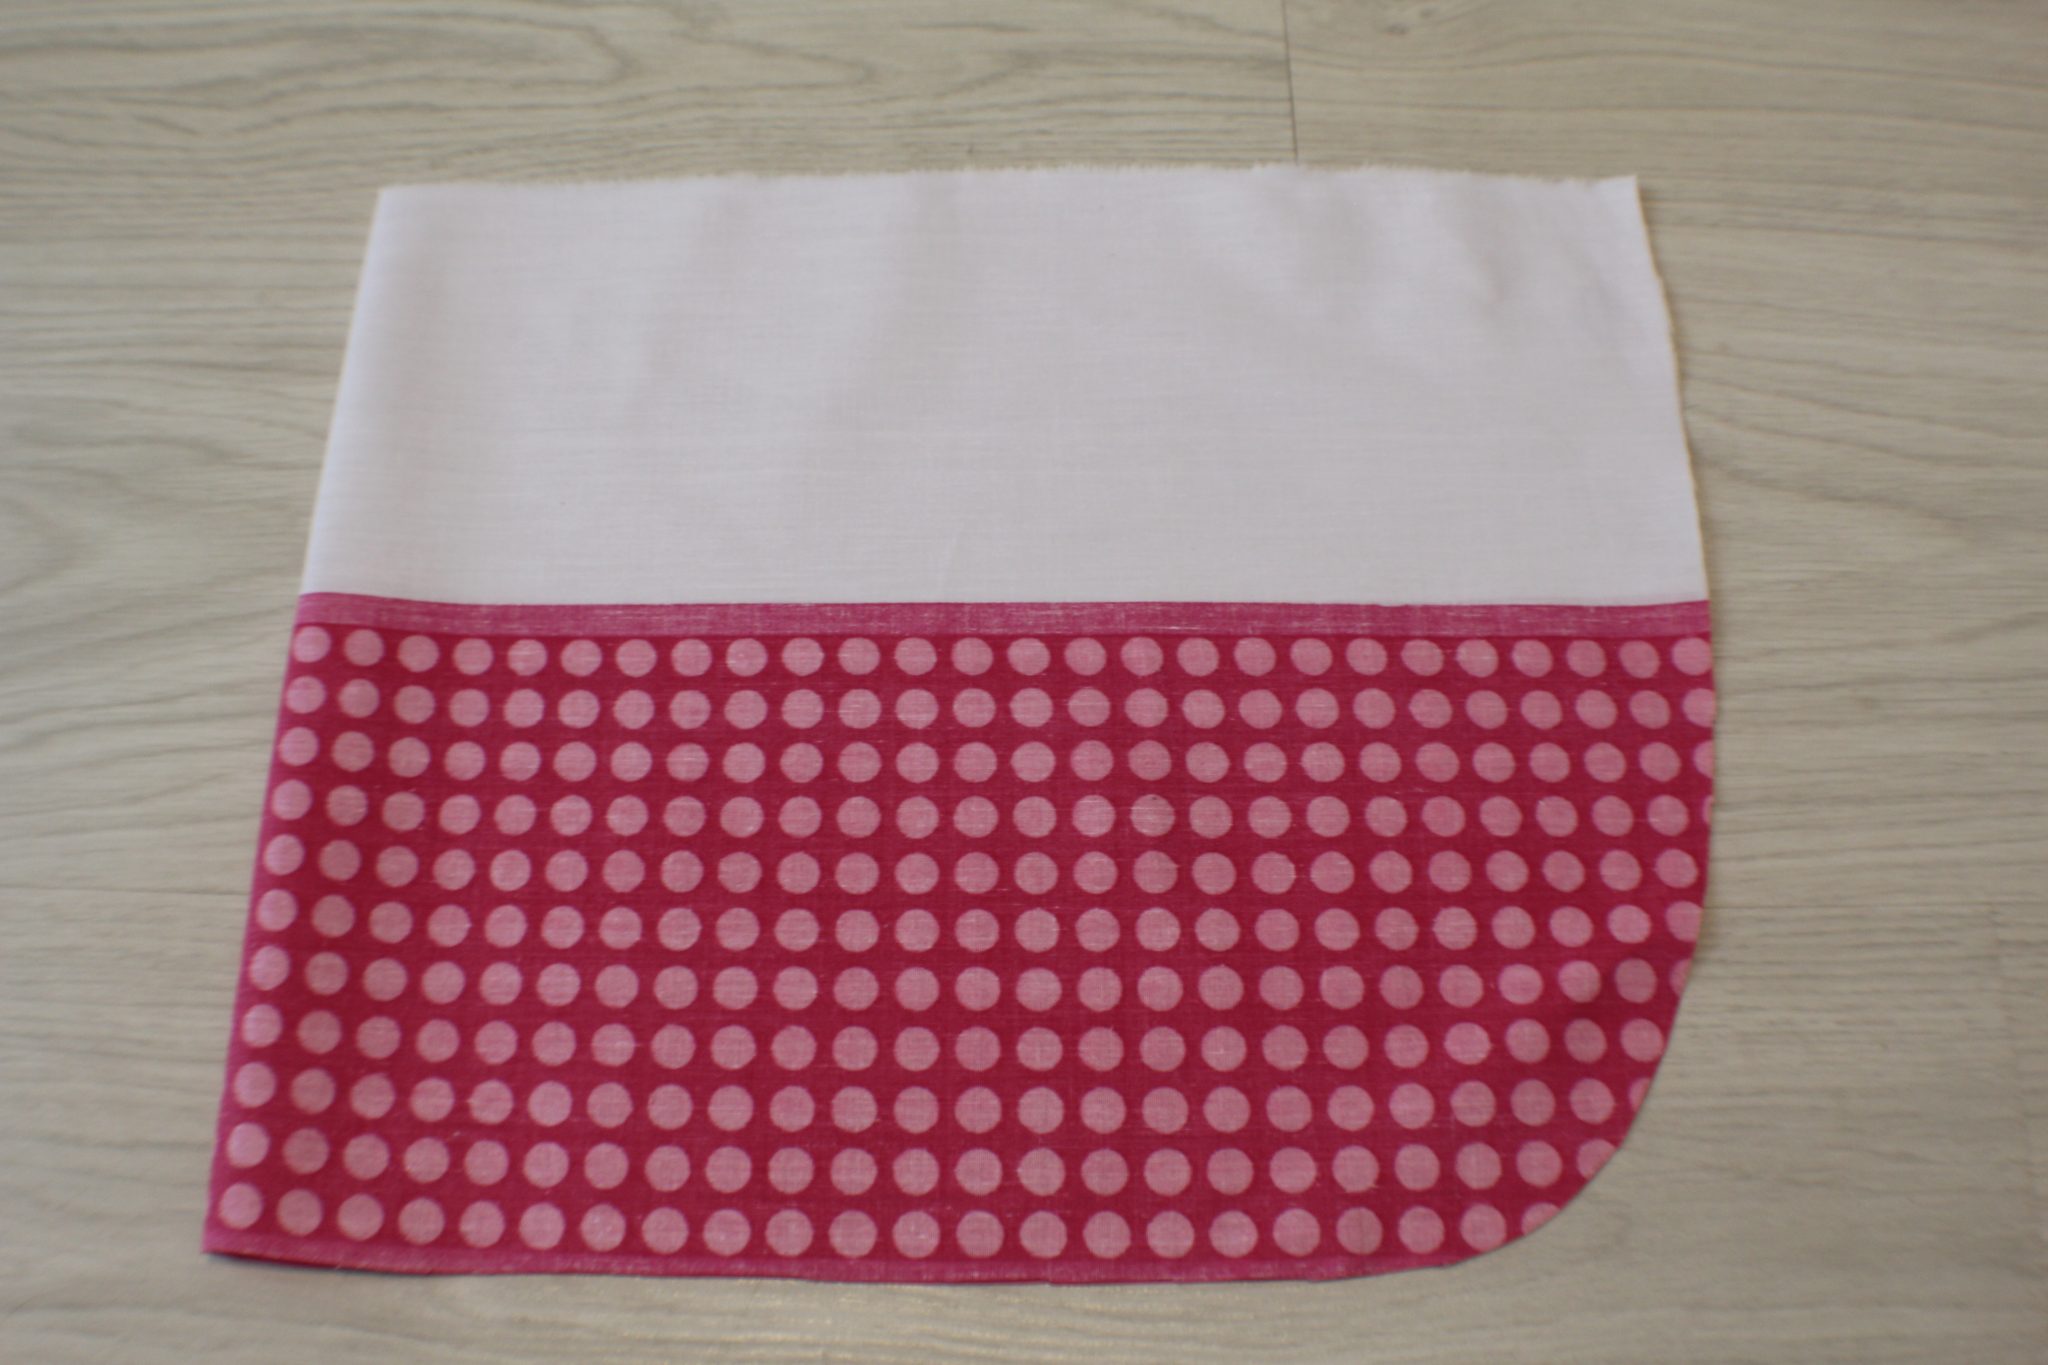
- Pin the layers and place the pattern for the bottom apron on the fold.
- Add pattern weights, mark with a fabric pen and cut out.
- For the top apron piece, cut 2 squares of 8″ x 8″, place them right sides together and fold in half.
- Pin the layers and place the pattern for the top apron on the fold.
- Add pattern weights, mark with fabric pen and cut out.
- For the waistband, cut a long strip of 6 ft x 6″ and cut in half, lengthwise.
- Cut two more strips for the top and bottom ruffles (if you use two different fabrics; if you make both ruffles the same, cut a long strip for both). I’ve cut a strip for the bottom apron of about 10 ft x 2″ and for the top I’ve cut a strip of about 4 ft x 2″.
- To make the neck straps, cut two strips of 1 1/2″ x 12″ from a fabric that matches the ruffle on the top piece of your apron.
Making the waistband
- After cutting the waistband strip in half, you’ll have two long strips.
- Take each and fold in half, lightly pressing with your fingers.
- Fold each of these halves in half and press with your iron on steam. Your strip should look like this
- Repeat for the second waistband strip.
- Fold the ends in about 1/4″, on both strips and press with your iron.
Making the ruffled strips
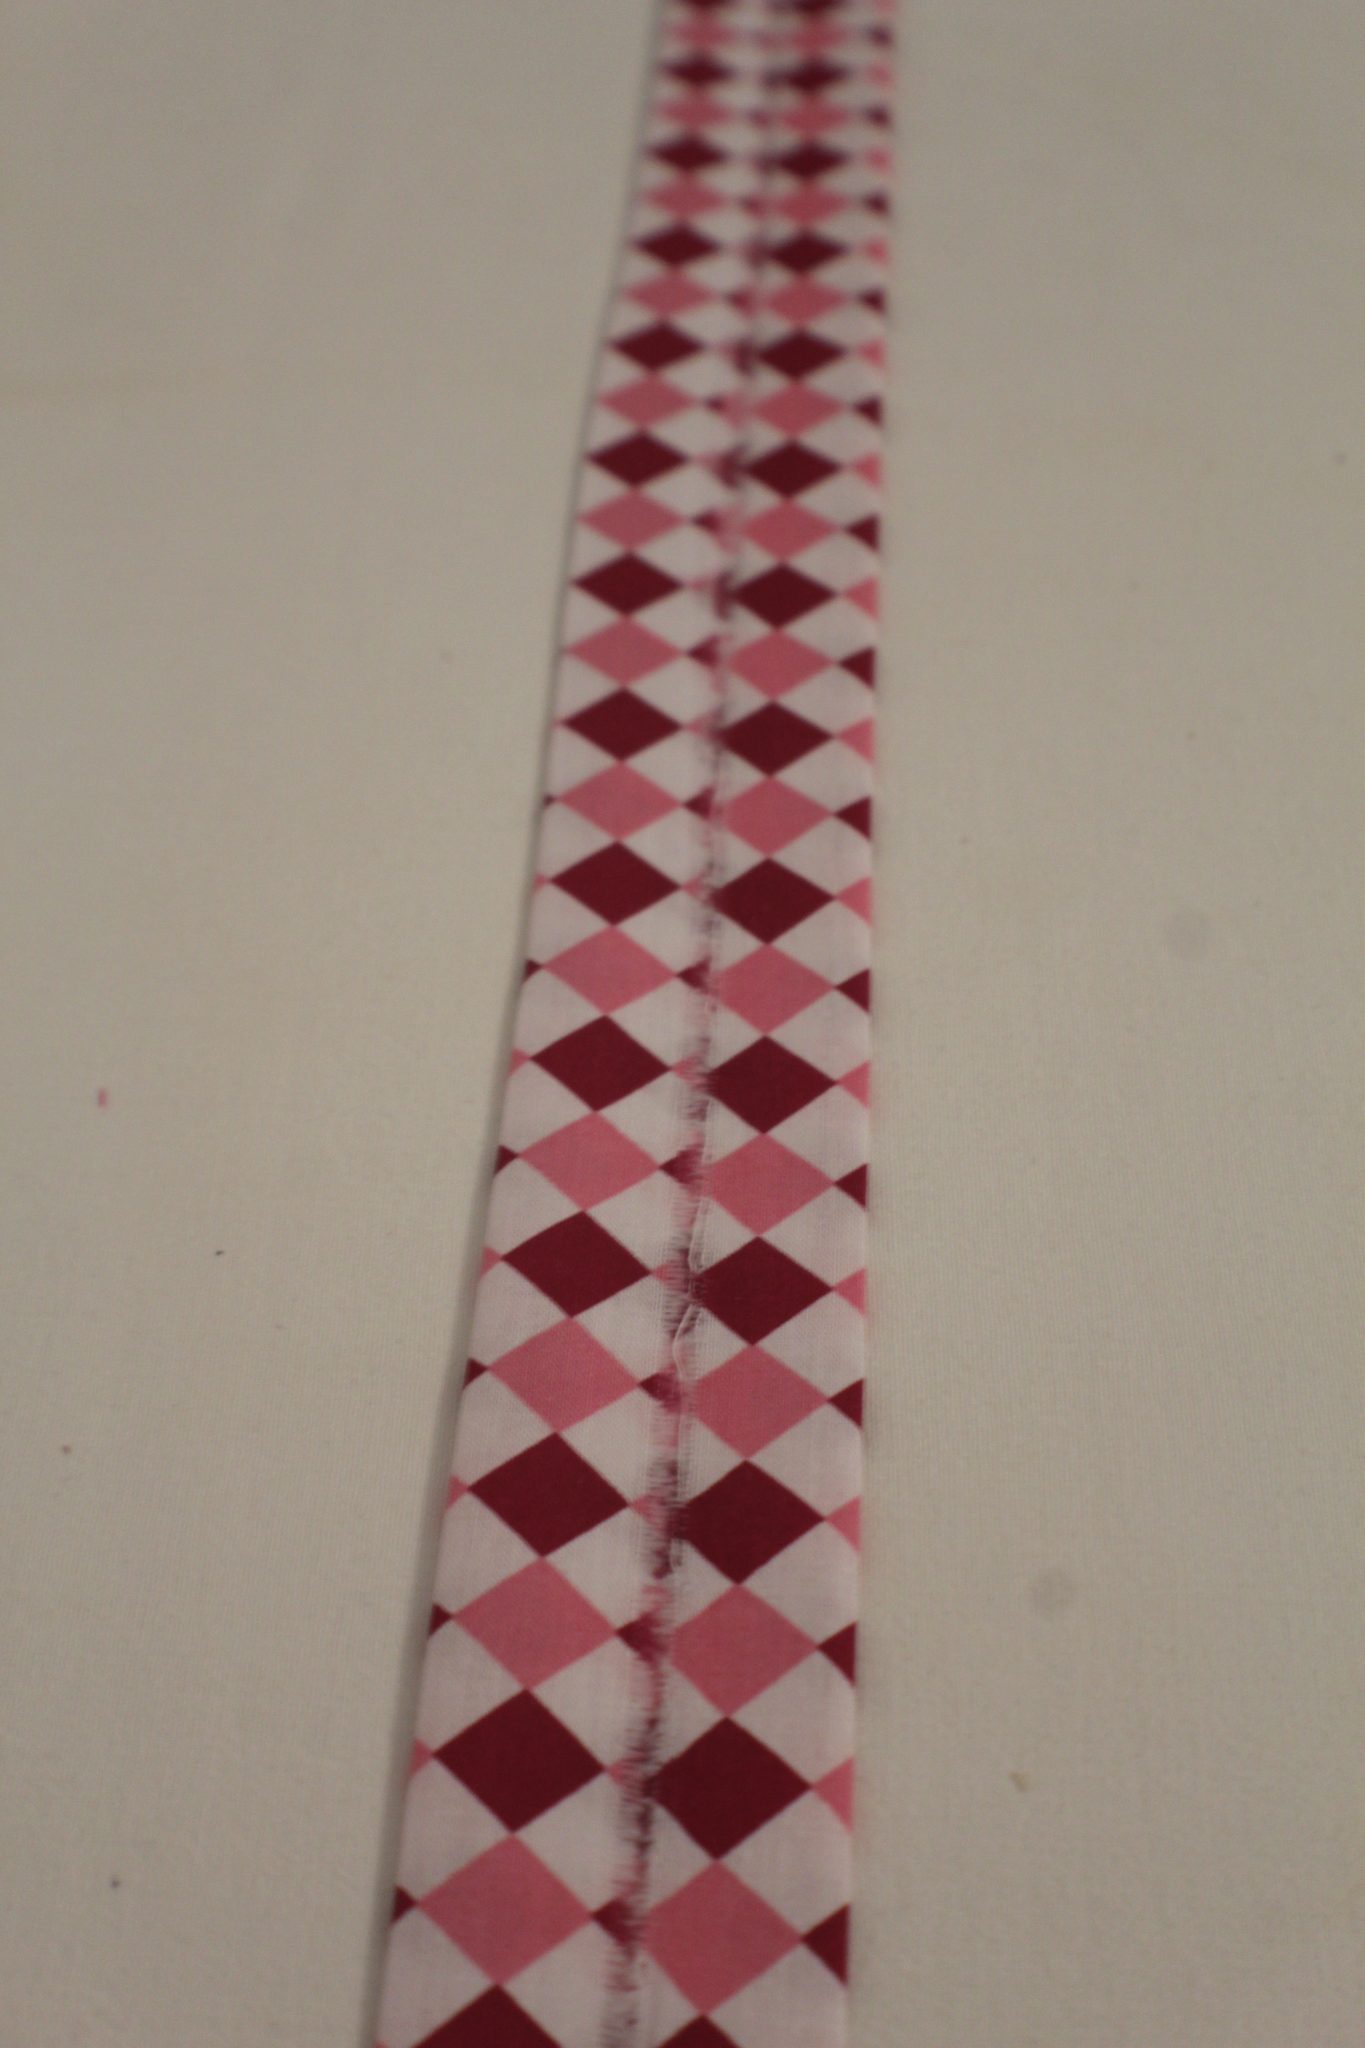
- Take each strips for the bottom and top pieces of the apron and fold in half.
- Using this method, your favorite method for gathering fabric or a ruffling foot as I did, ruffle each of these strips, along the raw edges. Make sure you catch both sides of the strip in your ruffling.
- Use a 1/4″ seam allowance when making your ruffles.
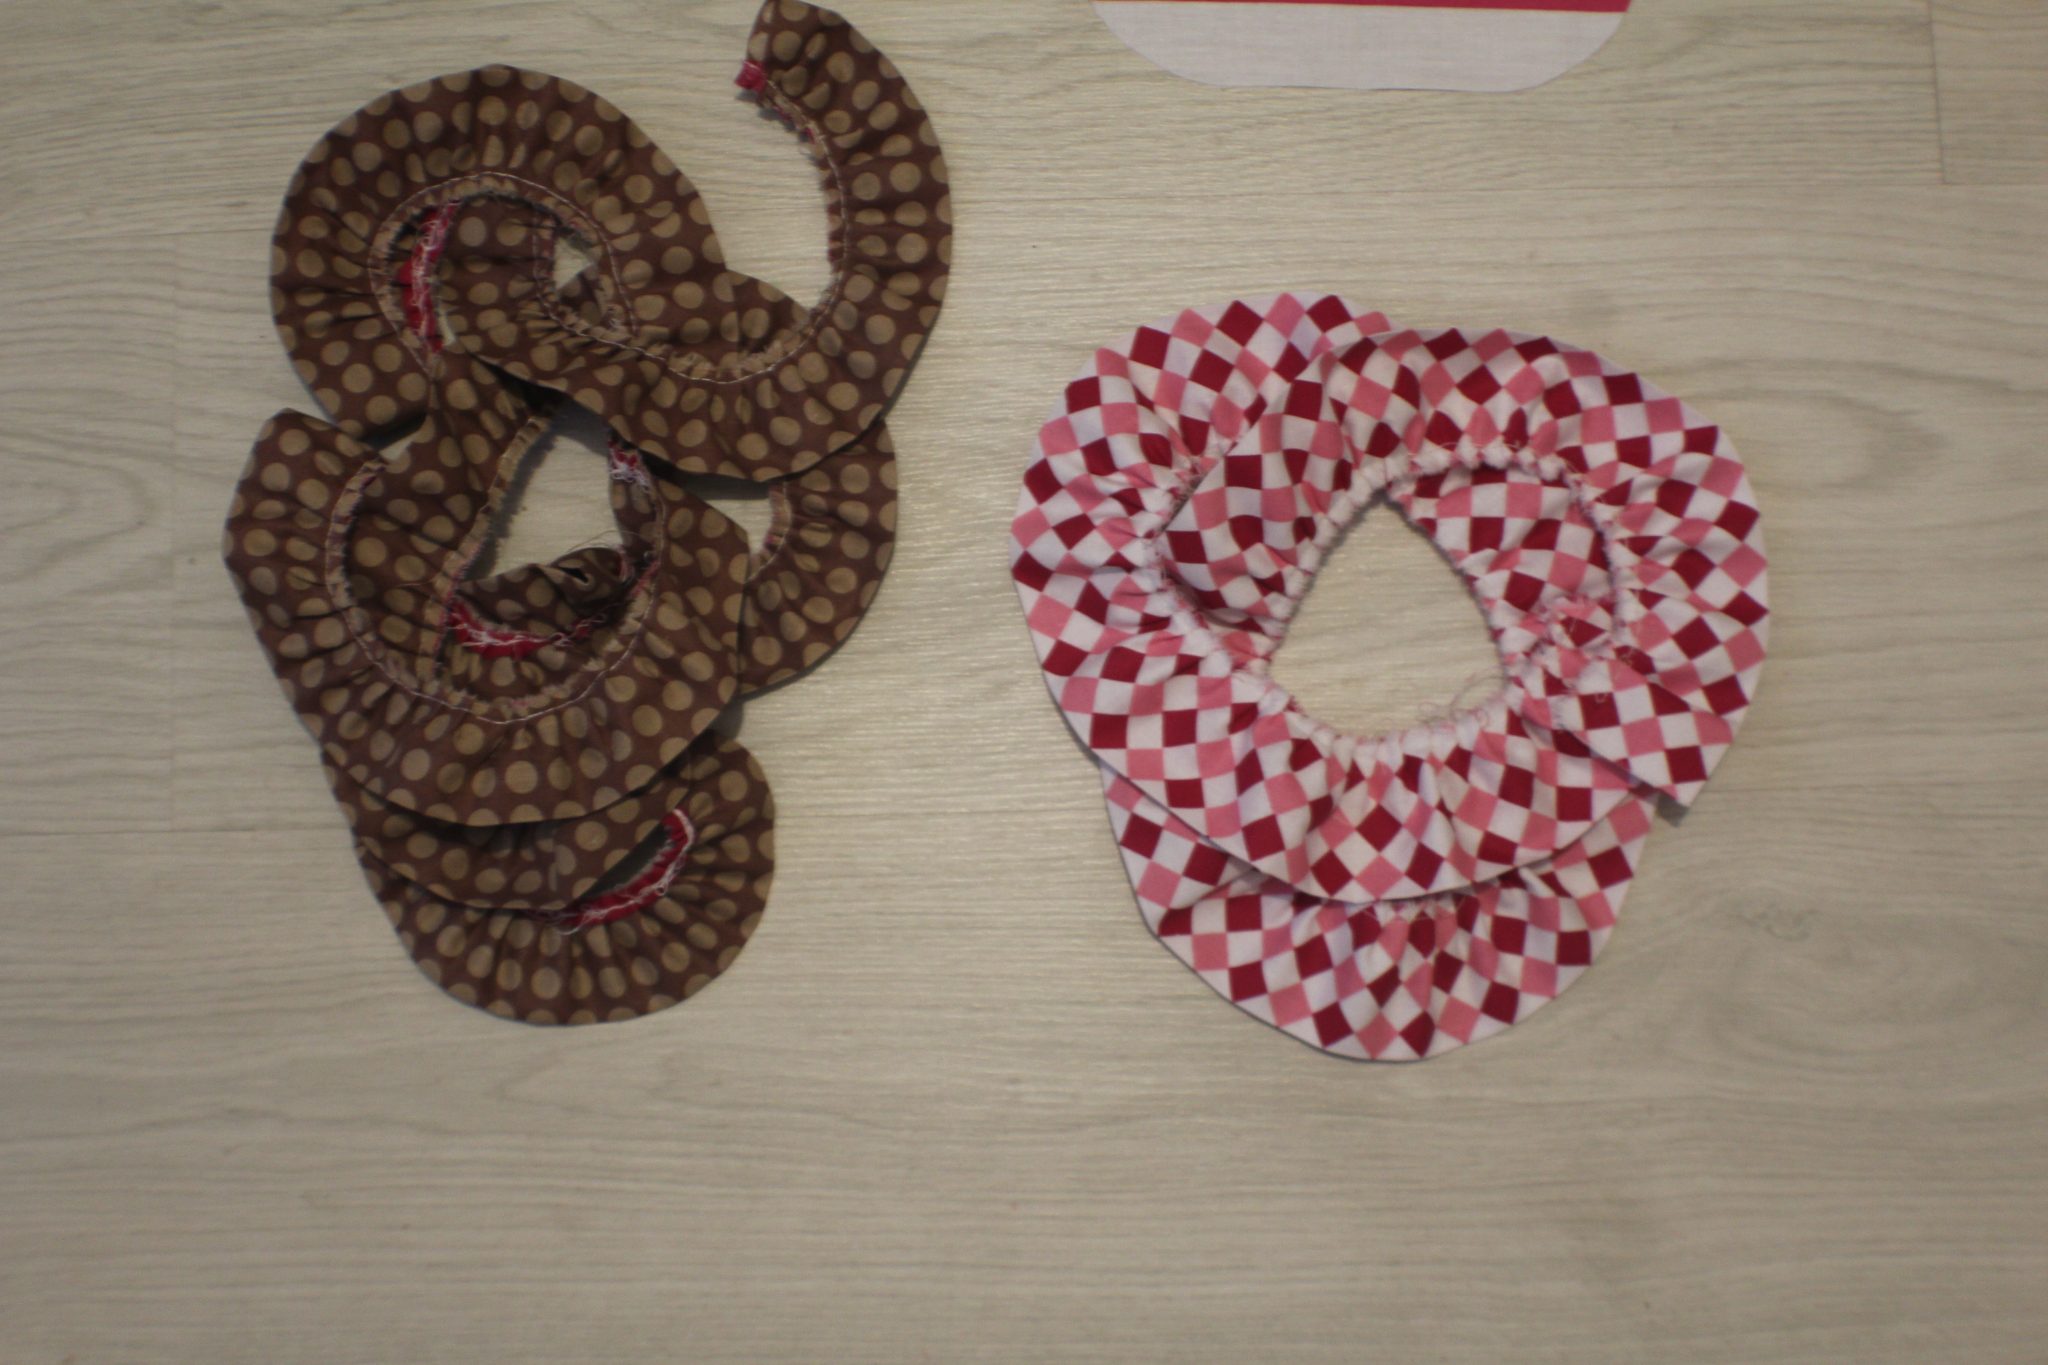
- Press each ruffled strip with your iron on steam. This will help with attaching the ruffles to the apron pieces later on.
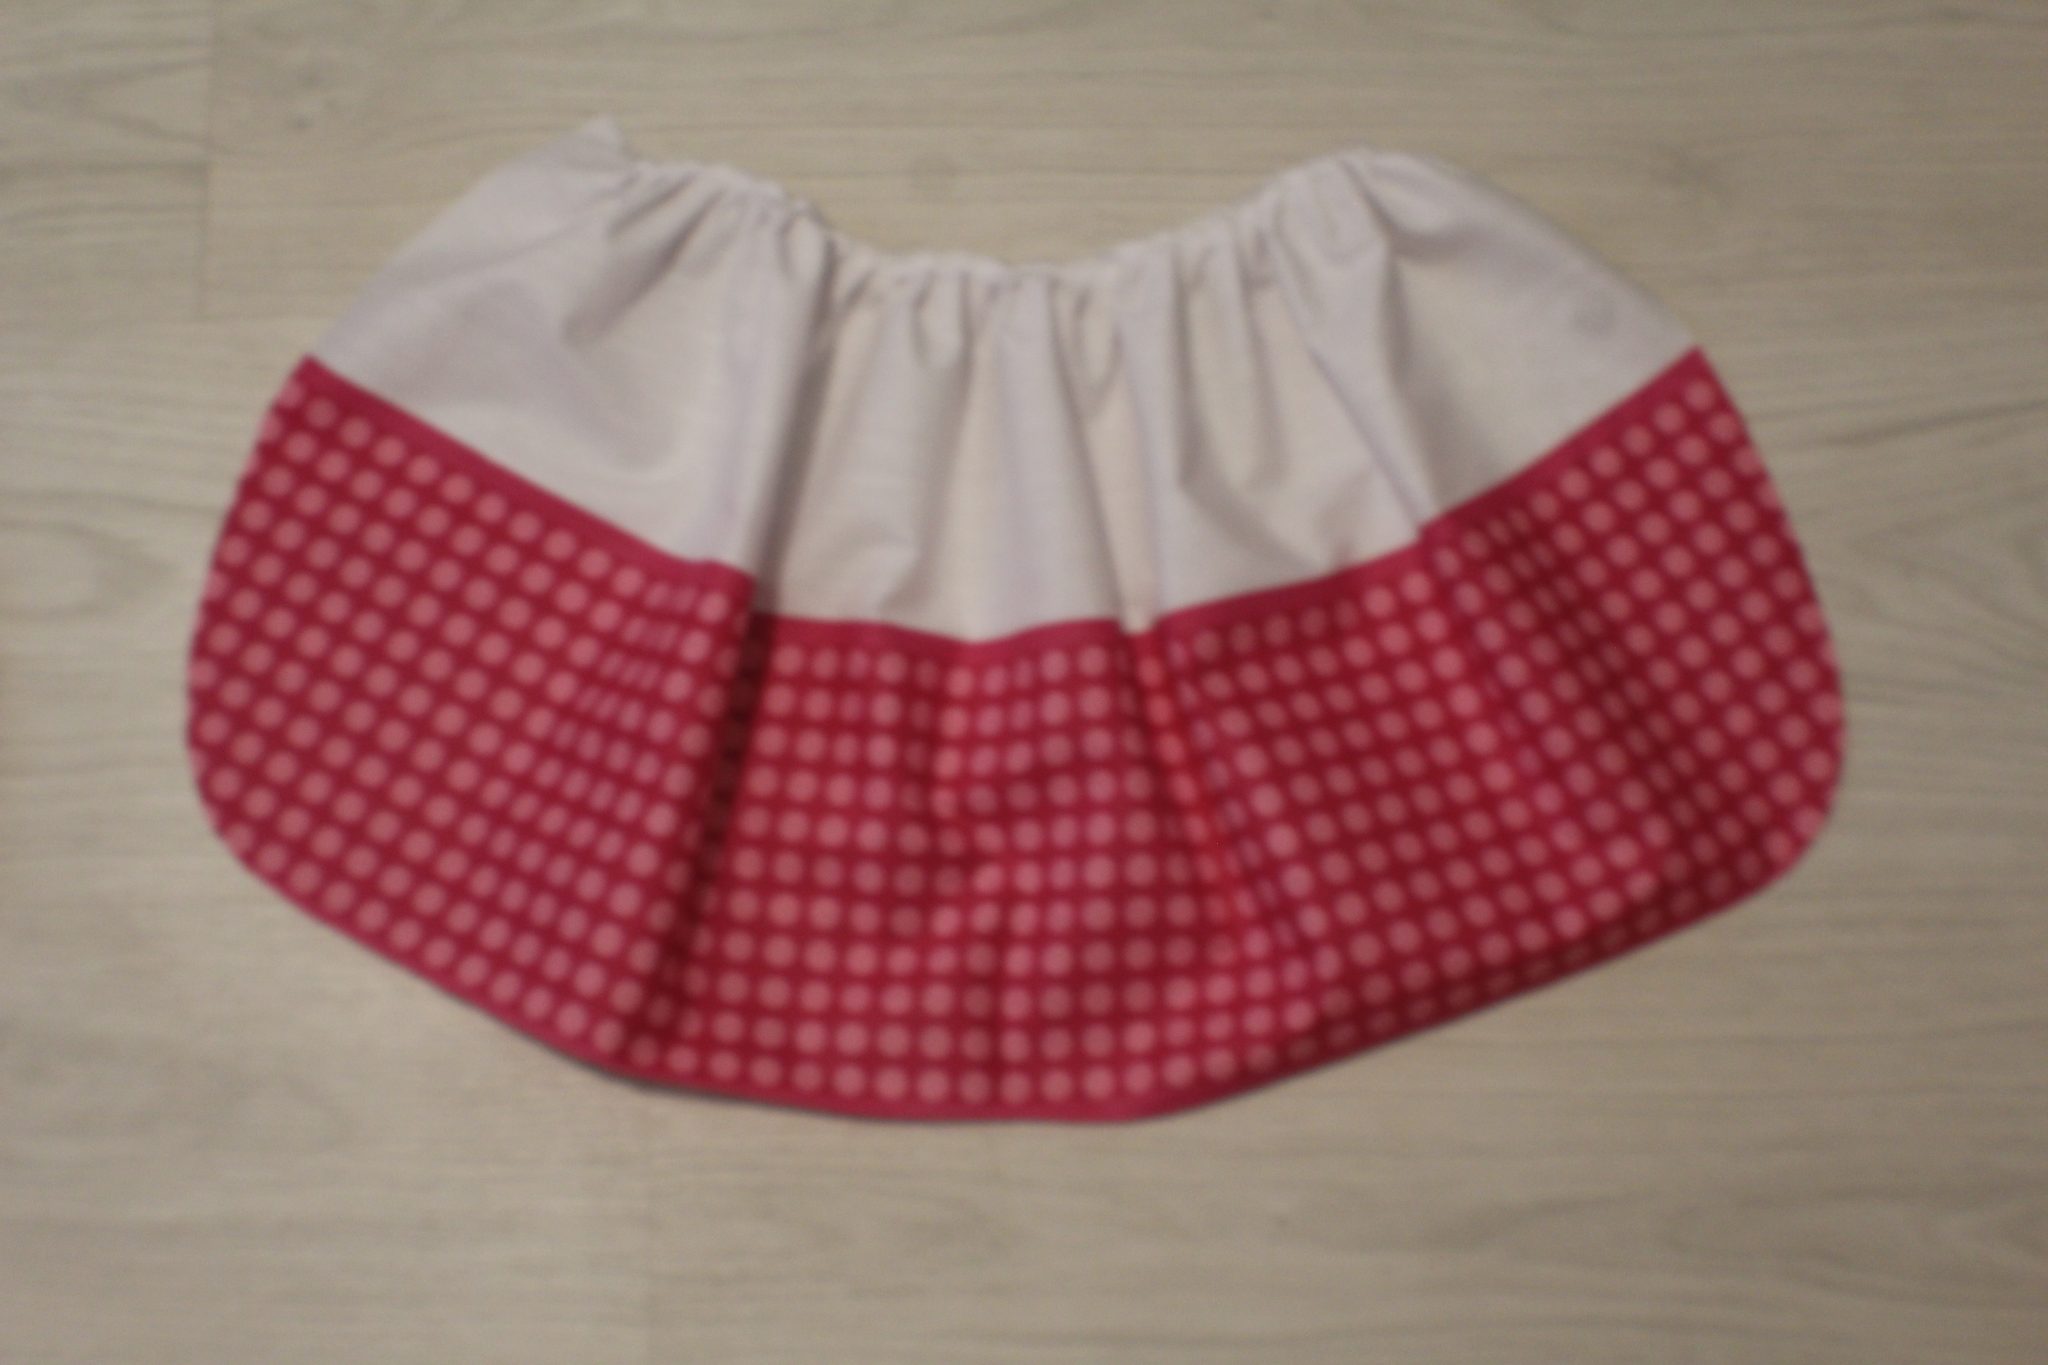
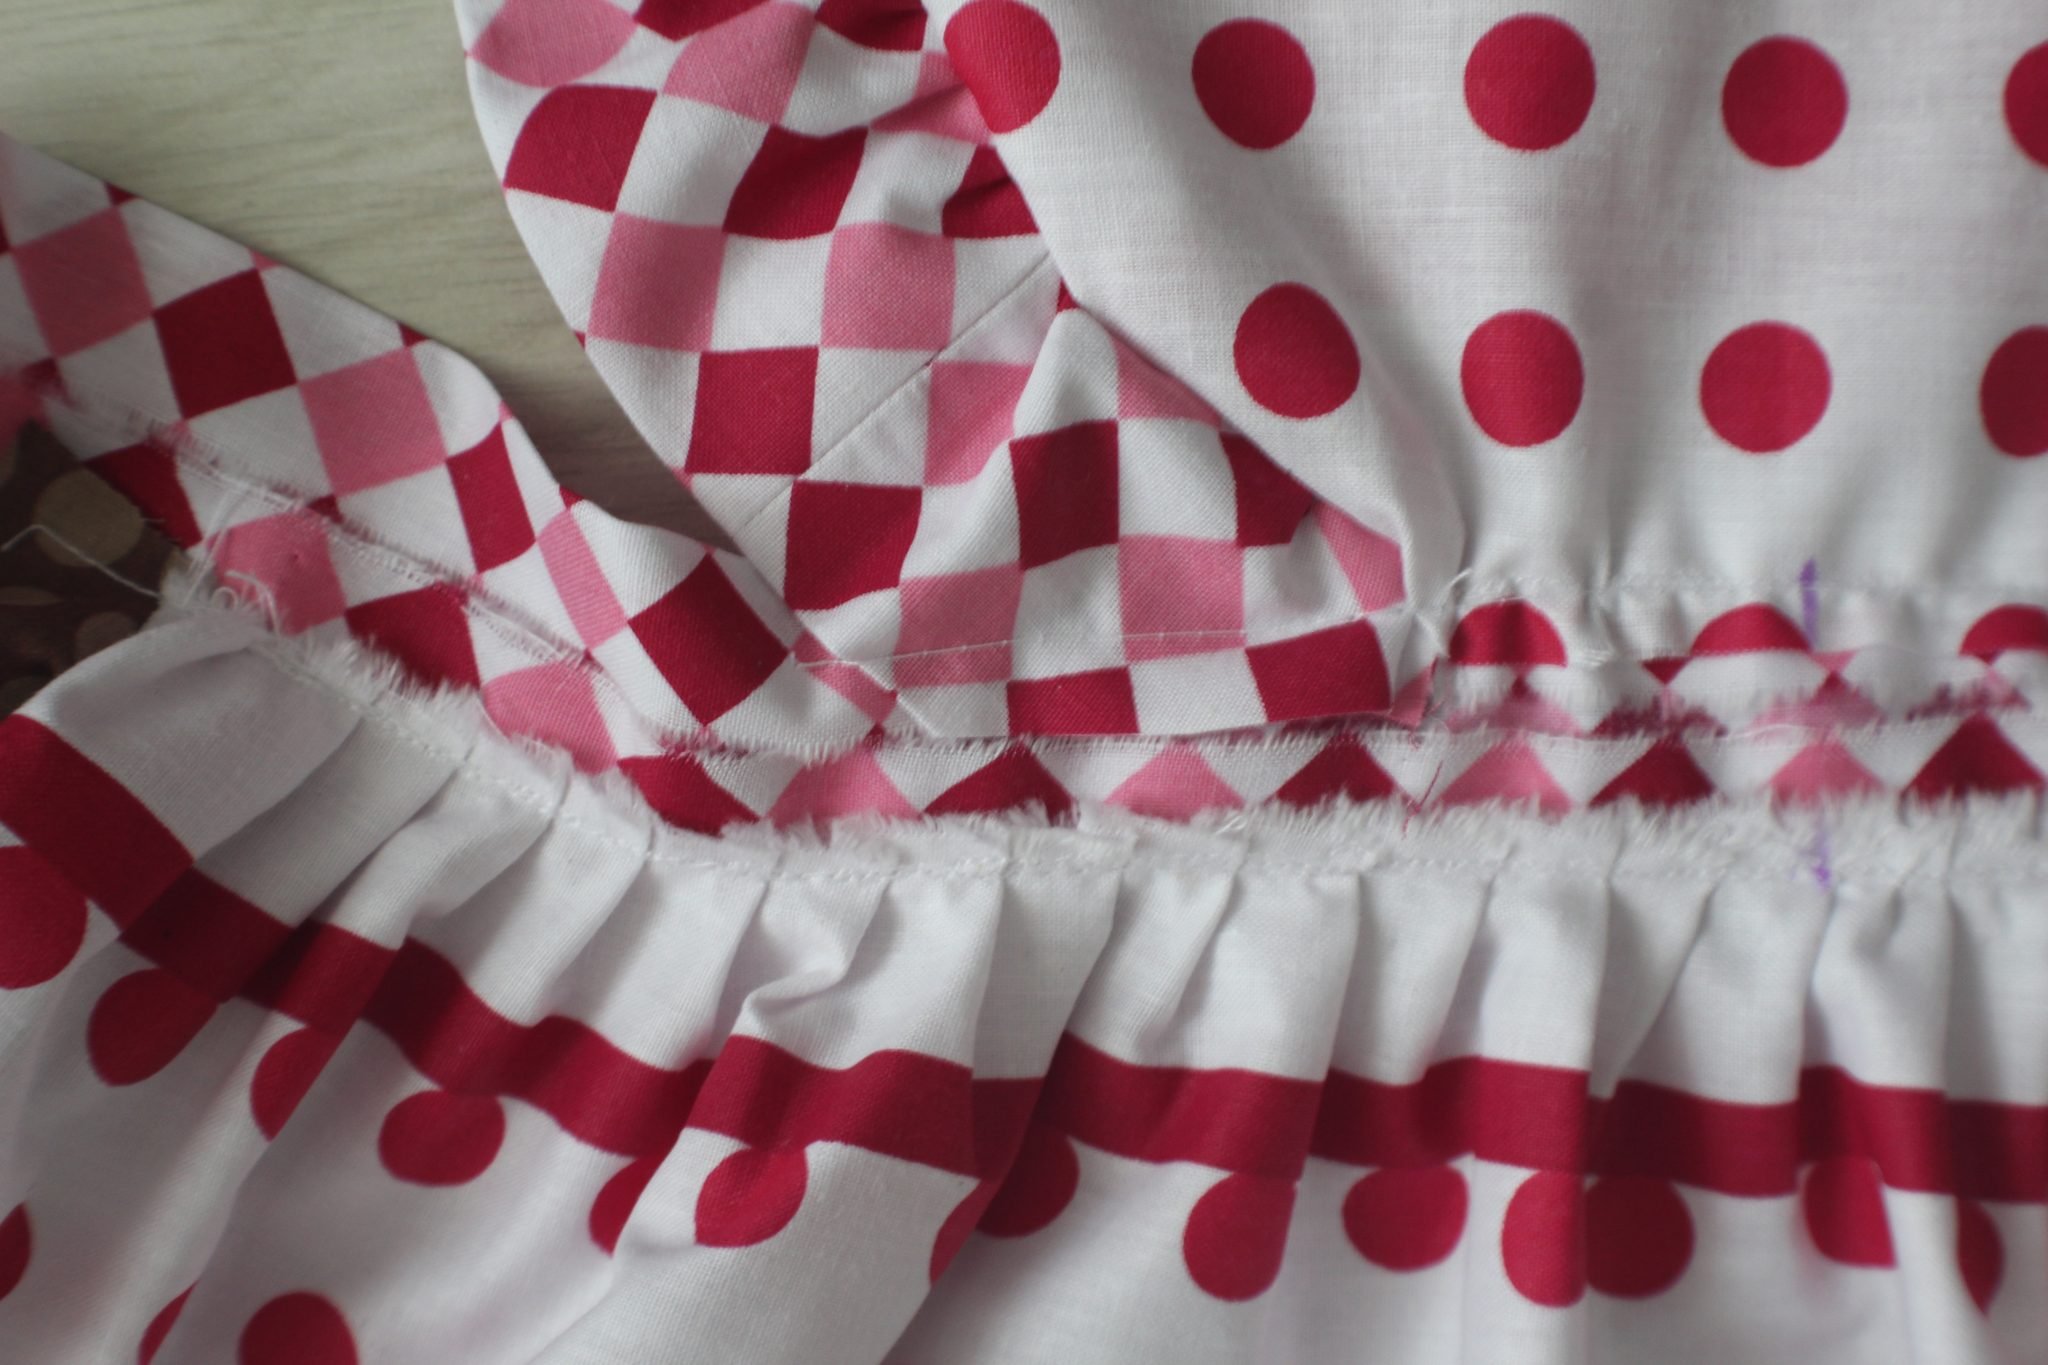
Preparing the bottom apron
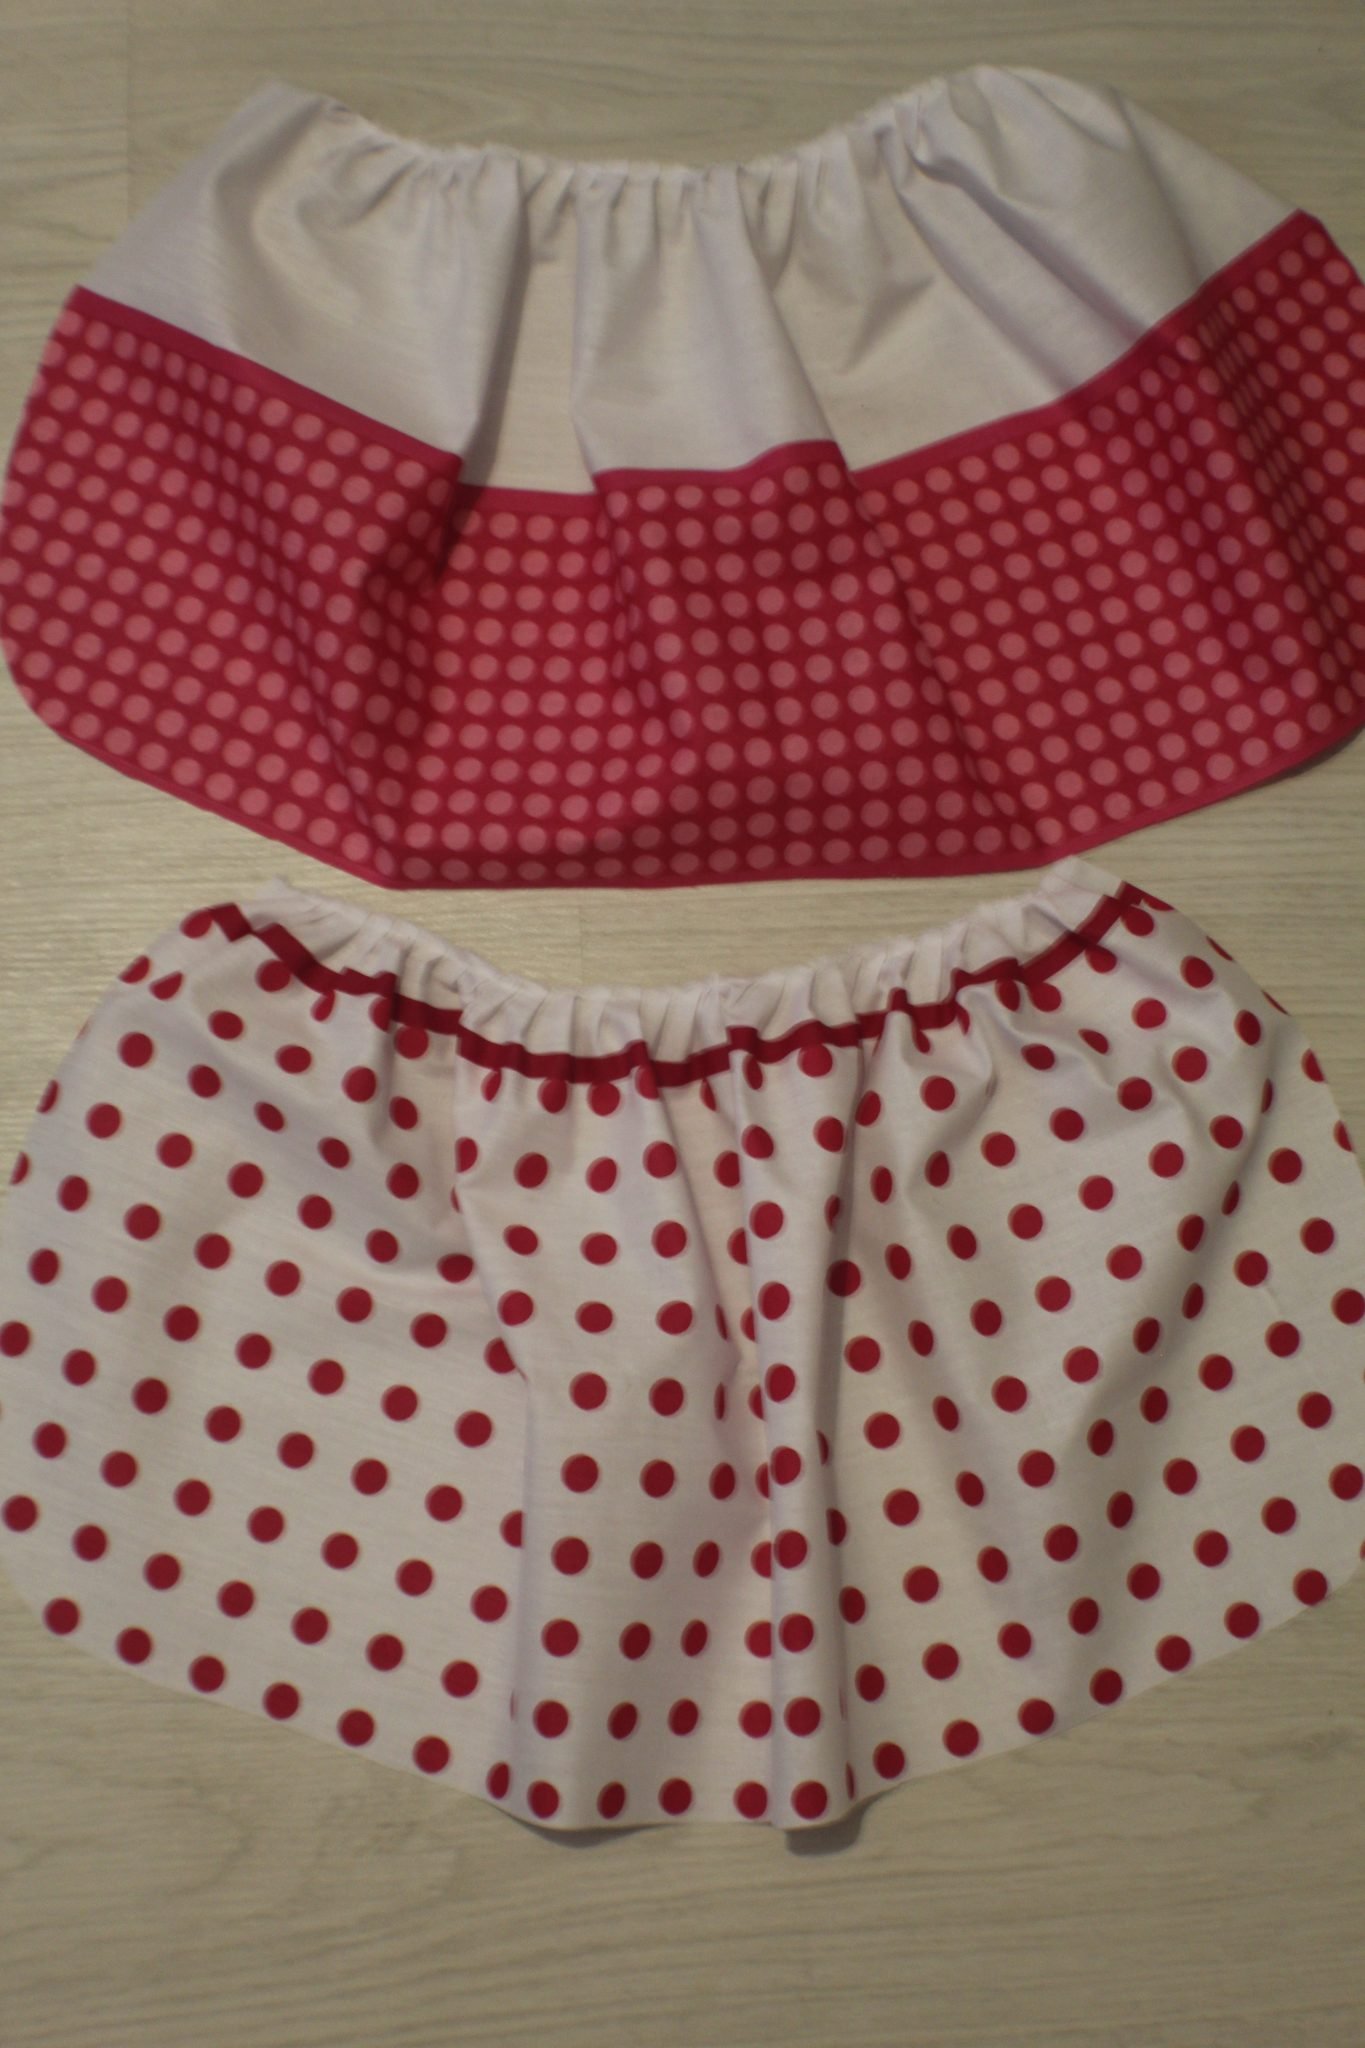
- Ruffle the top of both bottom apron pieces to reduce to about 2/3 of the initial length. I’ve set the ruffle regulator on my ruffling foot to setting #6 so that the ruffles were formed every 6 stitches, giving me perfectly even ruffles.
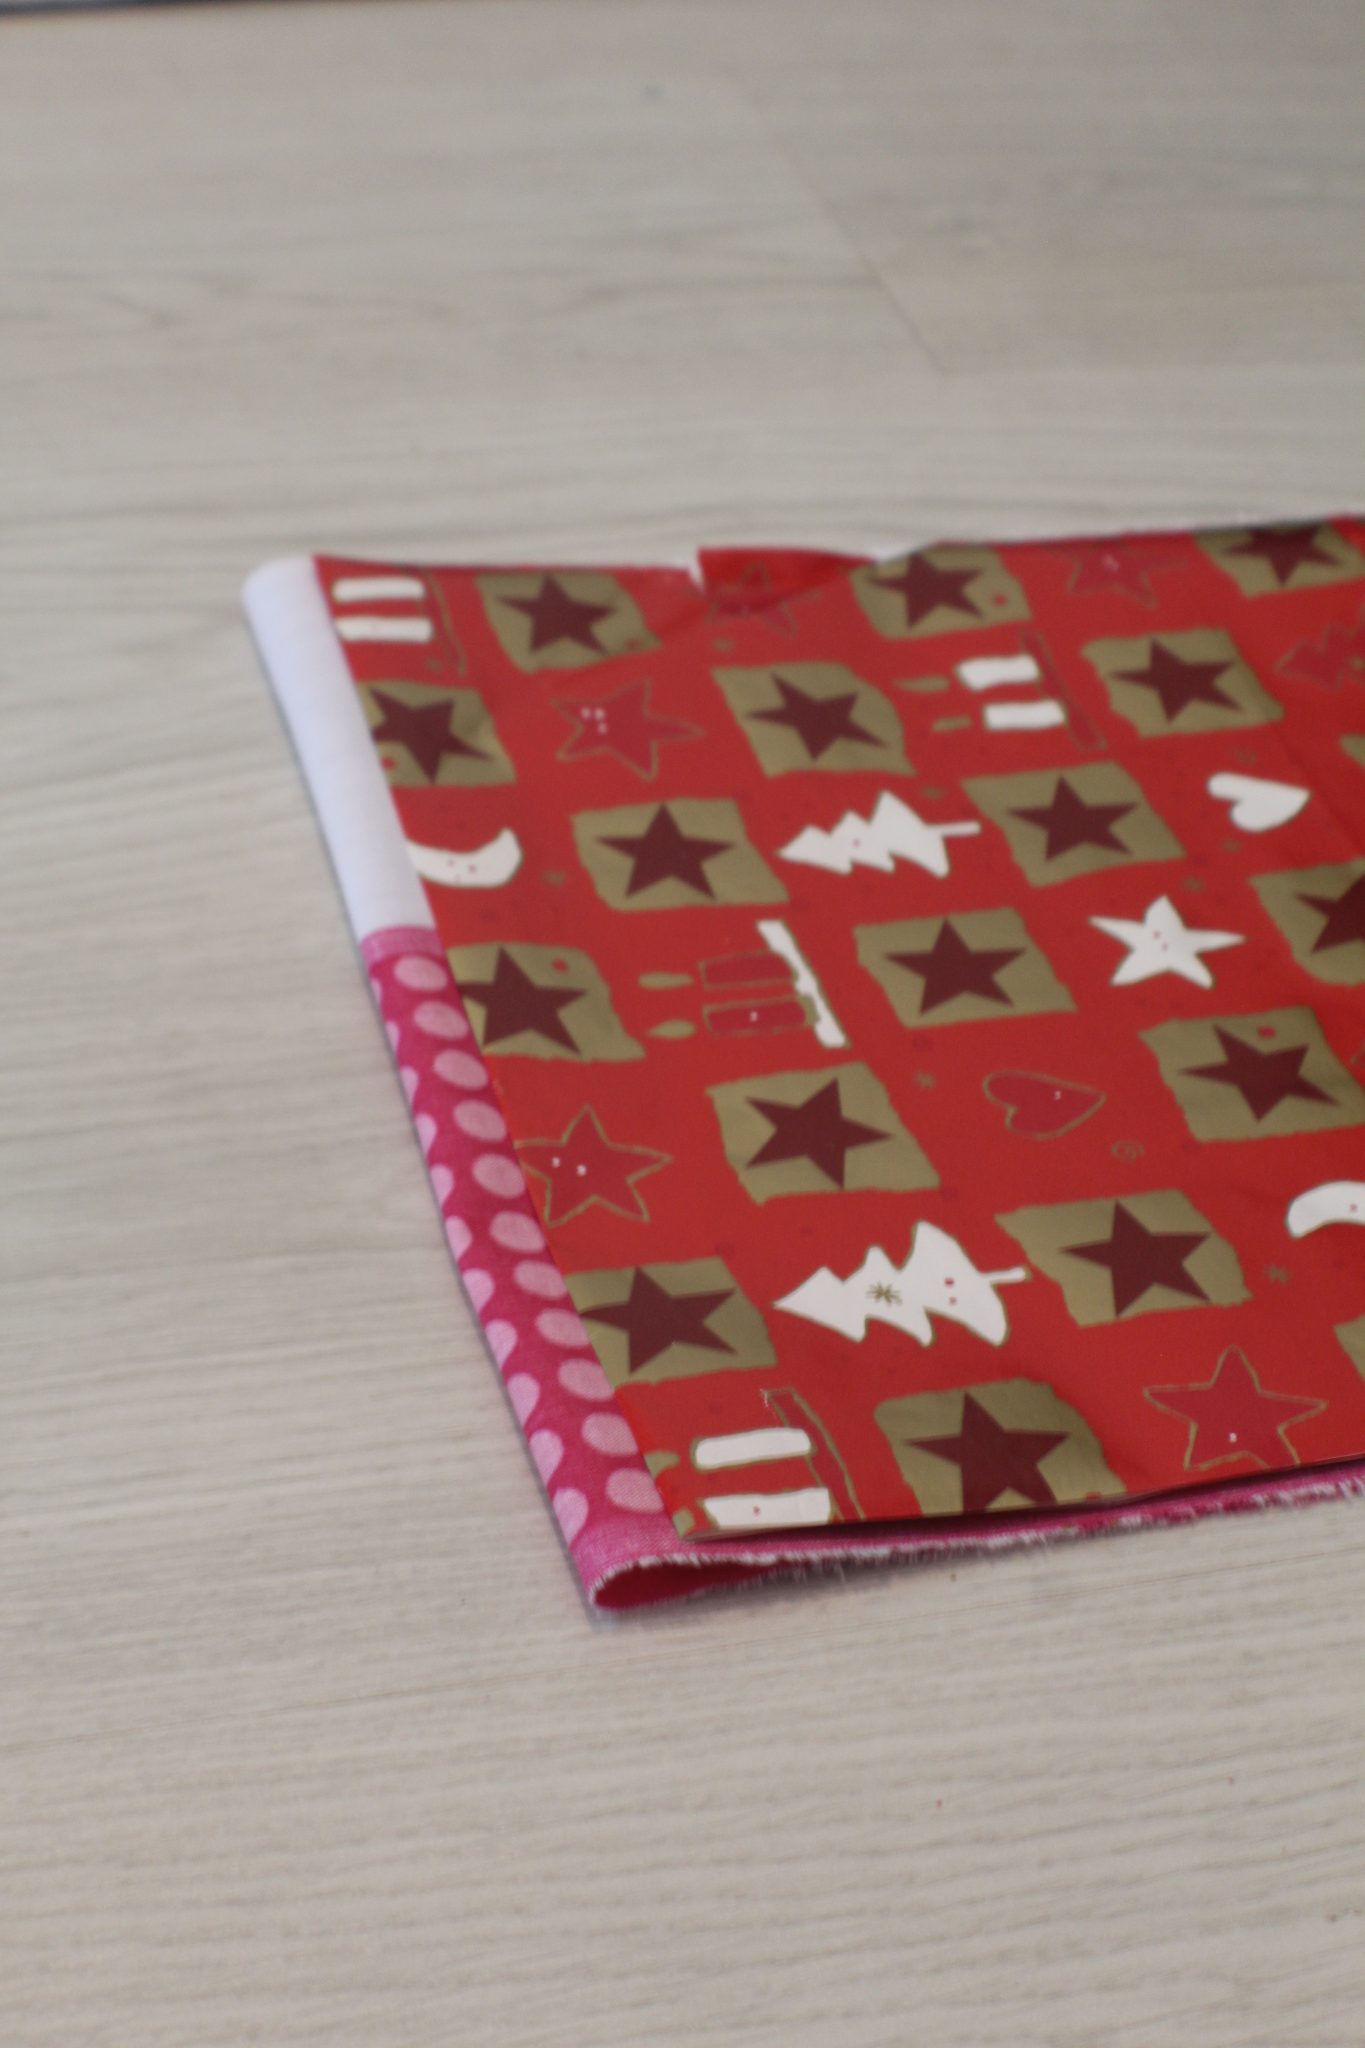
- Take one of the bottom pieces and place it right side up.
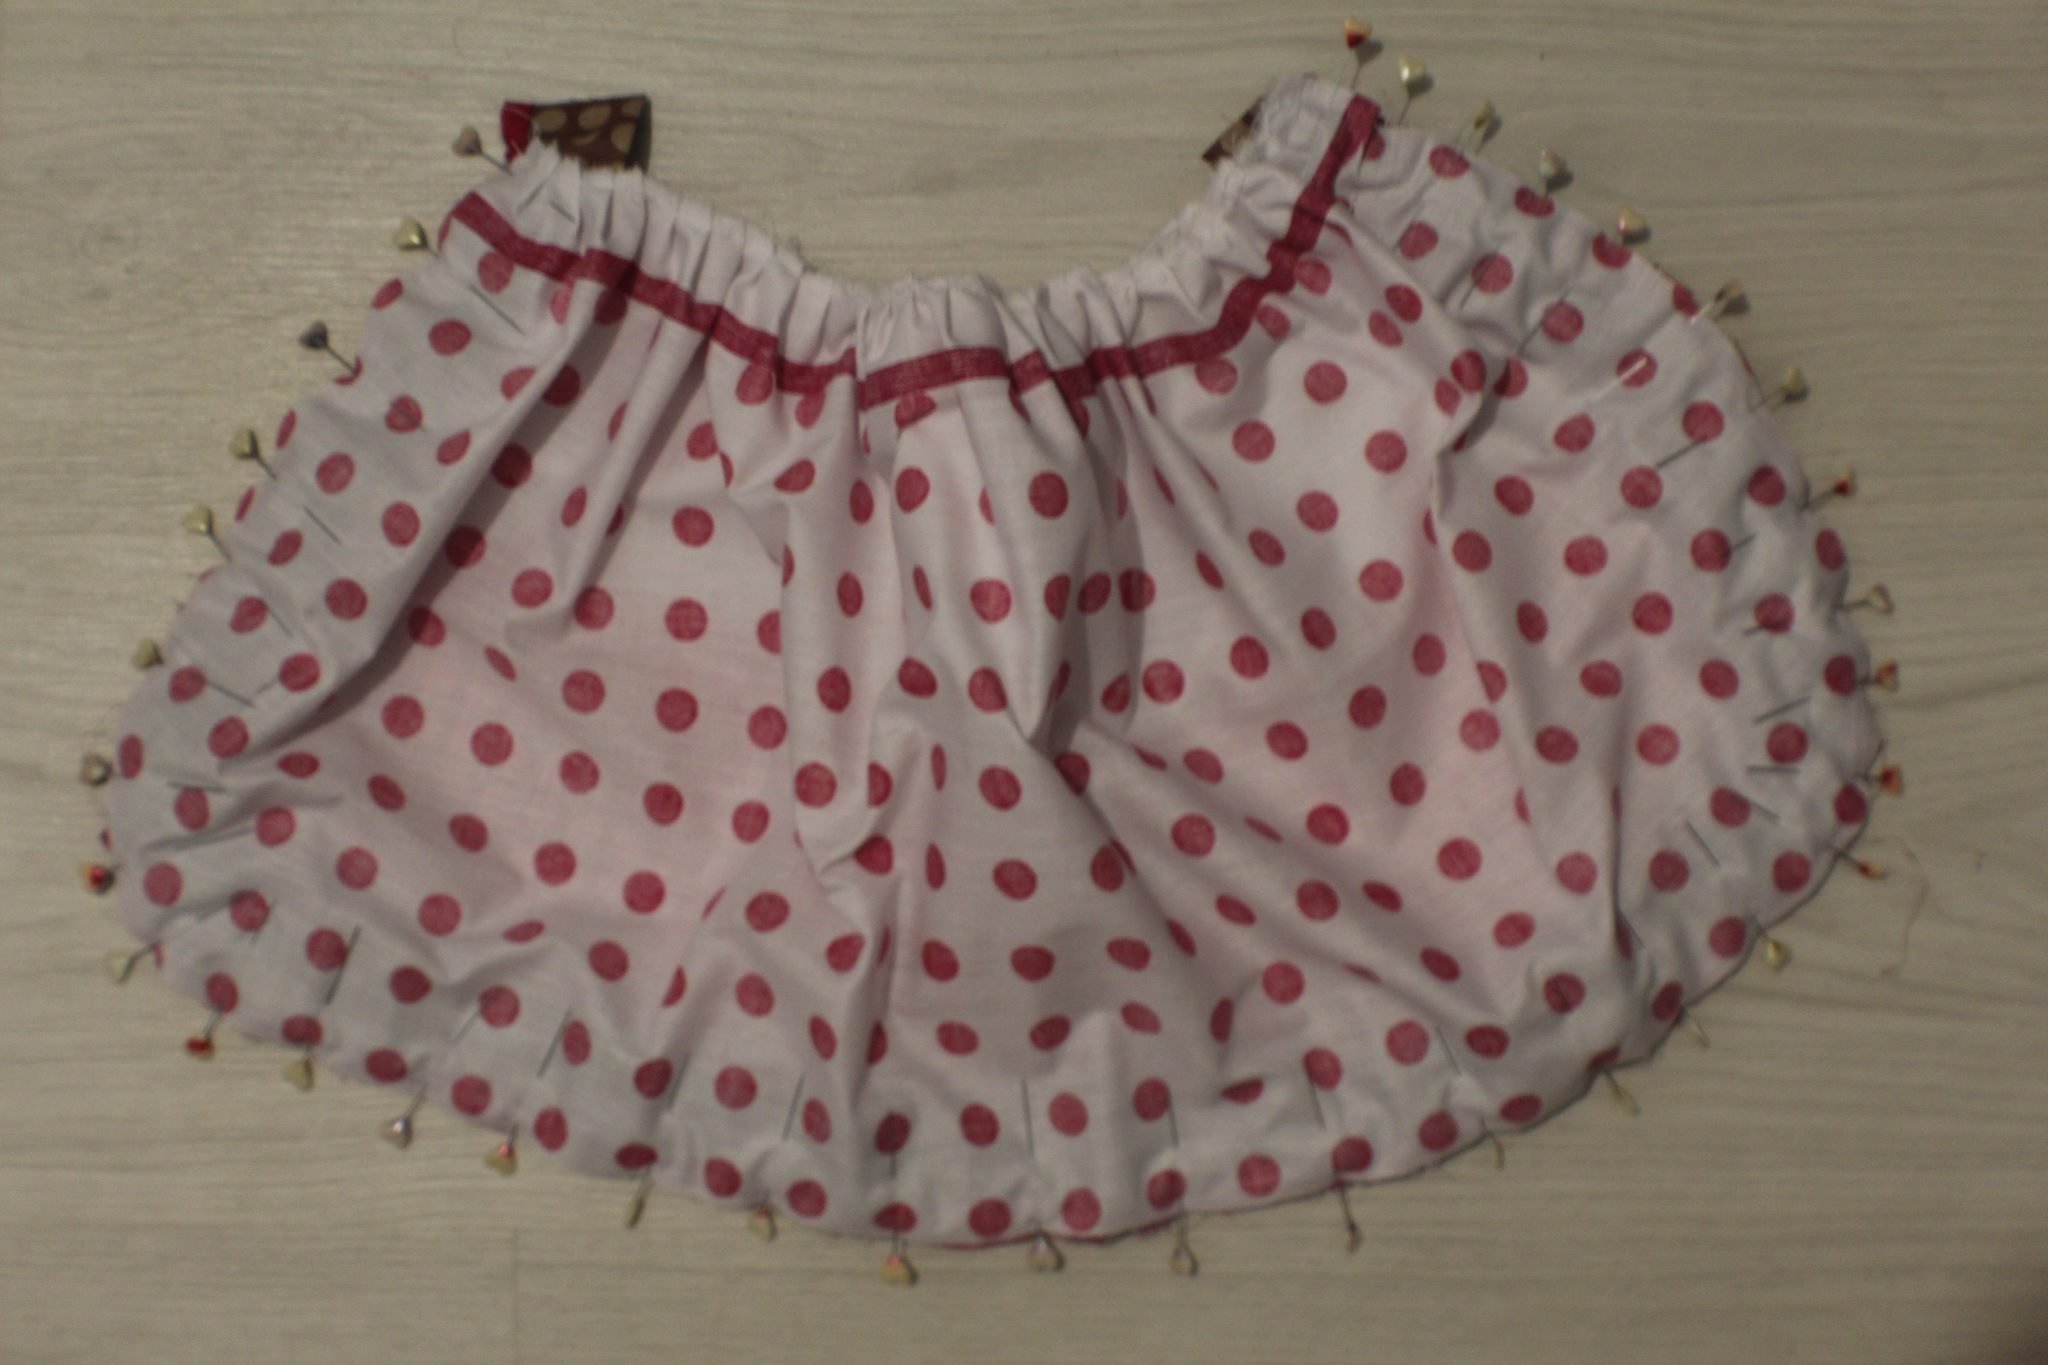
- Place the ruffled strip around the bottom edge and the sides of this apron piece, with the raw edges matching the apron edges.
- Pin these two together.

- Top with the second bottom piece, placed wrong side up.

- Pin again through all three layers, removing the first set of pins as you add the second set of pins (you could skip pinning the first set if you’re confident enough that you’ll be catching all three layers in one set of pins).
- Sew the pinned area (sides and bottom), with a seam allowance that is just a little over 1/4″ (so that you go slightly above the seam allowance in the ruffled strip).
- Turn layers right side out through the top of this apron piece which should be open at this point.

- Sew the top of the bottom apron through both layers, with 1/4″ allowance.
- Press with your iron on steam and set aside.
Preparing the top apron
- To make the top piece of the apron, you basically need to repeat the steps highlighted in the previous step. But in this case you’ll be adding the ruffles around the top and sides and leave the bottom edge open so you can turn the layers right side out.
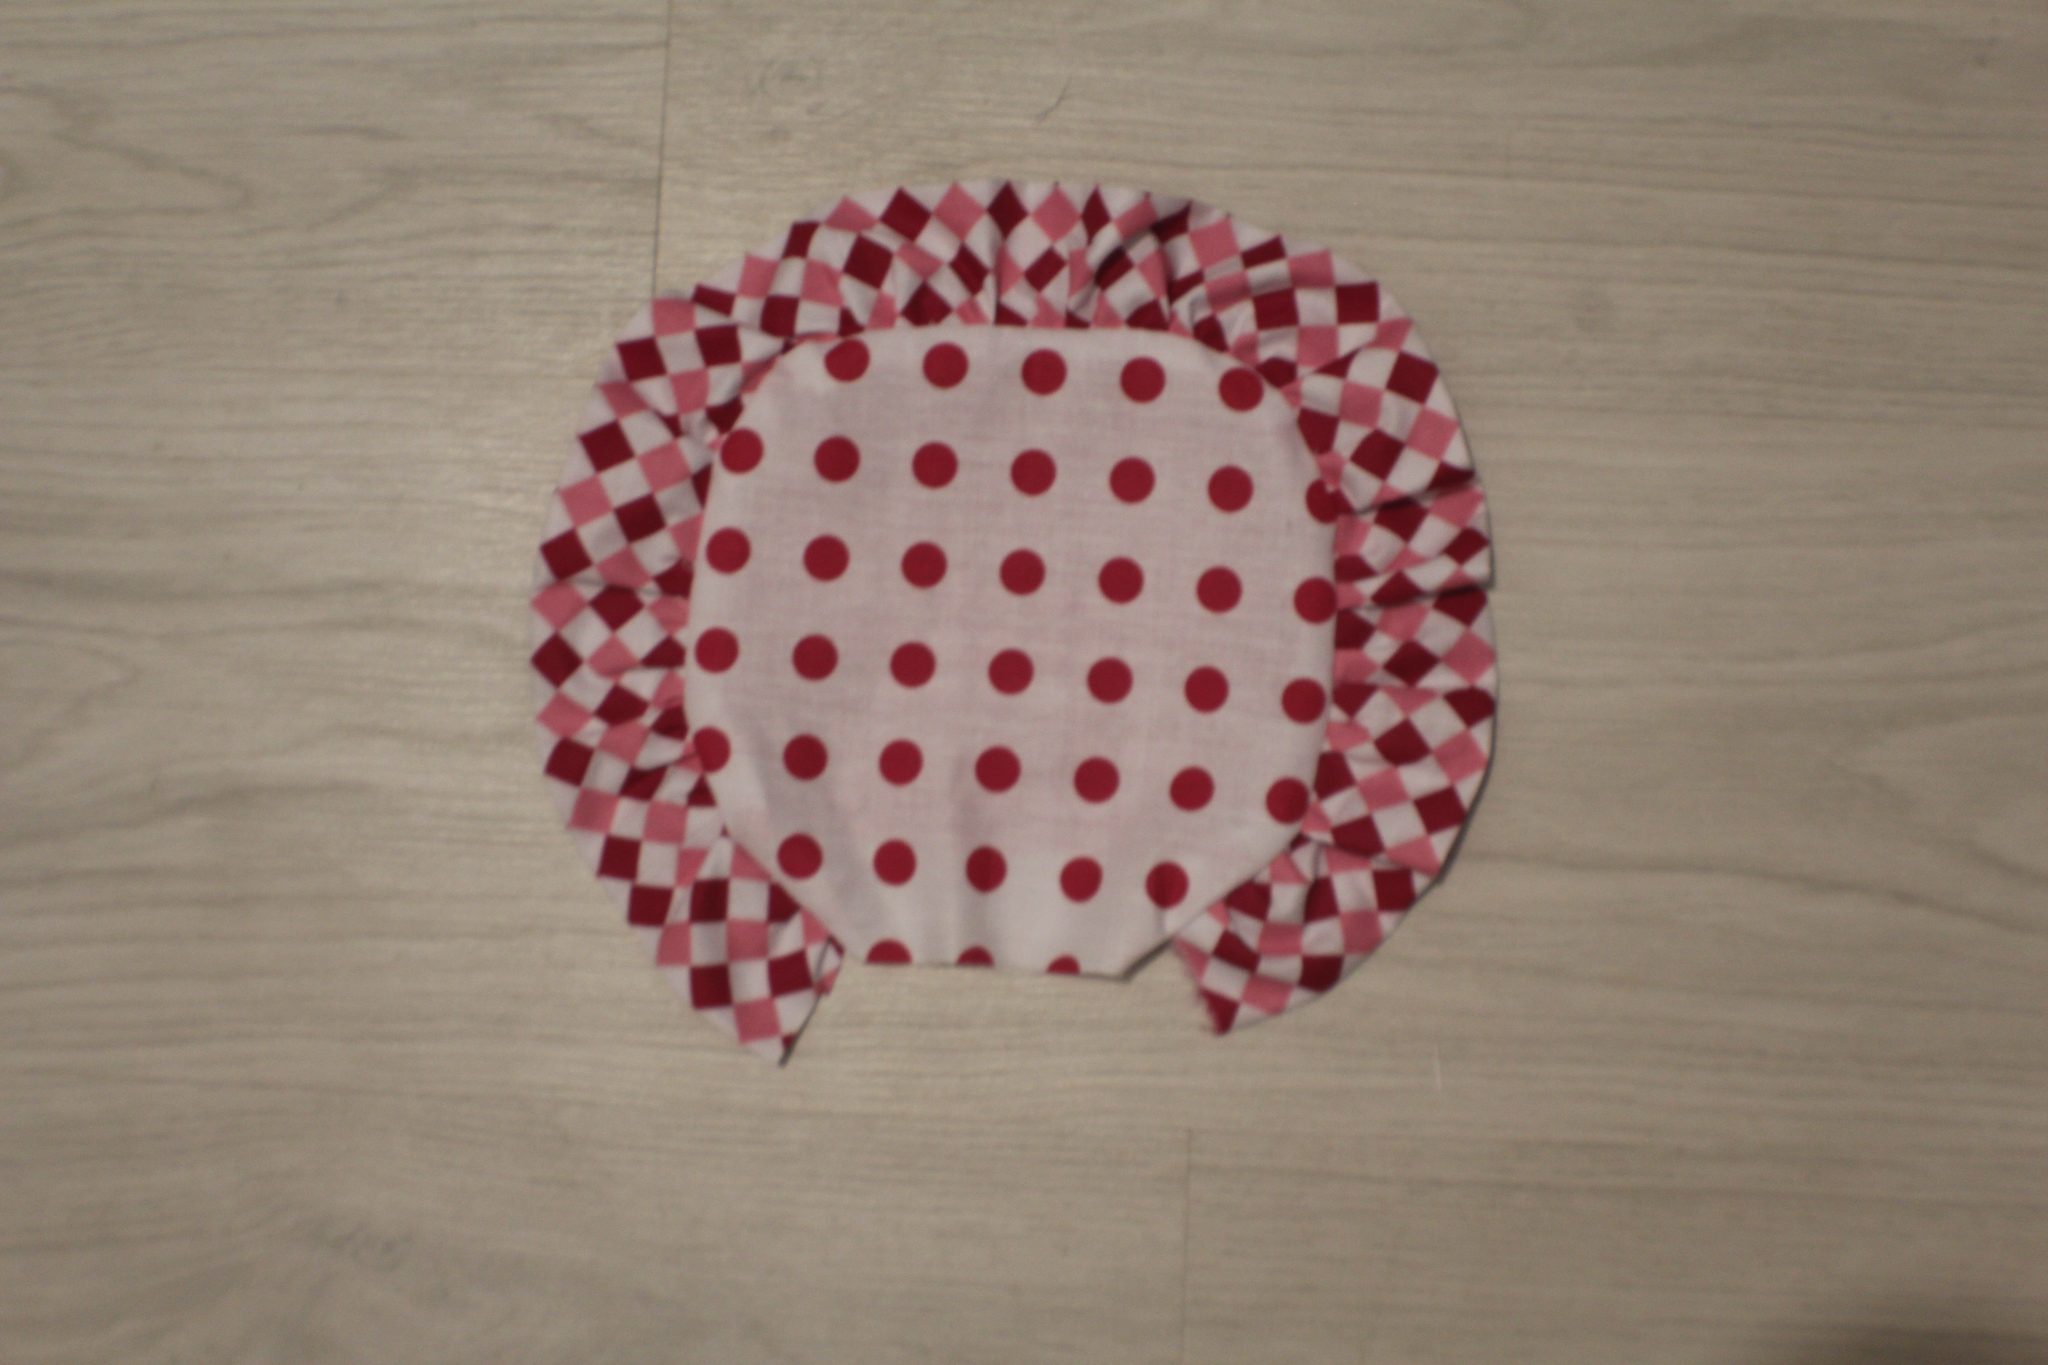
- Press and set aside.
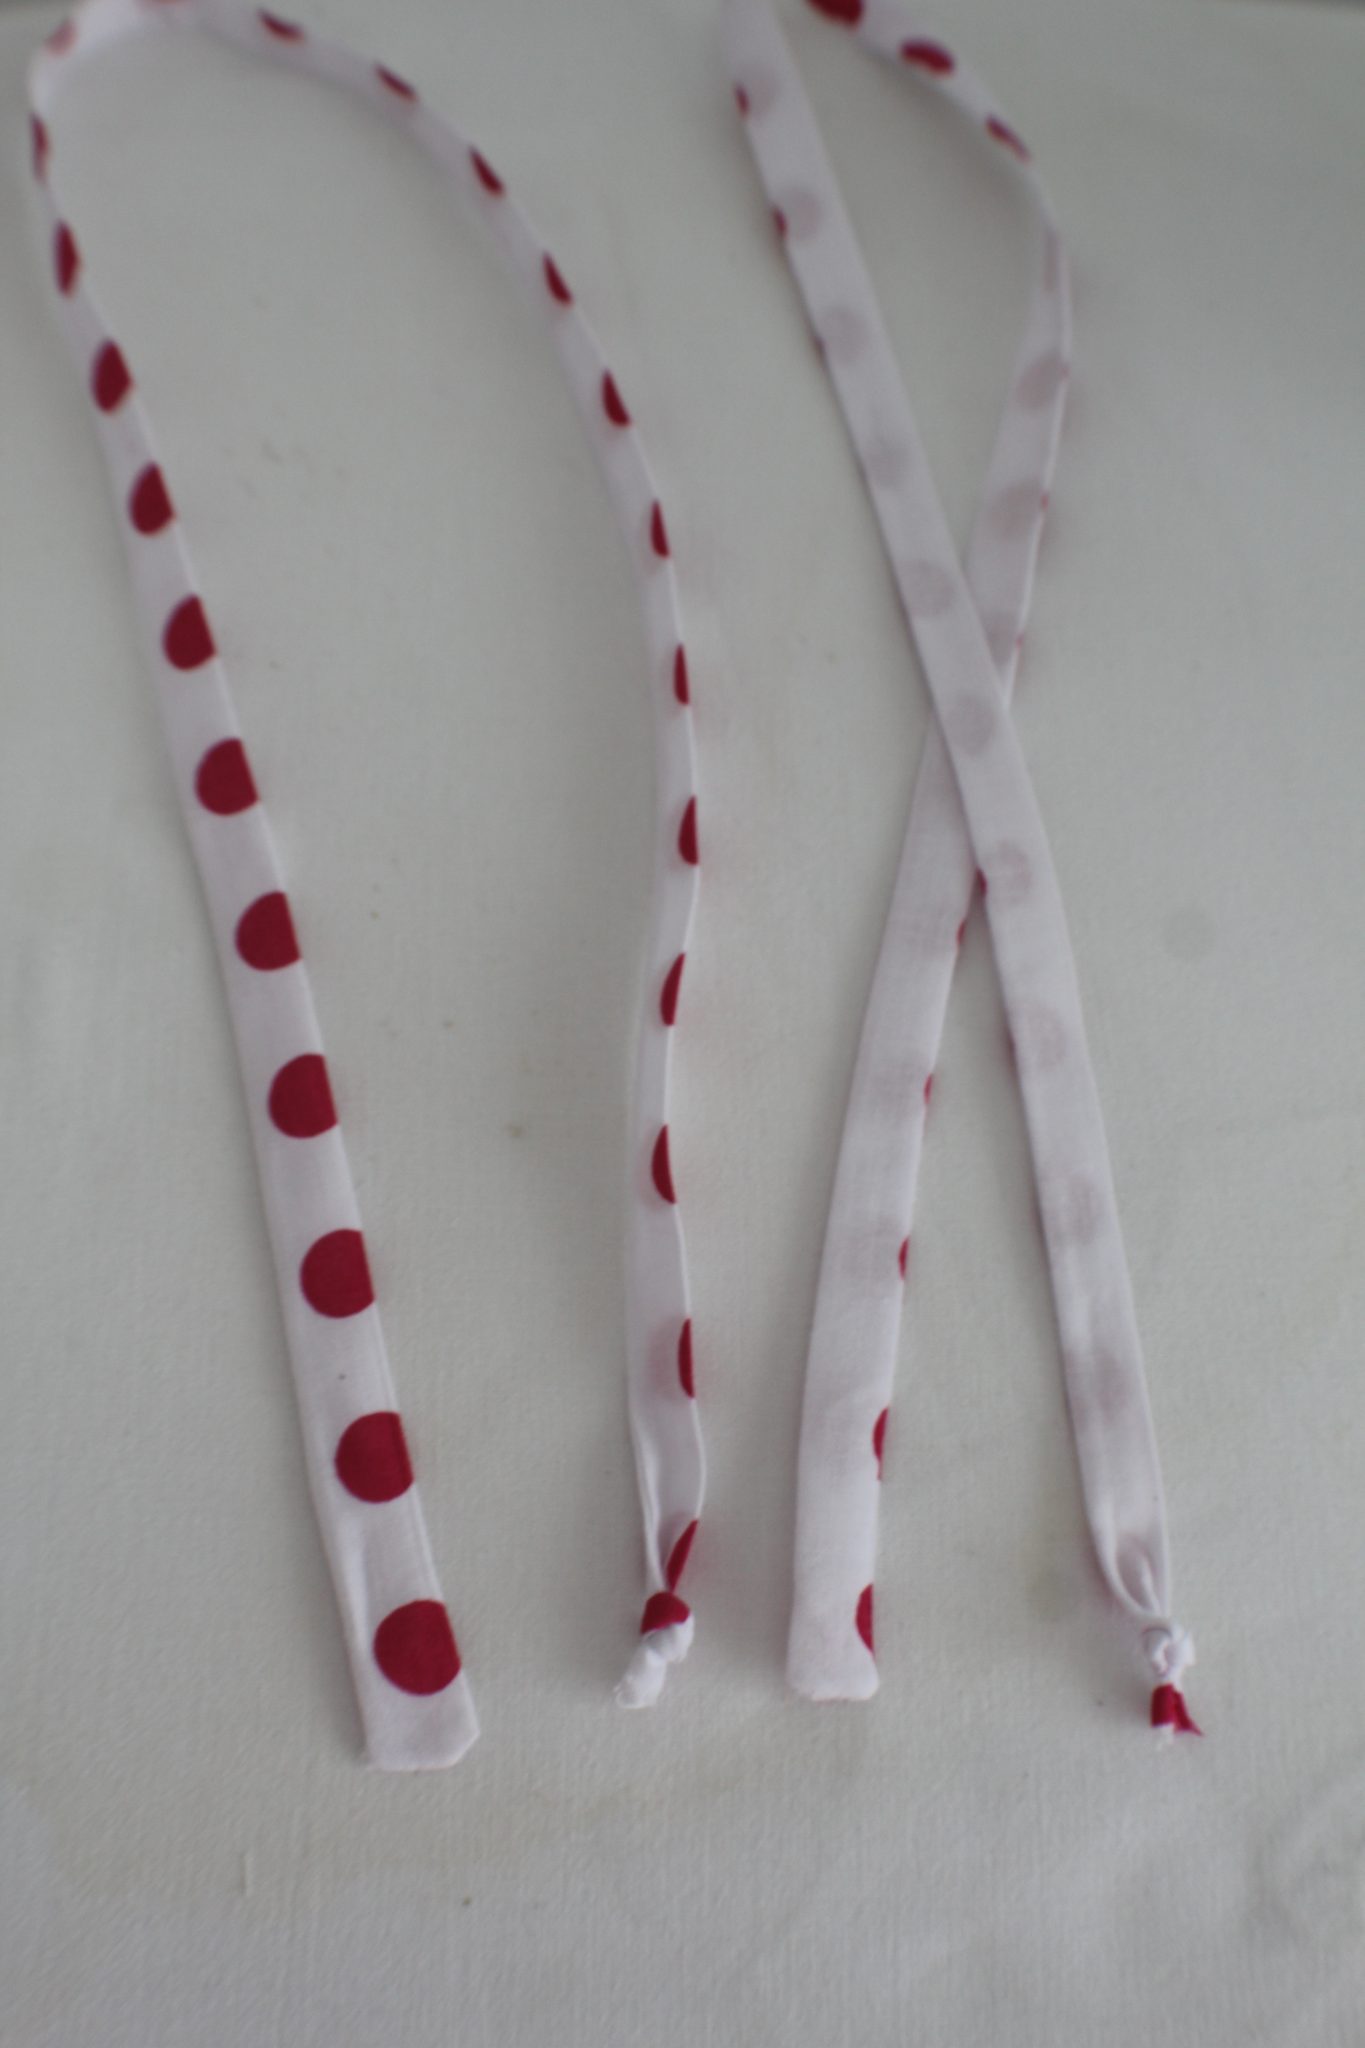
Making the straps
- Following this tutorial to turn tubes right side out easily, make the two neck straps. I made mine 1/2″ wide.
- The mentioned tutorial is indicating you to sew one of the ends closed. After turning the tubes right side out, leave these ends closed.
- Take the open end and tie each into a tight knot.
Attaching the straps to the top apron piece
- Place the sewn end of the straps right over the seam that joins the ruffles to the top apron piece.
- The edge of the straps should fall just slightly below the seam.
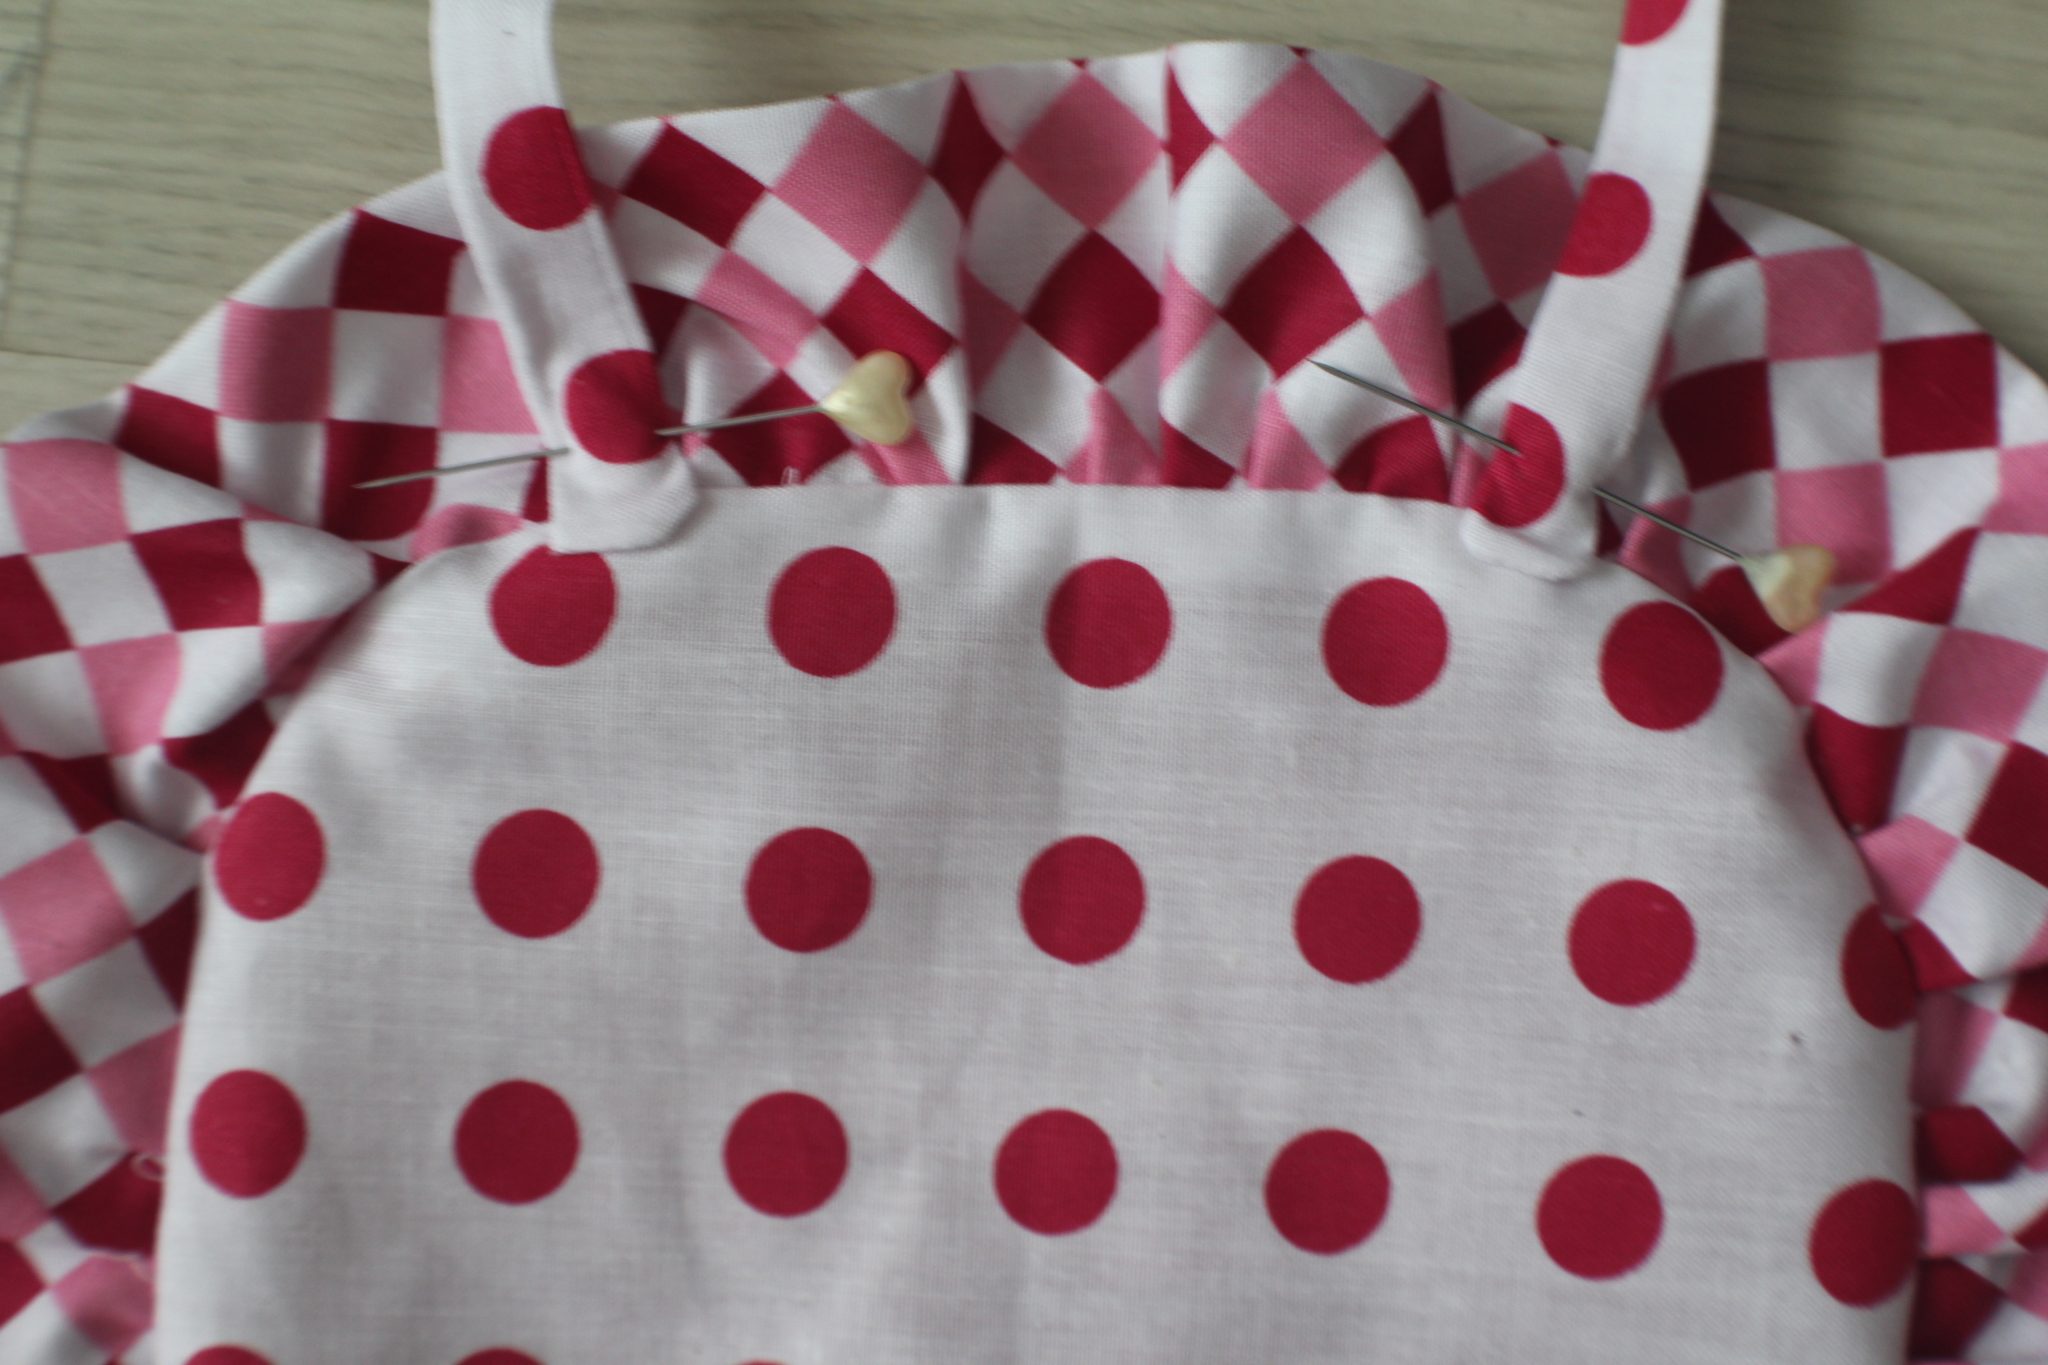
- Sew right on top of the seam if you can
Attaching all pieces together
- Lay one of the waistband strips wrong side out.
- Place the top apron piece over the waistband strip, on the upper half of the strip and pin.
- Place the bottom apron piece over the strip, on the lower half of the strip and pin.
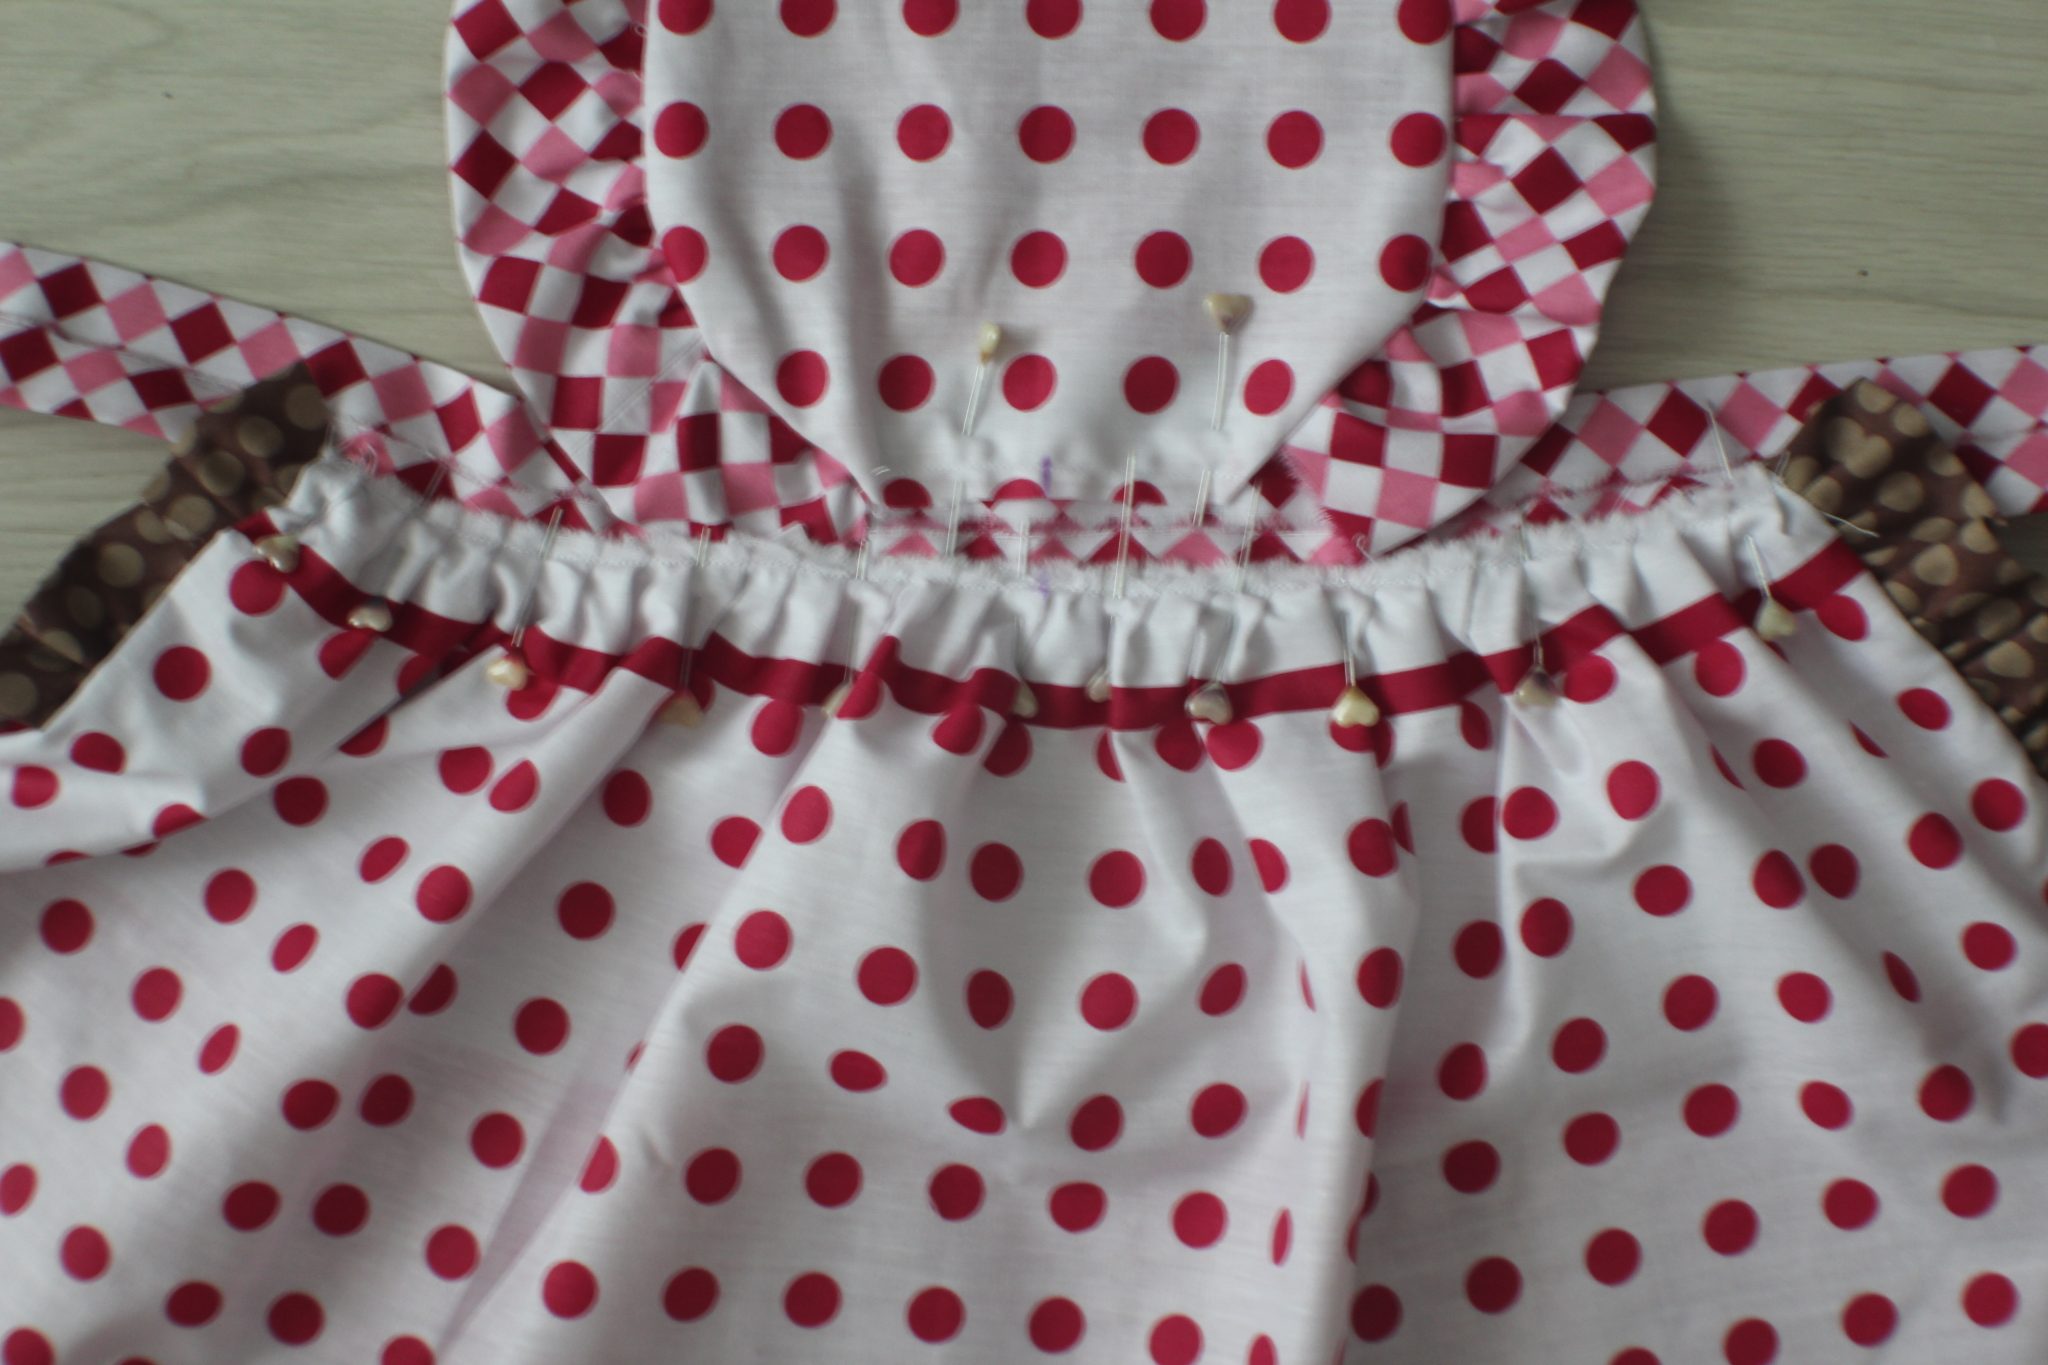
- Sew a basting (temporary) stitch about 1/4″ away from both of the edges, to keep all these three pieces together, so you can safely proceed to the next step.
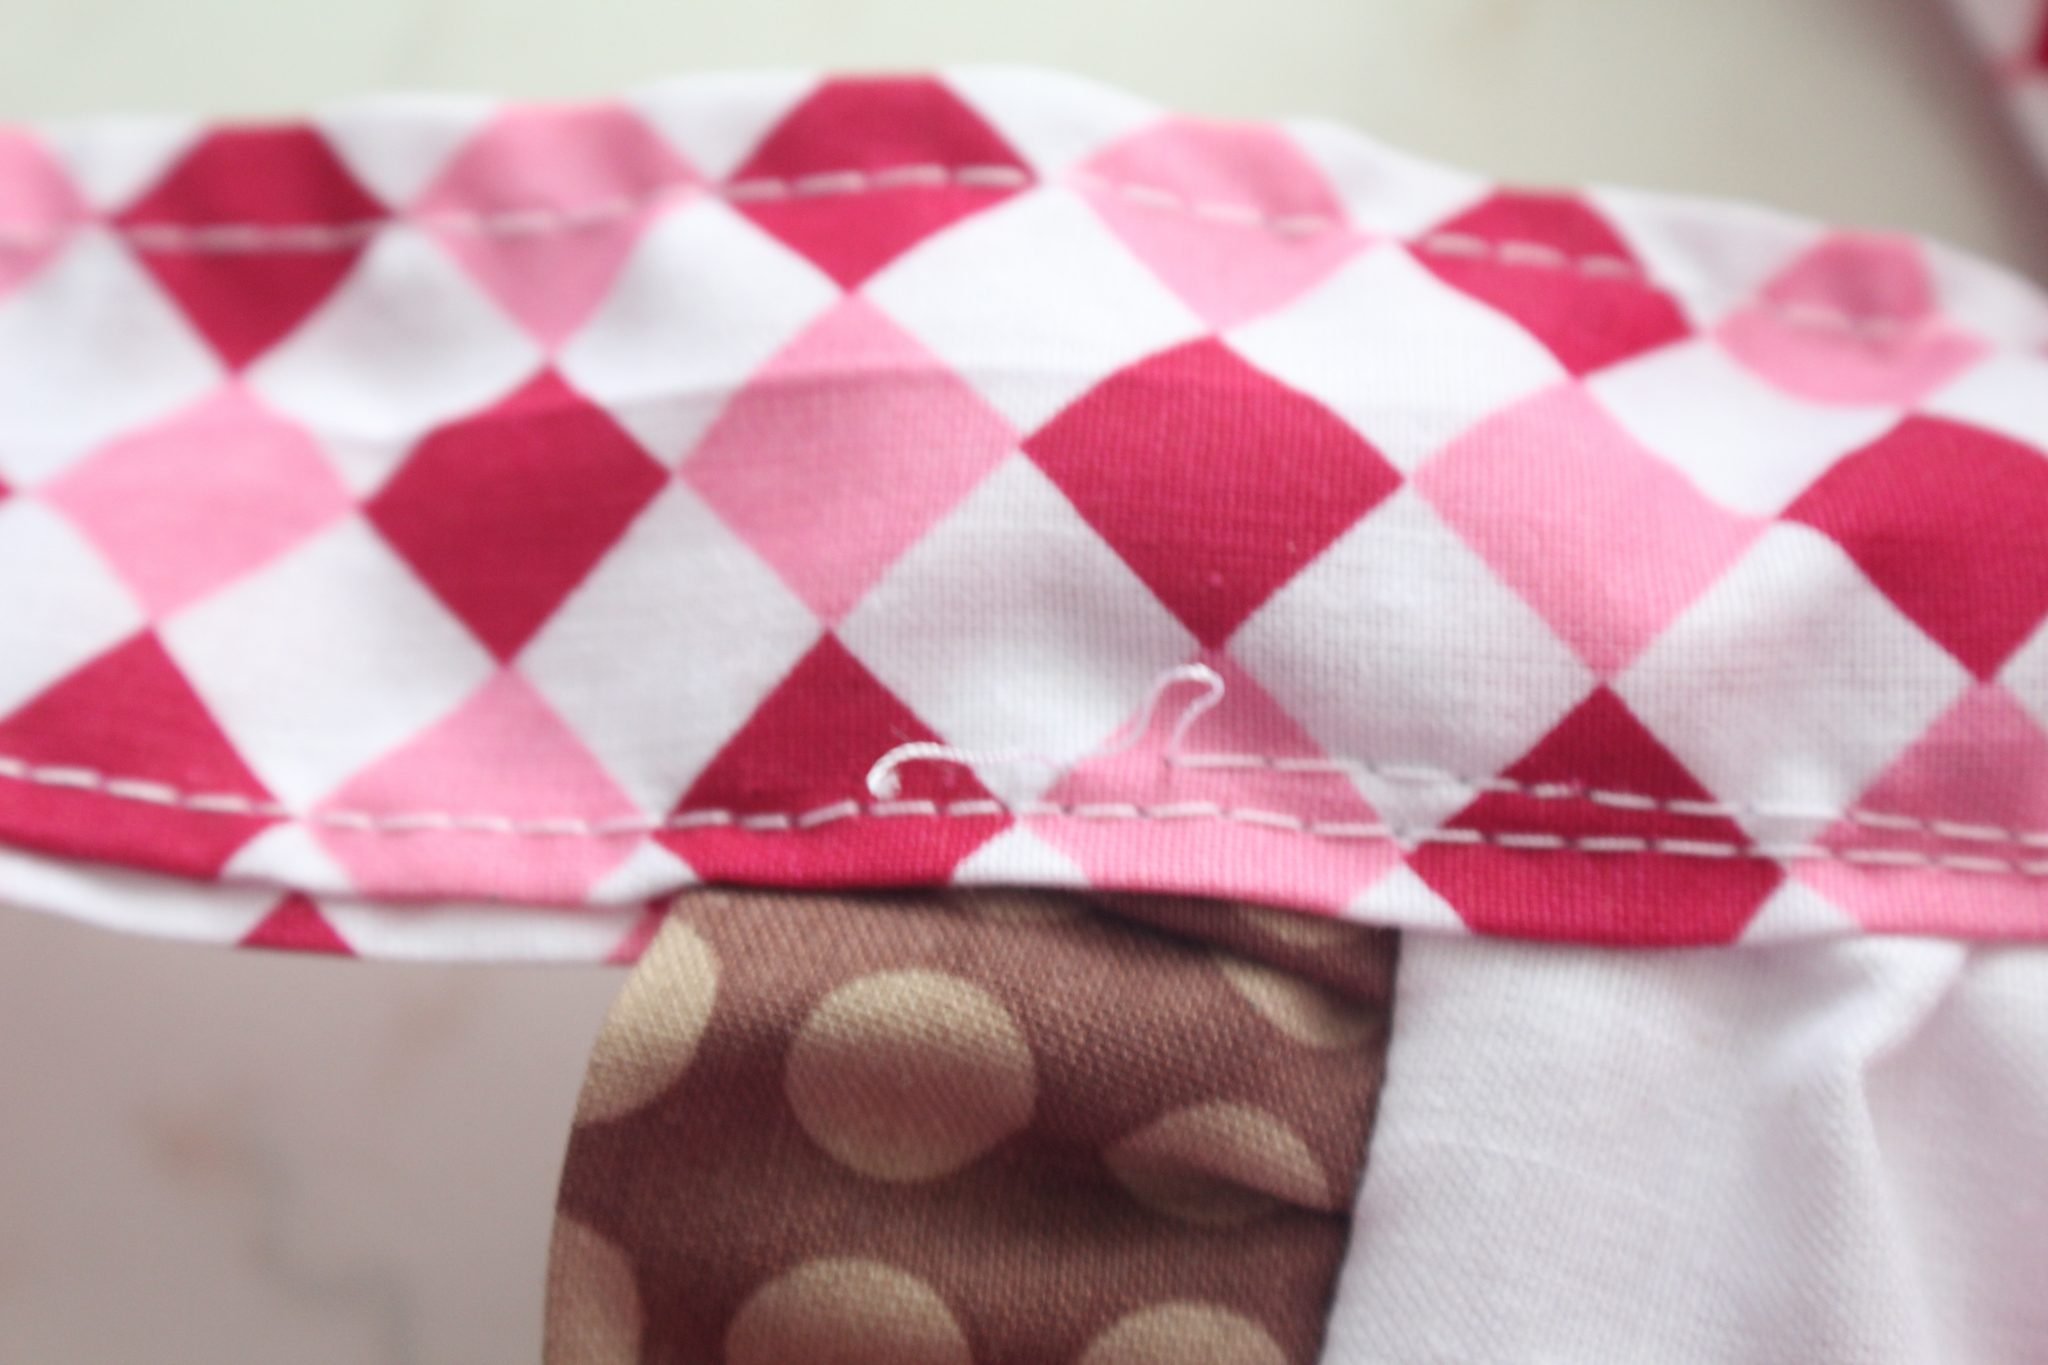
- Lay the second waistband strip right over these three pieces, right on top of the first waistband.
- Pin through all layers.
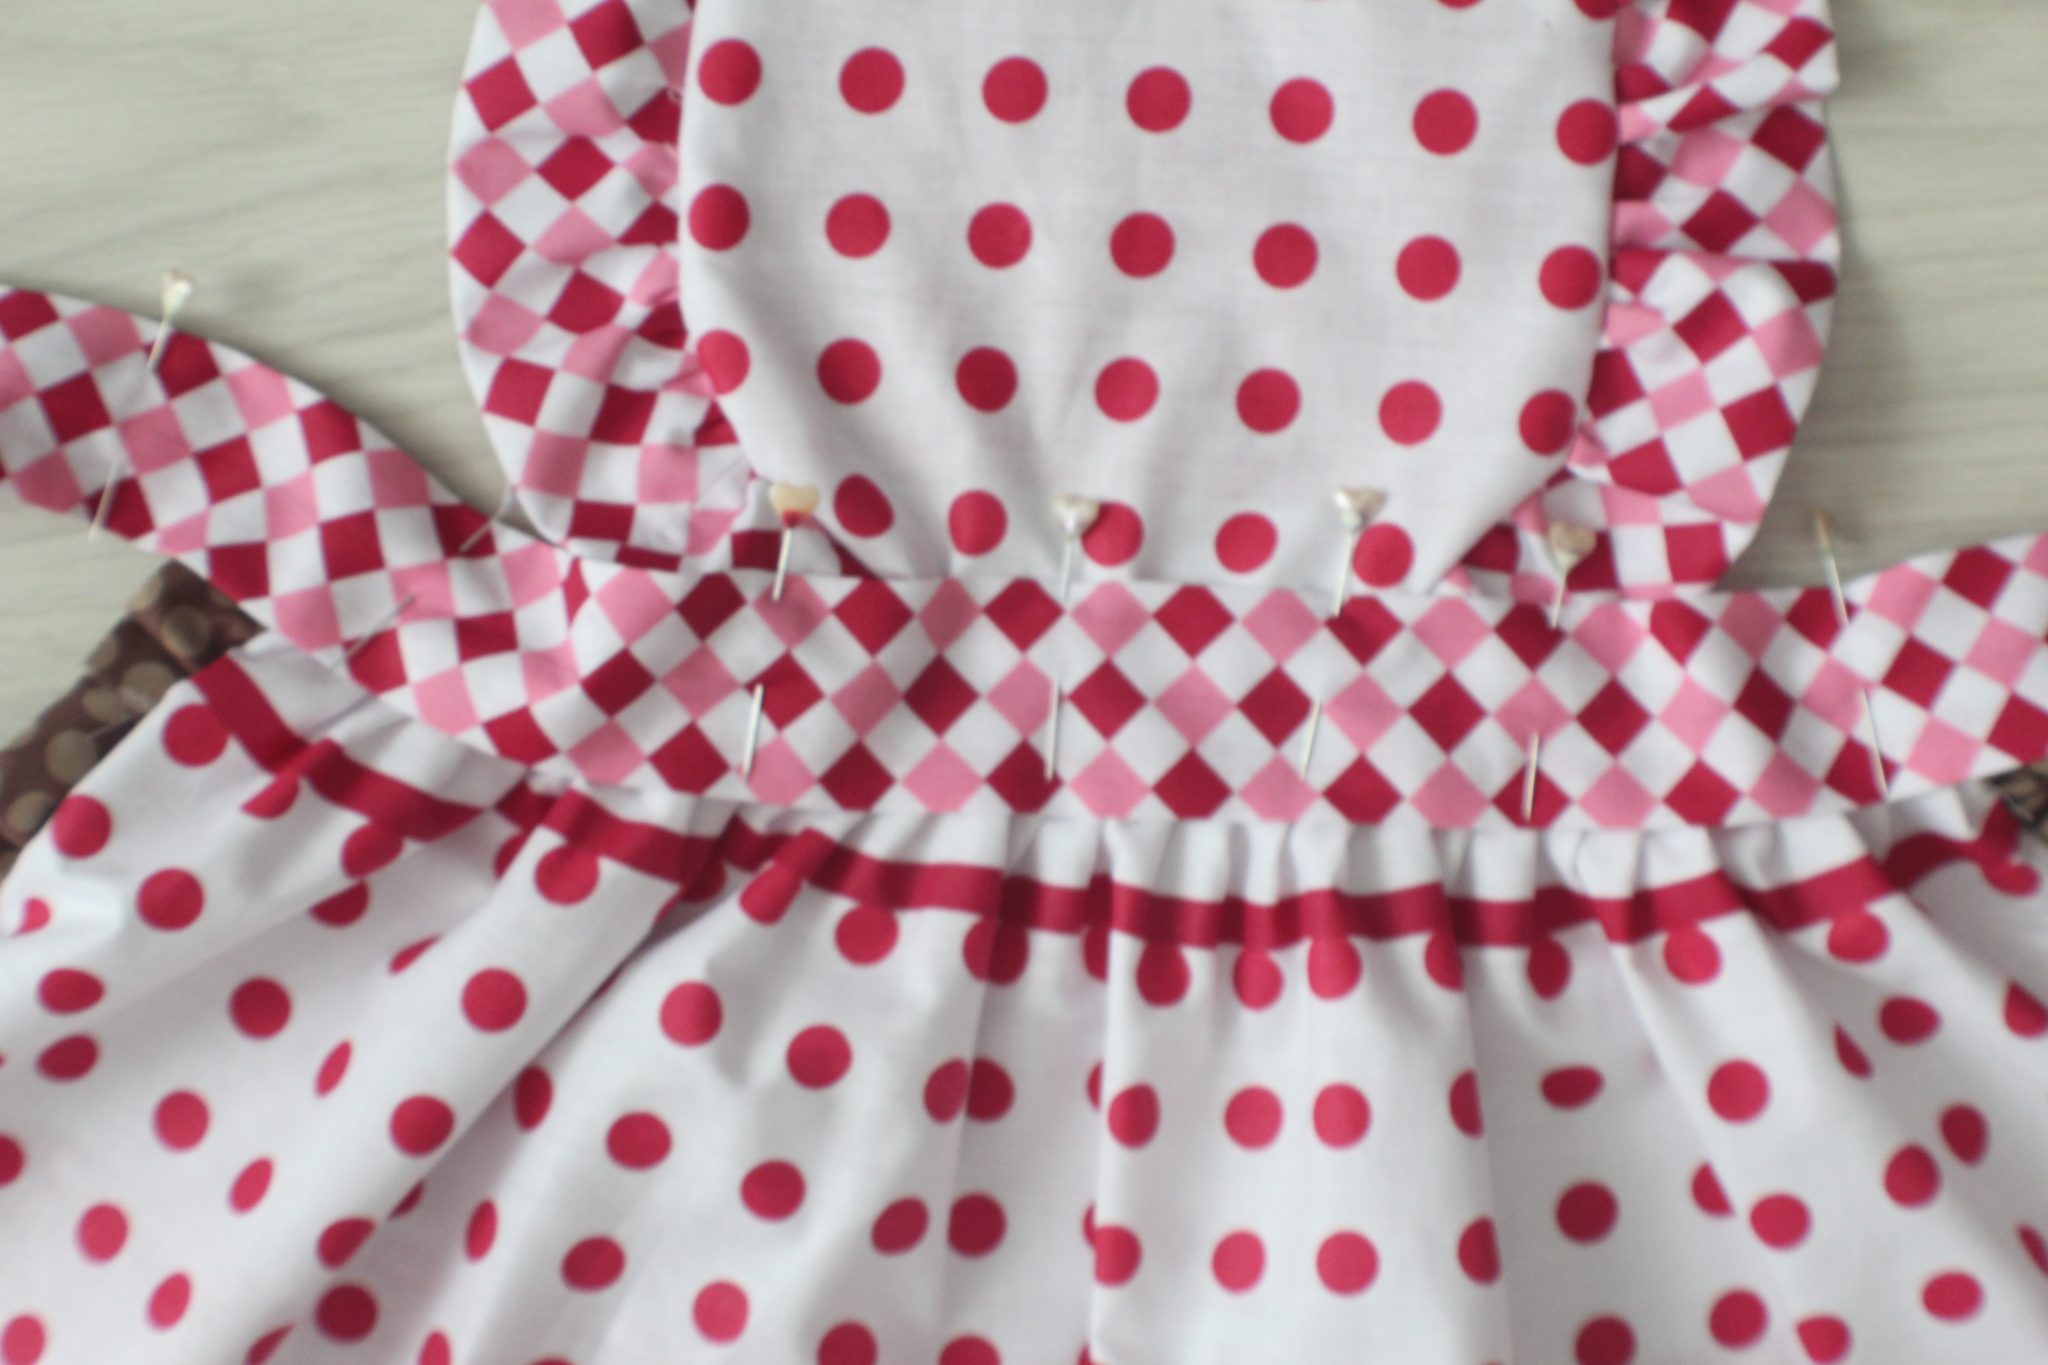
- Sew with 1/8″ allowance, starting at one end of the waistband strip, going all around the waistband and finishing in the same spot as you started.
- Back stitch at start and end.
- Remove the basting stitches.
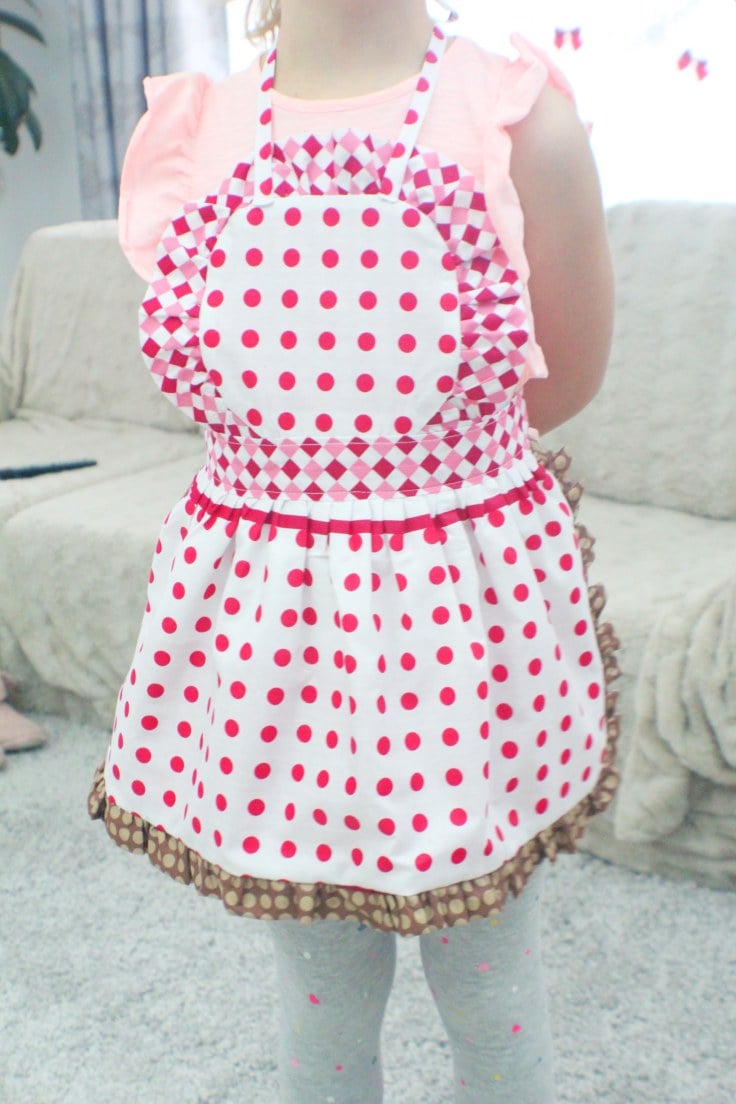
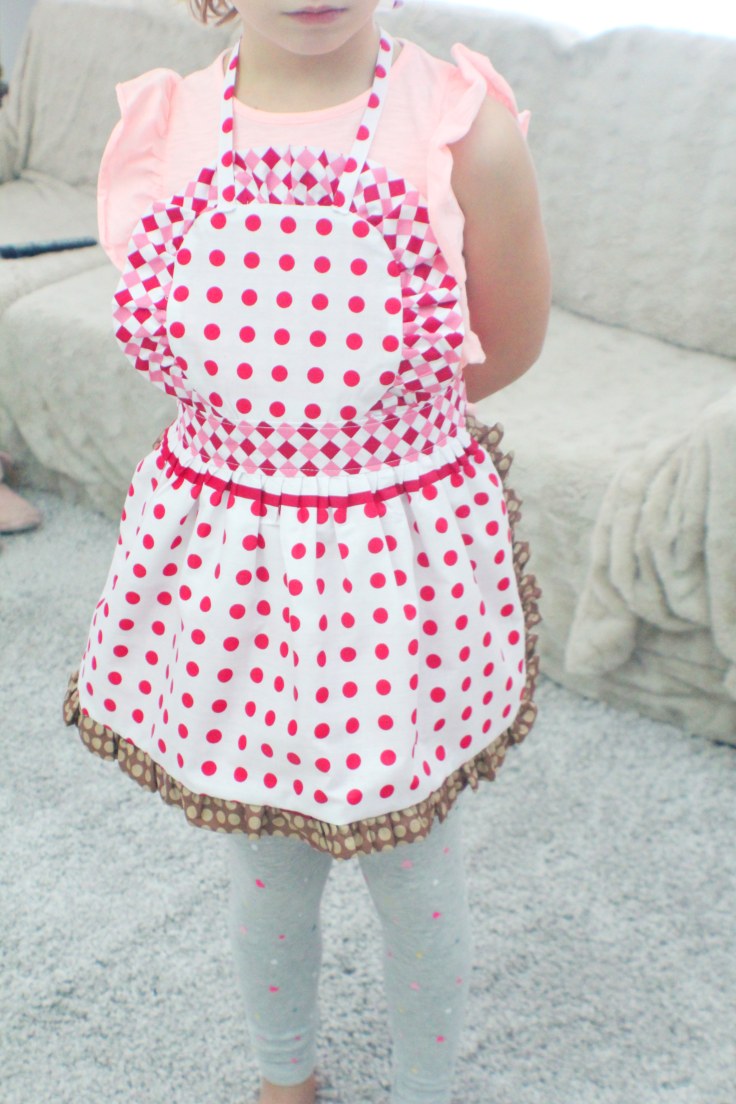
- Press the apron if needed and your beautiful kids apron pattern is done and ready to wear!
Pin to save for later
Most popular sewing projects:
Article may contain Amazon & affiliate links. As an Amazon Associate I earn from qualifying purchases at no additional cost to you.
ABOUT PETRO
Hi, I’m Petro, author and founder of Easy Peasy Creative Ideas. Sewist, crafter, avid DIY-er, foodie, photographer, homemaker and mommy to one. I’m an expert at coming up with quick, clever sewing tips, recycling crafts and simple, easy recipes! You can find my ideas featured in reputable publications such as Country Living, Good House Keeping, Yahoo News, WikiHow, Shutterfly, Parade, Brit & Co and more. Thanks for stopping by and hope you’ll stay for a while, get to know me better and come back another time. Stick around for real fun projects! Read more…