

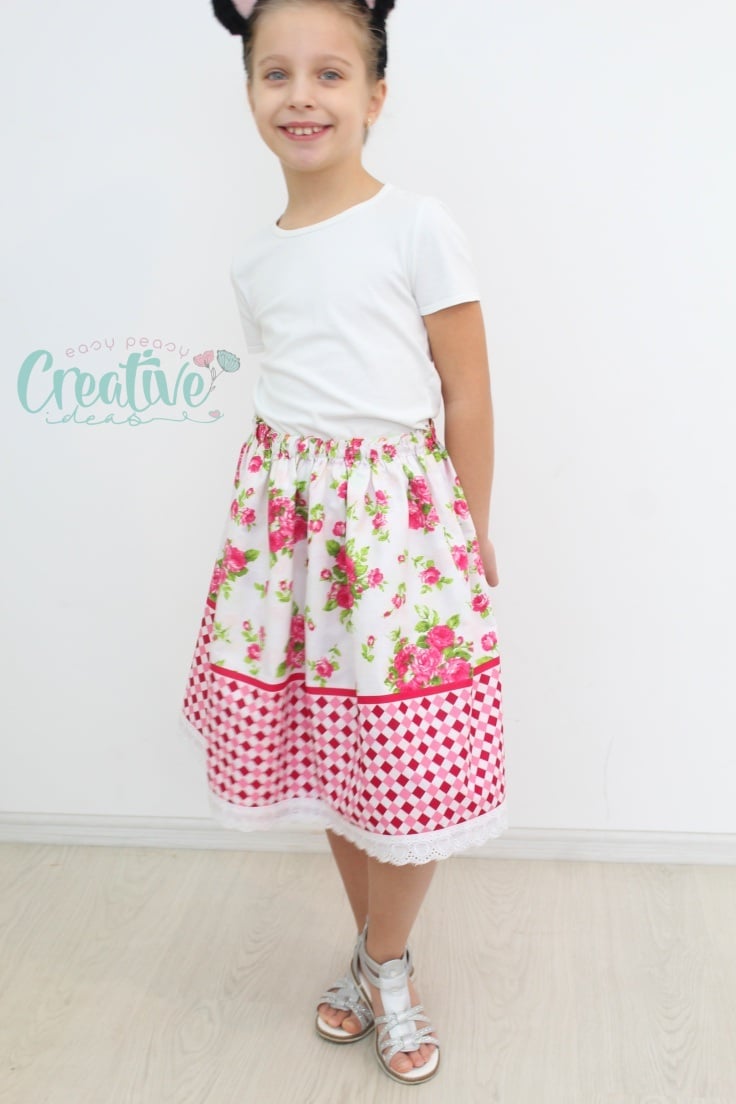
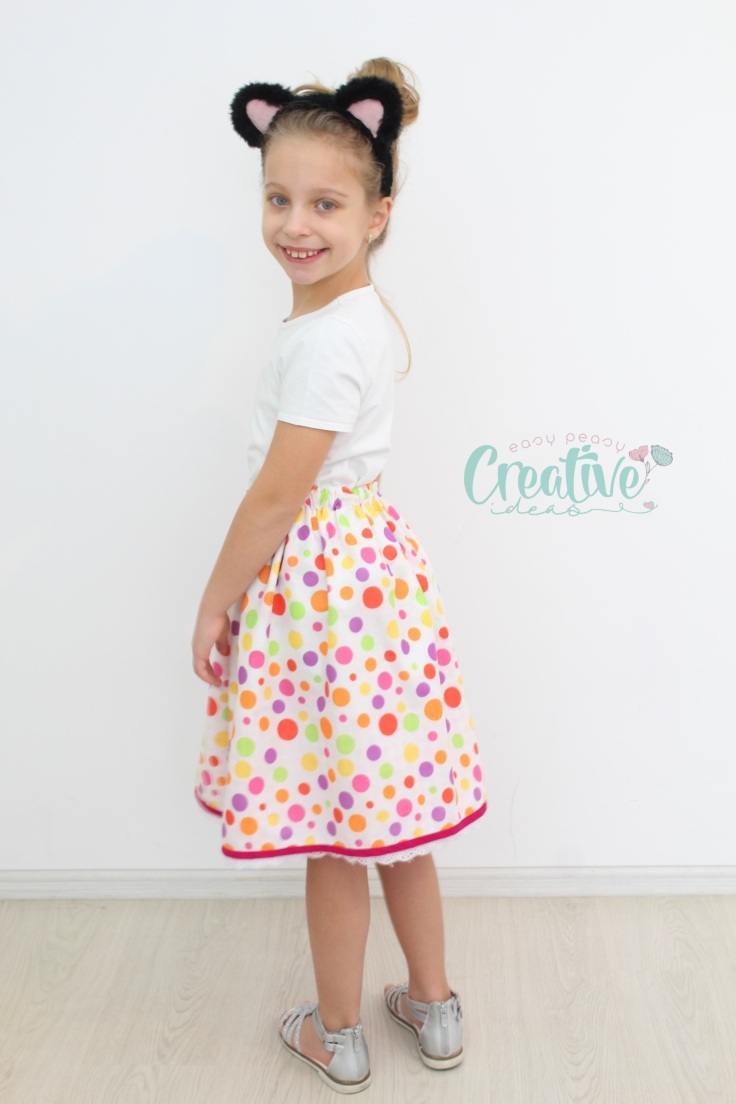
This reversible skirt is gorgeous, quick and crazy easy to make
Need an easy sew skirt that you can whip up in less than an hour? This reversible skirt tutorial makes a gorgeous elastic waist skirt that is simple to make and comfortable to wear! Great beginners project!
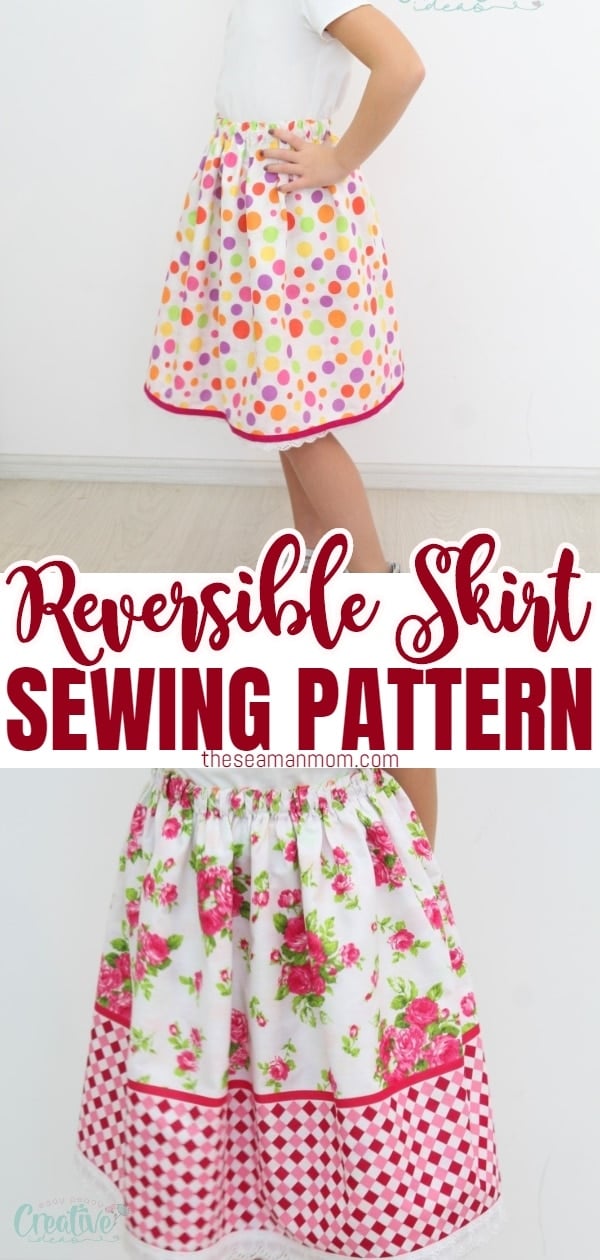
Reversible skirt pattern
I am so excited about this reversible skirt I just made for Ellie! You may remember that I mentioned this adorable girls skirt pattern when I showed you how to sew double fold bias tape. I made this lovely double layer skirt with simplicity in mind because I never have enough time to sew complicated stuff and also because I love simple things, they go hand in hand with my simple mind lol. But I did want it to look as pretty as possible and I think the print and the lace detail do the job perfectly!
This skirt comes together in just about an hour, so it’s a fun and quick project.
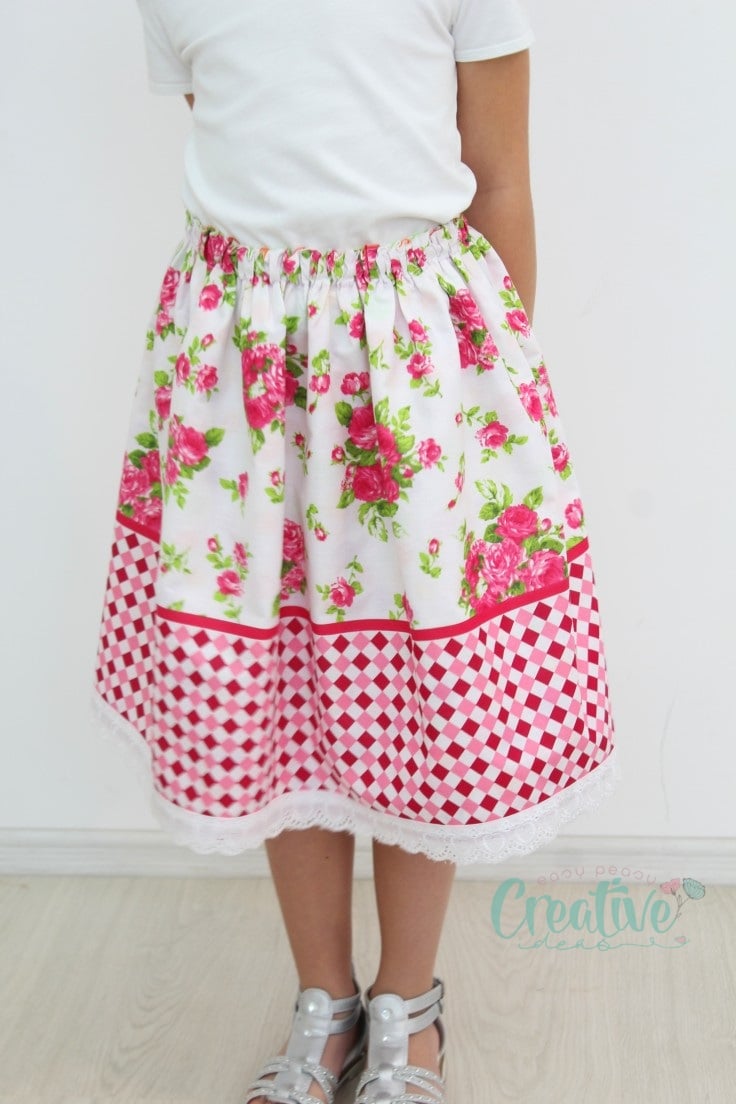
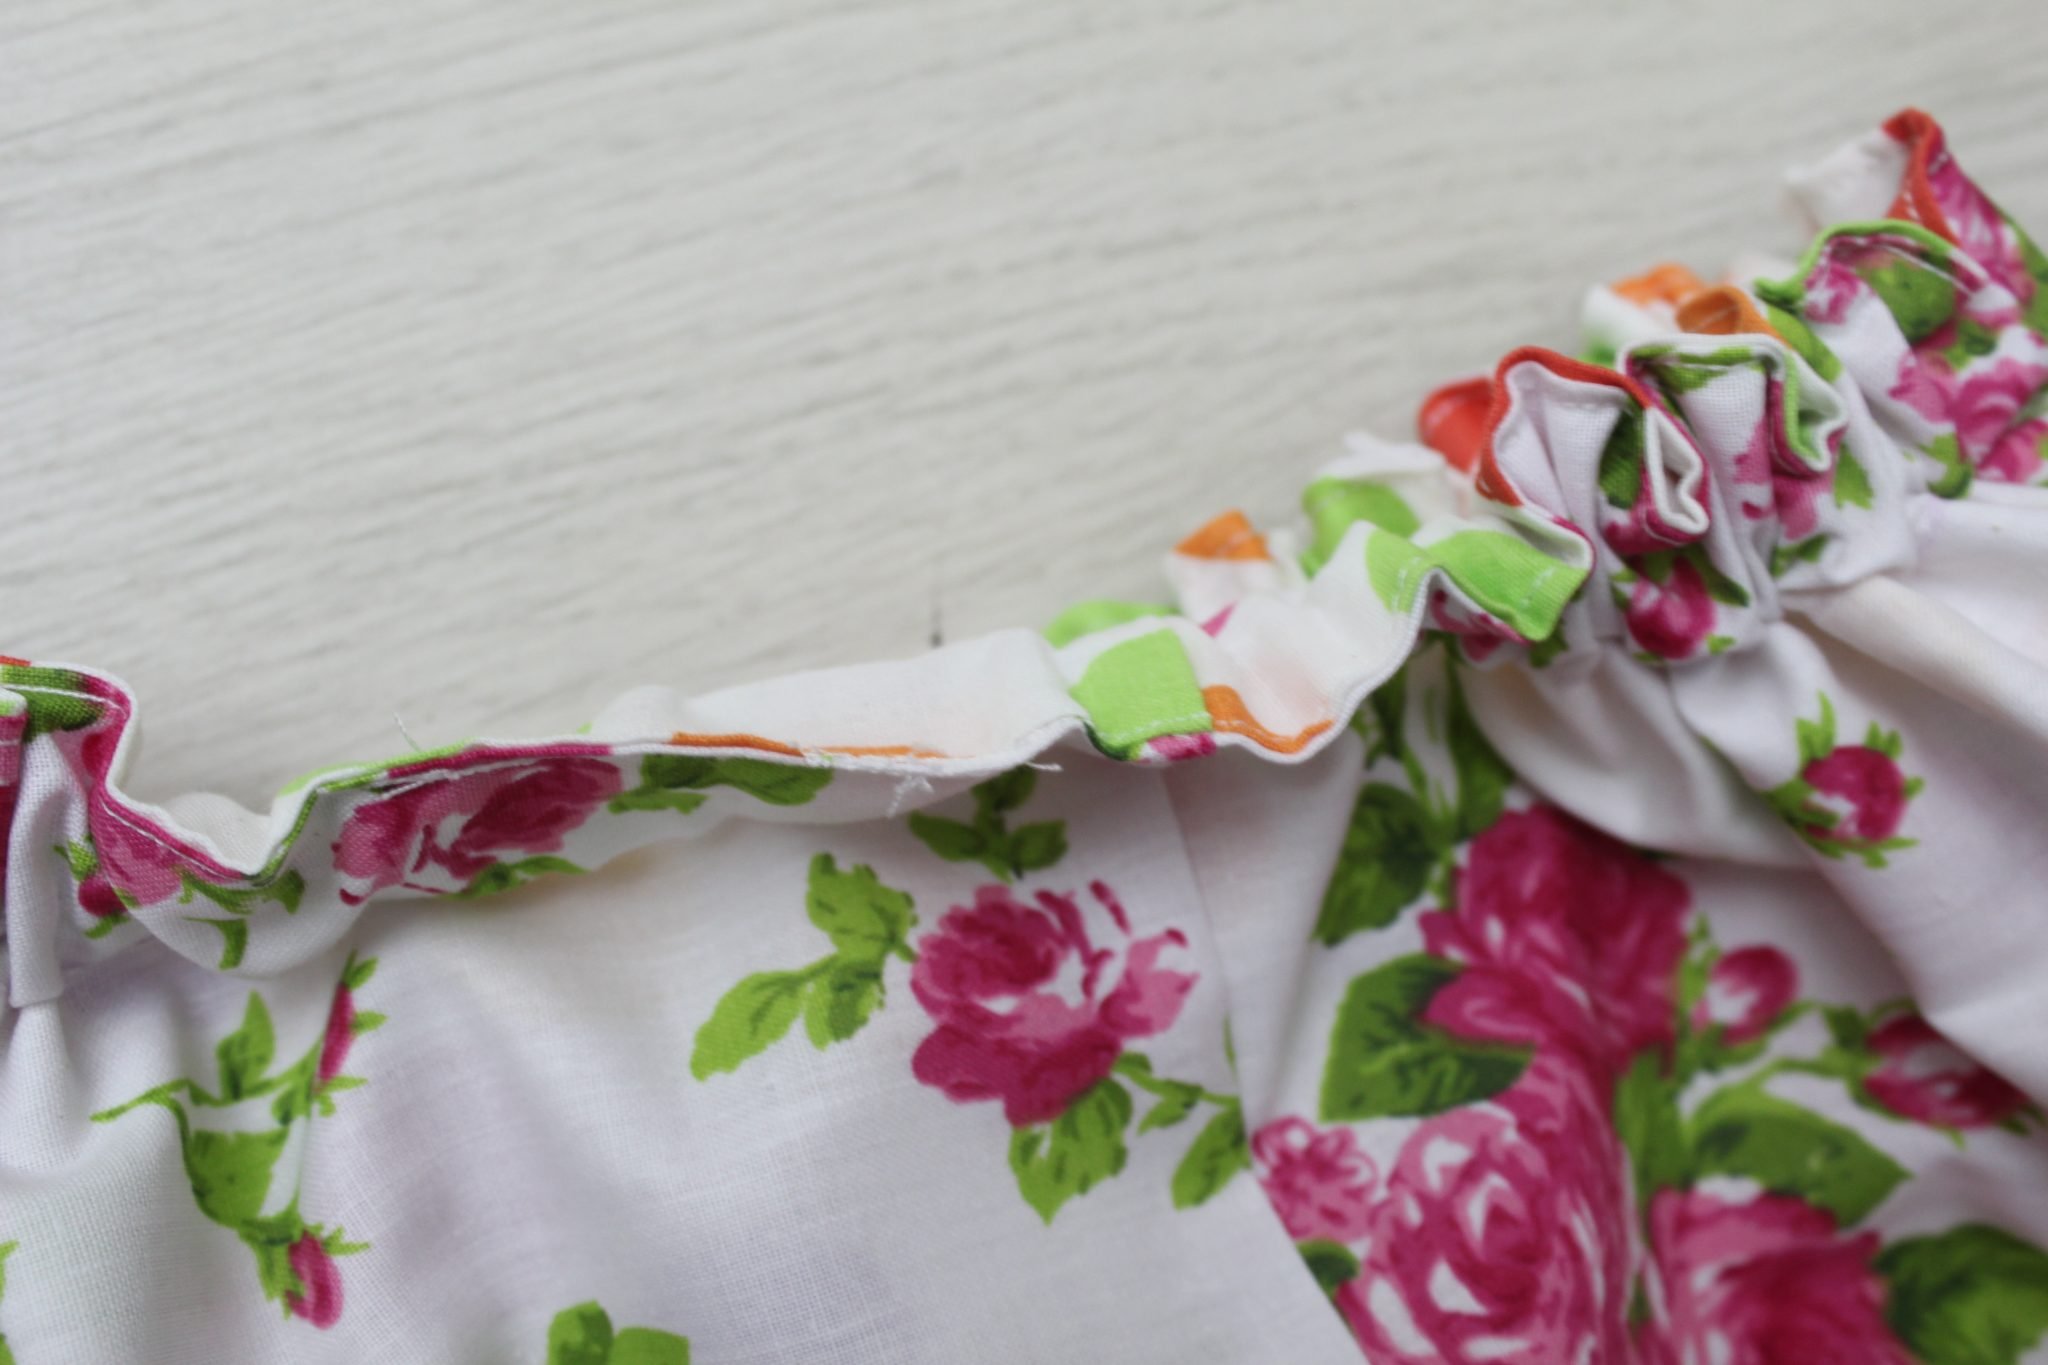
See how the lace is peeking out when the skirt is worn the other way around? So pretty!

When I started to make this reversible skirt I planned for finishing the skirt with a classic hem. But then my eye caught some lovely lace trim that’s been laying around for ages with no actual purpose in mind (to be honest I don’t remember why I bought it, probably because I thought it’s cute! lol). So I decided to add this cute detail to one of the skirts and I wanted it to peek out from under the second skirt to give the reversible skirt extra interest and load it with cuteness.
Need more sewing ideas for kids?
- Hello Kitty coin purse
- Sleeveless A line dress pattern
- Paper bag skirt tutorial
- Girls gathered dress pattern
- Easiest pillowcase dress
- Peasant top pattern
- Circle skirt with elastic waist
- 10 Minutes A line skirt
- 36 Easy sewing for kids ideas

I also thought this would be a great opportunity to show you how to use the double fold bias tape hence the above mentioned tutorial. So in the end, this simple skirt pattern turned out to be not so simple after all but sewing it was so enjoyable. I loved how many things I could create in one go with one simple project.
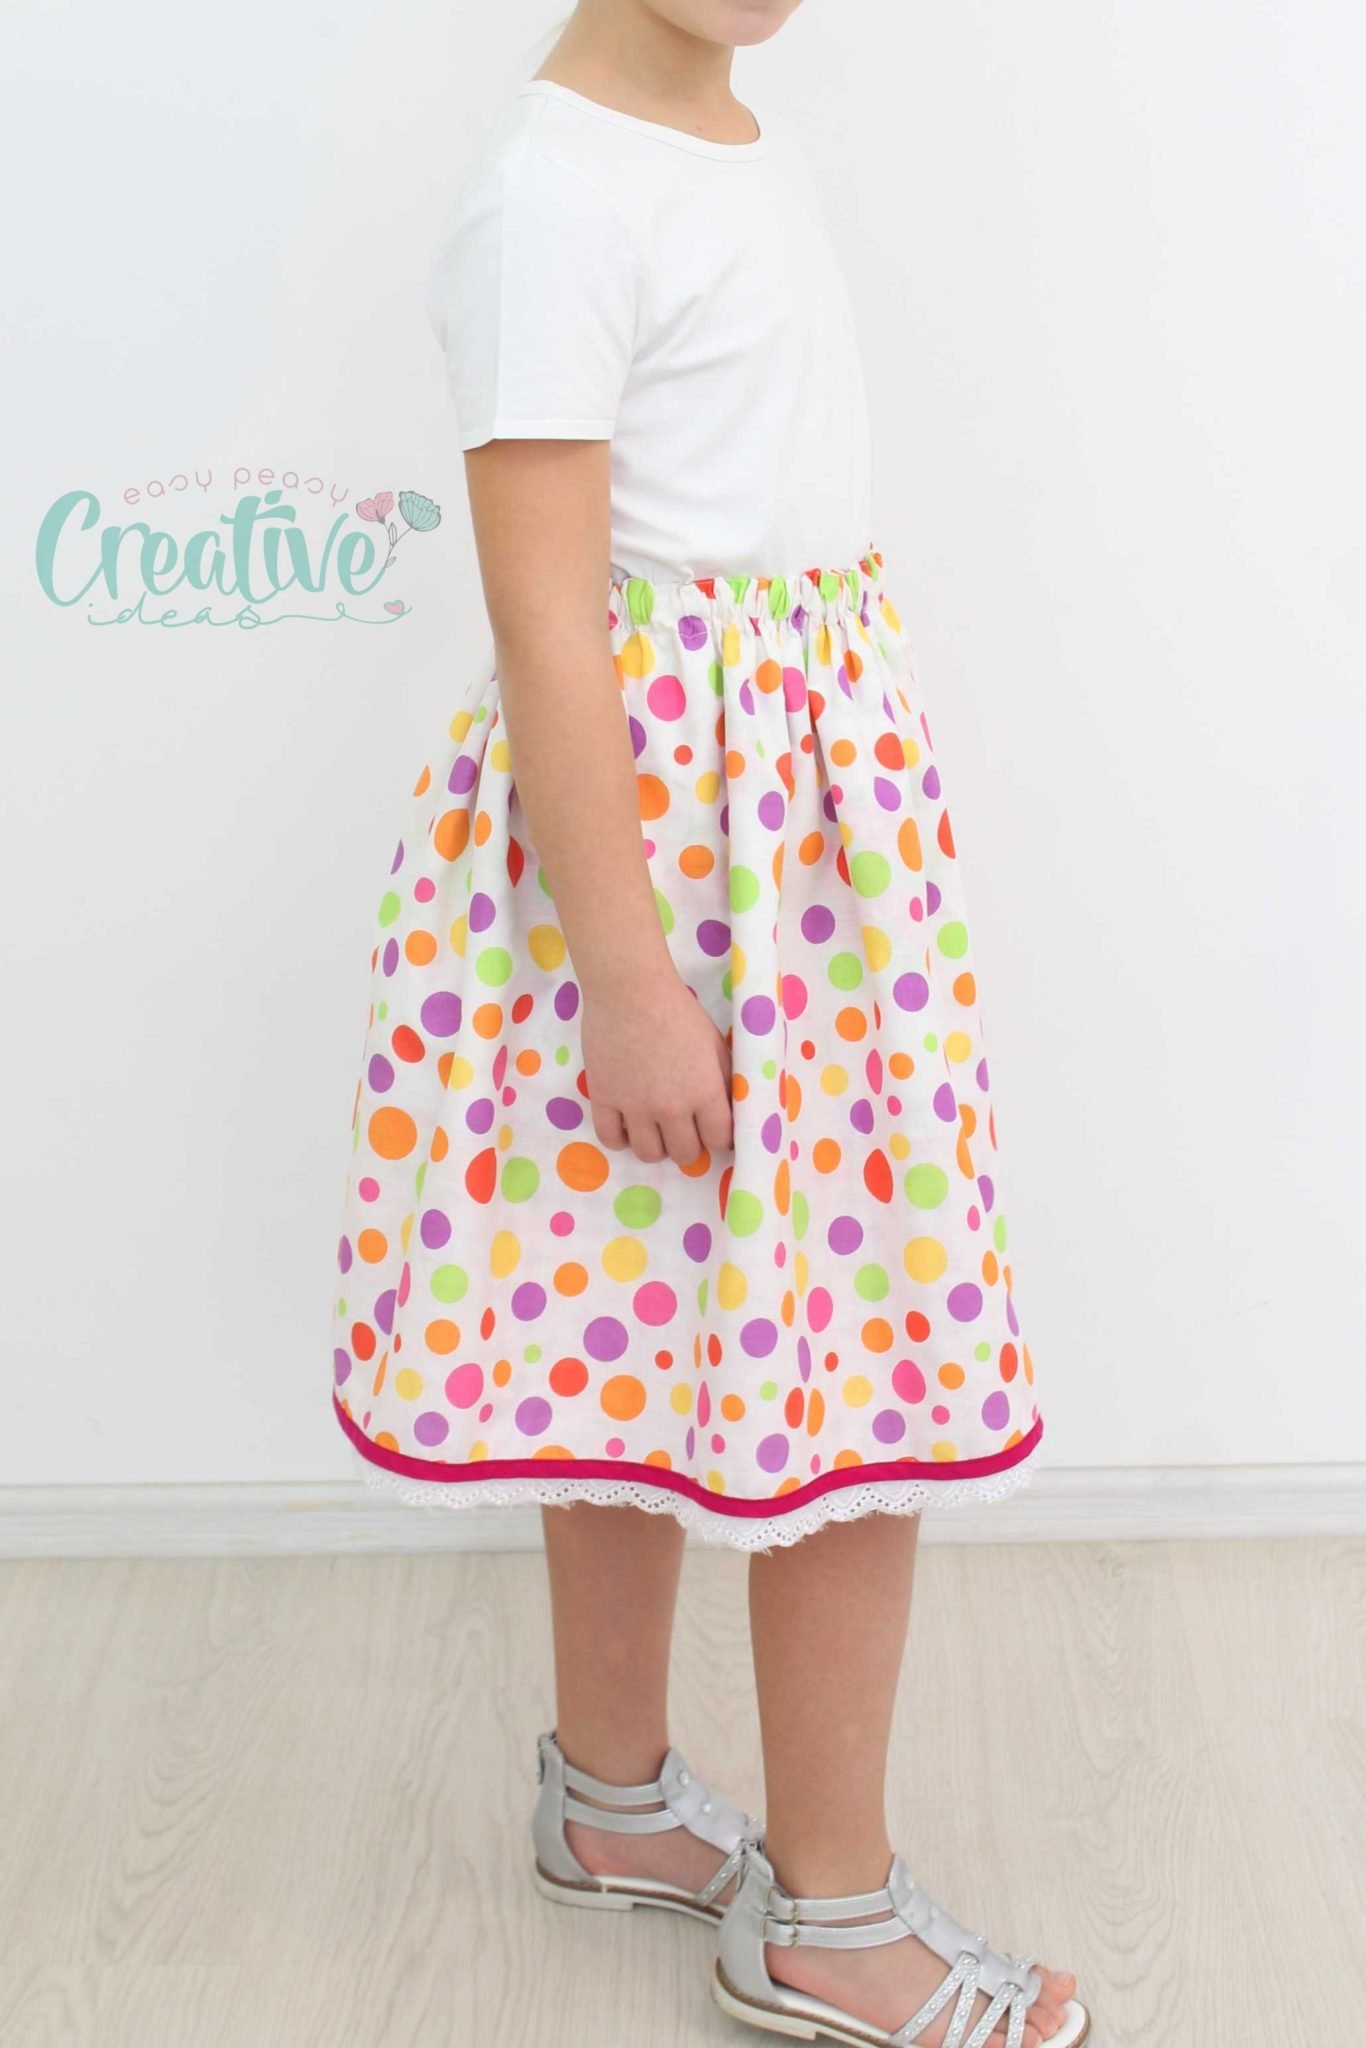
This skirt type is a little like a lined skirt, but using nice fabrics for both sides will allow you to have two skirts made as one, at the same time and with the effort needed to make only one. It’s best to use complementing colors instead of contrasting ones, so that if the inner skirt peeks out, it wouldn’t look weird.
Also, you can save the look if the skirt got a stain or two on one side. Just flip it on the other side and it’s done!
It’s up to you to choose the measurements. A super fun skirt is a fuller one, so if you want a fuller skirt, make the finished width 4 times the waist measurement, so cut each piece of fabric 2 times the waist measurement.
For a fuller skirt, you can also try cutting out quart or half-circle pieces, or even a full circle. It’s going to be only a little more complicated, but not much. Worth trying.
Also, you can add a one or two-sided ruffle to make the skirt even cuter.
How to personalize your reversible skirt?
There are endless possibilities to make a darling reversible skirt, and you can always ask the future wearer for ideas for decorating. You might get surprised of her ideas and she will be more than happy to wear her own designs. Add bows, ruffles, lace, cute patches, etc.
Other cute and fun things to add to a reversible skirt can be:
- A separate waistband;
- Trims and rick-rack;
- Outer pockets;
- Monograms;
- A faux drawstring at the waist;
Also, you can repurpose an old scarf or man’s shirt to avoid throwing them in the trash. Repurposing is fun, and also rewarding if you think you saved an old item and gave it a new life.
This reversible skirt is basically a gathered skirt pattern. You don’t really need a pattern though as the skirts are both a couple of large rectangles you get to shape in a gorgeous clothing item in just a few easy steps! Here’s how to make a reversible skirt.
Reversible Skirt
Materials:
- 2 large rectangles of cotton fabric in different prints or colors
- elastic (I used 1″ wide elastic)
- dress maker scissors
- yardstick
- fabric pen
- pins
- double fold bias tape
- cotton lace trim in matching color
- sewing machine
- pressing iron
- safety pin
Directions:
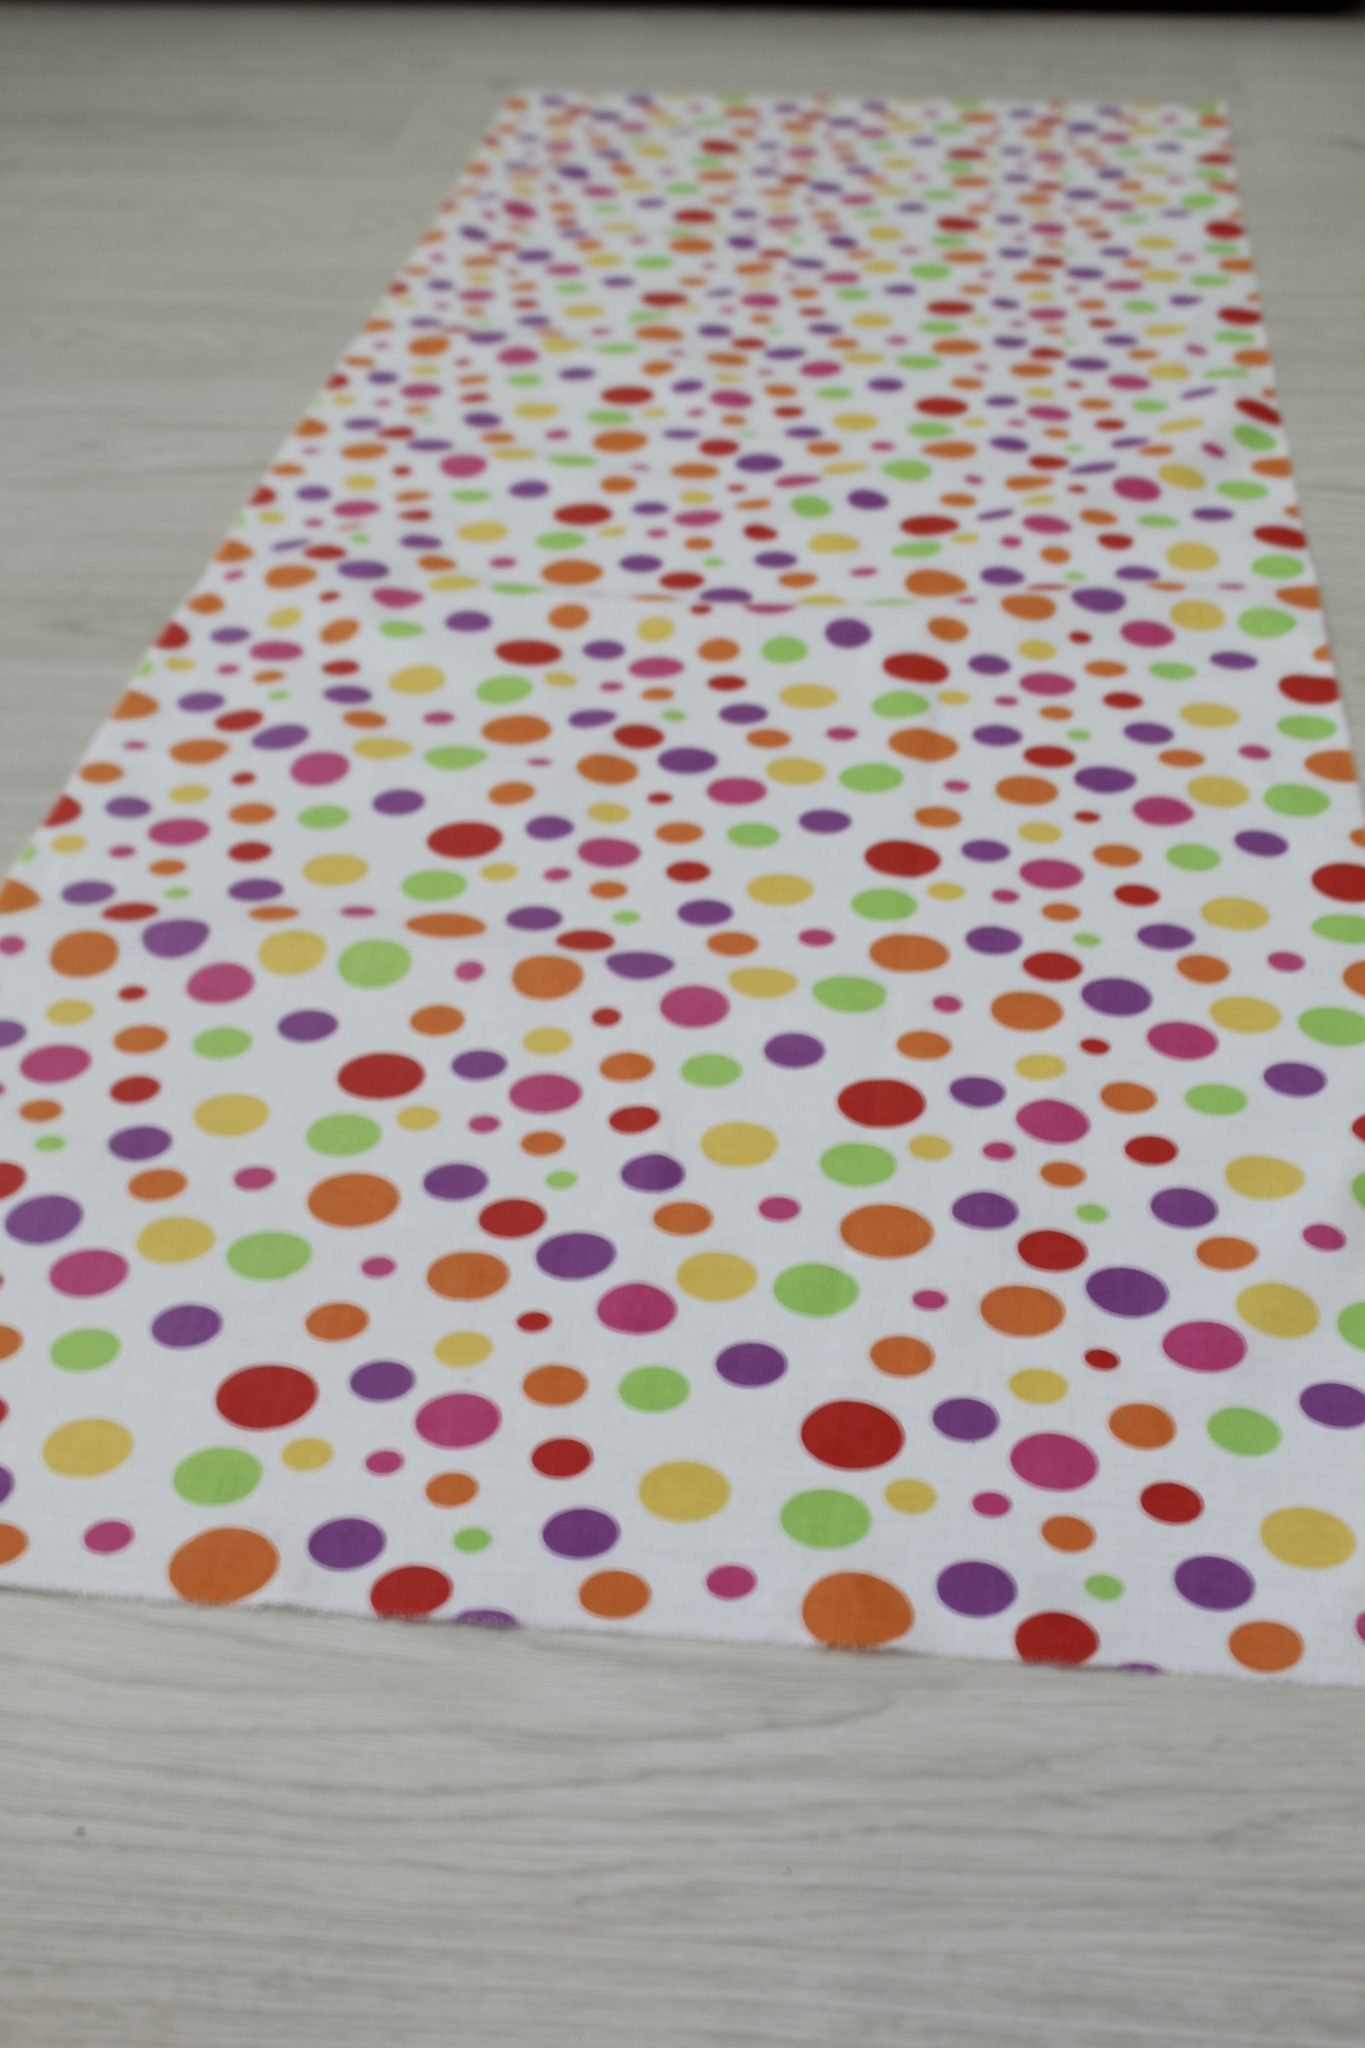
Cutting the fabrics:
- To give you an idea on how to cut your rectangles, here’s what I did. I measured my daughter’s waist, doubled it and added 10 more inches.
- Then I measured from waist to where I wanted the skirt to fall, I added the width of the elastic plus 1″ extra.
- I cut my rectangles using these measurements.
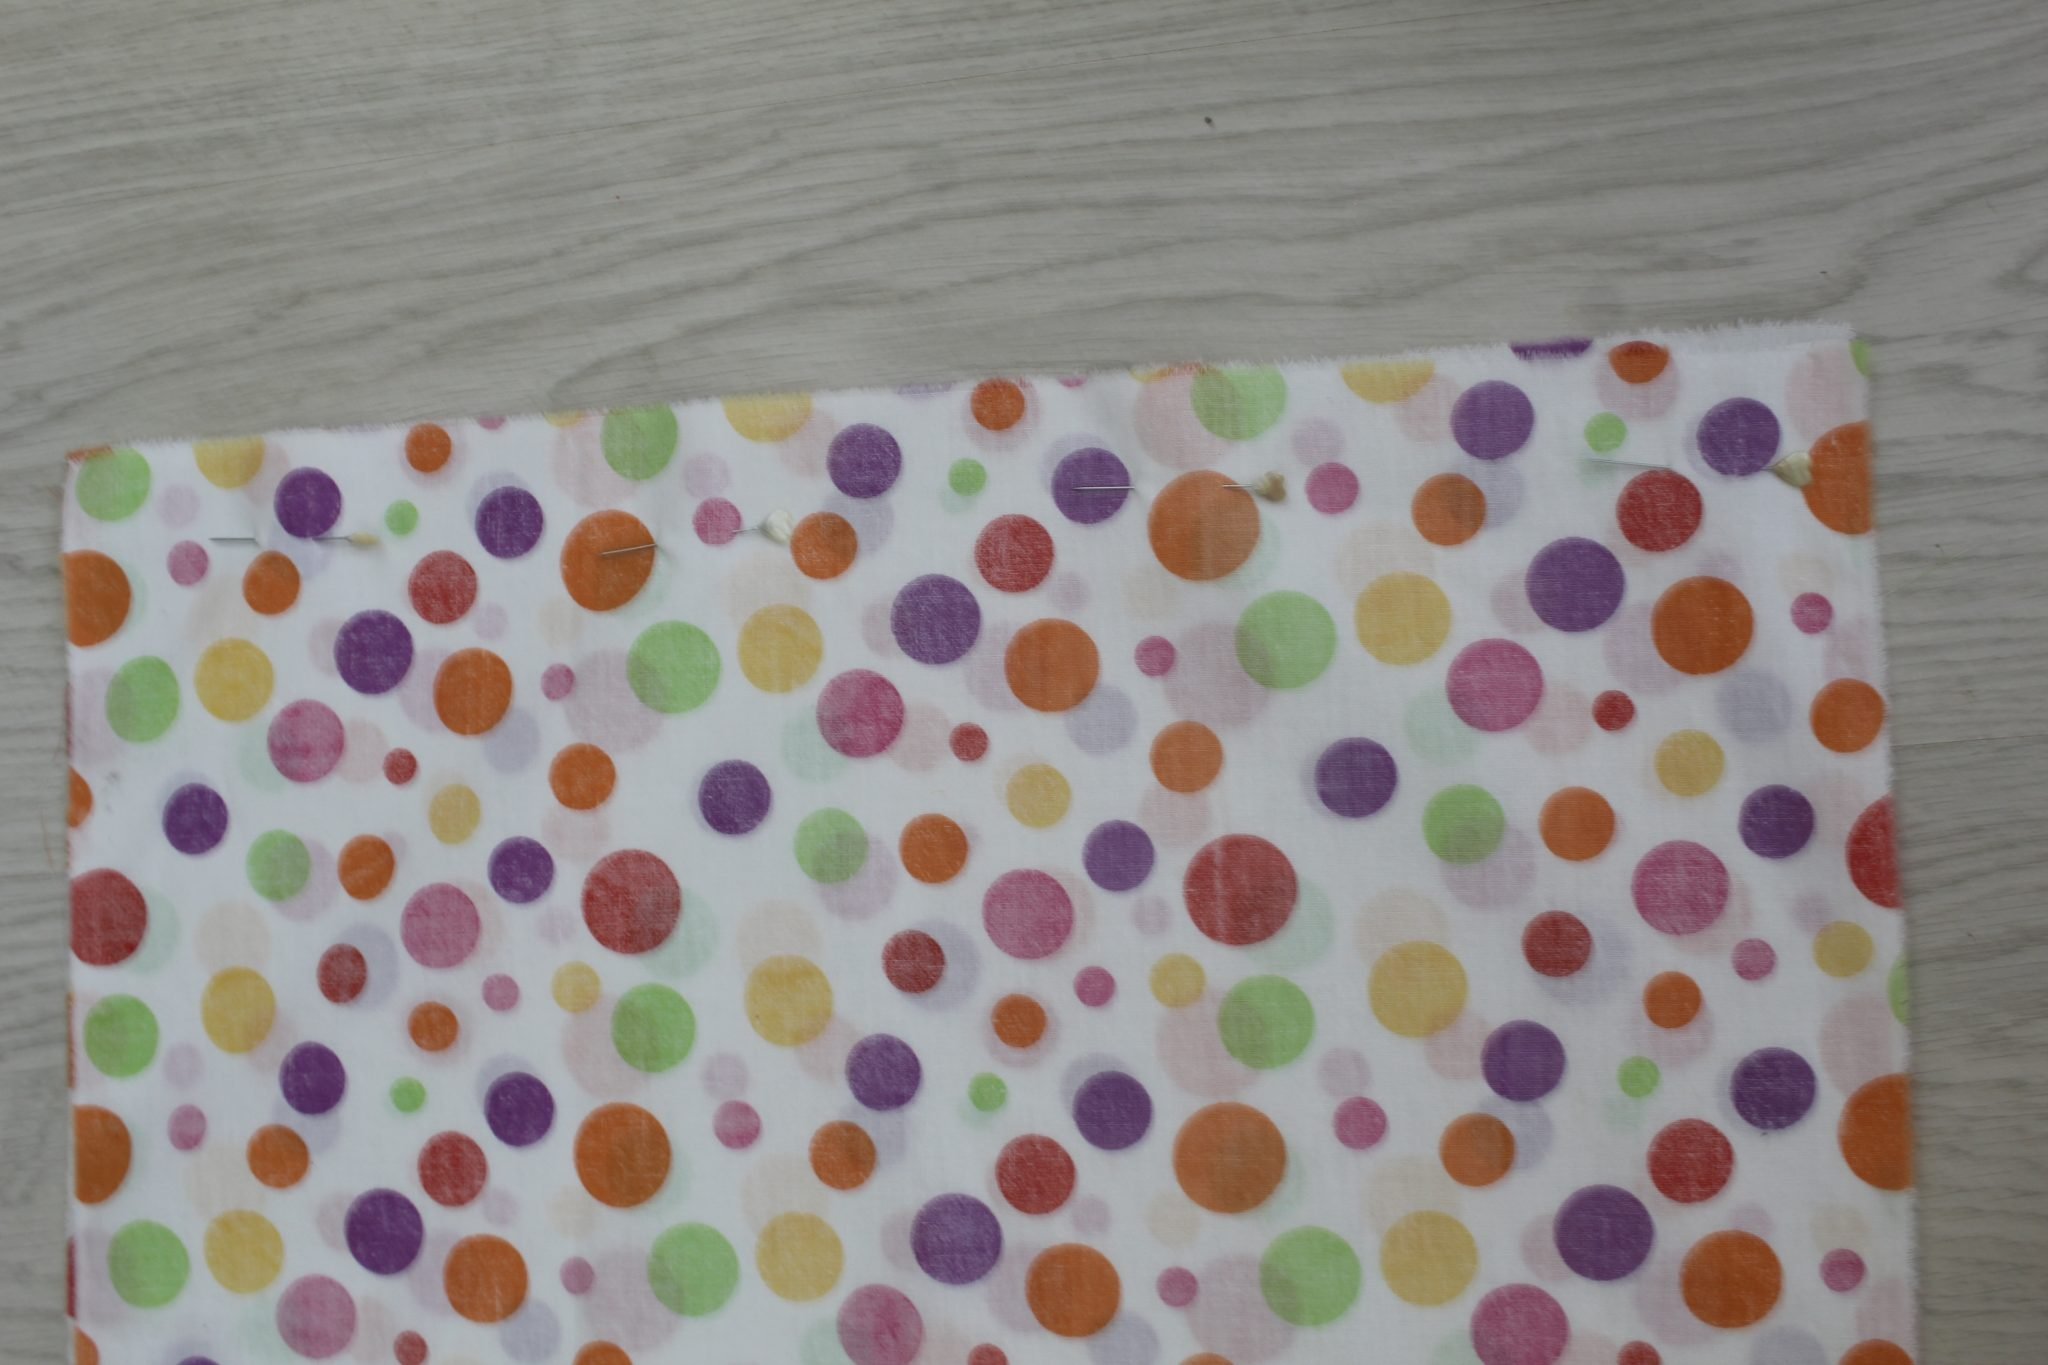
Sewing the skirts:
- Working with one of these rectangles at a time, place the rectangle right side up.
- Fold it in half and match the raw edges.

- Pin and sew down with 1/2″ seam allowance.
- Finish the seam with a zig zag or serge it as I did.
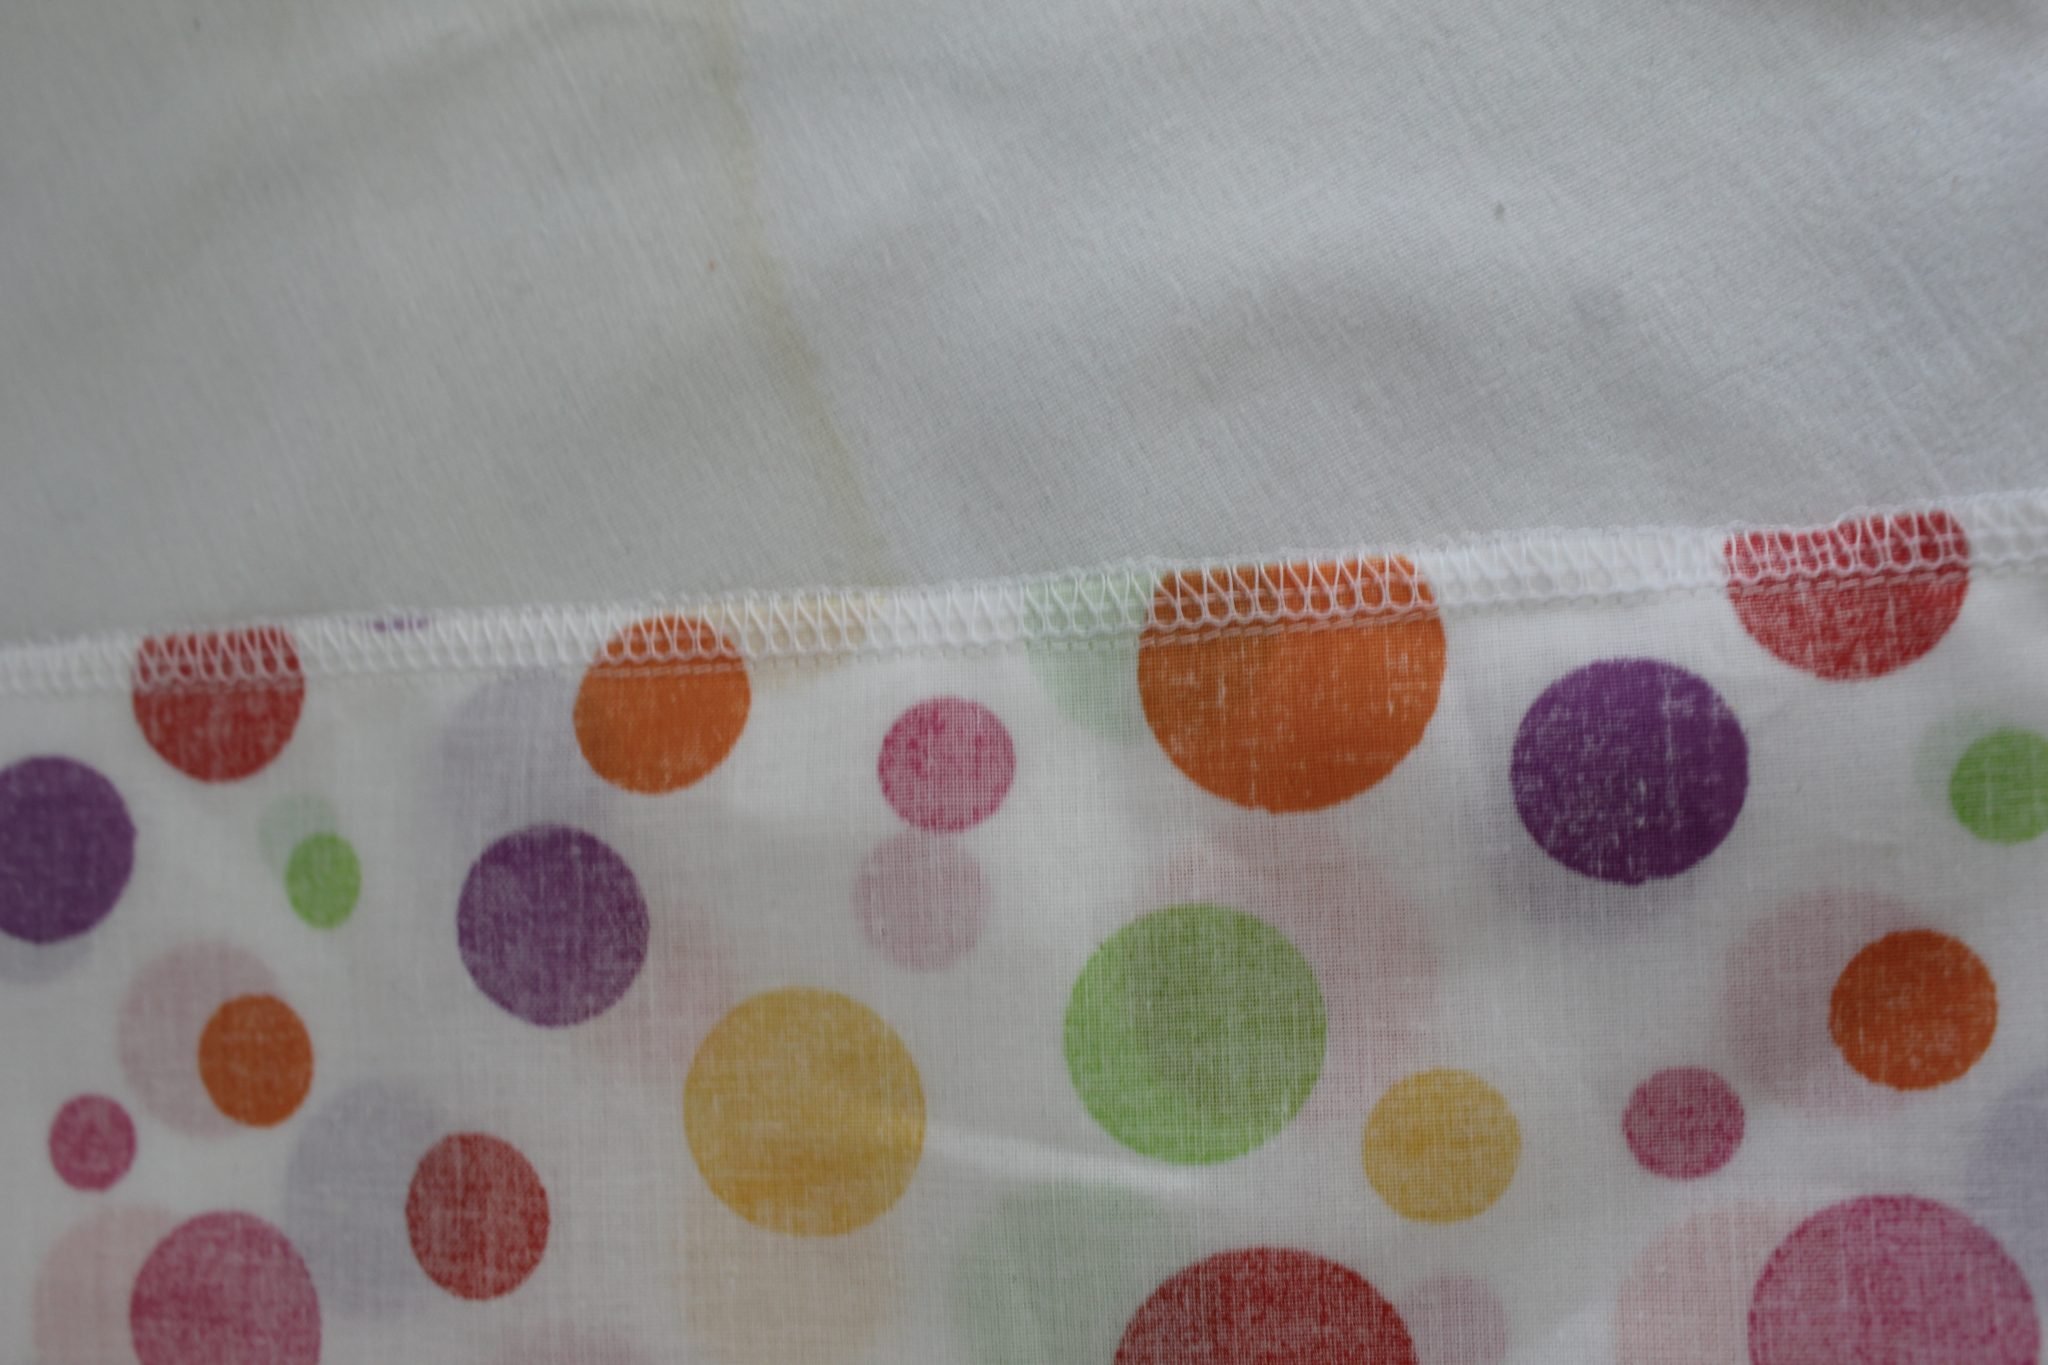
- Press the seam to one side.
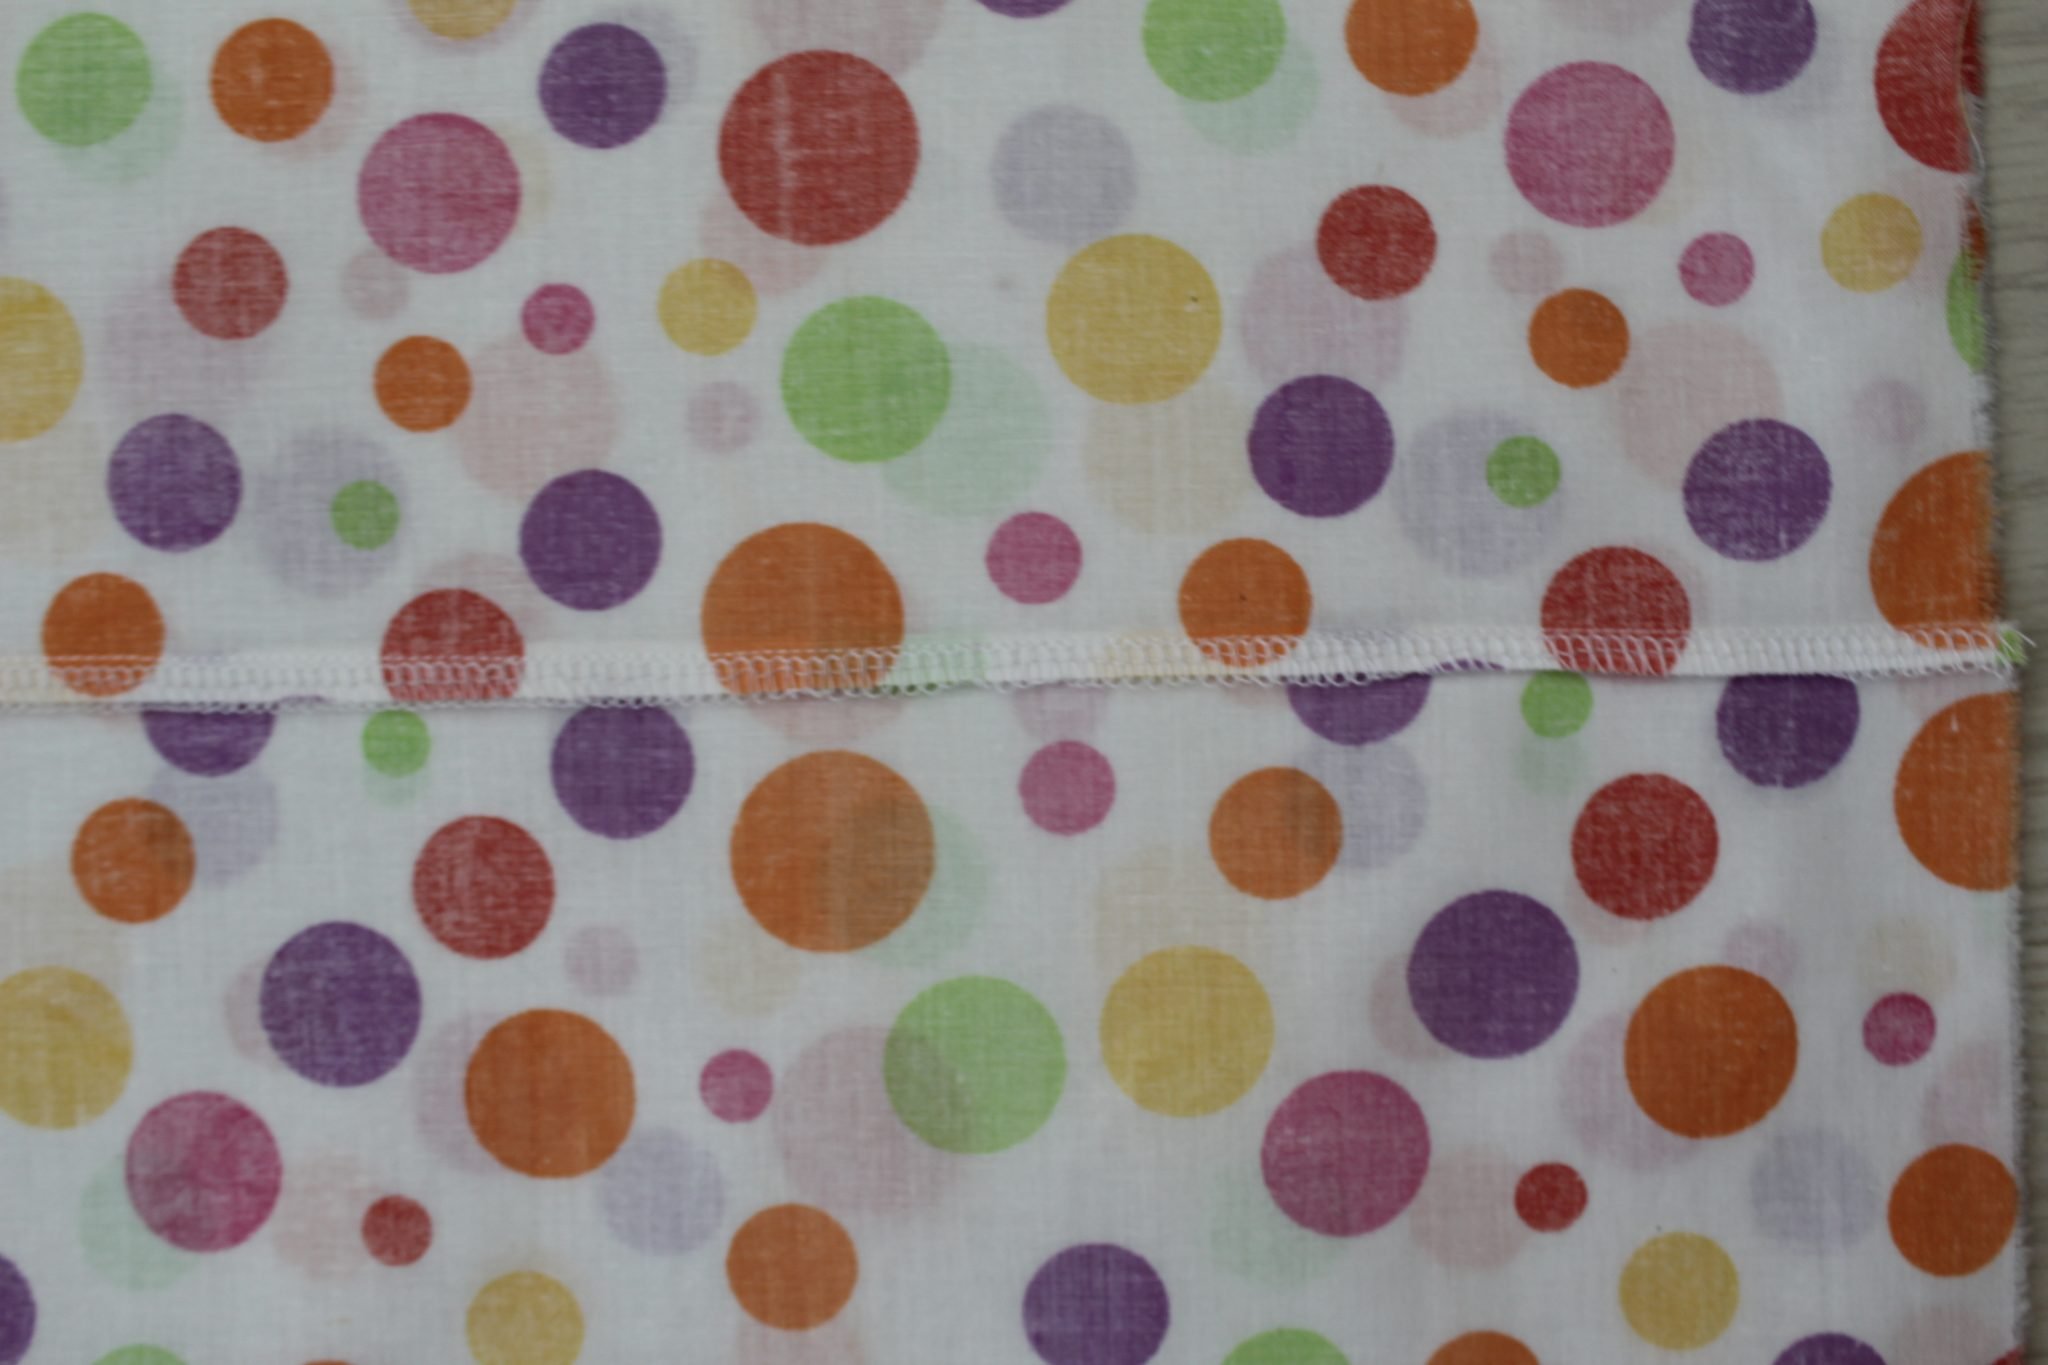
- This seam will sit at the back once the reversible skirt is finished.
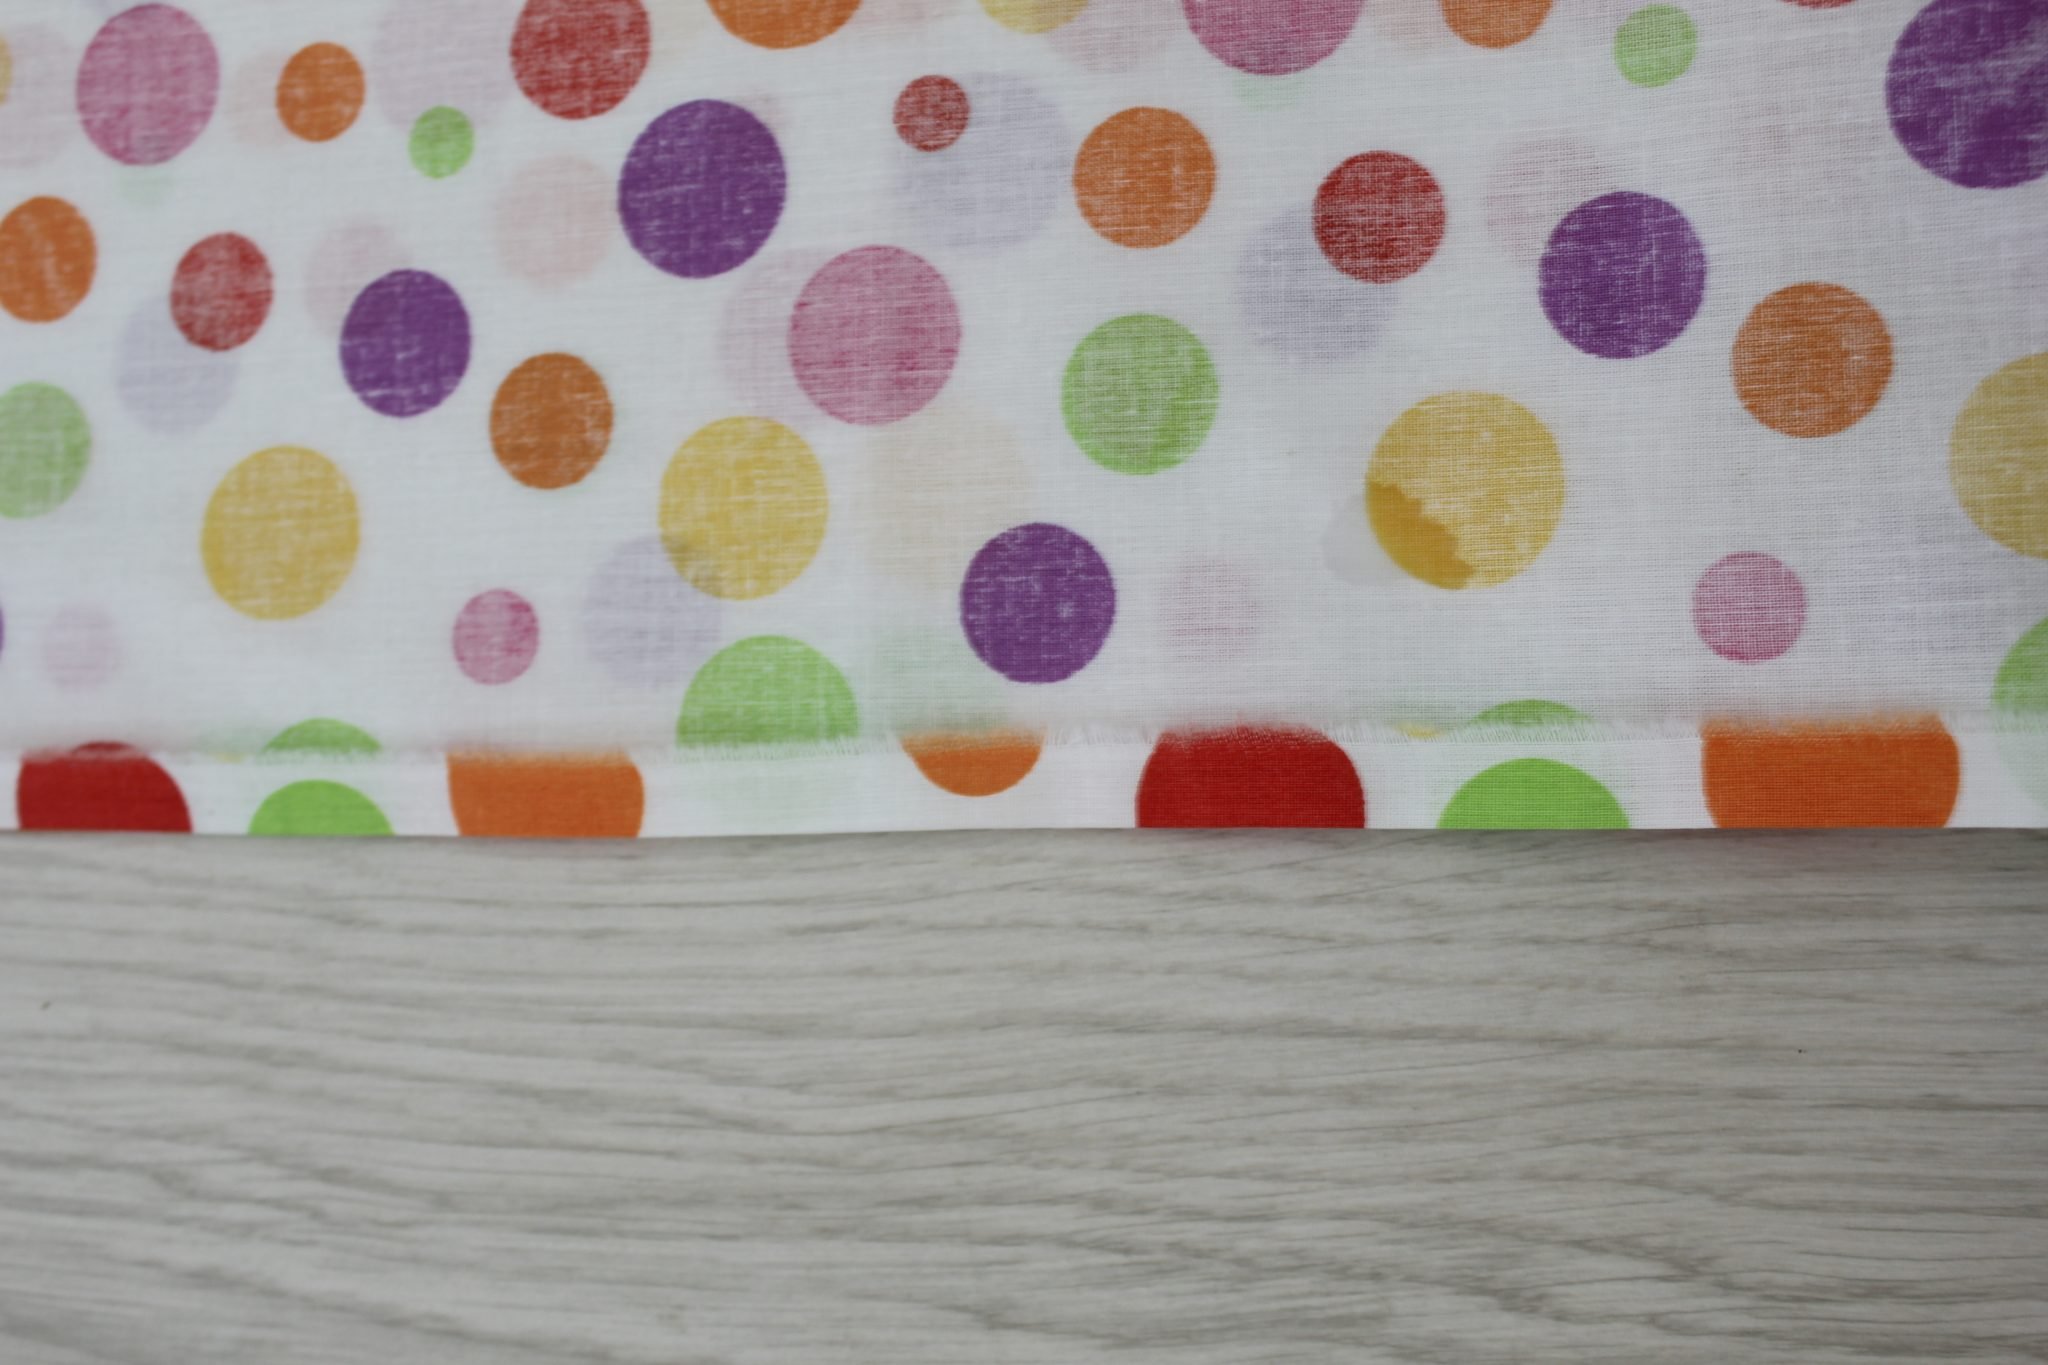
Finishing the hems:
- To finish the hem, choose the lace trim for one skirt and double fold bias tape for the other. So you’ll need to finish one hem using bias tape and one using lace trim.
- For the skirt where you choose the bias, follow this tutorial to attach the tape to the hem.
- For the skirt with the lace trim, zig zag or serge the hem first, then place the lace right side down against the right side of the fabric, raw edge of lace matching serged edge of fabric.
- Pin and sew down with 1/2″ allowance.
- Fold lace down and press the seam down, towards the wrong side of the fabric.
- Top stitch on the right side of the fabric, then edge stitch the lace. (I’m sorry I got caught up in the sewing process and totally forgot to take photos of these steps).
Attaching the skirts:
- Once both skirts are sewn and hemmed, press the tops in about 1/2″.
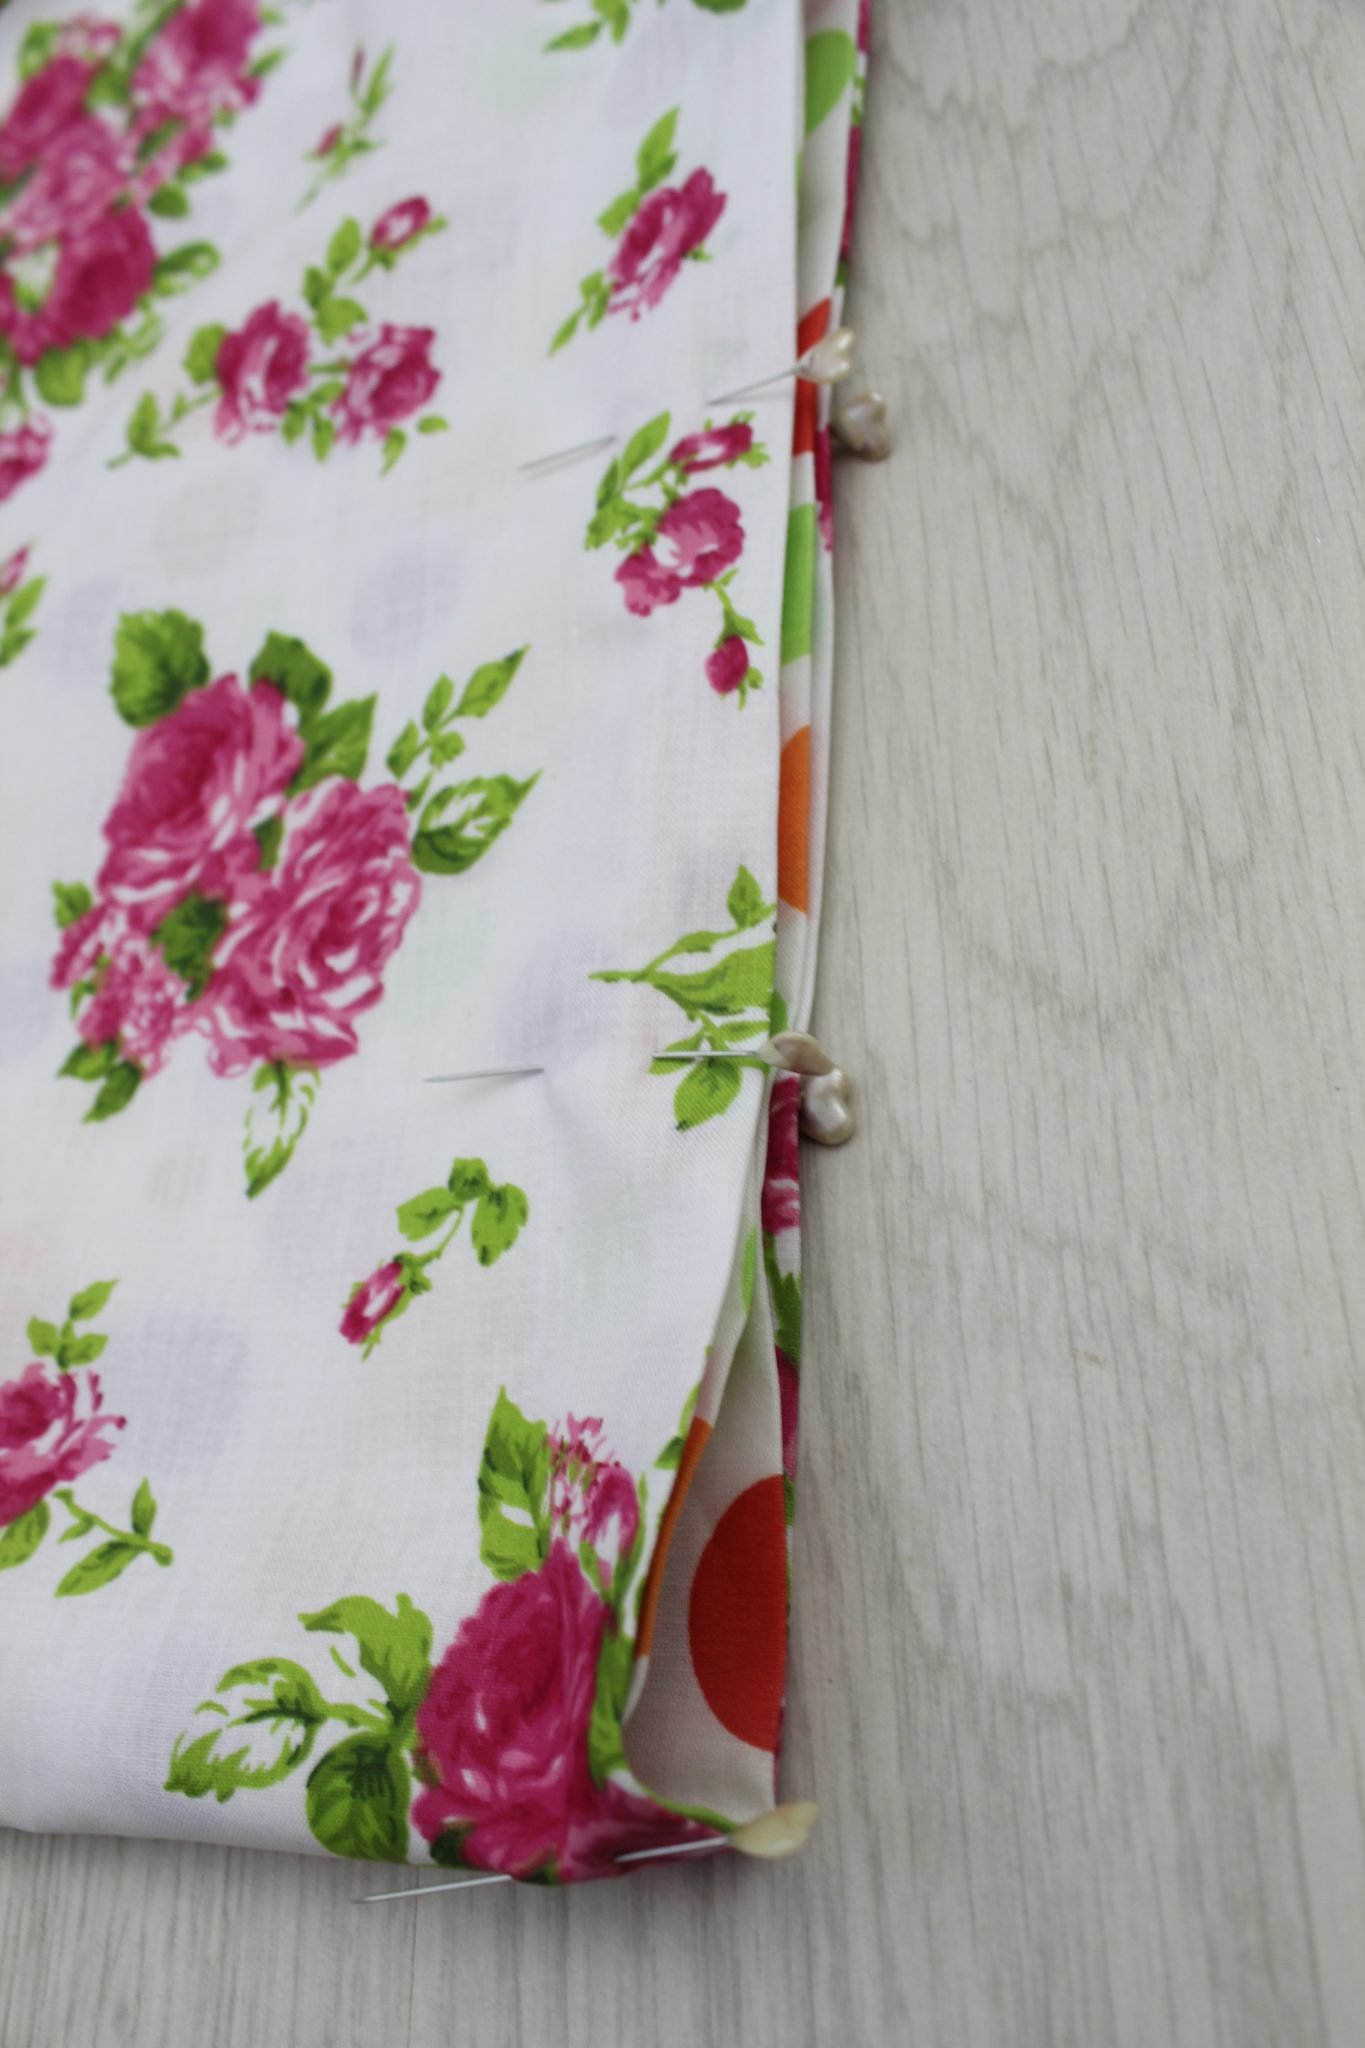
- Take one skirt and place it on the floor right side out. Place the second skirt on the floor wrong side out as indicated in the photo below.
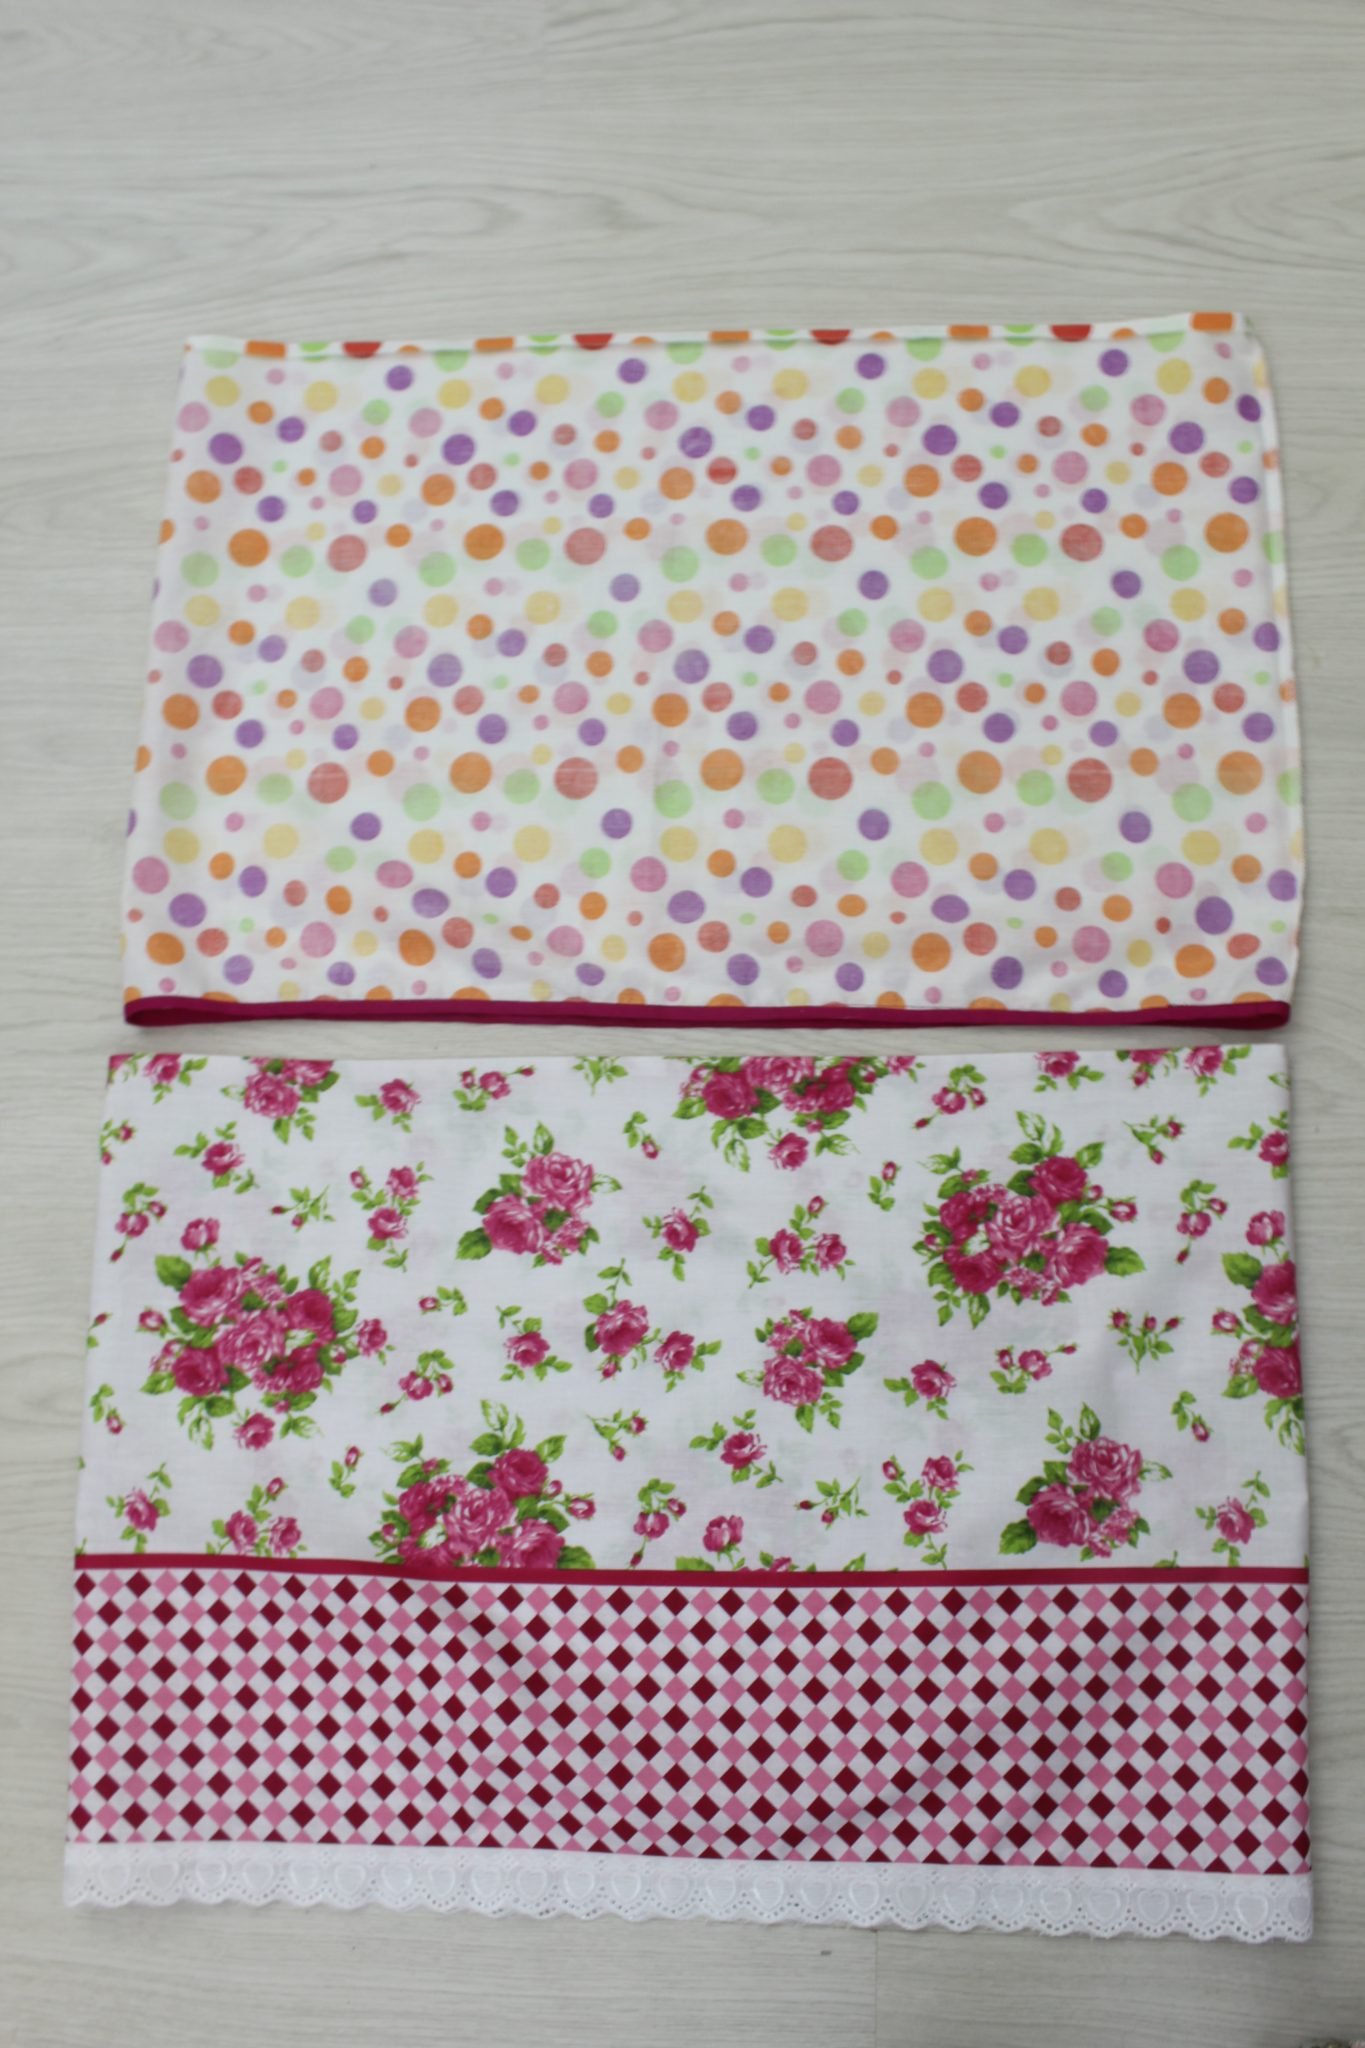
- Slide the wrong sided skirt inside the right sided skirt, until the folded and pressed tops are matching. In other words wrong sides of the skirts should match.
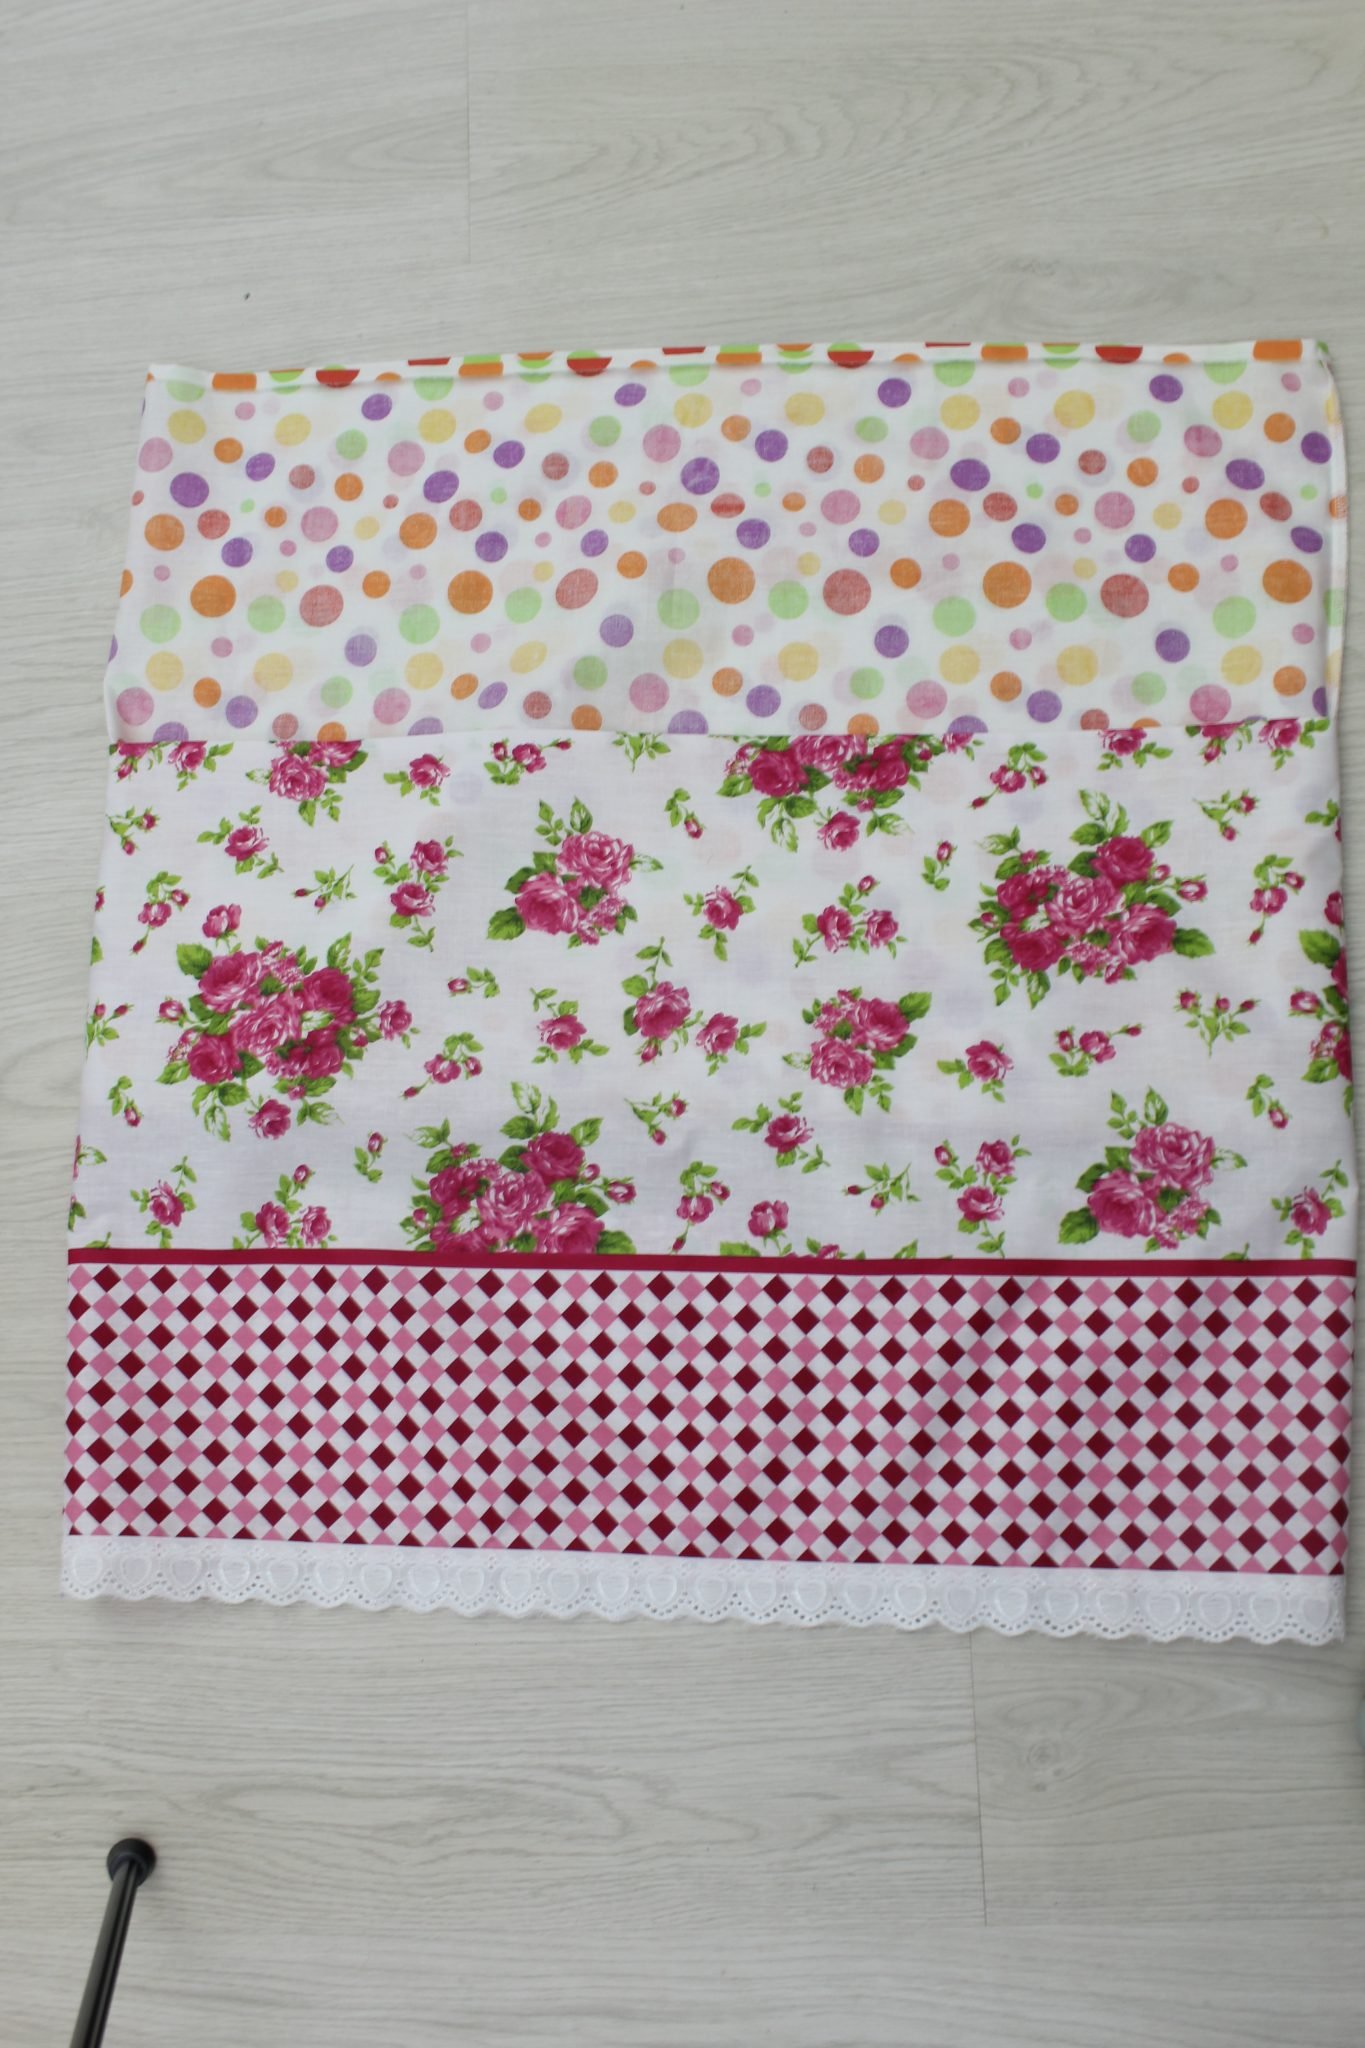
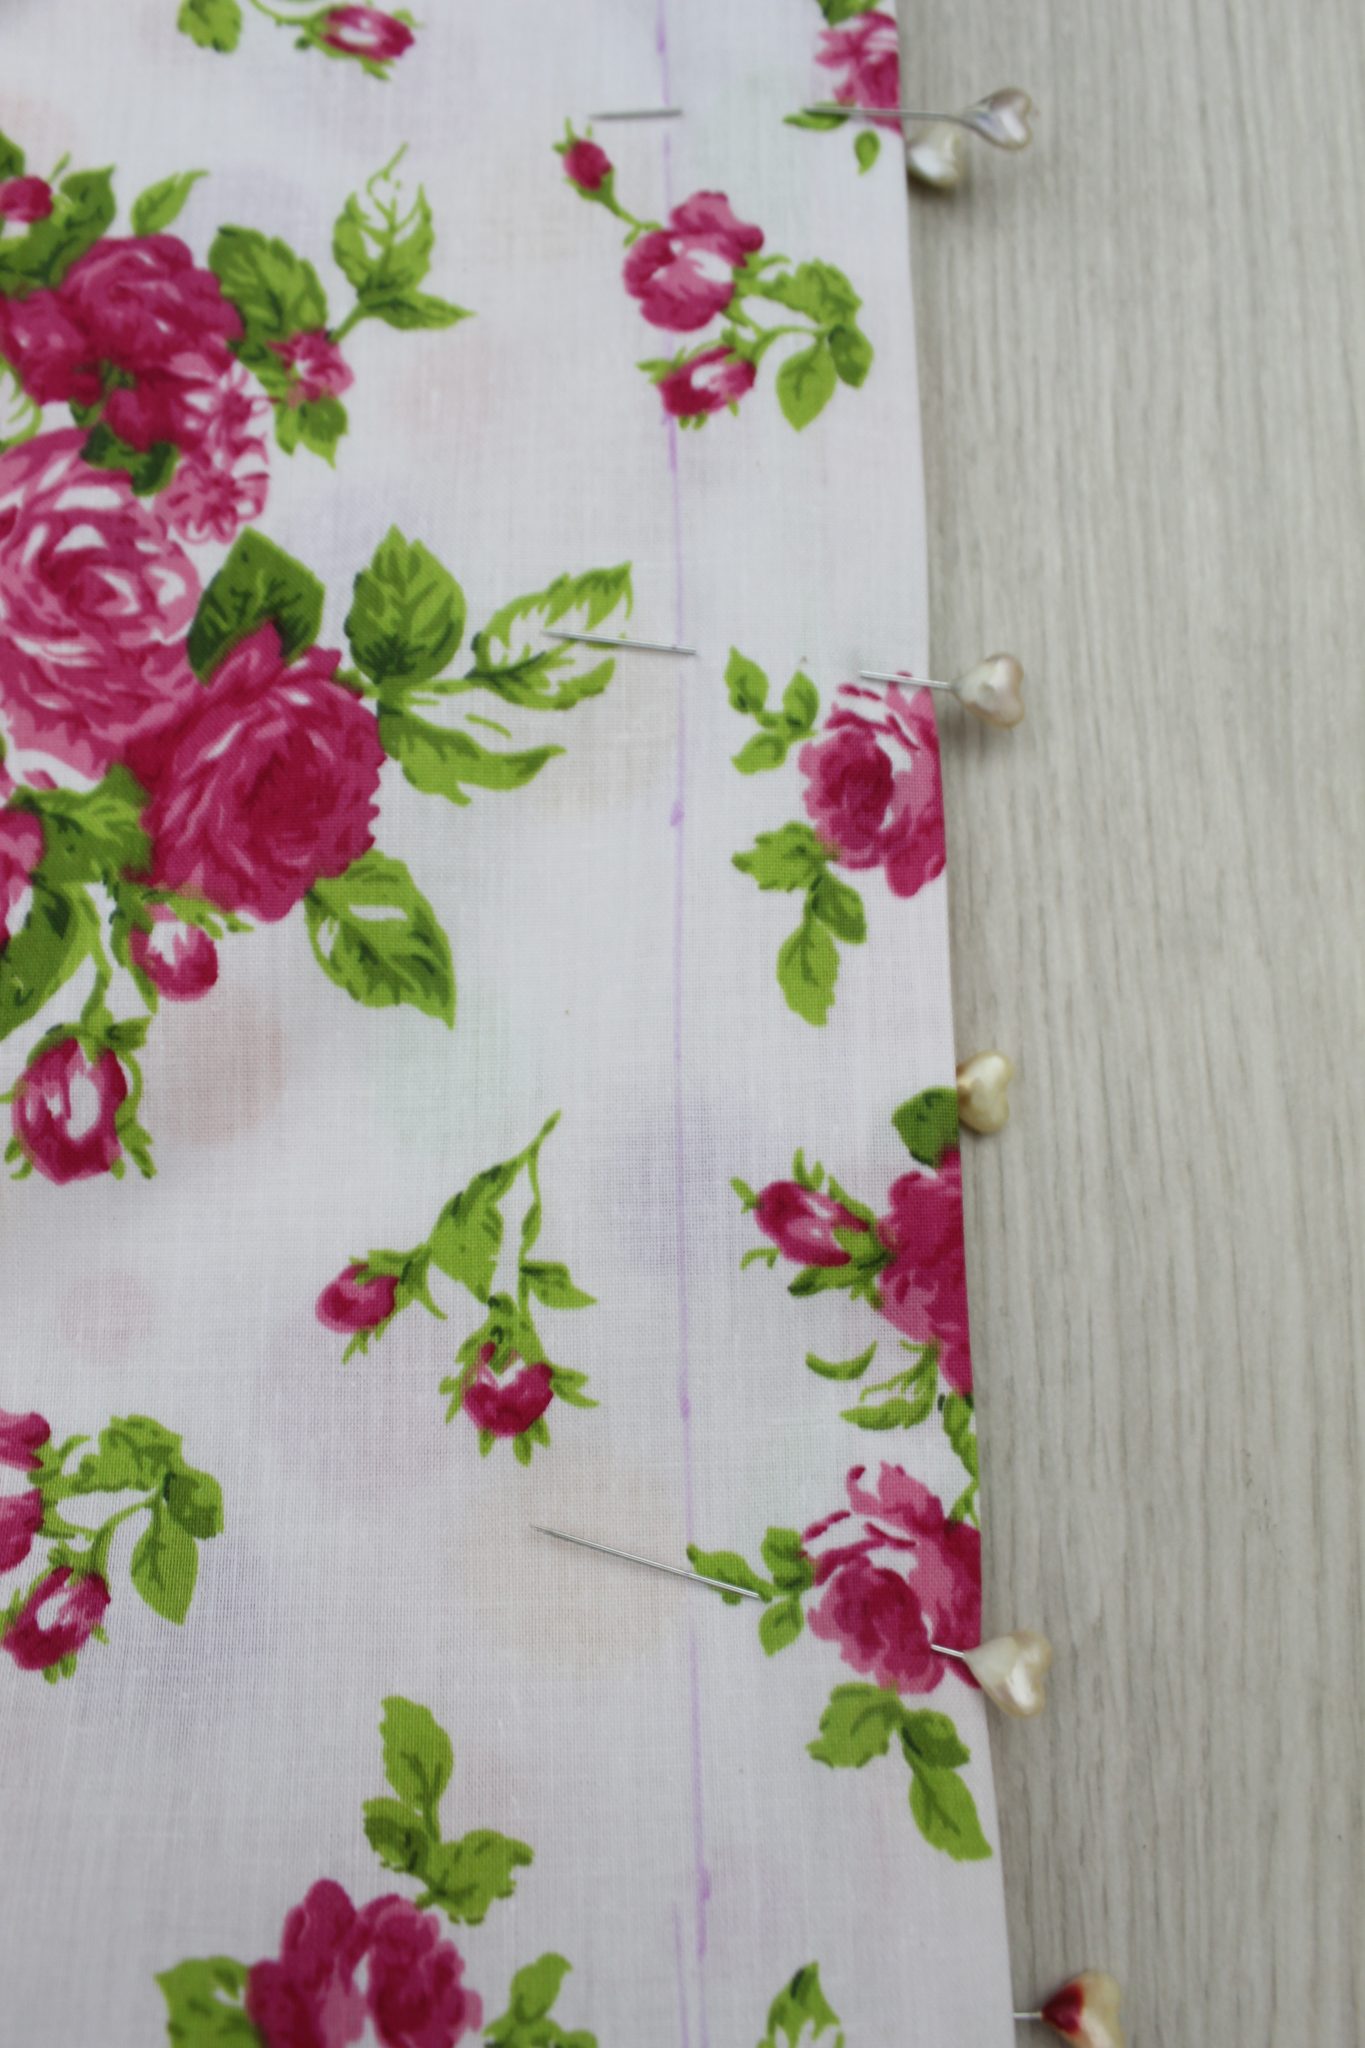
- Pin the tops, making sure the back seams in both skirts are matching.
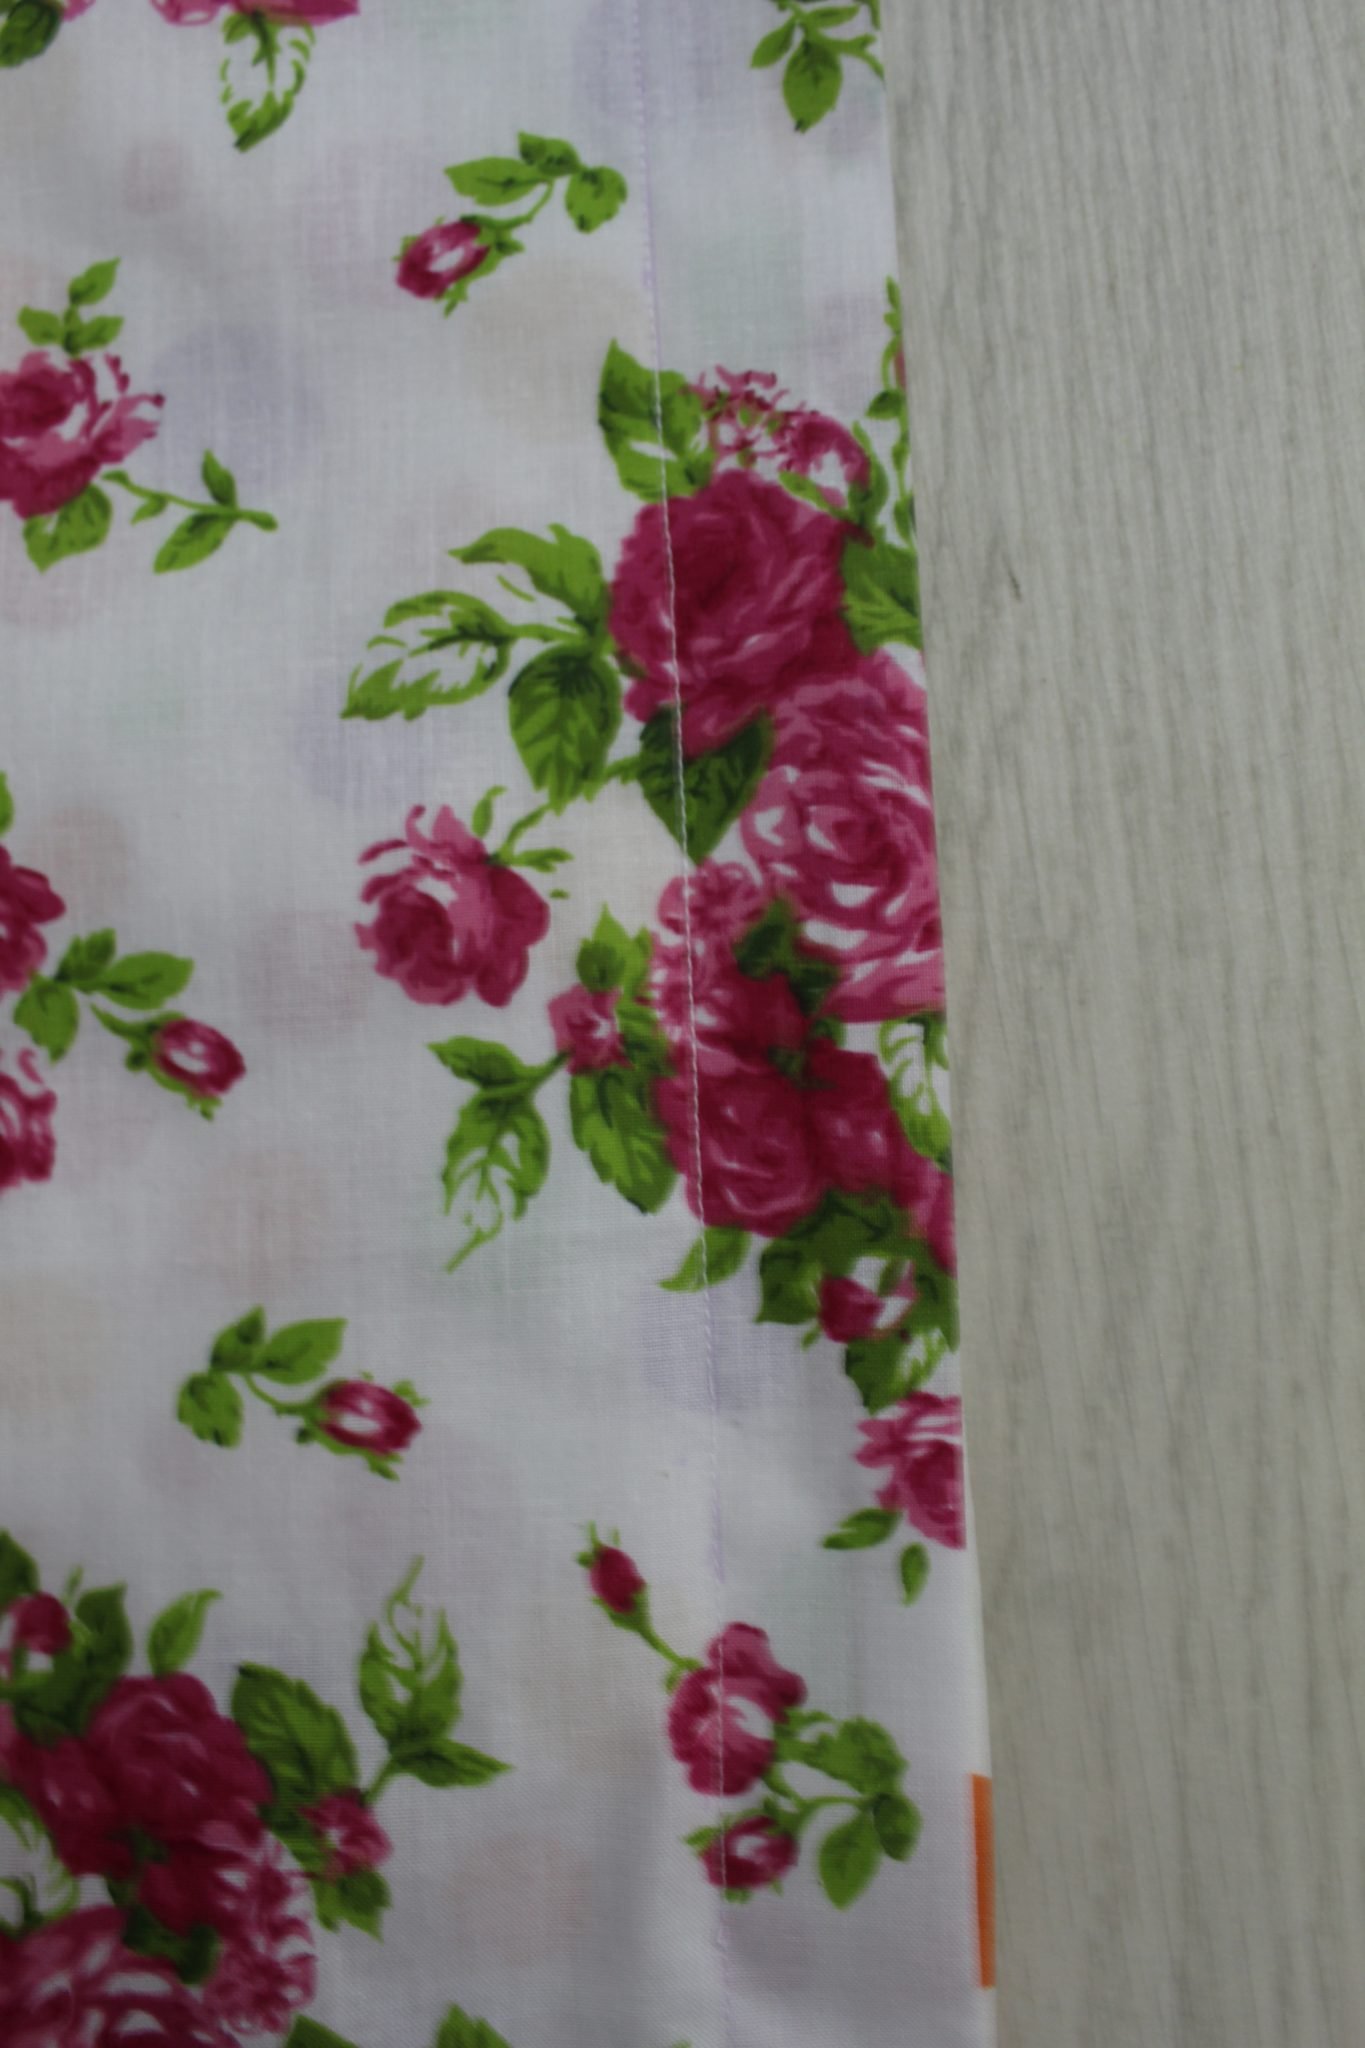
- Sew down to join the two skirts. The seam allowance will depend on the width of your elastic. In my case, the elastic being 1″ I added an extra 1/4″ (to allow some room for the elastic to move inside the casing) and sew down 1 1/4″ away from the tops.
Inserting the elastic:
- Edge stitch around the top to create the elastic casing, leaving a gap of about 1″ to insert the elastic.

- With the help of a safety pin, thread the elastic through the newly created casing then join the elastic ends with a zig zag.

- Close the gap with an edge stitch.
- All you need to do now is press the waist and the reversible skirt and you’re done! Enjoy!
I hope you liked this tutorial and if you did, I’d love to know your thoughts so please let me know in the comment section below. And don’t forget to rate it! Thanks!
Pin to save for later
Most popular sewing projects:
Article may contain Amazon & affiliate links. As an Amazon Associate I earn from qualifying purchases at no additional cost to you.

Thanks for the great and easy pattern! I’ve now made two for my granddaughter.
fVery cute and easy! I can see a couple of grands enjoying a few of those!! Thank you or sharing!