Paper Bag Skirt Sewing Tutorial
Wanna make a super easy but comfy and cute skirt? This paper bag skirt is just perfect for you! Great beginners project if you’re looking for sewing ideas for beginners!
Paper Bag Skirt
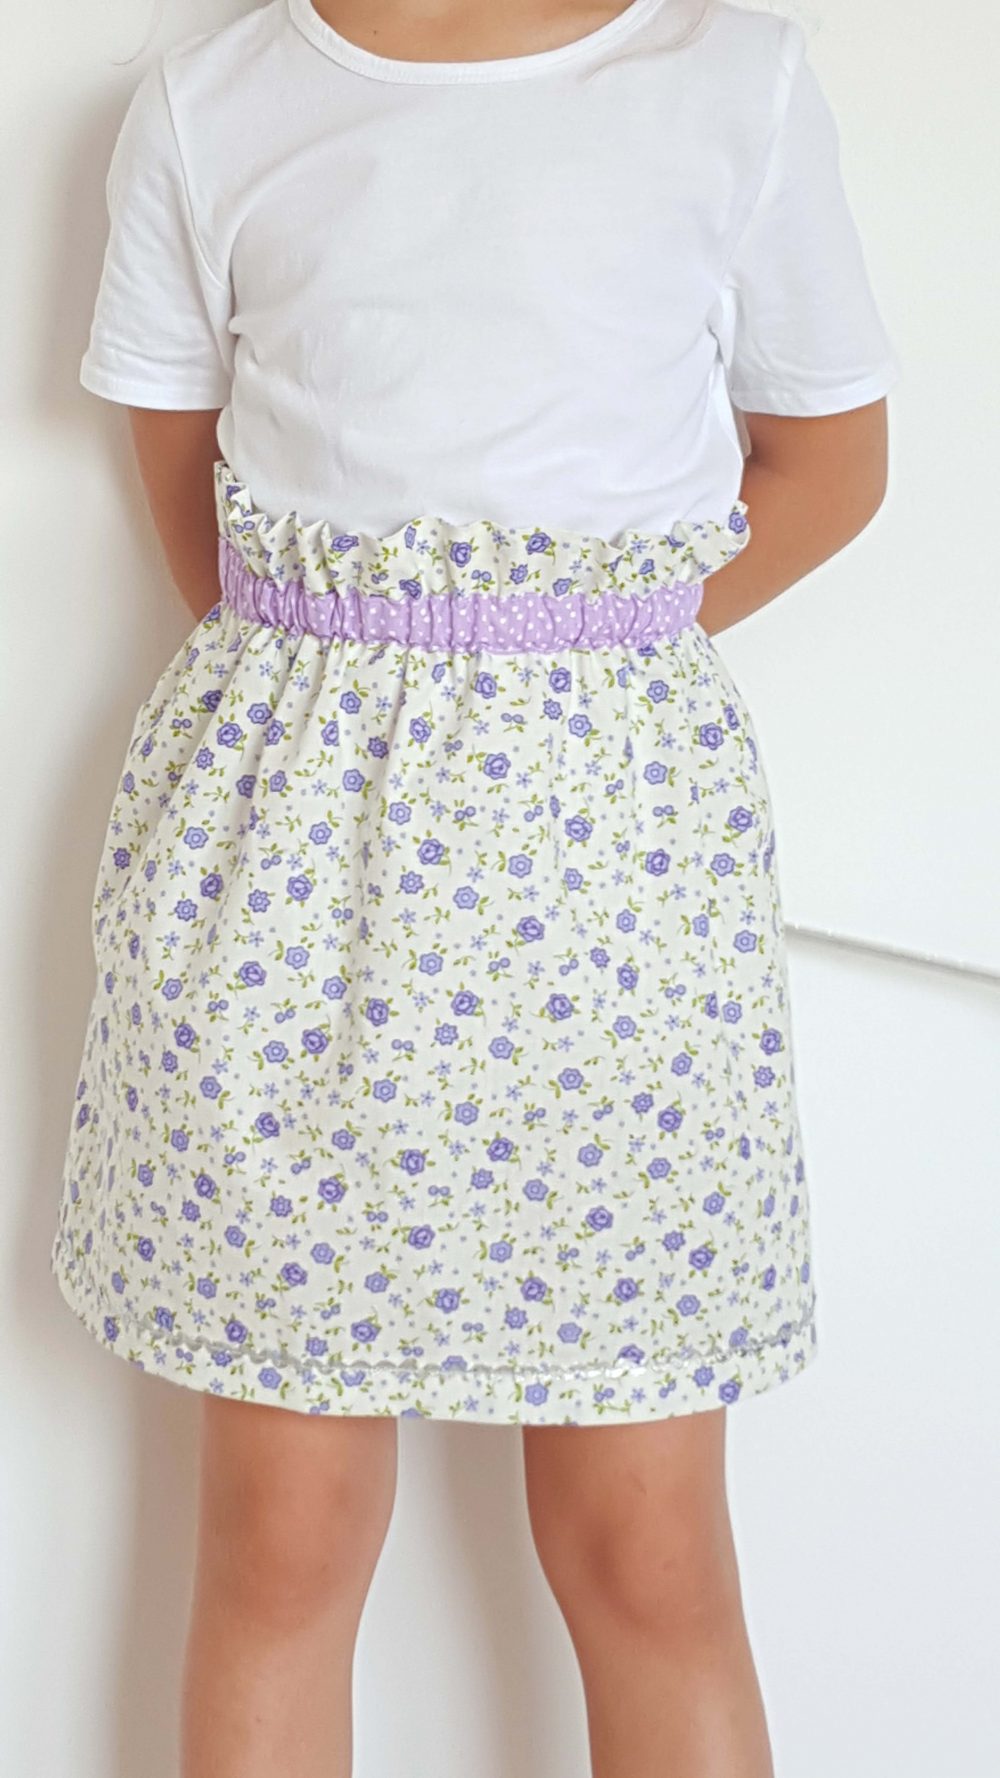
Are you looking for easy peasy sewing ideas for beginners? Or maybe you absolutely LOVE sewing for kids! Its a super easy, enjoyable, foolproof way to practice your sewing skills! And since there’s no pressure to sew complicated curves or zippers or darts etc it’s also very relaxing! Just like this paper bag skirt!
Need more skirt projects?
- Circle skirt pattern and tutorial
- Kids sequined skirt
- Three layer baby girl skirt
- Reversible skirt tutorial
- Elastic waist skirt pattern

I love making clothes for my little girl, mainly because I don’t have time to create complicated garments but also because these type of sewing ideas for beginners are so rewarding. My heart fills with joy when I see my gorgeous munchkin wearing what these humble hands created!
This paper bag waist skirt was the perfect project as I really needed something quick to put together for her, in less than a couple of hours. My paper bag skirt took a while longer though as I had to take photos and record a video for this tutorial but it should only take you about an hour or so to make your own paper bag skirt.
More beginners projects you might like:
- Pillowcase dress for girls
- Elastic waist skirt
- Circle skirt with elastic waist
- Peasant top pattern
- Simple pillow case
This paperbag skirt is so sweet and cute and it’s perfect for an active girl since there’s enough room to move, so comfortable! It’s also super simple to make since the skirt is basically a tube, gathered at the waist. One of the best sewing ideas for beginners or as a last minute project!
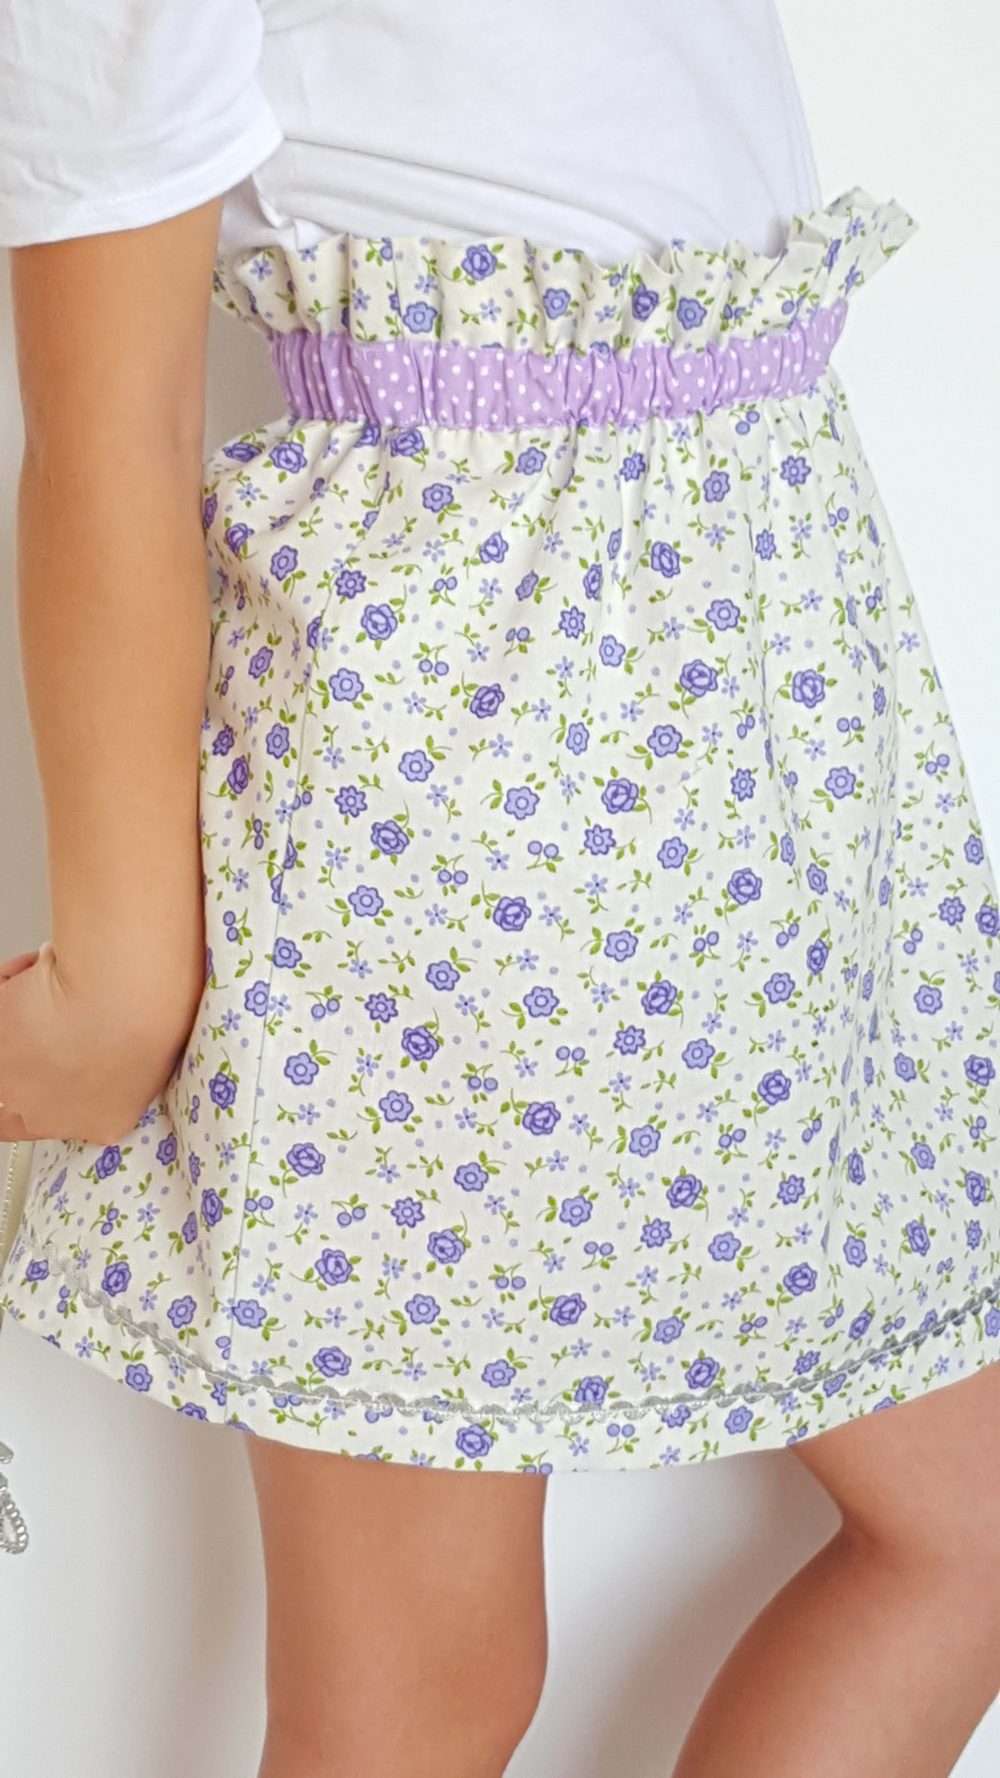
You will noticed that in my tutorial I used a French seam to finish the sides of this skirt and also that I used bias tape to finish the seam at the waist. I really love a concealed seam and even though French seams used to mean nothing to me, I’ve grown to actually love them, I think they’re sophisticated and elegant and I will probably use them in many of my projects. You can of course finish your seams just the way you like it, whatever works for you! Now let’s go see how to make a paper bag skirt!
Paper Bag Skirt Pattern
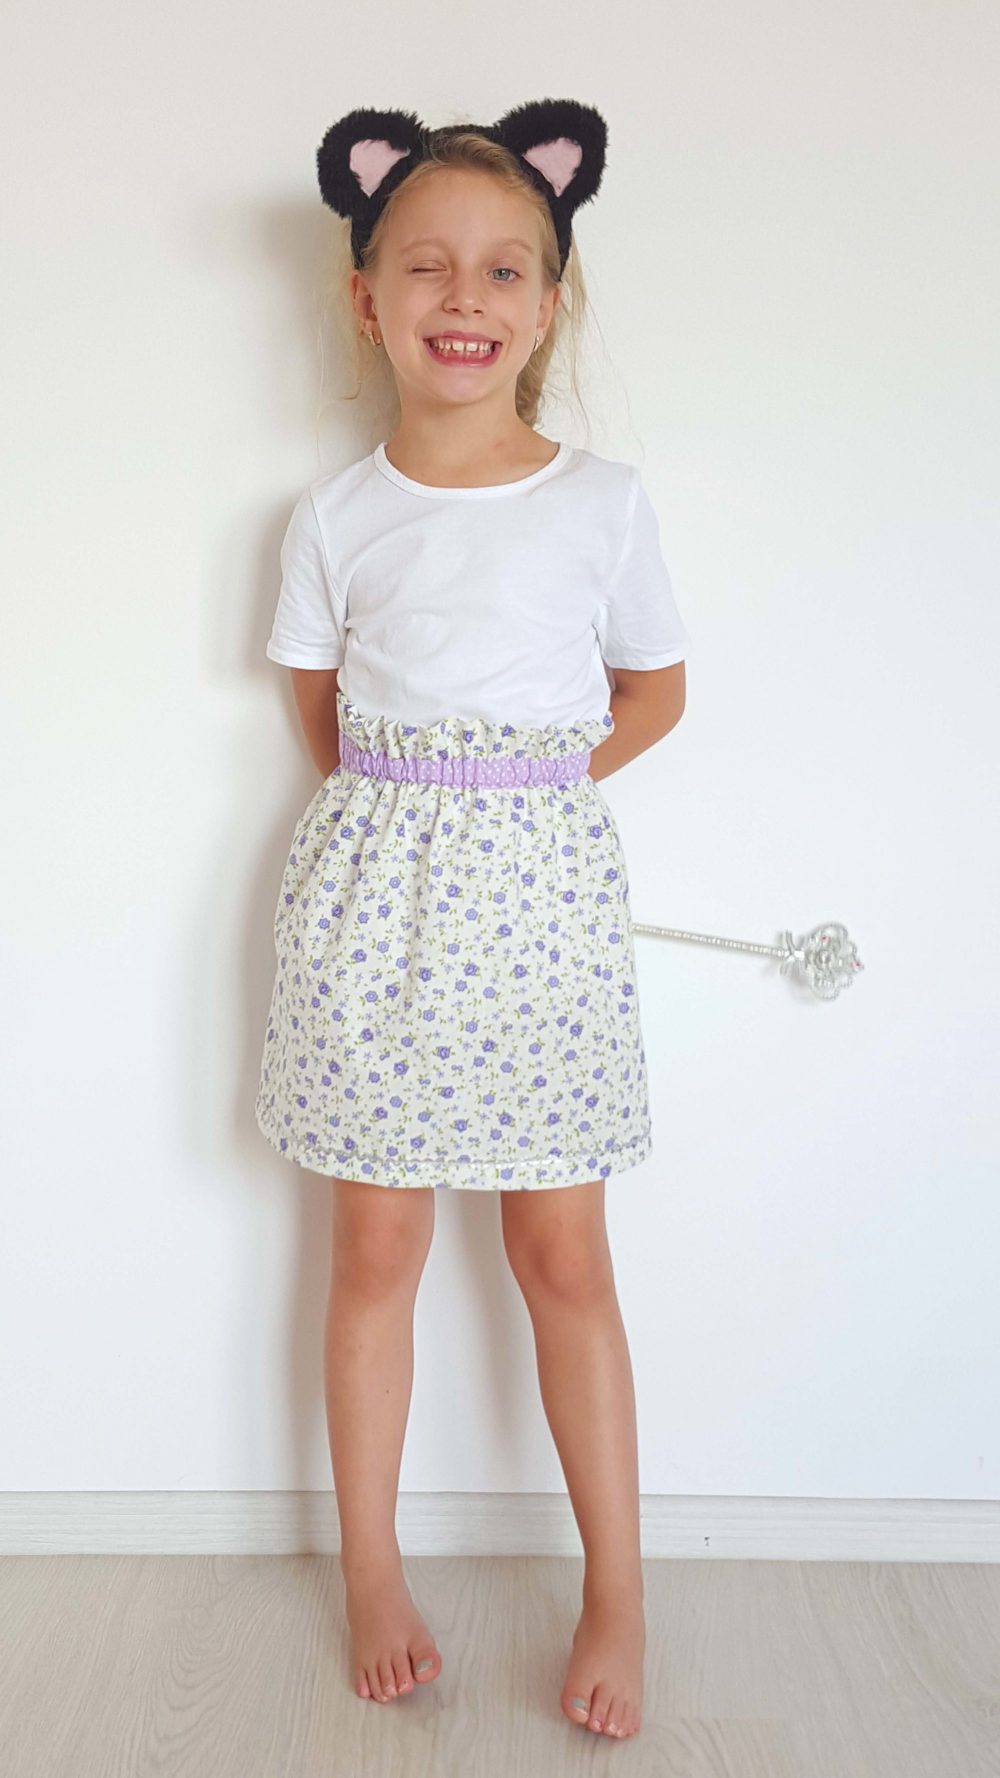
Materials:
- 2 strips of fabric of same type (I used 100% cotton, similar here)
- 1 long strip for the waistband (I used contrast fabric, similar here)
- elastic
- scissors
- ruler
- measuring tape
- fabric marker
- pins
- sewing machine
- matching thread
- pressing iron
- safety pin
- bias tape – optional, to finish the waist seam
- decorative ribbon for the hem – optional too
- nail polish in mint (just kidding! though it looks cute, don’t you think?)
Directions:
Prepare the fabric
- Measure yourself at the widest part of your mid body area. I measured mine around the hips. Add at least 4″ (make it as roomy as you feel comfortable) but not too much as the skirt will end up looking like a sack lol
- Add 5/8″ seam allowance on each side.
- Decide on the length of your skirt and add 4″ for the hem and 2 1/2″ for the top
- Cut your fabric according to your measurements.
Sew the skirt
- If you don’t want to make a French seam as I did here, just place the fabrics right sides together, pin the sides together and sew down. Otherwise, follow the French seam tutorial to finish your sides.
- Once the sides are done, with the skirt wrong side out, measure 1 1/2″ down the top, fold down that mark and pin. Sew all around the waist, 1″ down the top.
- Finish this seam with bias tape or zig zag or a serger.
Make the elastic casing
- Take a long strip of fabric and measure the elastic against this strip, both for length and width. For the width, add some room for the elastic, plus more to fold the fabric in on both sides. My elastic was 25/32″, I added 1/8″ on each side and then doubled to get the total width so my final width was 2 3/32″. The length of this strip is the same as the skirts width. Add 1″ allowance for width.
- Fold the sides of this strip in so they meet in the middle and press with a pressing iron.
- Attach the strip to the waist, to slightly cover the waist seam. Start attaching at one side and pin all around. When you get back to the starting point, fold the strip end in, about 1/4″, then pin to the other end of the strip. make sure they overlap. Sew a perpendicular stitch, attaching the ends together, then pin the strip down to the skirt.
- Sew an edgestitch around the top and the bottom of this strip, leaving a 1″ gap in the bottom to insert the elastic.
- Using a safety pin, thread the elastic through and zig zag the ends when done threading.
- Sew the gap closed.
Hem the skirt
- Do the hem. Sew at 1/4 around the hem line. Fold up using this line as a guide, then press with a pressing iron. Fold again about 2 1/2″ and sew with a 1/4″ allowance
- Attach a decorative ribbon to the hem if you wish, as I did here.
- Done! Your pretty paper bag skirt is ready to wear!
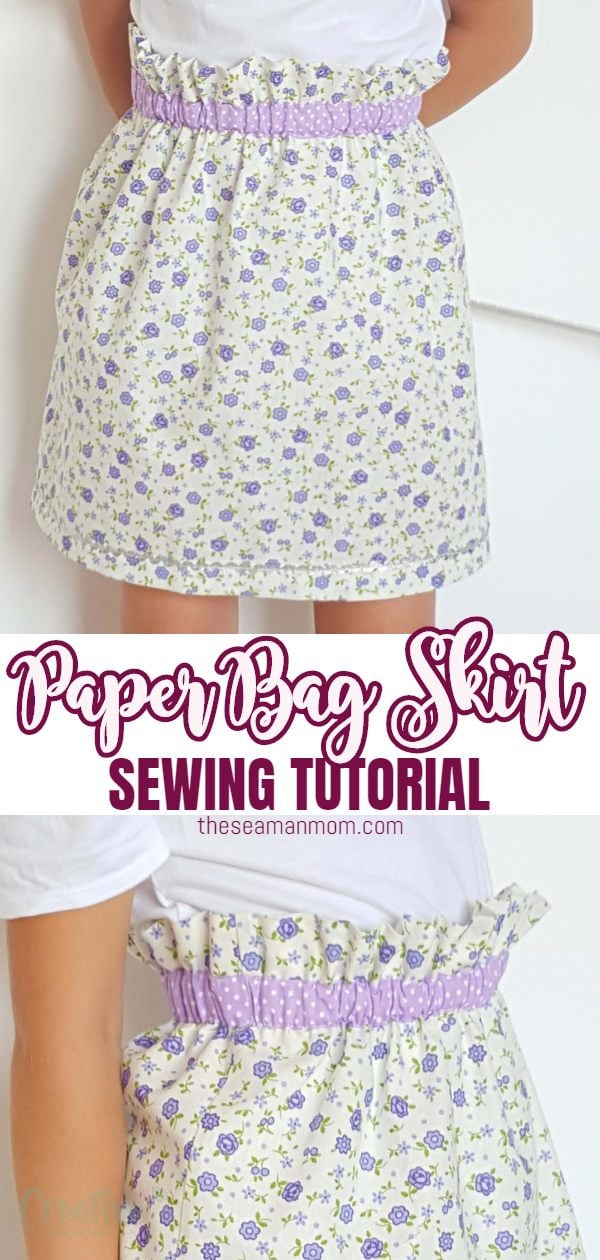
Pin to save for later
Most Popular Sewing Articles:
Article may contain Amazon & affiliate links. As an Amazon Associate I earn from qualifying purchases at no additional cost to you.


ABOUT PETRO
Hi, I’m Petro, author and founder of Easy Peasy Creative Ideas. Sewist, crafter, avid DIY-er, foodie, photographer, homemaker and mommy to one. I’m an expert at coming up with quick, clever sewing tips, recycling crafts and simple, easy recipes! You can find my ideas featured in reputable publications such as Country Living, Good House Keeping, Yahoo News, WikiHow, Shutterfly, Parade, Brit & Co and more. Thanks for stopping by and hope you’ll stay for a while, get to know me better and come back another time. Stick around for real fun projects! Read more…