

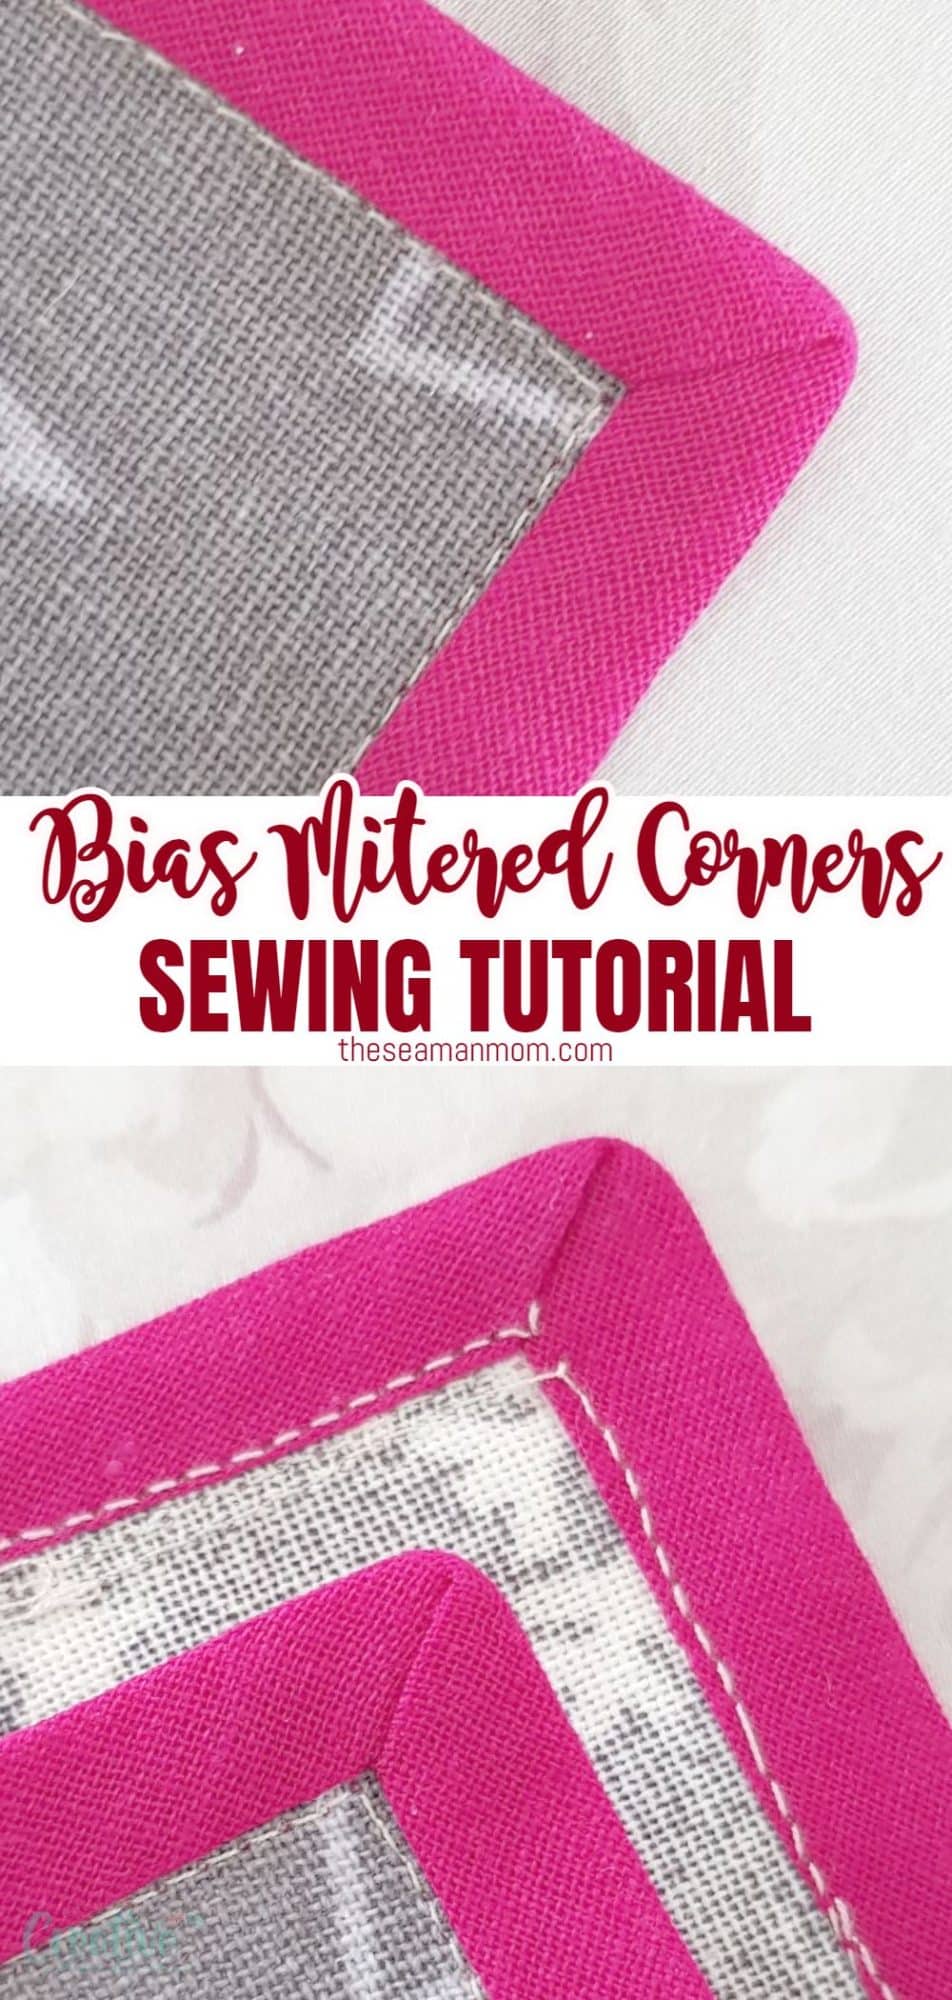
How to sew double fold bias tape around corners
This comprehensive step-by-step tutorial offers a simple and easy way to learn the invaluable skill of sewing mitered corners with bias tape. Mastering this technique will change the appearance of your sewing projects, such as napkins, place mats, table runners, and tablecloths, giving them a polished and professional look. Follow along and discover how to achieve beautifully finished mitered corners with bias tape!
Mitered corners with bias tape
Hey guys! Today I’ll add a new episode to my bias series and I’ll be demonstrating my way of sewing bias tape around corners! I love the look of mitered corners and I’ve been working on perfecting my bias tape skills so I can sew mitered corners with bias tape! If you’ve been scared on giving binding corners with bias tape a try, I’m here to assure you, this technique is as easy as it gets!
As with almost every technique in sewing, everyone has a favorite method and in my case, I found that this one here is the easiest, fastest and simplest way of sewing mitered corners with bias tape! Once you get the hang of it, it literally takes seconds to get your bias tape corners done!
Do I need single or double fold bias tape?
To make a mitered corners with bias tape, you need double fold bias tape. If you have single fold bias tape, first you need to fold your bias tape in half and press it. Then start by sewing your bias tape onto one edge of your fabric, leaving a tail of unsewn bias at the beginning. The exact steps of the process are below.
What does double fold bias tape mean?
To start off, let’s first define what double fold bias tape means. Bias tape is a strip of fabric that is cut on the bias, or at a 45 degree angle to the straight grain of the fabric. This allows for more flexibility and stretch in the tape, making it easier to manipulate around curves and corners.
Double fold bias tape simply means that the strip of fabric has been folded in half and then pressed. This creates a neat edge on both sides of the tape, making it easier to work with and giving a clean finish. Each half of the tape are also folded towards the center, so that when applied to fabric, both sides create a neat edge.
How do you use double fold bias tape to finish edges?
I have a complete bias tape series listed below and there you’ll find how to sew double fold bias tape. In that tutorial I highlighted the use of double fold bias on the hem of a skirt but there are countless other uses for it. Today we’ll focus on how to sew mitered corners with bias tape, but you can also use this technique to finish edges on placemats, napkins or garments such as like necklines, armholes, side seams and more.
Sewing bias tape to finish straight edges is easy peasy. It becomes slightly more challenging when applied to curves and a step more challenging when used to finish sharp corners.
How to sew double fold bias tape around curves?
When sewing bias tape around curves, it’s important to ease the tape onto the fabric smoothly. Because the bias tape is cut on the bias, in a 45 degree angle, it’s pretty stretchy and flexible and quite easy to handle.
Start by pinning or clipping one side of the tape to one end of your curve and then continue pinning or clipping as you work around the curve. Make sure to stretch the bias tape just slightly as needed to fit the curve without any puckering. This becomes particularly important when you’re working with tight curves. Smooth out the puckers while sewing (you can use a pin to push the fabric gently under the presser foot).
Once you reach the end of your curve, stop sewing and cut the tape leaving a tail of about 2 inches. This will make it easier to finish the ends neatly later on. In the bias series I’ve listed the tutorial for how I join the bias ends together after attaching the tape to the edge.
How to sew double fold bias tape around sharp corners?
For sharp corners you’ll apply the mitered corners technique that I will describe in detail below. Essentially, you’ll fold your bias tape at a 45 degree angle before sewing it down around the corner. This creates a neat and clean finish, with no raw edges showing.
How do you keep bias tape from puckering?
Puckering can occur when working with bias tape, especially around curves. This is due to the stretching and manipulation of the fabric. To prevent puckering, make sure to ease the tape onto the fabric smoothly and use extra pins or clips as needed to keep it in place. You can also try adjusting your machine’s tension settings or using a walking foot for more control.
Will bias tape unravel?
Bias tape is cut on the bias, which means if cut correctly, it doesn’t unravel. This is because the bias cut of the fabric allows the edges to be finished, preventing them from fraying.
Check out the entire bias series here:
- Continuous bias binding
- How to make bias binding without a bias maker
- How to use a bias tape maker
- Bias calculator, formula and cheat sheet
- How to sew single fold bias tape
- How to sew double fold bias tape
- Joining bias tape ends
To make my mitered corners with bias tape look neat, sharp and polished, I use a teeny tiny trick I’ll be showing in the step by step tutorial below. It’s one of those little details that seem so insignificant at a first glance but prove to be the hero of the project. The idea came to me after struggling to keep bias tape in place as I was twisting and folding it around the corners to sew it to the project. So mind blowing!
In fact there are two little details you definitely need to keep in mind and you use one of them in every single one of your projects! Oh, alright! I’ll disclose my big secrets! Just because I love you, I won’t keep you “in stitches” any longer!
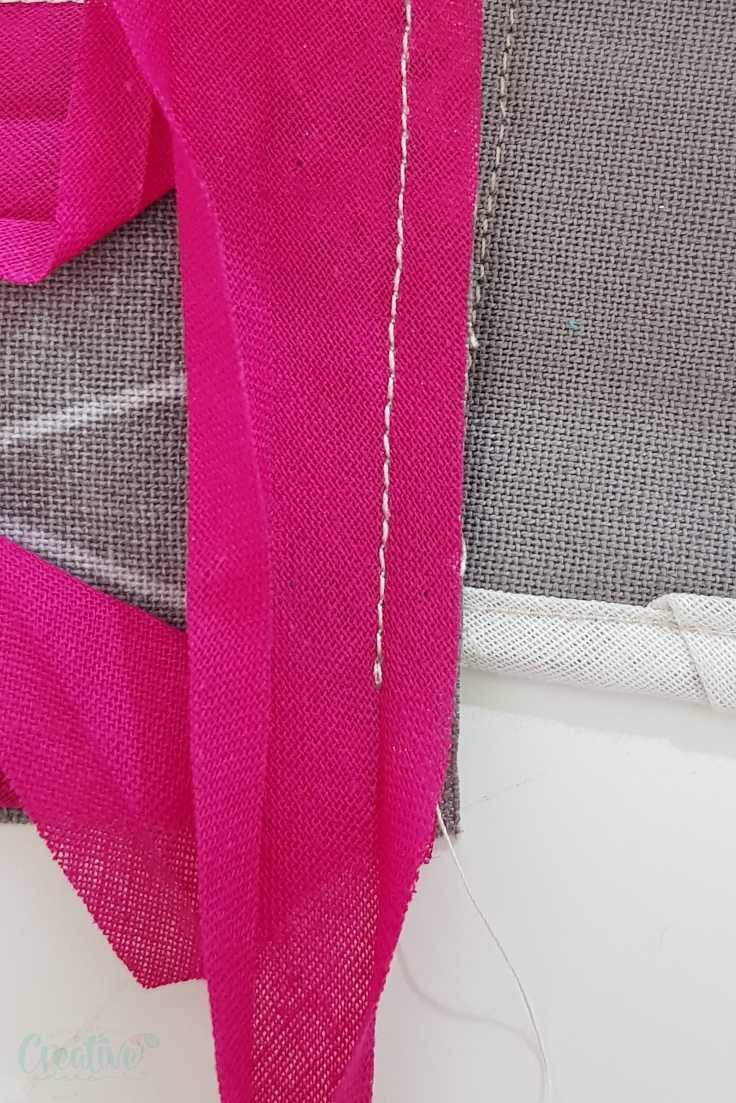
My first trick is a very tiny extra seam that I sew in the corner, that helps the bias stay put when I fold it to the side (it’ll make more sense once I get to the actual tutorial). The second trick is ironing the bias tape on the corners, in the initial steps. It helps you get a very precise fold and therefore a very precise finish of your mitered corners with bias tape.
Now let’s see how I actually sew bias tape mitered corners! I’ve made this tutorial on a small piece of scrap, just to demonstrate the technique. Hopefully you’ll be able to understand each step as the corners are pretty close to each other. If you have any questions, please let me know in the comments section below this tutorial.
How to sew double fold bias tape around corners
Materials:
- Piece of fabric in square or rectangular shape
- Double fold bias tape
- Fabric marker or chalk pencil
- Pins
- Matching thread (I used contrast for the purpose of this tutorial)
- Sewing machine
- Pressing iron
How do you put bias tape around a corner?
Sew the bias tape to the fabric on one side
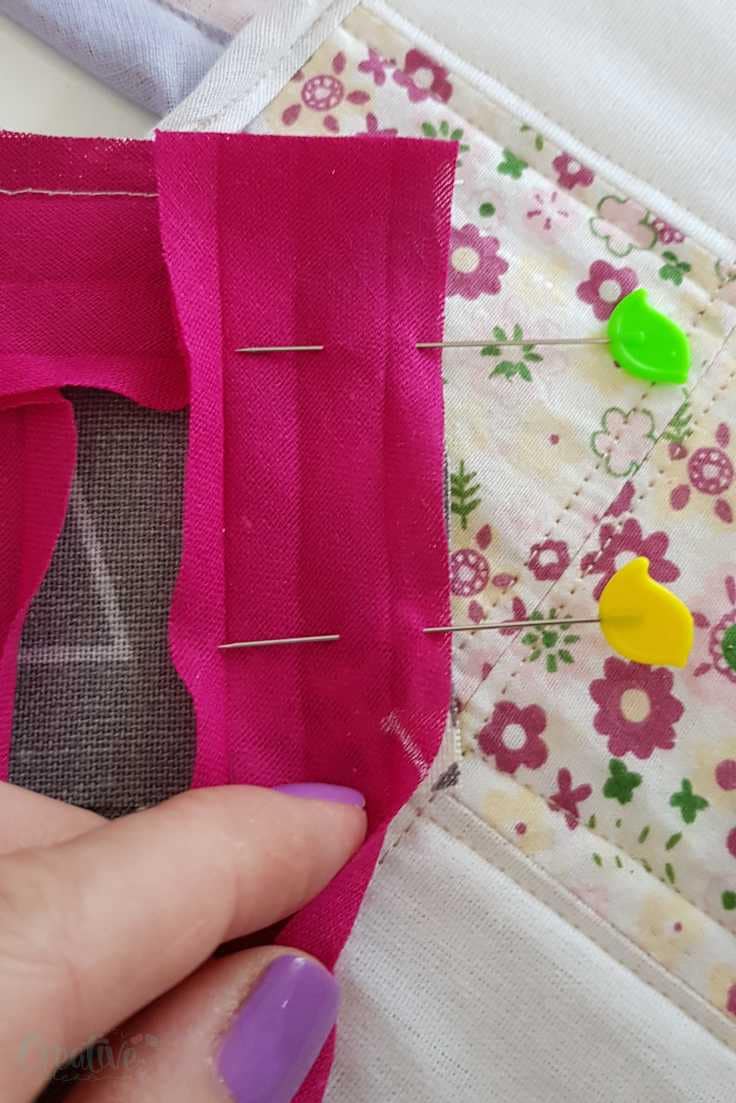
- Start by pinning and sewing one edge of the bias tape to the right side of the square, somewhere in the middle, as indicated in this tutorial. Use a 1/4″ seam allowance.
- As you approach the corner, stop sewing, lift the presser foot and remove the fabric.
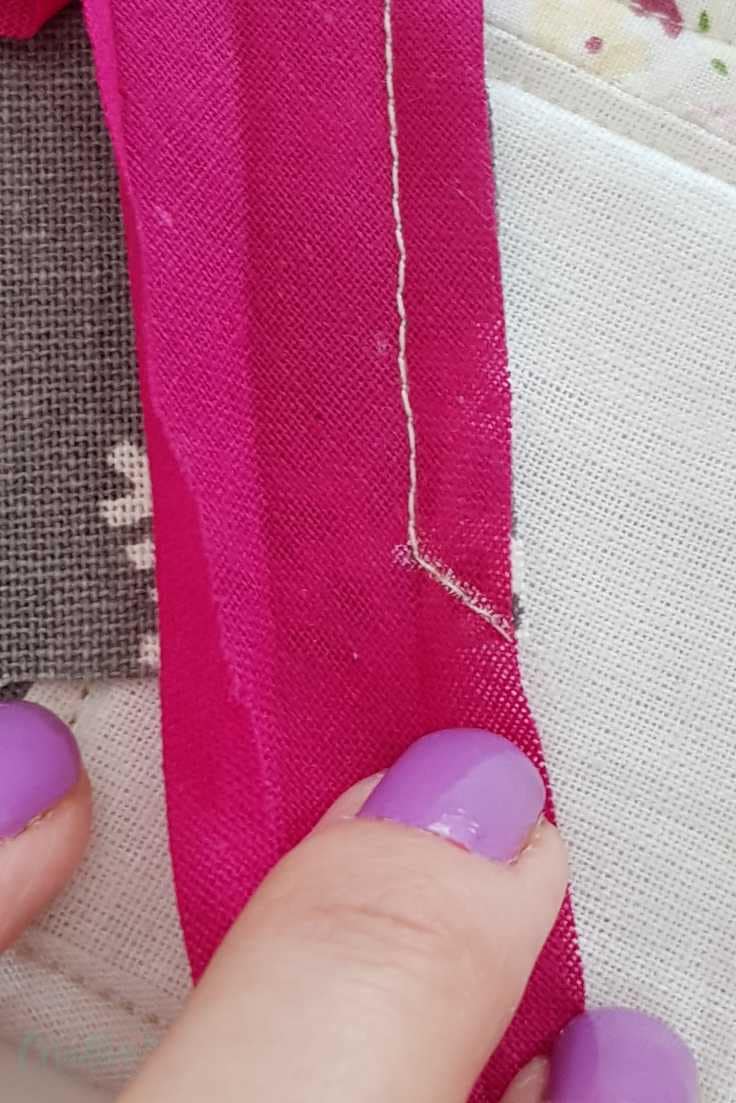
- Mark 1/4″ away from the corner on the bias tape.
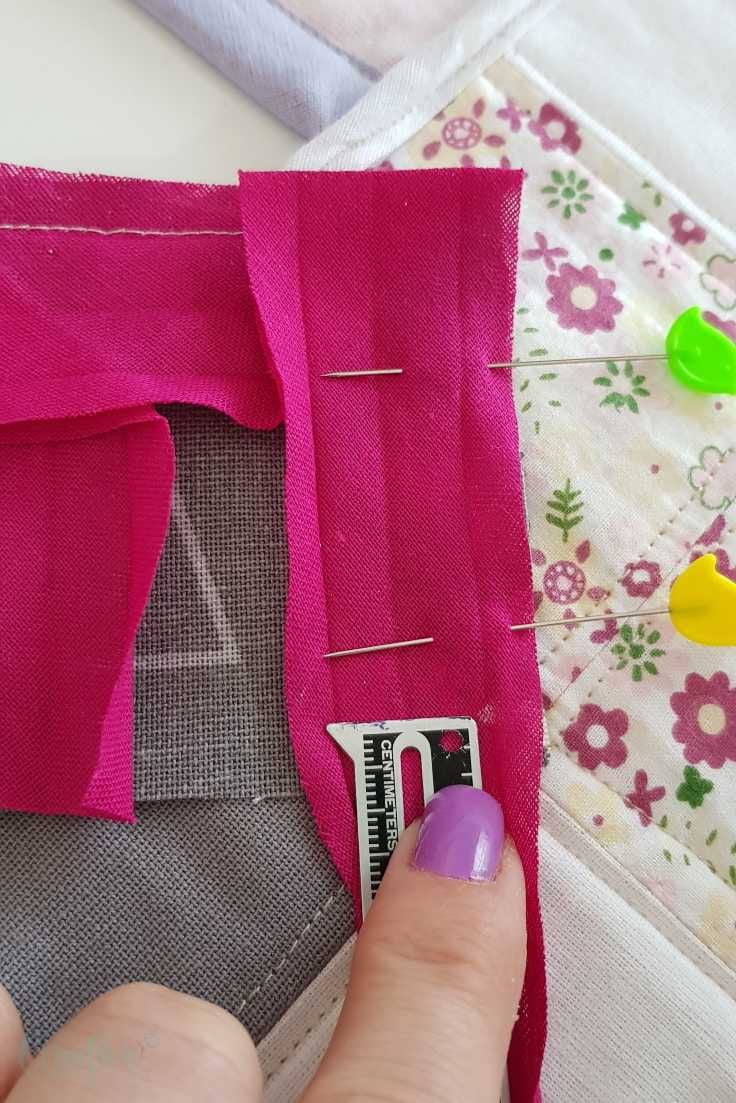
- Draw a line from this mark to the corner.
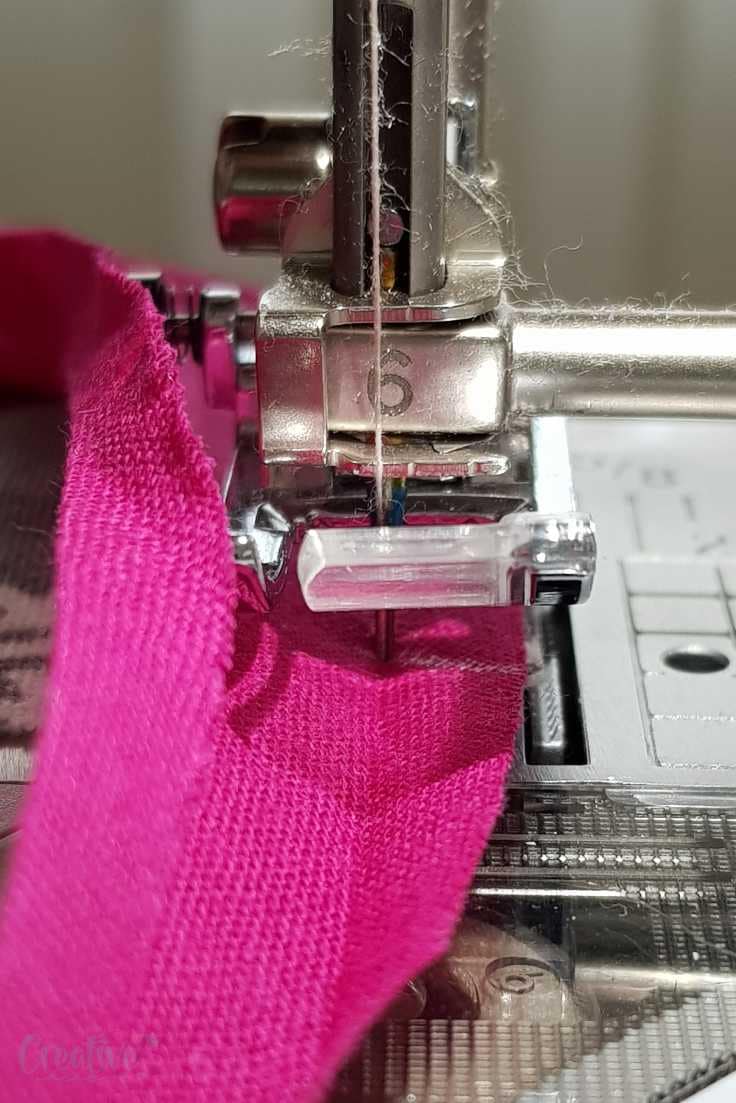
- Put the fabric back under the presser foot and continue sewing until you reach the 1/4″ mark.
Sew the bias tape to the corner
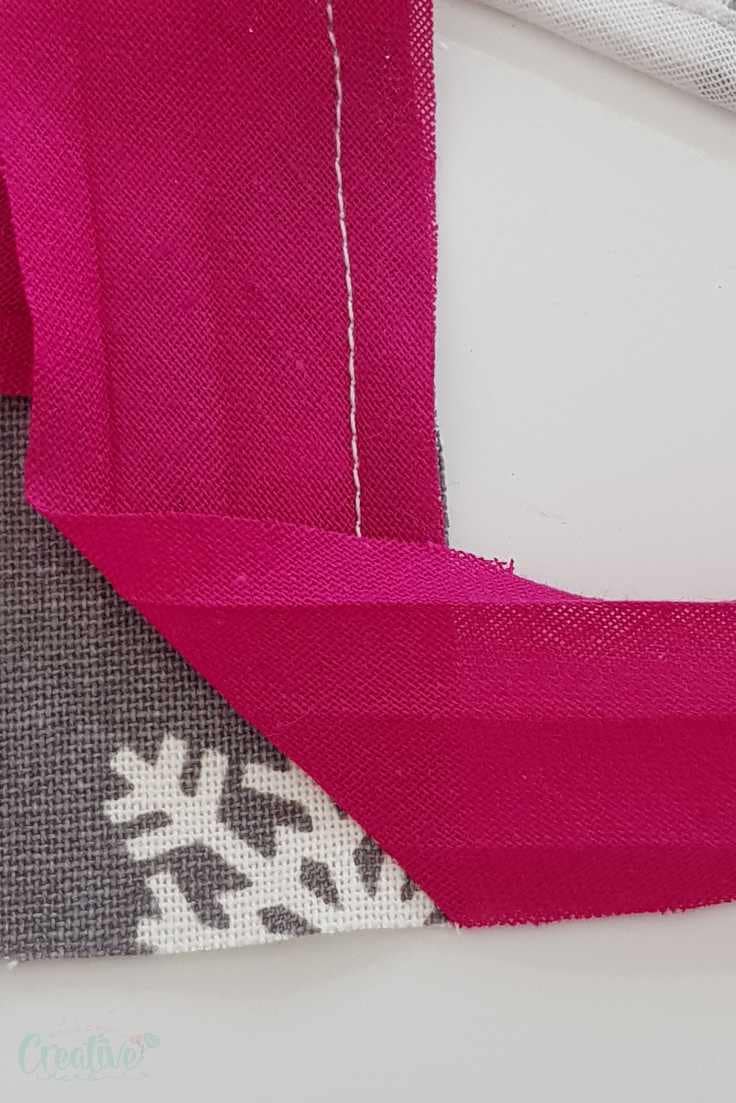
- Stop at the mark, leave the needle down into the fabric, lift the presser foot up and pivot the fabric so the needle is level with the line you drew to the corner.
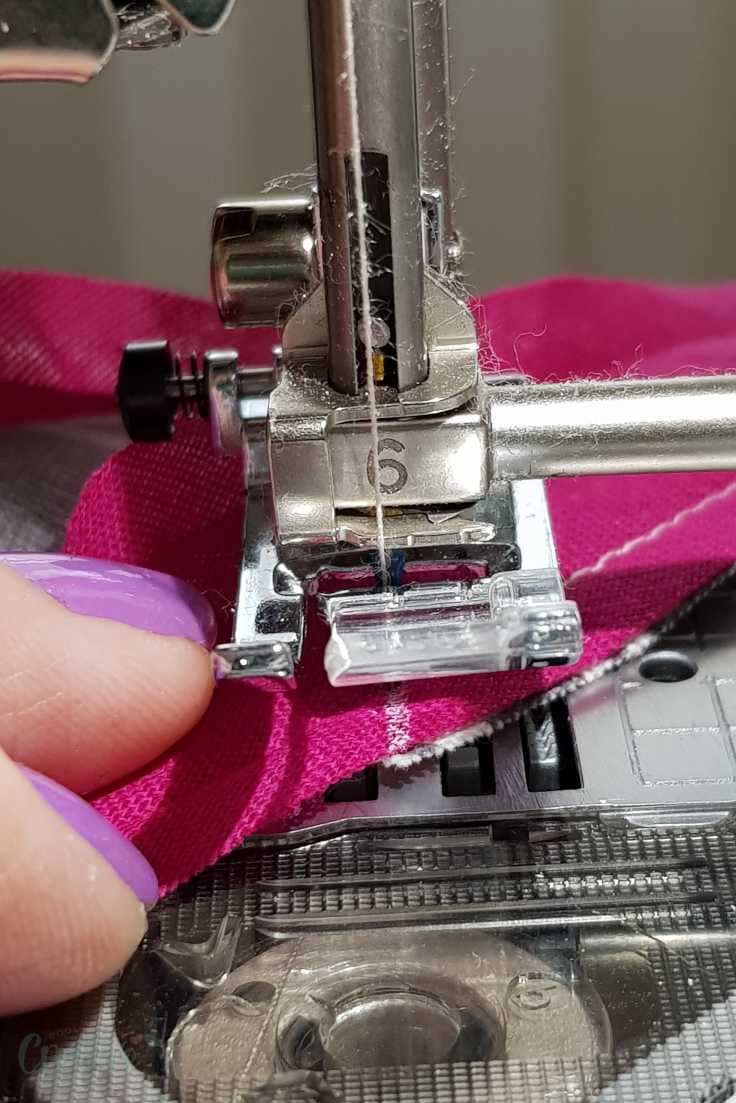
- Lower the presser foot down and continue sewing until the needle reaches the corner.
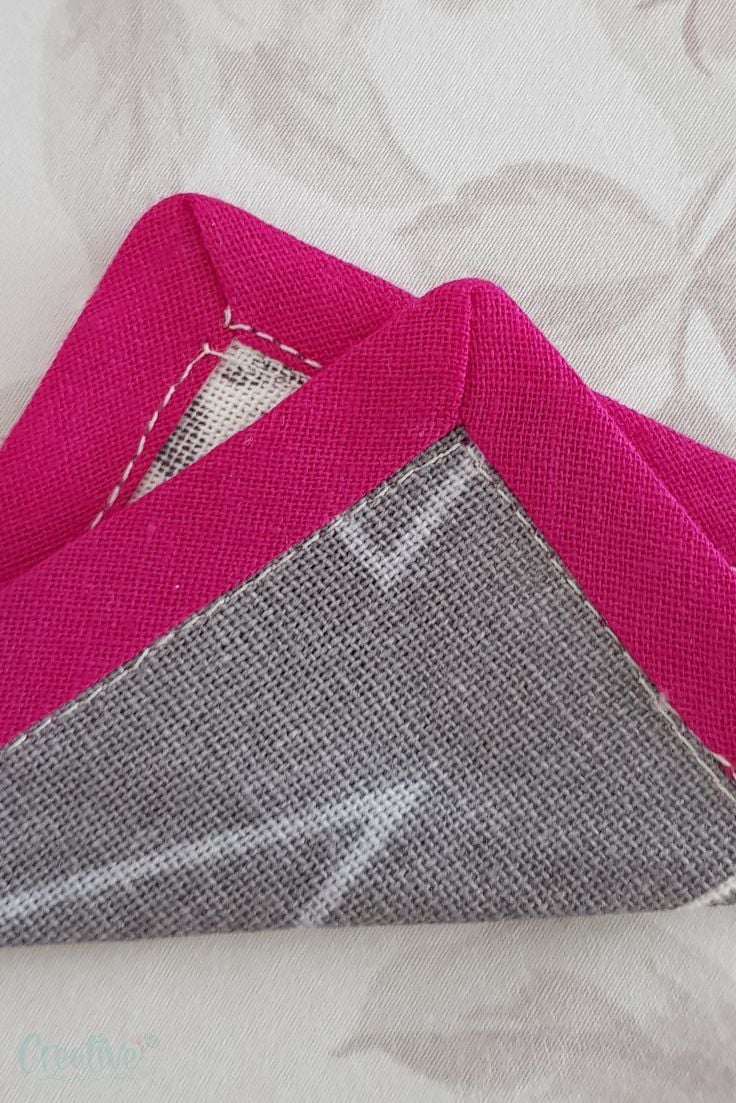
Fold the bias tape to the other side of fabric
- Remove the fabric and fold the bias tape to a side, over the little seam you’ve sewn in the corner.
- Press the bias right at that seam with your pressing iron.
- Fold the bias tape down, towards the other side of the square. The fold in the bias tape should be level with the edge of the fabric.
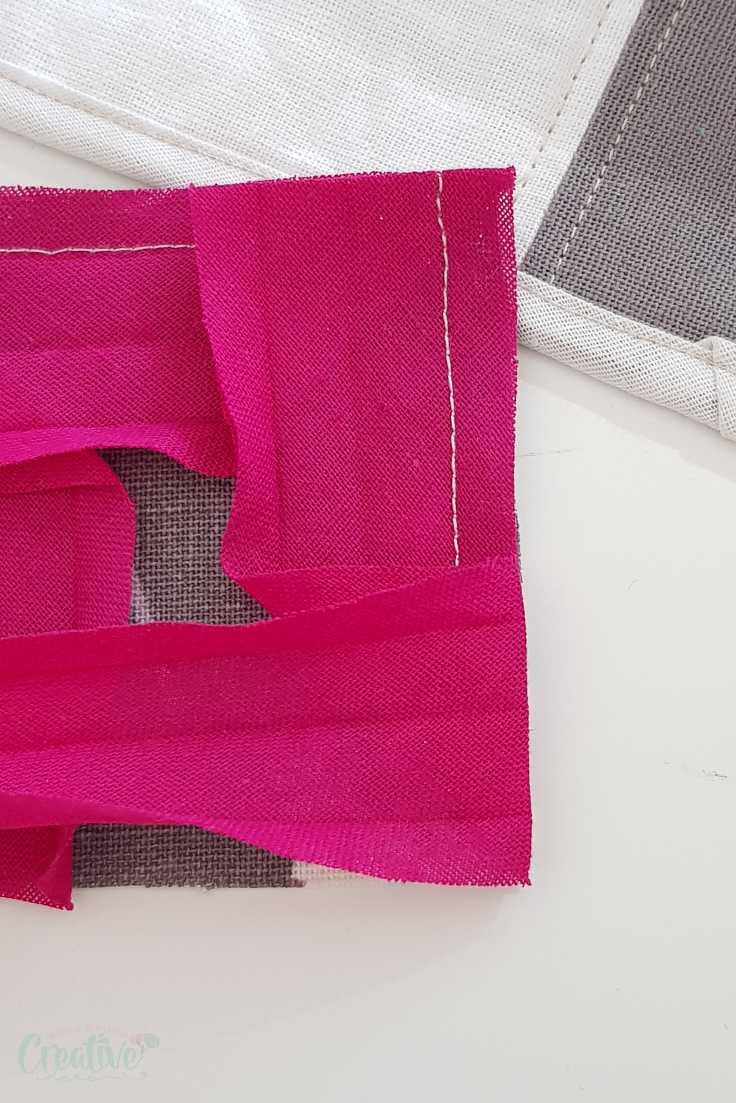
- Press well, right along the edge.
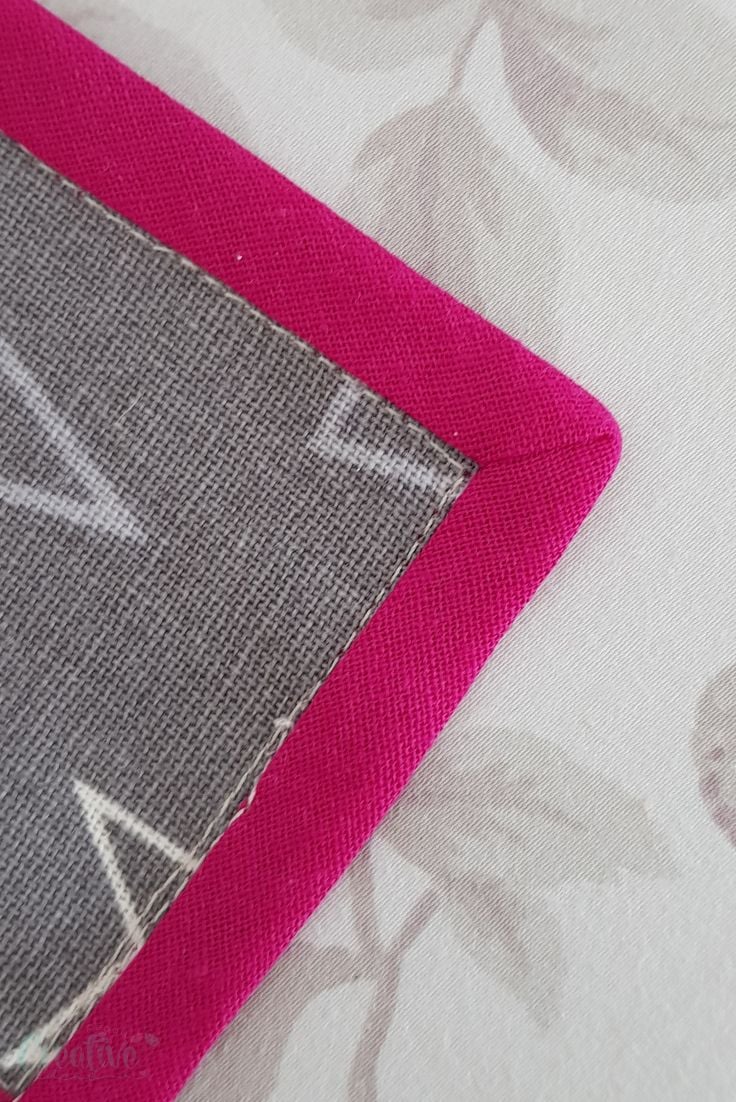
Sew the bias tape to the second side of fabric
- Pin the bias tape to the second edge of the square.
- Sew the bias to the second edge, starting right near the edge of the fabric, in the corner you just mitered.
- As you reach the next corner, repeat all the steps above.
- Continue in the same manner until all corners are done.
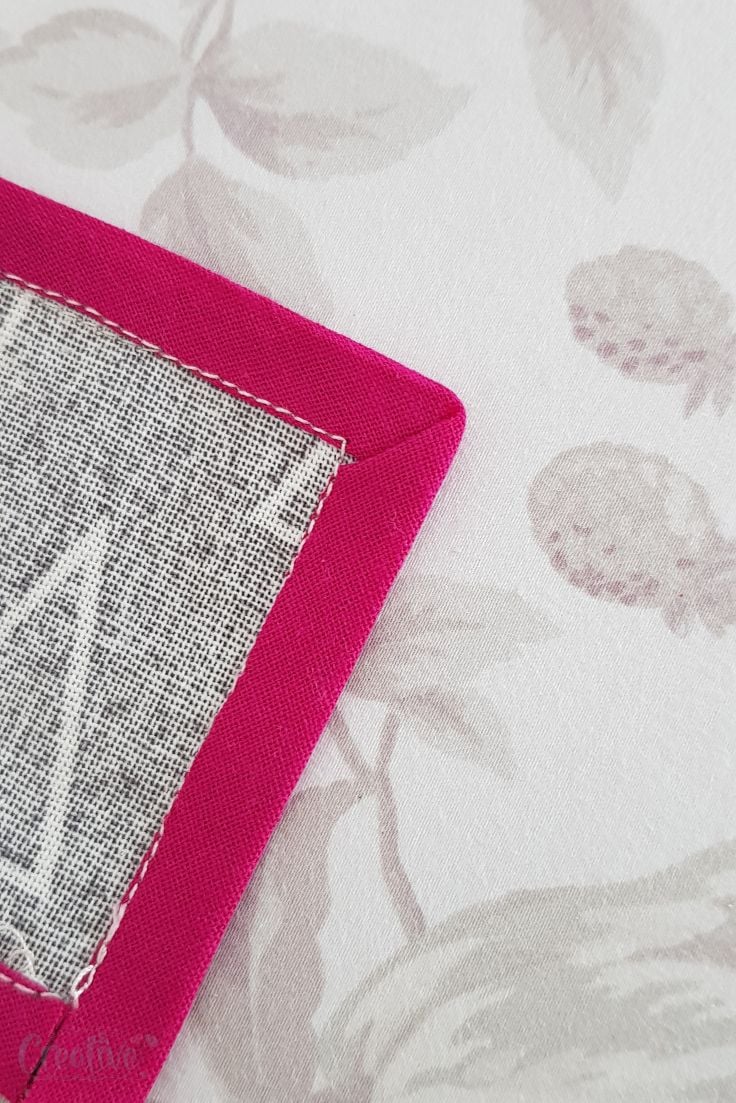
Finish sewing bias
- When you get to the end of the bias tape, follow the same tutorial I mentioned in the beginning of these instructions to attach the bias ends.
- Push bias tape up, on all edges and give it a light press along the seam you’ve just finished sewing.
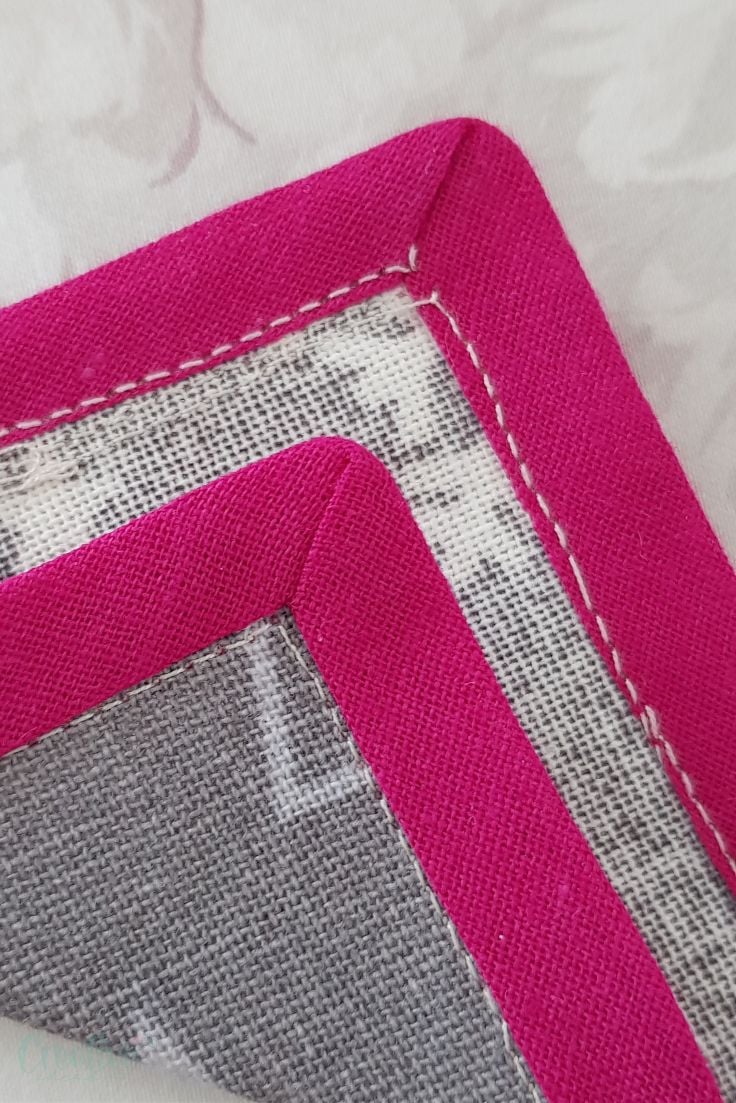
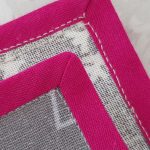
- Then fold the bias to the wrong side of the fabric, smoothing out and folding the corners until they shape like mitered corners.
- Once you are happy with the look, pin the bias to the back of the fabric and stitch in the ditch on the right side of the fabric to attach the bias to the back of the fabric. The above tutorial also shows this method.
- Give your project a good press along all sides and corners and you’re done!
I hope you found my tutorial to be both straightforward and informative! I’m really excited for you to try implementing this method in one of your projects. If you could take a moment to share your thoughts in the comments section, I would greatly appreciate it. Thank you so much for your support and Happy sewing!
Pin to save for later
Most popular sewing projects:


Print the sewing card
How to sew double fold bias tape around corners
Materials
- 1 Piece of fabric in square or rectangular shape
- Double fold bias tape
Tools
- Fabric marker or chalk pencil
- Matching thread (I used contrast for the purpose of this tutorial)
- pressing iron
Instructions
- Start by pinning and sewing your bias tape on one side of the square, somewhere in the middle, as indicated in this tutorial.
- As you approach the corner, stop sewing, lift the presser foot and remove the fabric.
- Mark 1/4" away from the corner on the bias tape.
- Draw a line from this mark to the corner.
- Put the fabric back under the presser foot and continue sewing until you reach the 1/4" mark.
- Stop at the mark, leave the needle down into the fabric, lift the presser foot up and pivot the fabric so the needle is level with the line you drew to the corner.
- Lower the presser foot down and continue sewing until the needle reaches the corner.
- Remove the fabric and fold the bias tape to a side, over the little seam you've sewn in the corner.
- Press the bias right at that seam with your pressing iron.
- Fold the bias tape down, towards the other side of the square. The fold in the bias tape should be level with the edge of the fabric.
- Press well, right along the edge.
- Pin the bias tape to the second side of the square.
- Sew the bias to the second side, starting right near the edge of the fabric, in the corner you just mitered.
- As you reach the next corner, repeat all the steps above.
- Continue in the same manner until all corners are done.
- When you get to the end of the bias tape, follow the same tutorial I mentioned in the beginning of these instructions to attach the bias ends.
- Push bias tape up, on all sides and give it a light press along the seam you've just finished sewing.
- Then fold the bias to the back of the fabric, smoothing out and folding the corners until they shape like mitered corners.
- Once you are happy with the look, pin the bias to the back of the fabric and stitch in the ditch on the right side of the fabric to attach the bias to the back of the fabric. The above tutorial also shows this method.
- Give your project a good press along all sides and corners and you're done!
- I hope you found my tutorial easy and instructive and you've already decided to give this
Article may contain Amazon & affiliate links. As an Amazon Associate I earn from qualifying purchases at no additional cost to you.

Thank you for this. Will have to try next time
Hello! I love your ideas and suggestions!!
Awesome, you make it look so easy. Thank you!