

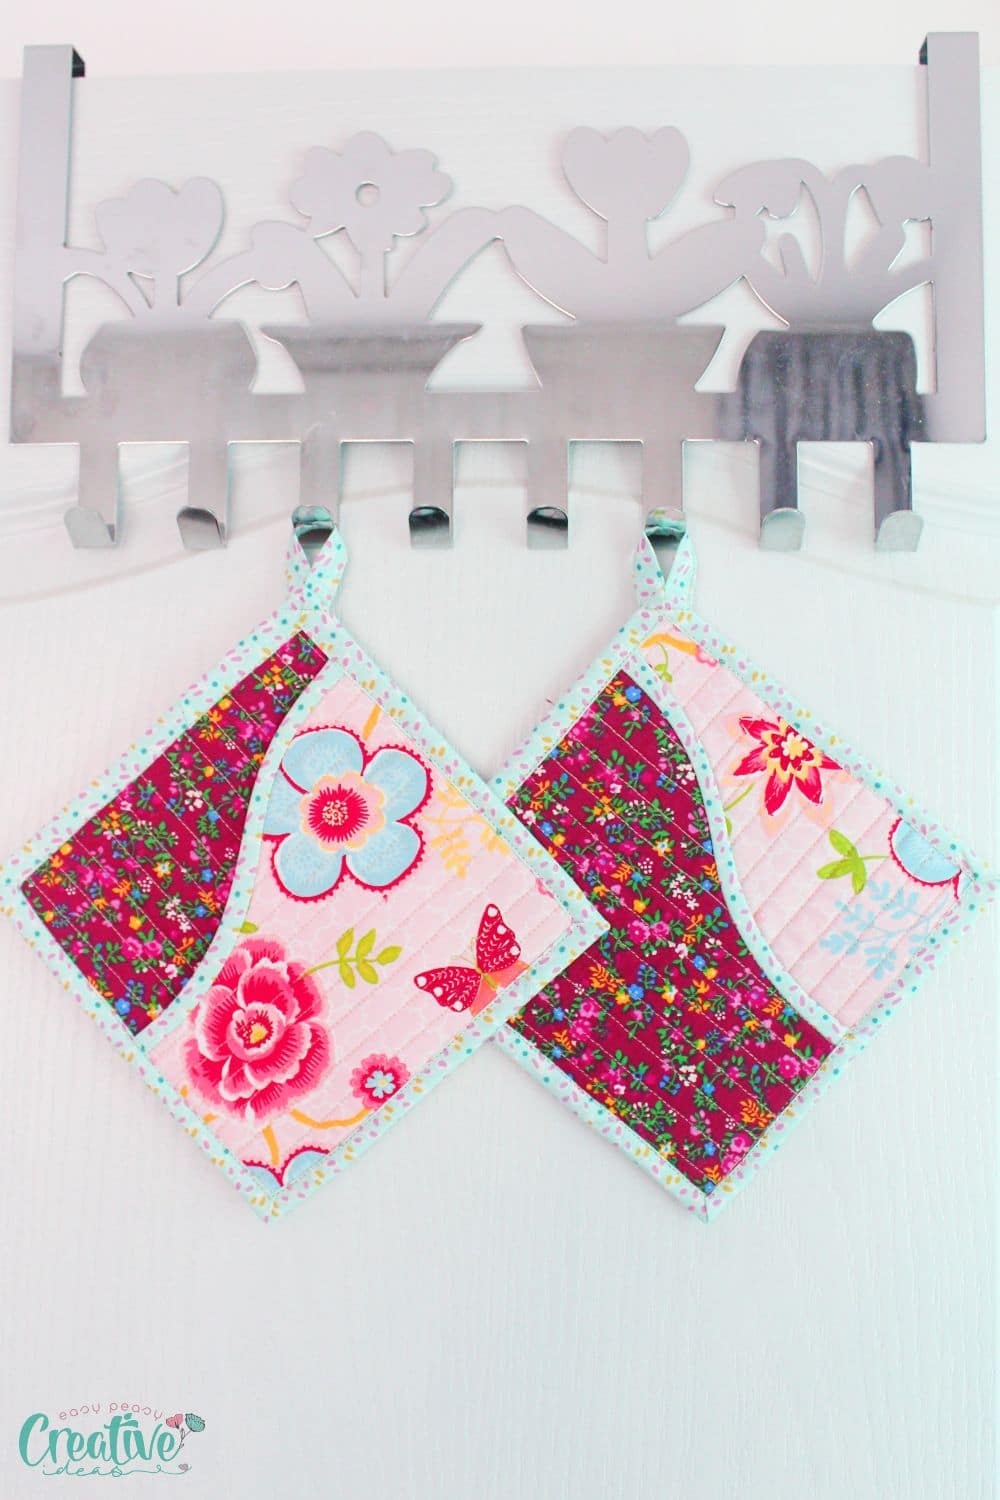
Free square kitchen pot holder pattern
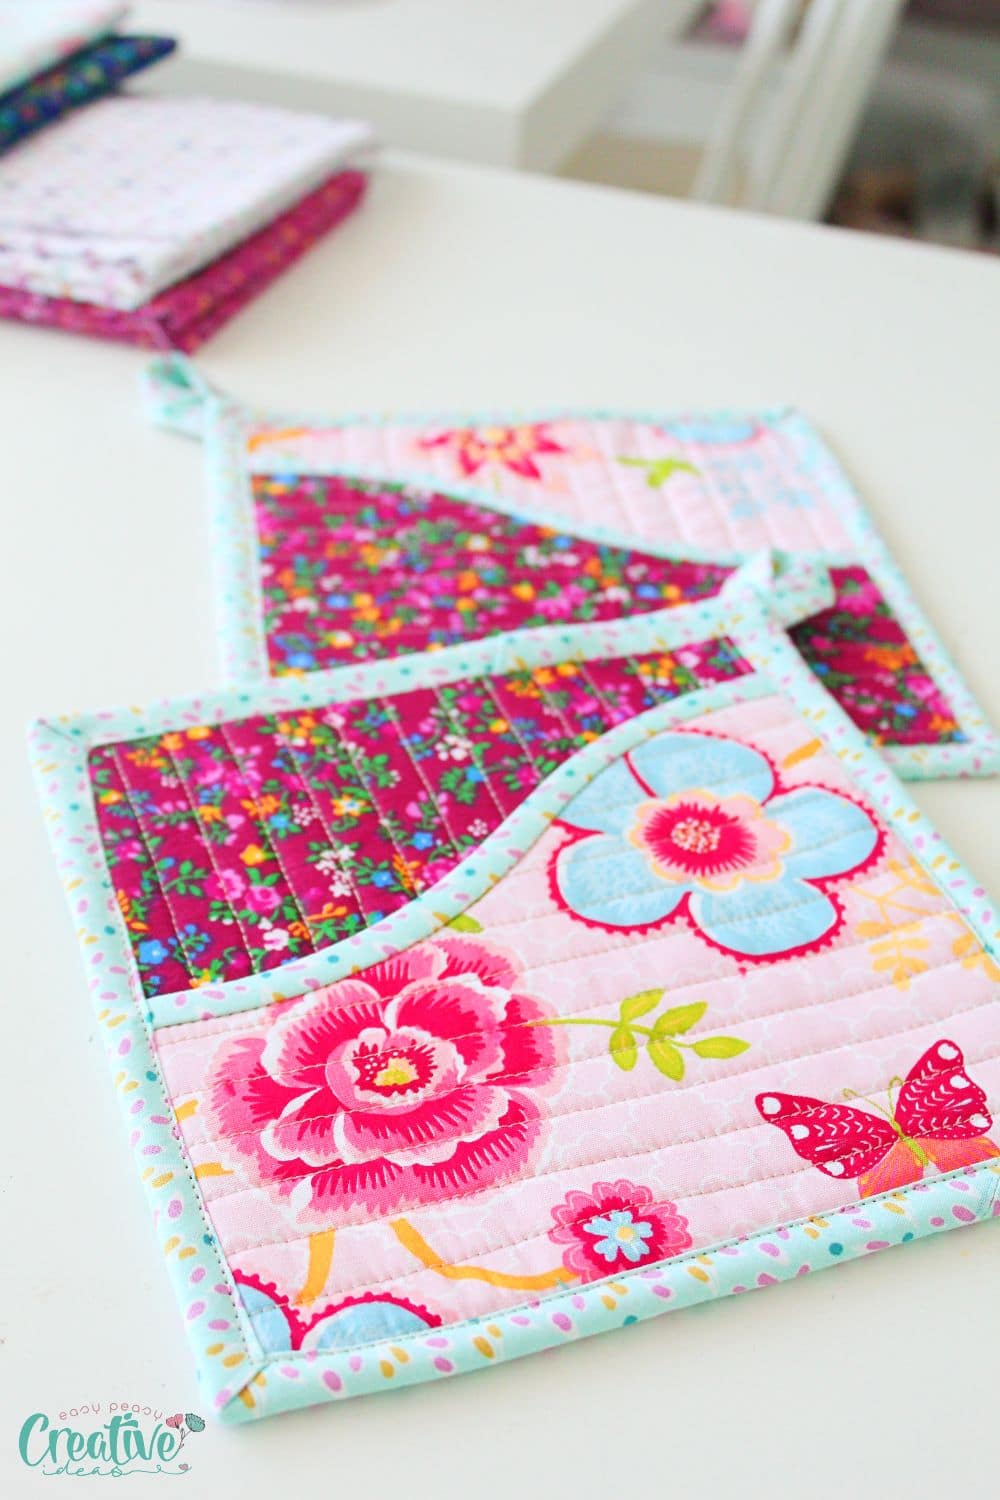
If you’re in search of an easy and quick sewing project, then look no further than this pot holder pattern for adorable square kitchen pot holders! Perfect project for those just starting out, you can finish these darling square potholders in record time. So corral your fabric and sewing materials and let’s get going!
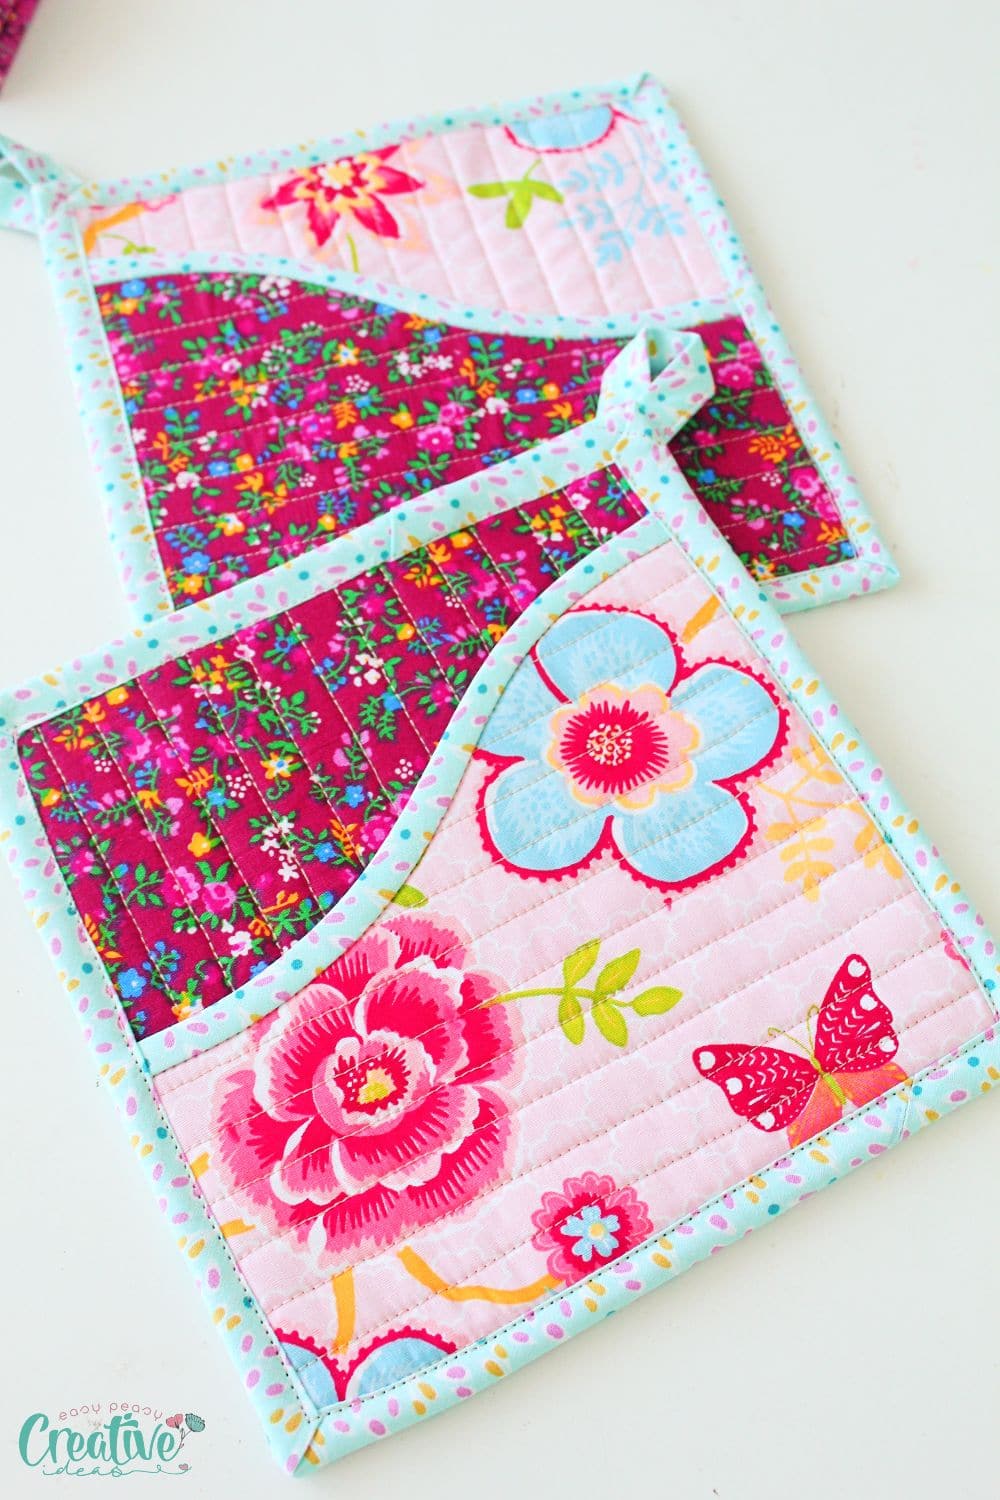
If you’ve been looking for the best pot holders to sew for your kitchen, I’ve got the perfect project for you – a pot holder pattern for sewing square pot holders! This pattern is simple and easy, so it’s a great way to start your quilting journey if you’re a beginner. These are simple kitchen pot holders that are perfect for any sewing level. Plus, they make a great gift not only at holidays but for any time of the year. The best part is that you can customize these DIY pot holders however you want. Add some fun fabrics or embellishments and make these fun potholders your own.
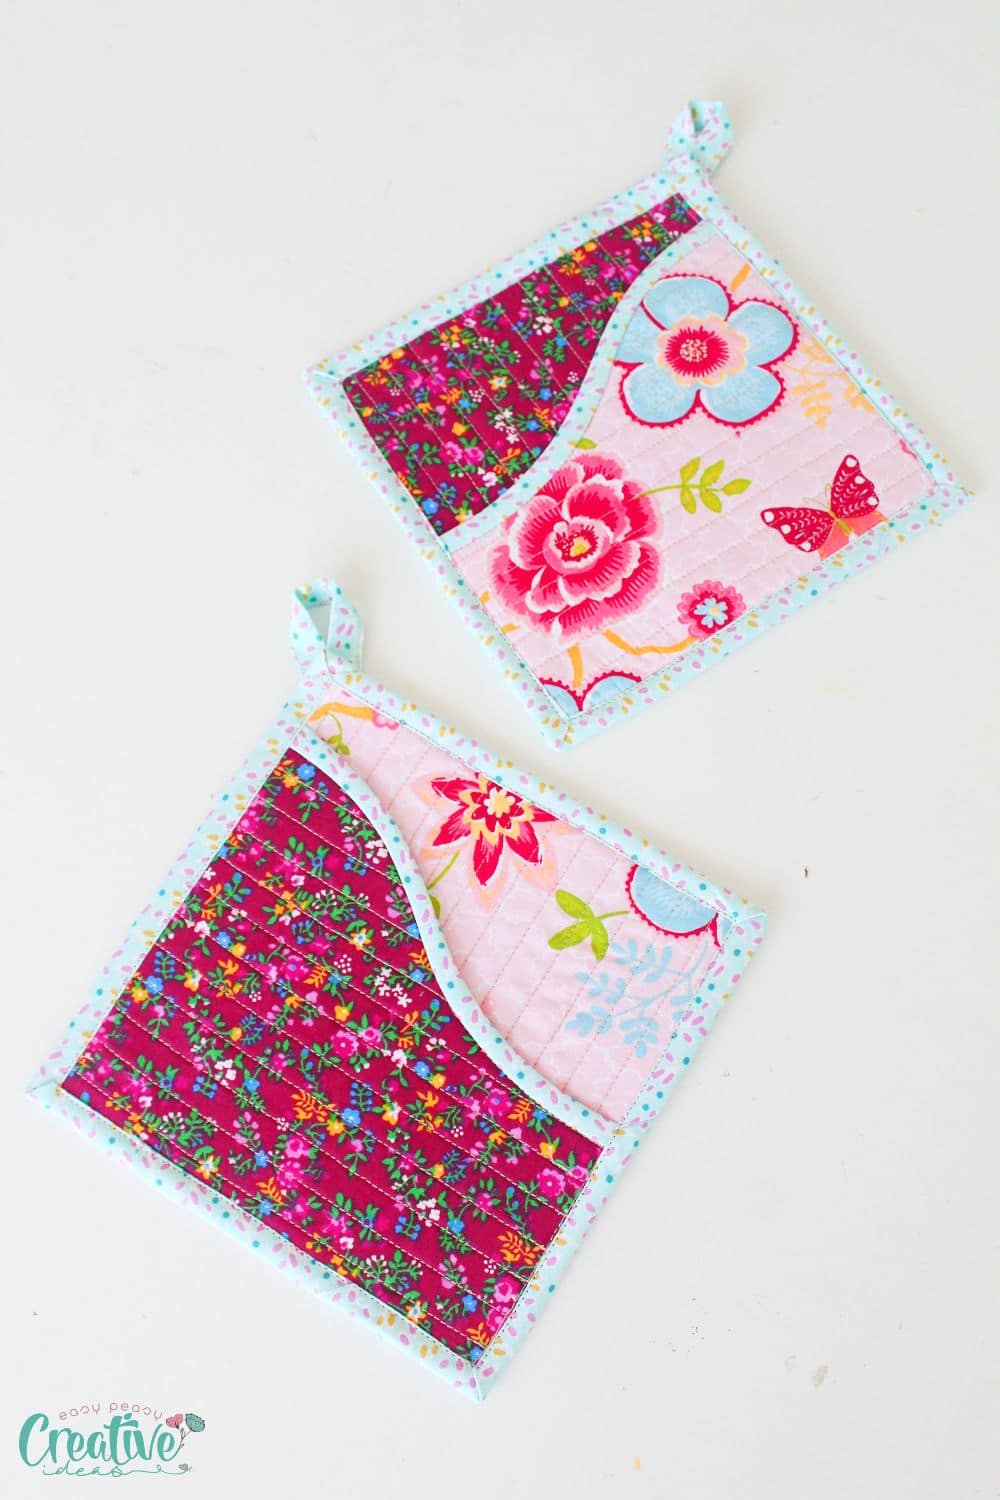
My pot holder sewing pattern is easy to follow and takes just 30 minutes to sew. You can use any type of fabric you like, so it’s perfect for using up scraps from your other projects or selvage to make new fabric, and it’s perfect for matching your kitchen decor. And best of all, these square kitchen potholders are machine-washable and dryer-safe – making them durable enough to last through years of use.
Sewing potholders is a great way to use up fabric scraps. If you’re anything like me, then you have a stockpile of fabric scraps just waiting to be used. And what better way to use them than by sewing your own potholders? This easy potholder pattern is the perfect way to use up those fabric scraps and add a pop of color to your kitchen.
How to sew a pot holder pattern
What materials do I need to make a potholder?
For each item in this potholder tutorial you’ll need these materials:
- potholder pattern
- four pieces of fabric approximately 7 1/2″ by 7 1/2″ (2 for the body and 2 for the pocket
- two pieces of batting, approximately 7 1/2″ by 7 1/2″ (1 for the body and 1 for the pocket). If you end up with scraps, here’s what to do with them.
- about 40″ of 2″ binding strip or double-sided bias tape plus a little more for the hanging loop (or use ribbon instead)
- double sided tape
- hem gauge
- fabric marker
- scissors
- pressing iron
- sewing machine
How do you make a potholder step by step?
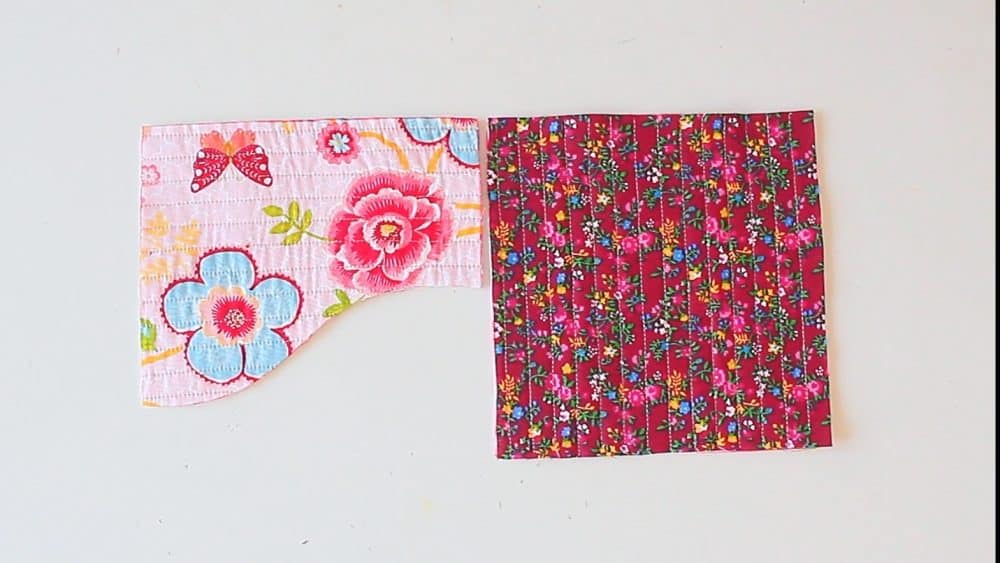
- Print the pattern, cut out the pieces, and transfer them onto fabrics as indicated in the pattern. Cut the fabrics.
- Get the fabric pieces and the batting for the body and stick them together using double-sided tape so there will be no shifting during the quilting process. Start by placing one of the fabrics wrong side up, add the double-sided tape then top the fabric with batting. Add double-sided tape to the batting and top with the other fabric, right side up.
- Repeat the process for the pocket.
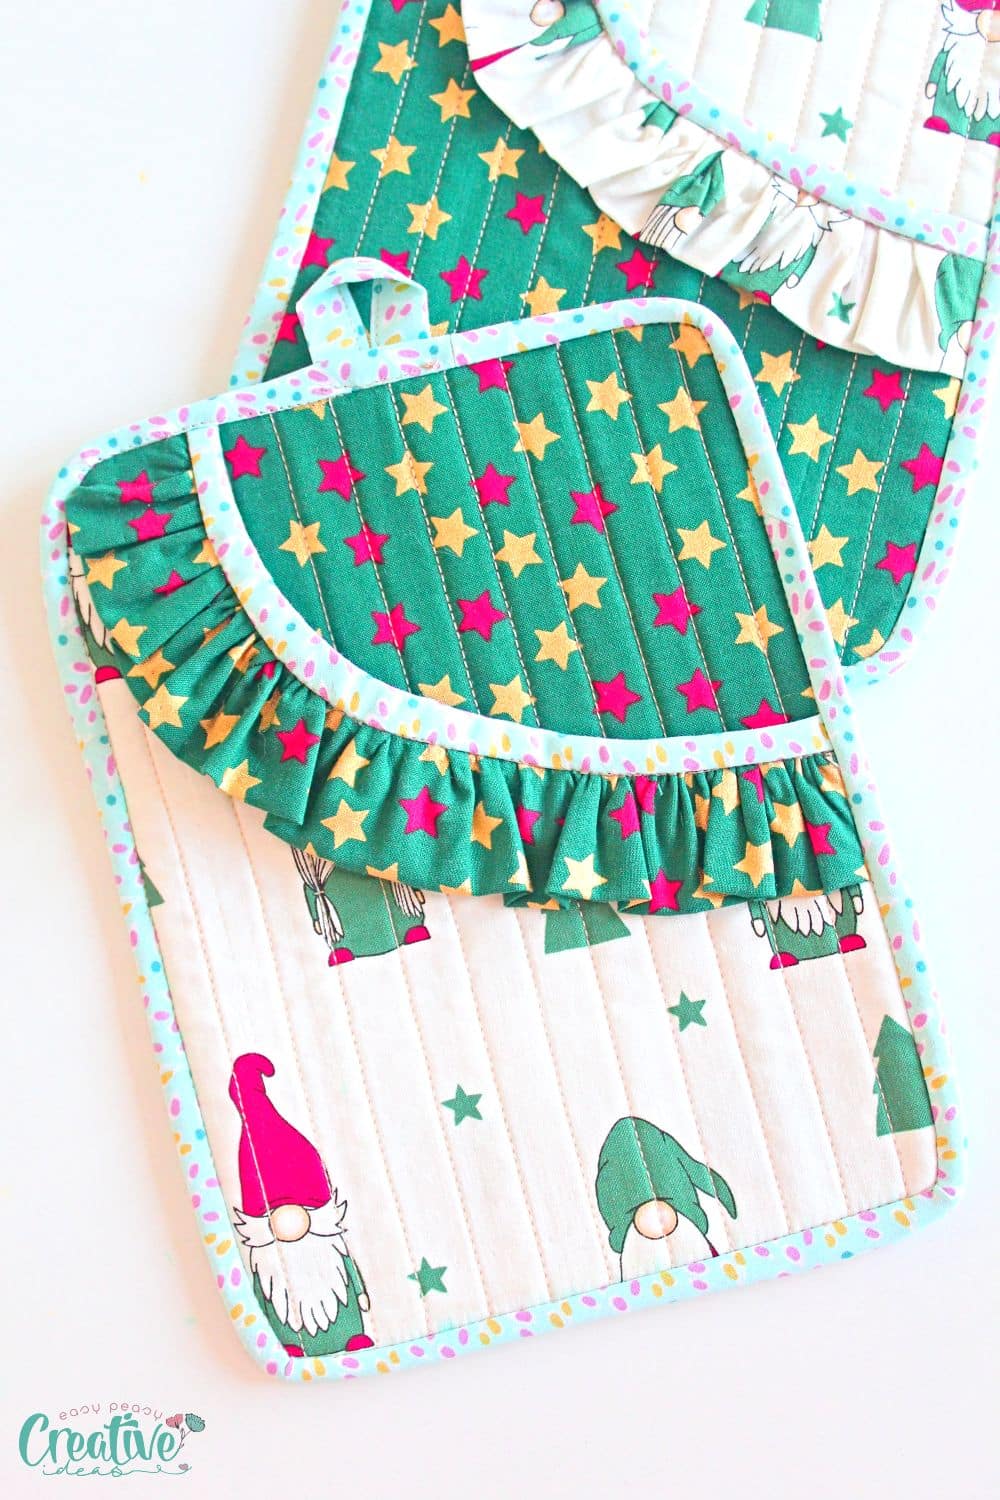
- Quilt both panels with your preferred quilting method. I opted for simply running parallel lines, about 3/4″ apart.
- Add binding to the top of the pocket piece with a seam allowance of 1/4″.
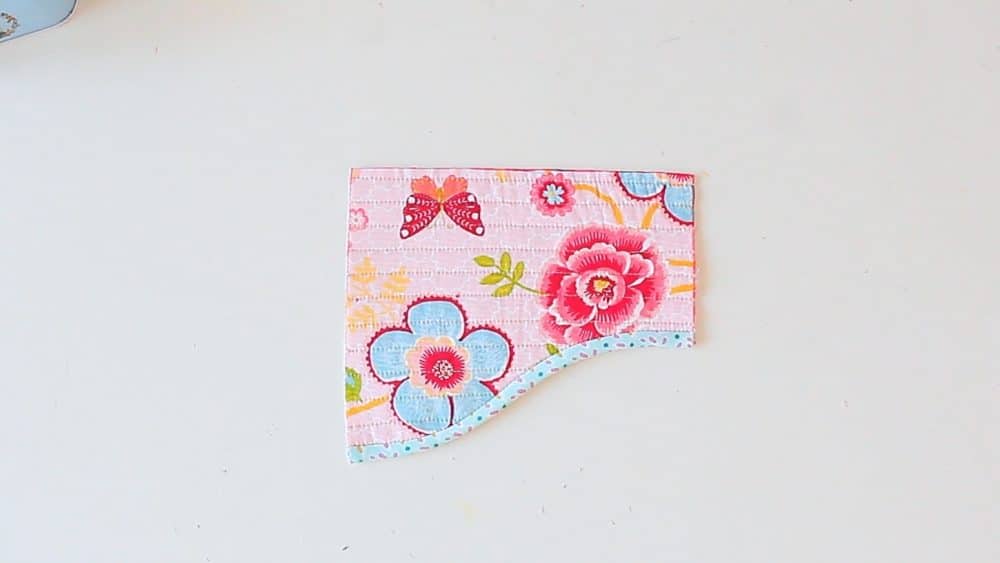
- Place the pocket over the main body piece. If needed, keep them together with a large pin.
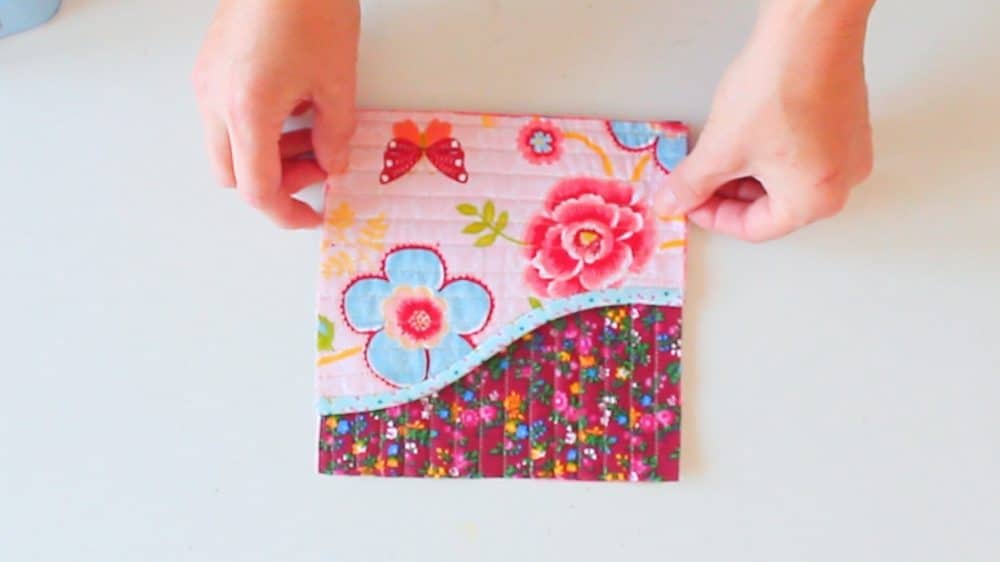
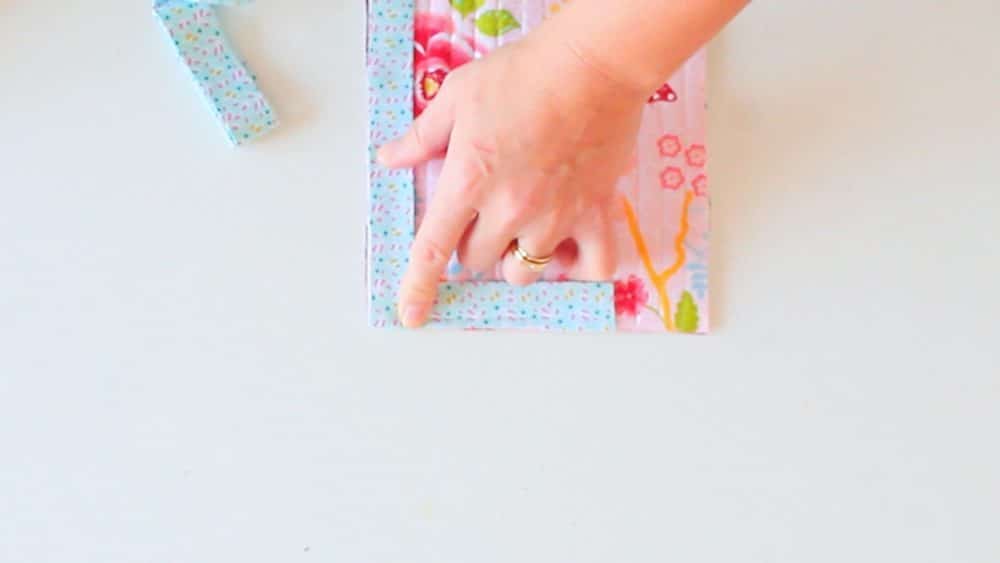
- Sew binding around the entire potholder. If you need help with sewing bias tape or binding on square or rectangular shapes, this tutorial for sewing mitered corners with bias tape is a great inspiration. The same method applies to bias binding too. Also you might want to use my trick for how to bind a quilt perfectly.
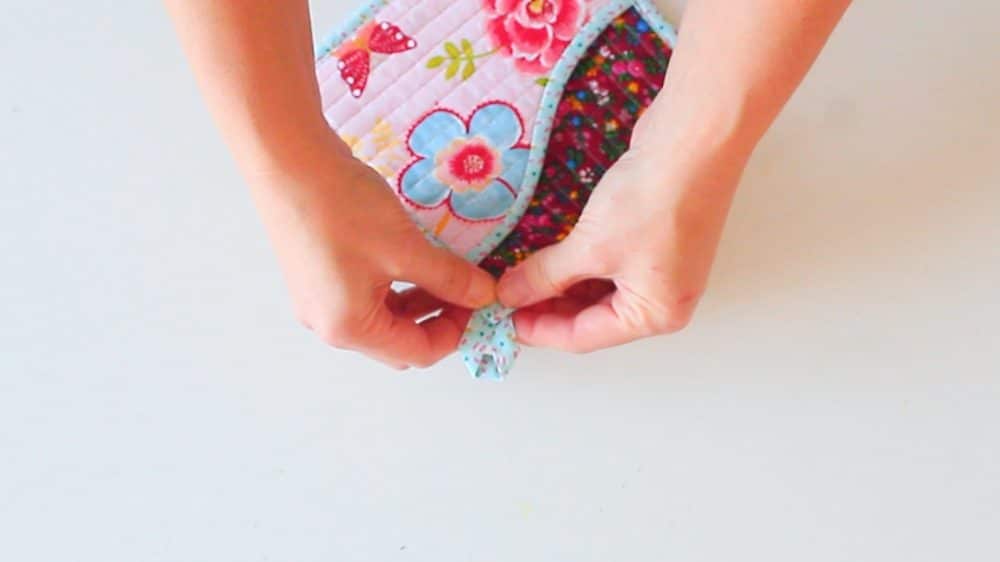
- Add a piece of binding or some ribbon to the top of the main body, for the loop. Press, and run a short line of stitches to keep it in place.
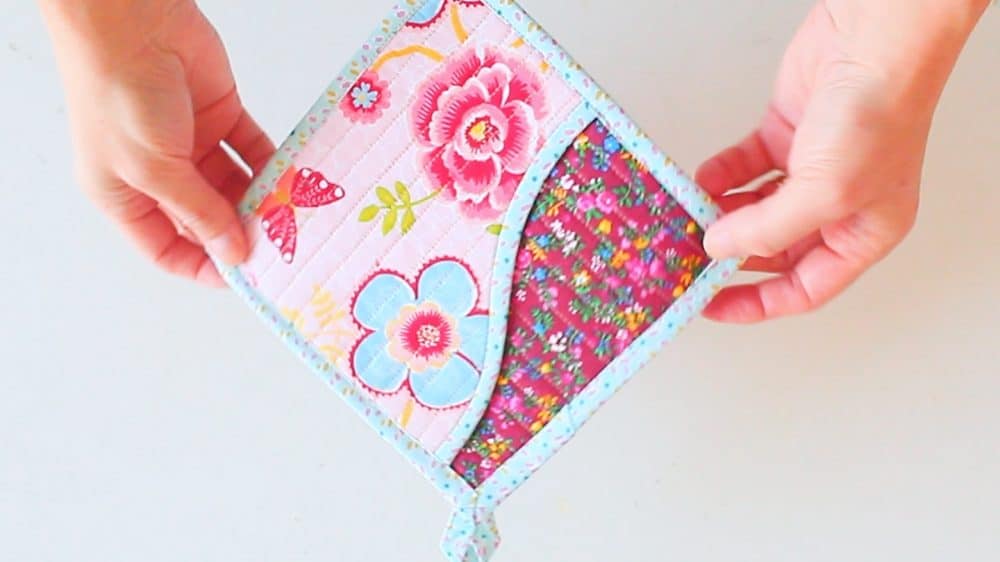
- Give the potholder a good press and you’re good to go!
FAQ about kitchen pot holders that you might find helpful
What is the standard size for potholders?
Potholders come in all kinds of sizes and shapes but they typically measure around 7 inches square. However, my free potholder pattern can be easily adjusted to make potholders of any size. Simply cut your fabric pieces to the desired size and proceed with the tutorial as directed.
This free potholder pattern is for a 7 1/2″x7 1/2″ potholder with a pocket for right and left hand. Feel free to adjust the size to fit your needs. Just remember that if you do adjust the size, you’ll need to adjust the amount of batting and binding tape accordingly as well as the pockets.

What kind of fabric works best for potholders?
For this potholder pattern, you can use any type of cotton fabric that you like. You can even use up those fabric scraps that you have been hoarding! If you want your potholders to be durable, I recommend using quilting cotton. These fabrics are sturdy and can withstand high temperatures.
What is the difference between quilting cotton and regular cotton?
Quilting cotton is a type of cotton fabric that is specifically designed for quilting. It is usually made of 100% cotton and has a tight weave that makes it durable and sturdy. Regular cotton is also made of 100% cotton, but it does not have the same tight weave. While very good quality, regular cotton fabric is not as durable and may not withstand high temperatures as well as quilting cotton fabric.
How much fabric is needed for a potholder?
For each potholder, you will need four pieces of fabric measuring about 7 1/2″x7 1/2″. While I have about a gazillion of fabric scraps in my stash I wanted to challenge myself and see if I can avoid wasting fabric with this project. So I cut my fabric just as the pattern specified. And in order to avoid shifting during quilting the potholder pieces, I glued all pieces together with double-sided tape. I’m happy to report that it worked just perfectly and I even managed to avoid using pins!
How many layers should a potholder be?
The number of layers in a potholder depends on the type of fabric you’re using. For quilting cotton, I recommend using two layers of fabric for the body and two layers for the pocket, plus a layer or batting or insul-bright between fabrics. This will give you a nice, thick potholder that can withstand high temperatures. If you’re using a thinner fabric, you may want to use more layers of batting to get the same result.
What is the best batting for potholders?
There are a variety of types of batting that you can use for your potholders. For this free pot holder pattern, I recommend using cotton batting. This type of batting is thick enough to provide good insulation but thin enough so that your potholders are still flexible and easy to use.
How many layers of cotton batting do I need for square potholders?
For this free potholder pattern, I recommend using two layers of cotton batting, one for the body and one for the pocket. If you’re using a thinner fabric or want to add more insulation, you can use more layers of batting. For extra protection/insulation, use Insul-bright.
Is one layer of insul-bright enough for a potholder?
Yes, using one layer of insul-bright is sufficient for a potholder. However, if you want to add more insulation, you can use two layers of insul-bright or add a layer of batting.
Do you need to use batting with Insul-Bright?
If you opted for using insul-bright instead of batting, you do not need to use batting. However, if you want to add more insulation, you can use two layers of insul-bright or add a layer of batting in between those two layers.
Do you need to use interfacing for potholders?
No, you don’t need to use interfacing for potholders, it will make the potholders harder to handle when grabbing hot pots. However, if you want your potholders to have a nice, crisp feel, you can use lightweight fusible interfacing. It is easy to use and doesn’t require any sewing. This will also add an extra layer of protection against heat.
Do I need to quilt my square potholders?
No, you do not need to quilt your square potholders. However, quilting will help keeping the layers of fabric and batting in place, and it will also add a decorative touch. If you choose not to quilt your potholders, I recommend using a layer of fusible interfacing between the top and bottom fabrics to help keep everything in place. However, this will stiffen your potholders a bit more than quilting would.
Can I make different shapes of potholders?
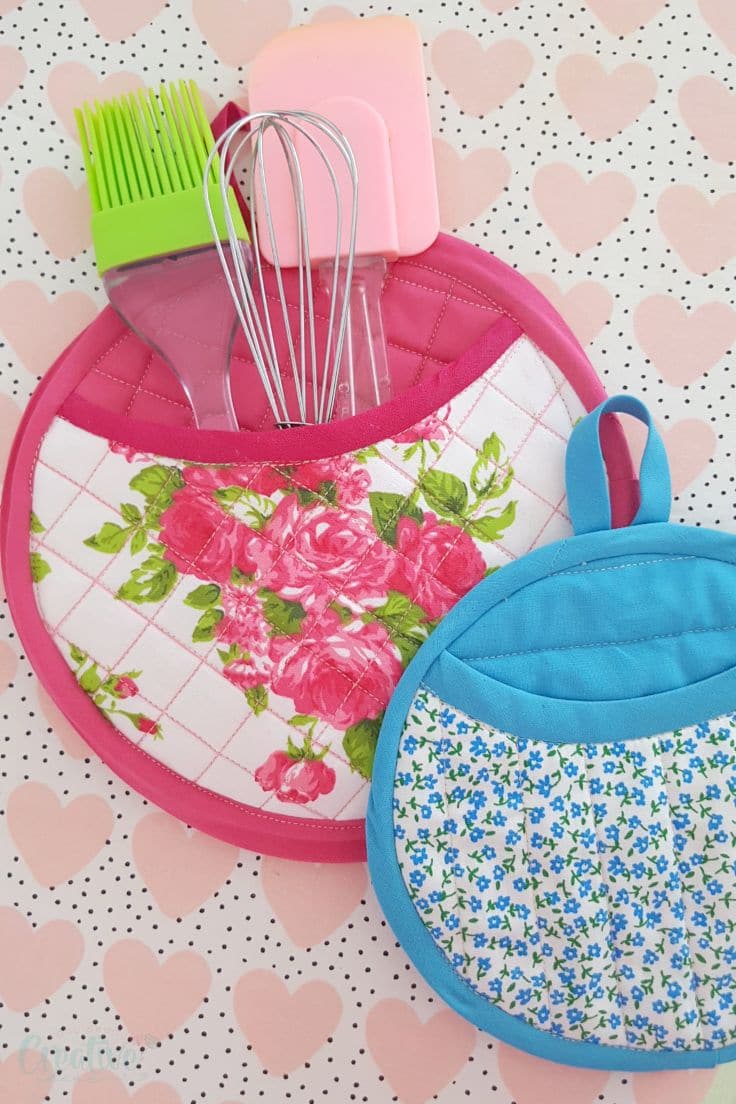
Yes! You can absolutely make different shapes of potholders. This free potholder pattern is for square potholders but here are some more ideas for different shapes:
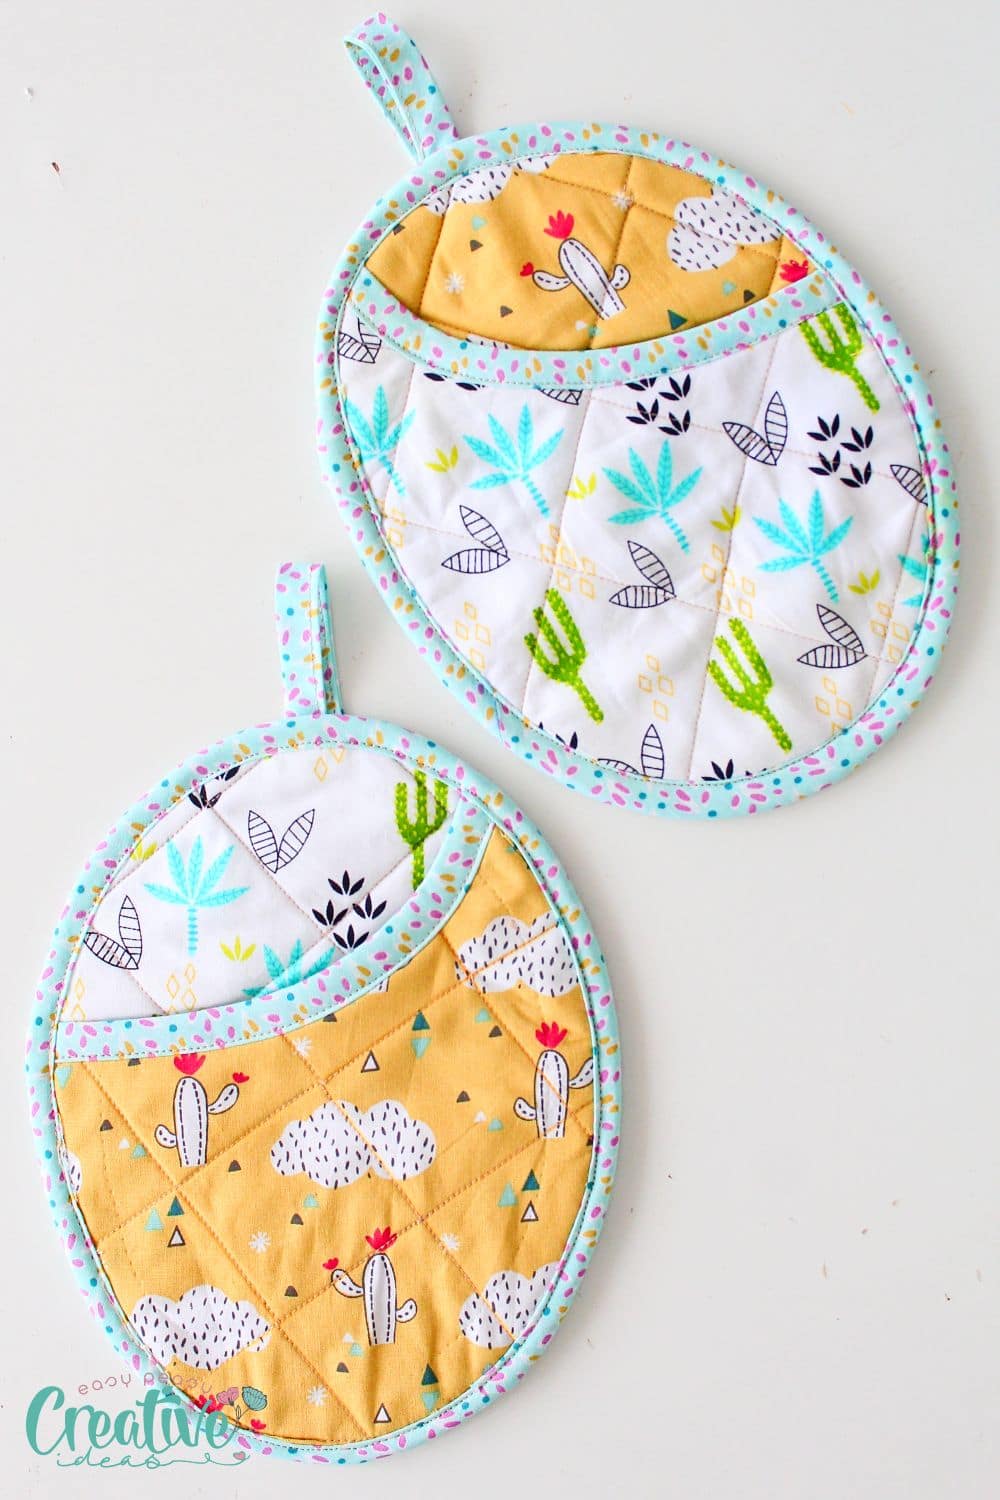
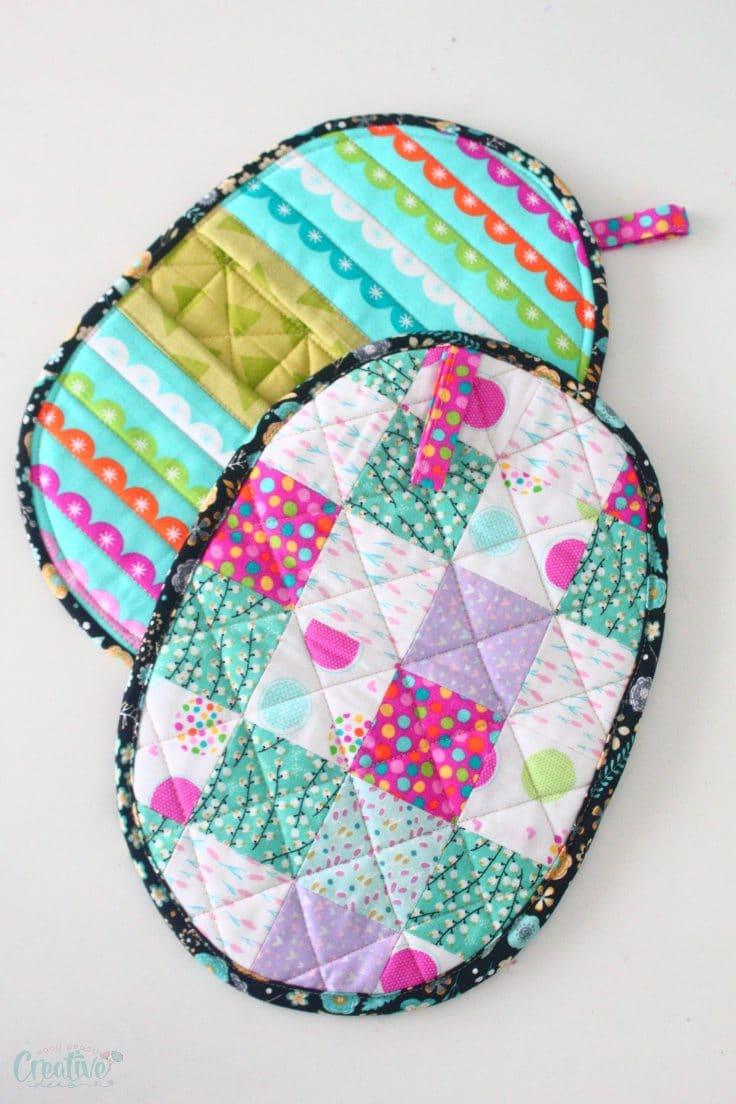
- Oval quilted potholders with pockets
- Large quilted potholders with inside pockets for fingers
- Round quilted potholders
- Rectangular pocket potholder with ruffles
What is the best thread for quilting potholders?
I recommend cotton thread. This type of thread is strong and will withstand high temperatures. It is also less likely to break than other types of thread.
How wide is binding for a potholder?
The width of the binding for a potholder will depend on the type of binding that you use. If you’re using quilt binding, it is typically 2 inches wide. Bias tape is usually 1 inch wide.
How long does it take to make a square potholder?
It takes about 30 minutes to make each square potholder. This includes cutting the fabric, sewing the pieces together, and adding the binding.
Store the kitchen pot holders
Potholders can be stored in a variety of ways. The most important thing is to keep them away from direct heat and flame. I recommend storing them in a cool, dry place such as a cupboard or drawer. You can also hang them on a hook or peg if you prefer, in the vicinity but no closer than arm’s length to the stove.
How to care for your DIY pot holder
Potholders can be machine washed on a gentle cycle in cool water. I recommend washing them in a mesh bag to prevent them from snagging on other items in the wash. Potholders can also be washed by hand if you prefer. To hand wash, simply soak the potholders in warm, soapy water, gently scrub with a sponge and then rinse well.
Can I use my square potholders in the oven?
Yes, you can use your cute potholder to remove hot dishes from the oven. However, I do not recommend using them directly on a flame or heat source as they are not fireproof. You can also use these together with other kitchen items such as oven mitts.
With this pot holder pattern for quilted potholders, you can make potholders that are both stylish and functional in no time. If you were on the lookout for simple and easy quilted potholder patterns, this one is it! Once you try this pot holders pattern, you’ll be hooked!
Following these steps will ensure that you end up with a beautiful and functional square kitchen pot holders! Happy sewing and let me know if you have any questions, in the comments below!
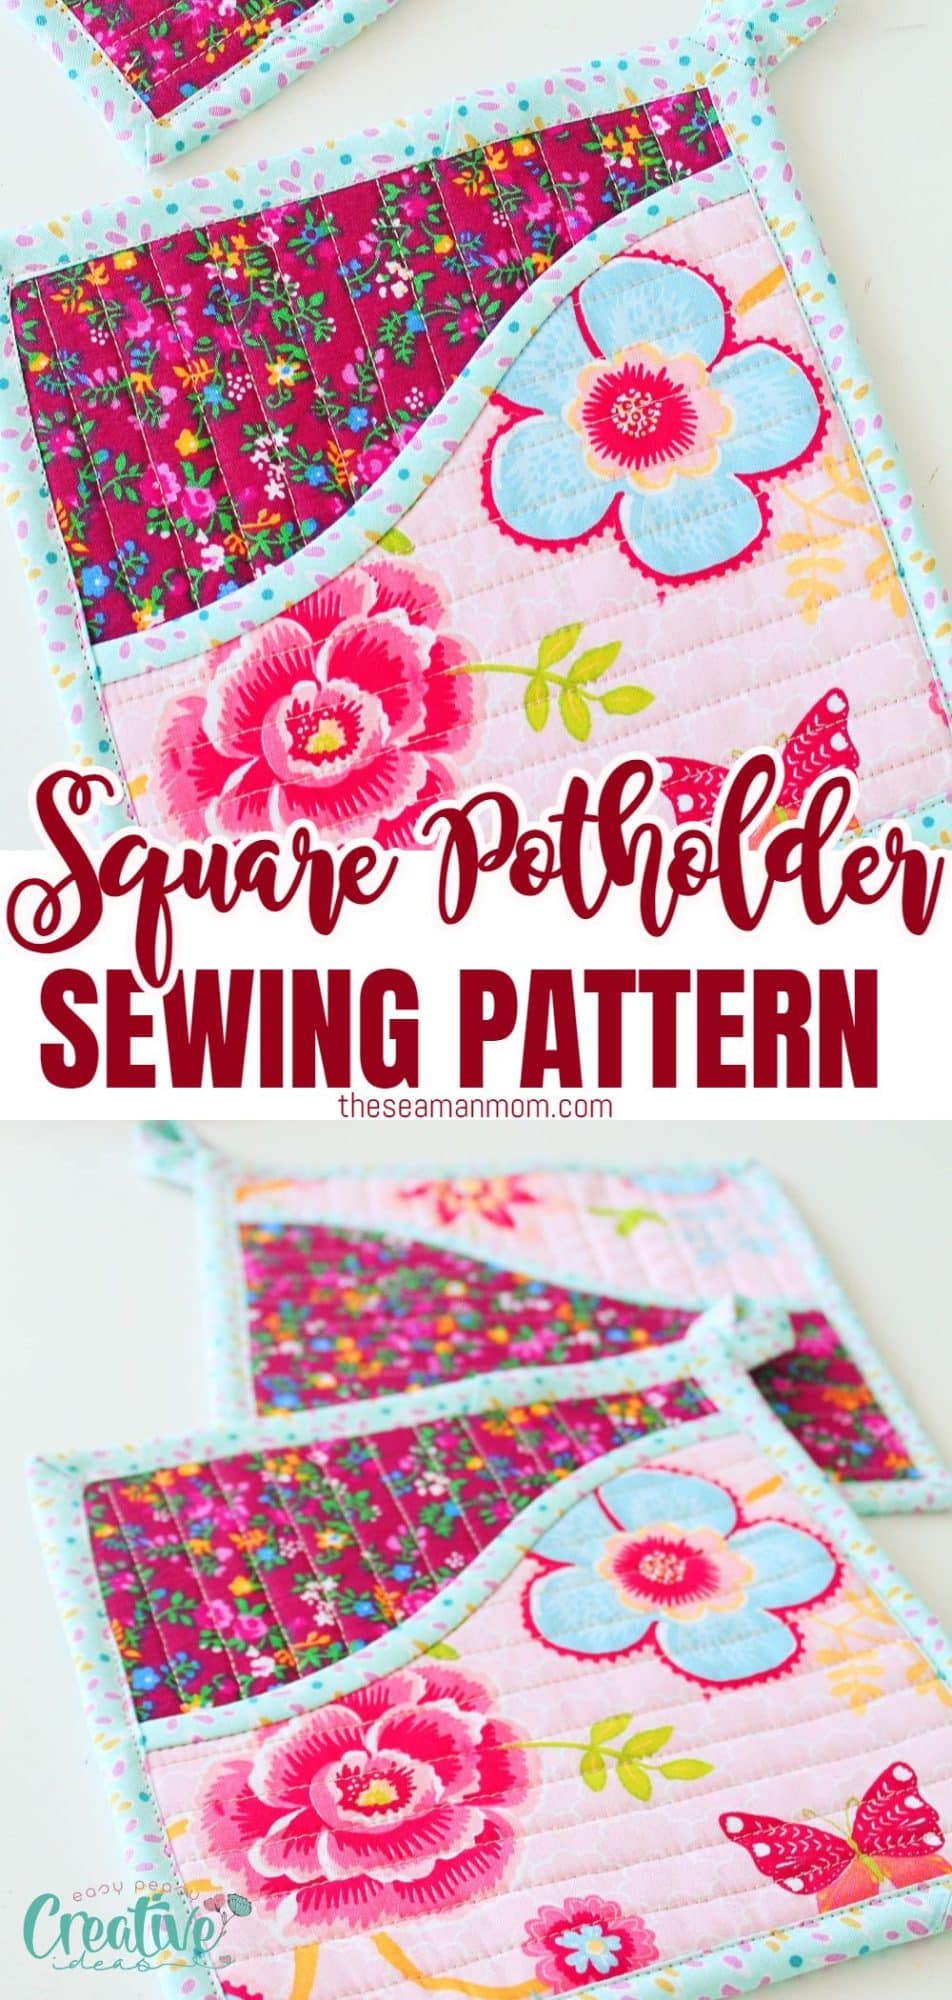
Square kitchen pot holder pattern
Materials
- 4 pieces fabric, of approximately 7 1/2" by 7 1/2" 2 for the body and 2 for the pocket
- 2 pieces batting, of approximately 7 1/2" by 7 1/2" 1 for the body and 1 for the pocket
- 1 piece binding strip, 40" long and 2" wide or double-sided bias tape plus a little more for the hanging loop, or use ribbon instead
- 1 piece double sided tape
Tools
- hem gauge
- scissors
- pressing iron
Instructions
- Print the pattern, cut out the pieces, and transfer them onto fabrics as indicated in the pattern. Cut the fabrics.
- Get the fabric pieces and the batting for the body and stick them together using double-sided tape so there will be no shifting during the quilting process. Start by placing one of the fabrics wrong side up, add the double-sided tape then top the fabric with batting. Add double-sided tape to the batting and top with the other fabric, right side up.
- Repeat the process for the pocket.
- Quilt both panels with your preferred quilting method. I opted for simply running parallel lines, about 3/4" apart.
- Add binding to the top of the pocket piece with a seam allowance of 1/4".
- Place the pocket over the main body piece. If needed, keep them together with a large pin.
- Sew binding around the entire potholder. If you need help with sewing bias tape or binding on square or rectangular shapes, this tutorial for sewing mitered corners with bias tape is a great inspiration. The same method applies to bias binding too.
- Add a piece of binding or some ribbon to the top of the main body, for the loop. Press, and run a short line of stitches to keep it in place.
- Give the potholder a good press and you're good to go!
Video
Most popular sewing projects:


Article may contain Amazon & affiliate links. As an Amazon Associate I earn from qualifying purchases at no additional cost to you.

My first set didn’t turn out as pretty as yours but I am sure with practice I will get better. I love this pattern. Thank you for sharing.
I can’t get the free potholder pattern to download. Help! It’s so adorable and I can’t wait to try it!
Hi Kathy. Email me at petro@theseamanmom.com and I’ll send you the pattern.
I can’t seem to download the pattern as the link appears to be not working.
Hi SueBee. The link seems to be working fine for me, it must have been something temporary or a bad internet connection. If you’re still having issues, email me at petro@theseamanmom.com and I’ll send you the pattern via email.
I am so thankful for you sharing your beautiful work. I’ve done potholders & other projects in the past and they are fun to make. I gave them all away. I haven’t sewn all winter due to grandkids & by golly, since I’m now home, I cannot wait to sew again! Have a good summer ❤️🙏
So happy to hear you’re going back to sewing, Barbara! There’s not a lot of activities more rewarding than sewing! I hope you get to make lots of projects this summer! Have fun! xoxo