My Sewing room organization
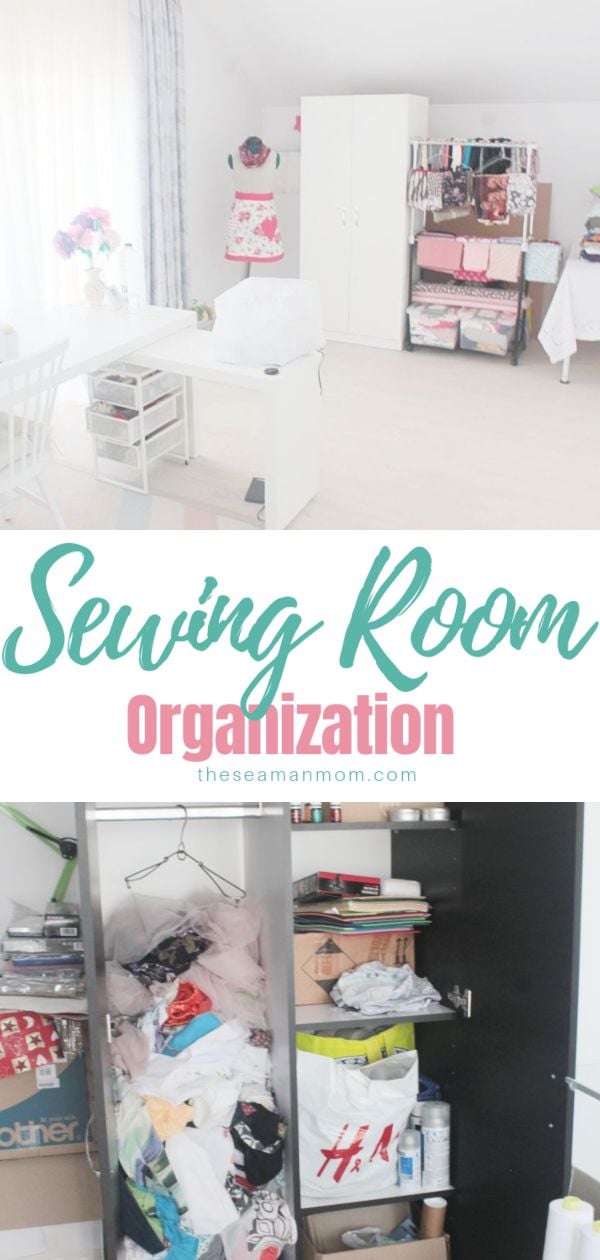
Are you in big need of sewing room ideas? Check out these sewing room organization tips to keep all your fabrics and notions looking nice and neat!
My sewing room
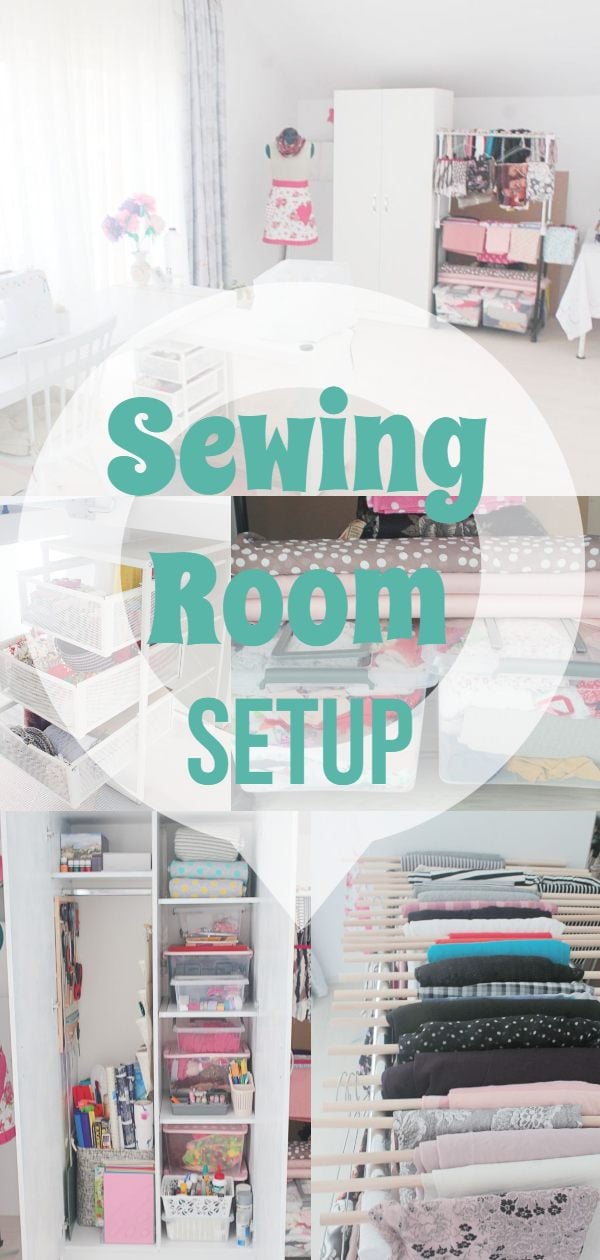
Hey guys! When I shared these tips I apply to make sewing faster and more productive, I promised I’ll come back with an article on my sewing room tour. Today I’d like to show you my sewing room organization which contributed greatly to me getting more relaxed in the sewing room and my sewing projects becoming more fast and productive than ever!
A fair warning though for those of you with super high standards (I know many sewers and quilters are and for a long time, I used to be too but life forced me to “chilax” a bit – I’ll get more on that in a bit). So for those with high standards, my sewing room setup might not seem like much but for me, this sewing room organization played a crucial moment in my sewing life! It literally changed the way I feel about sewing and makes my life tons better when I’m in my sewing room and after I finish working on projects!
My sewing room decor is pretty minimal and simple, nothing fancy about it and it’s all because of one simple reason you might already be aware of if you’ve been following me for a while: I suffer from real bad anxiety! This condition prevents me from acting like a normal, happy, well grounded person on a daily basis and too much stuff around me makes me feel like I’m about to suffocate, triggering my anxiety! And while absolutely no one can suspect anything wrong is going on with me (as after 20 years of suffering from this condition I’ve become quite the master at dealing with it!), the storms in my head are beyond comprehension!
Sewing tips you might like:
- 2 Cool bobbin organization hacks
- How to adjust bobbin tension
- How to change presser foot pressure
- Sewing needles types & size chart
- How to shirr fabric
- 25 Sewing room ideas to keep it organized & tidy
My doctor recommend I should do some lifestyle changes, simply relax and be well…less high maintenance, which used to make my condition a lot worse. So I started to be a bit more aloof and open minded about everything going on around me, cleanliness and organization of my house included. But this led to my sewing room being a huuge mess that was doing more bad than good to my mental health! So one day I decided it’s time to bring order back into my life with a complete sewing room organization project!
Sewing Room Organization
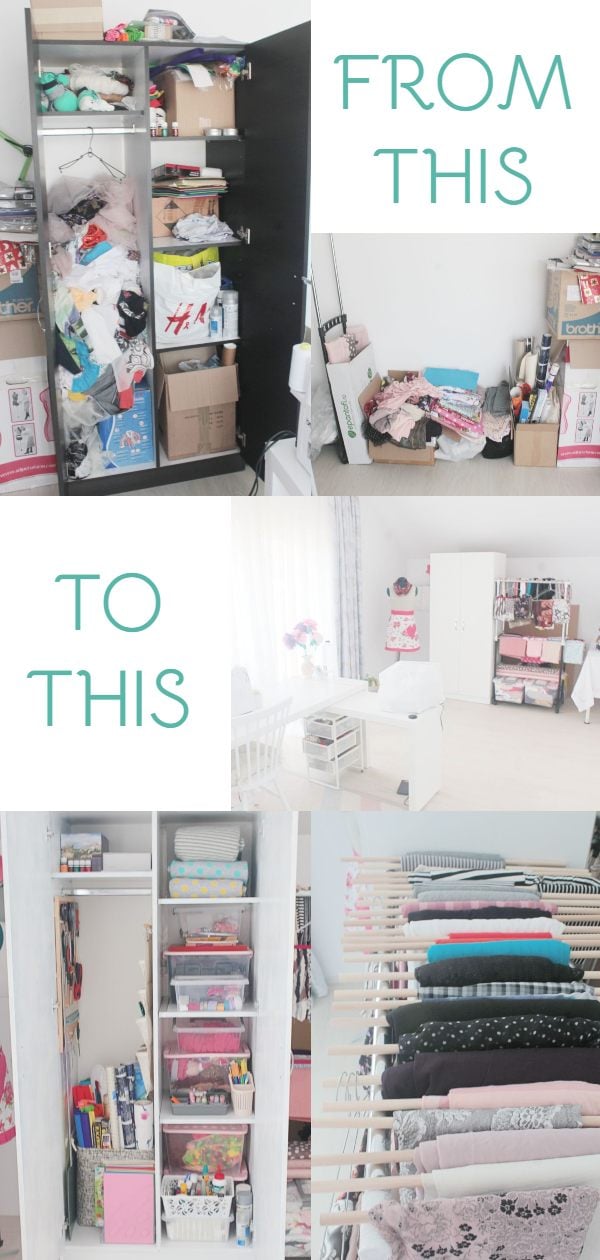
Materials used:
- simple closet
- clear boxes with lid
- wooden rods
- cork board
- Ikea desk with pull out panel
- Ikea cabinet on wheels
The before
When I started working on this project, my sewing room was this huge disaster! Except for my sewing desk which has always been quite tidy, almost everything was thrown on the floor, in boxes or in the closet. I had absolutely no idea where everything was!
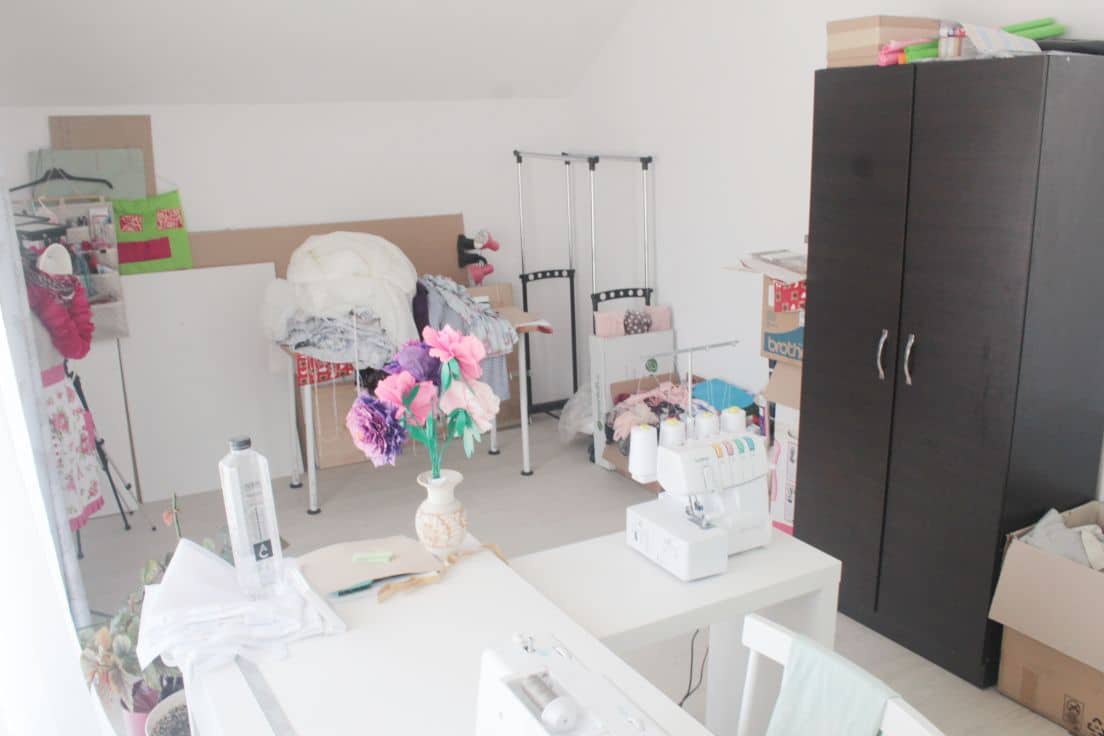
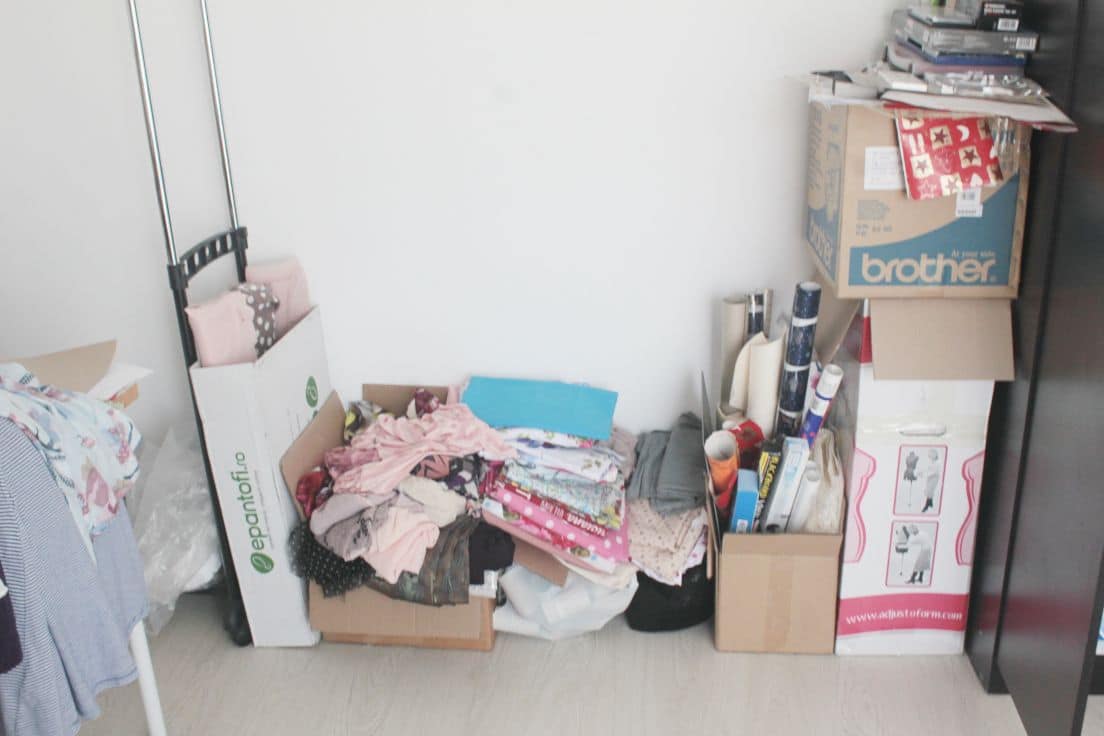
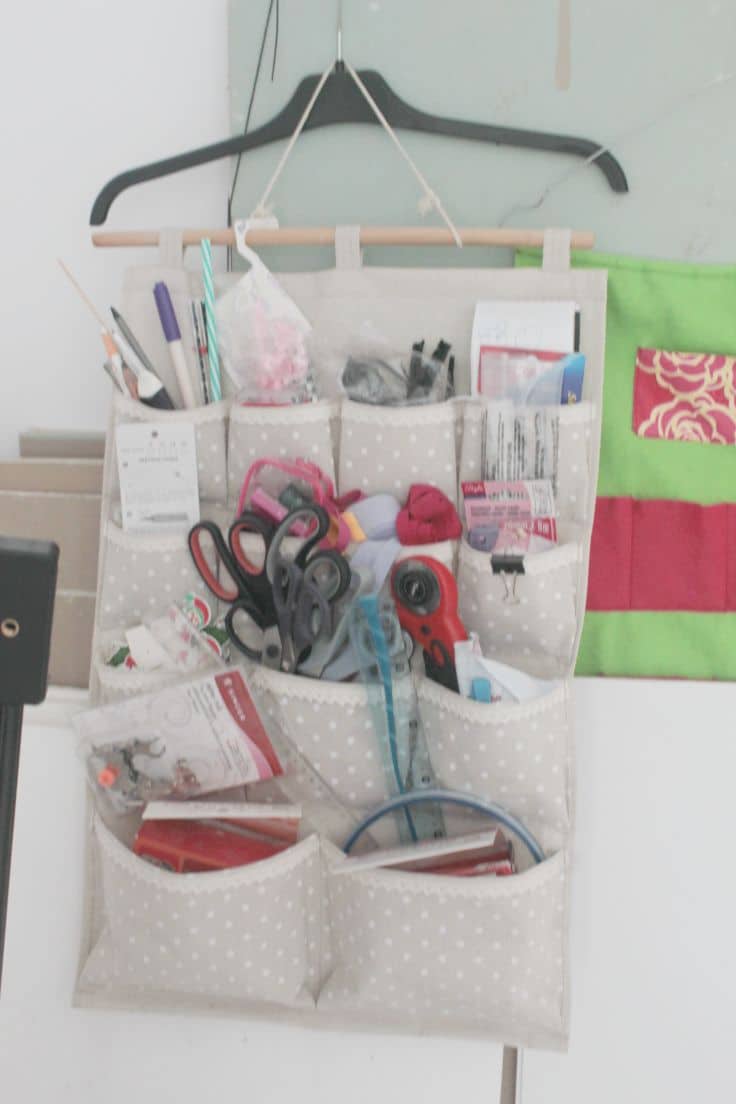
My sewing supplies were all over the room, from my sewing desk to the closet and this little hanger with pockets.
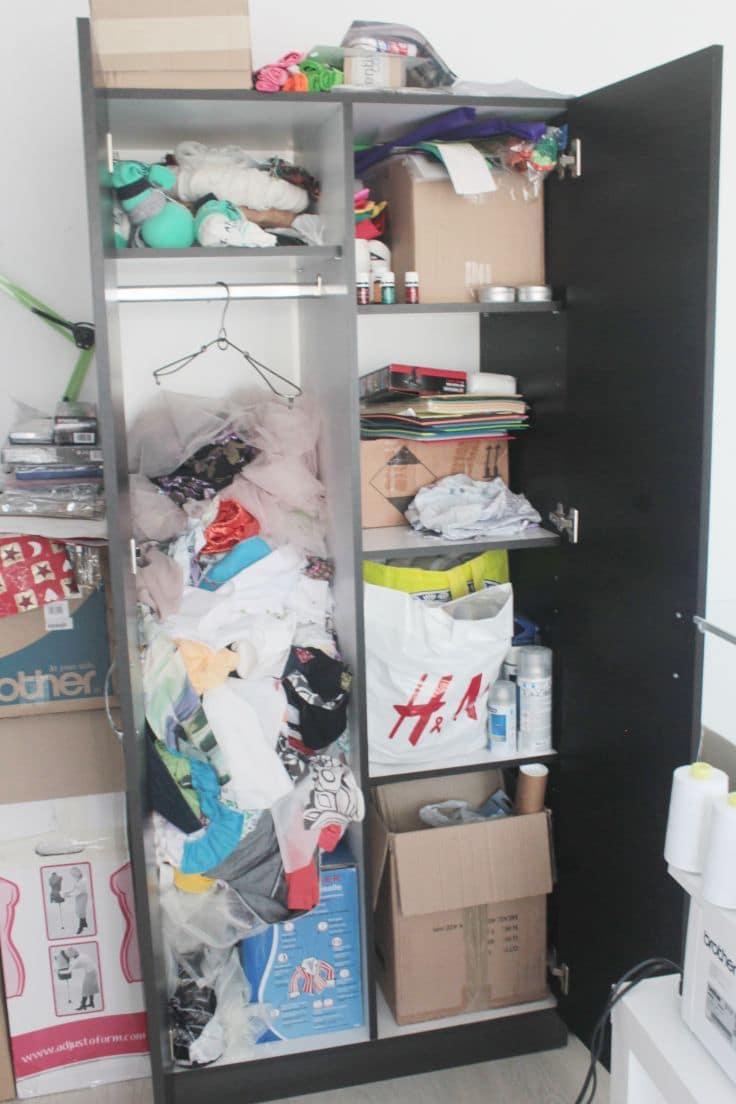
I didn’t want to throw away any furniture or buy new one so I tried to make use of all the storage I already had, like my black sewing closet and an old and pretty crocked hanger rack on wheels that I was planning on throwing away. See how messy the closet was? Eww!
Sewing room after
And this is how my sewing room looks now after finishing this simple project. It only took me two days to do the change and that’s because painting the closet took a lot longer than expected.
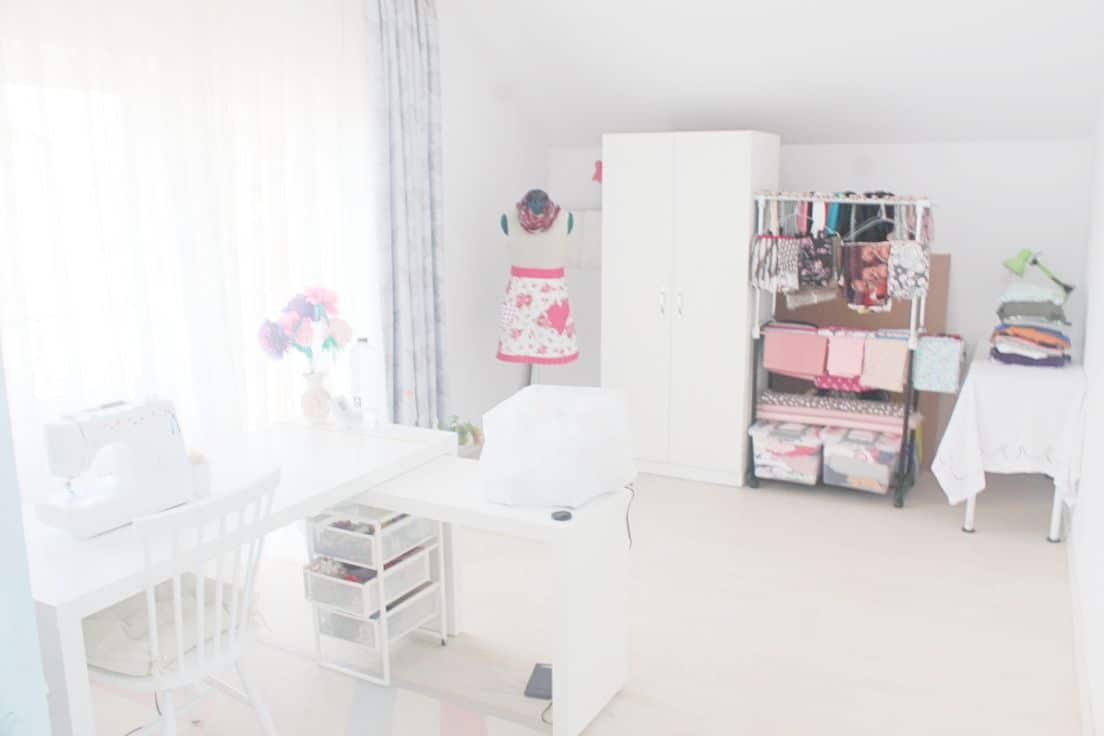
I’ll break it down in just a minute so you have a full idea of the changes I made.
Closet transformation
I started with painting the sewing closet white which in my opinion played the biggest part of this transformation. It makes the room look a lot brighter, happier and neater!
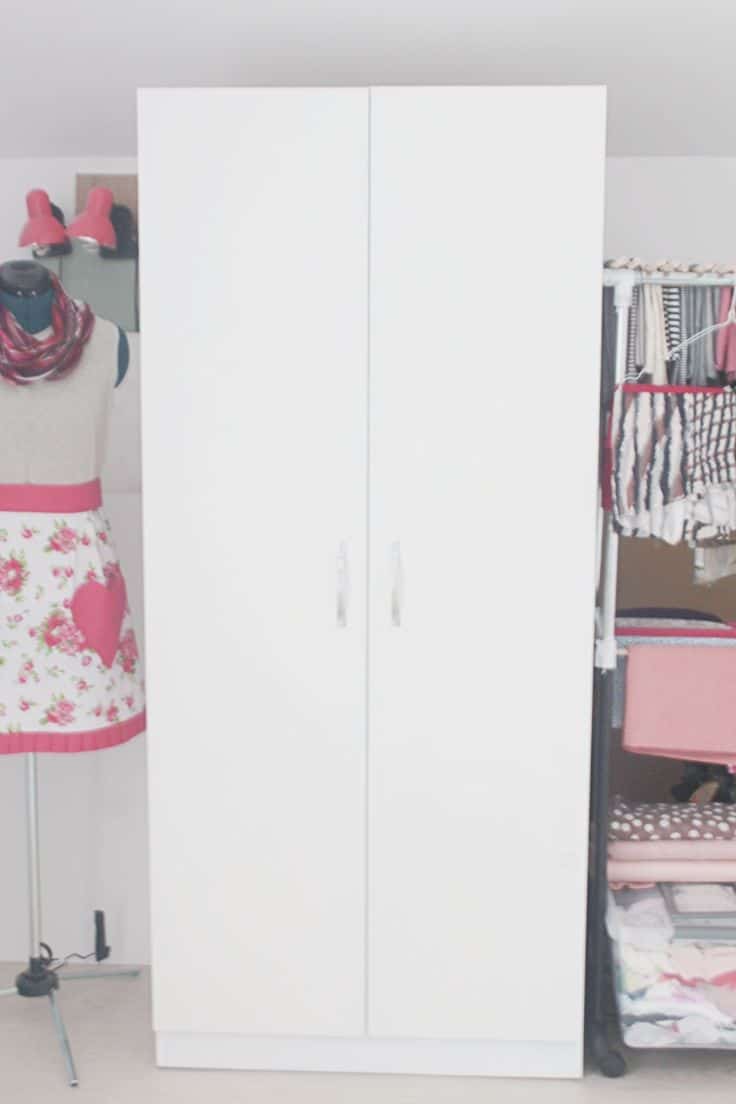
I bought a few clear boxes, a medium laundry basket, a file box and a cork board for the closet.
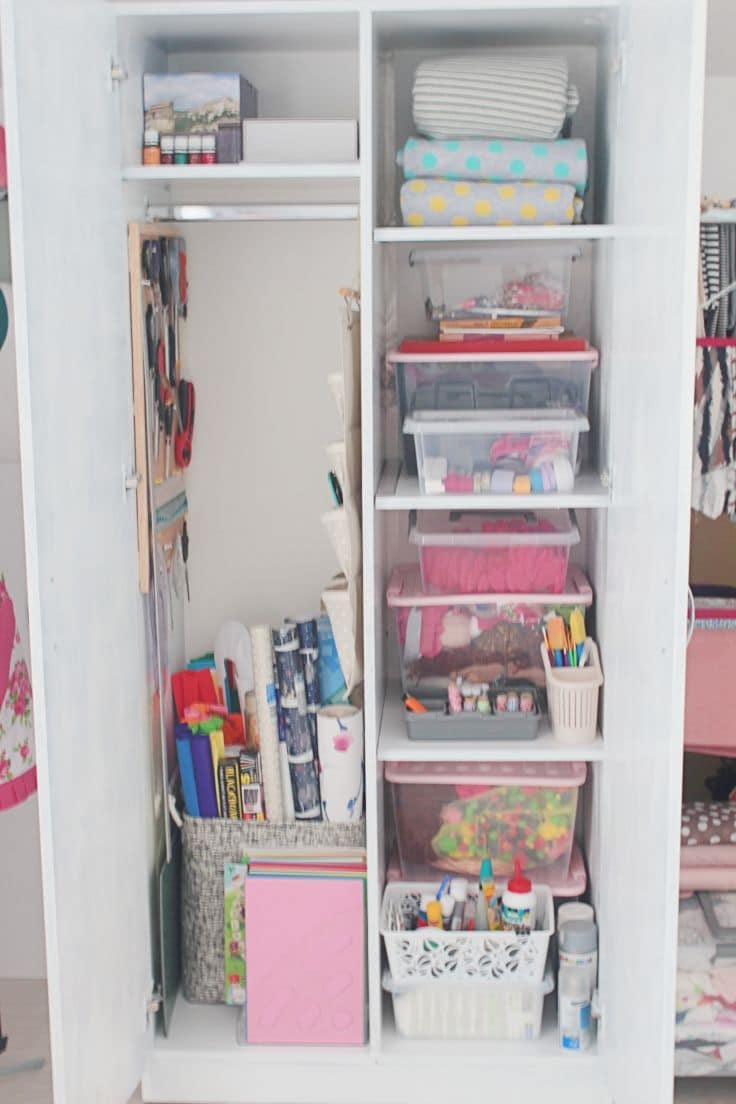
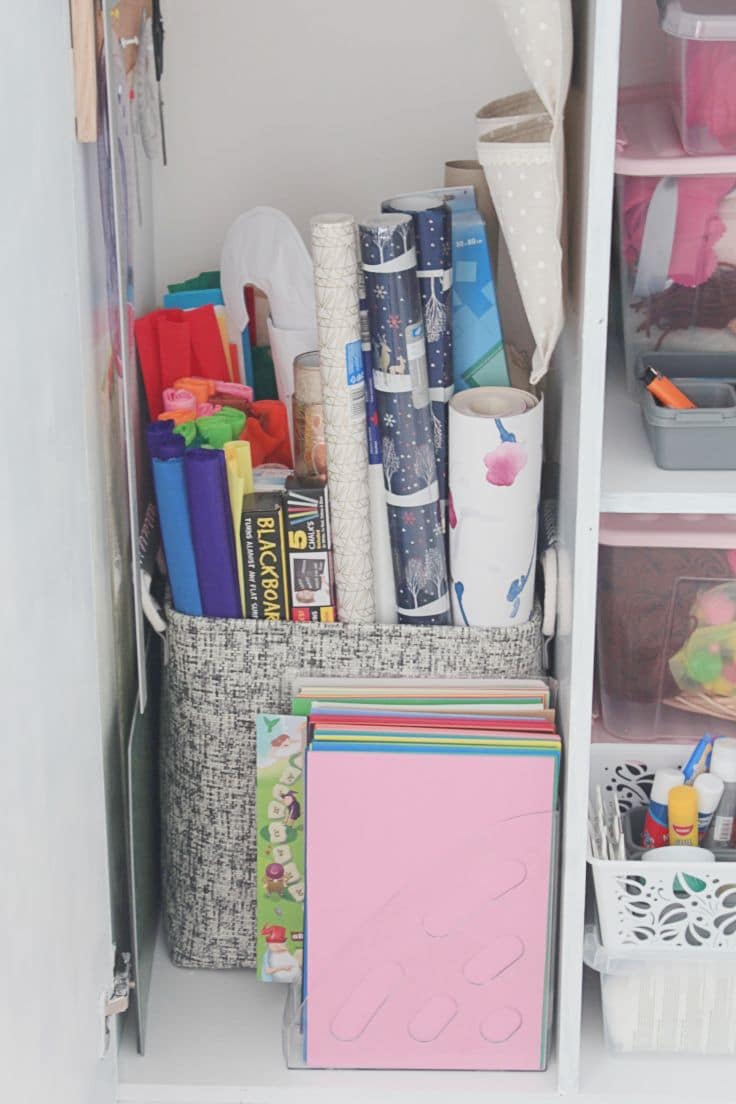
On the left hand side of the closet I placed the laundry basket where I stored my patterns, wrapping paper, tissue paper and tracing paper and stored my foam sheets and colored papers in the file box.
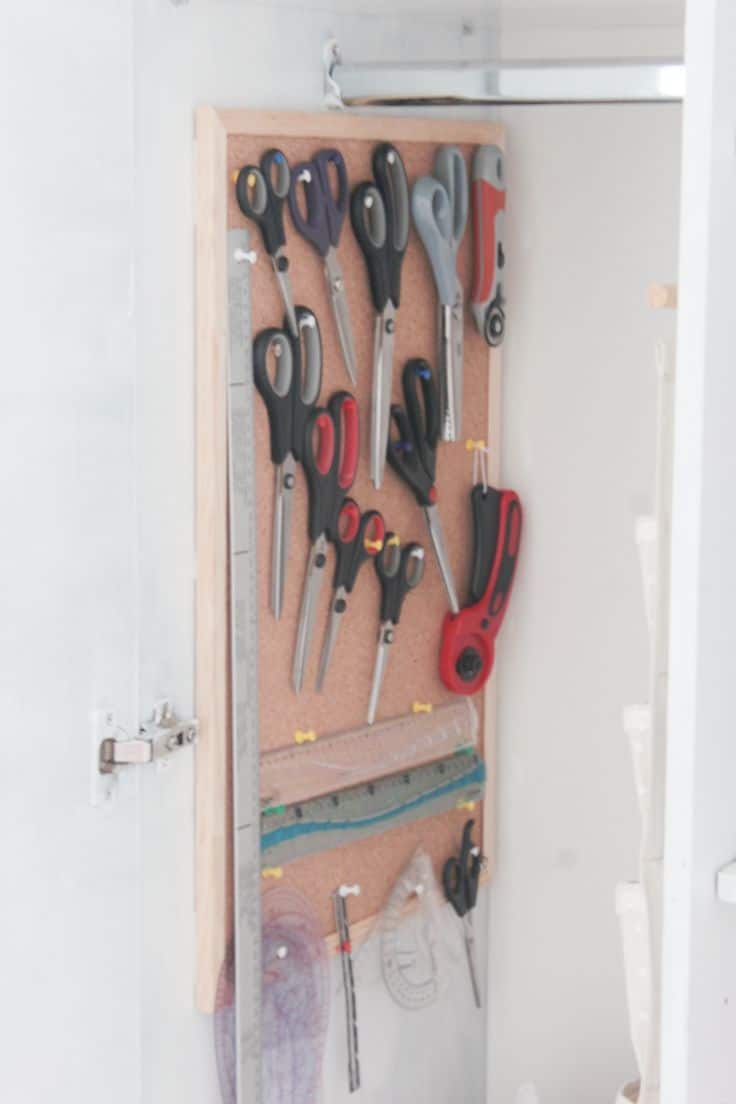
I glued the cork board to the side of the closet for my sewing and craft scissors, my rulers and French rulers and stored my craft cutting mat below.
On the right hand side of the closet I placed the clear boxes and a couple of trays, some with craft supplies to the bottom and sewing supplies and fabric that I couldn’t store with the rest of the fabric on the top shelves.
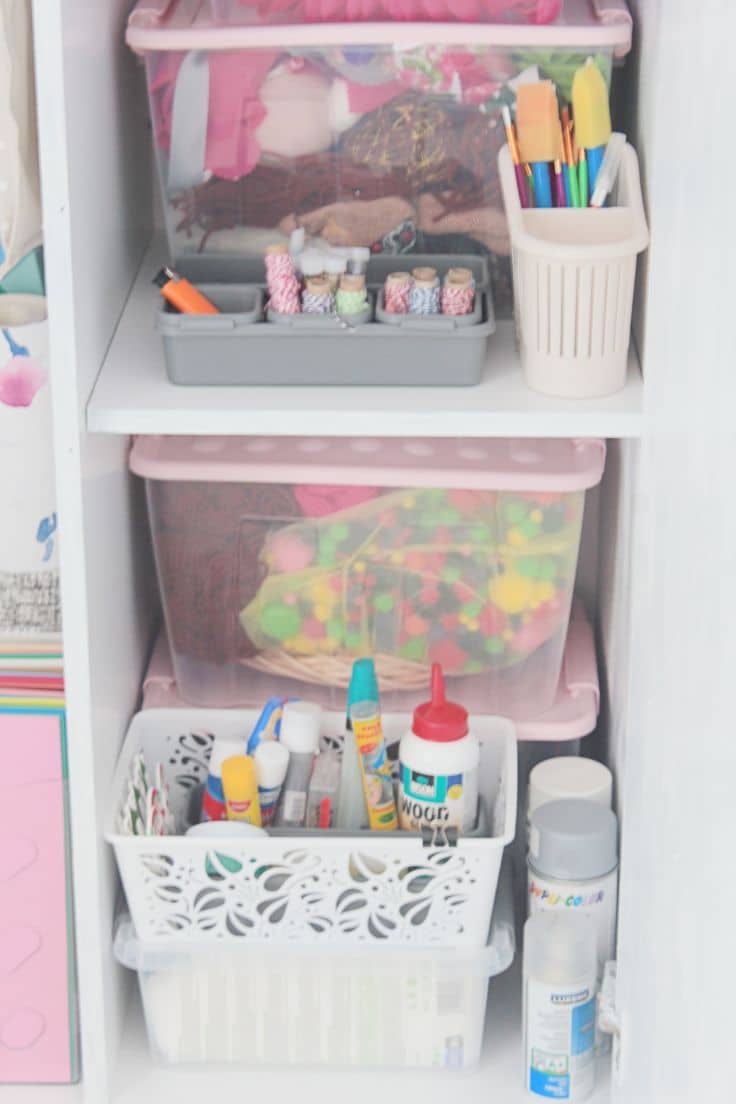
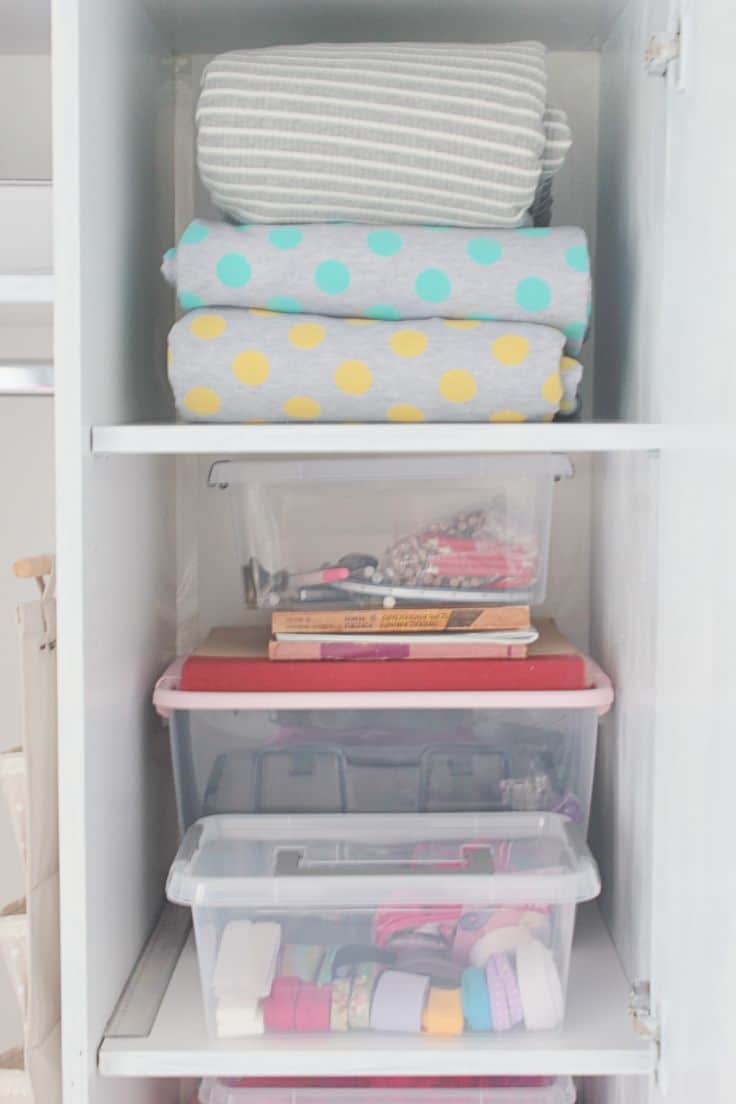
Using clear boxes makes things so easy to spot and since I memorized where everything is, accessing my craft or sewing supplies and notions is such a breeze now!
Sewing desk idea
A while back my husband had this brilliant idea of gifting me a super duper desk from Ikea that has two components, one of them a pull up panel that you can install on either side of the desk, and the desk shapes like an L. I keep a sewing machine on the main body and my serger to the right. Switching between these two is so quick and smooth, also contributing to my sewing faster. To the left hand side of the sewing desk I keep my ironing board and with the little cabinet under the desk, stuffed with most of my notions and tools, I very rarely need to leave the sewing area.
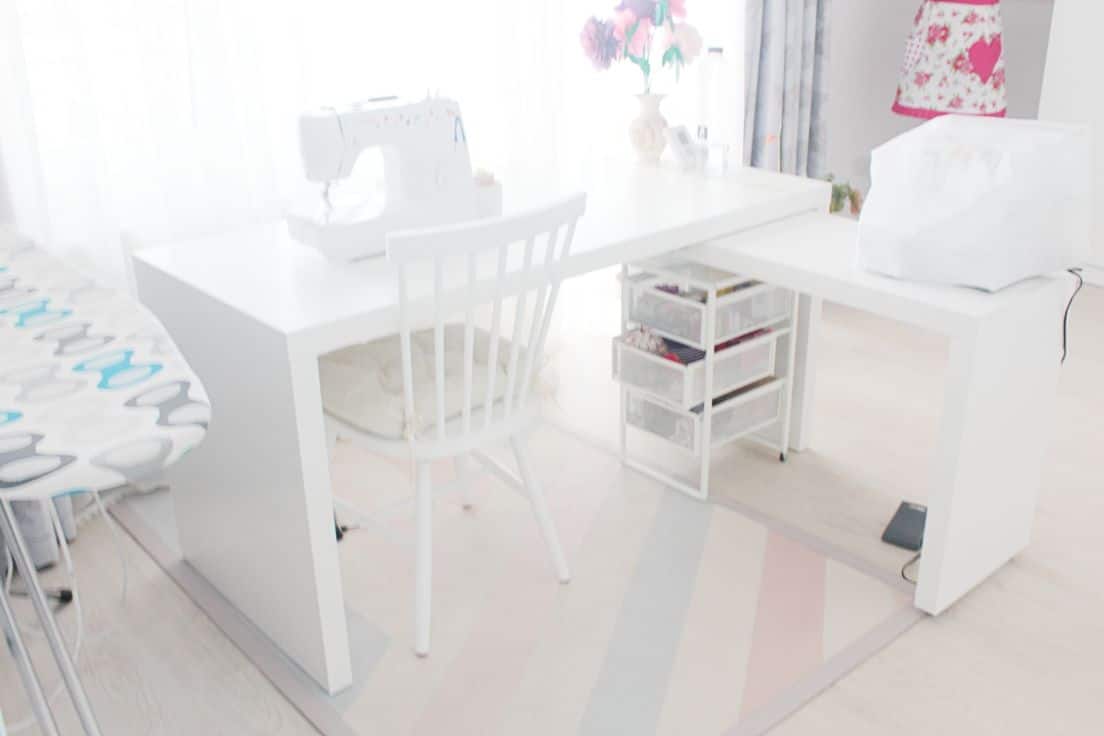
I also love that this desk has a hidden pocket in the back where I stuff all of the electrical cording so there’s no mess on the floor. All you can find on my floor are the sewing machine pedals, making it easier to clean after I finish sewing.
Notions cabinet organization
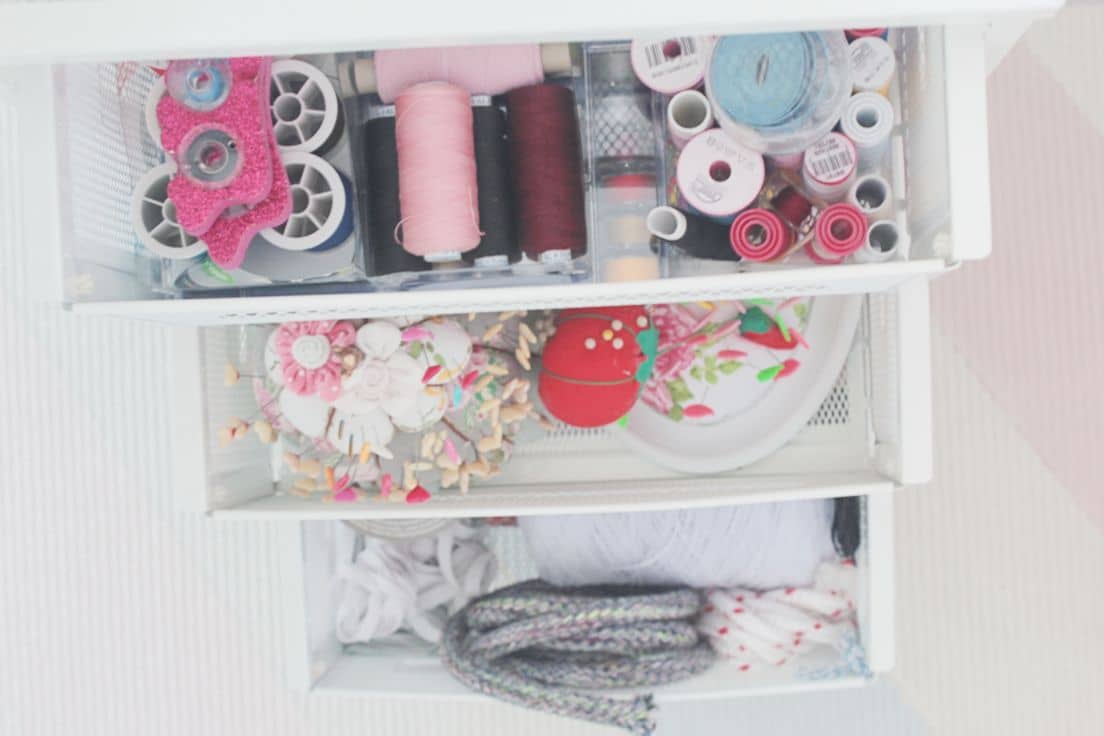
As for the cabinet I mentioned, I purchased this very inexpensive cabinet on wheels from Ikea and placed it right under my sewing desk. I tried to fit as many sewing supplies and notions that I use most often and this little buddy proved to be quite the workhorse.
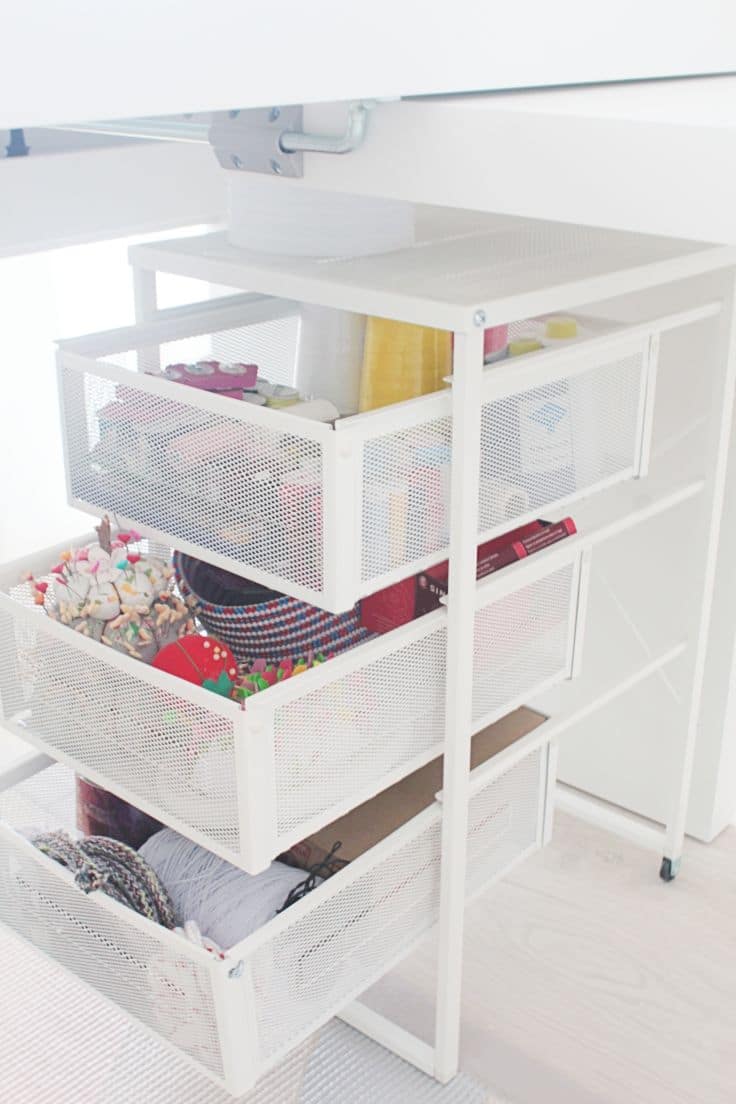
Having this cabinet with almost everything I need in such close reach helped a lot with making my sewing faster. I keep all of my threads in there, both spools and cones, my bobbins, all of my sewing needles, pins and safety pins, elastic, rope and ribbons.
Back of the room setup
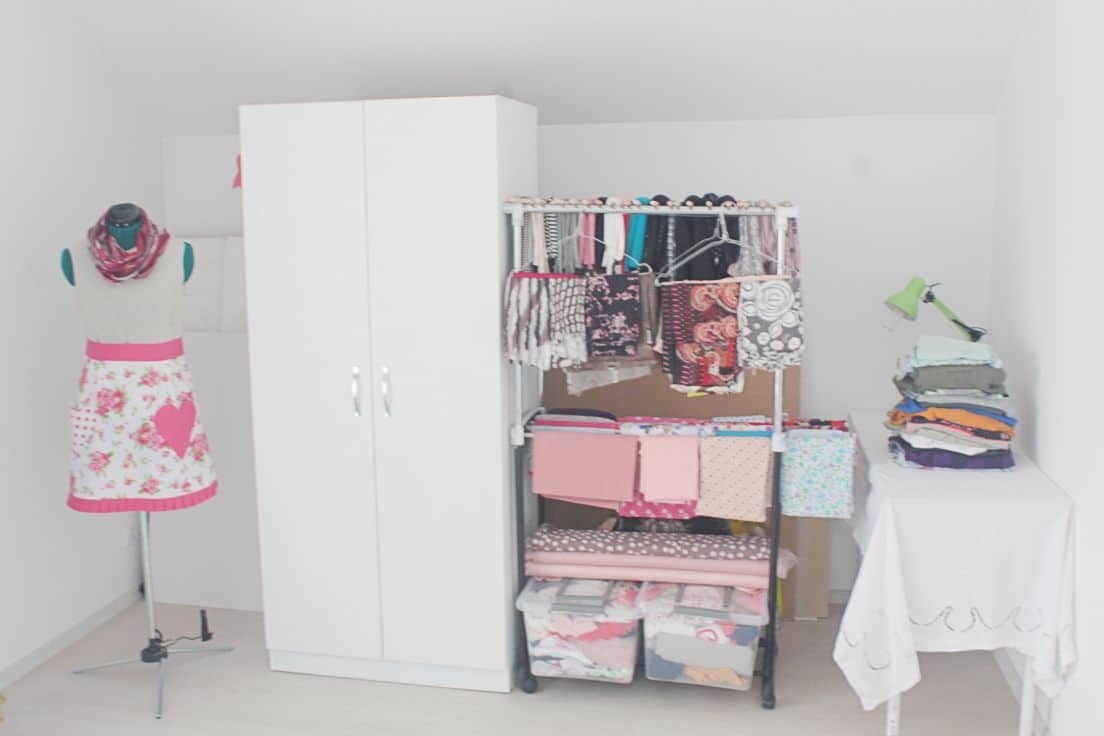
In the back of my sewing room I placed the painted closet, my dress form and the recycled hanger rack. I hid all of my photo props and lights in the back of the closet. There’s also a little table we improvised from a piece of counter top and that I use to store projects that need to be modified, to trace my craft templates or cut craft supplies. I like to keep sewing and craft areas separated and this little table helps a lot.
Fabric organization
As for the hanger rack, I lacked the patience to paint it all white but hopefully one day I’ll get back to it and finish what I started.
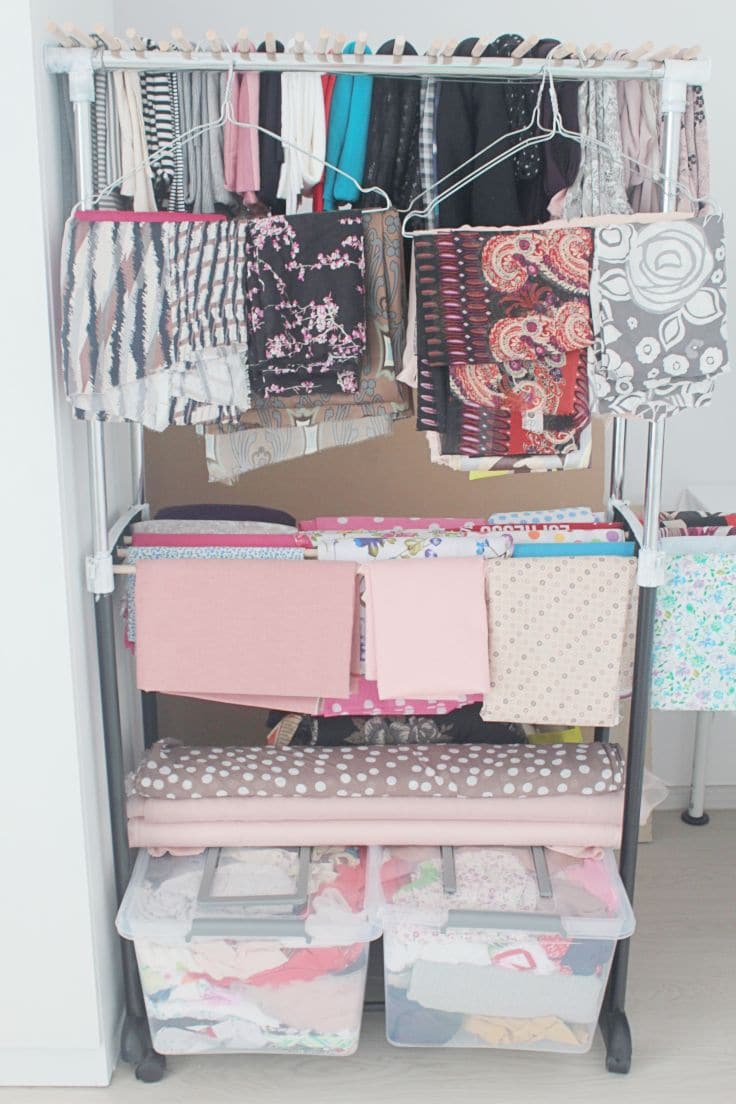
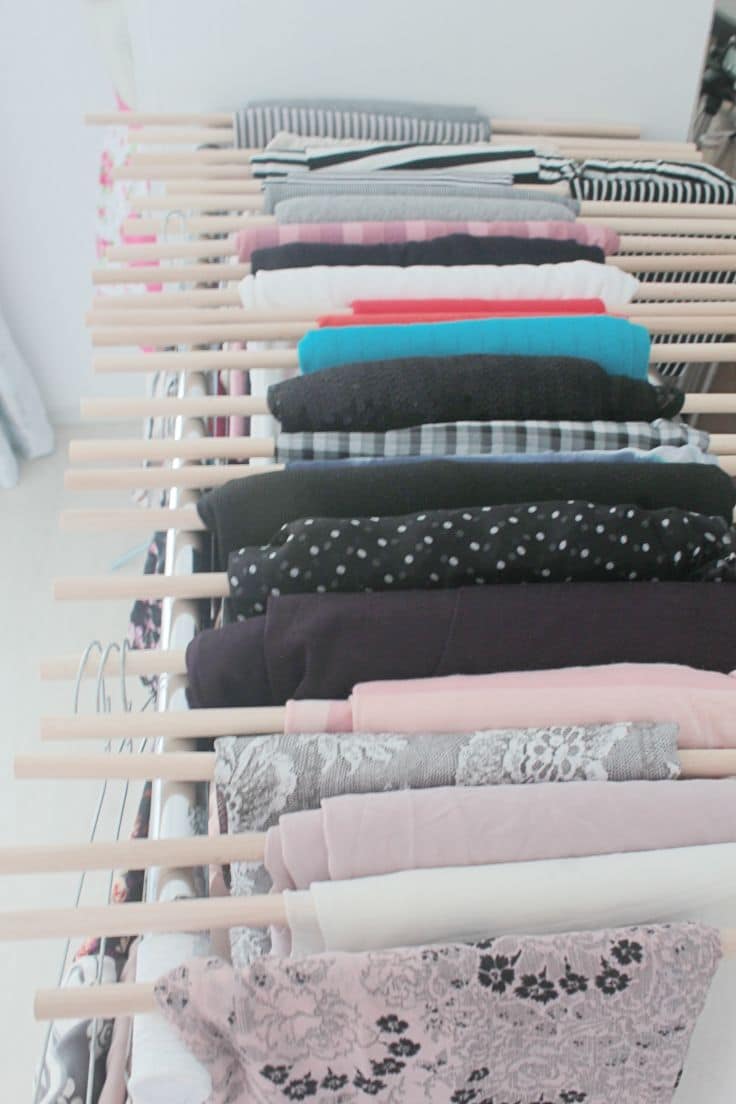
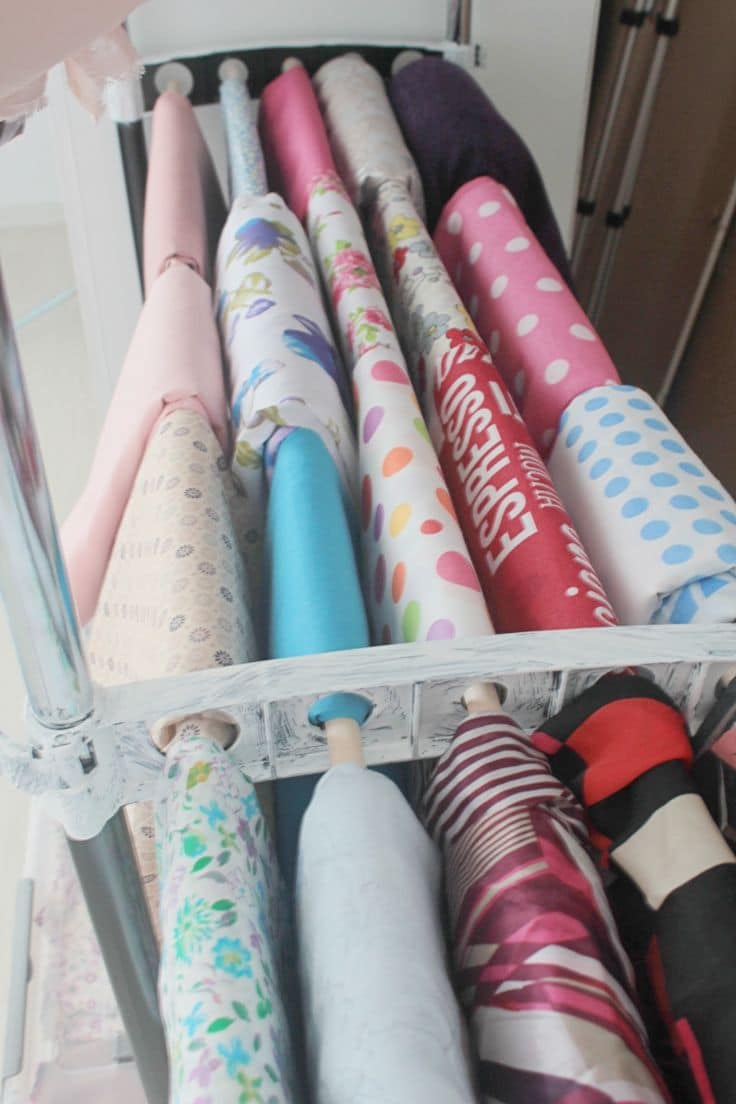
I purchased a few wooden rods, cut them to size and hung them to the top and the middle of the hanger rack. Then I organized my fabrics in sections, from knits to chiffon on the top and cottons to silk on the middle rods. I used simple hangers for whatever fabric couldn’t fit (turns out, I have too much fabric! lol)
As for the bottom of the hanger rack, I purchased two large clear boxes with lids and stuffed all of my fabric scraps in there. As you can tell, I’m the proud owner of a huge stash of scraps so expect a lot of scrap projects in the future from me (but who doesn’t love those?).
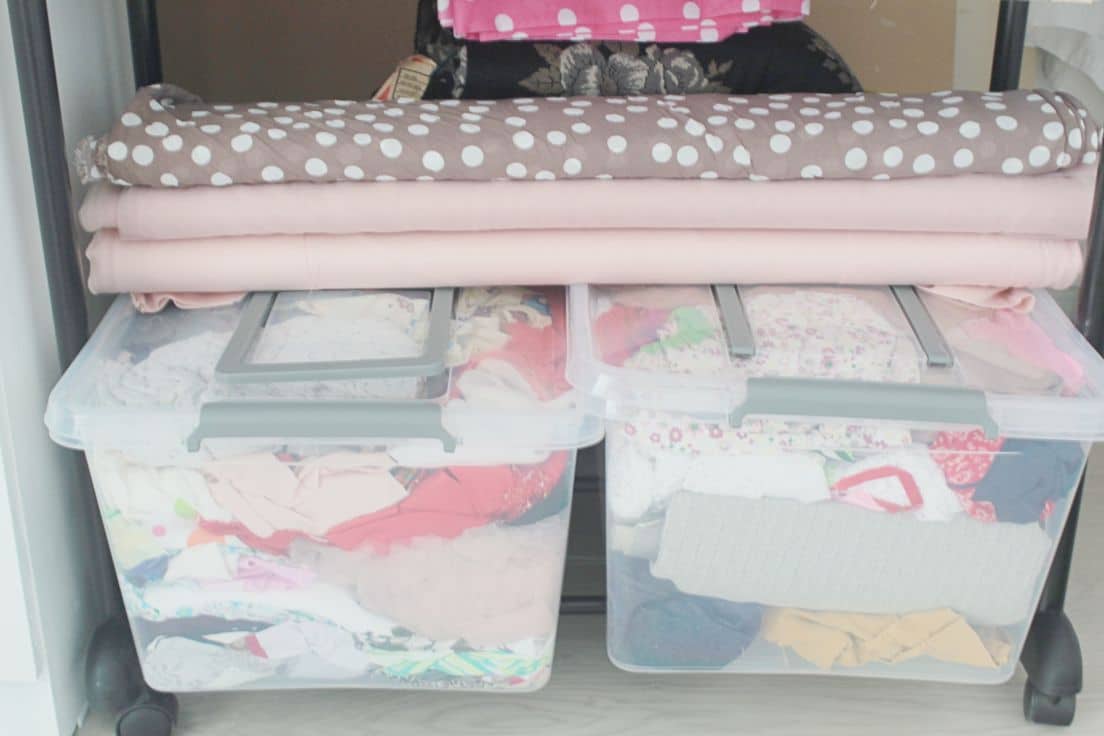
I also added some fabric bolts that I couldn’t store anywhere else. Plus I love the fact that 99.99% of my fabric stash is all in the same place!
And that’s pretty much all about my sewing room organization. It might not be much to some but to me, this setup changed my life and the quality of time I spend in my sewing room. I absolutely love this room now and I go there to spend a few minutes with my babies, even on days when I’m not sewing. Having a clean, neat space makes such a huge difference!
If you liked these ideas, you might also enjoy reading these tips on keeping the craft room tidy and organized.
I hope you found some inspiration in my sewing room organization ideas and if you did, I’d love to know it so please leave a comment and don’t forget to rate this tutorial! Thanks!
Pin to save for later
Most popular sewing projects:
Article may contain Amazon & affiliate links. As an Amazon Associate I earn from qualifying purchases at no additional cost to you.


Love your ideas. Need to something, mines all in the family room.
I love the use of the dowels on the hanging rack – loads of storage that way :) I would have never thought of that even though I use much smaller dowels and photo boxes to store my ribbons in. I agree that everything painted white makes the space look brighter, bigger and cleaner. I’ve done the same thing to all of my furniture except the sewing table itself, which has a natural wood-looking hard to scratch finish. I also really like how you used your white cabinet. I now need to get some more shelves and some clear boxes as well. I also attached an ironing board and iron holder to the outside side of my cabinet, but since it’s always in use, I have yet to hang up my board there. Just a thought.
Thank you for this post with very good ideas I’ll be incorporating to my space.
My question is about that fabric with the gray background & white cabbage roses on it? WOW, I love it! What is the fiber content & where can I get some?
Hi Sue. Thanks so much for your lovely comment! I’m glad you found some inspiration in my sewing room! The fabric mentioned is silk but unfortunately no idea where you can purchases because it was a gift.
Hi, I absolutely love your new sewing room. I will definitely use some of your awesome ideas. And as far as having too much fabric…no such thing! Thanks for sharing!
Hi Kissie! Thanks so much! I’m so happy you found some inspiration in my sewing room suggestions! And you’re right, there’s no such thing as too much fabric! In fact, I’m planning another shopping session soon :)
Dear Petro,
I love your organizational sewing room video and tutorial! You explain things so clearly and concisely. I was praying for help today and you provided the steps I need to take! I only wish I’d have found your site sooner!
This was an accident. I was looking at your cute purple stripe dress and wanted to join your news letter. I never did find the link for the newsletter to get the pattern, but I found this!
We have so many things in common. I almost felt I was hearing from a friend as I read your posts.
Please let me know how I can join your newsletter and I’ve also subscribed to your YouTube channel for videos.
Thank you again! Just love your ideas and can’t wait to organize my sewing, craft, office, storage space using your ideas. I know it will help me in my own productivity!
Gratefully,
Cher Kemmerer
Hi, Cher! Thanks so much for such a wonderful feedback, you just made my day! I have just added your email to my sewing newsletter, hope that’s ok! xoxo
I love your new sewing space!! You did an excellent job organizing it!! I like the simplicity of your sewing desk. I have one f the Koala ones and it is so big that it just invites clutter!!! It does have a separate cutting station though that I love!! Great job!!!
Aww! Thanks so much, Kathy! xoxo
Amazing and wow! I especially love, gee….the white that really opened the room, the cabinet where you put the cork board, the repurposed fabric rack is really great! Love the desk too! I can’t believe it only took 2 days, just amazing!
Great job! I know that having everything where you know where it is and what you have makes all the difference in the world. I am always happier in my sewing room when I keep it clean and organized. Being overwhelmed by mess is not good for anyone. Enjoy your space!
Thanks, Kay! xoxo
Great job! It looks fantastic!
Thanks, Olimpia! xoxo