

Adjusting bobbin tension on sewing machines
Tension setting on a sewing machine requires a little more than just adjusting the presser foot tension. Sewing machine bobbin tension plays an important part too and changing bobbin tension is crucial for the success of all sewing projects!
Bobbin tension
Did you know the success of your sewing projects is tightly connected to the right tension? Adjusting the sewing machine tension involves three aspects: setting the correct presser foot tension, setting bobbin tension according to your project and adjusting top thread tension.
This tutorial has been converted to a PDF file, available to purchase here. This article is completely free to read.
In this tutorial I showed you how to set the presser foot tension and now it’s time to see how to change the tension in your bobbin. We’ll talk about top thread tension on a future tutorial. Setting these to the correct level that is required by your project plays an extremely important role. But first let’s see why you need to make these adjustments.
Why bobbin tension is important?
It all comes down to the fabric, really. Every fabric is different in texture and thickness thus requiring different pressure from the presser foot. But they also require different threads to get the perfect stitch. You can’t obviously sew thick fabrics with lightweight thread and vice versa. I mean you can, but the result will be disastrous for the fabric, the needle, the sewing machine and your poor nerves. So you need to adjust the presser foot to apply the right tension and then you need to take care of the thread tension which is controlled by the bobbin tension and the needle tension.
Changing the bobbin thread tension is super easy and quick and testing if you’ve chosen the bobbin tension right in your bobbin case is also a breeze as long as you know where to start and how to do the adjustments. By not choosing the correct bobbin tensions for your thread will result in frequent thread breaks, broken stitches, erratic stitches, loose stitches, unraveling, loops in the back of the fabric, broken needle, jammed threads etc Save yourself from all the headaches and keep your machine happy by doing something that is so simple and easy and only takes a couple of minutes: choose the proper tensions settings for both the bobbin tension and the presser foot tension.
More sewing tips you might like:
- DIY seam guide
- Tips for sewing canvas fabric
- Sewing needles types with size chart
- Tips for proper seam ripper use
- How to match stripes perfectly
- Easy spaghetti straps
- Tips for clipping and notching seam allowances
- Turning a tube out without a tube turner
- How to make zipper tabs
- Lettuce hem sewing tutorial
- How to sew the perfect mitered corners
- Best tips and tricks for sewing organza fabric
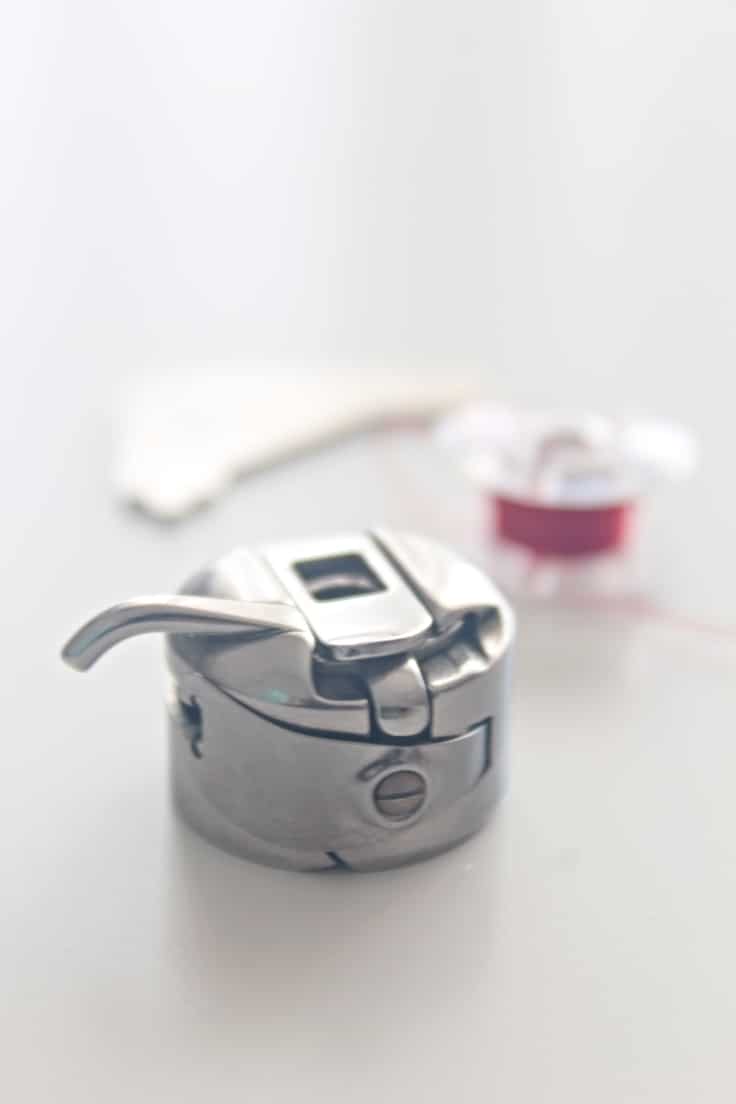
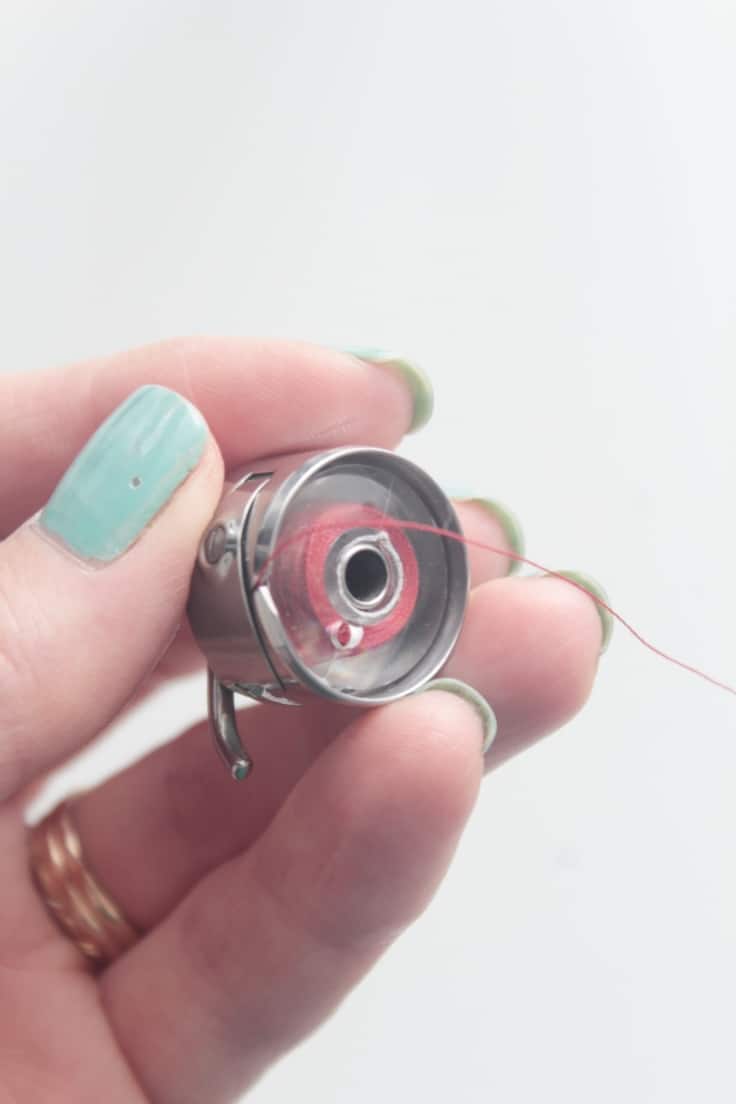
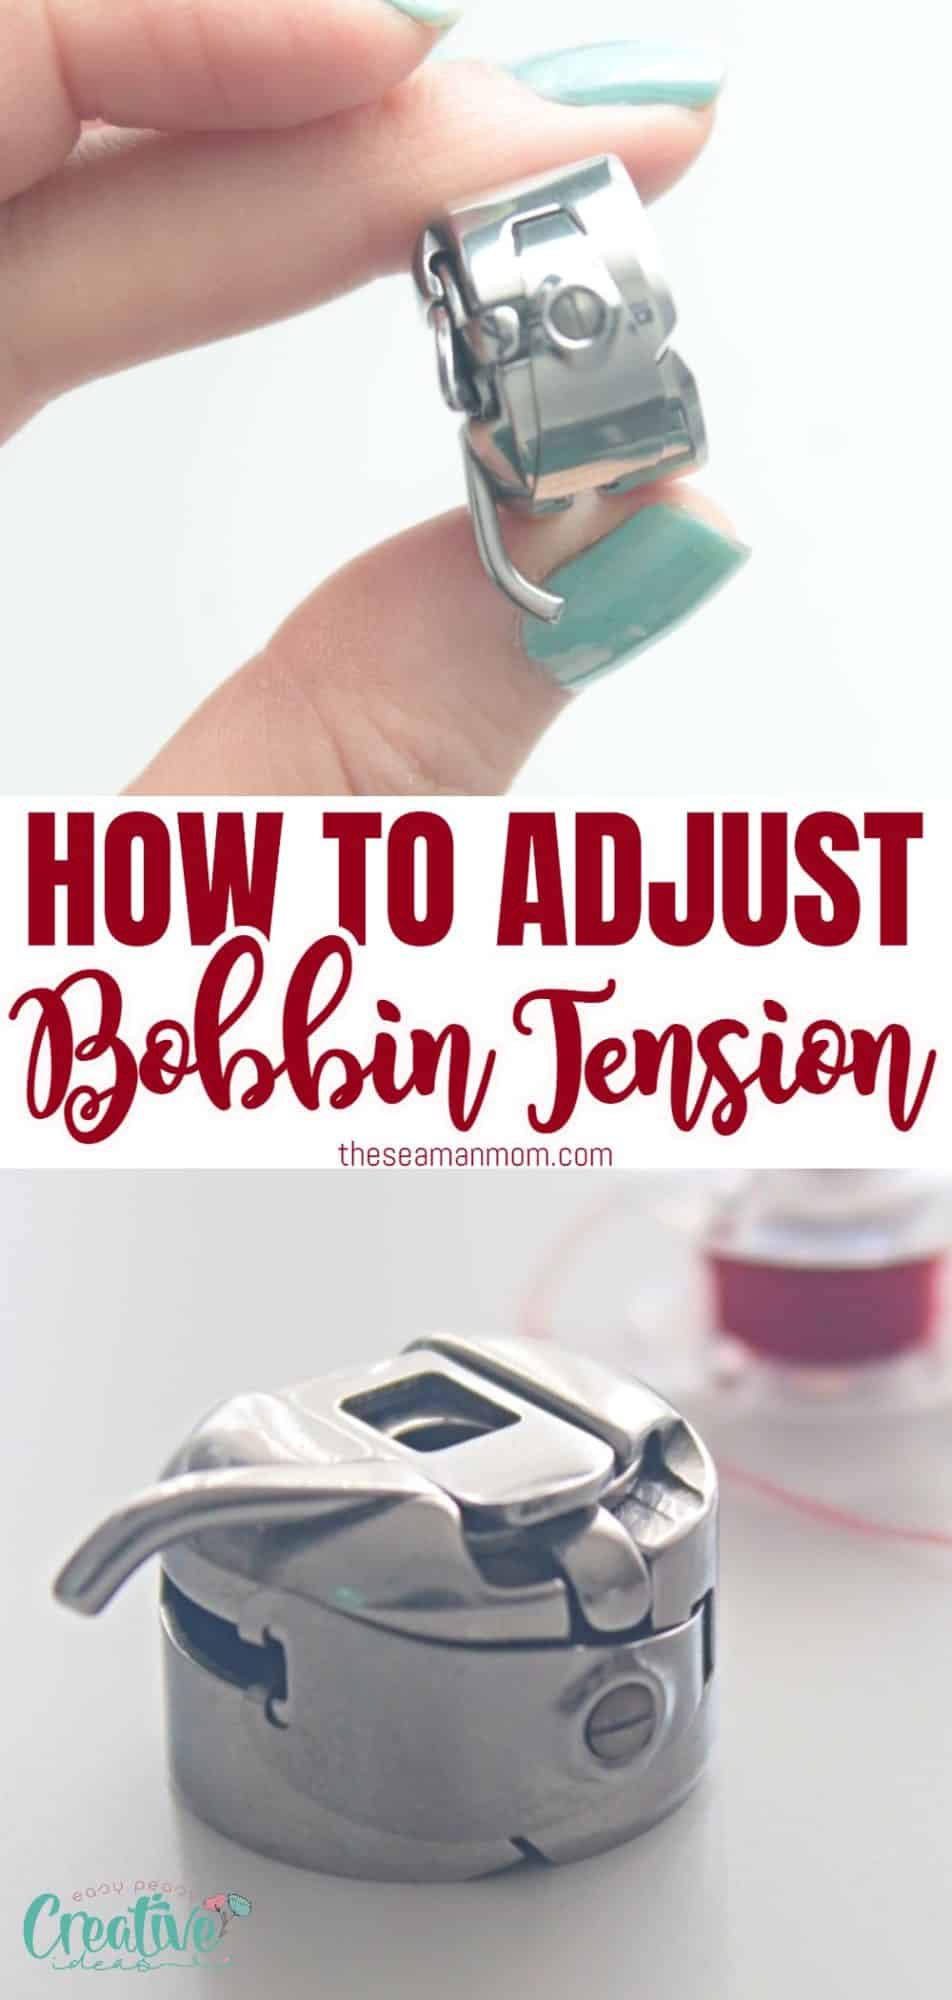
When I say bobbin tension I’m actually referring to the bobbin case which is the little metal case your actual bobbin goes into. If you’re looking closely at the bobbin case, it features a teeny tiny screw on one side. At a first glance it may see like this little guy’s purpose is to keep the bobbin together but in fact it is the big brother when it comes to setting the bottom thread tension.
To differentiate between presser foot or top thread problems and tension problems in the bobbin case you need to look at the stitches first. If the issues appear to the stitches on the front side of your project, these could be presser foot related or needle thread tension. If the affected stitches are on the back side of the fabric, the issue is in the bobbin (either tension, jammed thread or lint).
When to change the bobbin tension?
Most machines are set for standard tension, in all three places (top thread, presser foot and bottom or bobbin thread) and you usually don’t have to mess with those settings. But this doesn’t mean you never ever have to adjust them! Unless you plan on sewing with the same fabric over and over again for the rest of your life. Doesn’t sound like a great plan, doesn’t it?
Sometimes when you sew heavy duty fabrics you’ll need thick thread which might require a bit of adjustment of your bobbin tension. You’ll also need to change the tension when working with elastic thread for shirring, like I did here for this shirring project and then for this shirred dress. Some metallic threads might also require tension adjustments in the bobbin.
Below find how to make the correct adjustments so you get the proper bobbin tension for each project. This tutorial covers the front load bobbin, not the drop-in bobbins which is similar but slightly different (hopefully I’ll find some free time to touch that subject too).
Adjusting bobbin tension
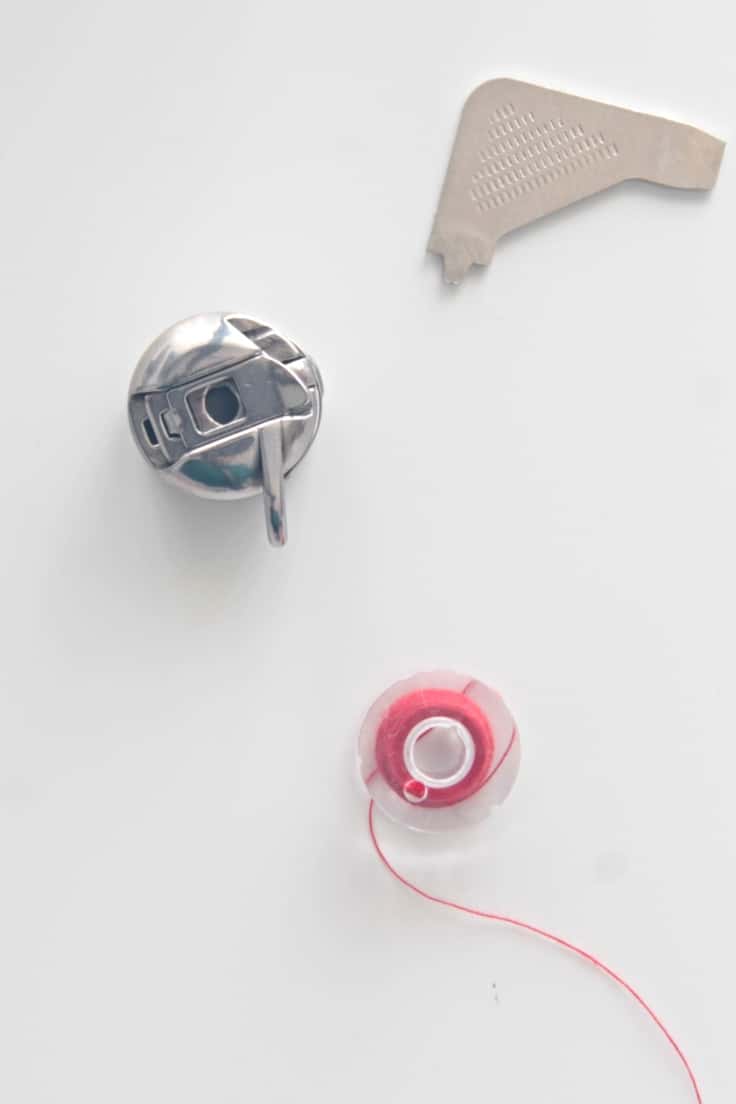
Materials:
- bobbin winded with thread
- bobbin case
- screw driver
How to adjust bobbin tension?
Before proceeding to making any adjustments, make sure your bobbin tension problems are not related to other issues, such as dirt, lint or small pieces of thread inside your sewing machine or the bobbin case. And if you’re not very experienced it’s always a good idea to ask a technician to do this job.
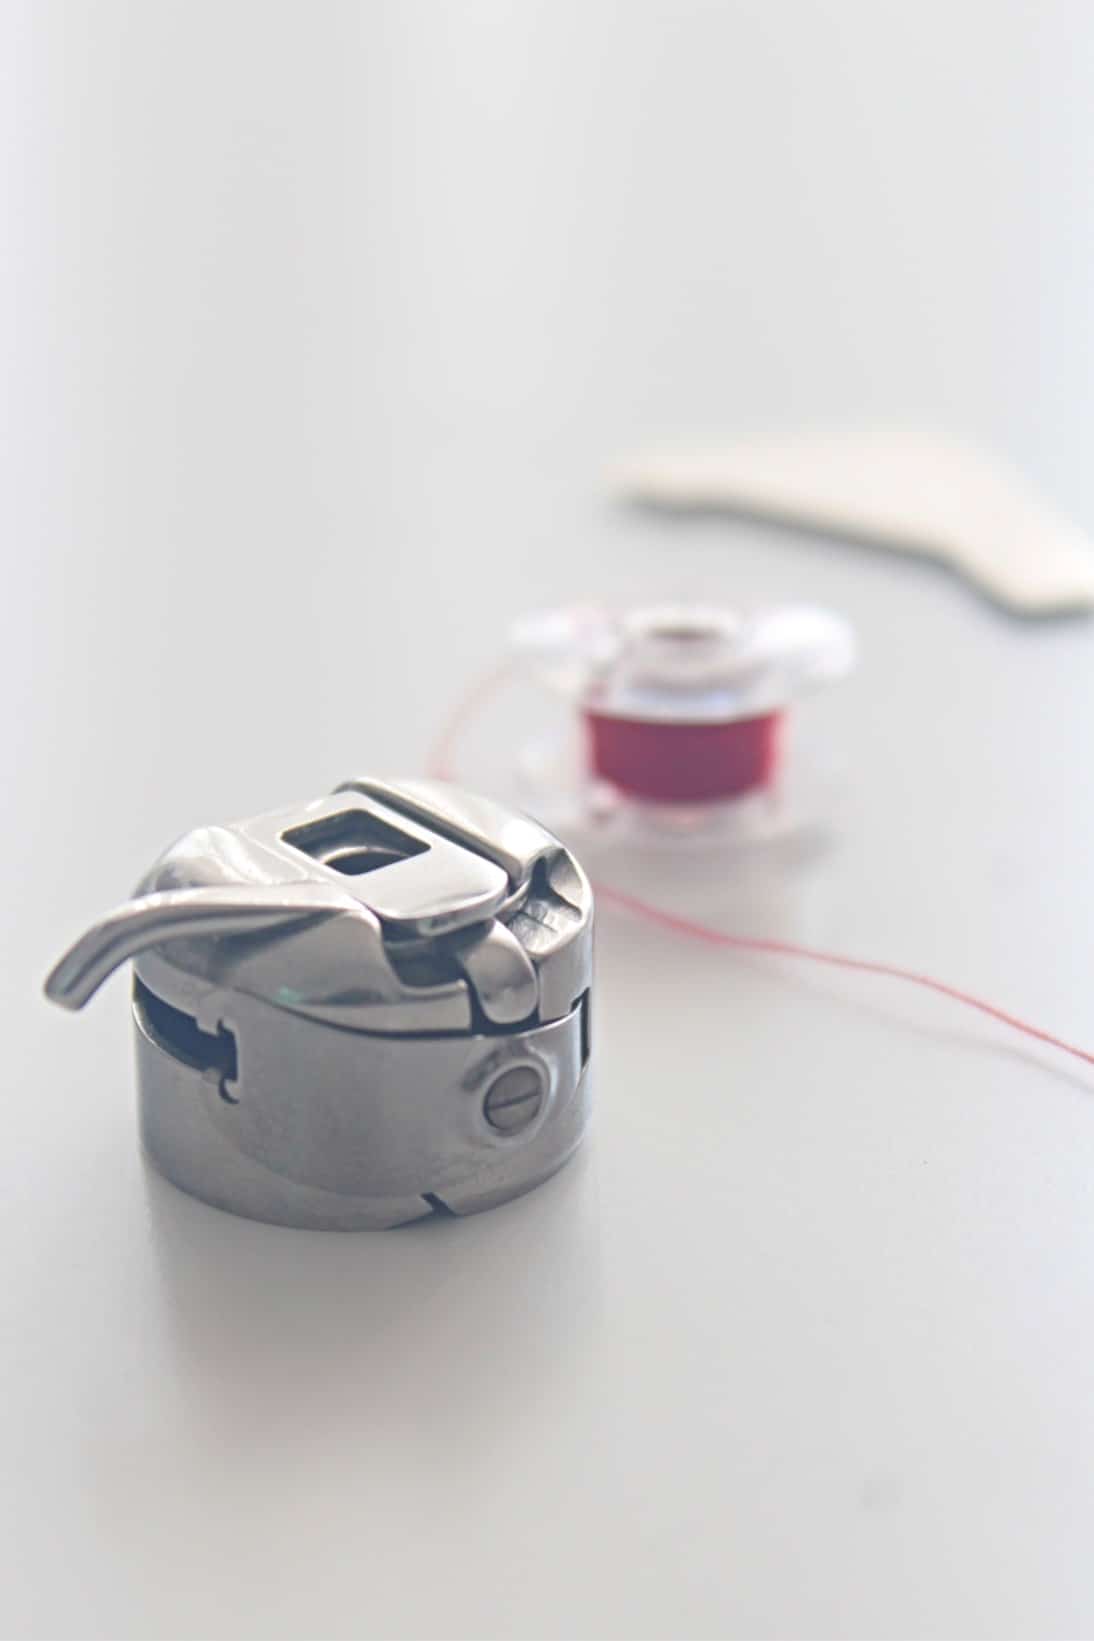
Locate the tension screw
- The bobbin tension also known as bottom tension is generally set at the factory for standard sewing thread and for most part of your sewing journey, shouldn’t need adjustment.
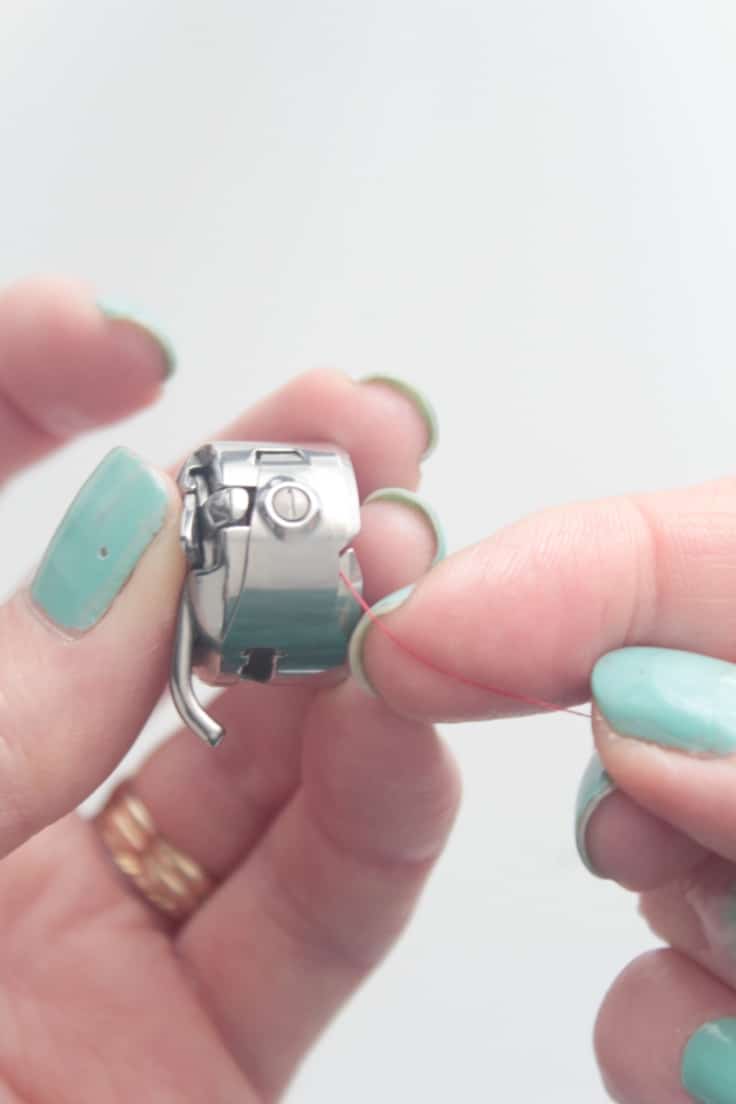
- Adjusting this tension is controlled by a small screw, located next to the thread opening.
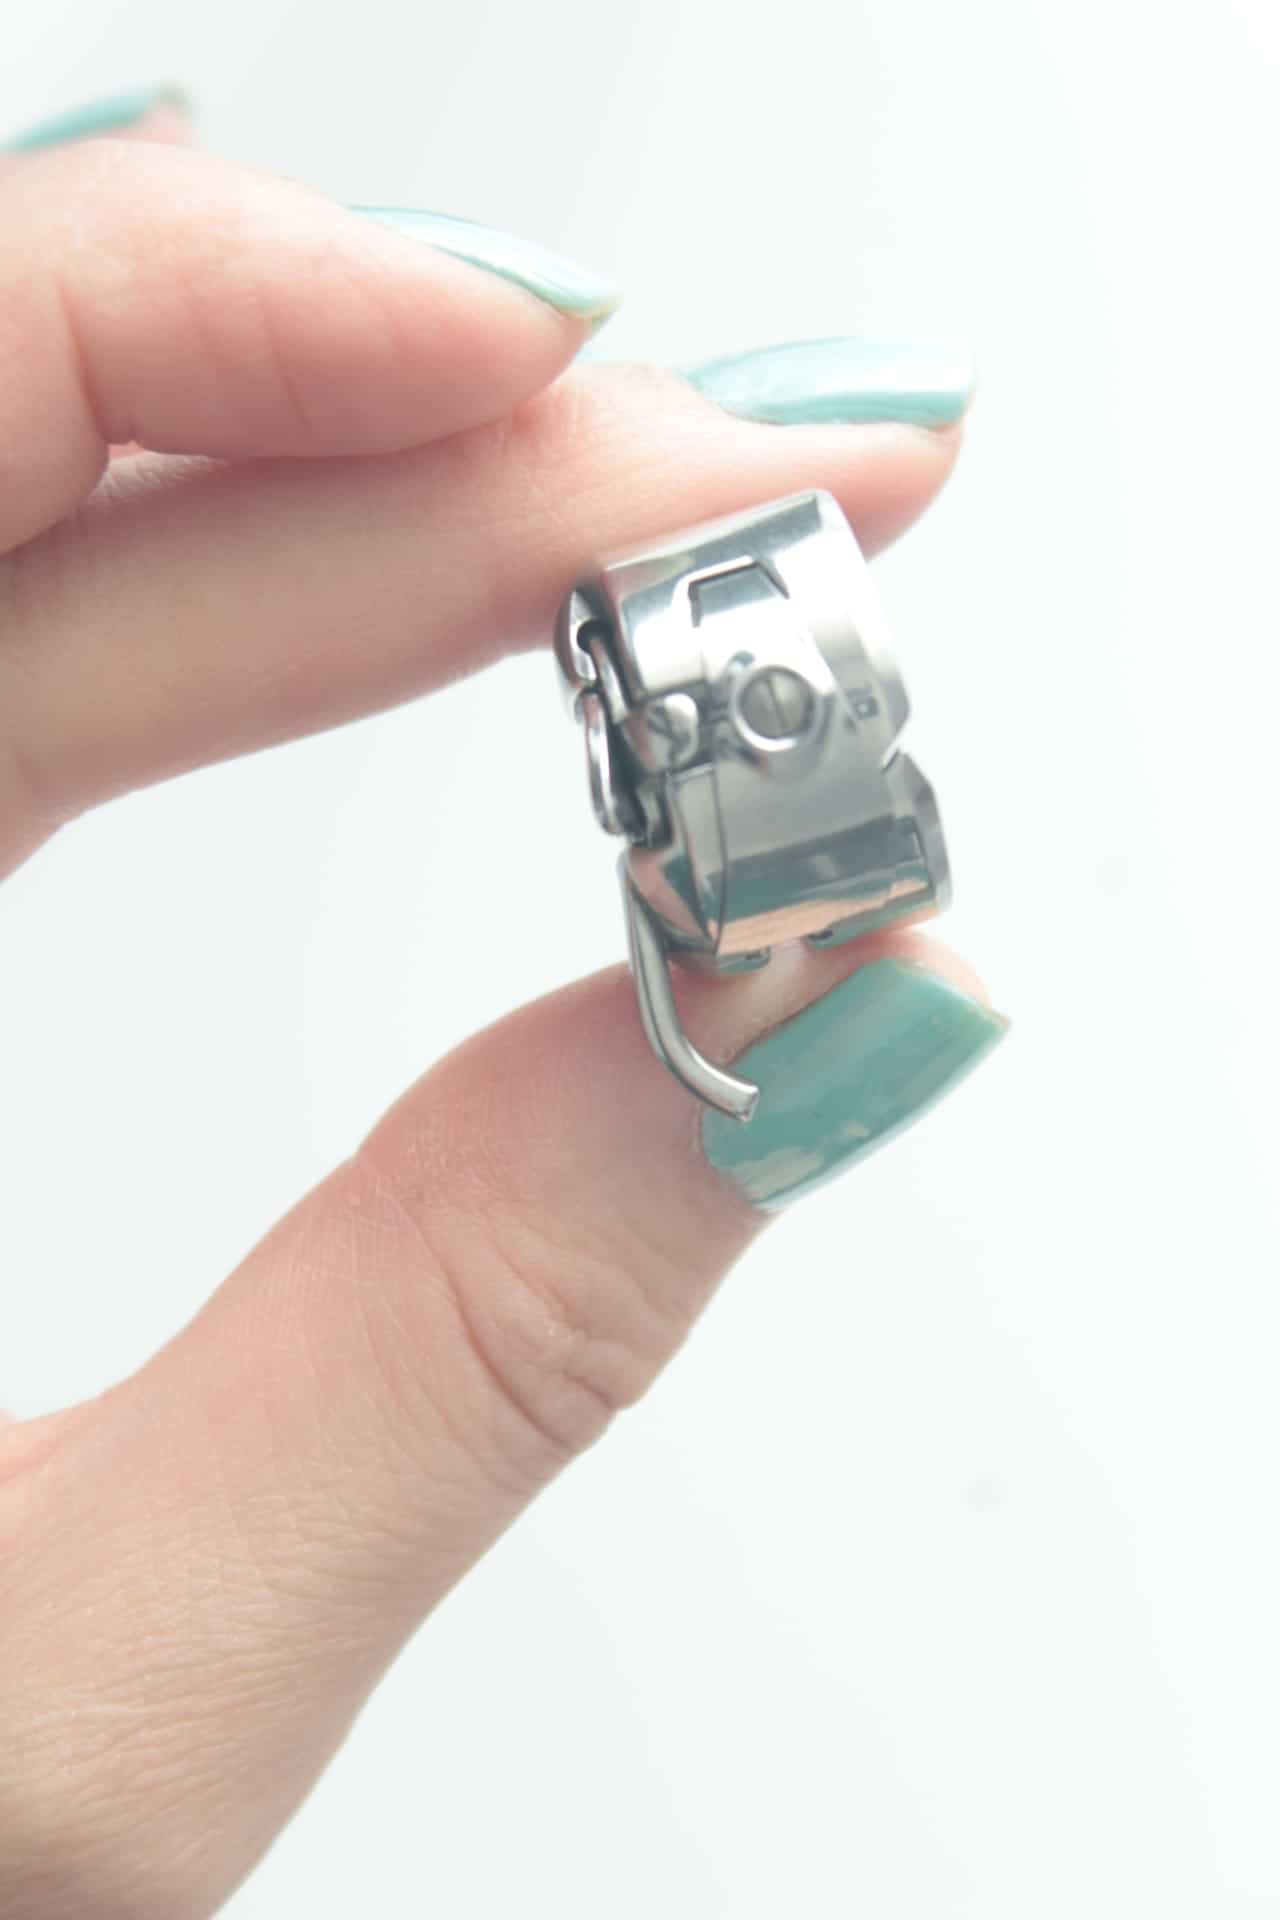
- See that little plate with a hook that holds the thread? That’s what the little screw does, it makes that plate apply a tighter or a looser tension.
Adjust the tension
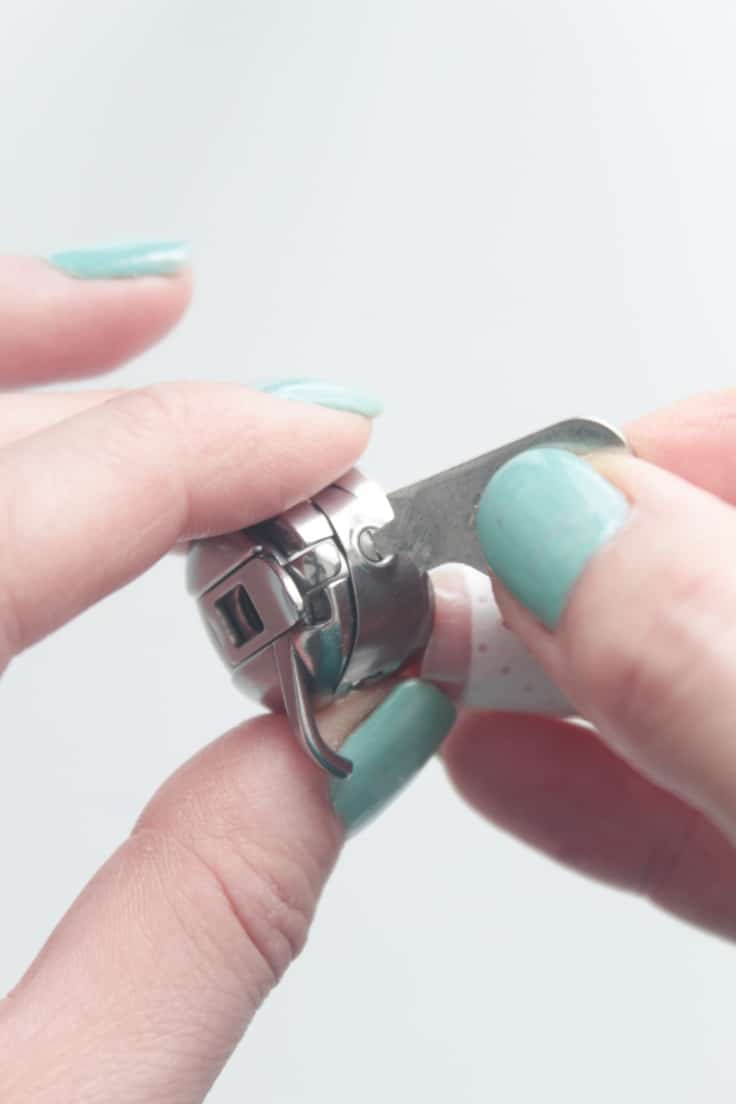
- Before proceeding to adjust this screw, please note the screw doesn’t have any markings on so if you move the screw too much it may be difficult to reinstate to the original position. So first mark the original position using a marker on both the screw and the bobbin case.
- To make the adjustments, get a tiny screw driver (your machine might come equipped with such screw driver), turn the screw to the right for tighter tension or to the left to loosen.
Test the tension
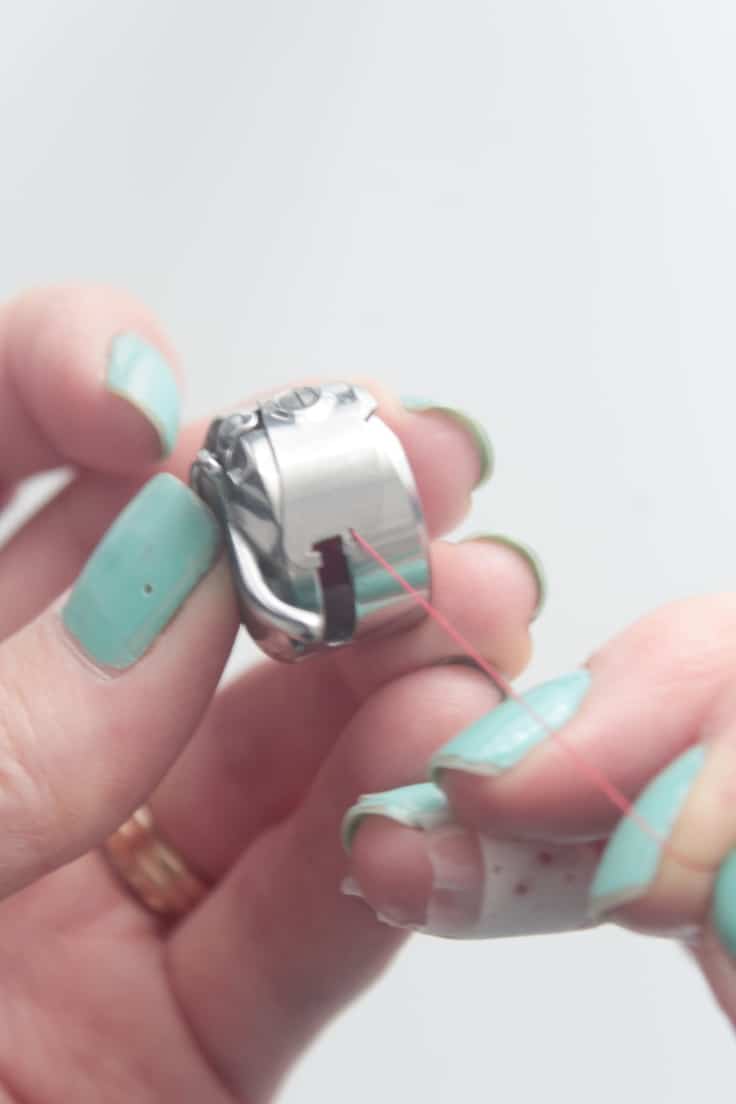
- To test your settings for the new adjustments, insert the winded bobbin into the case, hold the tail end of the thread with one hand, place your other hand under the bobbin to catch it and gently jiggle the thread. If the case doesn’t move at all, the tension is too tight. A case dropping quickly indicates a tension that is too loose. If the case moves just a little with every jiggle, you got the perfect tension.

- Another way to check the tension is to thread the needle, lower the presser foot then tug on both threads simultaneous. If they come out even you have set the perfect tension.
- Always do a test stitch before engaging in a larger project!
If you found this tutorial helpful and informative I would love to know it so please leave a comment below and let me know your thoughts! Thanks and happy sewing!
Pin to save for later
Most popular sewing projects:
- Tips for sewing a round hem
- Corded bag handles
- Flutter sleeve dress pattern
- How to laminate cotton fabric


Article may contain Amazon & affiliate links. As an Amazon Associate I earn from qualifying purchases at no additional cost to you.

Thank ya so much
Very clearly stated. Appreciate this information. Pulling both treads, amazing tip.
Thank you! Very informative. The final statement of, …. pulling both bobbin and needle thread at the same time to test uniform tension, brilliant.
Thanks so much, Paulette! I’m happy that you enjoyed this tutorial and found it helpful! 🤗
Well I never knew THAT before! Thank you for this article – I’ve just done a very wee tweak and wow what a difference. That explains why I was having problems! Hurrah!
I appreciate the info on the bobbin
Tension. Very helpful.
Really great tutorial! I was having all kinds of problems with my tension. I knew what to do but actually doing it was a mess. Thanks for your help I’ve finally got the machine all straightened out. 👏👏👏
Thank you so much for that. I had no idea how to fix this issue 😳
I need this! I have so much trouble when I sew.
I needed this video, even after my 75 years of sewing. How about a follow up video showing how to re-insert the bobbin case? On one of my machines I removed the bobbin case, and despite looking a You.Tube videos I still cannot get the bobbin case back into the machine.
I have 6 machines but stopped buying Singers because nobody can fix them, and the factory just wants to upsell customers.
Great video and instructions! Thanks so much!!!
In what situations might you need lighter or heavier tension?
For me, it would be different thicknesses of thread (e.g. standard all purpose thread vs upholstery thread). :-)
I have a Bsbylock Presto II and it doesn’t have a bobbin case. I’ve been searching everywhere to try to find out how to adjust the bobbin thread tension. The manual doesn’t mention it – doesn’t mention presser foot tension either!
Why are we never told about this tension in the bobbin? It would have eliminated so much tension and frustration causing a lack of interest in sewing. Thank you from the bottom of my heart.
Thank you! I have always sewn on a machine with a horizontal bobbin! This video has helped me a great deal. It kept popping out of my machine and I didn’t understand why. Thanks again!
I am about to reline my shopping bags with canvas and now I know how to reset my tension! Thank you so much for wonderful FREE ADVICE AND TIPS with clear pictures and explanations. Before finding and subscribing to your site I always took my machine to the repair shop for fixing ($125.00 each time) and it would work well while I was sewing cottons but when I switched fabrics the problems would begin and of course the repairperson would never tell me I could fix it myself, even when I asked if there was an adjustment that I could do! I have been sewing for years (and have very little hair left–it has been ripped out in frustration –just kiddin!) and am learning a lot of neat little tips from you. So happy to be a part of your sewing friendship circle.
Yvonne
Hello ,Thank you ,I should have seen this a spool of thread ago ! I never had to do this but I kept fiddeling w/i the bobbin and numbers . I appreciate this tip. God Bless you
Have two sewing machines now I understand whats wrong with both of them. Thank you so much!
Happy to help, Shelia! Glad my tutorial helped you figure out the problem!