

Lined Zipper Pouch Sewing Tutorial
Article may contain Amazon & affiliate links. As an Amazon Associate I earn from qualifying purchases at no additional cost to you.
Sewing a pouch is easy, fun and practical! Make a bunch of cute pouches with lining using this simple zippered pouch tutorial! A DIY zipper pouch is a great project for beginners to practice their zipper skills!
Small Zipper Pouch
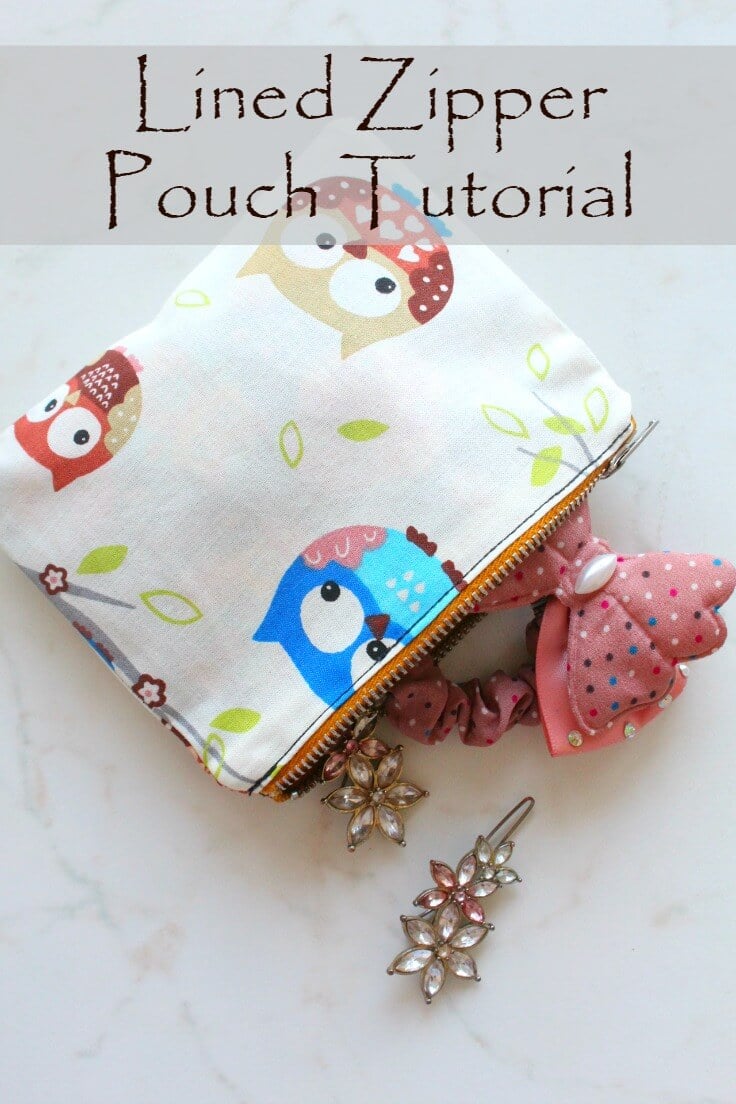
Ever wondered how to make a zippered pouch? If you’re an ultimate beginner you probably feel like these are so hard to make because they not only involve sewing a zipper but are also lined, so double trouble! But I’m here to tell you that you could not be more wrong, my dear friend! This easy peasy zipper pouch tutorial will debunk all the myths, I promise you!
Need more pouch ideas?
- Kitty coin purse
- Essential oils pouch
- Chicken fabric weights pouches
- Bunny treat bag tutorial
- Easter carrot treat pouch
- Reusable snack bags
- Triangle fabric weight sachets
- DIY credit card holder
- Easy round pencil case
While I was practicing my zipper skills in these tutorials (How to sew a zipper and Zipper installation on a skirt), I thought I might as well make something practical. I’m always in need for storage ideas for my craft or sewing supplies or even my elastic bands and my daughter never has enough pouches for her school and craft supplies (yup! she’s got it from her mamma, wink, wink!). I think this makes a wonderful back to school project!
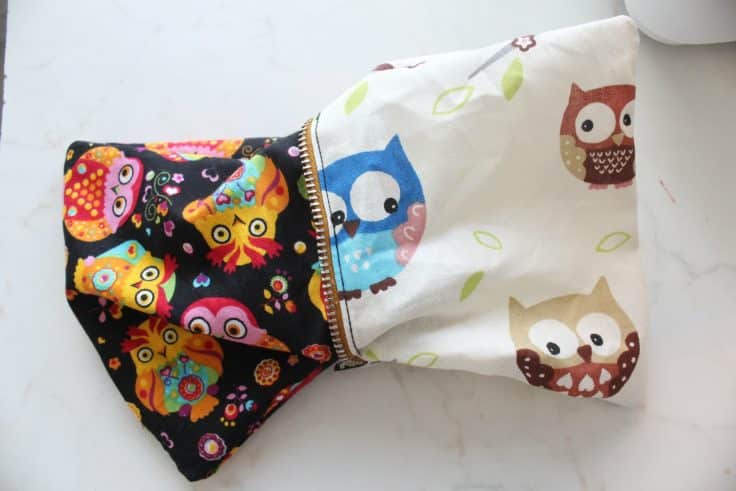
Considering our needs this lined zippered pouch tutorial made total sense. And I could not be happier with my decision! This small zipper pouch is so useful and was incredibly easy and fun to make, especially with the fabric choice I had.
With this easy zipper pouch tutorial you could whip up a bunch of pouches in no time! These beauties have so many uses and are great to store all kinds of stuff, from elastic bands and clips to coins, pencils, office, school, craft or sewing supplies etc. You may need to adjust the shape and size to accommodate your persona needs but the tutorial is exactly the same.
Or if you love essential oils as much as I do, you could use this zipper pouch tutorial to make some pouches for your favorite essential oils to carry when traveling. And they are such fun gifts to make, for any holiday or occasion!
More sewing tutorials you might like:
- How to sew a round hem
- How to add a magnetic snap
- Laminating cotton fabric
- School supplies organizer
This lined zippered pouch tutorial is perfect for beginner sewers that are not too confident in using zippers on larger projects like skirts, blouses or dresses. They are also a great way to use some of your fabric scraps and a wonderful opportunity to get more organized and tidy. Also making your own pouches means you get to pick the fabric you like and choose the size you need so extra point for making your own zipper pouch!
Zipper Pouch Tutorial
Materials:
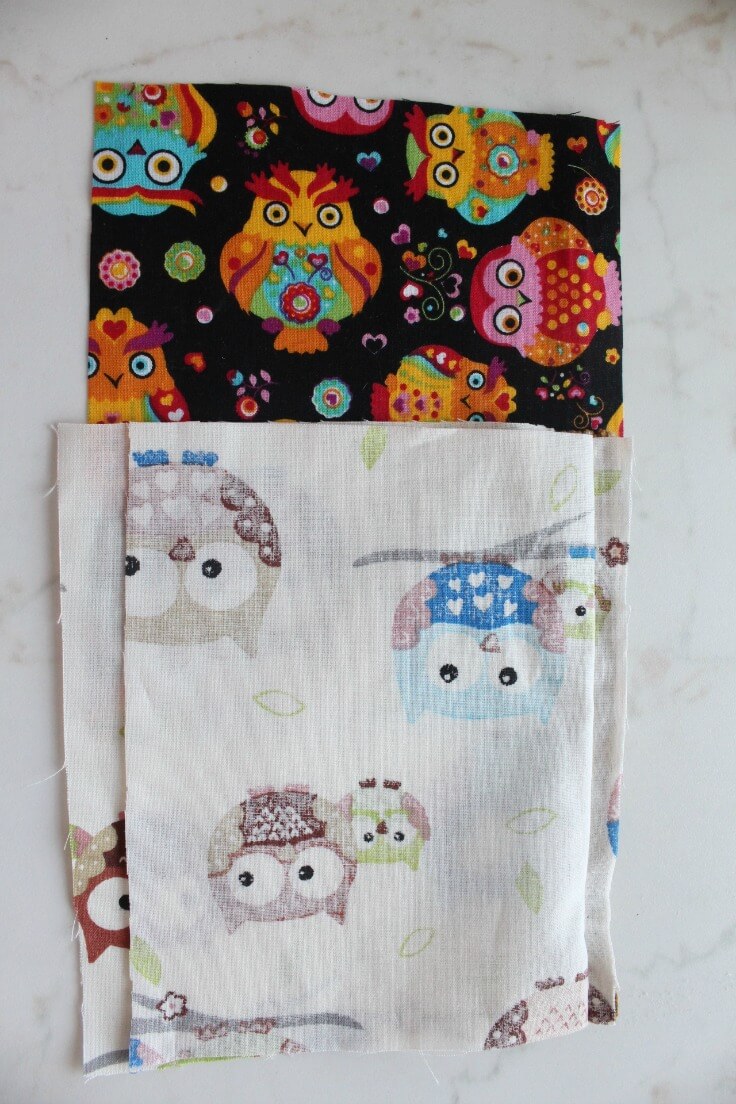
- 2 strips of fabric of 6″ x 5″for outside
- 2 strips of fabric of 6″ x 5″ for lining
- 6 ” zipper
- matching thread (I used contrast for this tutorial)
- pins
- scissors
- zipper foot
- sewing machine
- iron and ironing board
[amazon-related-products keywords=”product suggestions keywords”]
Directions:
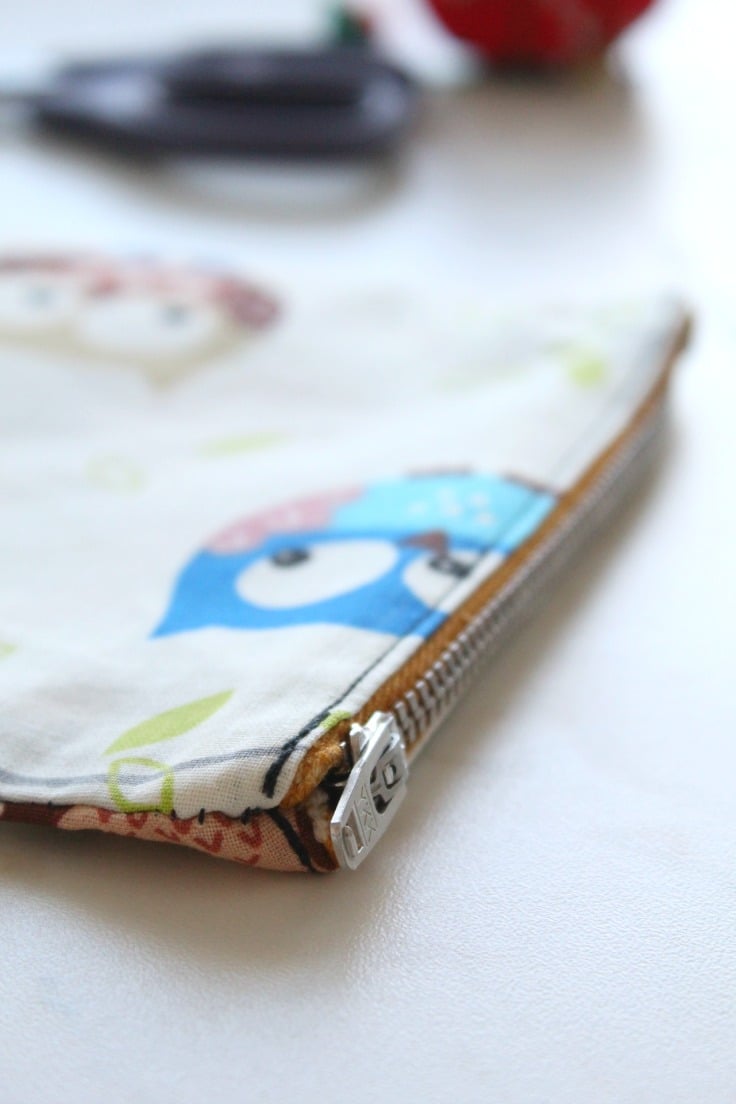
Sewing the zipper
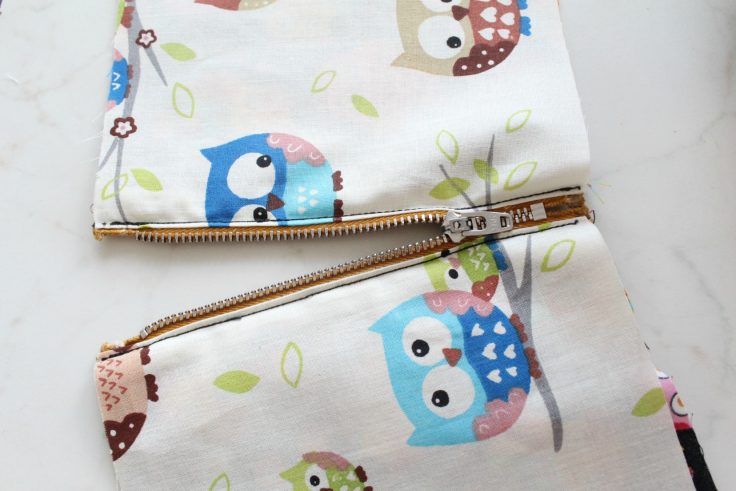
- Take your outside fabric strips and the zipper and sew the zipper on as instructed in this tutorial, skipping the final decorative step (the topstitch one; I have mine on as I did both tutorials in one go but if you do the topstitch it will show on the inside of your pouch). Remember to use the zipper foot.
Adding the lining
- Sandwich one long edge of the zipper between one piece of lining and the outer fabric where it is already stitched to (in other words just flip one outside fabric strip over then place one of the lining strips underneath).
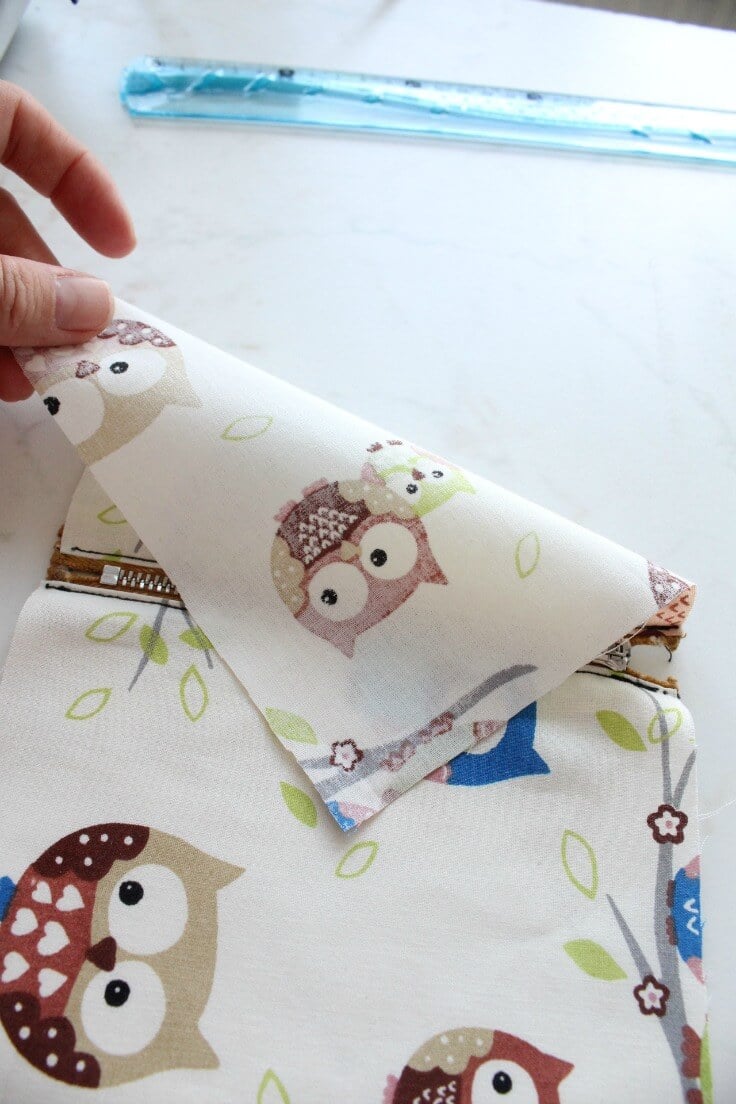
- Stitch again, along the same stitching line on the outer fabric, to attach this side of the lining (remember I did a topstitch in my previous tutorial so the image here is slightly different in terms of stitching, yours should show where my finger is pointing to).
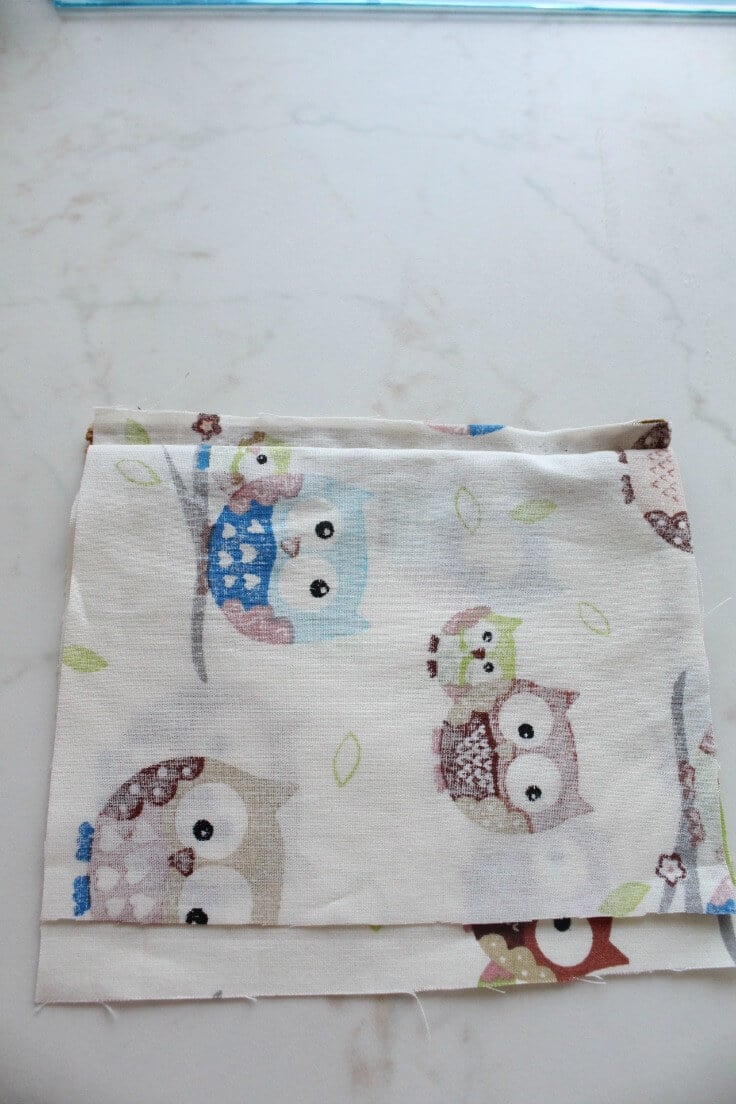
- Repeat for the other side and the second lining strip.
- Now is the right time for you to topstitch close to the zipper to keep the fabric from popping up and also for decorative purposes.
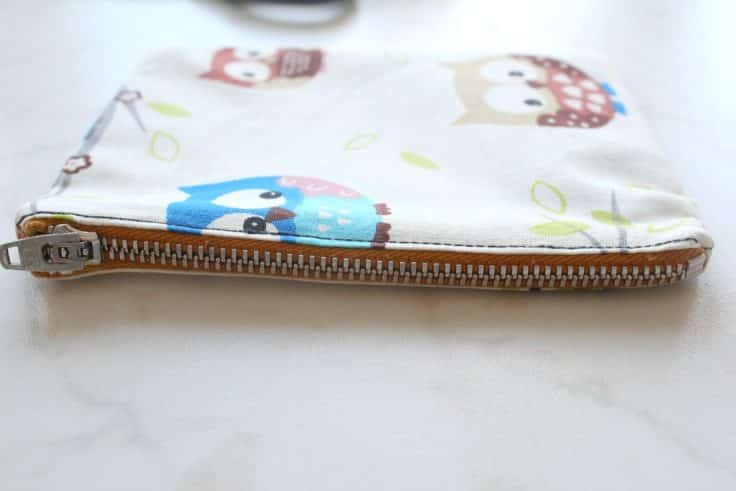
Sewing all pieces together
- Open up your zipper a little, about 3/4 of the way.
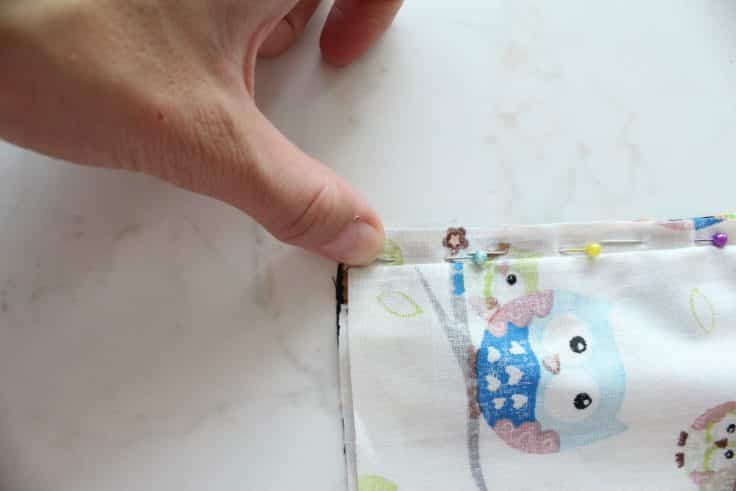
- Match the outside fabrics right sides together then match the lining fabrics right sides together. Fold the zipper teeth toward the lining and make sure to match the outer fabrics at the zipper.
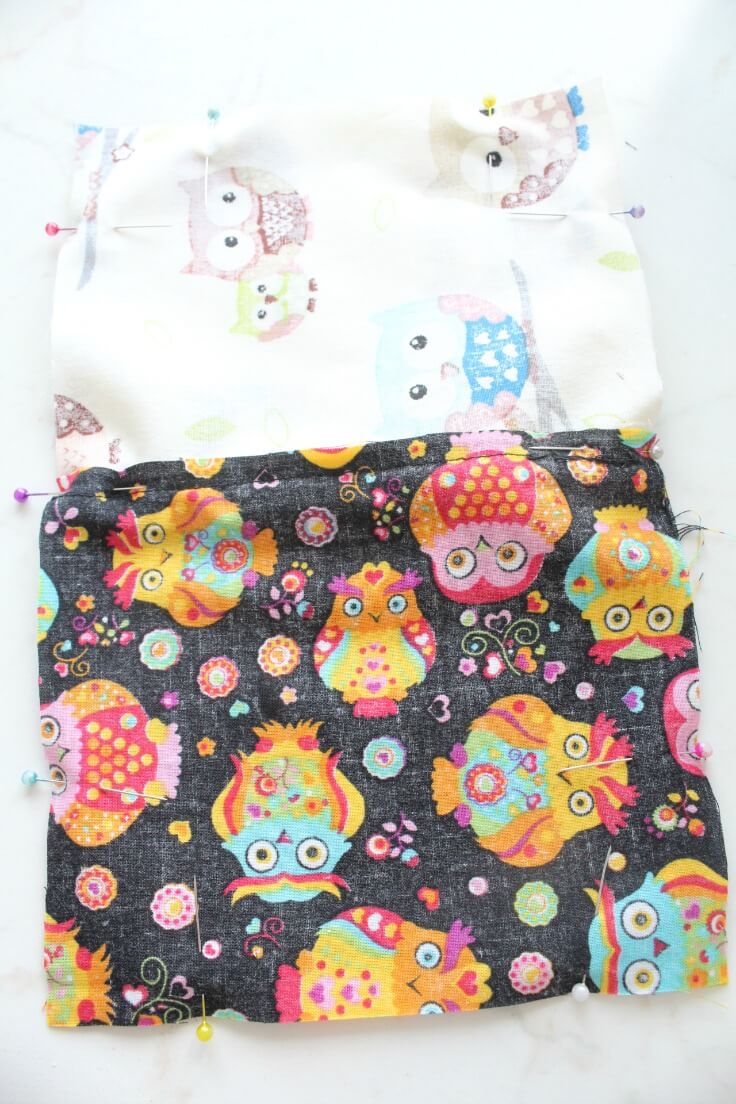
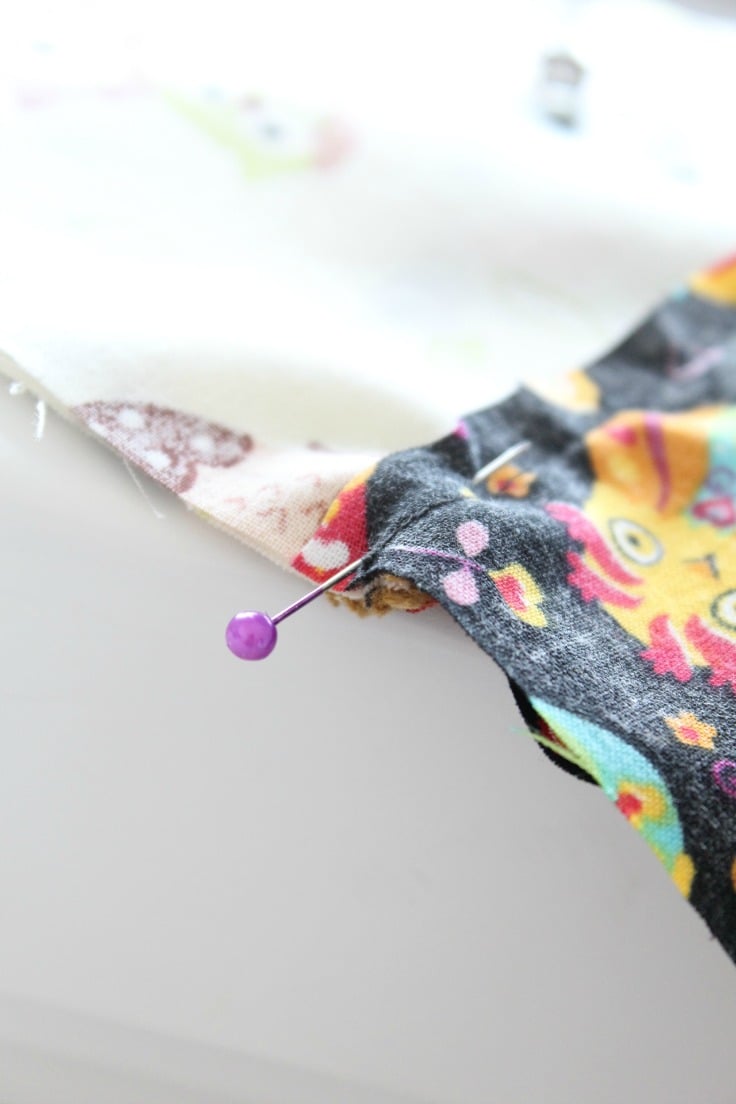
- Stitch around all raw edges but leave a small hole in the bottom of the lining for turning. Clip the corners but be sure you don’t clip through the stitching.
Turning pouch right side out
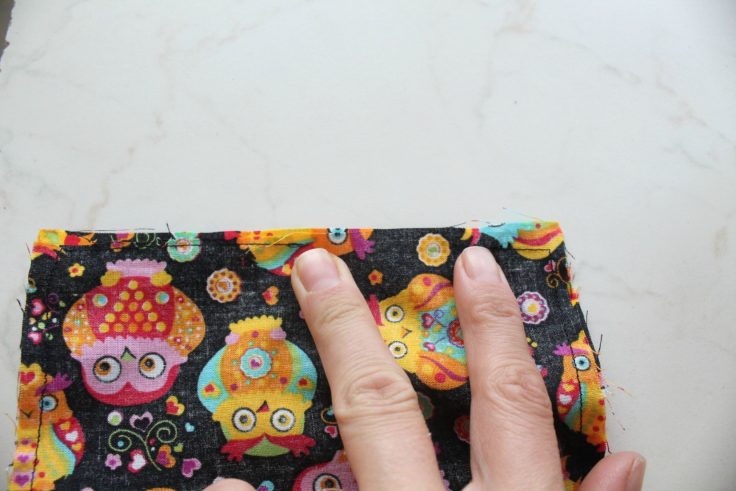
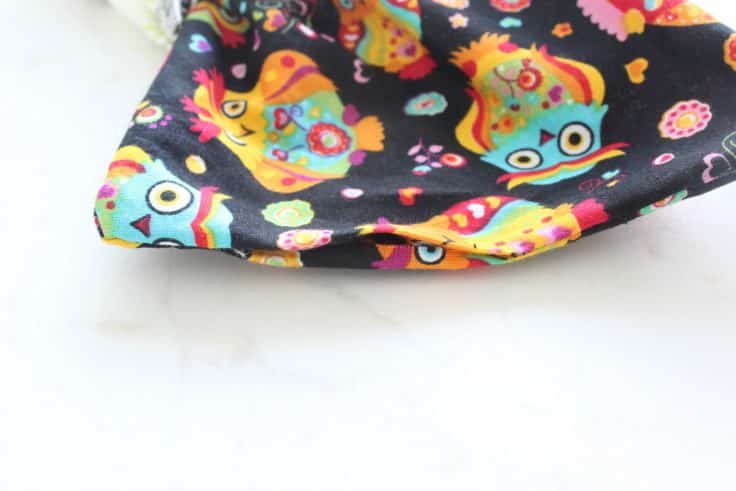
- Turn the pouch right side out through the hole and use a point turner to poke the corners out so you have sharp corners.
- Looking at the gap you left in the lining, fold the seam inside and do a topstitch along the entire seam in the bottom of the lining.
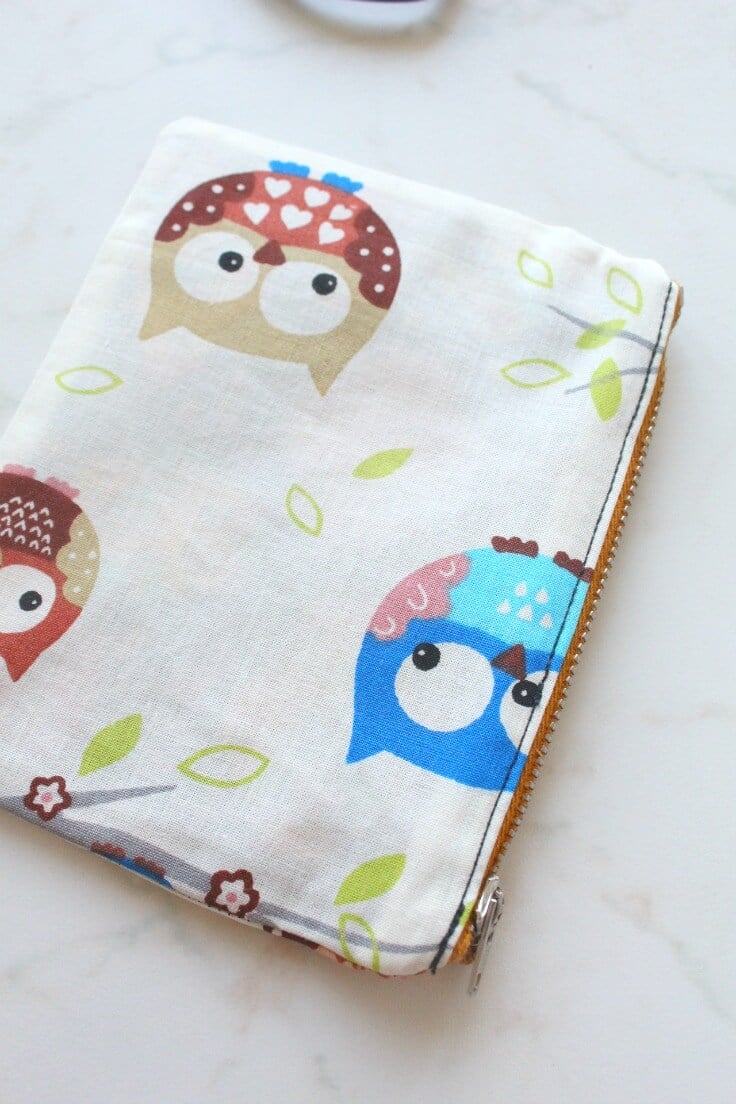
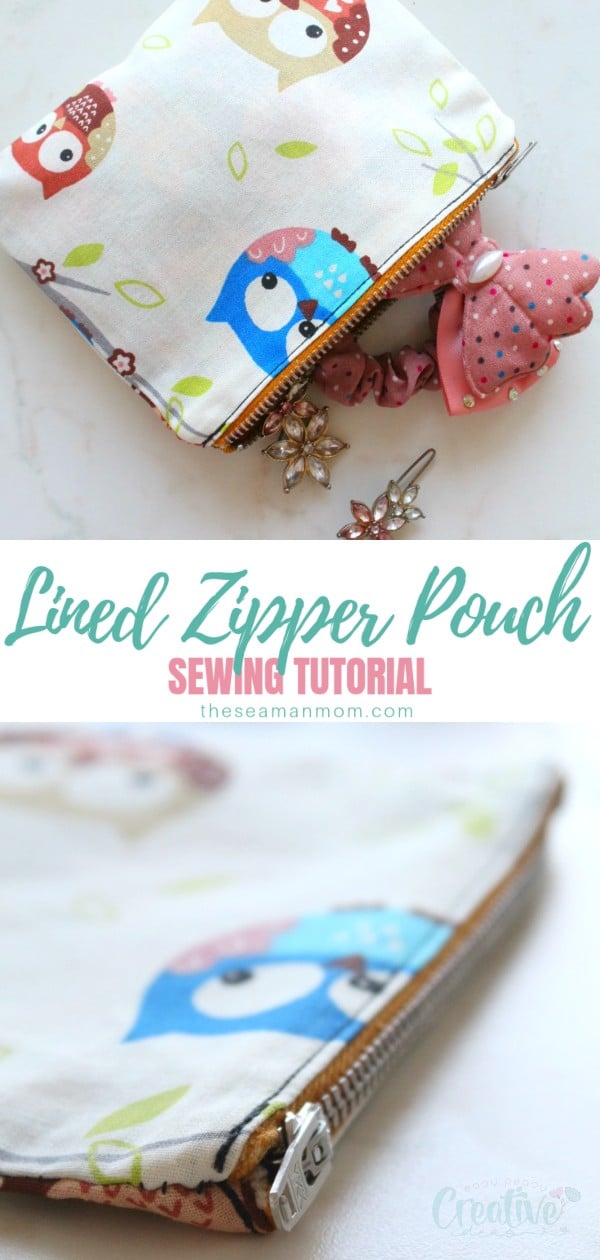
- And you’re done! Enjoy your adorable little pouch!
What would you use this pouch for? Please let me know in the comments below and don’t forget to rate this tutorial! Thanks!
Pin to save for later
ABOUT PETRO
Hi, I’m Petro, author and founder of Easy Peasy Creative Ideas. Sewist, crafter, avid DIY-er, foodie, photographer, homemaker and mommy to one. I’m an expert at coming up with quick, clever sewing tips, recycling crafts and simple, easy recipes! You can find my ideas featured in reputable publications such as Country Living, Good House Keeping, Yahoo News, WikiHow, Shutterfly, Parade, Brit & Co and more. Thanks for stopping by and hope you’ll stay for a while, get to know me better and come back another time. Stick around for real fun projects! Read more…