

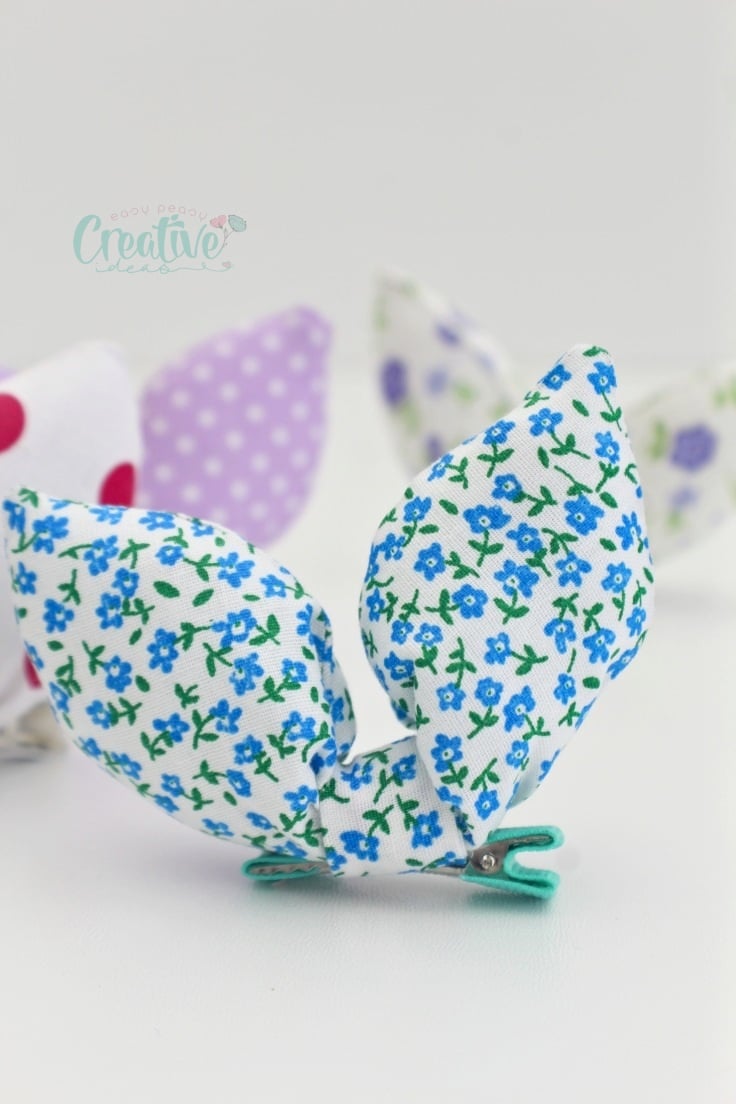
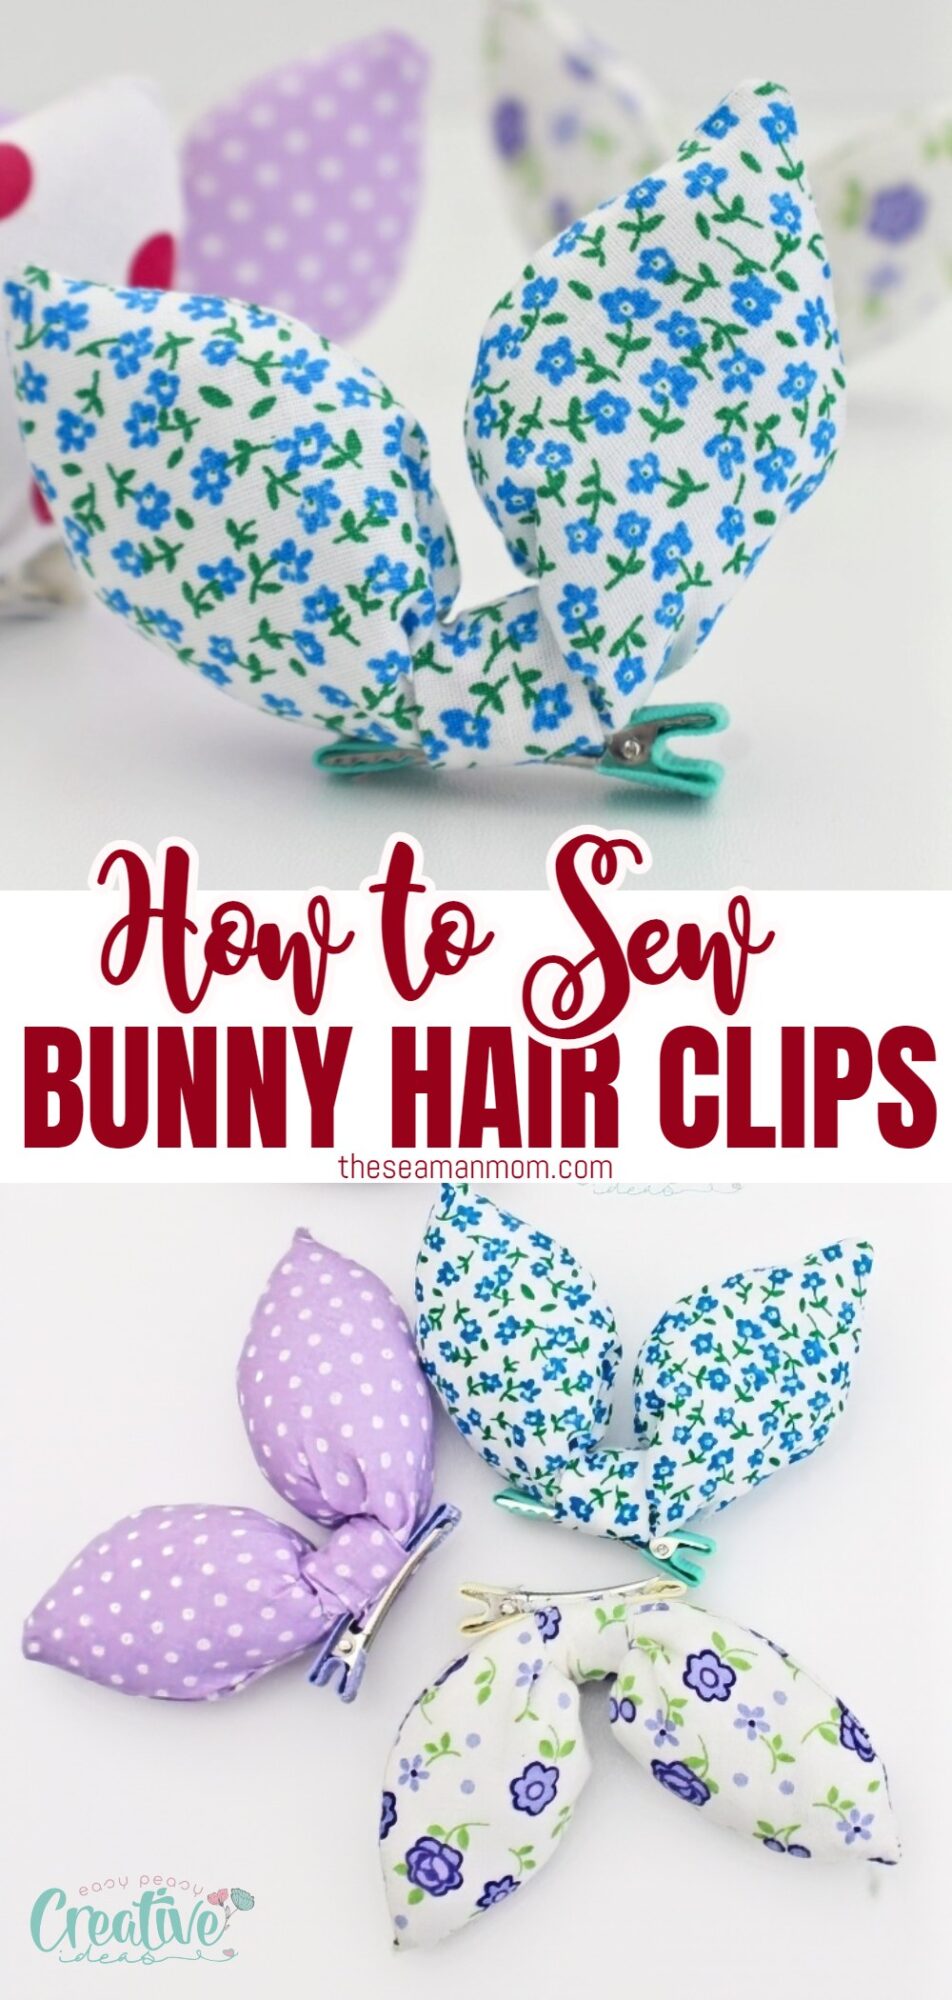
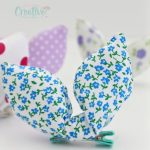
10 Minutes sew bunny hair clip
These charming bunny hair clips are a delightful addition to your festive ensemble! It’s not just a hair accessory! Each of these are a cute statement piece that adds a touch of Easter whimsy to your look. Come on over to explore the fun and easy steps to create your very own bunny hair bows with a sprinkle of creativity and a dash of joy!
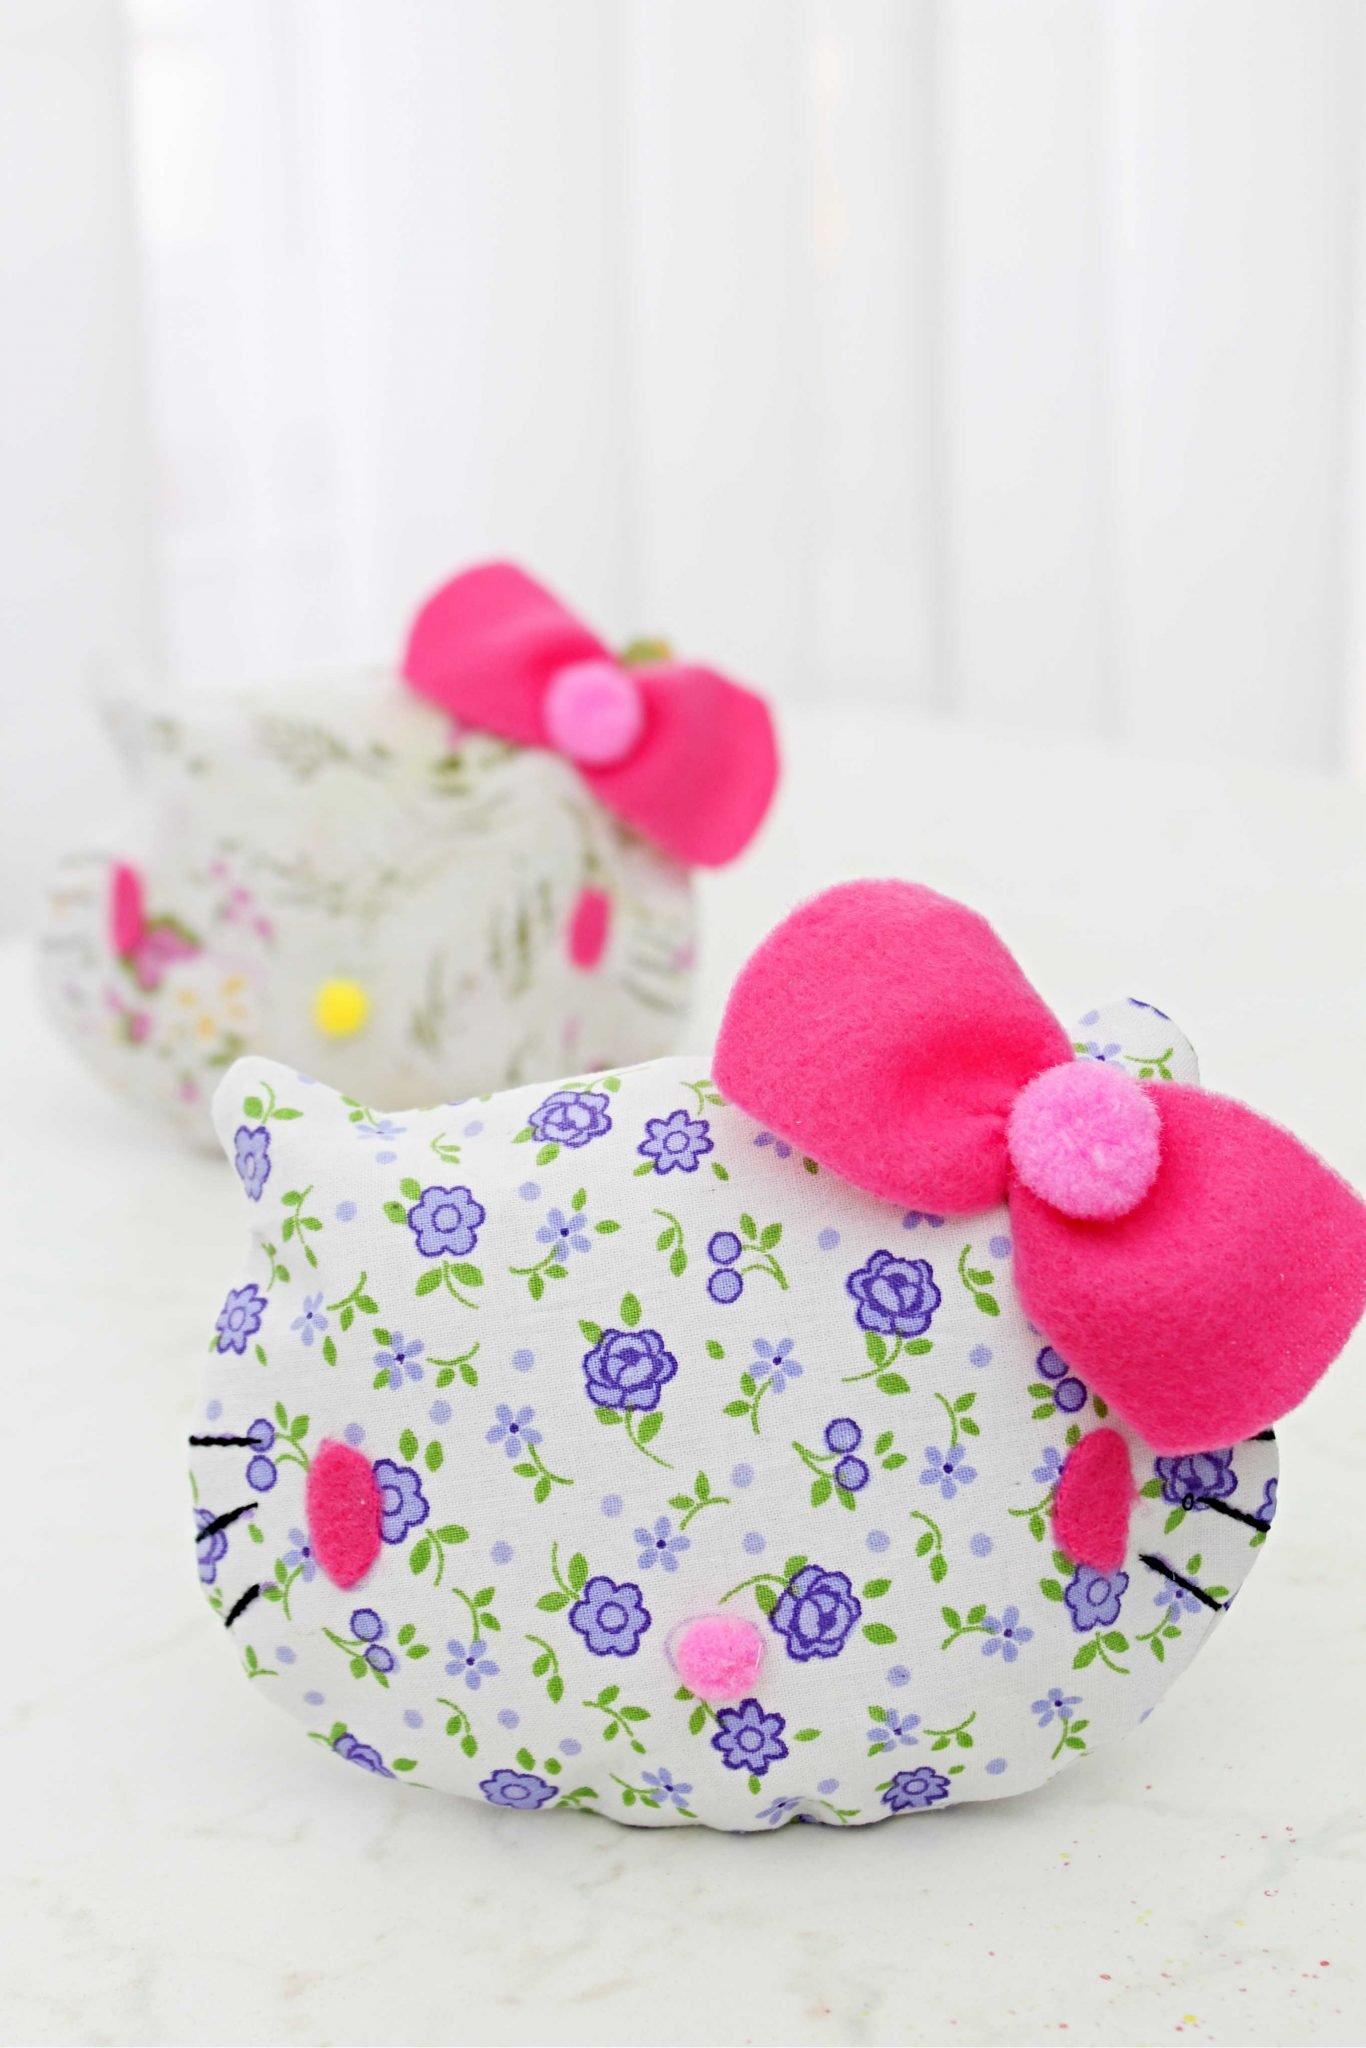
These adorable bunny hair clips are absolutely irresistible (just like this adorable bunny pillow my daughter loves so much!) Each glance makes my heart skip a beat with their cuteness. Let’s not even begin on how quickly these bunny hair bows can be made! Oh, and have I mentioned how ideal they are for using your scrap fabric collection?
If you’re looking to spruce up your wardrobe without breaking the bank, there’s no better way to do so than by rummaging through your fabric scraps and crafting some charming accessories! I’ve had my eye on making these bunny ears hair clips for a while now, and I’m thrilled to have finally found the time to bring them to life!
Creating a bunny hair clip takes under 10 minutes, making it a perfect last-minute gift idea for Easter or any time of year. You could also wear them as a brooch or accessory for your bag. They’re sure to lift your mood! Ready to make your own adorable bunny hair clips? Let’s hop right into the tutorial!
How to sew bunny hair clips
Materials:
- bunny hair clip templates
- a piece of fabric scraps for ears of about 14″ x 5″
- a piece of fabric for the tie in the middle, of about 10″ x 2″
- fabric pen
- scissors
- pins
- matching thread
- craft wire
- pliers
- poly-fill
- hair clips (similar here)
- pressing iron
- blunt tool for pushing corners out
- hand needle
- glue gun (optional)
Instructions:
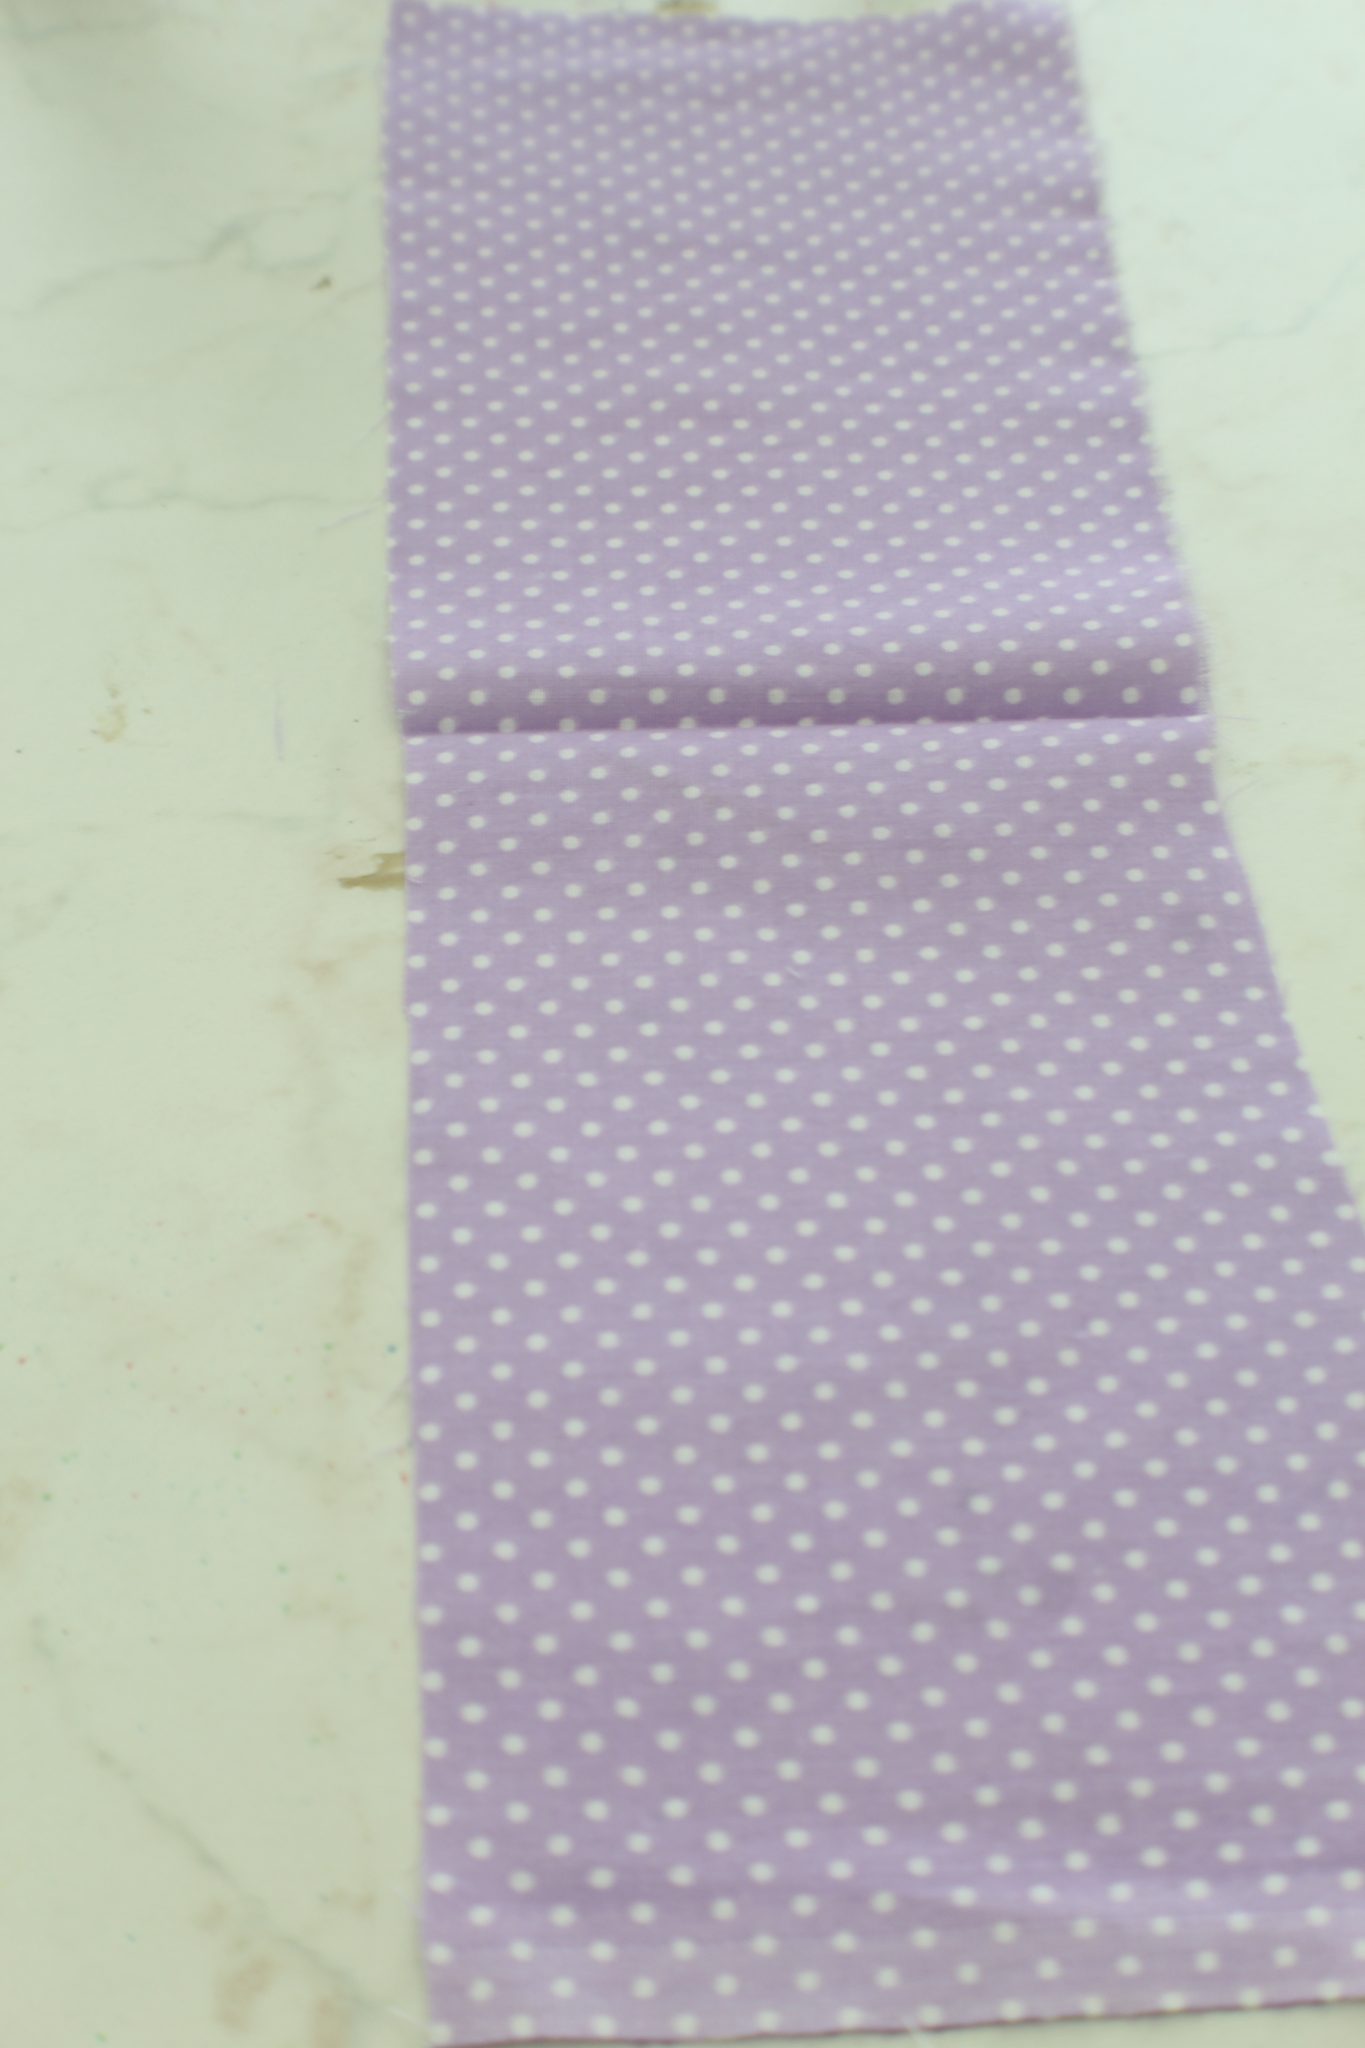
Prepare the fabric pieces
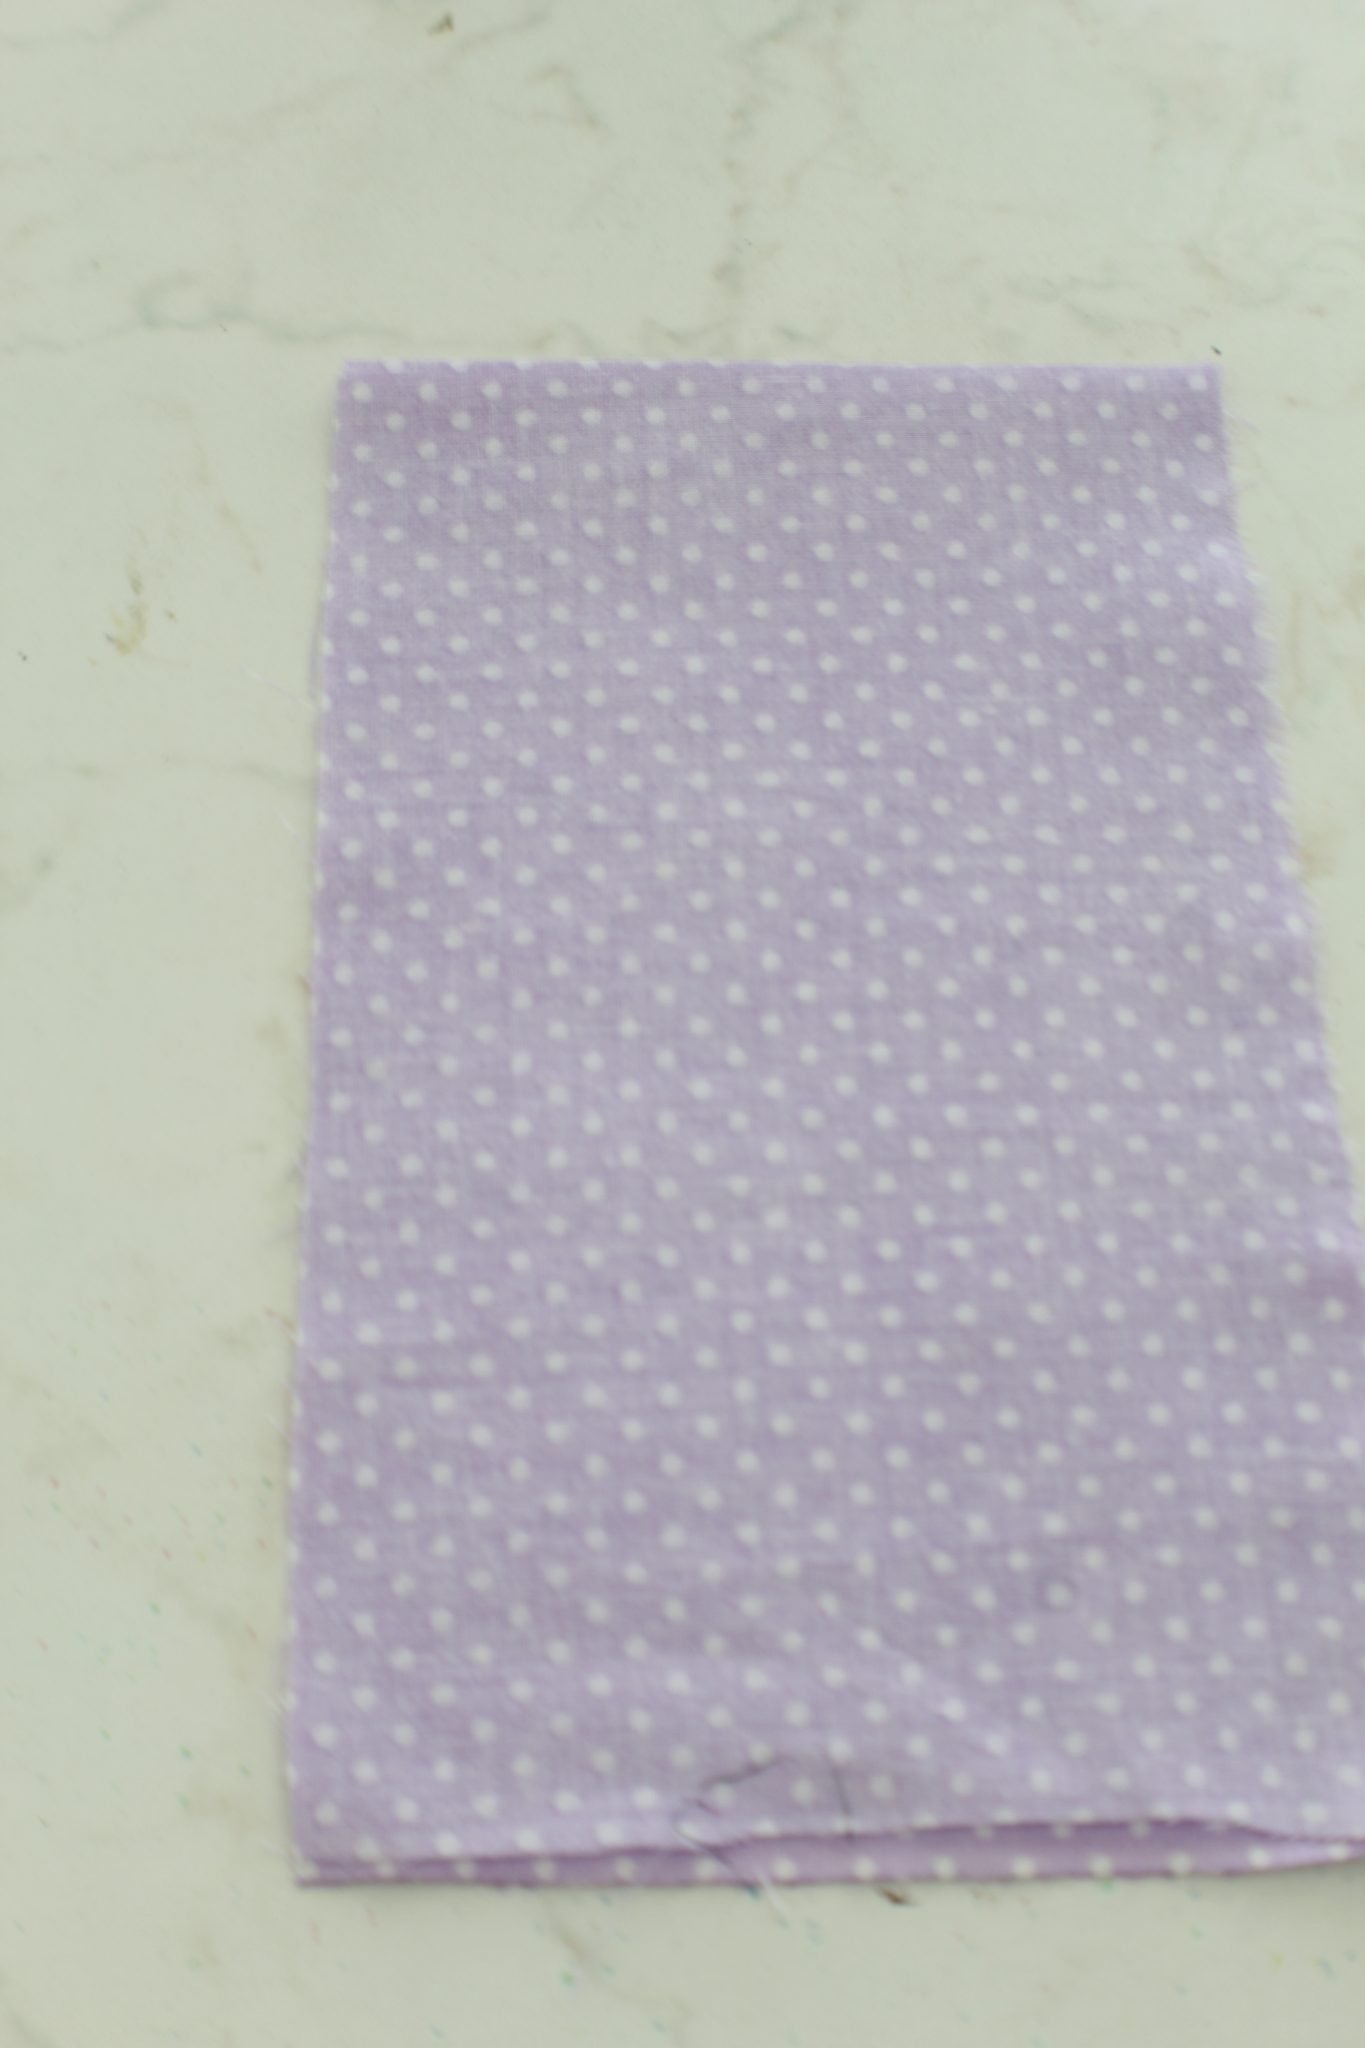
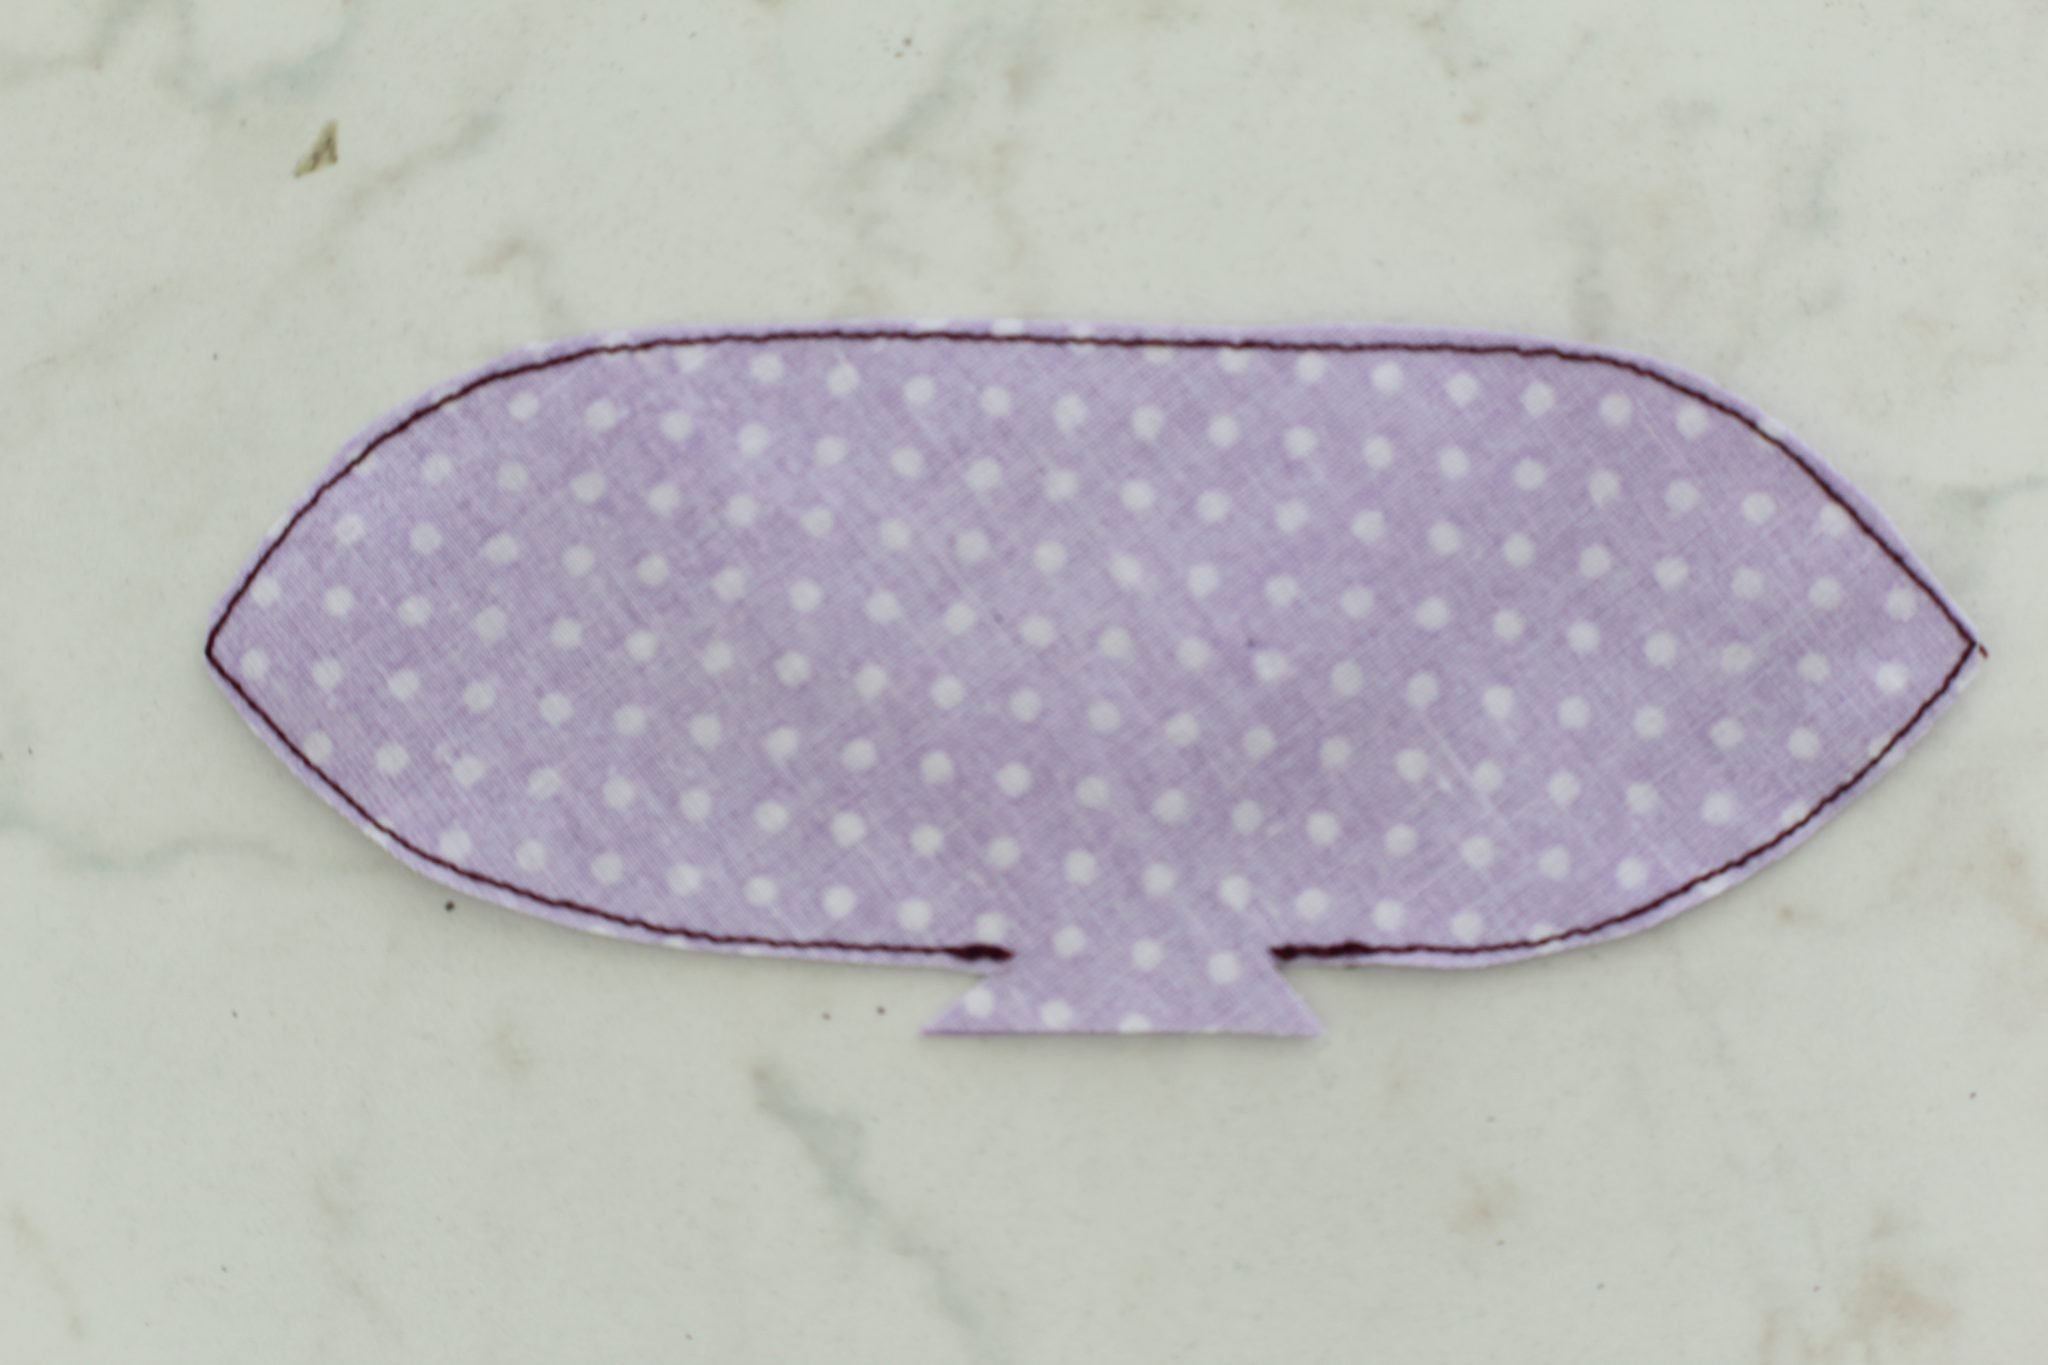
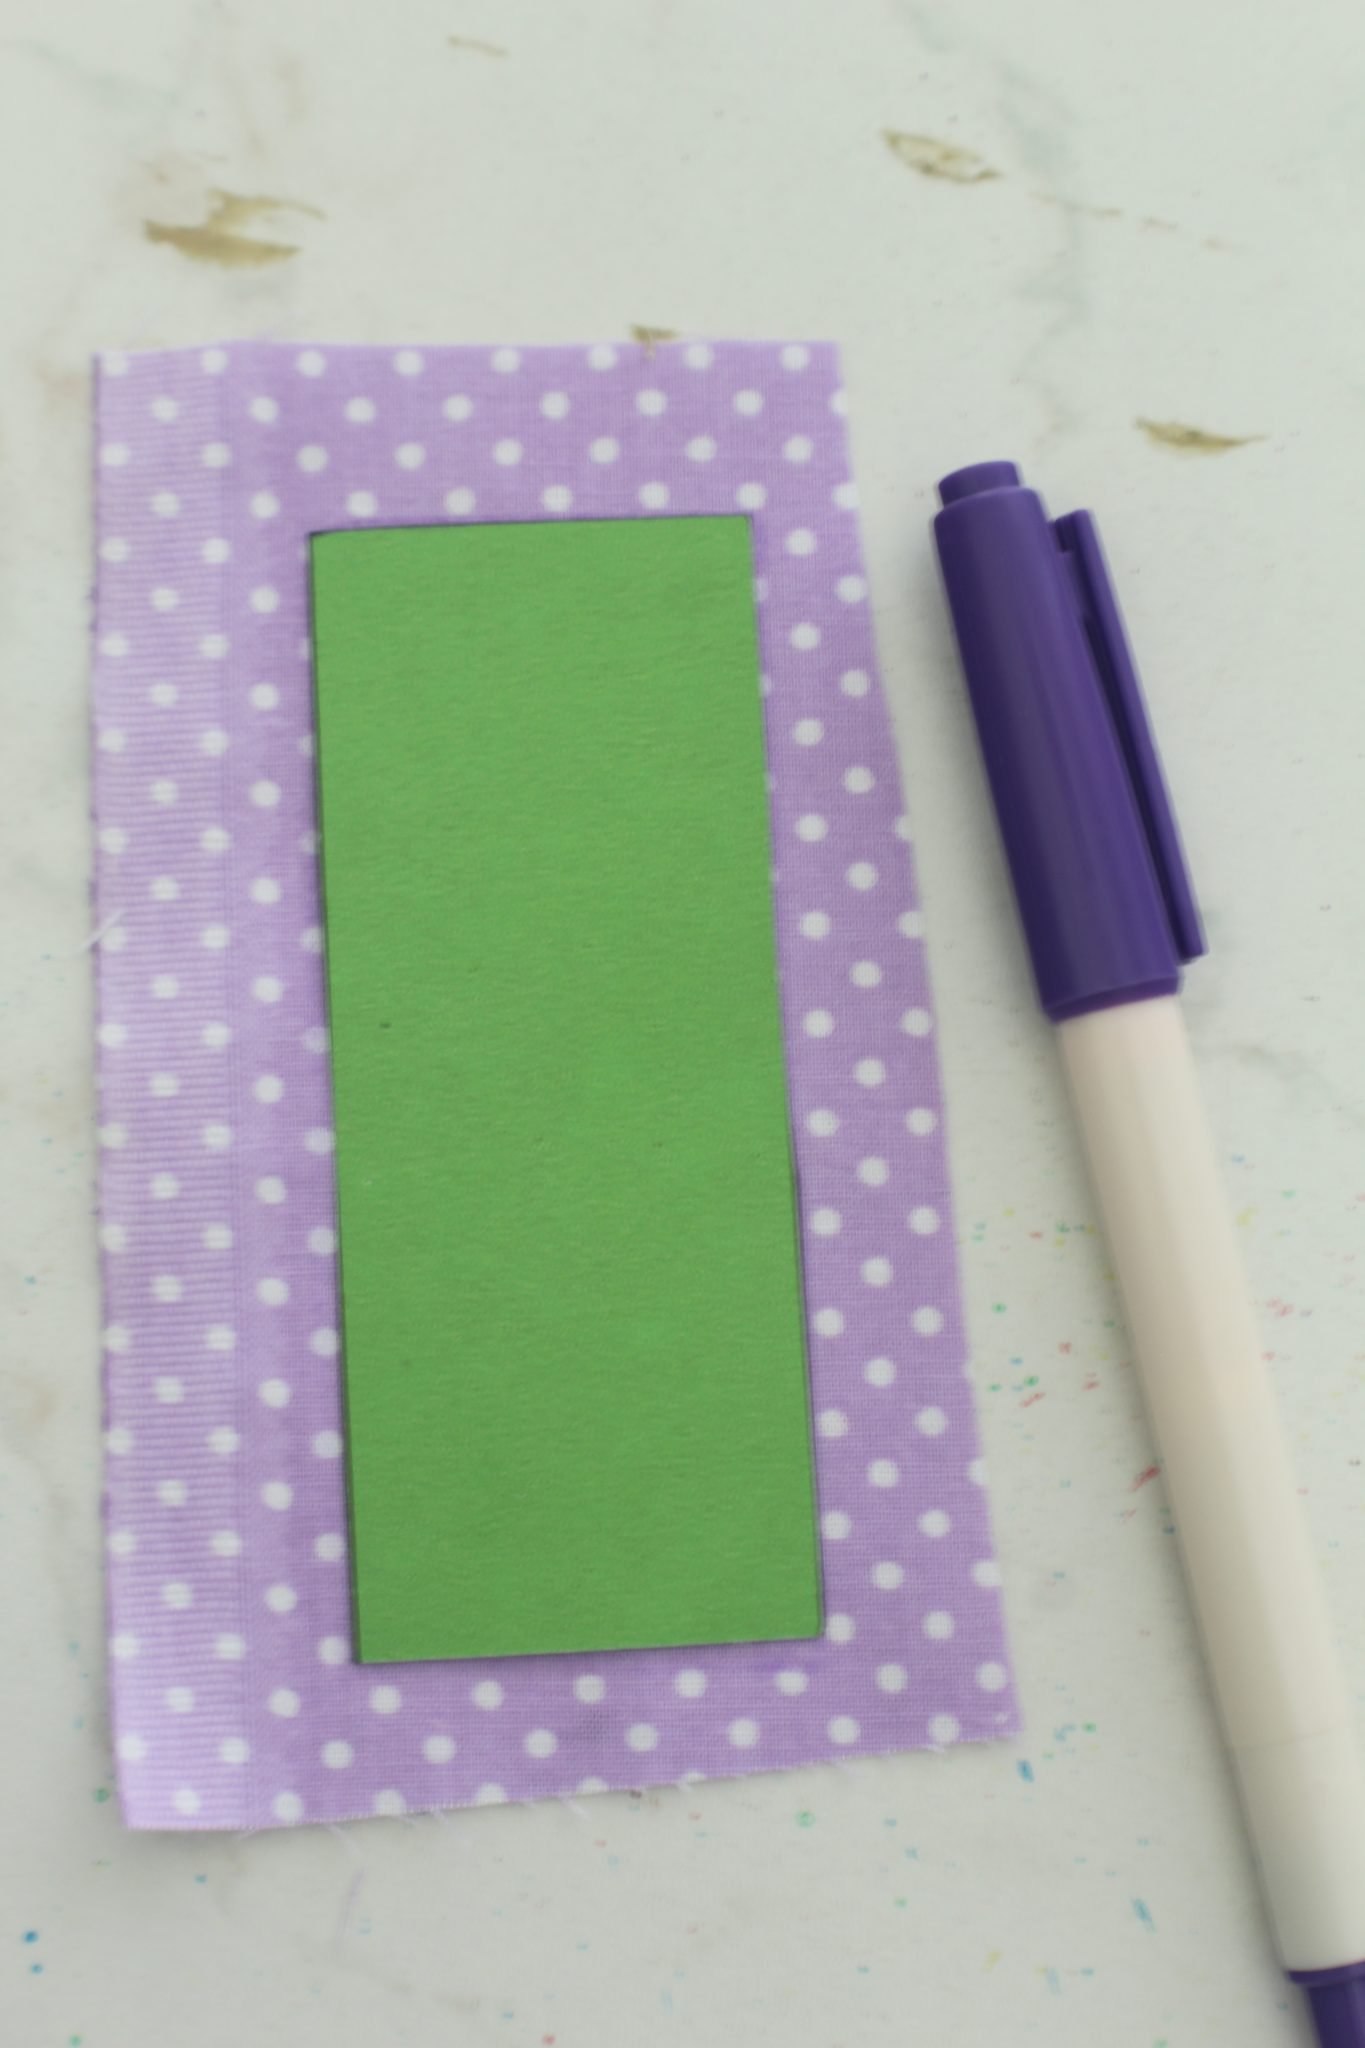
- Take the strip of fabric scrap for the ears, press it well and fold in on half, lengthwise, right sides together.
- Place the template over and trace around it
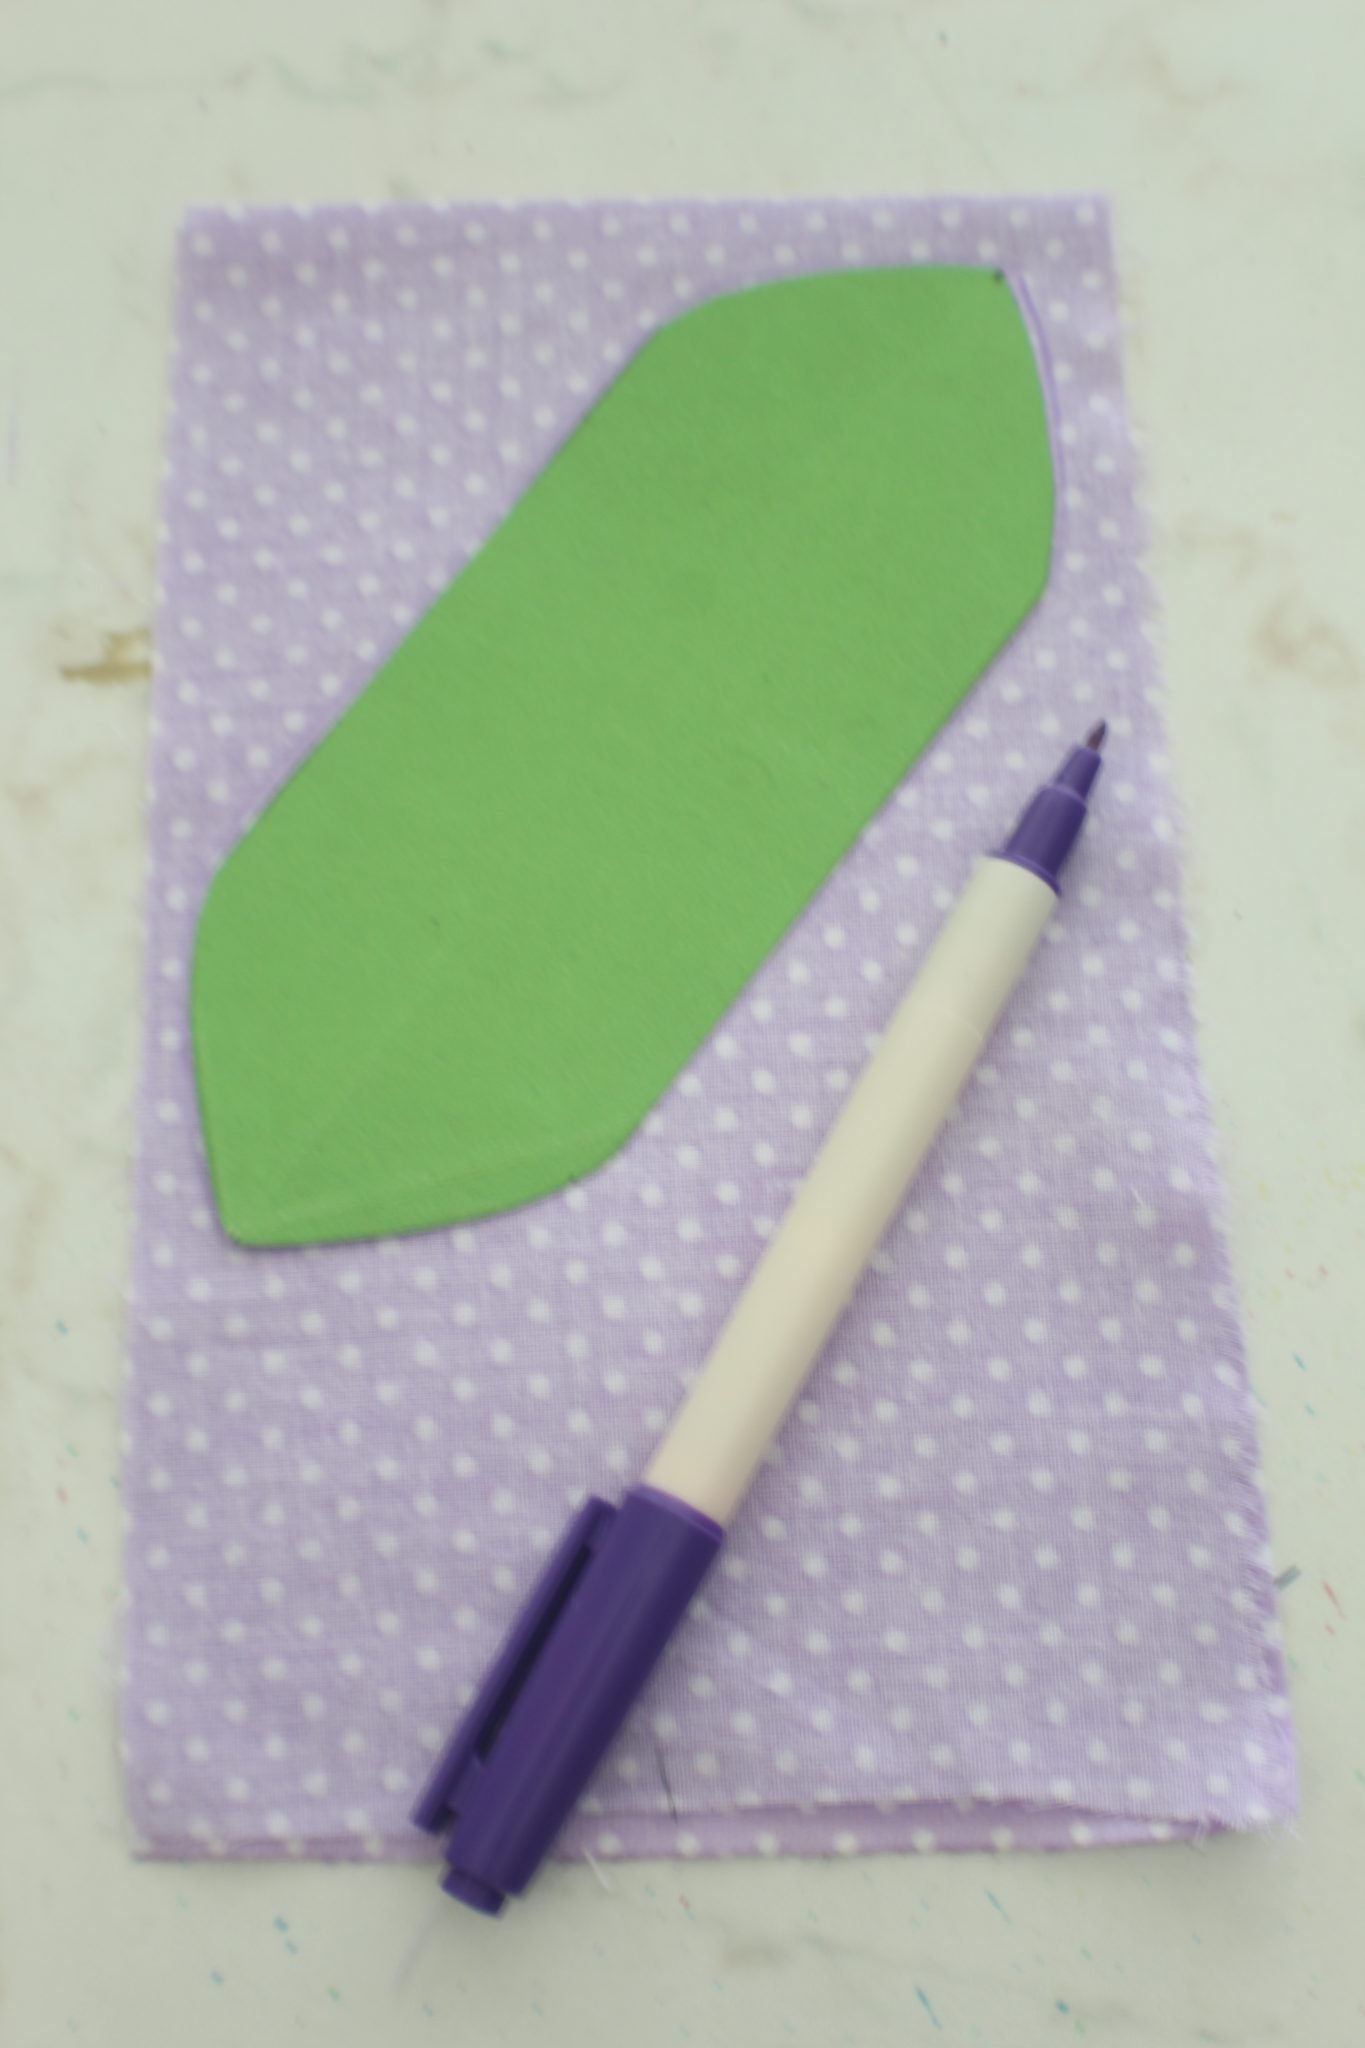
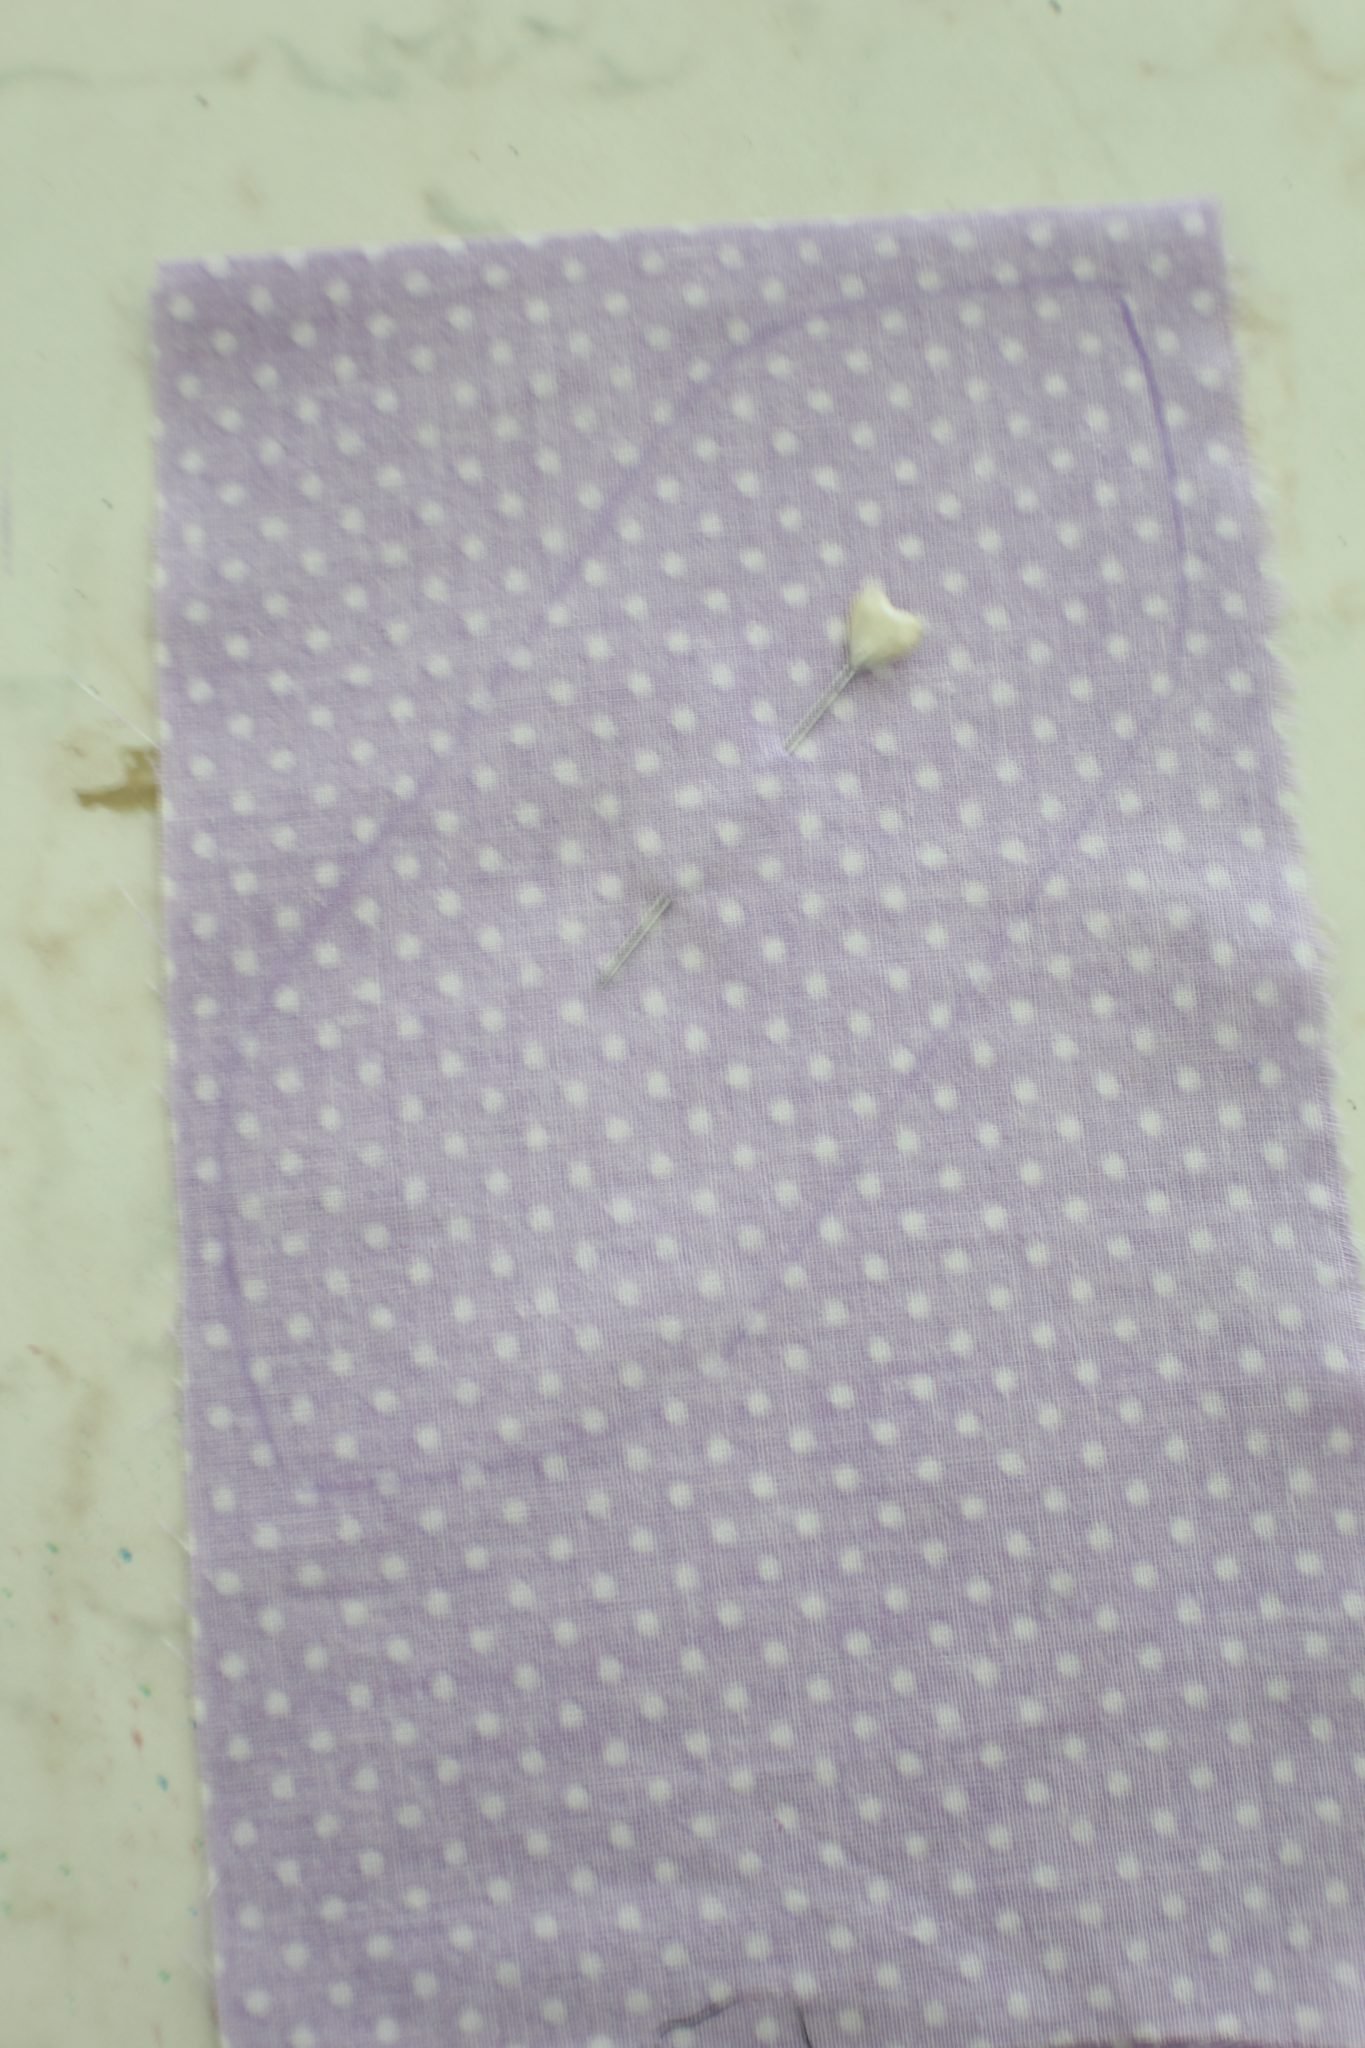
- Pin through both fabrics
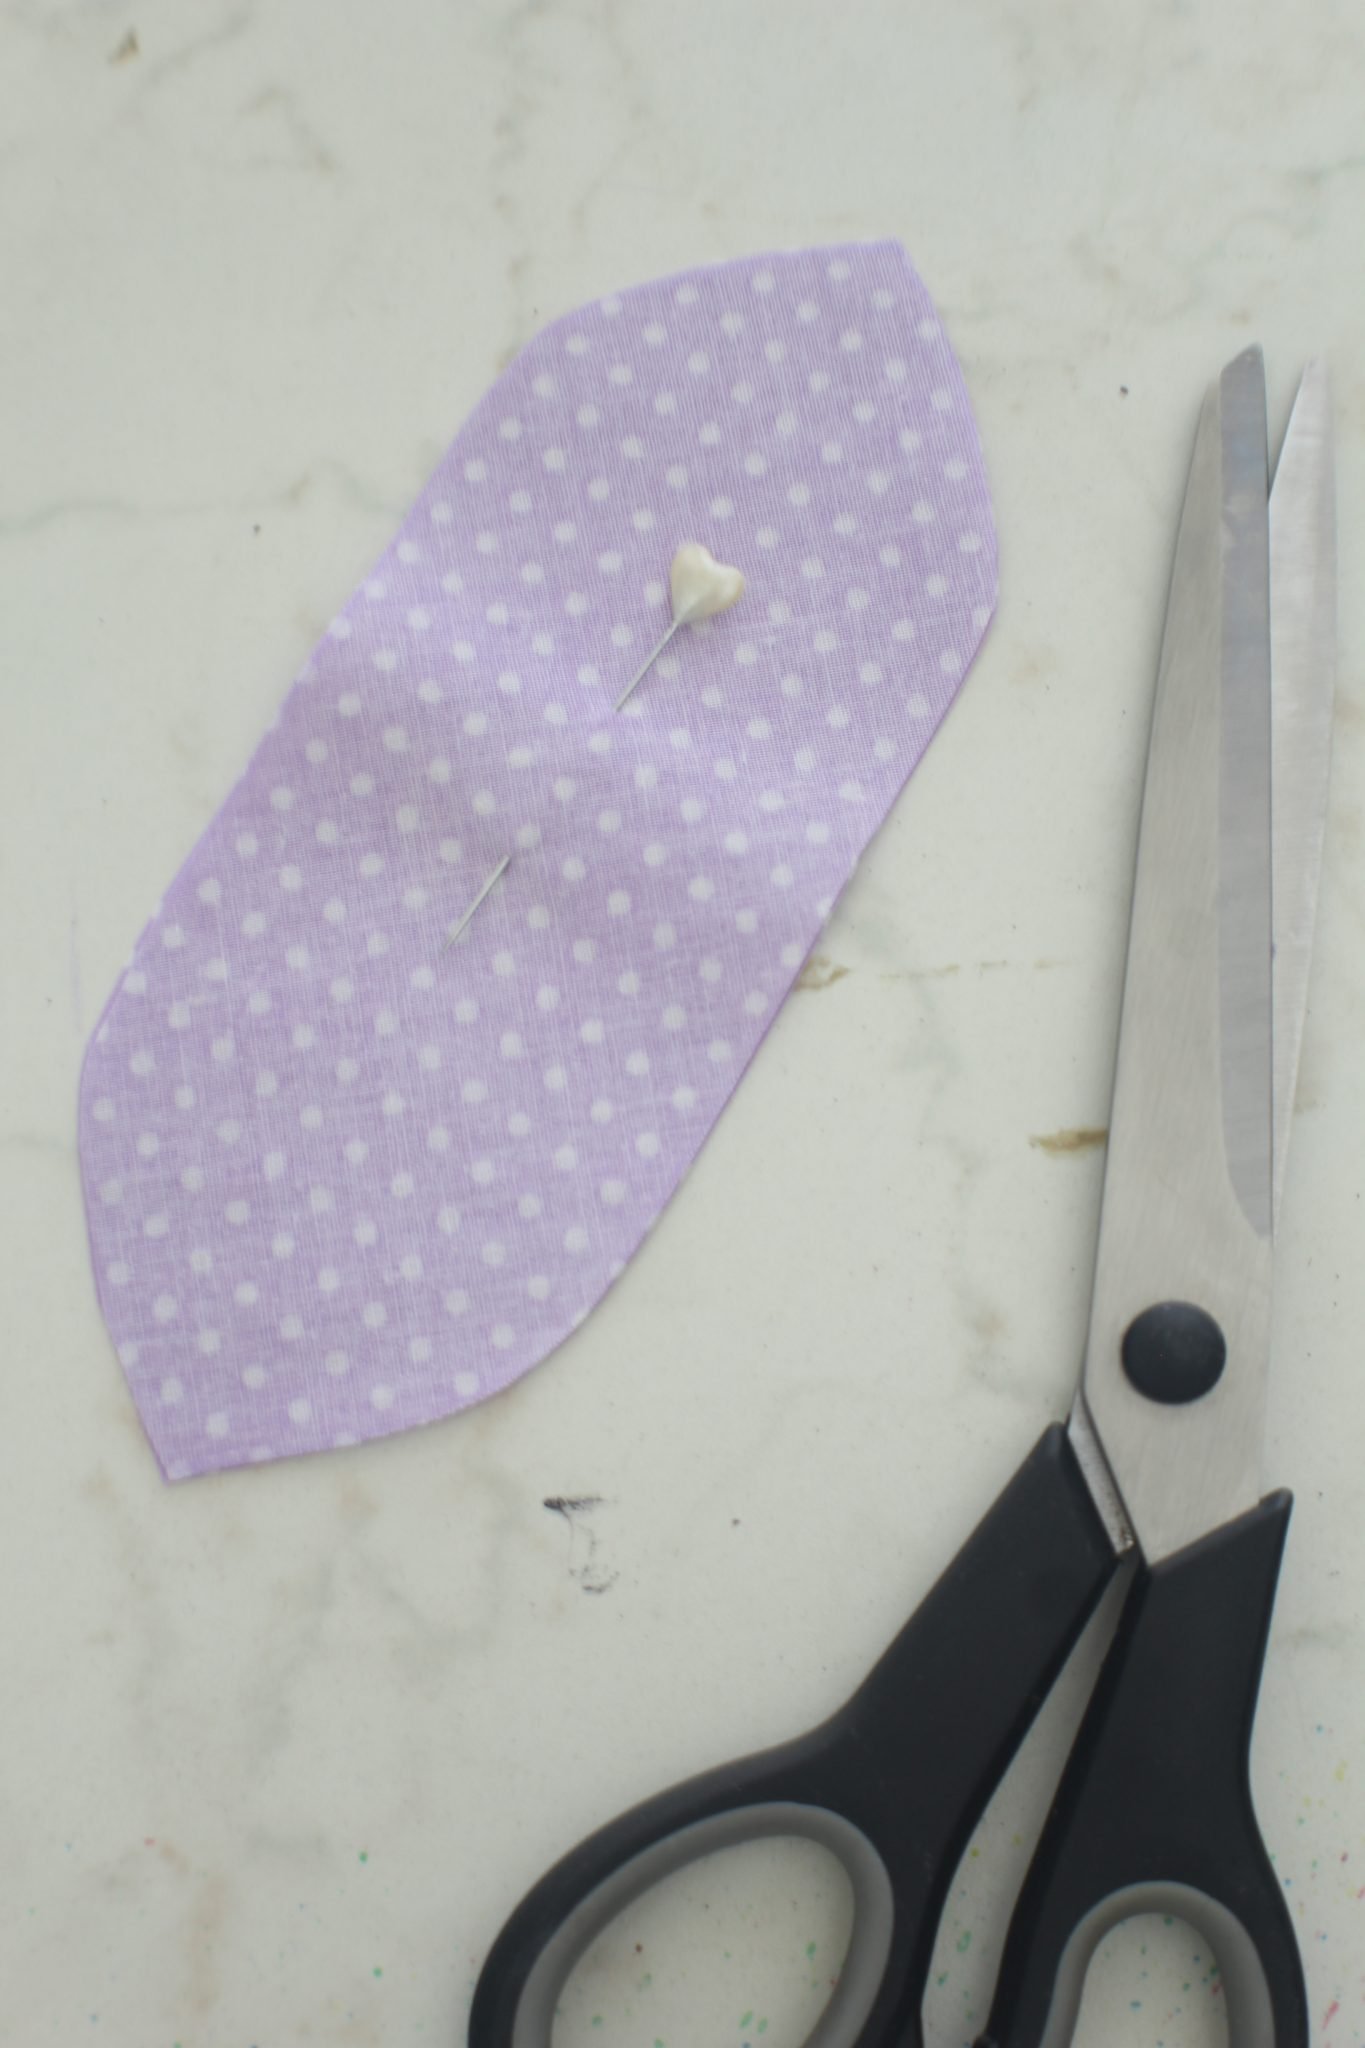
- Cut out with your scissors.
Make the bow
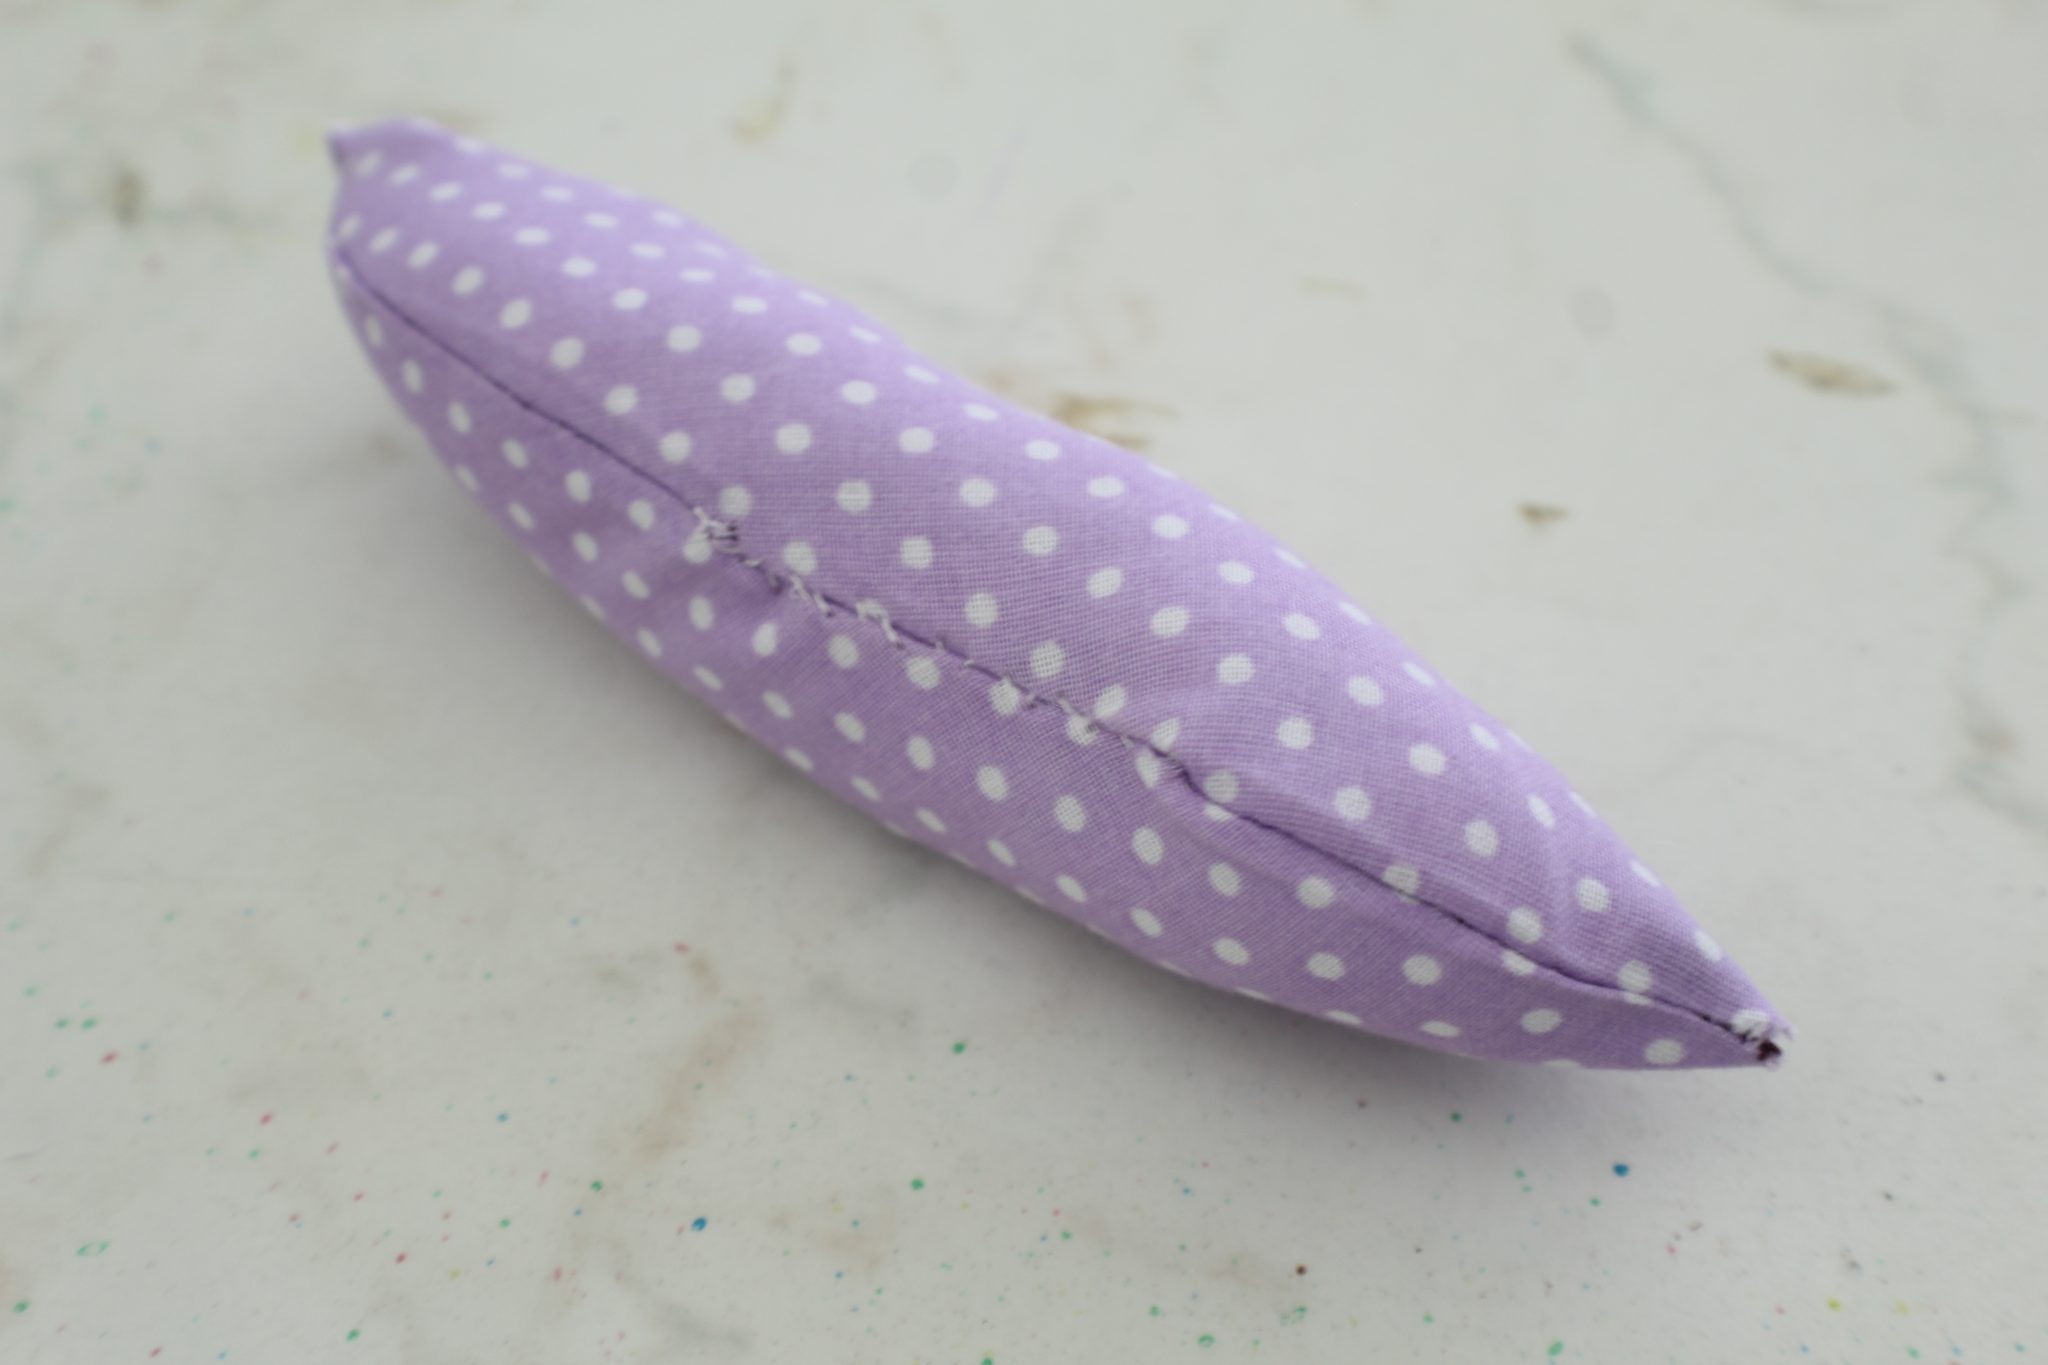
- Sew with 1/4″ allowance, leaving a small gap in one of the sides to turn the ear right side out.
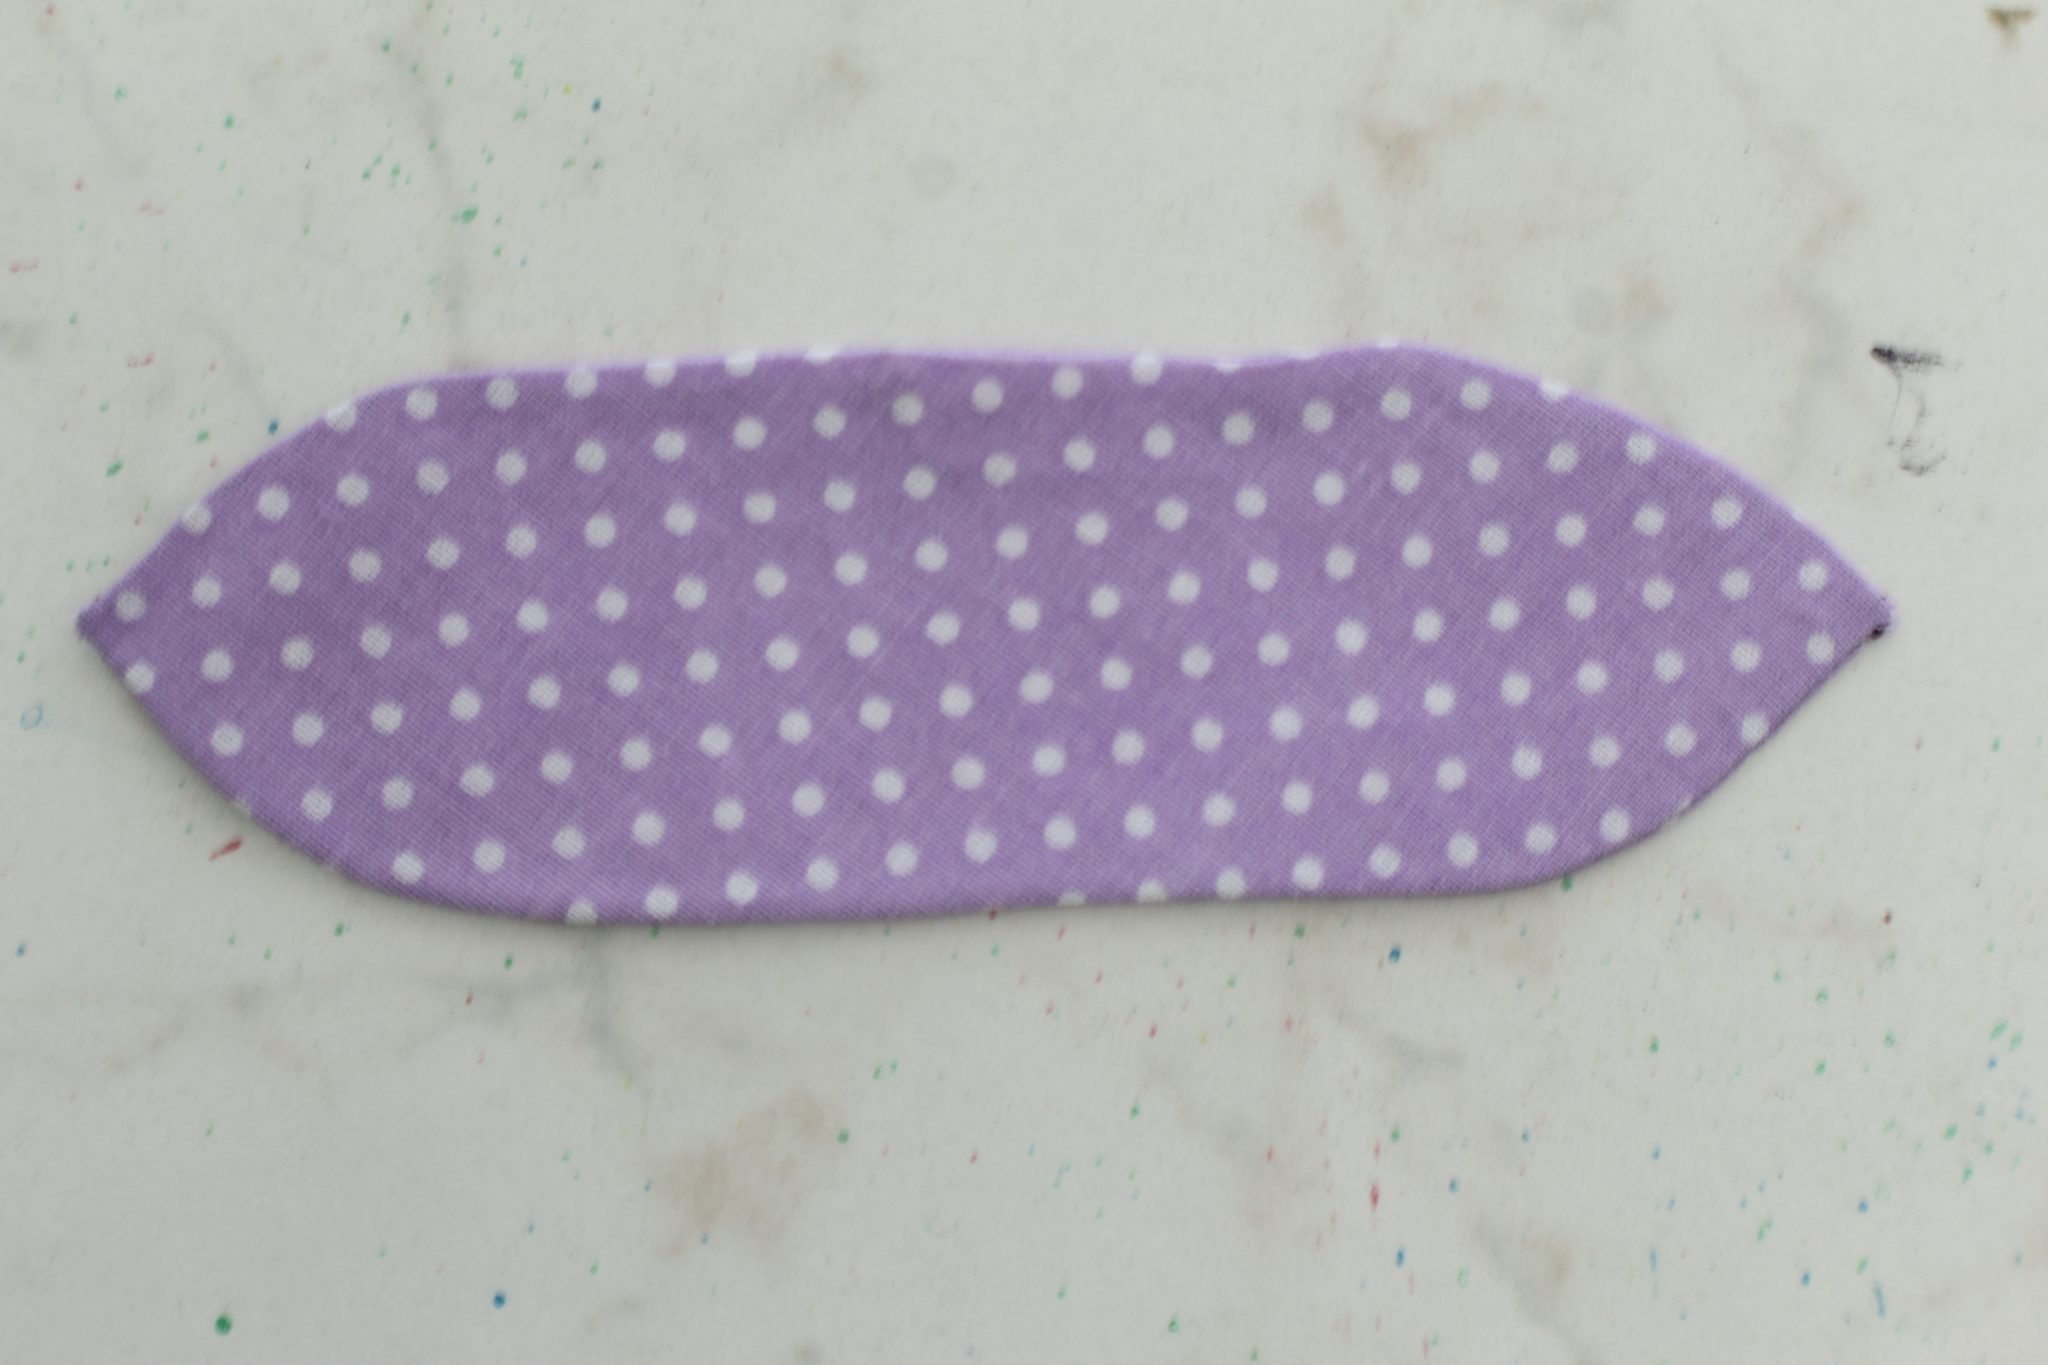
- Clip the tips and trim the seam in half.
- Turn fabrics right side out through the gap.
- Push the corners out with a blunt tool (or you can use this method).
- Smooth out the seams then iron press.
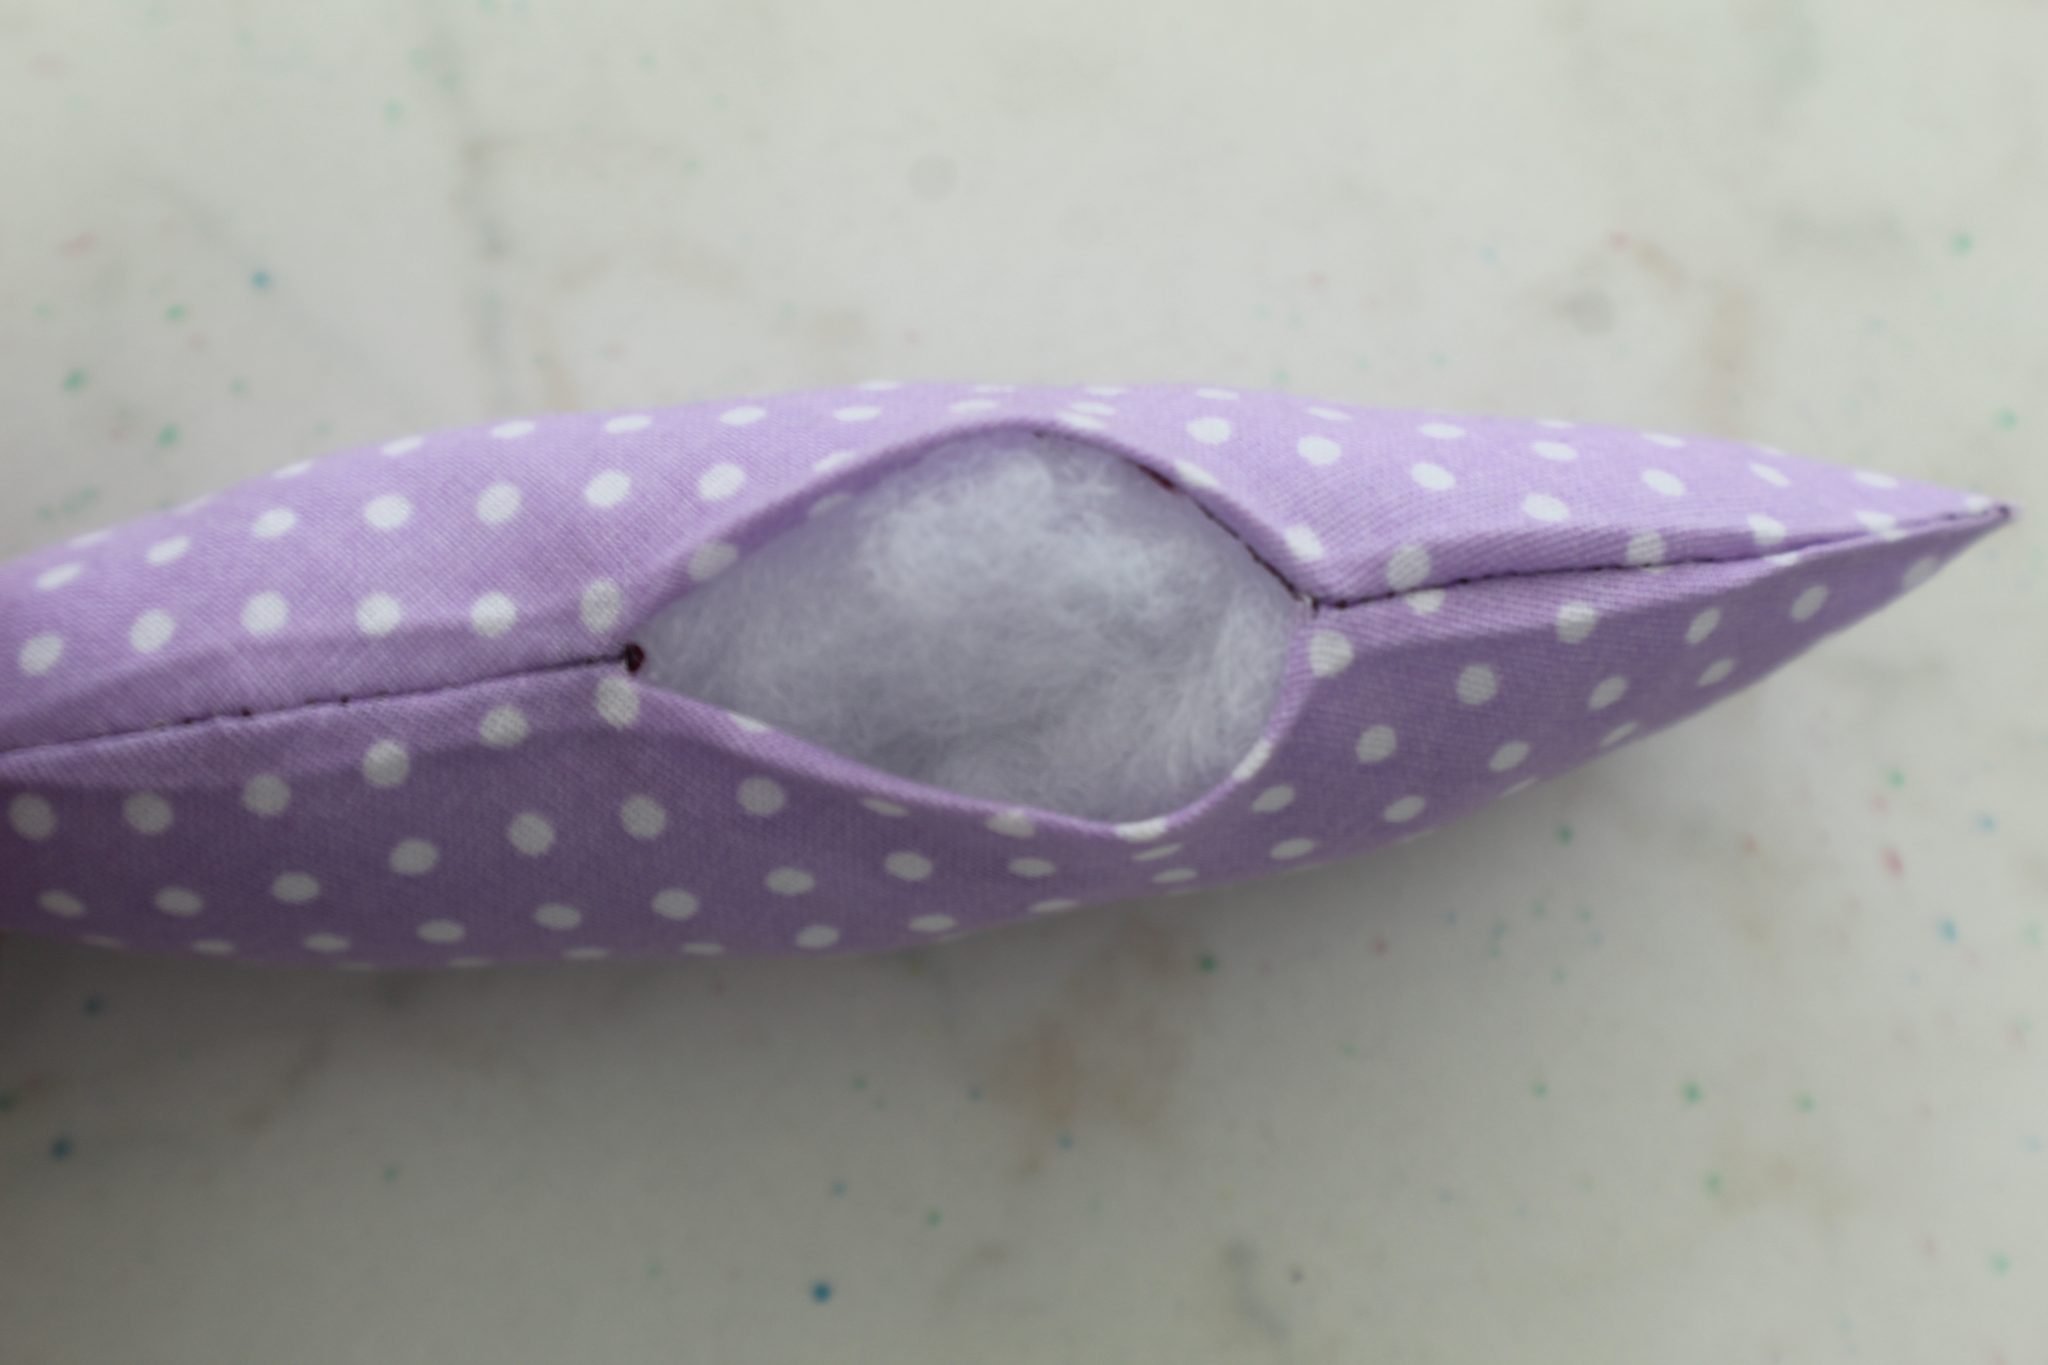
- Fill the ear with poly-fill through the gap.
- Cut a piece of wire double in size than the ear.
- Fold it in half and twist.
- Bend the ends with pliers to form a coil.
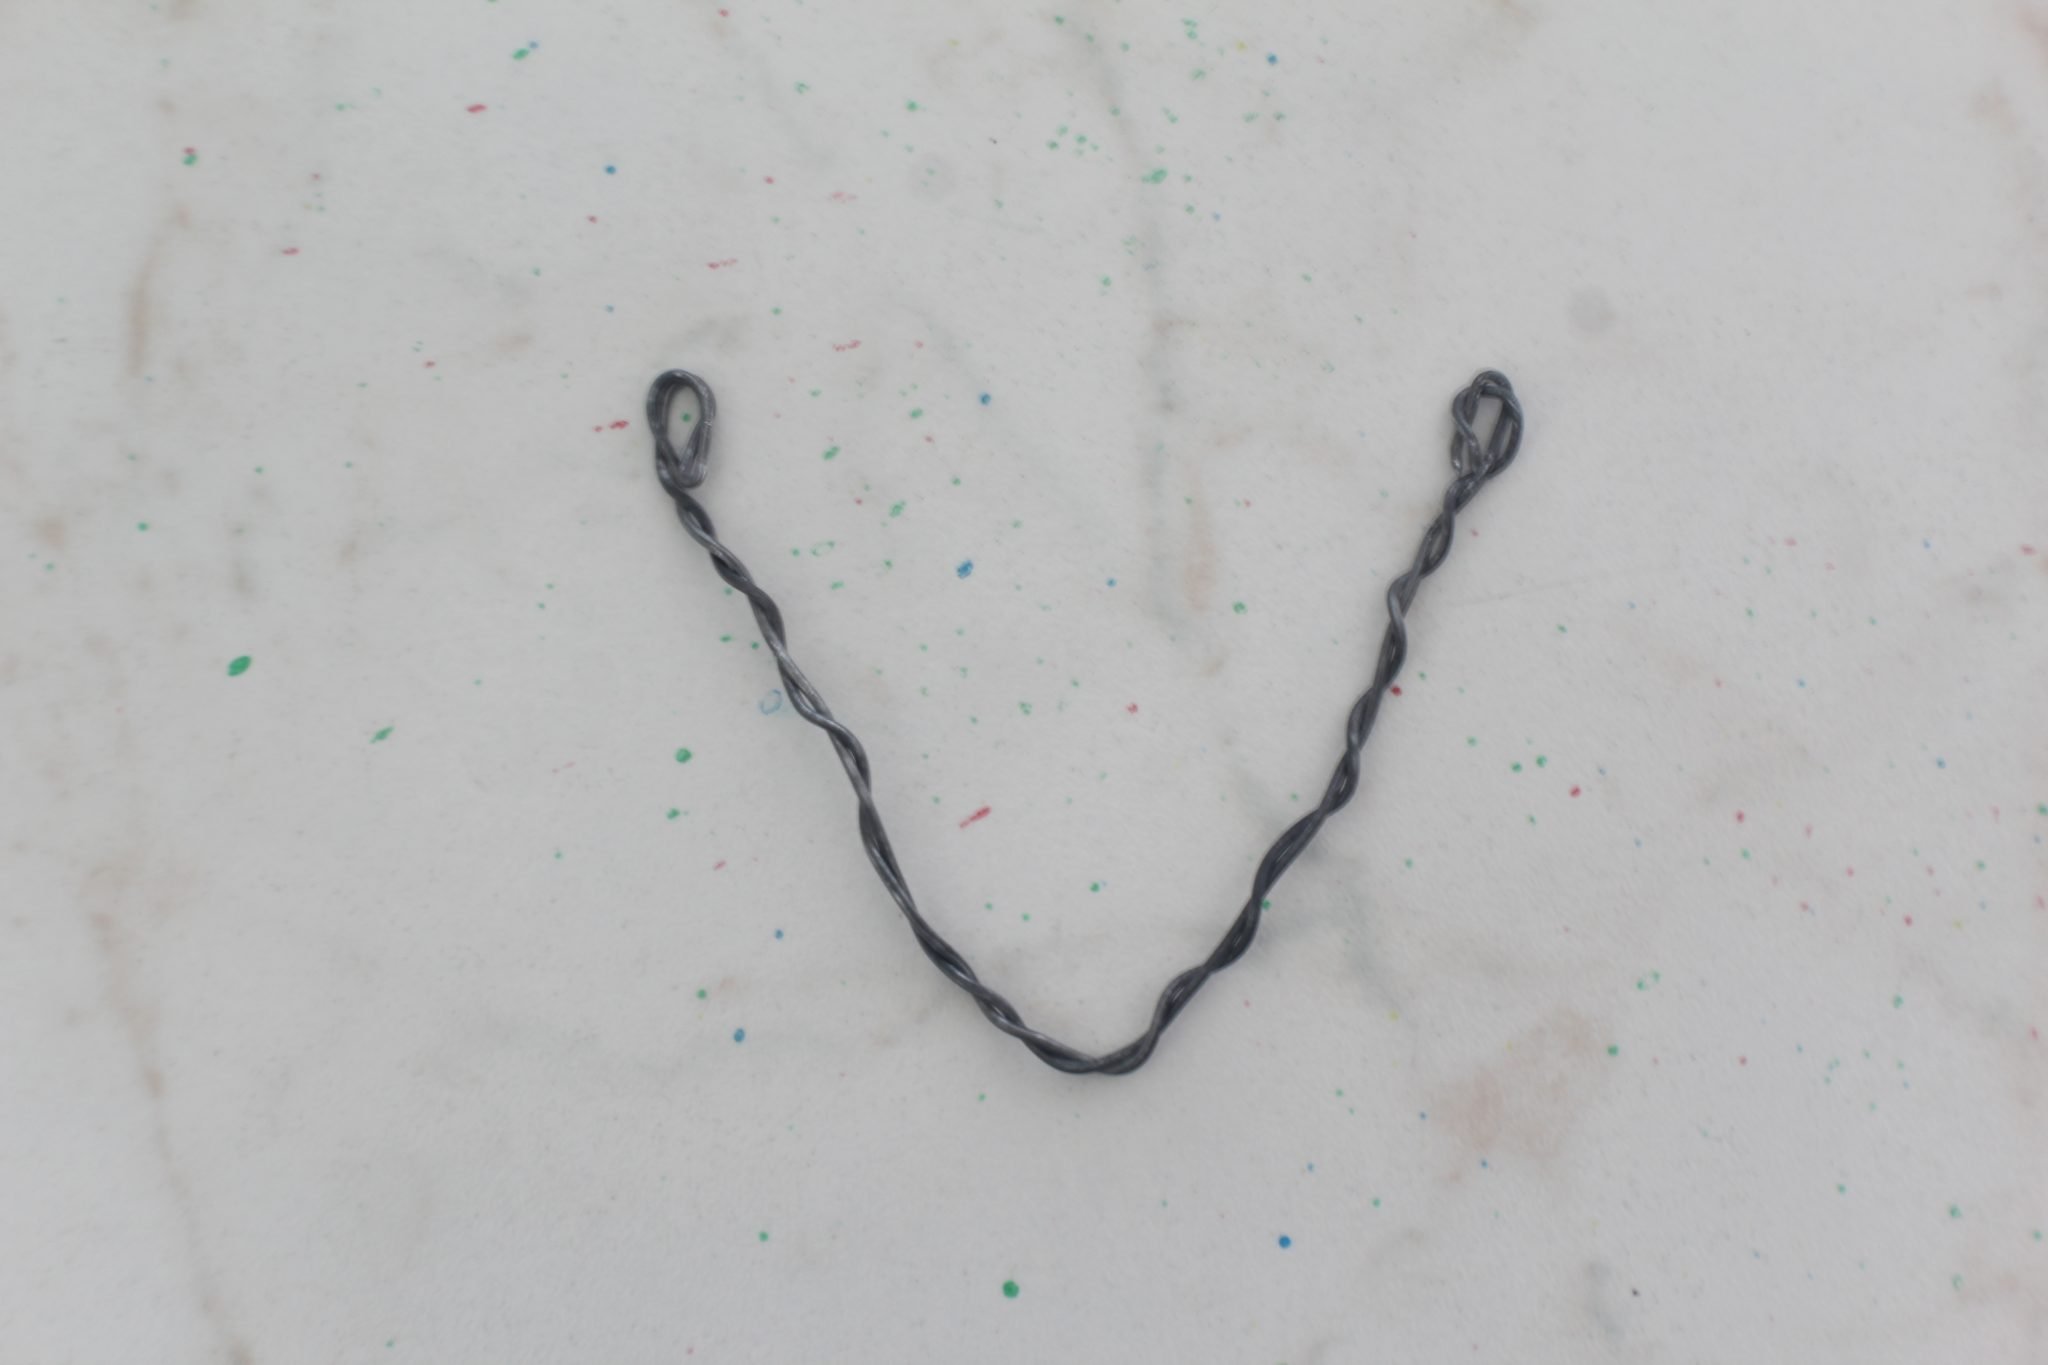
- Insert the wire inside the ear.

- Hand stitch the gap closed using a ladder stitch. Don’t worry if your stitch is not perfect, it will be hidden once the hair clip is attached to the bunny ear.
Make the tie
- Take the second template and place it on the tie fabric, trace around it then cut out.
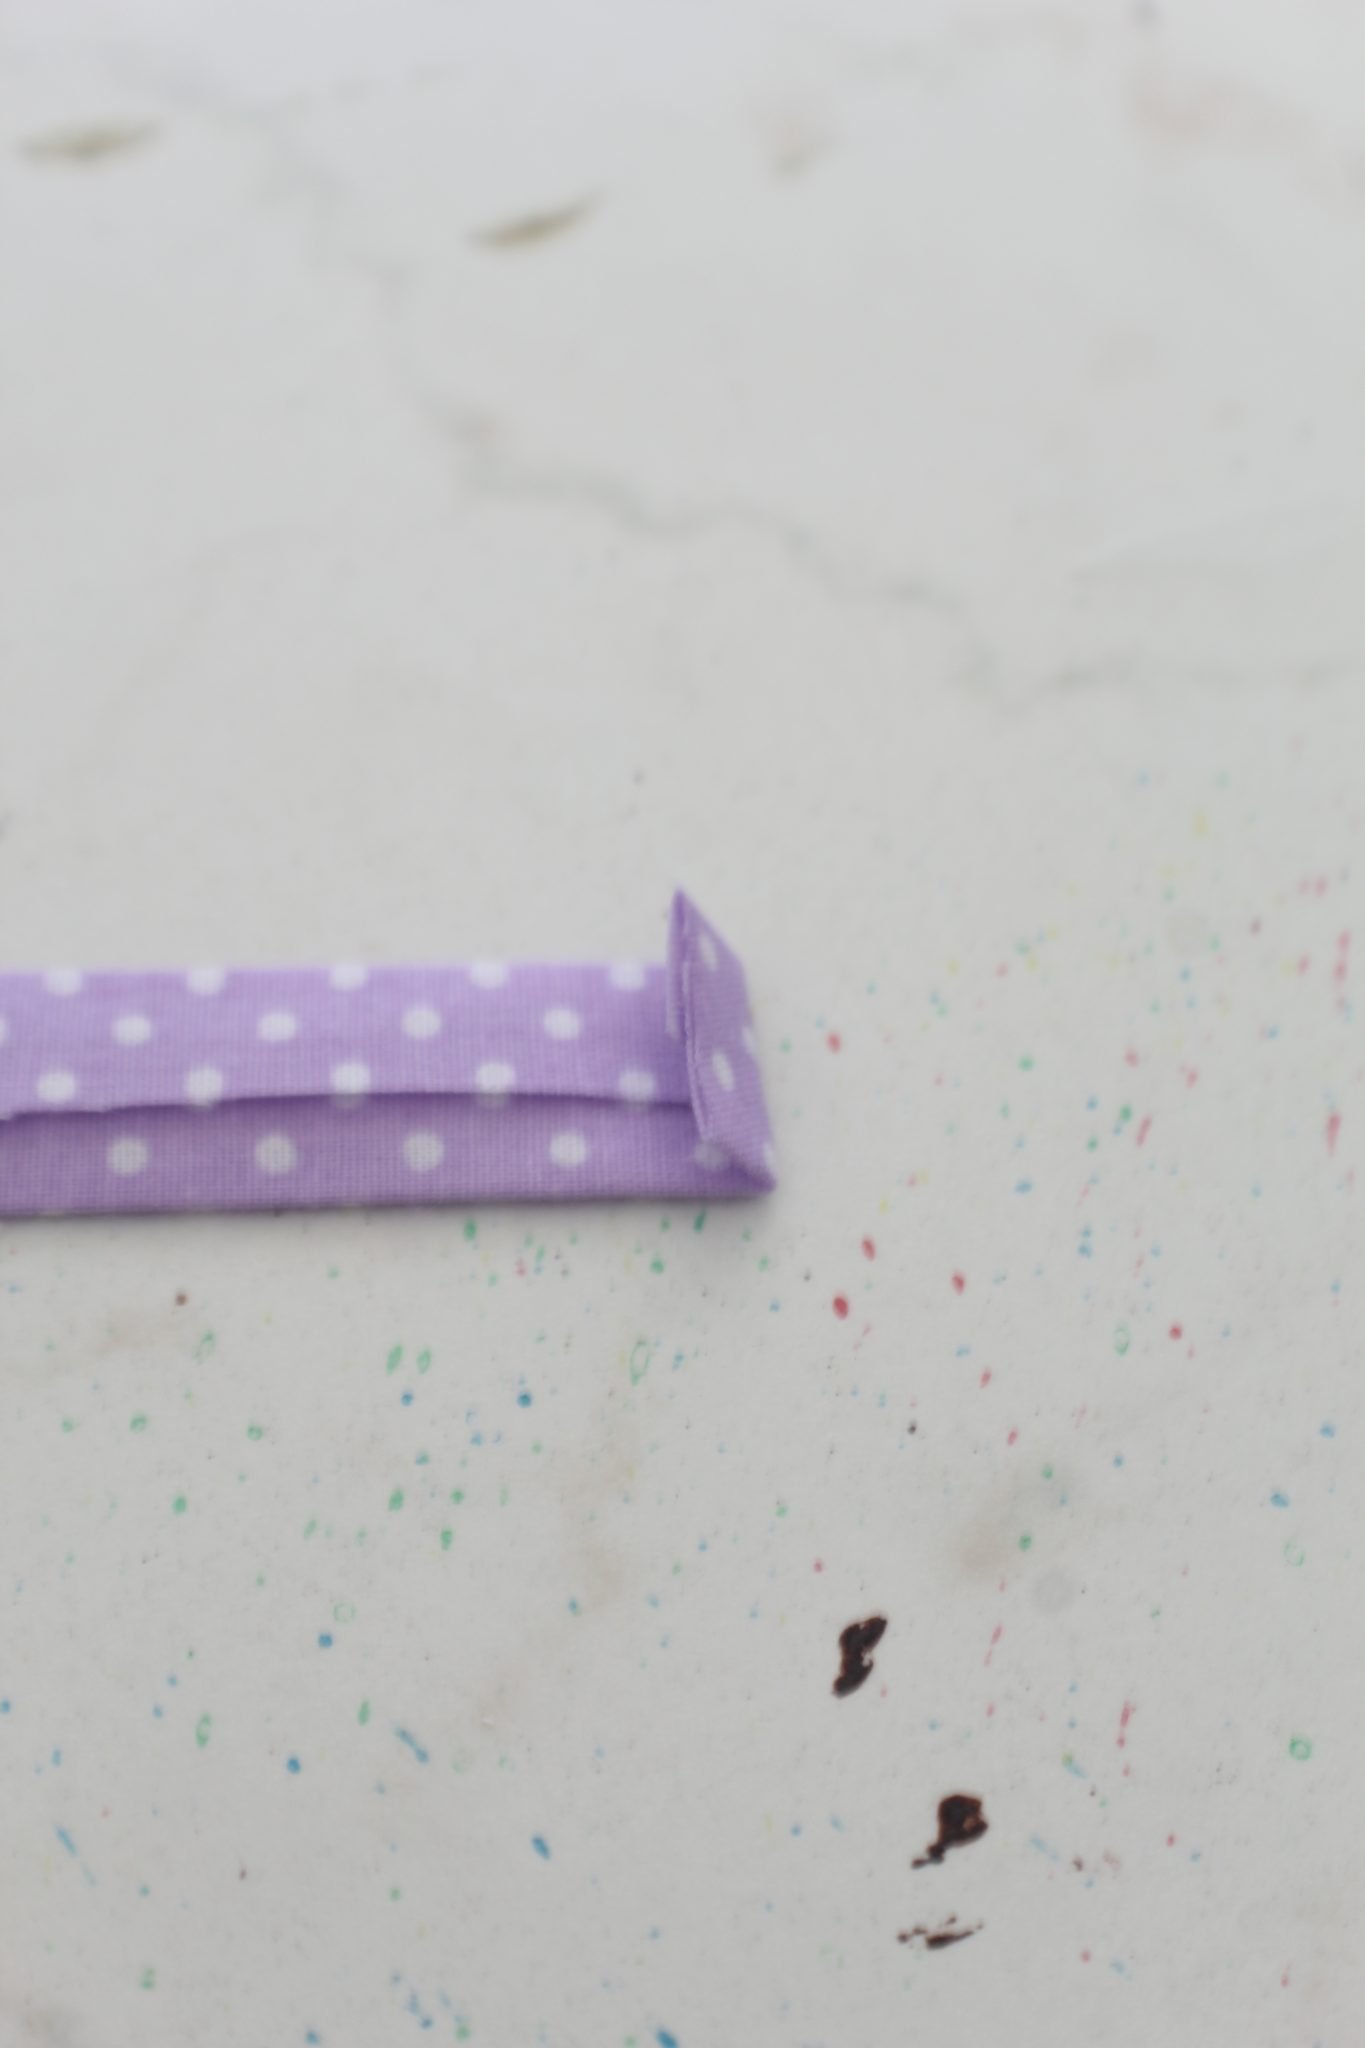
- Fold the ends of the tie in lengthwise, slightly overlapping them then press well with your iron.
- Fold one of the ends in about 1/4″ and press well.
Assemble the bunny clip
- Take the raw end of the tie and sew it to where the gap used to be, the fold in the tie facing the gap.
- Wrap the tie around the ear tightly, two times, until the folded end reaches the raw edge.
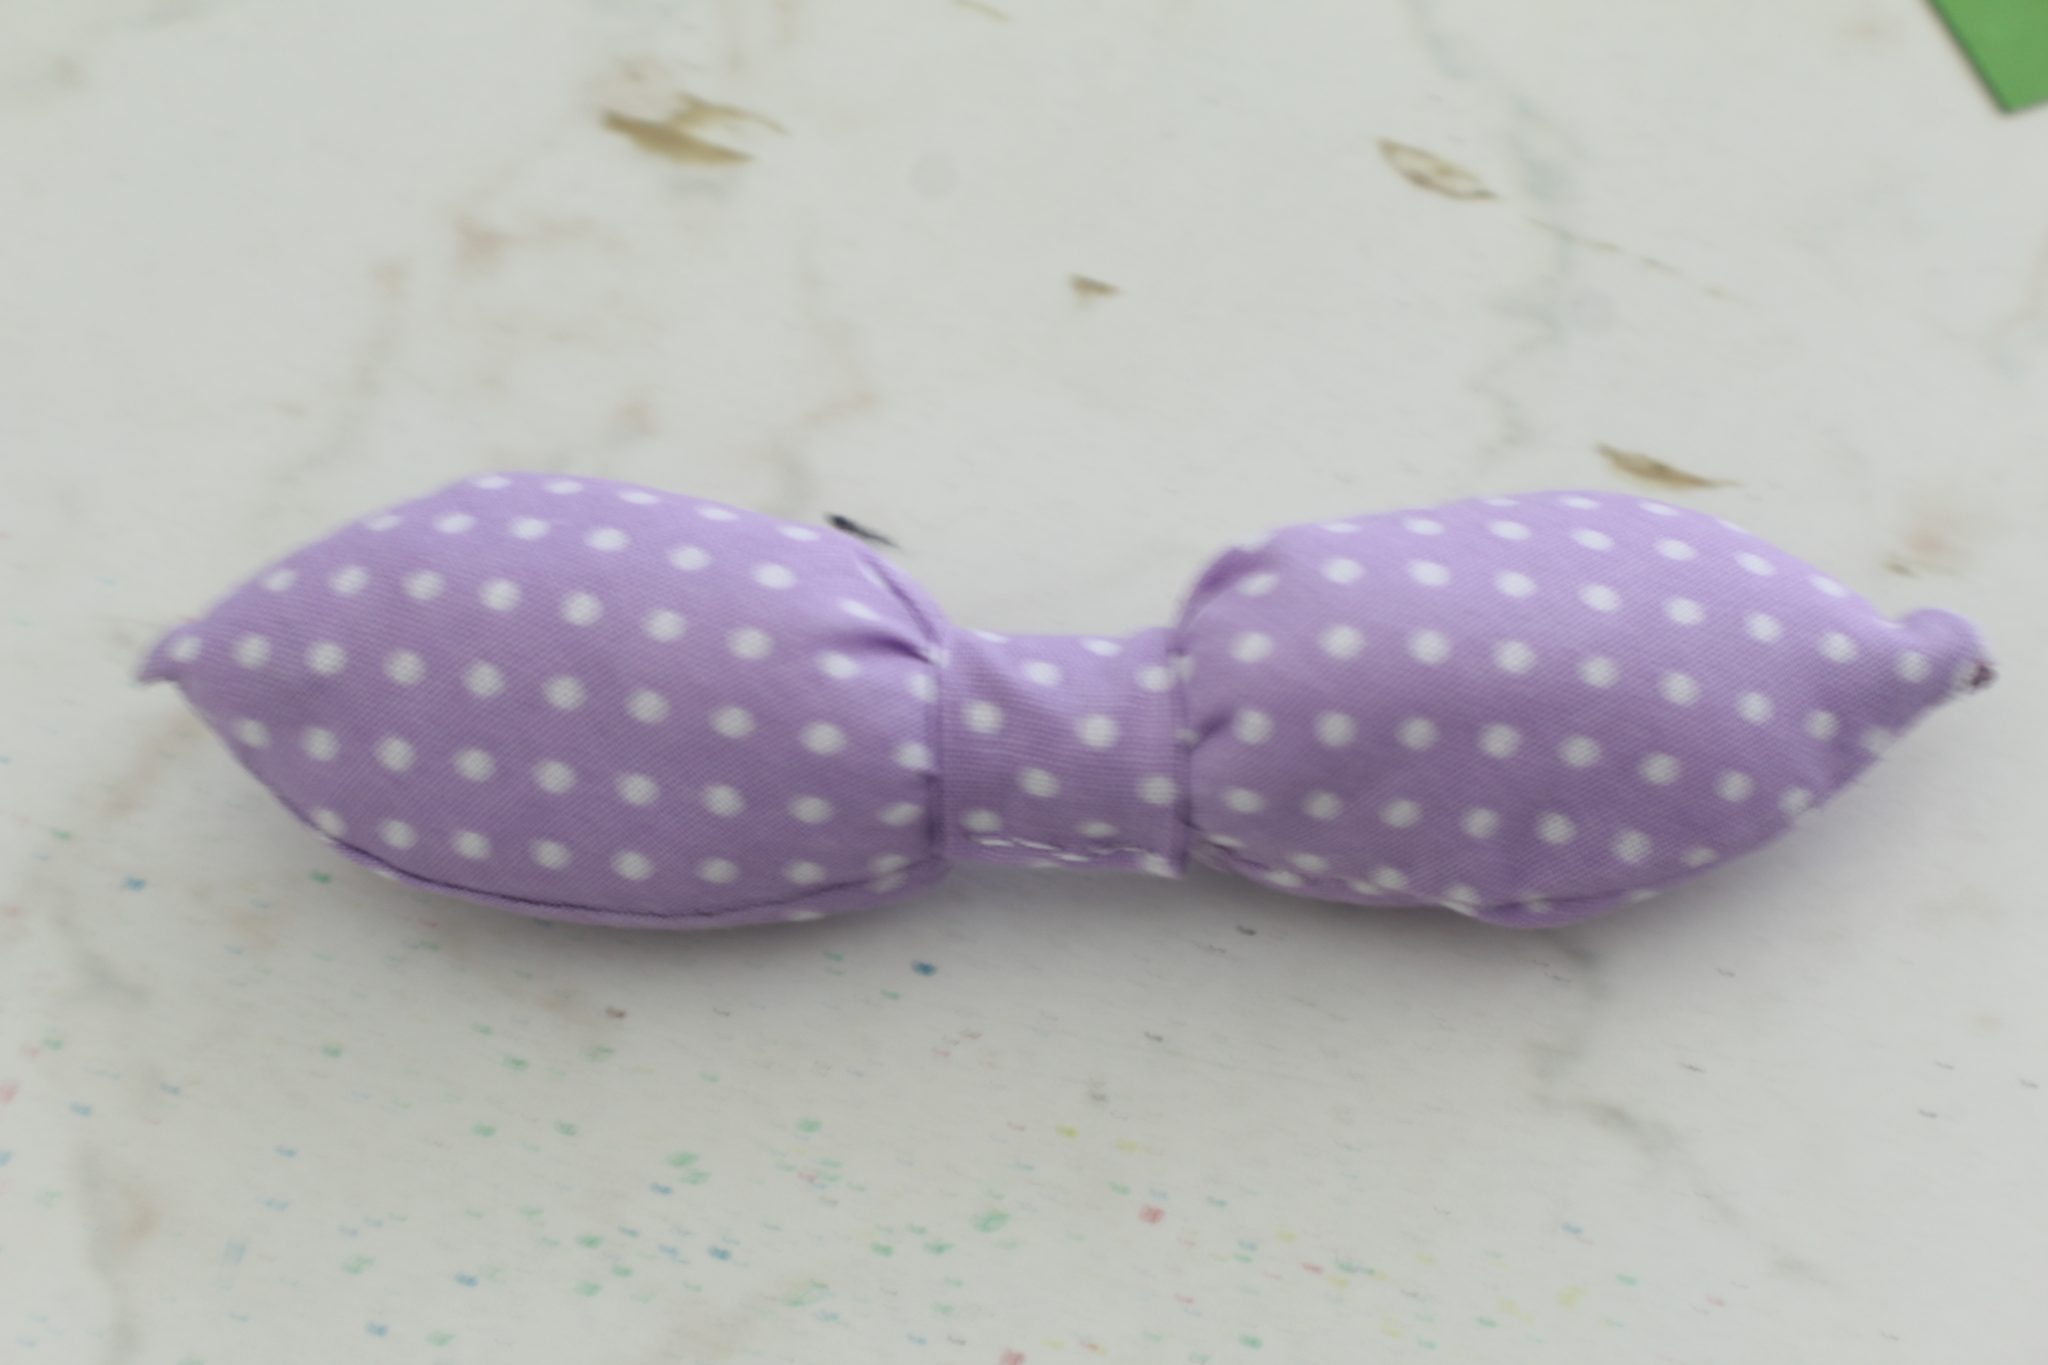
- Hand stitch the folded end to the ear, without going through all the layers, just through the first and the second layer of the tie.
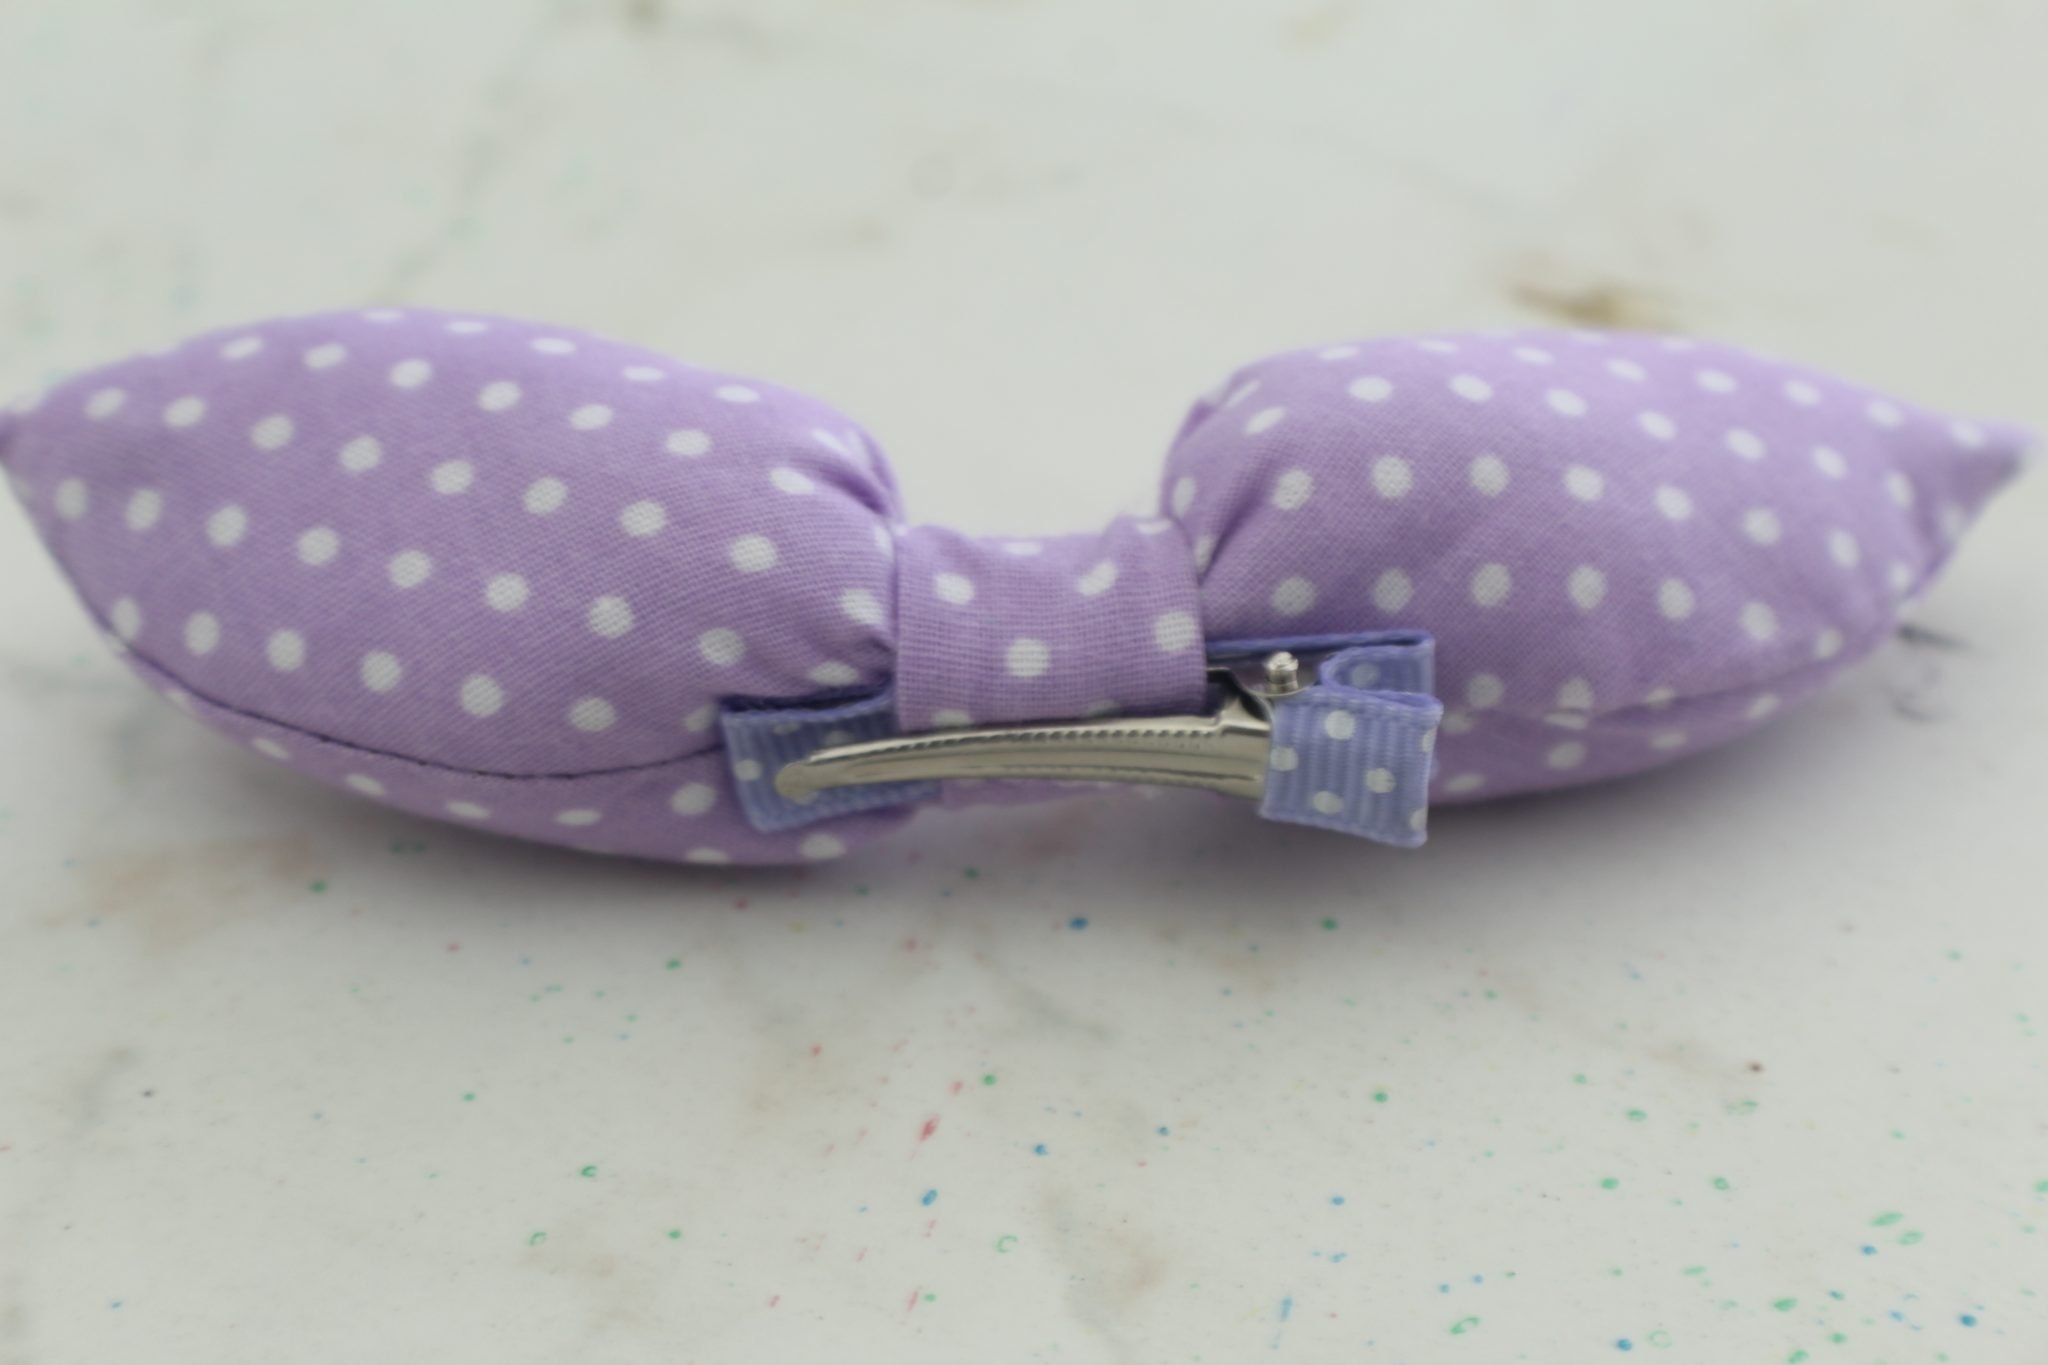
- Insert the hair clip under the tie or glue it to the ear.
- Fold the ear by pressing onto the wire inside.
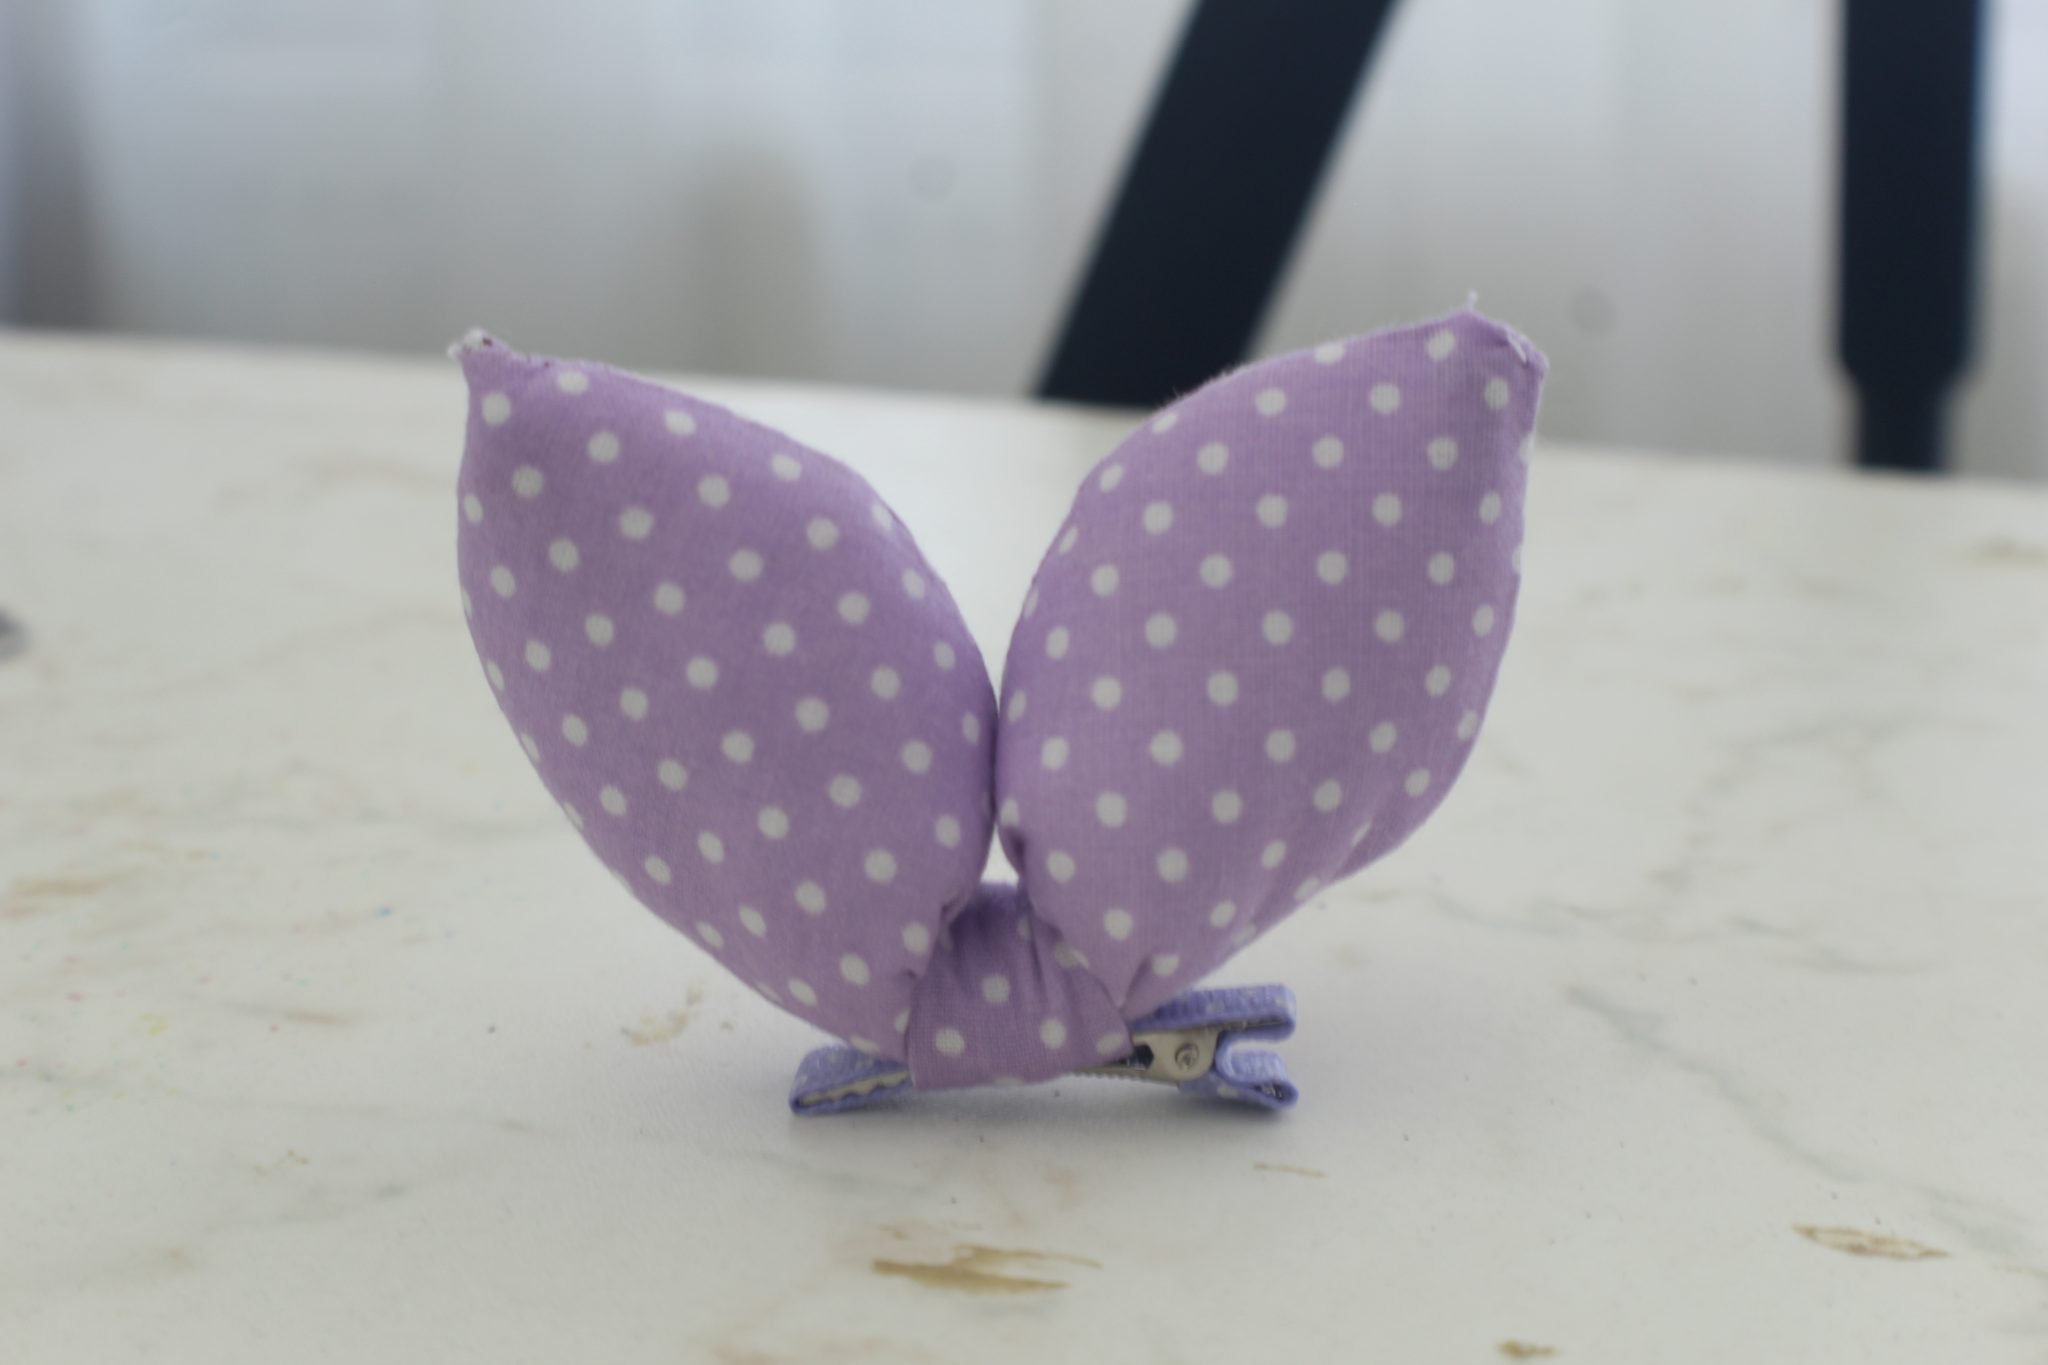
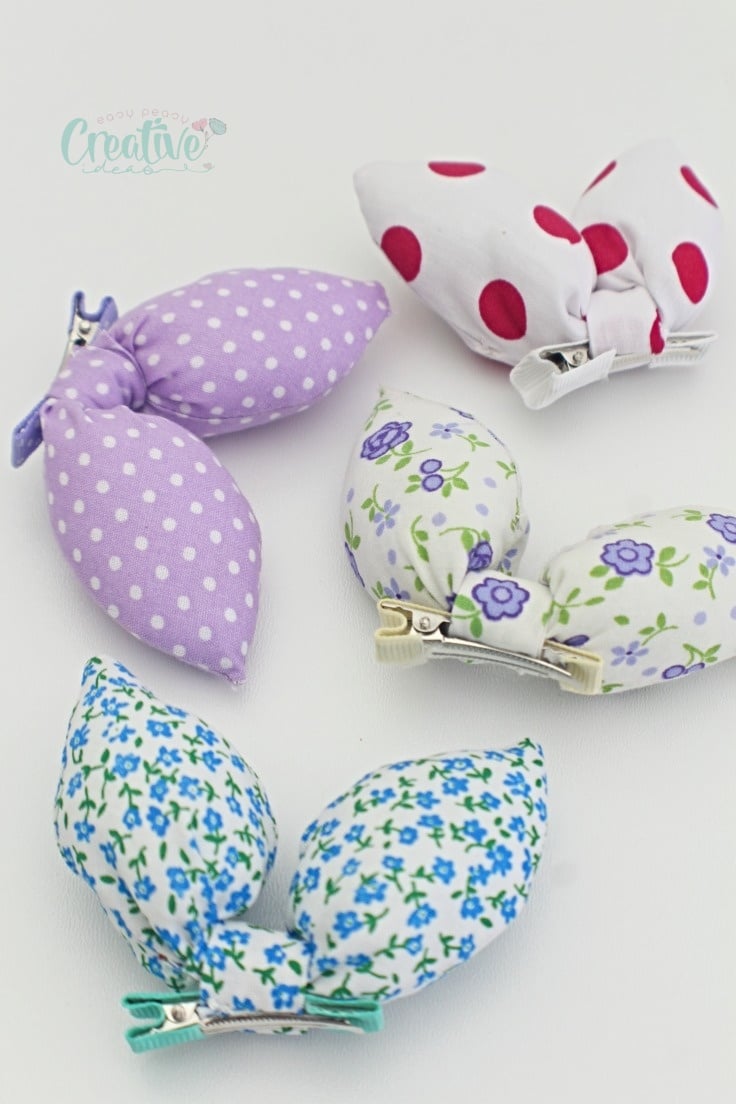
And you’re done! Your stunning bunny hair clips are ready for wearing!
Tips for sewing the bunny bows
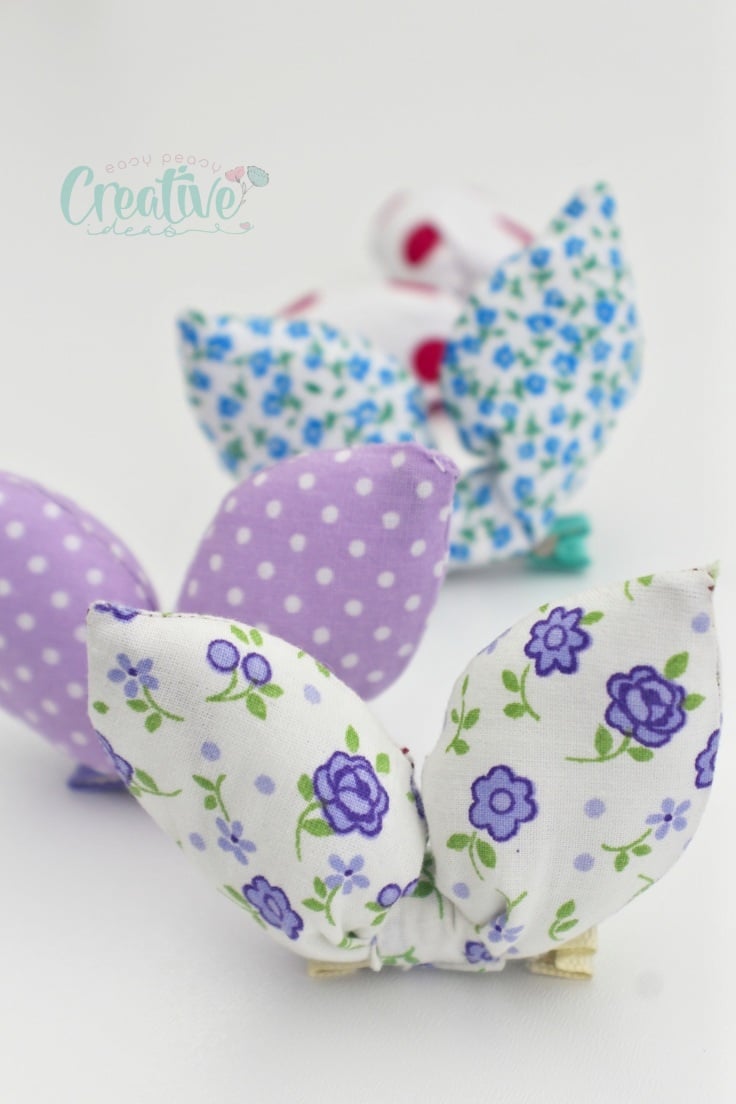
- You can also make the ears and tie using different fabrics for a more colorful and unique look.
- Don’t have craft wire? You can substitute it with a pipe cleaner or floral wire.
- Instead of hand stitching the gap closed, you can also use hemming tape or a glue gun for a quicker finish.
- For even quicker assembly, you can use a glue gun to attach the hair clip to the back of the ear.
- Experiment with different sizes and shapes of fabric scraps to create different styles of bunny hair clips.
More scrap projects you will love
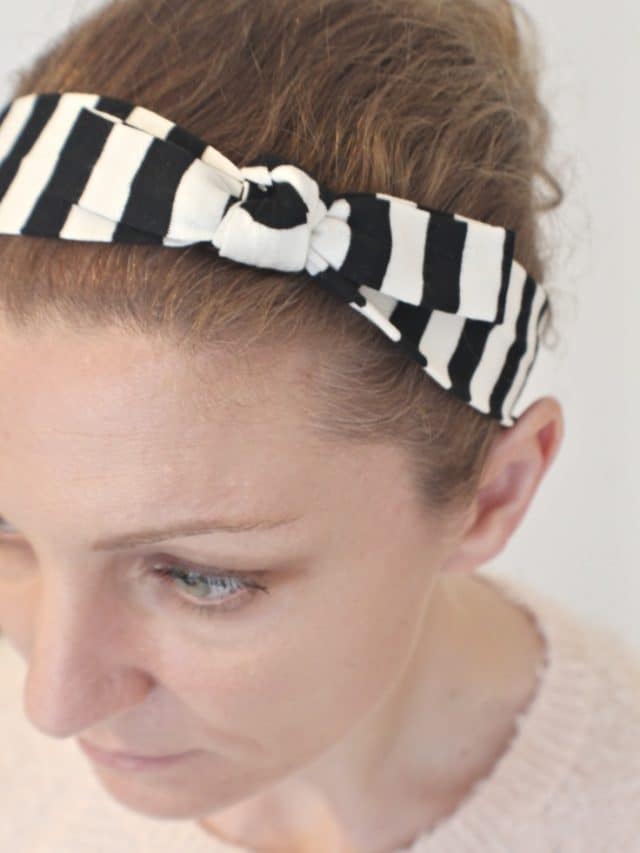

- DIY knot headband
- Infinity scarf tutorial
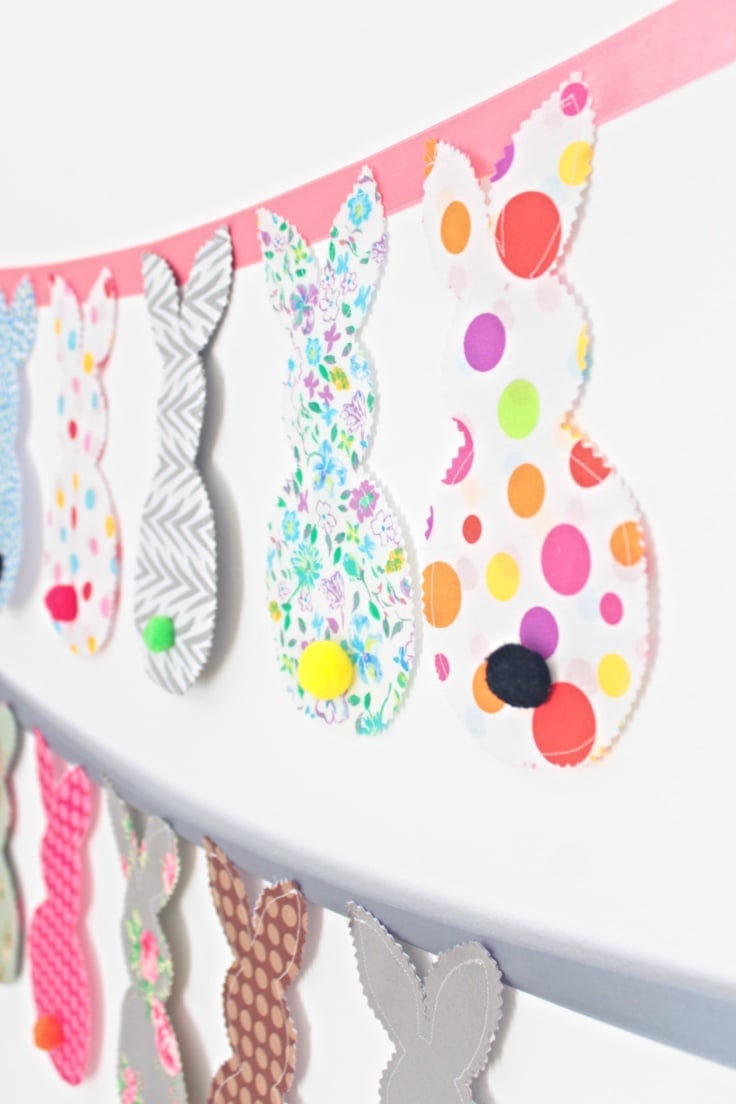
- Bunny banner with fabric scraps
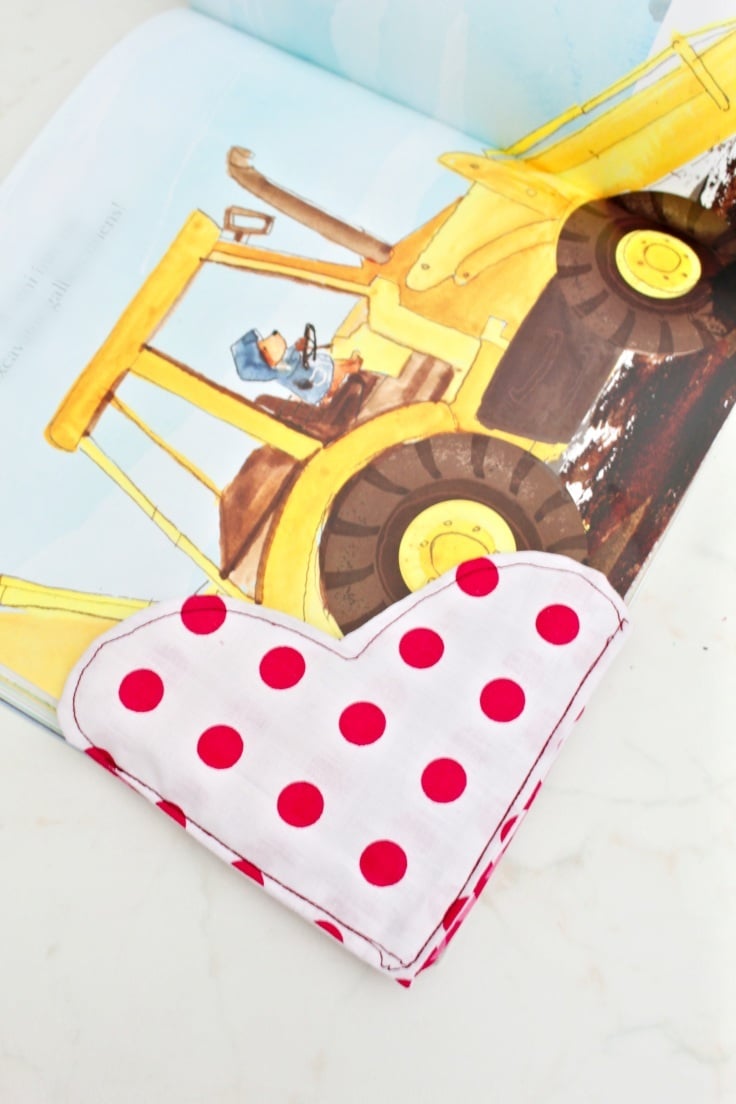
- Heart fabric bookmarks
- Kitty coin purse
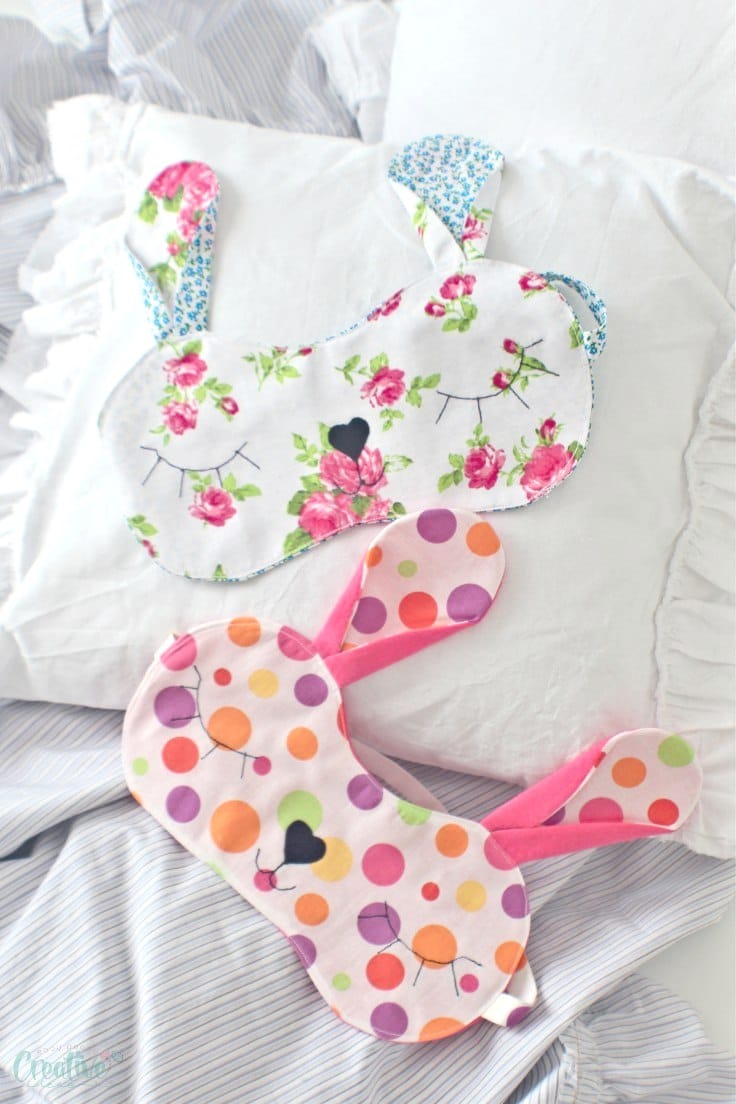
- Bunny sleep mask
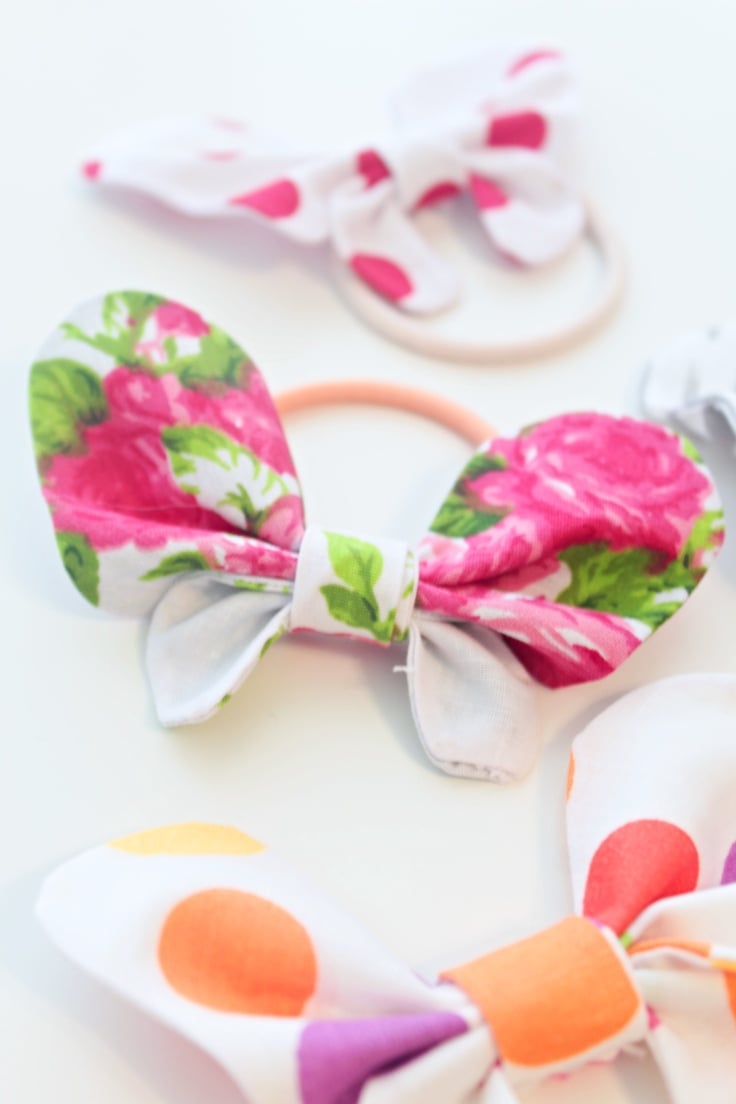
- Butterfly hair ties
- Singed flower hair pins
- Fabric covered buttons
- Bunny treat bags
Additional ideas
- Add some extra flair to your bunny hair clip by adding some cute little pom-poms as nose.
- Instead of using fabric scraps, you can also use felt for a fun and easy option.
- Use different sizes of hair clips to create smaller or larger bunny ear clips.
These bunny hair clips are not just limited to Easter, they can add a touch of cuteness to any outfit all year round. So go ahead and make a few for yourself, or give them as gifts to family and friends. So much fun can be had by personalizing each hair clip with unique fabrics, colors, and embellishments. You could even make a matching set for you and your little one! So gather your supplies and let your creativity run wild! Happy sewing!
Bunny hair clips
Materials
- 1 piece fabric scraps for ears about 14" x 5"
- 1 piece fabric for the tie in the middle of about 10" x 2"
- 1 hair clip similar here
- matching thread
- craft wire
- poly-fill
Tools
- scissors
- Pliers
- pressing iron
- blunt tool for pushing corners out
- hand needle
- glue gun optional
Instructions
- Take the strip of fabric scrap for the ears, press it well and fold in on half, lengthwise, right sides together.
- Place the template over and trace around it
- Pin through both fabrics
- Cut out with your scissors.
- Sew with 1/4" allowance, leaving a small gap in one of the sides to turn the ear right side out.
- Clip the tips and trim the seam in half.
- Turn fabrics right side out through the gap.
- Push the corners out with a blunt tool (or you can use this method).
- Smooth out the seams then iron press.
- Fill the ear with poly-fill through the gap.
- Cut a piece of wire double in size than the ear.
- Fold it in half and twist.
- Bend the ends with pliers to form a coil.
- Insert the wire inside the ear.
- Hand stitch the gap closed using a ladder stitch. Don't worry if your stitch is not perfect, it will be hidden once the hair clip is attached to the bunny ear.
- Take the second template and place it on the tie fabric, trace around it then cut out.
- Fold the ends of the tie in lengthwise, slightly overlapping them then press well with your iron.
- Fold one of the ends in about 1/4" and press well.
- Assemble the bunny clip
- Take the raw end of the tie and sew it to where the gap used to be, the fold in the tie facing the gap.
- Wrap the tie around the ear tightly, two times, until the folded end reaches the raw edge.
- Hand stitch the folded end to the ear, without going through all the layers, just through the first and the second layer of the tie.
- Insert the hair clip under the tie or glue it to the ear.
- Fold the ear by pressing onto the wire inside.
Video
Most popular sewing projects:


Article may contain Amazon & affiliate links. As an Amazon Associate I earn from qualifying purchases at no additional cost to you.
ABOUT PETRO
Hi, I’m Petro, author and founder of Easy Peasy Creative Ideas. Sewist, crafter, avid DIY-er, foodie, photographer, homemaker and mommy to one. I’m an expert at coming up with quick, clever sewing tips, recycling crafts and simple, easy recipes! You can find my ideas featured in reputable publications such as Country Living, Good House Keeping, Yahoo News, WikiHow, Shutterfly, Parade, Brit & Co and more. Thanks for stopping by and hope you’ll stay for a while, get to know me better and come back another time. Stick around for real fun projects! Read more…