How to make a charming, most simple Christmas stocking ever – with video
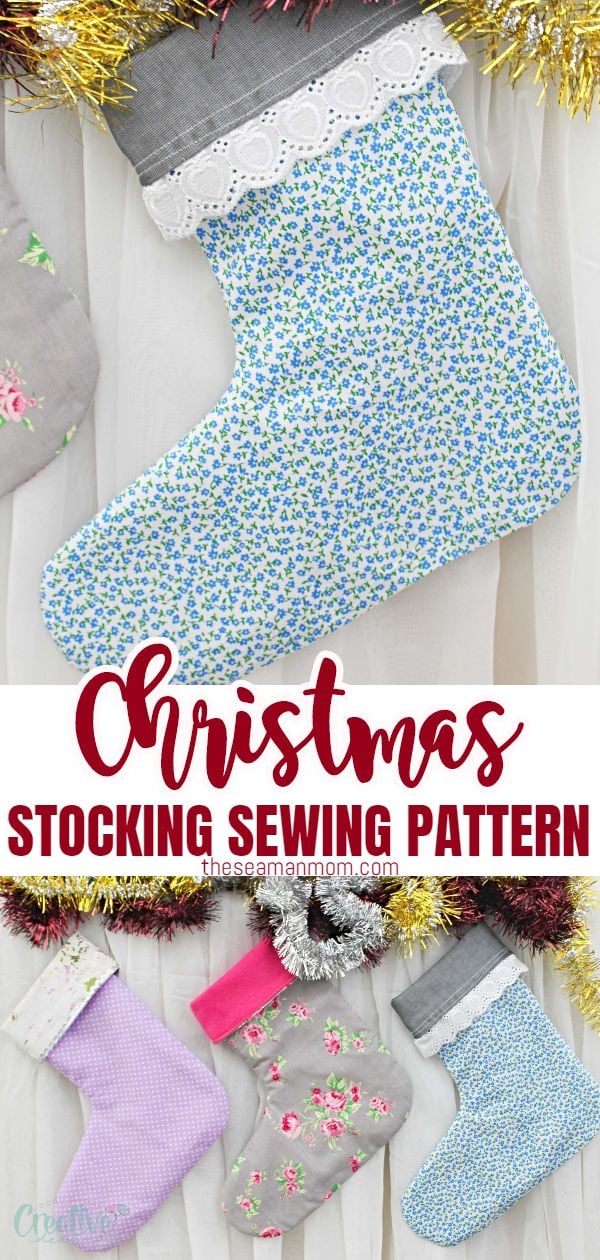
Add a dose of cheer to your holidays when you make these cute Christmas stockings! This Christmas stocking sewing pattern is simple and the instructions are easy to follow, making this project perfect for beginners!
Christmas stocking sewing pattern

Instead of buying stockings every year why not make your own this holiday season? This Christmas stocking sewing pattern is super easy and simple even the ultimate beginners can whip up a bunch of these modern Christmas stockings in no time!
It’s my first time making Christmas stockings and I must admit I wasn’t expecting as much fun! For some reason I pictured this project a lot more complicated! Mainly because drawing is not my best feature. But once I managed to make the Christmas stocking pattern sewing these cute Christmas stockings was literally easy peasy!
More Christmas ideas you will love:
- Elf Christmas stocking pattern
- Christmas tree pillows
- Christmas tree skirt
- Yoyo Christmas trees with fabric scraps
- Mitten ornaments from fleece
- Fabric Christmas tree ornaments
- DIY Christmas bunting
- Christmas cutlery pockets

This Christmas stocking sewing pattern makes medium size stockings which you can easily adjust as needed. You can easily make them larger or smaller by adding or subtracting a couple of inches to the width and length. I do believe this size is just perfect though unless you expect Santa to be very generous this year! (or stingy lol)
I made my stockings lined and they’re basically reversible so I can pretend I have brand new Christmas stockings next year! I enjoy being cheeky sometimes lol The pattern goes for unlined stockings too but I personally think lining adds volume and makes these homemade stockings look more professional.
Most popular sewing projects:
- How to hem a curve
- Corded bag handles
- Laminating cotton fabric at home
- Flutter sleeve dress tutorial
My fabric choice was pretty modern, cheerful and quite cute I think but if you like the traditional stockings you may wanna pick a more conservative fabric type. The main reason I chose this type of fabric s because I saw this project a great opportunity to go through my fabric scraps instead of buying new fabric.

Making one Christmas stocking took me less than half an hour approximately an hour for all three. None of them posed any problems and even though there are 3 curves in each stocking, sewing those was a piece of cake since the curves are not too deep. So this is perfect for beginner sewers too!
These are not only great for displaying on your mantle or around the house at Christmas but make awesome gift ideas too! Or you can easily replace packaging for your gifts using these babies instead! Ready to learn how to make a Christmas stocking?

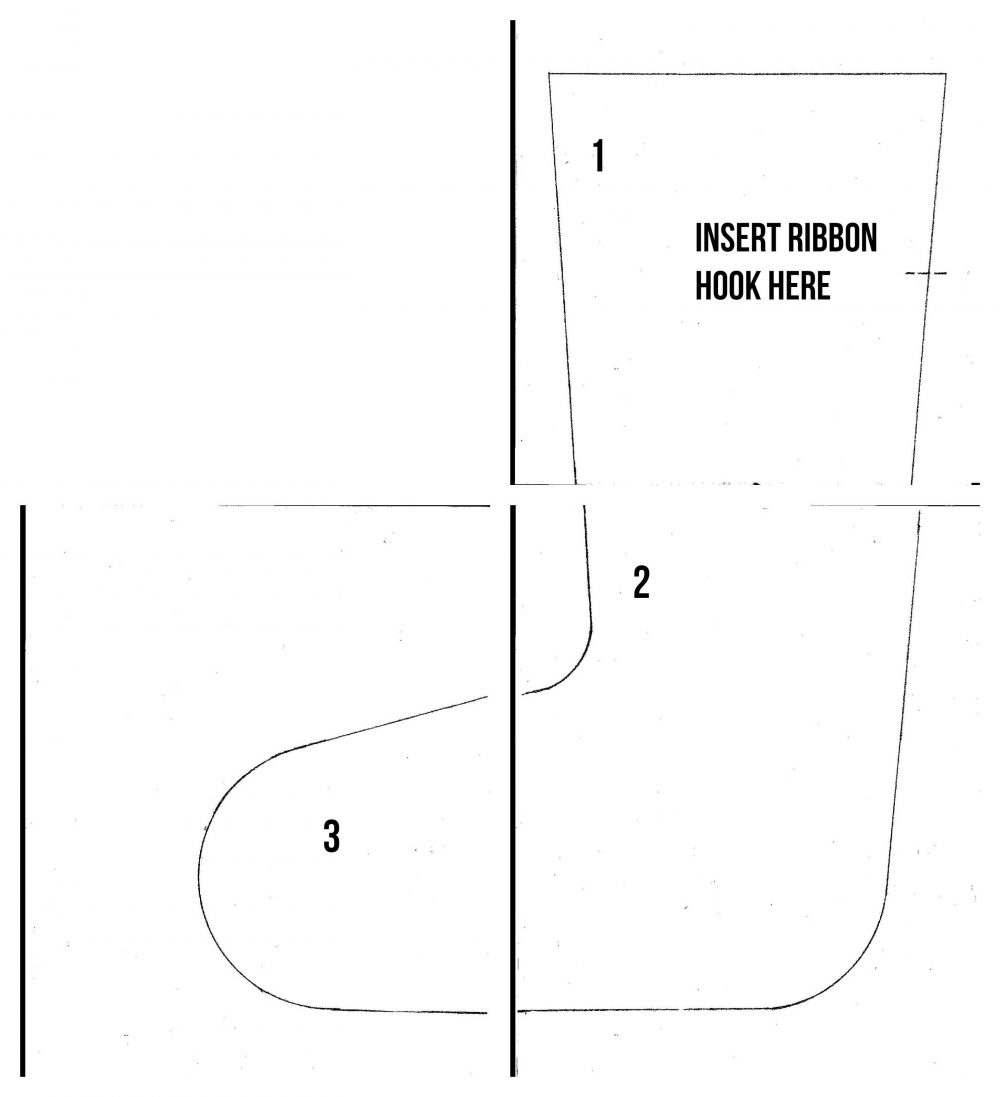
The Christmas stocking pattern is available for FREE here.
Christmas stocking template

Materials:
- stocking pattern
- fabric for stocking
- fabric for lining
- ribbon or cord for hanging the stocking
- fabric marker
- scissors
- pattern weights (here’s a tutorial to make your own)
- pins
- seam gauge
- scissors
- matching thread
- sewing machine
Instructions:
- Print the Christmas stocking sewing pattern. Put your pattern pieces together as below.
- Place the main fabric (the outer fabric) wrong side out and place the pattern on the fabric.
- Using a seam gauge, mark 1/2″ around the pattern (seam allowance) with a fabric marker.
- Fold the fabric under the marked stocking and cut out your stocking. This will give you two identical copies of your stocking.
- Repeat for the lining.
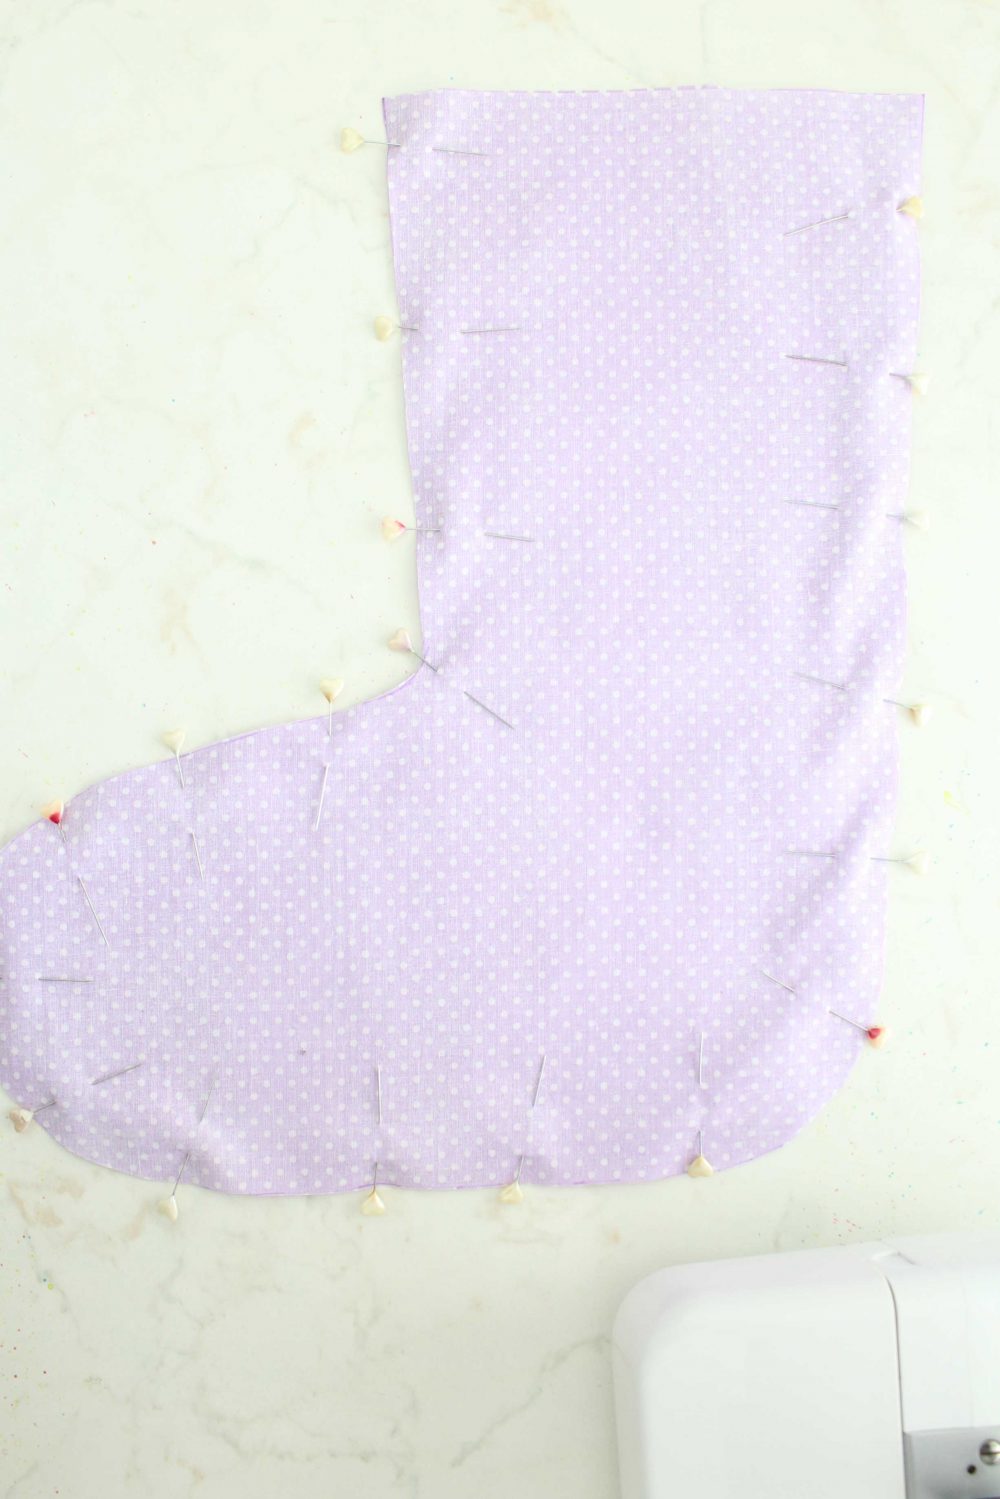
- Place outer stockings right side together, pin the sides and the bottom and sew. Leave the top open.
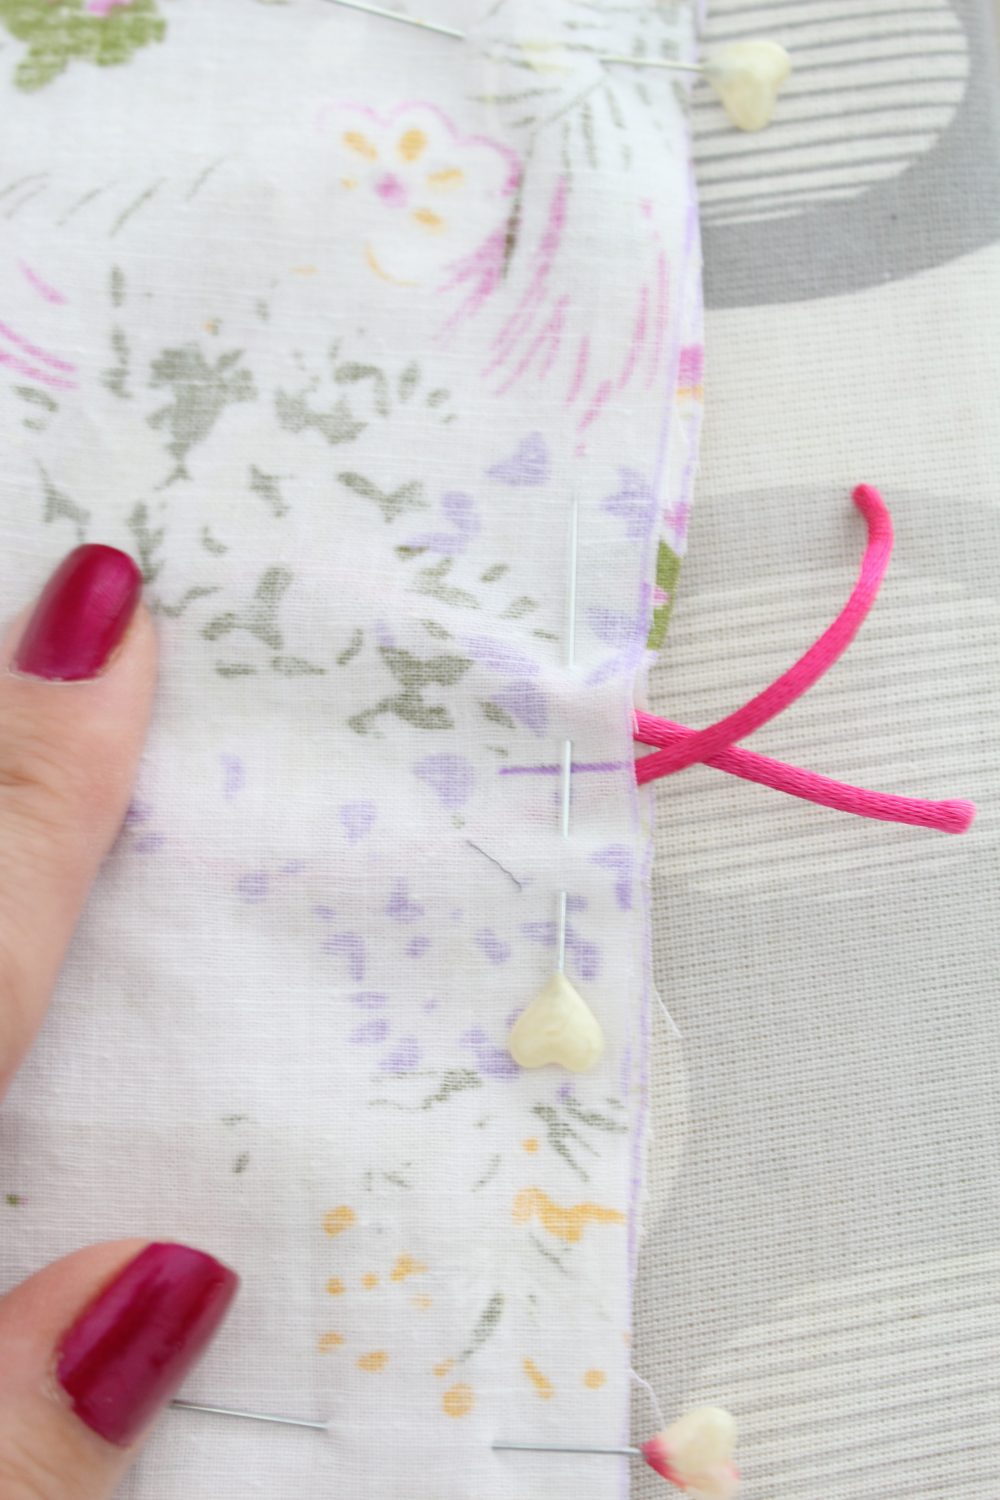
- The process is similar for lining too except you’ll need to sandwich a ribbon or cord in between the 2 layers of fabric, where the stocking pattern indicates. The ribbon should be on the inside of the lining.
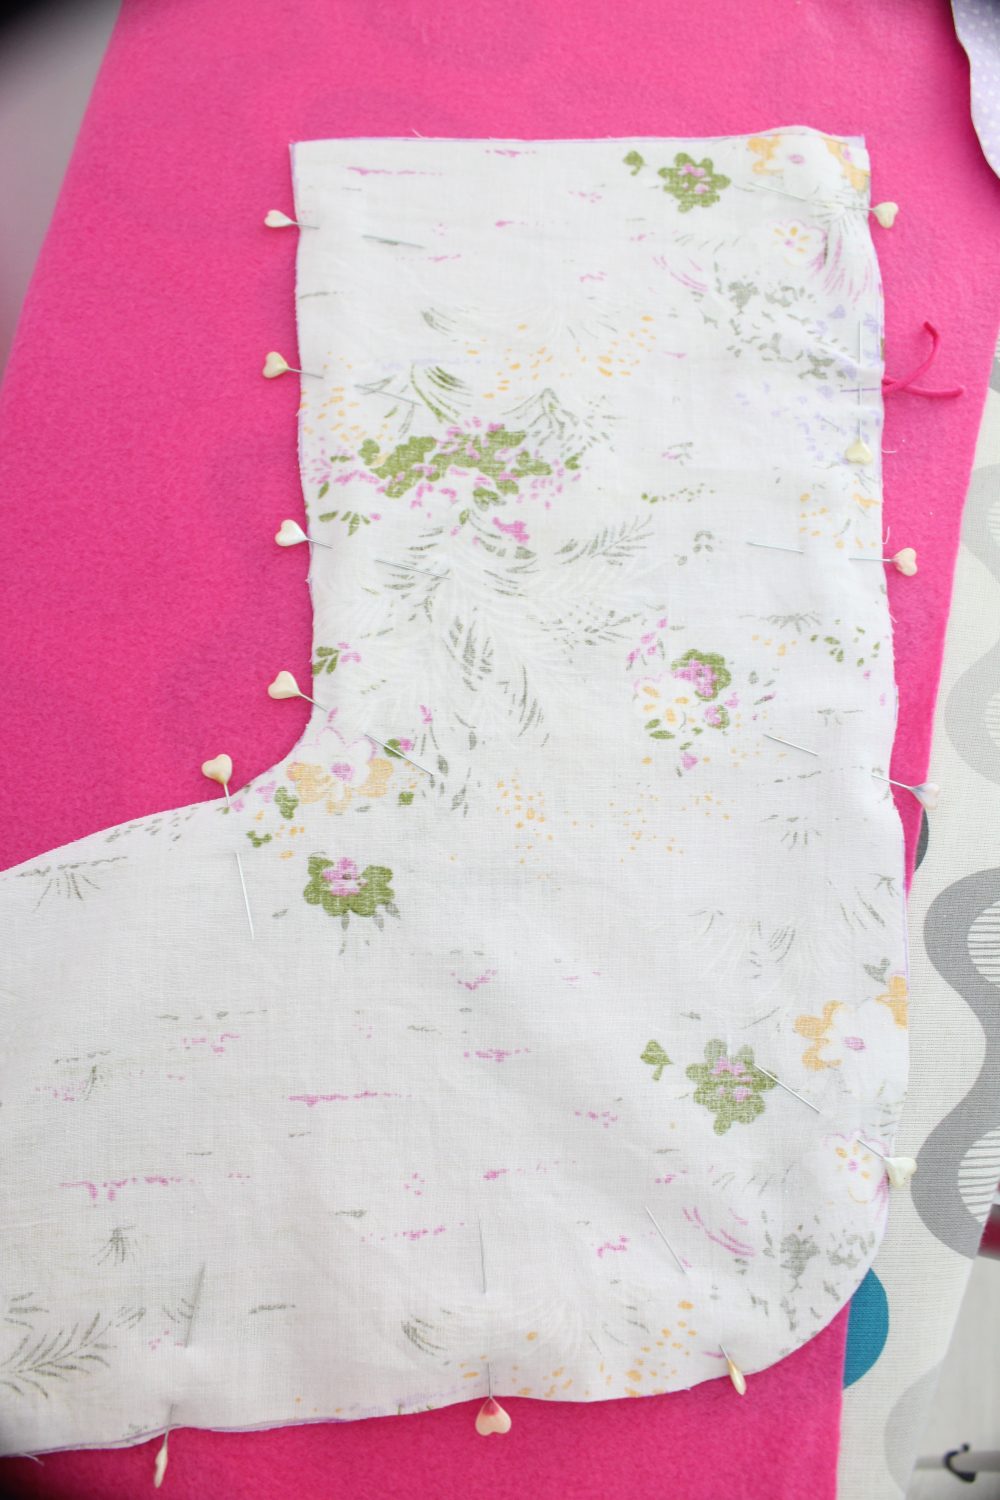
- Cut notches at the outside curves of the stocking and clip the inside curve. These will make it easier for the seam to line up nicely once the stocking is turned right side out.
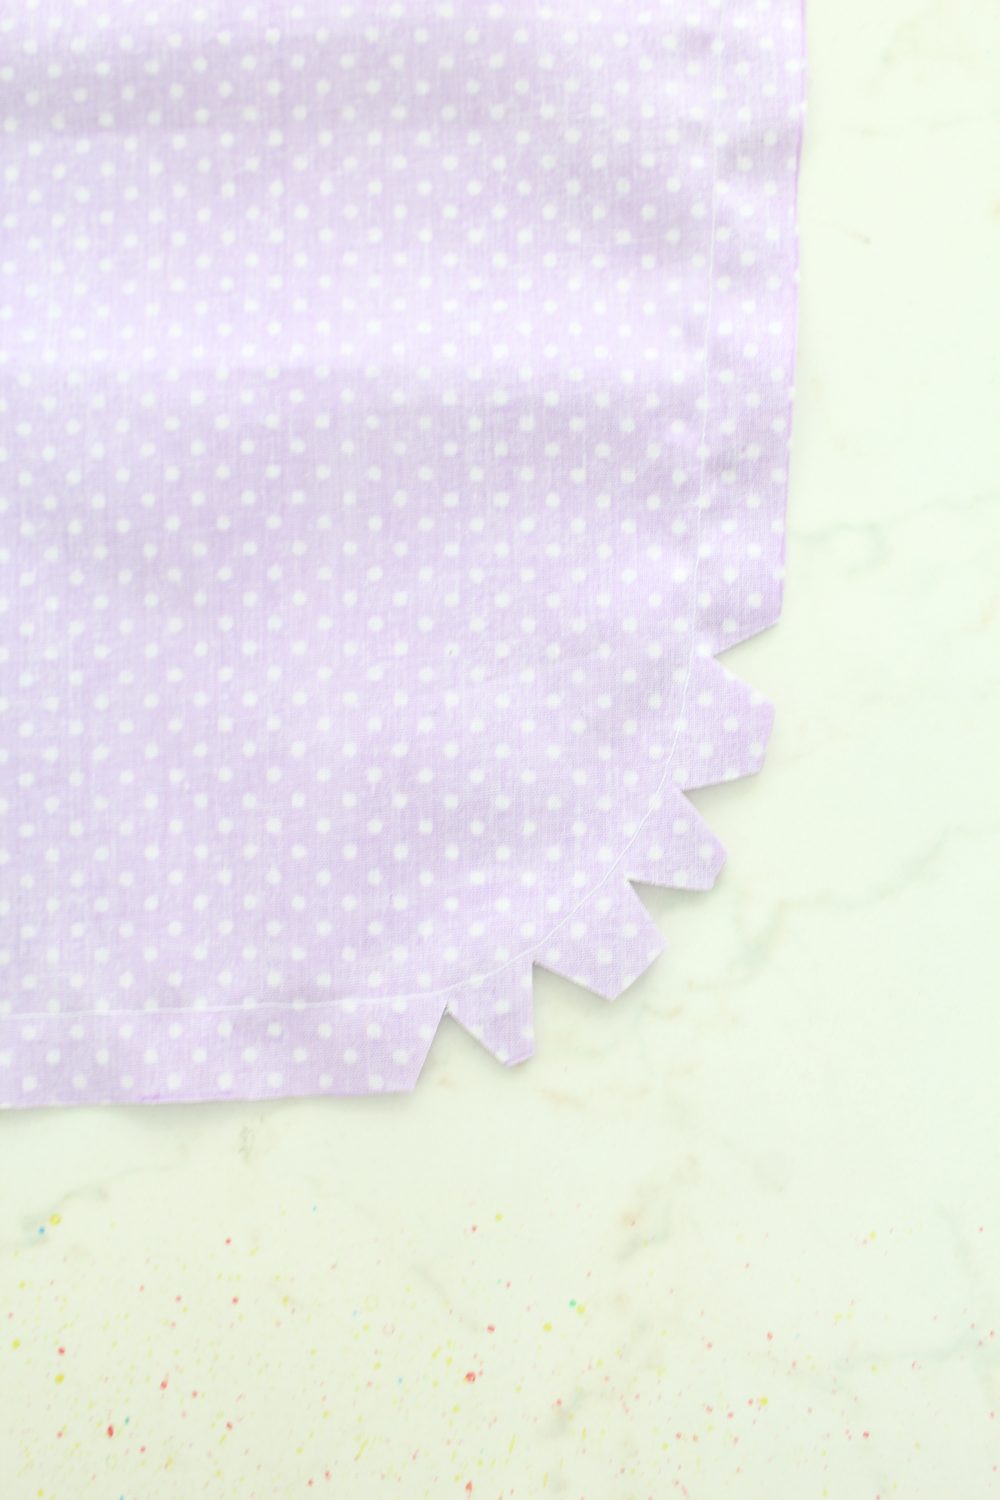
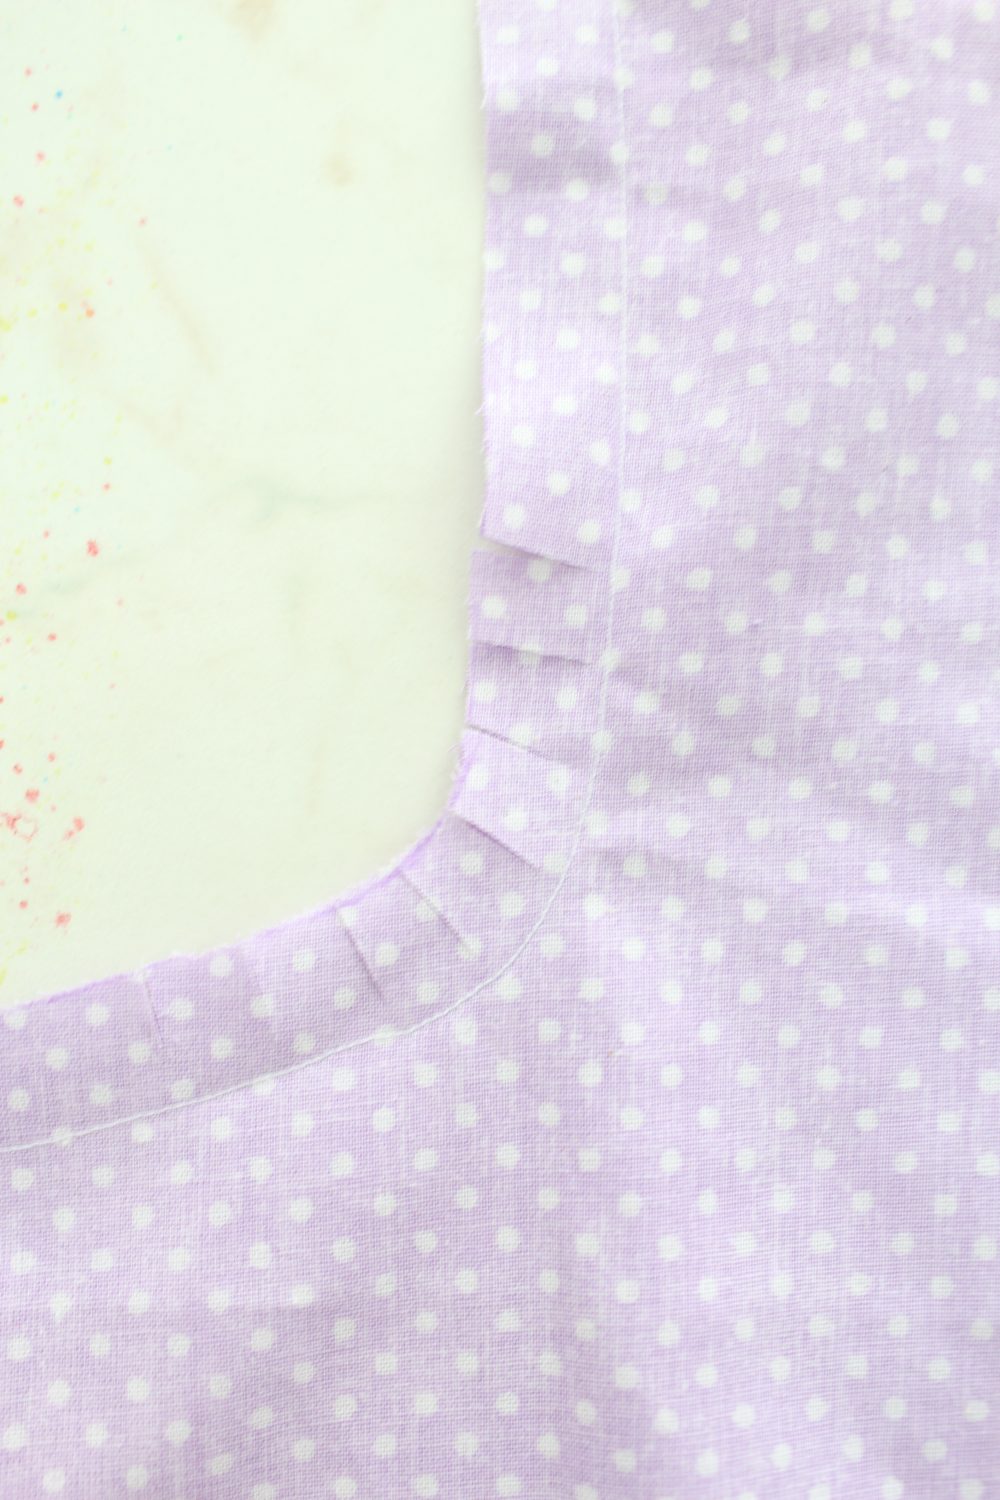
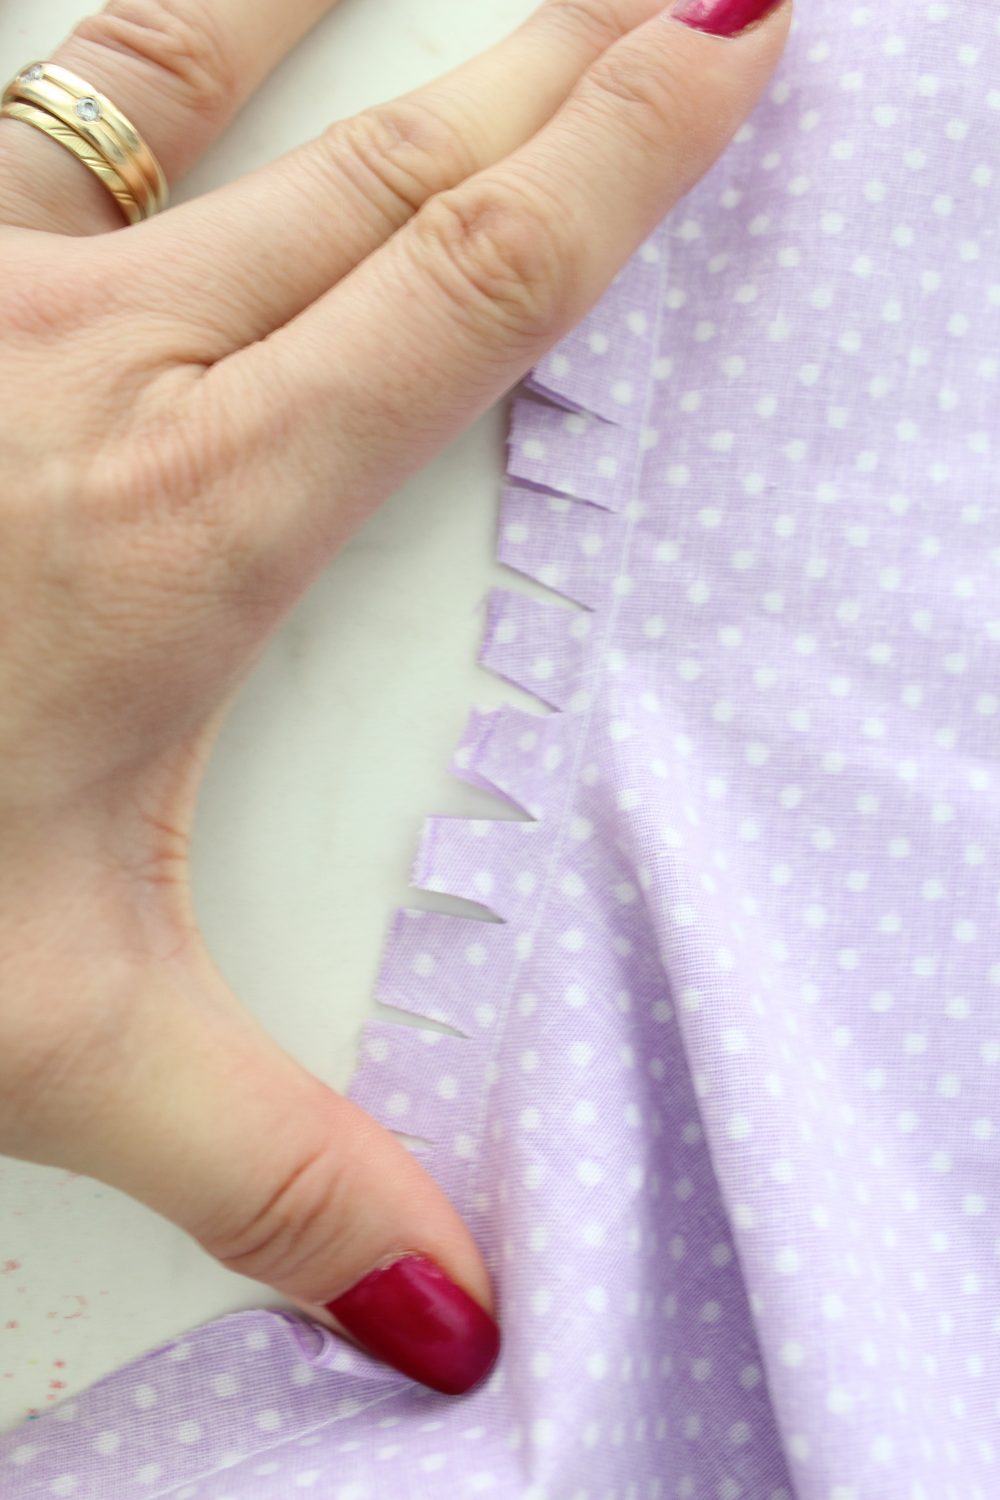
- Trim the seams to 1/4″ to reduce bulkiness.
- Turn the outer stocking right side out and press.
- Turn the top of the stocking inside about 1/4″

- Keep the lining wrong side out but turn the top out 1/4″
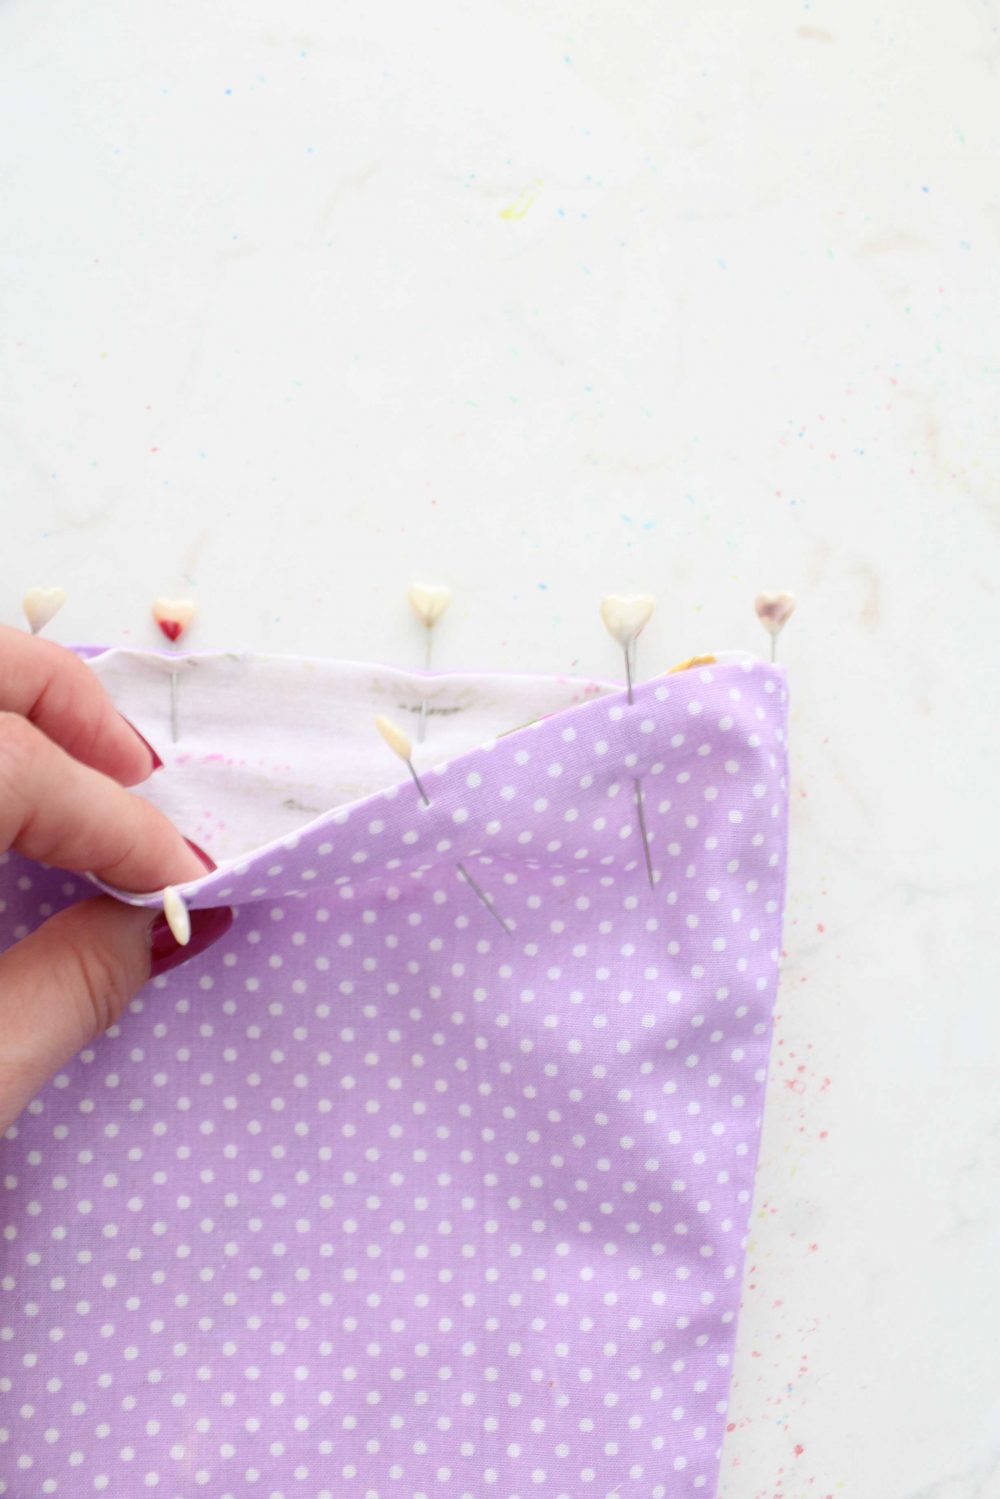
- Slide the lining inside the outer stocking and match seams and tops.
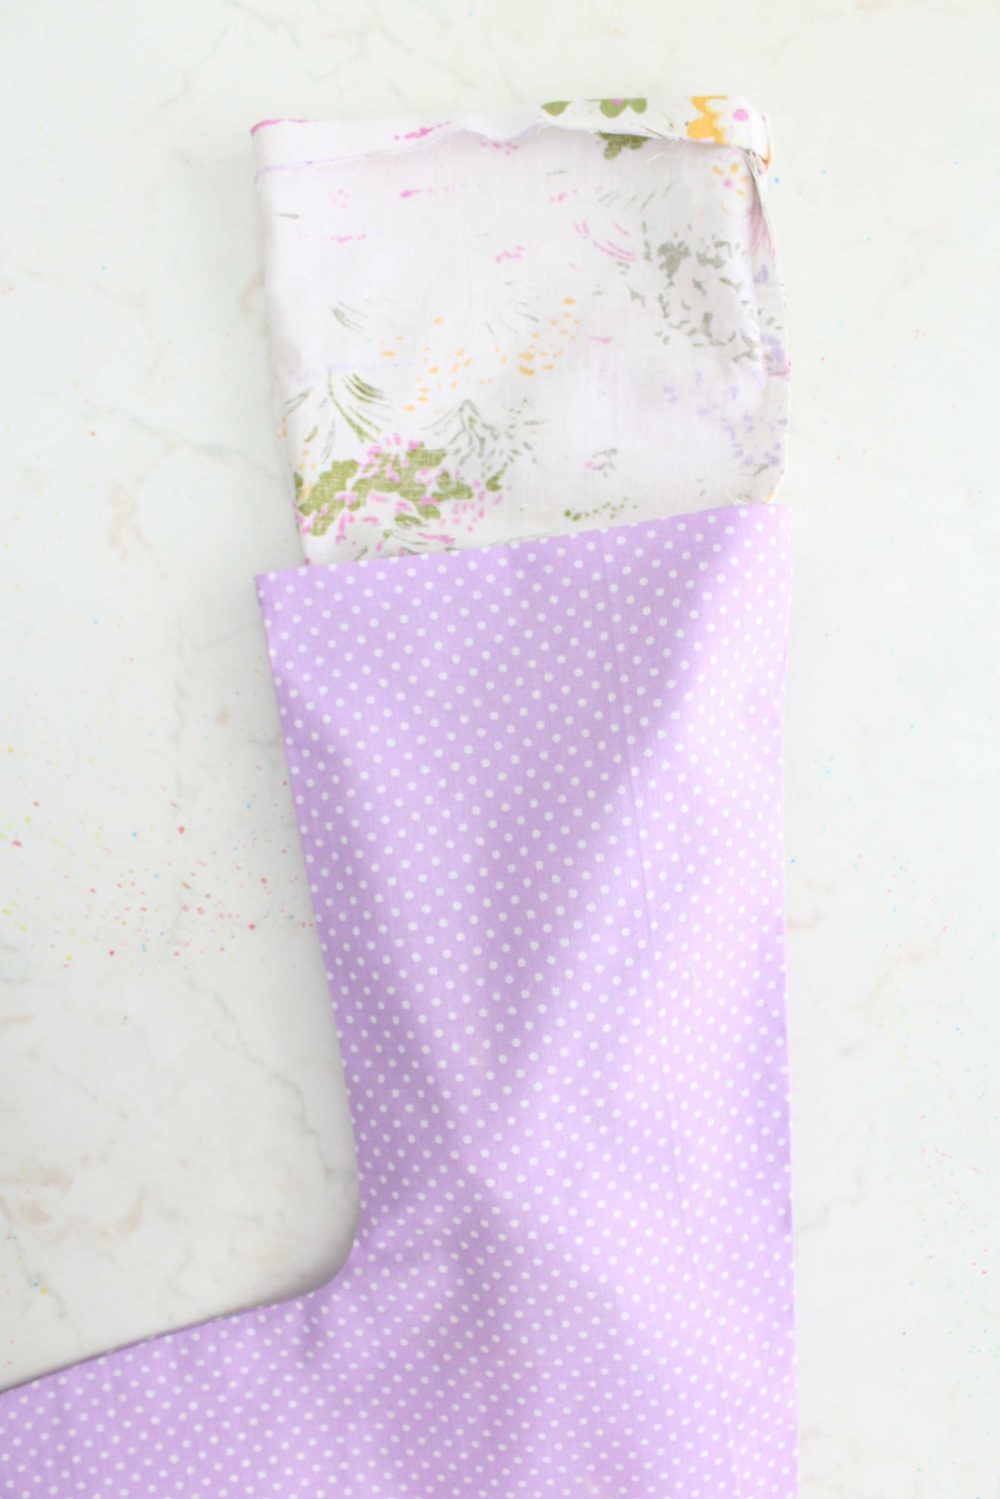
- Pin and sew around the top with 1/8″ allowance.
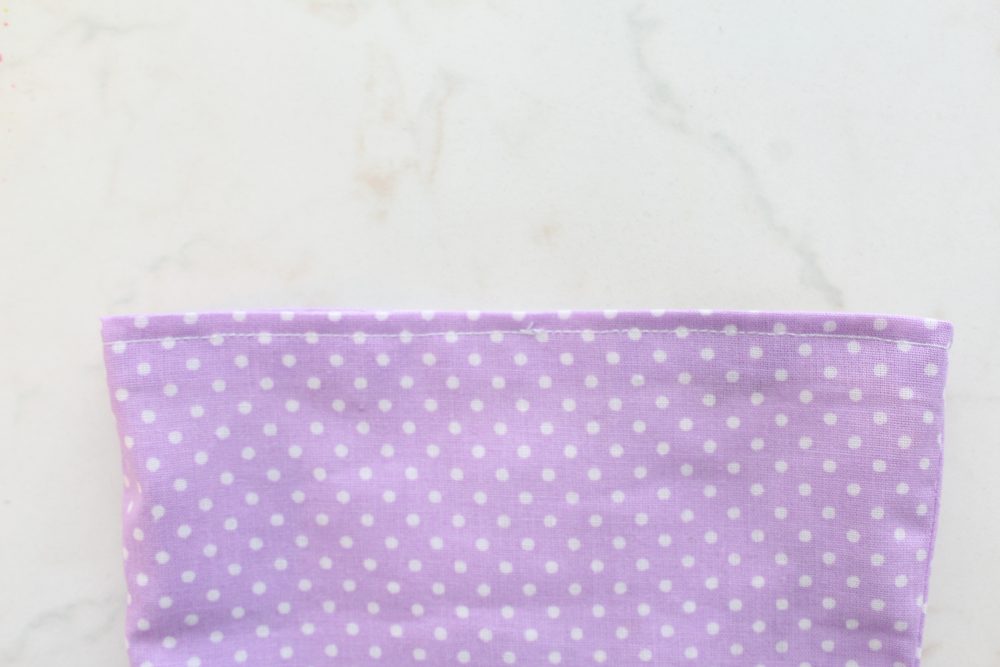
- You can add extra embellishments to the top of the stocking if you want, on lining, like I did or you can leave it simple.
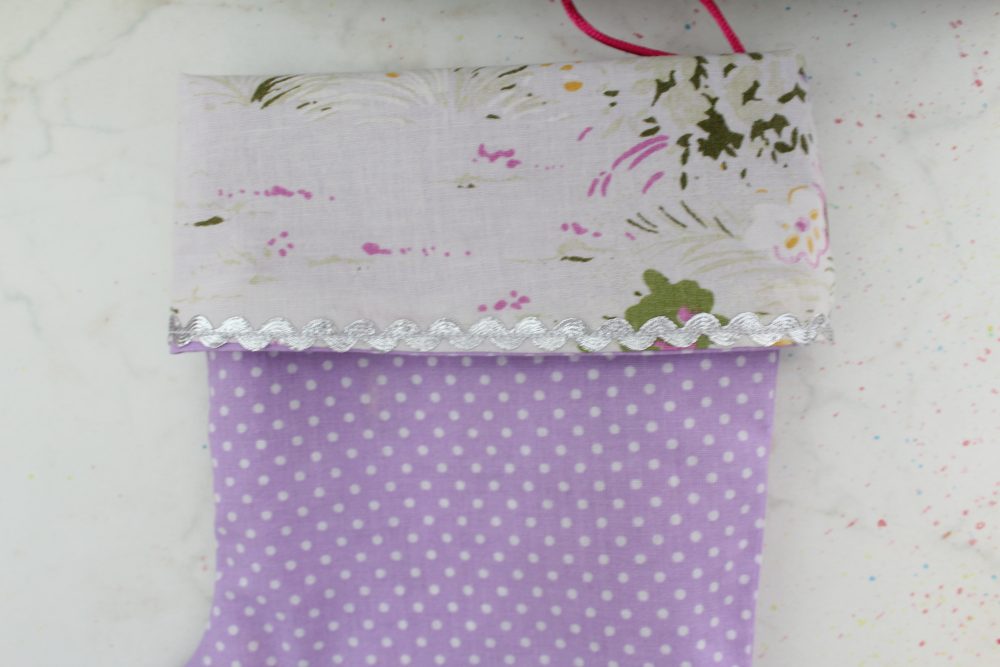
- Fold the top of the stocking about 1/4″ above the ribbon/cord and hang your stocking. Enjoy!

Pin to save for later
Article may contain Amazon & affiliate links. As an Amazon Associate I earn from qualifying purchases at no additional cost to you.


hi petro im having dificulty downloading the pattern can you tell me how please?
Hi Svetlana. After clicking the file, there’s a download button on the top right hand side.
Hi Petro, I look at your pages often and wanted to thank you for how detailed and easy to follow your stocking tutorial is! I plan to show it to my Granddaughter and will help her make her first stocking. You are amazing! Nancy
Aww, thanks so much, Nancy! Have fun making this with your granddaughter! xoxo