DIY birdhouse out of milk carton
Looking for ideas to make cheap bird houses for that cute flock of birds in your back yard? Give those little buddies something more to chirp about with a simple DIY birdhouse! This milk carton birdhouse is so easy and simple to make, kids will have tons of fun helping you make it!
How to make a birdhouse
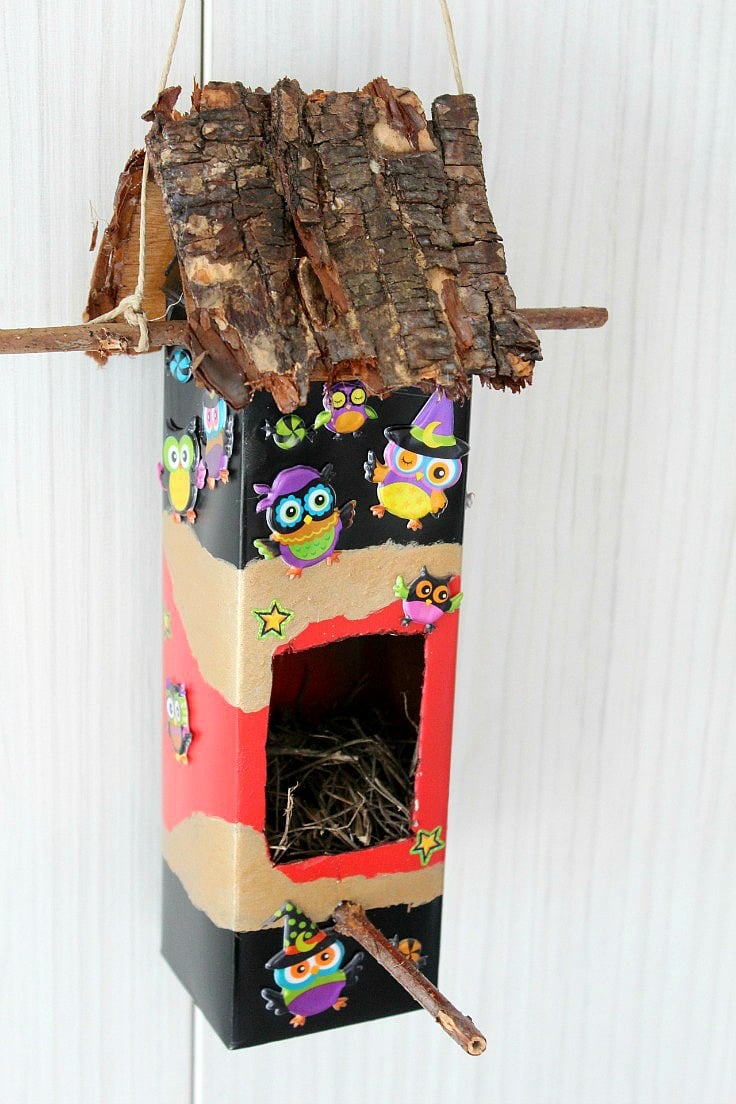
There are so many birds around our neighborhood and I’m trying my best to attract more in our back yard with this super cool DIY birdhouse;!I just love birds and their happy chirping makes me feel so excited and relaxed at the same time! They’re so cute and cheerful and their chirping is sooo refreshing every morning, it’s like a big dose of energy!
They make me happy and I like to keep them happy too! I did with these peanut wreath feeder and this orange peel feeder and now it was time for this crazy easy and simple bird house that I put together in a snap.
More recycling ideas:
- Recycled Tin Can Flower Pots
- Wire Jewelry Holder Tree
- DIY Hot Glue Bowl
- Fabric covered planter from ice cream container
- Frame key holder
- Handmade wood burned spoons
- Peanut bird feeder wreath
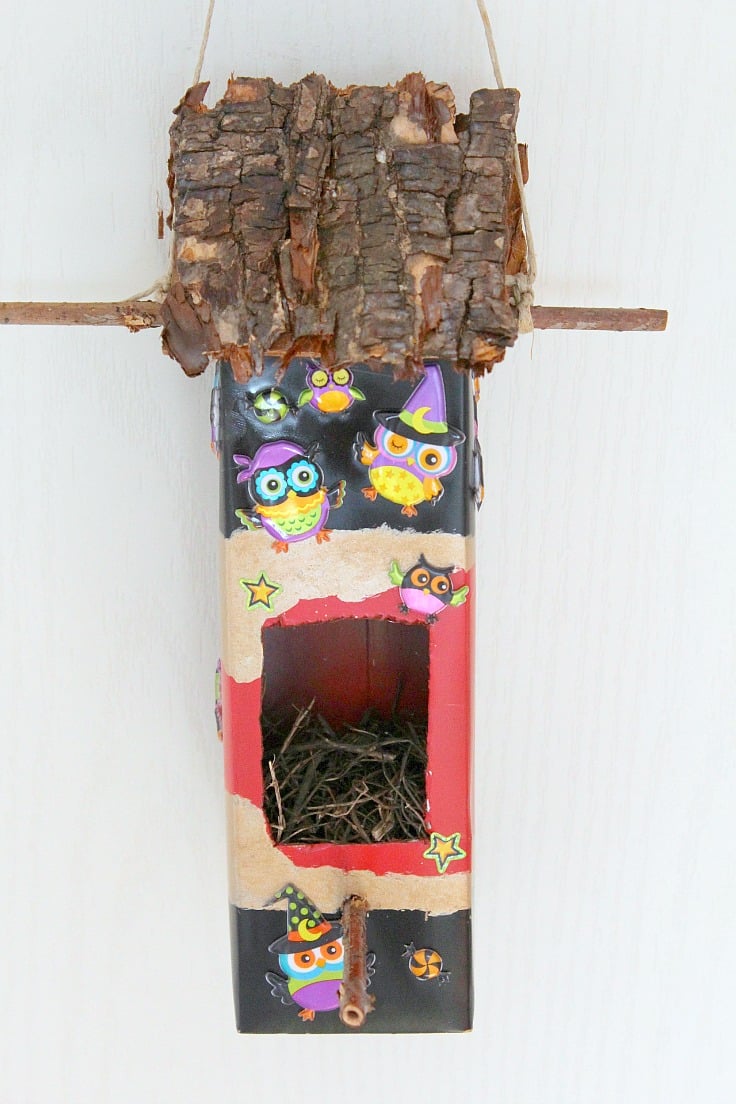
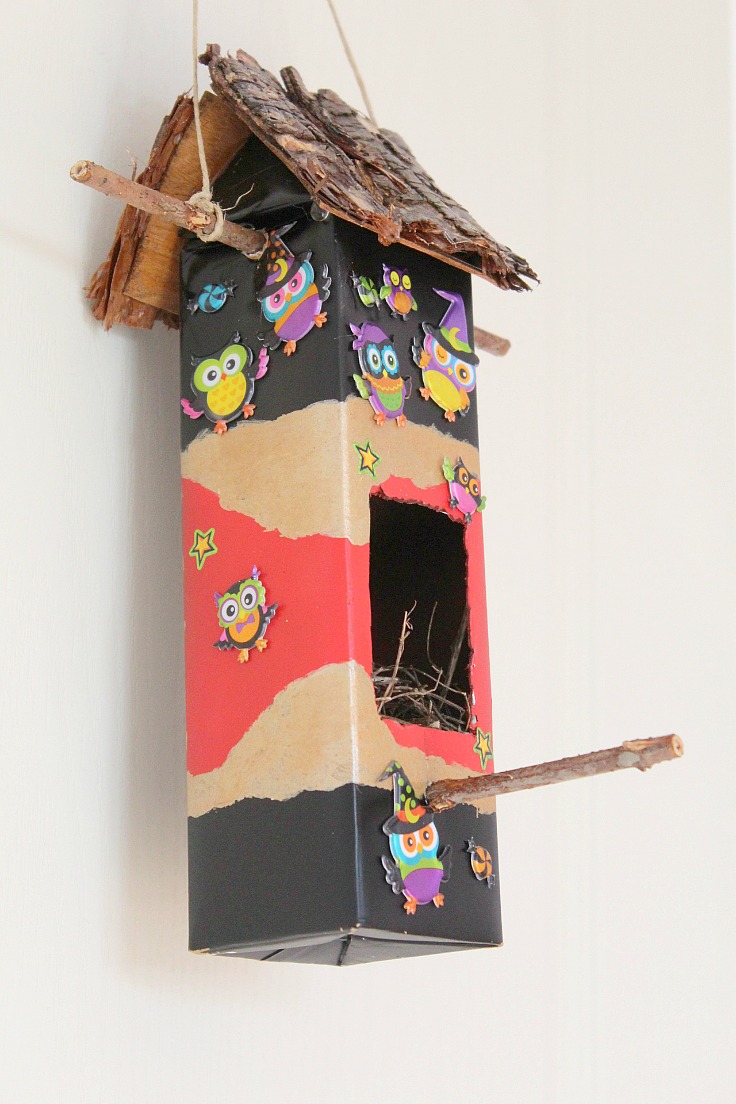
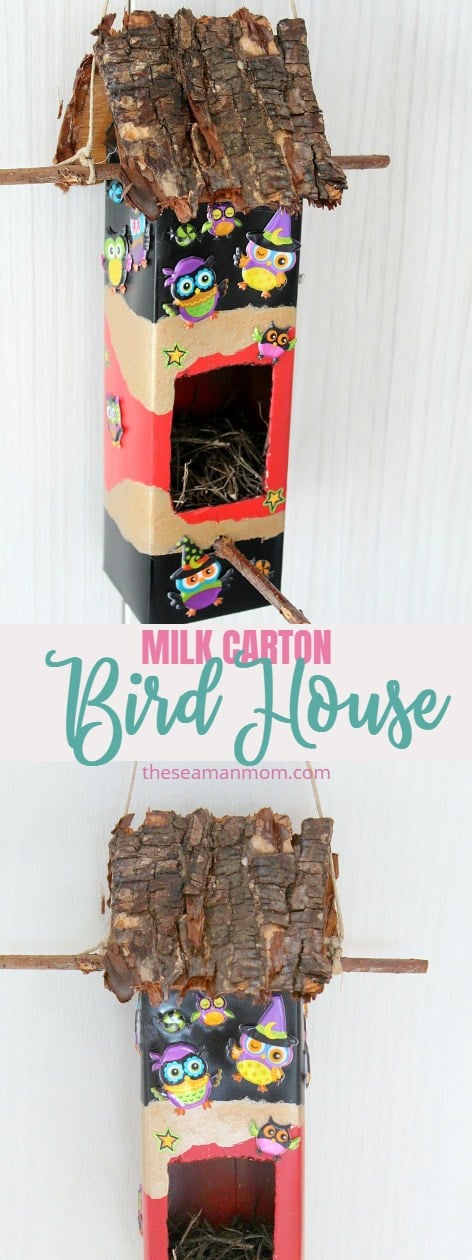
This DIY birdhouse is not only useful for these little buddies but it’s also a nice pop of color in the back yard. And it doesn’t get any easier than this! Just use an old milk carton instead of throwing it away (great recycling idea by the way!), cut a hole for the door, paint it in the colors of choice, decorate if you will, fill the bottom with some straws or hay if you have any to make it even more inviting and friendly and then hang your easy birdhouse in a tree.
These little milk carton birdhouses make great gift ideas too, for friends and family members who are big fans of nature and recycling. You can even use them as home decor to brighten up your house or give a rustic touch to a room. It’s also a wonderful project to make with the little ones during school breaks or on rainy days. They’ll absolutely love it, especially if they’re into painting and crafting as my little girl is. Just use acrylic paint that is kid friendly and make sure you help them with cutting the holes or supervise the older kids when doing so.
You can make this a two in one also, if you attach a mini peanut wreath bird feeder or an orange peel bird feeder to it.
DIY Birdhouse
Materials:
- used milk carton
- fine sand paper (I used a 220 and just lightly polished the surface)
- sharp cutting tool
- enamel spray paint (or acrylic paint) suitable for carton, in color/colors of choice. I used gold, black and red. The enamel paint holds better outdoors.
- enamel colorless spray paint
- enamel spray primer
- 2 pieces tree bark for the roof
- hot glue sticks
- hot glue gun
- punching tool
- a couple of twigs
- twine to hang the birdhouse
- owl stickers (optional)
- a few pebbles to put on the bottom of the house for more stability
- a few straws or hay to make a nest for birds inside the birdhouse
Directions:
Preparing the milk carton
- Start by washing the inside of your milk carton very well as milk left inside can get moldy. Allow to completely dry, overnight.
- Remove the screw cap.
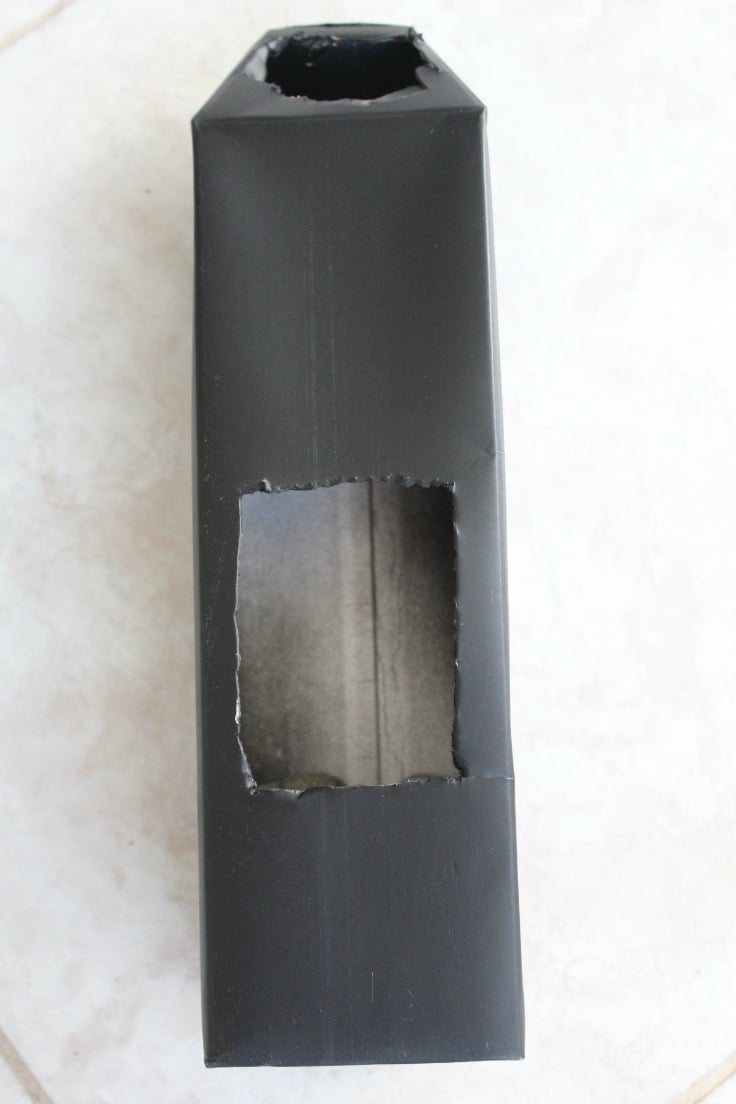
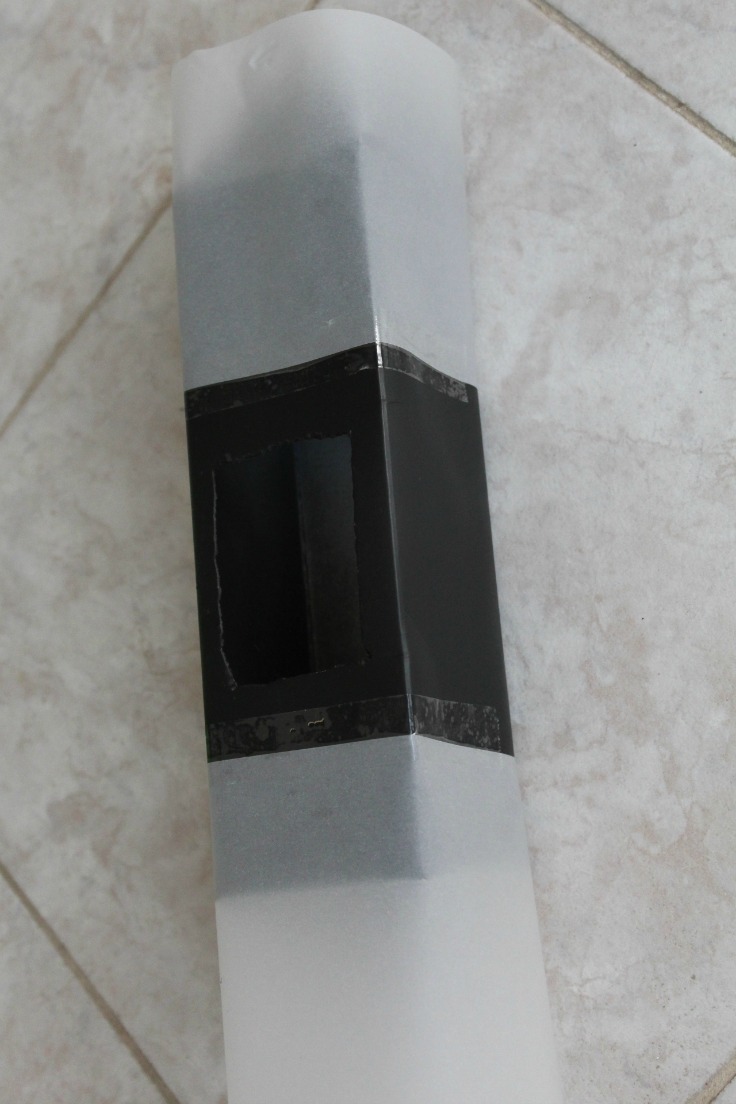
- Cut a hole for the door with a cutter, in the front of your milk carton’s face. Cut a smaller hole to attract small birds or vice versa for bigger birds. I think the biggest birds this box would accommodate are the robins.
- Do a light polishing of the surface with some sand paper to prepare for primer and help the paint stick better.
- Apply a coat of primer.
Painting the milk box
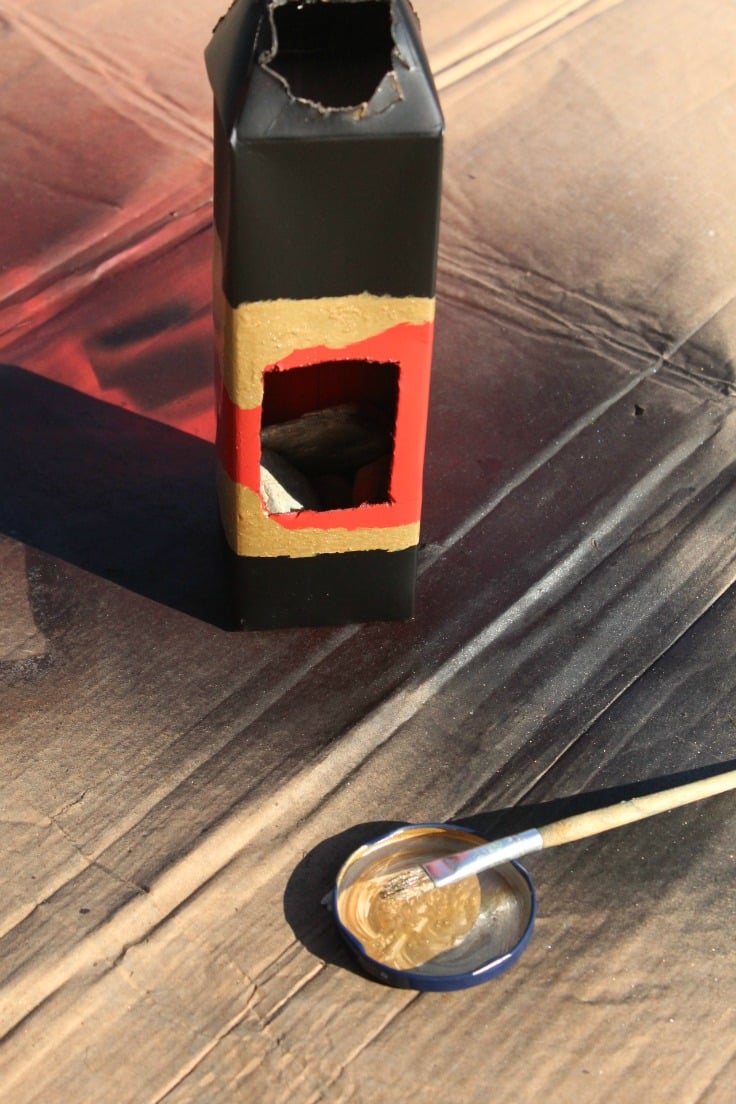
- Decide on the design and spray paint accordingly. Choose bright colors and add shiny stickers to attract birds. My crazy design was the result of an accident, of course. I meant to paint 3 parallel stripes, 2 black and one red, so I wrapped paper around the middle of the carton to paint in steps. When I removed the paper, a lot of the red paint has been removed too, because I left the paint to dry to long. So I was left with two options: to fill the gaps with a brush or redo the red stripe. I decided to use gold paint for those gaps and I actually liked this design better than what I had in mind originally.
Applying the roof
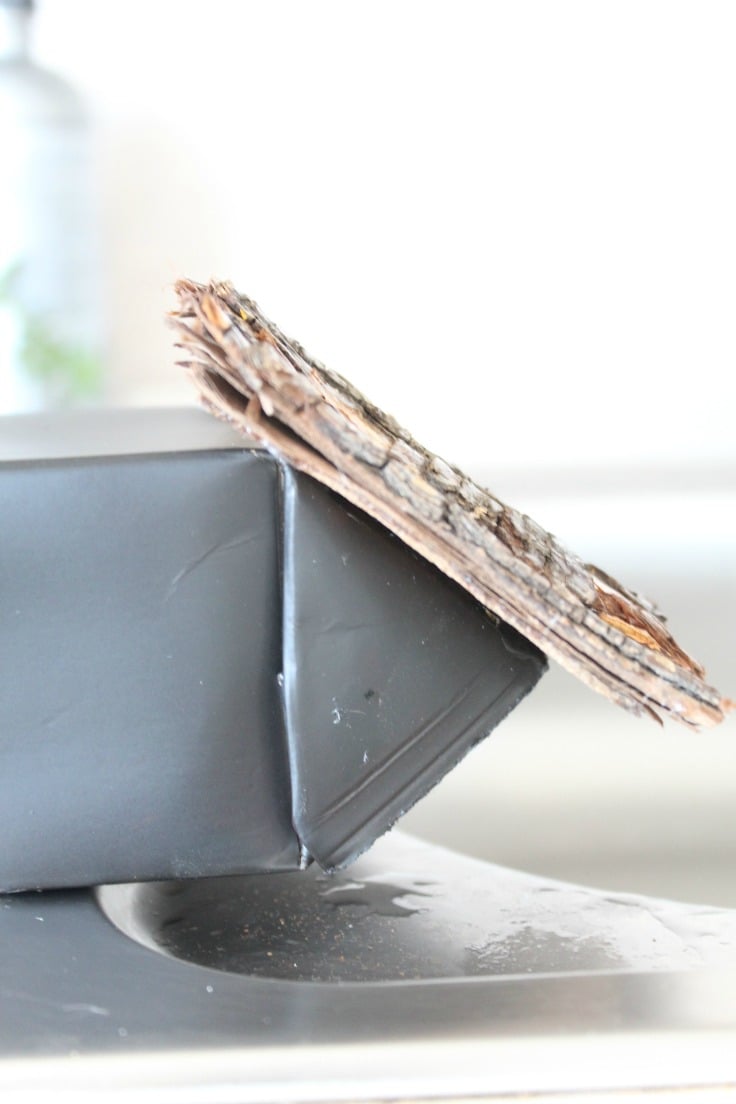
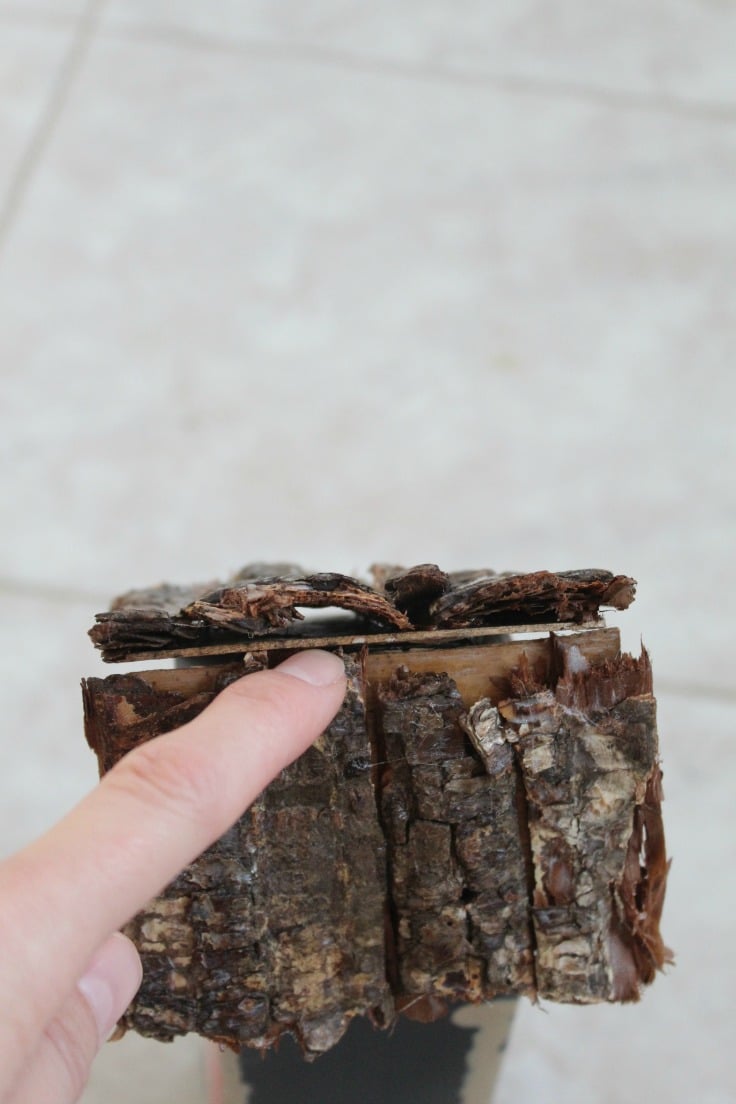
- Use your hot glue gun and hot glue to glue the tree bark to the “roof” area. Fill the gaps with more hot glue, to prevent the house from getting wet through those gaps during rainy days.
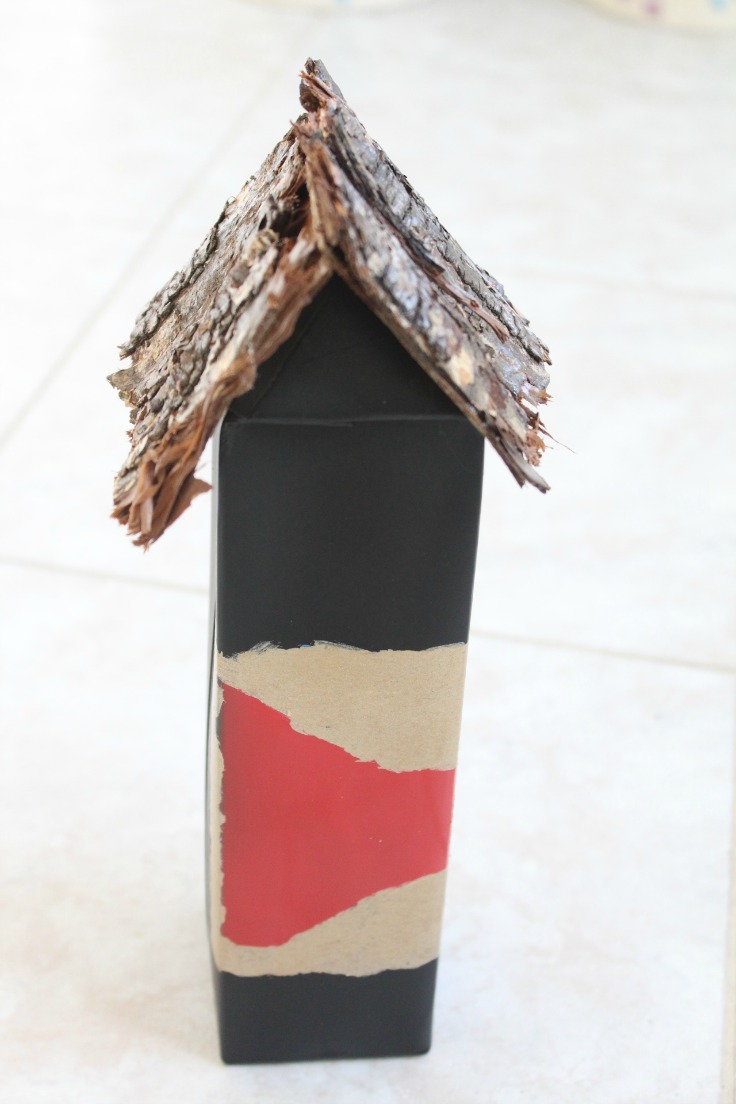
- Once the paint has completely dried, add some fun stickers, buttons, pebbles or anything shiny (birds love shiny!)
Inserting the twigs
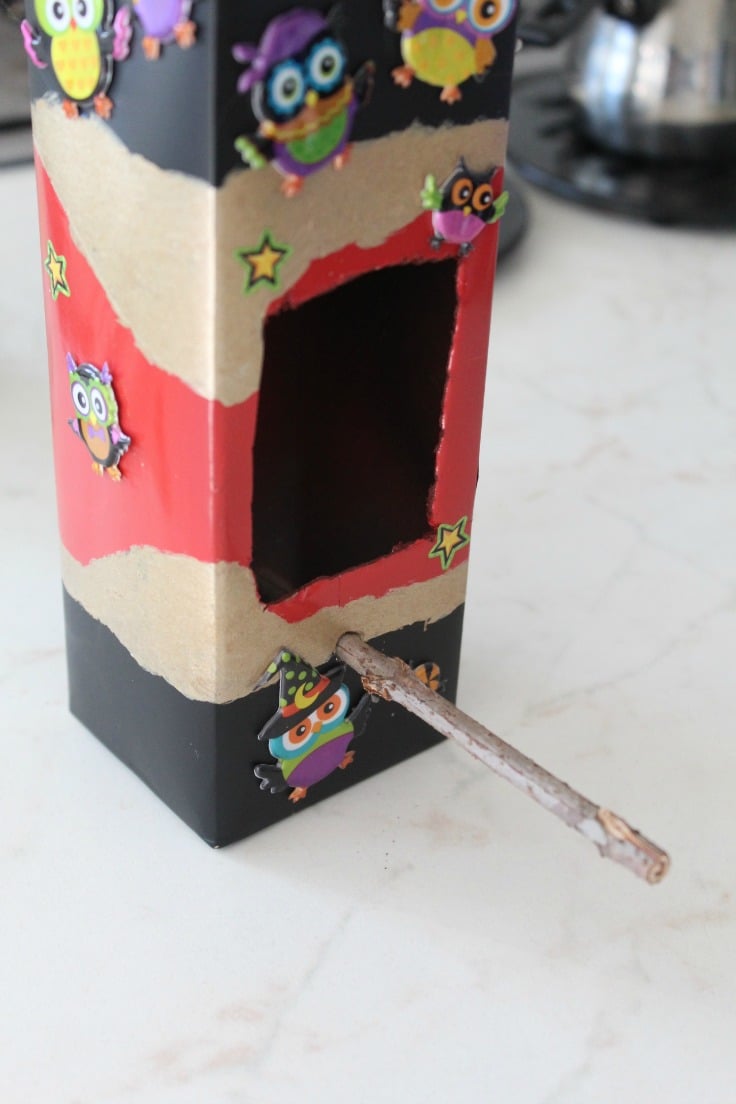
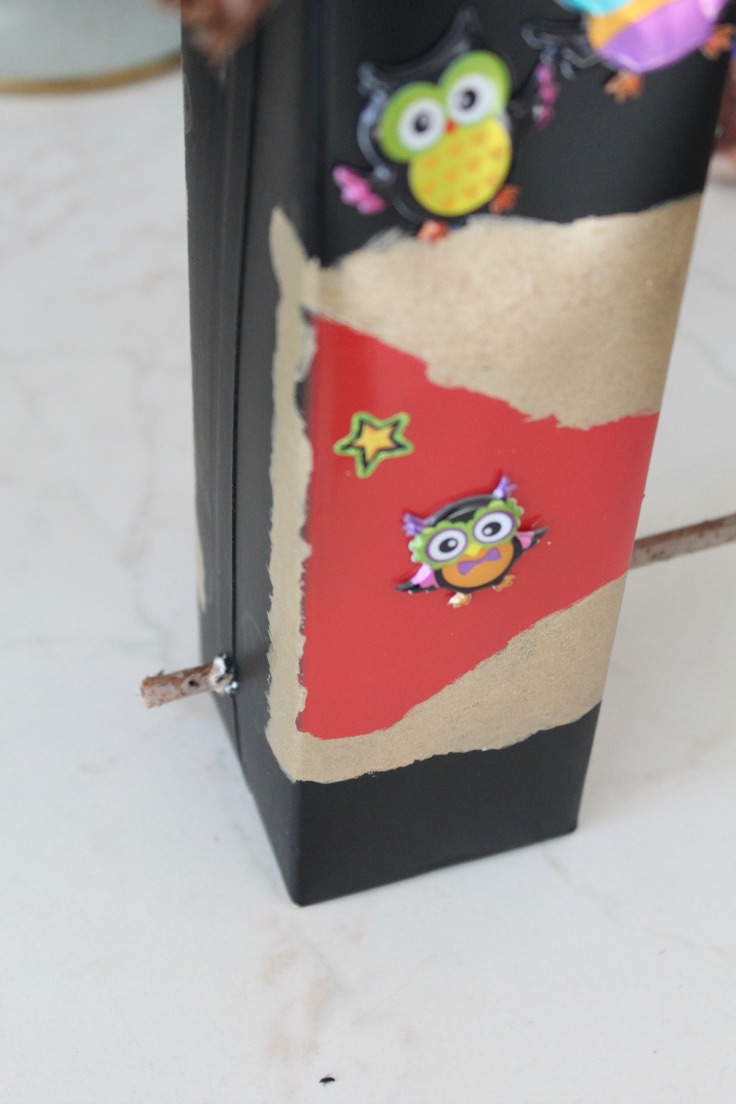
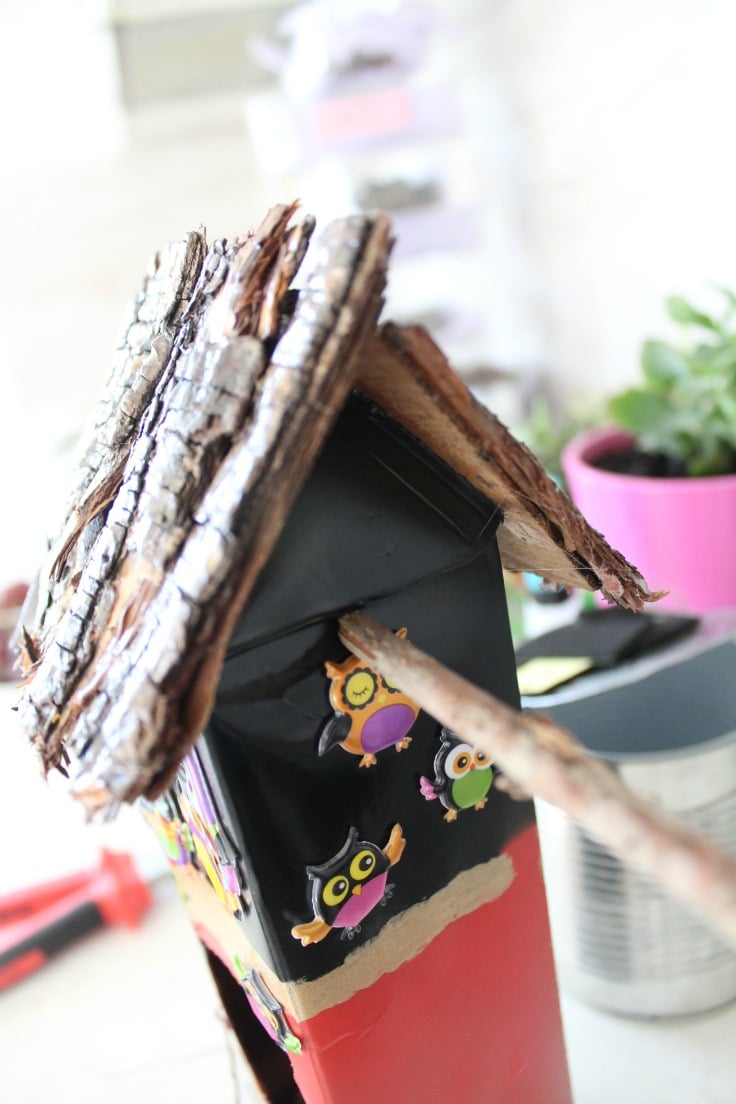
- Get a couple of twigs and stick one to the bottom of the house, just underneath the door, all the way through the back. This will serve as support for birds when trying to enter the house. Use a punching tool to create the holes. Stick the other twig to the top of the house, from one side to the other; it will serve as support for the house when you’ll hang in in a tree.
Finishing touches
- Spray 2 coats of colorless paint to seal the birdhouse and make it waterproof.
- Place a few pebbles inside the house, on the bottom, to give it more stability for windy days then add a bed of straws or hay.
- Cut a piece of twine, tightly tie a couple of knots at each end of the top twig and hang your pretty birdhouse in a tree in your back yard. Or just use as home decor.
If you liked this tutorial I would love to know it so please leave a comment below. And don’t forget to rate it! Thanks!
Pin to save for later
Want more crafts for kids?
Article may contain Amazon & affiliate links. As an Amazon Associate I earn from qualifying purchases at no additional cost to you.


I really love the milk carton birdhouse, can’t wait to do this project with my grandchildren. Ruby
Thanks for your lovely comment, Ruby! You and your little ones will have so much fun making this!
Beautiful idea to use old milk cartons to make birdhouses from! So clever! I have published your submission, please see it here: http://www.diy-crush.com/blog/make-milk-carton-birdhouse/