Zippered Face mask pouch sewing pattern
Wearing a face mask almost everywhere has been one of the biggest changes we had to adjust to this year! Carry your favorite face mask in a stylish and practical face mask pouch that you can easily make yourself in just half an hour!
Face mask pouch
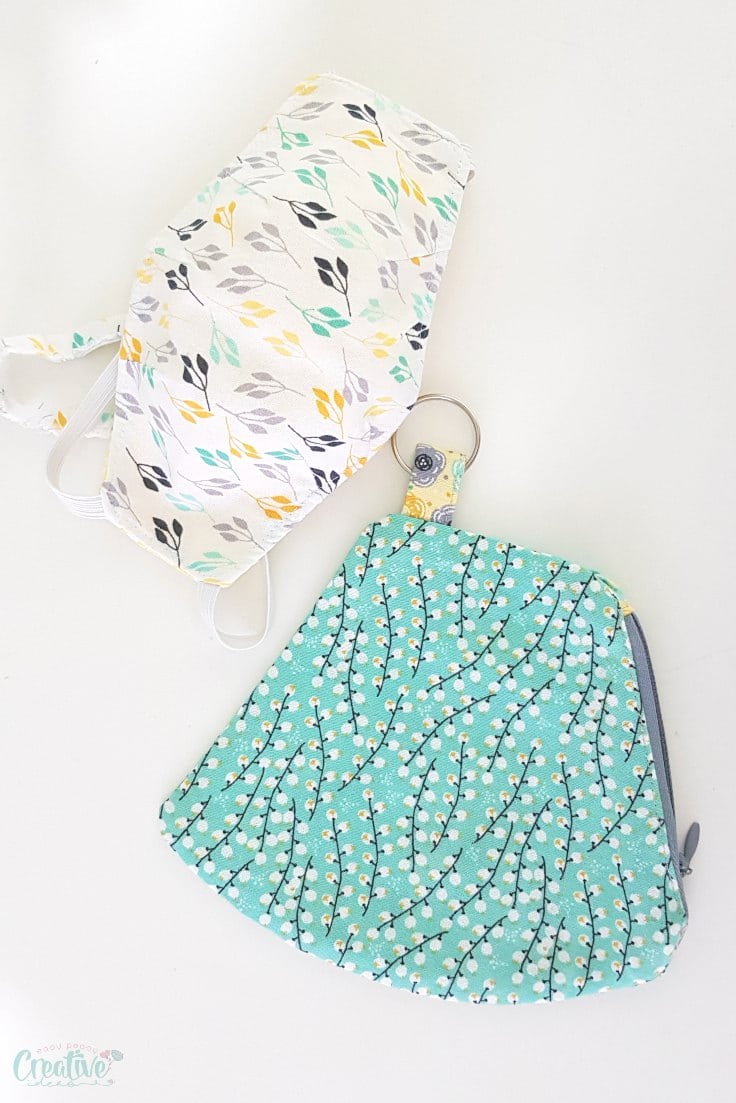
These days we need to wear a mask everywhere we go, or at least in crowded spaces. Tired of forgetting it and having to get back to your car or house for a mask? Here is a simple pattern for a face mask pouch so that you can make quick pouches for everyone in your family!
Similar projects you will love:
- Most comfortable fitted face mask
- No elastic face mask pattern
- Halloween 3D face mask pattern
- DIY ear savers for face masks
- Headband with side buttons for face masks
I’ve been sewing tons of masks these past months but only realized we really need a face mask carrying pouch too when my daughter was getting ready to go back to school. I suddenly faced an ugly truth: there’s no safe, clean place for her to keep a second mask as a back up. Because wearing the same face mask for a few hours is not the best and healthiest alternative! She needs to replace her dirty and most likely wet/damp mask with a fresh, clean one about 2-3 hours.
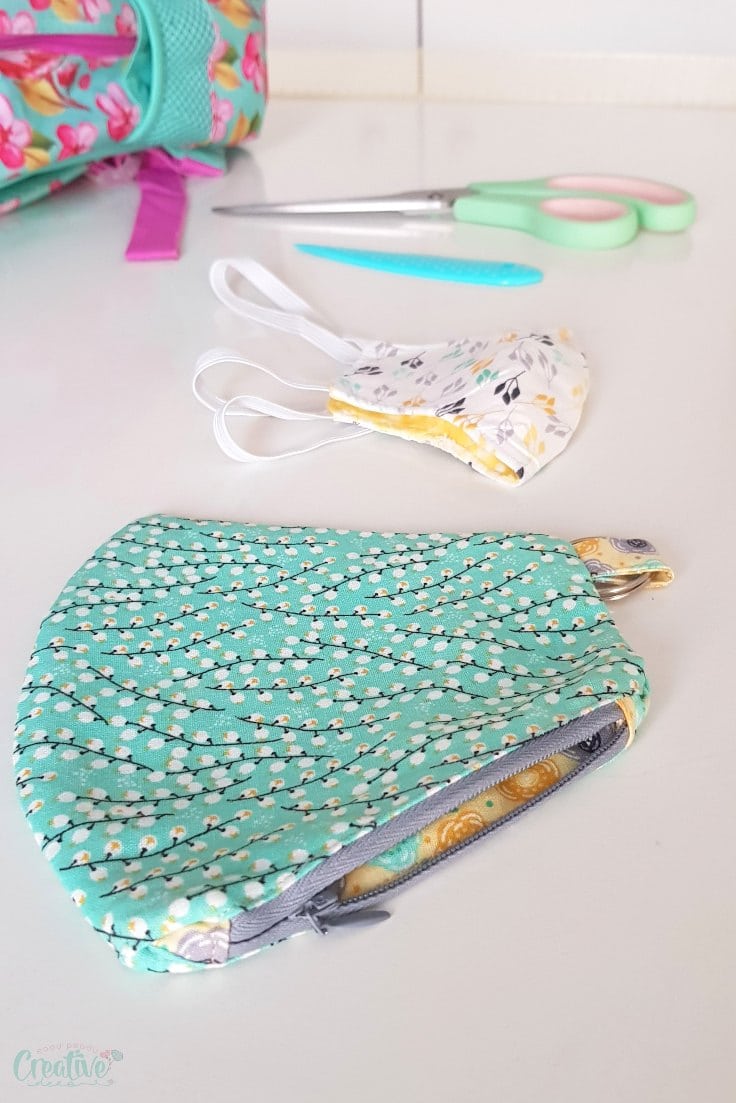
A great thing about this project is that this face mask storage pouch is very easy to sew out of leftover fabric (I just love digging through my stash and clearing up my scraps bag) and also very quick.
How to use this face mask pouch?
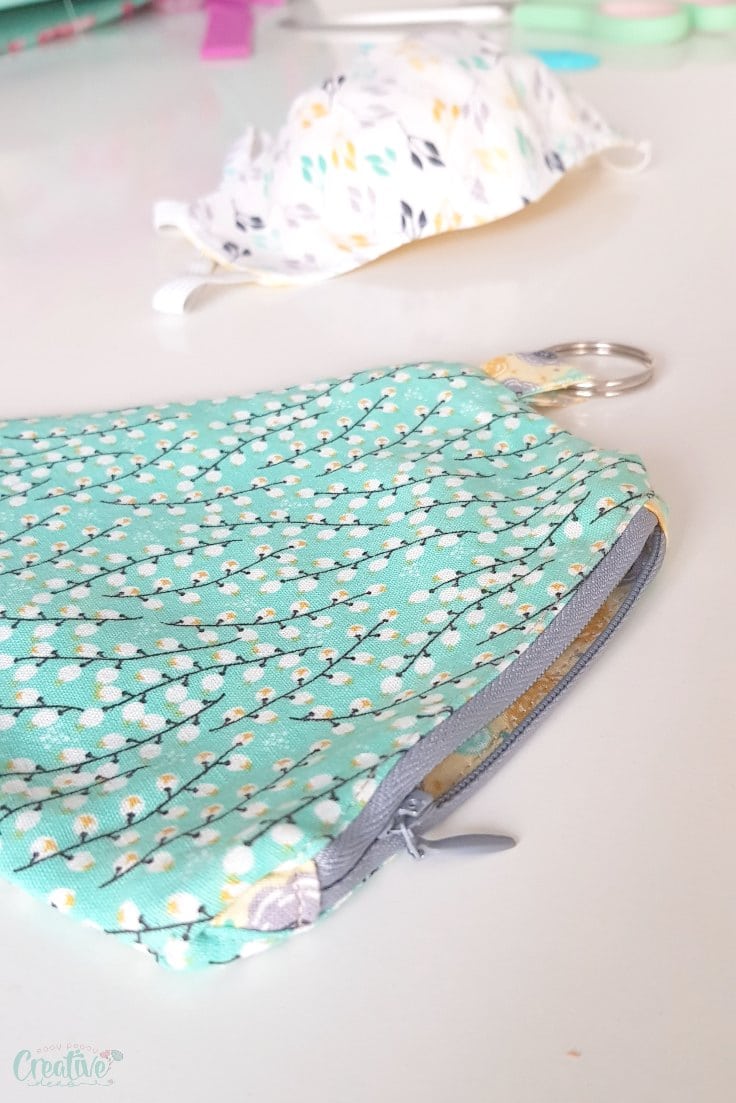
- Many people say: “I never got back home for forgotten things all my life the times I got this year for that mask”. This easy pouch can be attached to your keys so that you can always carry it with you. The mask will stay clean on the inside and you won’t need to carry bags or plastic pouches to keep your masks.
- You can also keep this face mask pouch in your pocket or bag or put them in your kids’ school bag to keep their masks safe. Mark one of them as a “clean mask” pouch and the other as a “worn mask” one in case they need to change several masks during their day.
- Using the same mask pouch pattern, you can also sew larger bags for delicate laundry (made out of mesh).
- Also, this pattern is great to use for keeping sanitary pads, small makeup or change, so don’t only think of it as a face mask pouch.
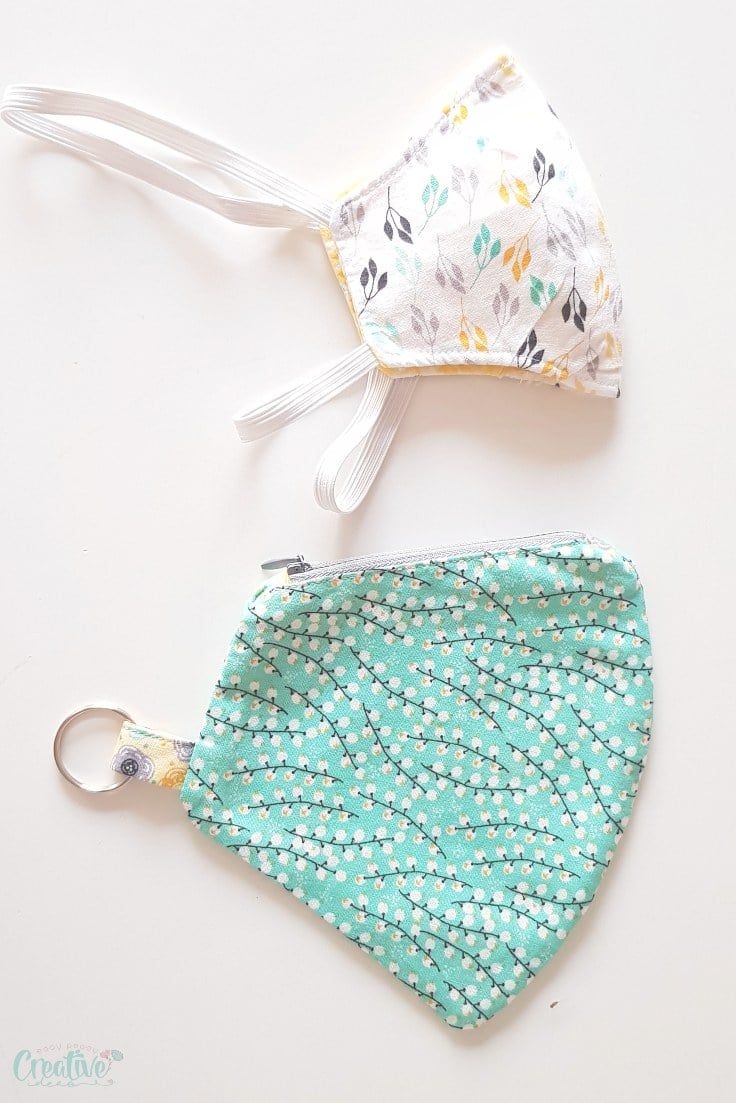
- This DIY face mask pouch is great to make as a gift too, showing your loved ones you care about their health and safety. Make one pouch and several matching masks to get a lovely mask + pouch set. Above all, it can be a great back to school gift.
- You could even make several pouches and donate them to your local healthcare workers to store their spare medical masks.
Most popular sewing projects:
If you’re feeling crafty, consider adding an extra pocket for your hand sanitizer, too. Just to be safe, don’t make an extra pocket in the same pouch for used masks, as it could pass on the infection. It is better to make a separate pouch for the used masks and keep it in an isolated area in your bag or car, far from the clean masks. It may be a good idea to line it with a plastic shower curtain piece.
Just keep in mind: only having the pouch won’t be the solution. Put it in an obvious place so that you can easily find it and see it all the time so that it is effective.
Always remember to thoroughly wash and disinfect your masks between uses. Make them out of good quality 100% cotton and at least iron at the highest setting of your iron. High heat is known to kill the germs and viruses and will keep you safe.
Remember cotton masks are not medical devices. You can use them to cover your medical mask, though, if you get bored with the look of plain medical masks.
How do you keep your masks safe during the pandemic? Please share your ideas in the comments.
This pattern comes in 7 sizes from toddler to adult XL.
Face mask pouch sewing pattern
Materials:
- pouch pattern
- fabric scraps for the pouch and the lining
- Scrap fabric for the tab
- fabric marker
- zipper (I would not use a metal zipper unless your machine is able to sew over those)
- zipper foot
- matching thread
- sewing machine
- scissors
- pins
- quilting clips
- pressing iron
Directions:
Cut the fabrics
- Fold both the main fabric and the lining fabric, with wrong sides out.
- Place on top of each other.
- Place the pattern on the fabric and trace around with erasable fabric marker.
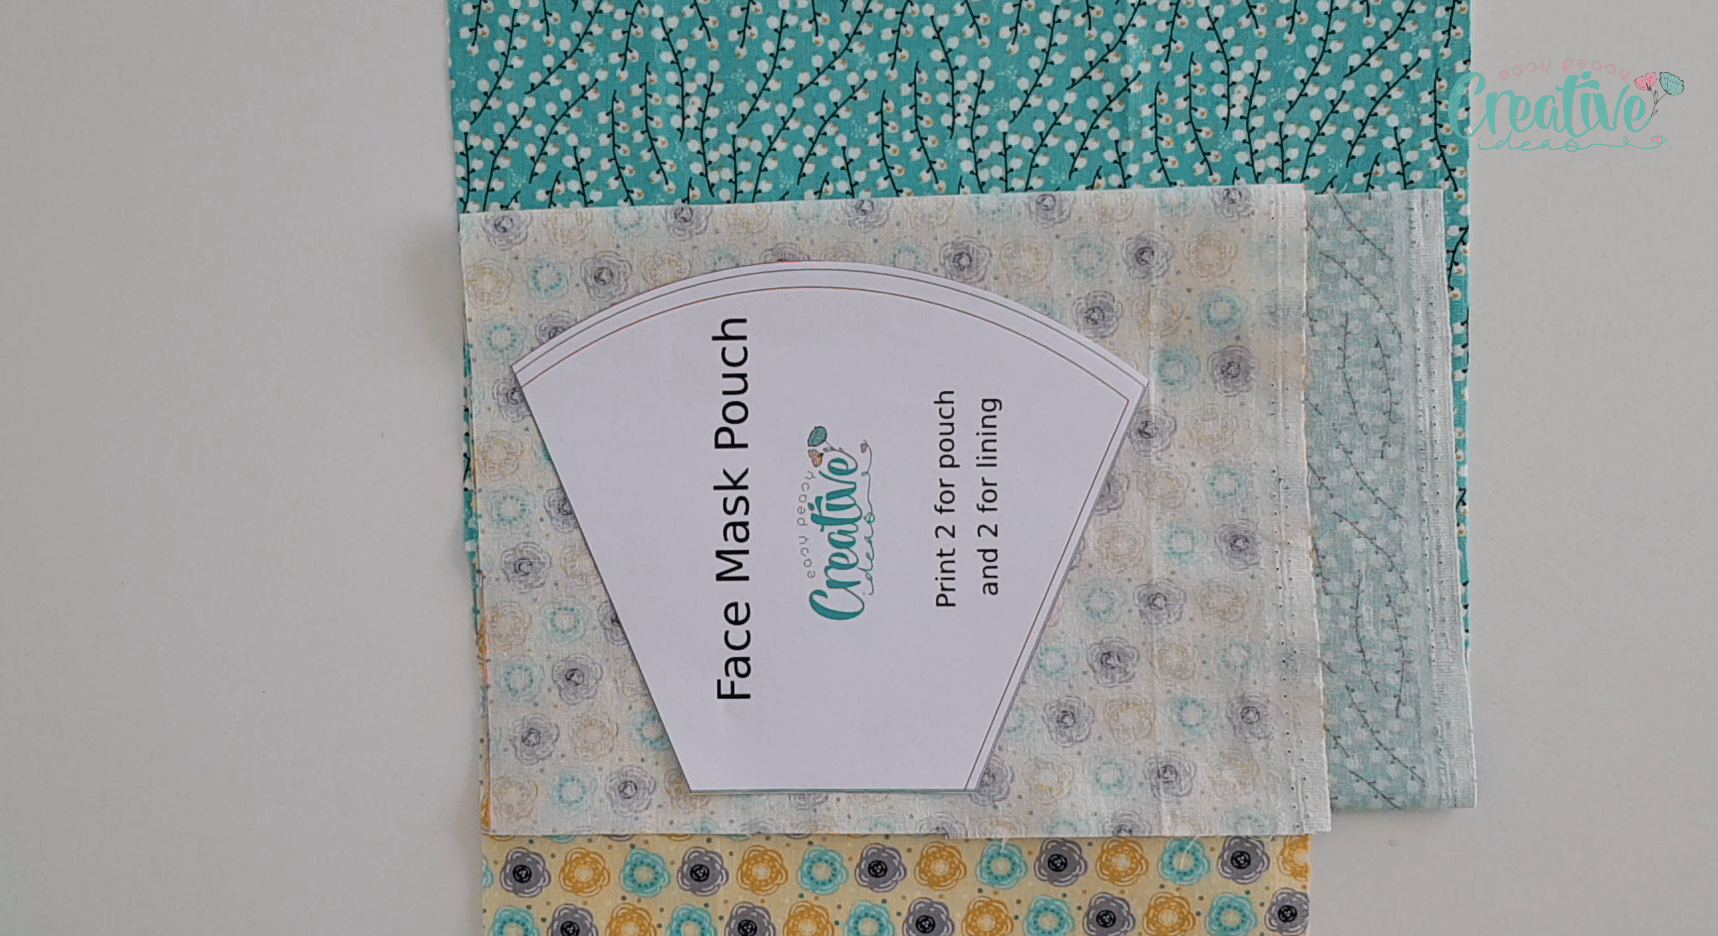
- Pin through all layers and cut out.
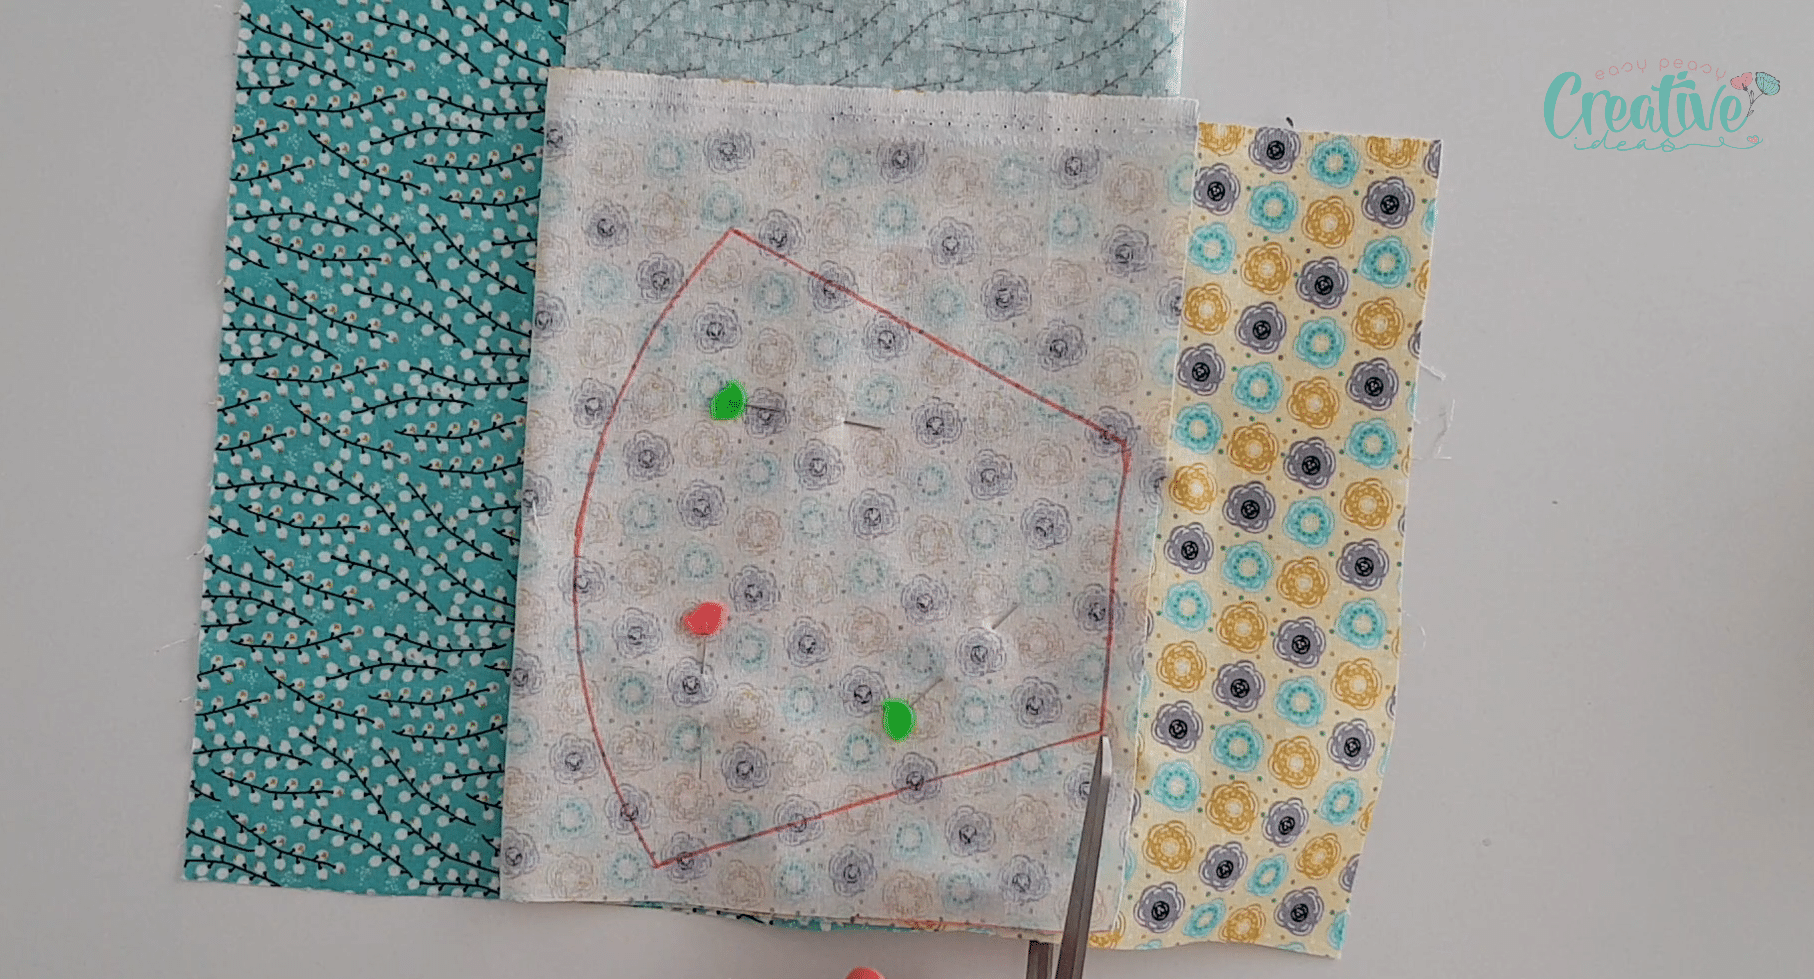
Attach the zipper to fabrics
Note on zipper: I didn’t have a regular zipper available and I used an invisible zipper but I’ve sewed it just as a regular zipper since this method is easier.
- Place one of the main fabrics right side up and top with one of the lining fabrics wrong side up.
- Sandwich the zipper between the fabrics, on one of the sides, with the edge of the zipper matching the edge of the fabrics. The right side of the zipper should face the main fabric.
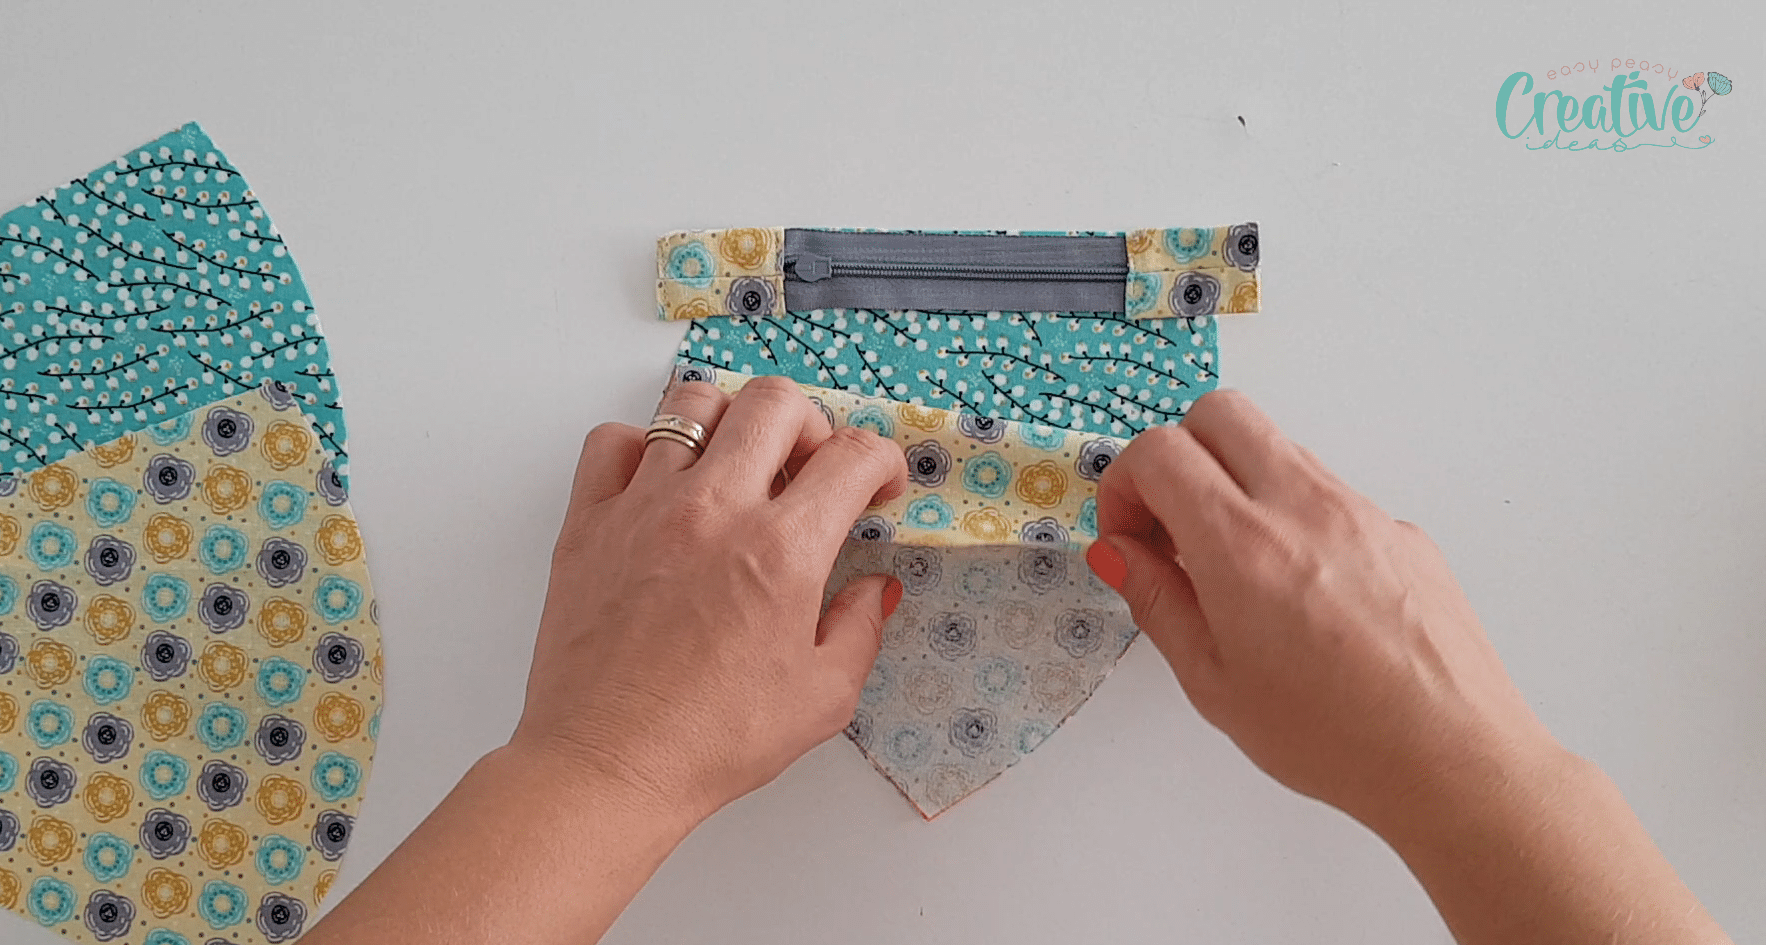
- Clip all layers, attach a zipper foot to your machine and sew with 1/4″ allowance.
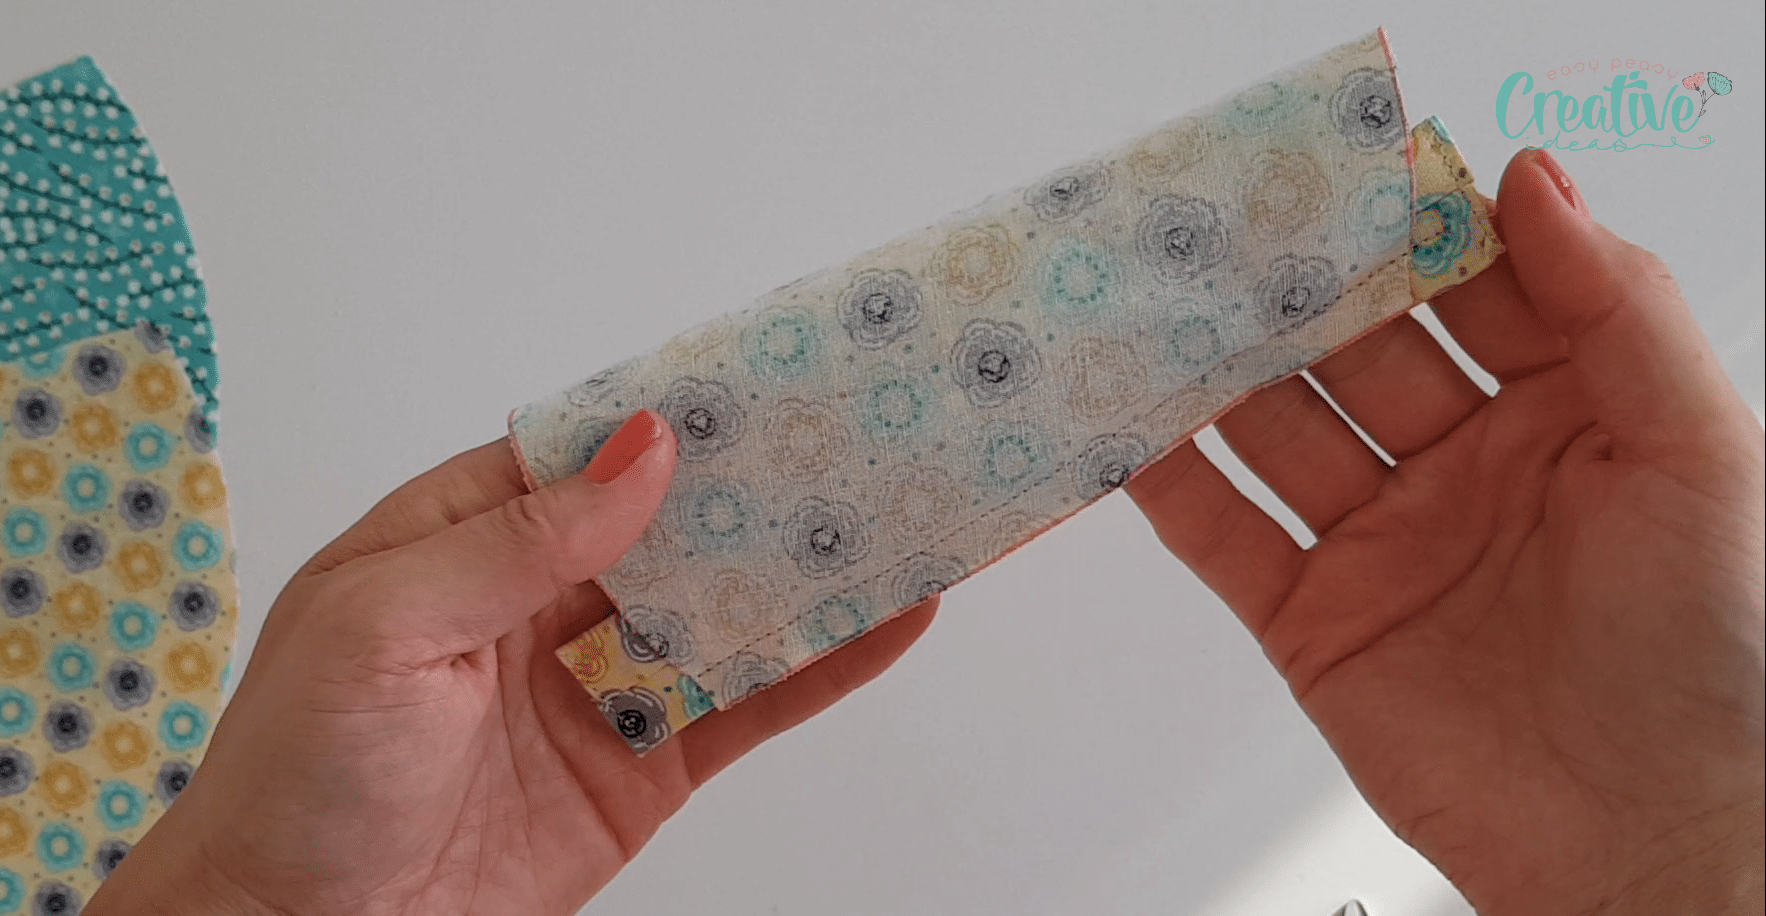
- Open the fabrics, place them wrong sides together then top stitch along the zipper line. When the presser foot meets the zipper pull, lift the presser foot and push the zipper pull out of your way then continue sewing to the end of the zipper line.
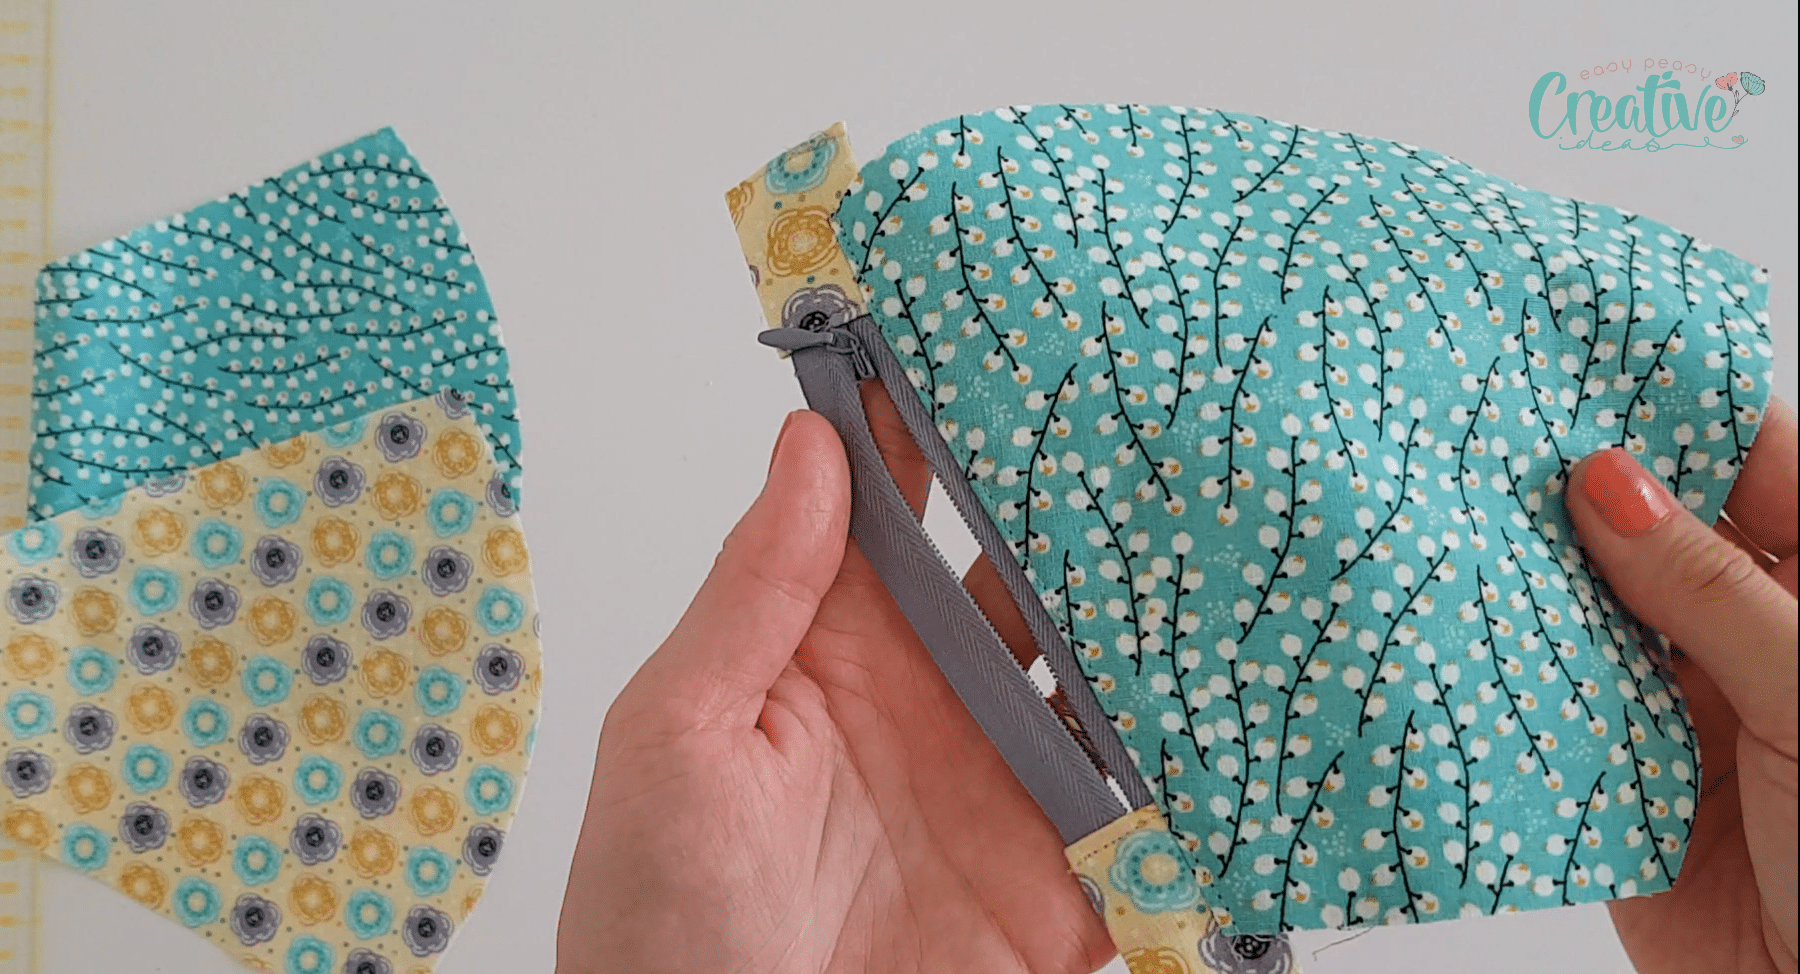
- Get the second main fabric and place it right side up.
- Grab the panel you’ve just sewed above and place it over the second main fabric, with the main fabrics right sides together.
- Top the panel with the second lining fabric, wrong side up.
- Clip along the zipper line then sew with 1/4″ allowance.
- Flip the second lining fabric so that is right side up.
- Top stitch along the zipper line.
- Turn the panel with the main fabrics right side up and open the zipper half way through.
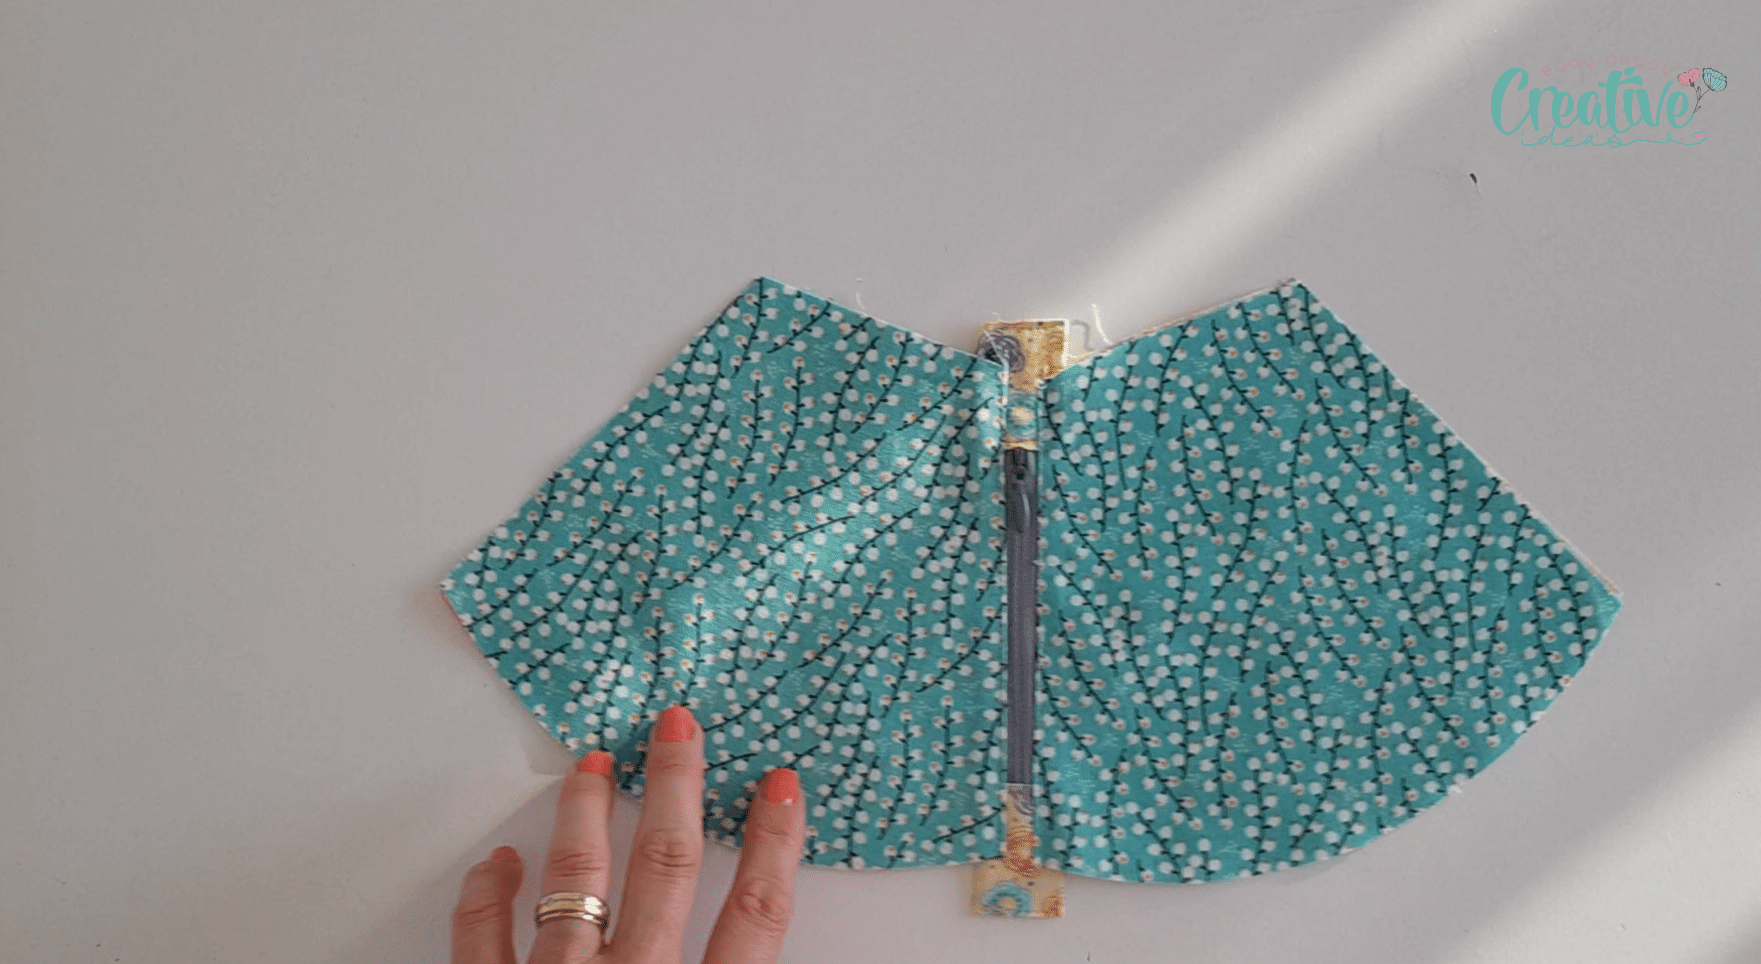

Finish sewing the pouch
- Match the main fabrics, right sides together then lining fabrics right sides together and pin all around the raw edges.
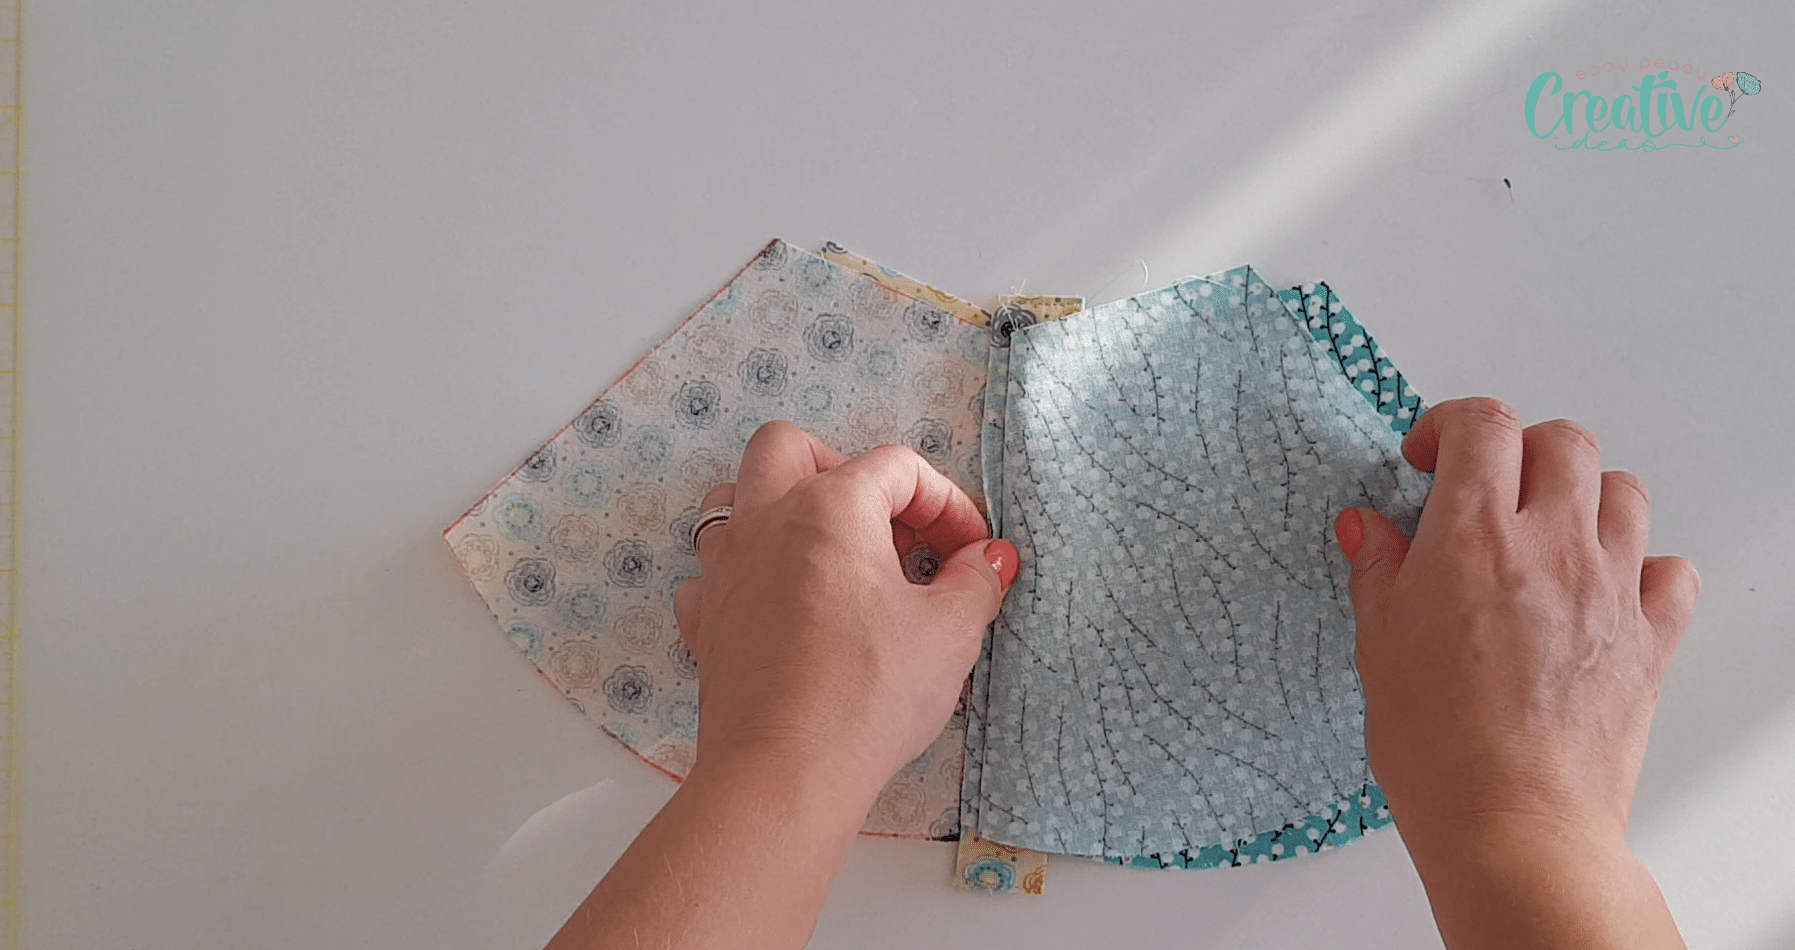
- Take the fabric for the tab (mine was about 3″ long by 2″ wide), fold the raw sides in and press.
- Then fold both halves together and press.
- Edge stitch the open side.
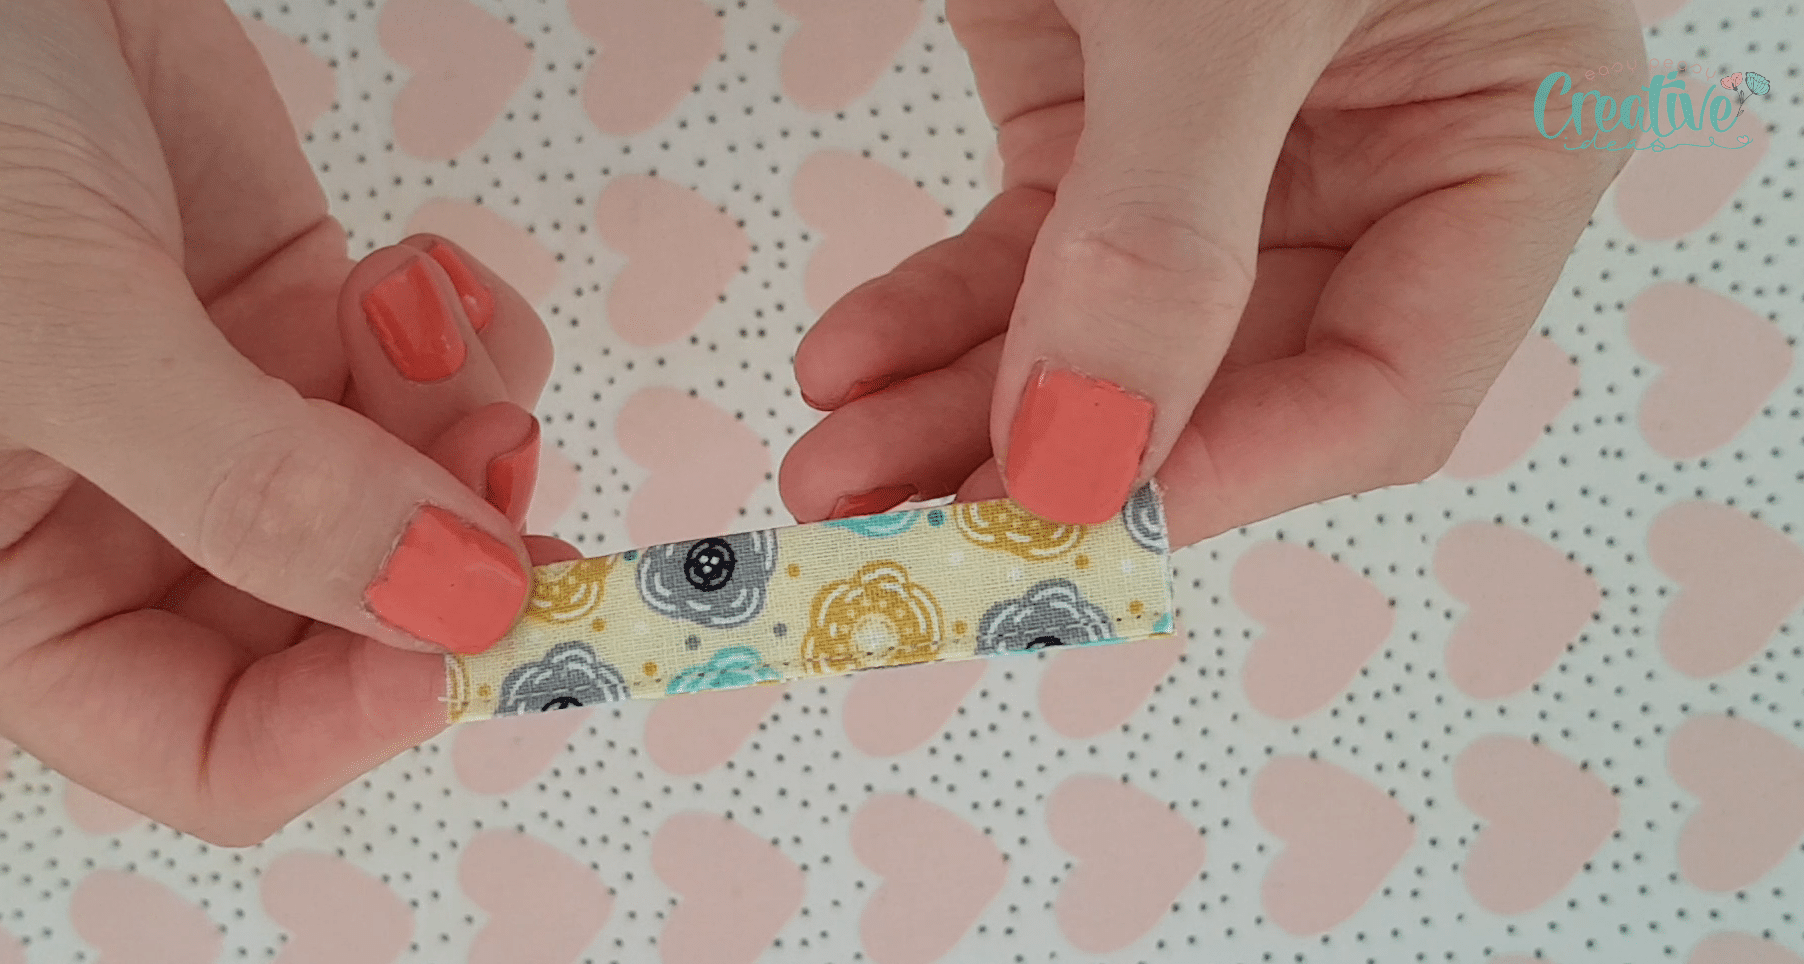
- Fold the tab in half, lengthwise and press.
- Insert the tab between the main fabrics, on the bottom straight edge, 1/4″ away from the side edge, with the folded in inside the pouch and the raw ends peaking out a little. Pin or clip in place.
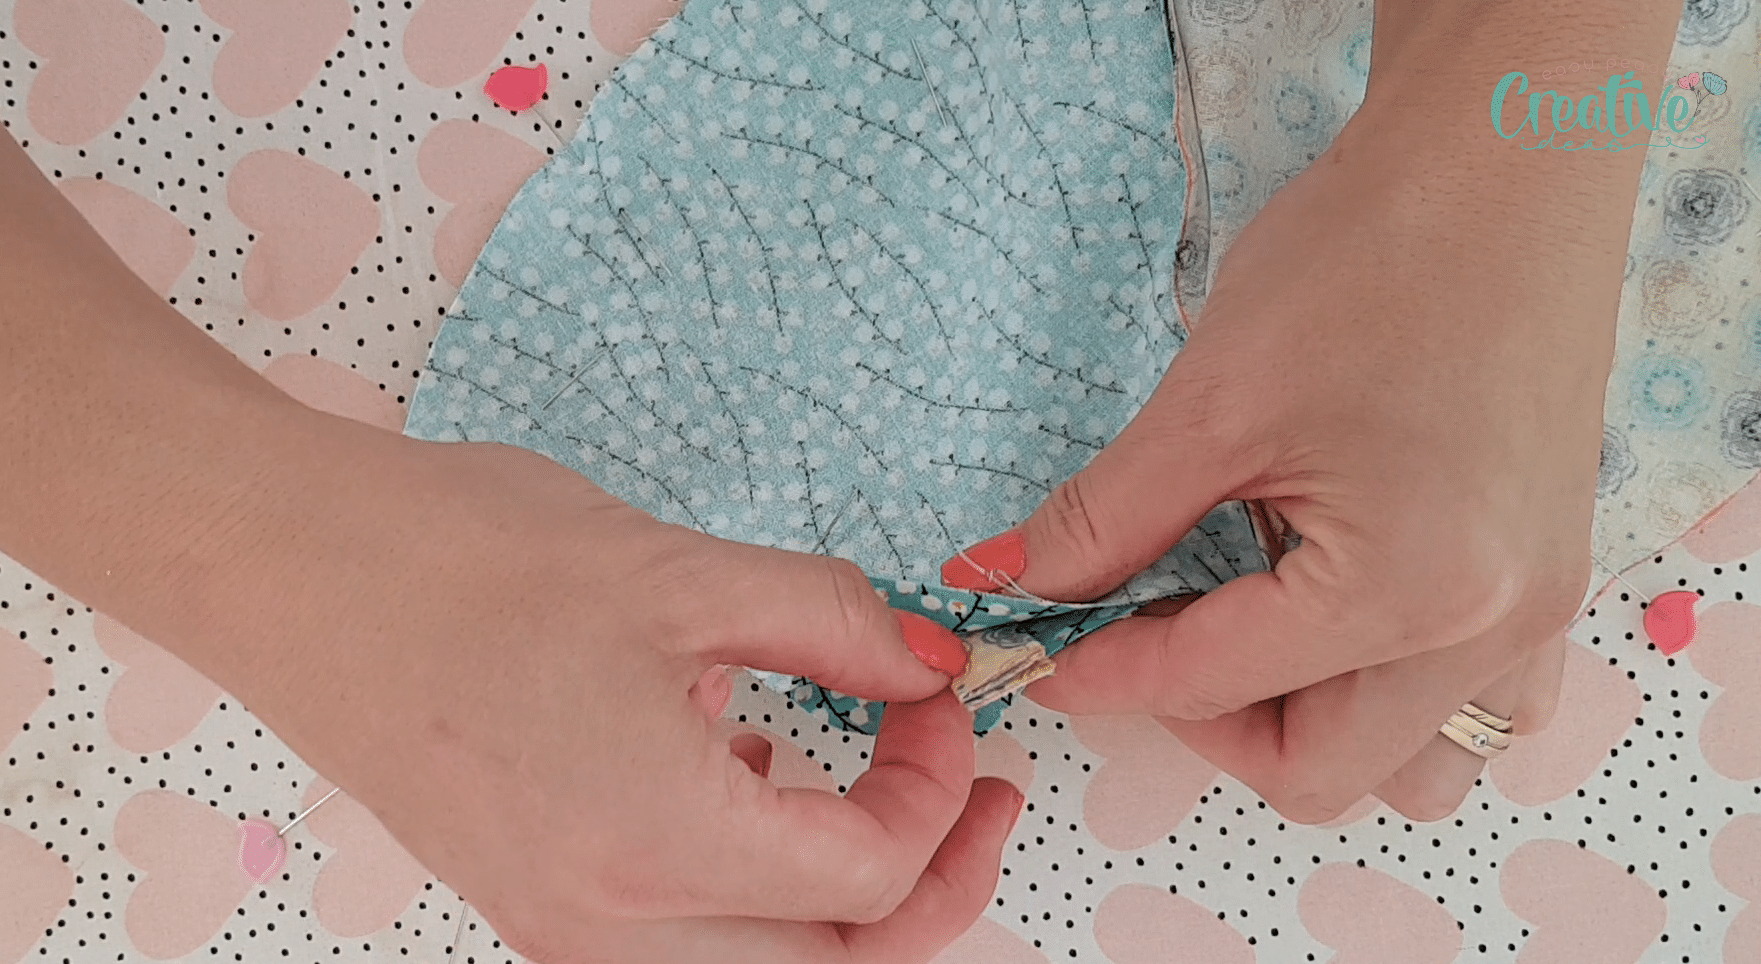
- Mark a 2″ opening in the side of the linings then start sewing from one of the marks to the other, all around the pouch, using 1/4″ allowance, backstitching at start and end. You will probably need to squeeze and fold the zipper a little when you get to the zipper area. Also sew slow when you get to the zipper area.
Turn the pouch right side out
- Turn the pouch right side out through the gap, lining first.
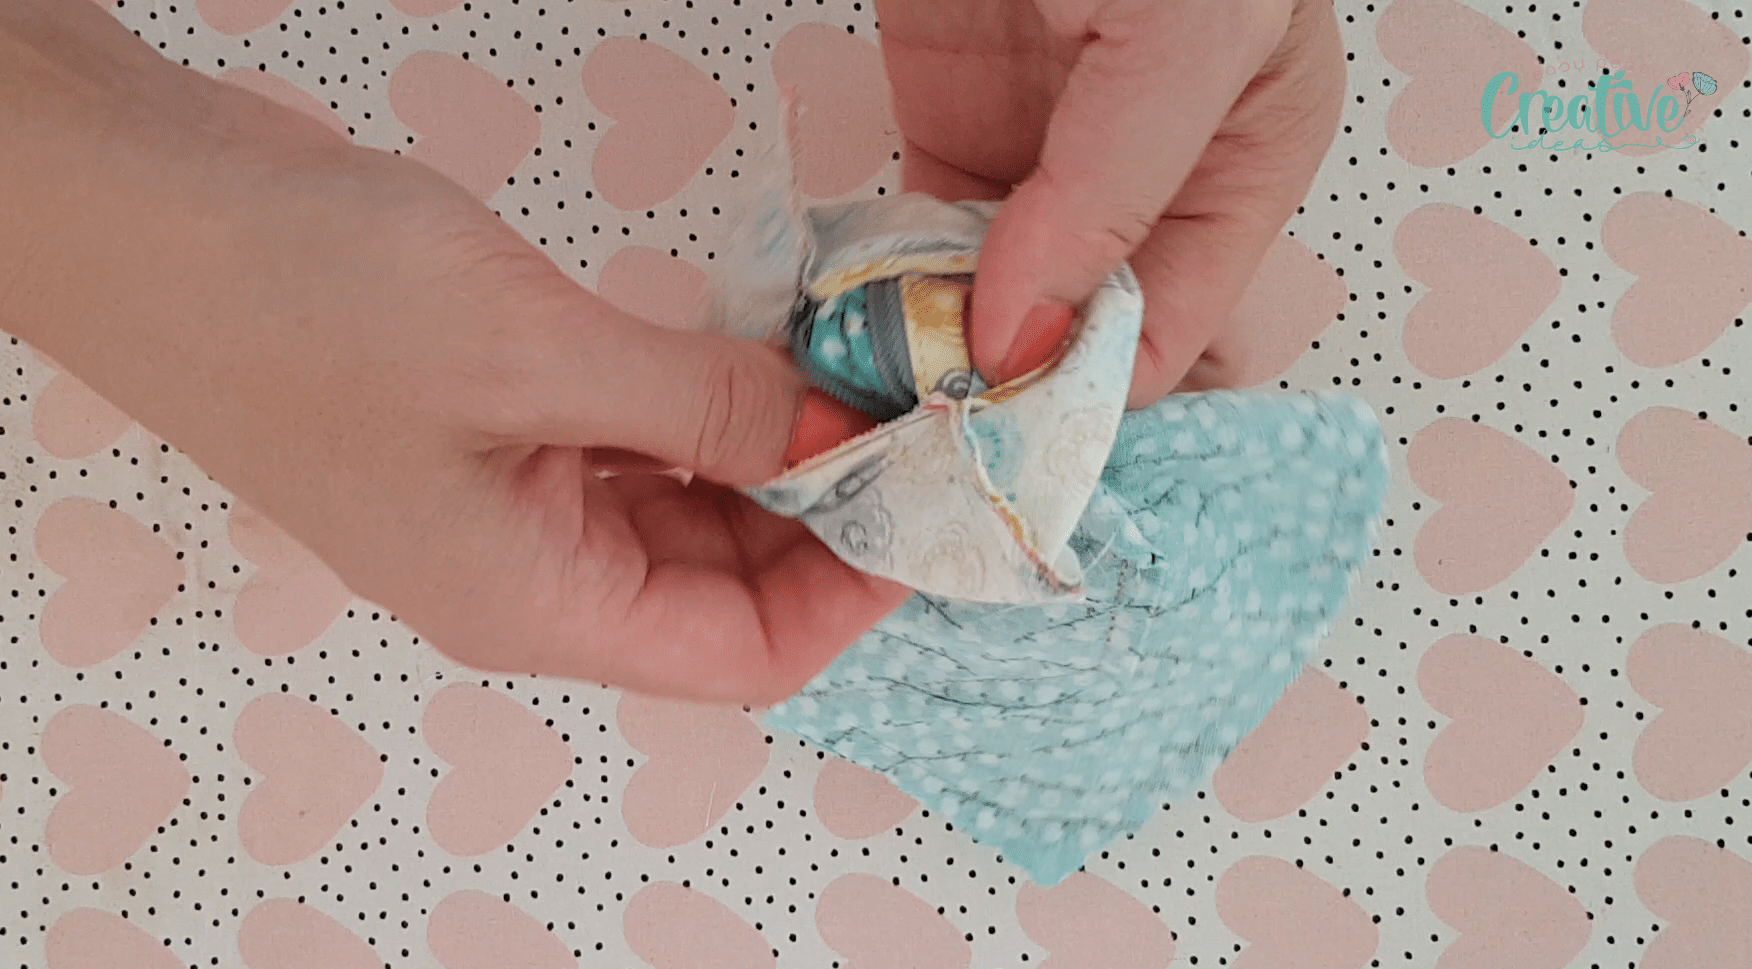
- Edge stitch the gap in the lining or hand sew it using a ladder stitch.
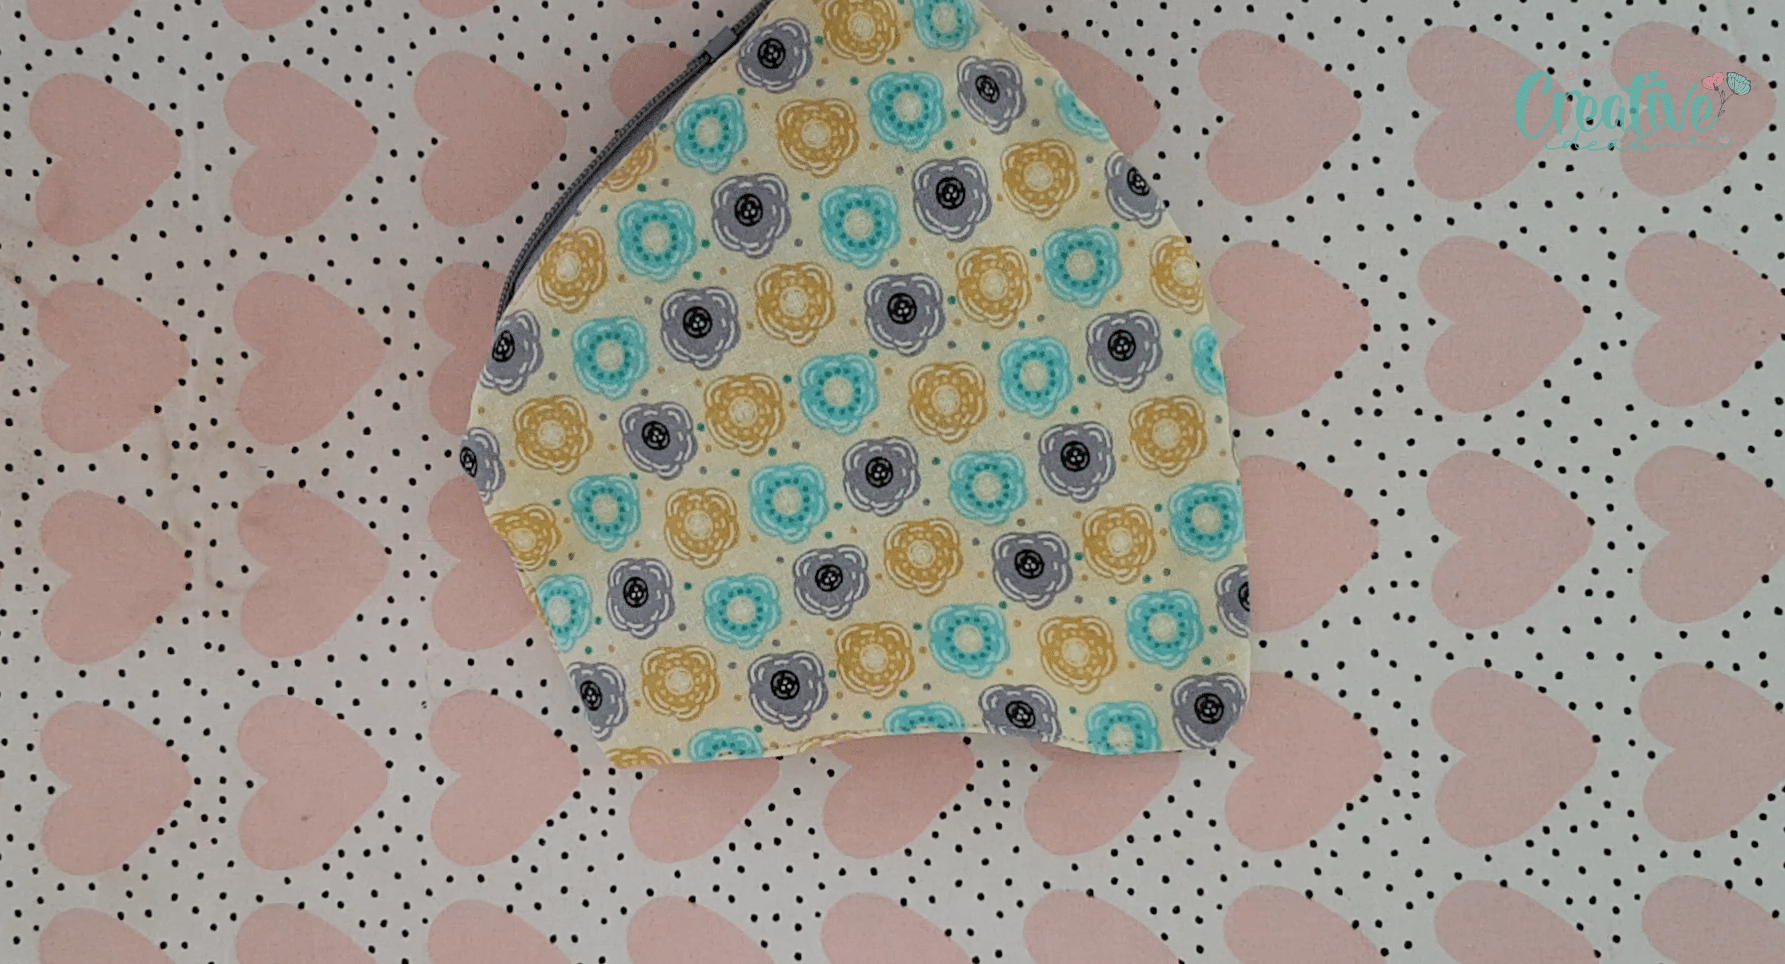
- Continue pulling the pouch right side out through the opened zipper.
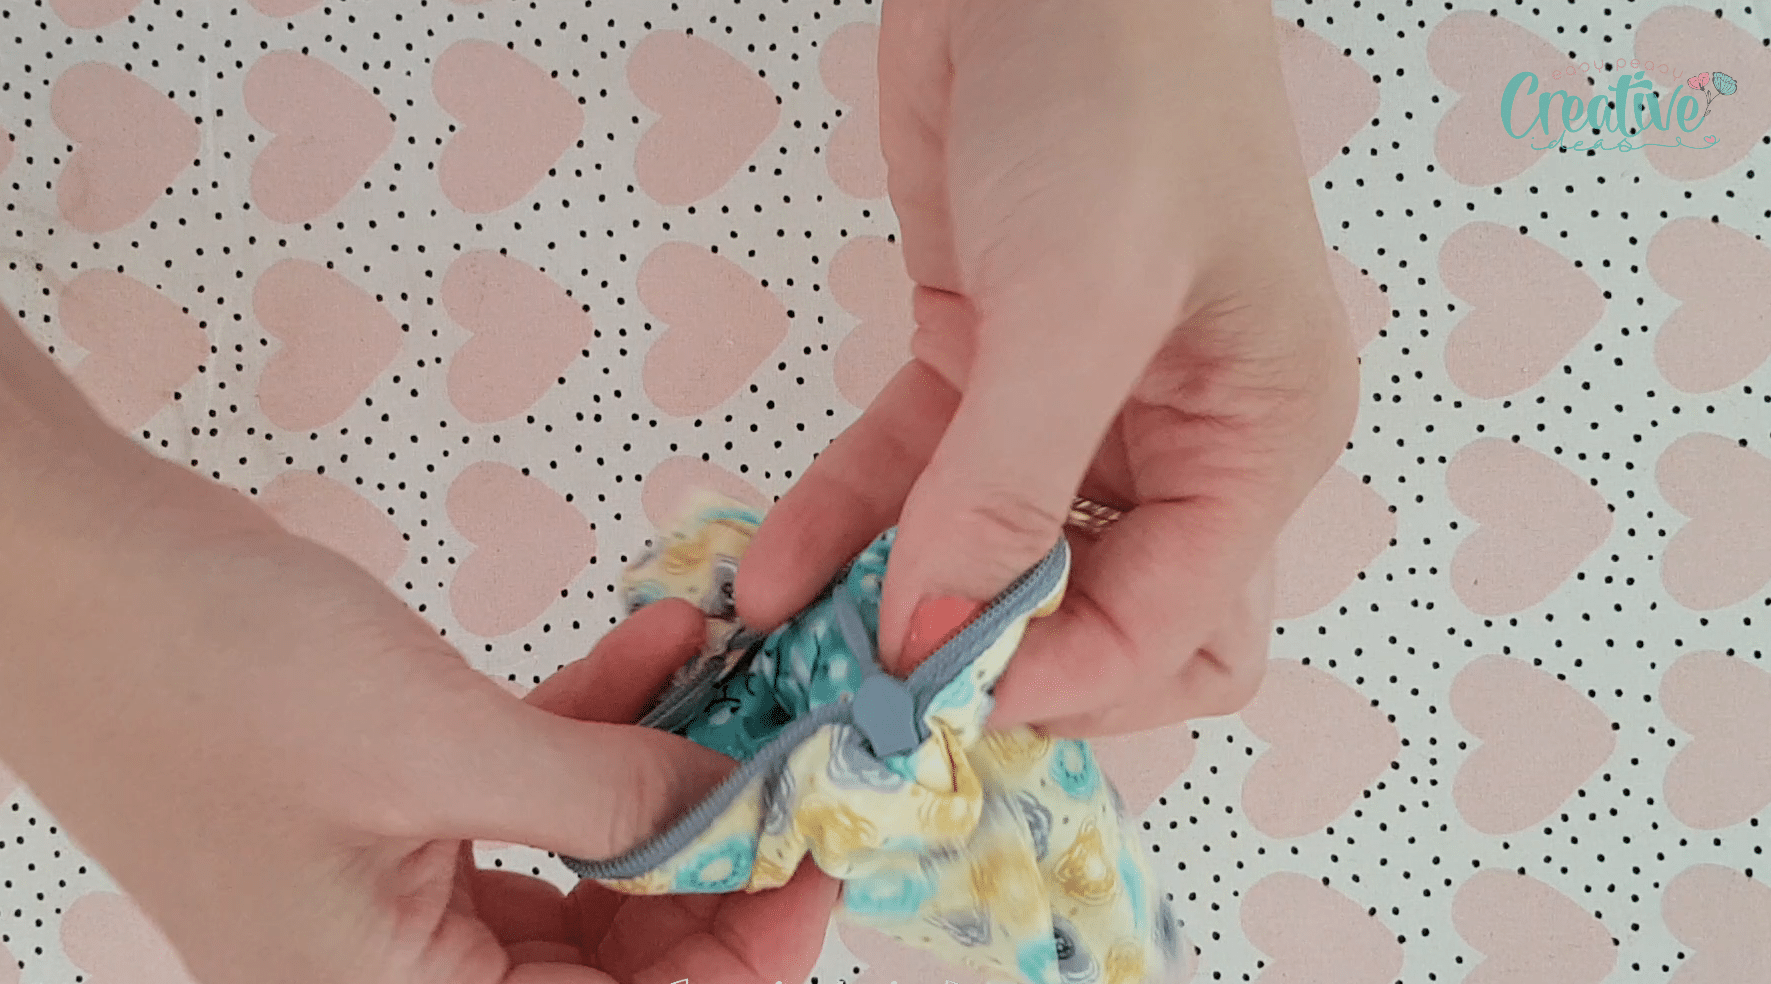
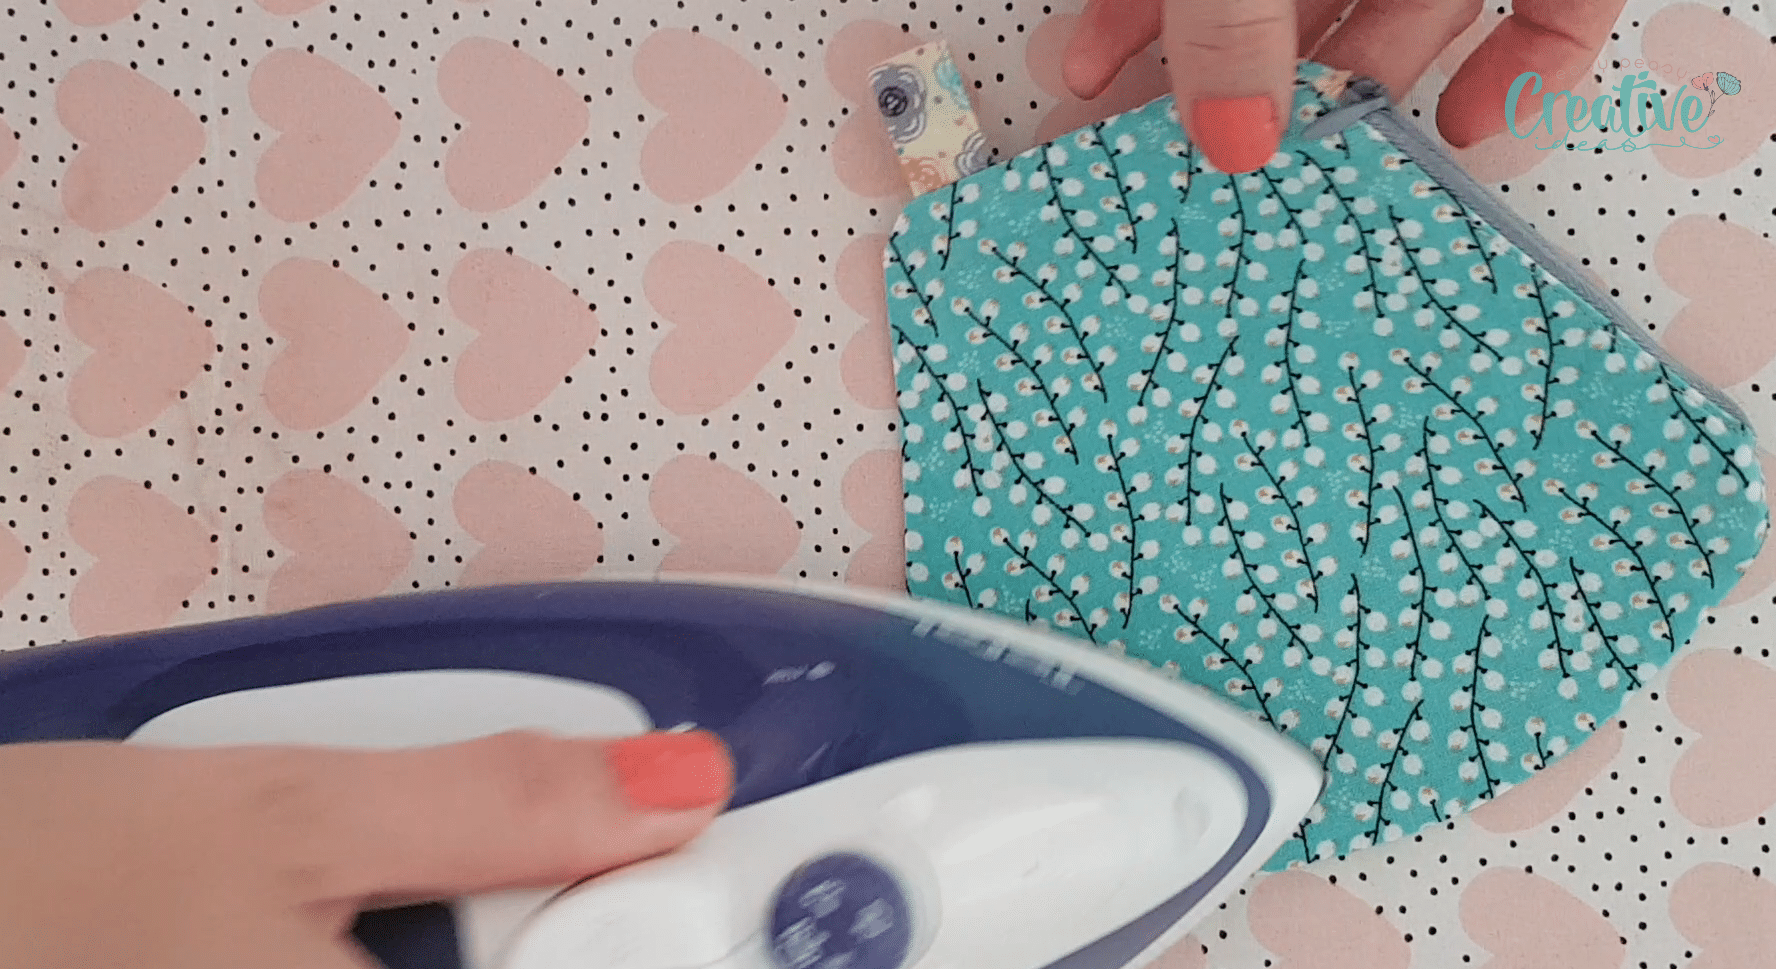
- Push the corners out then give the pouch a good press and you’re done!
- If you wish to attach your pouch to a bag or backpack, hang the tab of the pouch to a ring.
Pin to save for later
Article may contain Amazon & affiliate links. As an Amazon Associate I earn from qualifying purchases at no additional cost to you.


Hi Petro. I am subscribed to your site but do not see where to find your library. I have your welcome email but no site of the library. Please help.
Thanks. Shelly
Hi, Shelly! Thanks for joining my newsletter! The link to the sewing library, as well as the password are included in the welcome email, towards the bottom.
Where do I find the pattern for the face make pouch. I can’t seem to find it anywhere. I just see the instructions and the video. What am I missing. I’m already subscribed. What am I doing wrong.
Eva, the pattern is in the sewing library, available to all newsletter subscribers. I sent the link & password in the welcome email and with every weekly newsletter.
I haven’t received. I signed up every time it asked me. I’ll sign up again. Thanks.
Hi Petro, I just subscribed again to the newsletter. I hope it works. Thank you for sharing for all your patterns, it is very much appreciated. What am I doing wrong or missing???
Thank you Petro got it.
Hi no pattern size ?
It comes in 7 sizes, toddler to adult XXL.
I’m having the same problem. I am subscribed. I look in the sewing patterns library, click on the face mask pattern picture, and am returned to this page. What am I missing?
Hi Bella. You’re probably clicking on the link to the blog post. After locating the pattern in the sewing library you’re supposed to click the download button, top right, download the pattern to your device first, then print from that file on your device. Hope this helps!
So, on the home page, I click on ‘Sew’ to access the pattern library, right. Then, I found the picture labeled ‘zippered face mask pouch sewing pattern’. If I click that, it takes me to the blog post. I don’t see a ‘download’ button anywhere. I’m trying. Really!
Dear Petro I would just like to Thank-you for the mask tutorial it is Awesome! Not too many are willing to share their talents with others and you have been such a Blessing. I’m not a very good sewer but I try and seeing step by step on a video is so wonderful. I
‘ surely going to try this out and I’m looking forward to watching your other videos and reading your articles. May the Lord Bless you and keep you and your family safe. Thank-you again.
Hi, Linda! Thanks so much for your lovely comment! Stay safe & happy holidays
I am looking through the directions for making the mask pouch and they seems clear and comprehensive. However, the actual pattern does not seem to be a part of the file nor do I see a link. Can you tell me what I’m missing? Thanks.
Hi, Trish! This pattern is available for newsletter subscribers. There’s a sign up form in the tutorial, right above the materials listing.
I have tried to subscribe to the newsletter and it never worked. I didn’t get a welcome email. Can you please subscribe me I would like to make this. Thank you
Hi, Tiffini. I see you are subscribed and that you already opened the welcome email so you should be able to access the sewing library where the pouch pattern is located.
Would love to make this face mask zippered pouch, but cannot for the life of me find out where on the site to actually download the pattern. Also does not tell you what size zipper to use.
Diana, this pattern is available only for sewing newsletter subscribers.
I did subscribe and finally saw the pattern at the end of pdf file. Thank you for your response. Just one more question. What size zipper did you use and I noticed the end of zipper had the matching material sewn on end. Is that necessary or is it just a preference?
Hi petro,
I can’t locate the face mask pouch pattern pieces. I have subscribed, however the link for the face mask pouch in your library, keeps bringing me back to this page, where there is no direct link to the actual pattern pieces. Under materials, the pouch pattern is listed, but not highlighted, this may be the broken link for the download of the pouch pattern and tutorial.
This may also be the reason why others have been having problems. Downloading the fitted face mask pattern & tutorial took 4 attempts.
Would you be able to send the mask pouch pieces and tutorial to my email address.
Thank you for producing such detailed free patterns and tutorials, for the masks that you have listed. I can imagine a lot of work and time went into their design (and patience).
Keep yourself and your family safe, during this global pandemic and stay blessed.
M
Hi, Mais! Thanks for subscribing to my newsletter! The mask pouch file is locate in the sewing library and it contains material listing, step by step instructions with photography and the template in 7 sizes. The templates are on the last page of the PDF file. Stay safe and happy sewing! xoxo
I am subscribed to your web site and have a few patterns but i can not download the face mask pouch at all can you help please
Hi, Jacqui! I’m sorry you’re having issues! What seems to be the problem? I could use a little more details. Thanks!
Szeretném a maszk mintát megkapni, de nem sikerül.
Help
The pattern is available for email subscribers only. Once you sign up to my sewing newsletter, you’ll ereceive a welcome email with the link to the free sewing library where the mask pouch pattern is located. Hope this helps!
Hi Petro
Iam a subscriber and when I download to pattern it tells me it cannot be opened as it is corrupt or damaged.
I wondered if anyone else was having problems or is it just me. I’ve not had a problem before.
Many thanks
Sue
Hi, Sue! I’m sorry to hear that! I’m not sure what may be wrong as I have no problems accessing and opening the file. If you’re still having issues, please send me an email and I’ll send you the pattern, hopefully it will work that way.
there seems to be no link to a template?
Helen, as mentioned in the article, this template is only available for email subscribers. They are able to access the sewing library, where this template is located, through a link & password delivered weekly with my newsletters. For new subscribers they get access in a welcome email.
I am subscribed per email…