Sew an absolutely stunning easy flower pillow case
Flower Pillow pattern

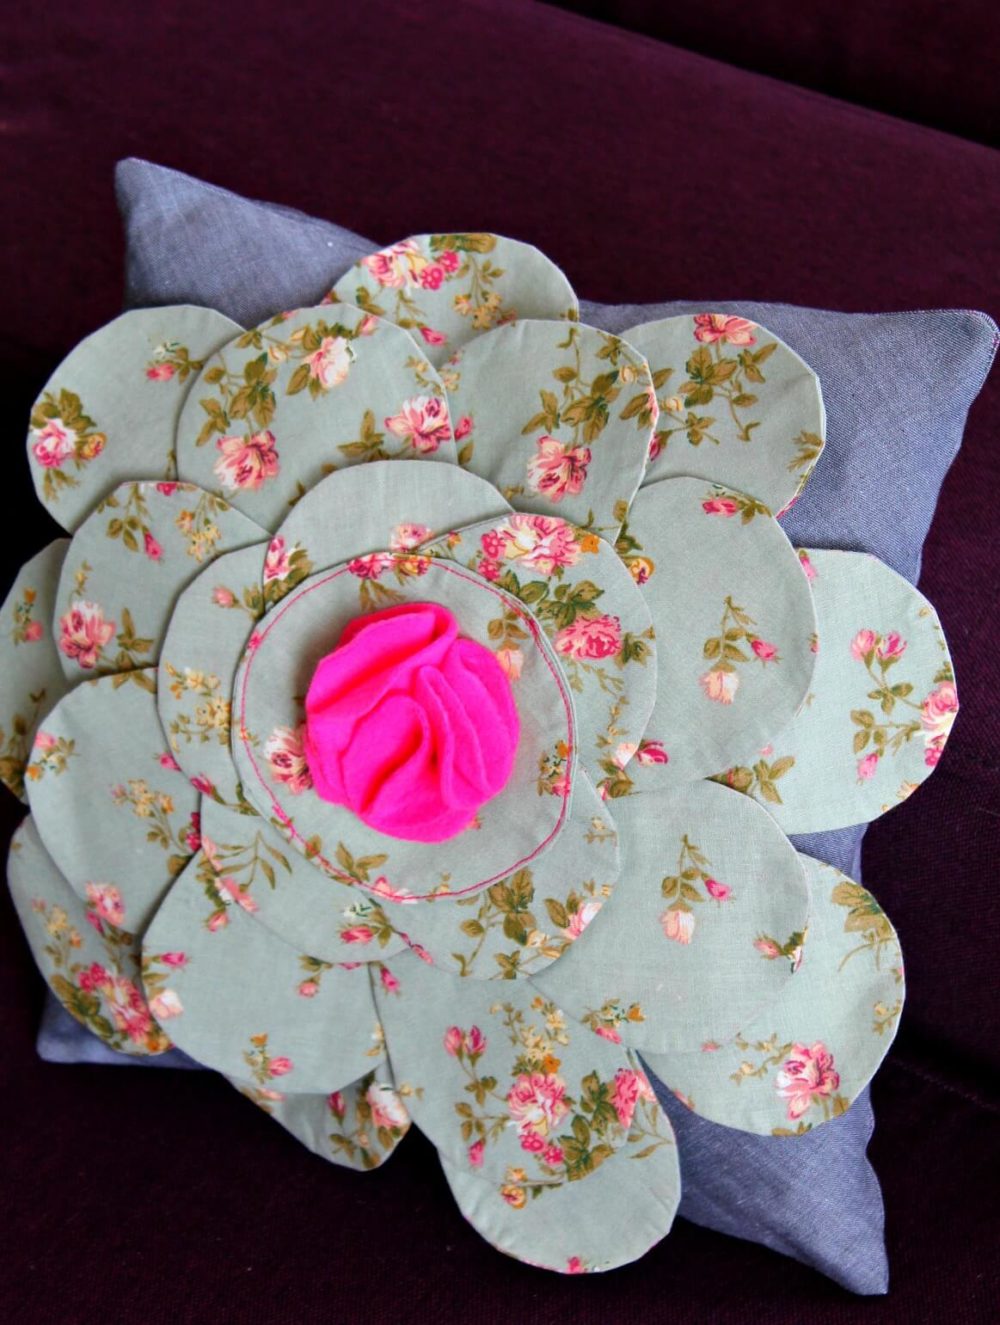
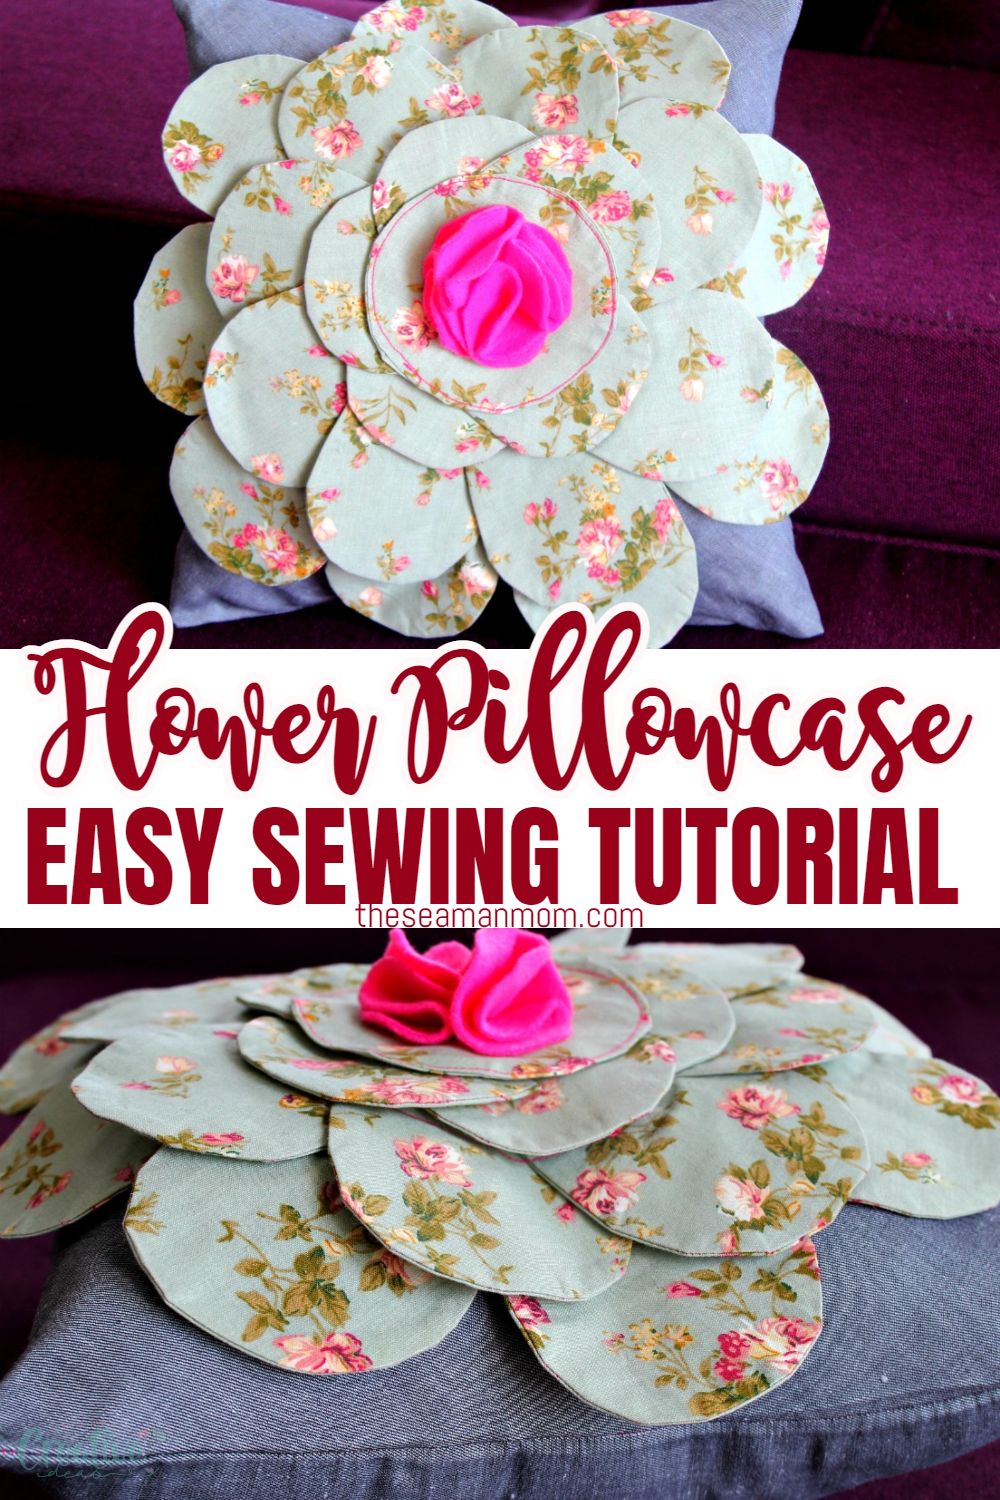
Have you been looking for cute decorative pillows to add a bit of a floral accent to your home decor? Look no more, this flower pillow pattern is all you need! This lovely pillow also makes a great gift idea for friends or family, that won’t break the budget!
I decided I need a little floral decor for my house, something to cheer me up every time I walk through the door. This pretty flower pillow pattern is just perfect for my needs and it’s a great fit for my living room couch who just happens to be the first thing I see when I enter my house.
Love sewing for home? Make these adorable Round Pot Holders! Click the photo below to get the pattern!
Other posts you might like:
- Simple pillowcase beginners project
- How to insert a zipper into a lined skirt
- How to hem lightweight fabrics
- Fabric twine trivets
- DIY bed skirt
- DIY curtains

I love pretty home decor but I’m just not experienced enough to make complicated stuff just yet. And that’s why this flower pillow pattern is a great project, so easy to make and pretty quick once you master sewing the invisible zipper on. Start by practicing that skill by following this tutorial.
This flower pillow is great for beginners and a wonderful way to practice sewing round shapes and zippers. I used an invisible zipper but use whatever technique works best or easiest for you to sew the pillow together. Anything goes as long as you make this gorgeous and fun pillow!
Flower Pillowcase

Materials:
- fabric for pillowcase and petals (you can use the same fabric, I just didn’t have enough for both)
- measuring tape
- chalk wheel
- invisible zipper
- scissors
- matching or contrast thread
- sewing machine
- blind hem foot or invisible zipper foot or zipper foot
- piece of card stock
- pen
- craft scissors
- pressing iron
Directions:
- Measure around your pillow and decide how much fabric you need. Add seam allowance then cut 2 pieces of fabric for the front and the back of your pillow.
- Sew an invisible zipper into the 2 fabrics, using this tutorial.
- Take a piece of card stock and make a petal stencil.
- Cut out the petals using this stencil.
- Place 2 petals right side together and sew down the sides, leaving the bottom open.
- Turn the petal right side out through the bottom.
- Repeat for all petals.
- Arrange largest petals and pin to the pillowcase, then sew down, once as close to the center and again in the middle of the petals.
- Trim the stencil down and keep making smaller petals as indicated above. I made 3 layers in total but you can make as many as you like or your fabric and pillow size allows it. Pin and sew down the pillow until your done with all layers.
- Make 2 circles, large enough to cover the center of the petal layers. Put them right side together and sew down, leaving a small hole open.
- Turn the circle right side out through the hole.
- Fold the seam inside and press.
- Sew an edgestitch around the circle (a regular stitch, as close to the edge as possible).
- Attach the circle to the fabric by sewing a small cross in the middle of the circle.
- Take a small piece of fabric and cut out a circle (I used fleece as it doesn’t fray).
- Fold in half, then fold again in half and sew down the corner to keep the “petal” together.
- Make several of these and when done, attach them to the center of the pillow, by either sewing or gluing them down.
- And you’re done! Enjoy your gorgeous flower pillow!
Pin to save for later

Most popular sewing projects:
Article may contain Amazon & affiliate links. As an Amazon Associate I earn from qualifying purchases at no additional cost to you.


I couldn’t find the petal stencil. Is it hidden in plane site or do I make my own?
I would like to make this for my granddaughter.
Hi Jeanette. There’s no template for the petal stencil, mine might not fit the size of your pillow/pillows. You can easily put together yours if you measure your pillow first and make a stencil that is half the width of your pillow plus an inch. This is for the largest stencil. Make the other 2 by subtracting 1″ from the larger stencil (to make the middle petals) then 1″ from the middle stencil (to make the smallest petal). Hope these help. Happy sewing!