

How To Install An Invisible Zipper the best and easiest way
How to sew an invisible zipper
Sewing an invisible zipper used to scare the bejeezus out of me! While I’ve always been pretty comfortable working with regular zippers, I literally had shivers down my spine and wet palms just by thinking of an invisible zipper.
This tutorial has been converted to a PDF file, available to purchase HERE. This article is completely free to read.
But did you know invisible zippers are a lot nicer than regular zippers? They make any sewing project look neat, clean and professional so I had no choice but to learn and practice the technique I’m gonna show you below for inserting an invisible zip. Plus I wanted to make this flower pillow with some of my scraps and I needed to insert an invisible zipper.
Similar sewing ideas you will love:
- How to sew a zipper
- How to install a zipper on a skirt
- Lined zipper pouch tutorial
- Installing a zipper into a lined skirt
Although my mom and aunts have been sewing for most of their lives, around 60 years now, and I got to steal from some of their wisdome when they weren’t looking, I’m actually a self taught sewist as mom in particular never had the patience to teach me. I totally understand her, I wasn’t an easy child, lacking attention and focus and my mind always wandering. So learning new stuff, like sewing an invisible zipper has been quite a challenge for me.
But after sewing my first zippers here, and particularly after inserting one in this lovely half circle skirt, I thought I should give the invisible zipper a try too; I figured it shouldn’t be such a huge difference (silly me lol).
Do you need a different foot to sew a zipper?
For the best results, a zipper foot is recommended, although if you have a newer machine with many options and settings, then it’s possible to use the regular presser foot.
It comes with two grooves, one in the middle and one on each side of it. The middle groove will guide the teeth of your zipper as you sew, while the other two grooves will help you position the needle on either side of the zipper’s coil. This means that whether you’re sewing from the left or from the right, you can make sure that the needle is always in the same spot and you end up sewing a perfect seamline.
What does an invisible zipper foot do?
For sewing invisible zippers there is a special foot (sometimes called concealed zipper foot). The invisible zipper foot is specifically designed to help you sew an invisible zipper. As the name suggests, it is a special sewing machine foot that helps you to insert and stitch an invisible zipper without having to worry about how the teeth will look on the right side of your garment when finished. It allows you to get close enough to the zipper’s teeth so that they become almost invisible.
It also helps you to set the needle in the same spot each time, making it easier to sew neat and even stitching lines. Plus, it is designed with two grooves on either side of the foot which help guide your zipper as you sew, making sure that everything stays in place for a professional look.
What can I use if I don’t have a zipper foot?
I admit it, invisible zipper installation was a bit of a challenge first, mainly because I don’t have an invisible zipper foot and my budget won’t be able to accommodate one in the near future. But after squeezing my brain a little, I realized sewing an invisible zipper is entirely possible without having a special foot. Fair enough, an invisible zipper foot makes everything easier but if you don’t have one, don’t panic. In this invisible zipper tutorial I’ll show you the feet I used and chances are, you have those too as most machines come with a few basic feet like these ones.
My machine came with a zipper foot (which I could’ve easily use it throughout the whole process but found a blind hem foot keeps the zipper coils in place better). And also I got a blind hem foot included with the basic kit. I used the blind hem foot in the first part of sewing the zipper because that little bar in the middle of the foot holds the zipper teeth in place and can be moved closer or further away from the needle so you can sew as close to the zipper as possible. I used the blind hem foot for sewing the zipper down and then I switched to a regular zipper foot to finish the seam below and up the zipper as the blind hem foot won’t fit in those areas.
With a few simple steps and the right tools, sewing an invisible zipper can be a breeze! So now that you have all the information you need, it’s time to get started with your project. Good luck and happy sewing!
Sewing An Invisible Zipper

Materials:
- pressing iron
- invisible zipper
- measuring tape
- 2 pieces of fabric
- matching thread
- scissors
- pins
- invisible zipper foot (if you have one, if not use a blind hem or a regular zipper foot)
- zipper foot
- sewing machine
How to insert an invisible zip
Sew the zipper to fabric
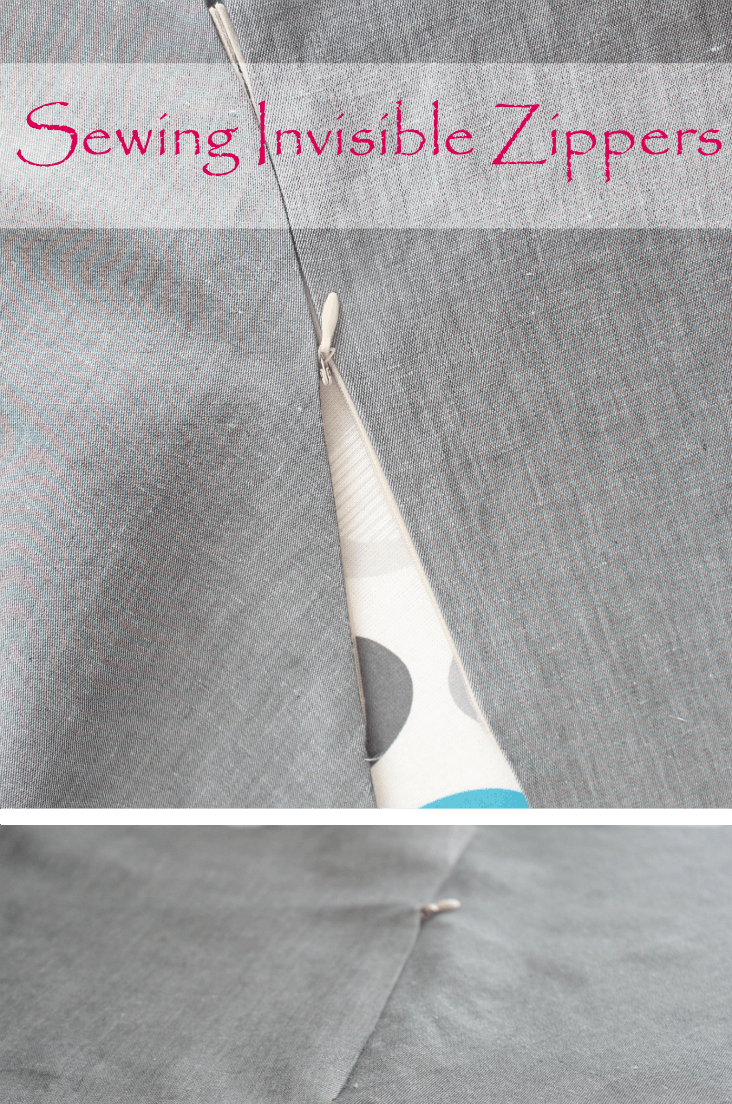
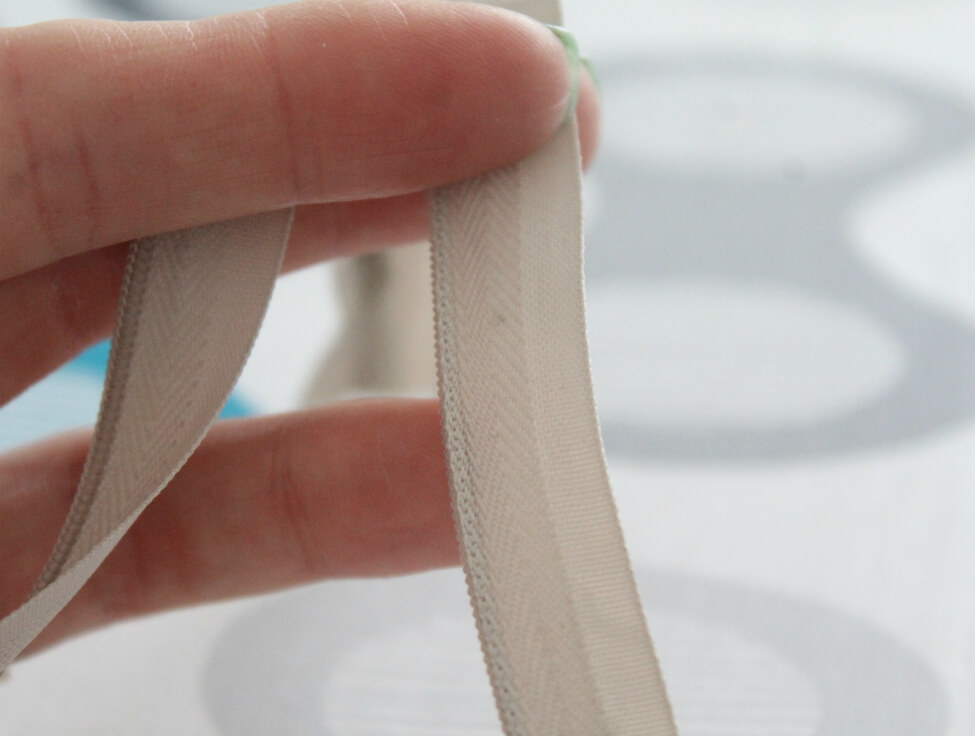
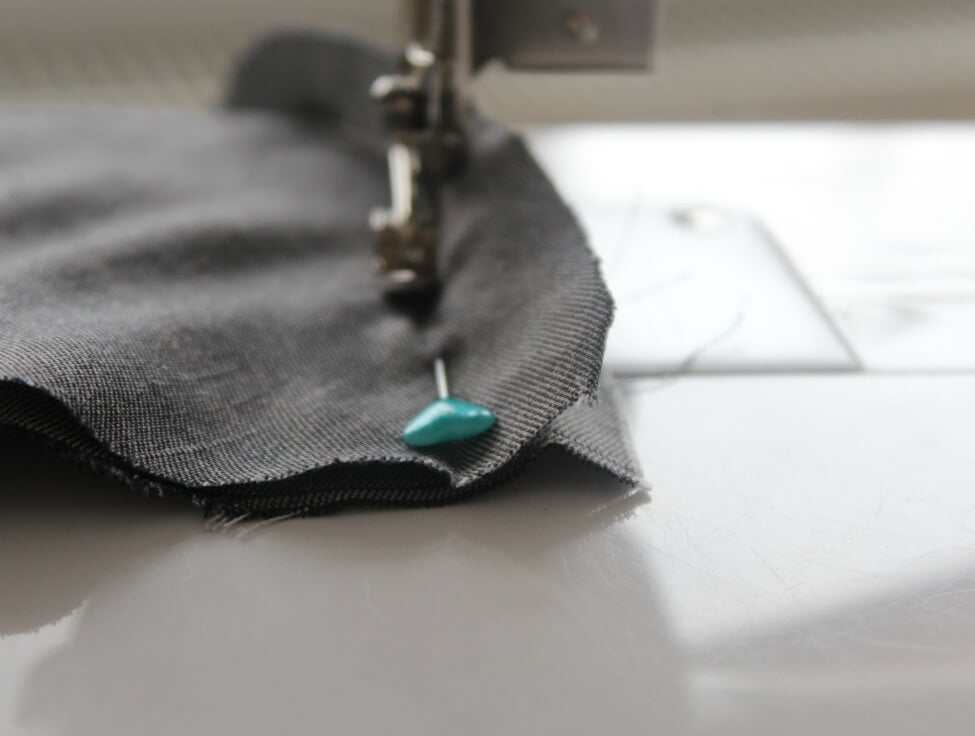
- Put your zipper with the back facing up, open zipper, uncurl the teeth and press the zipper flat first, making sure the heat won’t melt the zipper teeth if they’re made of plastic. Pressing the coils allows you to stitch closer to the zipper teeth. Open the zipper and lay it wrong side up. Set your iron on warm and use your fingers to uncurl the teeth while pressing it flat with the tip of your iron.
- Put the first piece of fabric right side up. Place the zipper face down on the fabric. Leave the desired seam allowance, typically 1/4″ but that also depends on the wideness of your zipper.
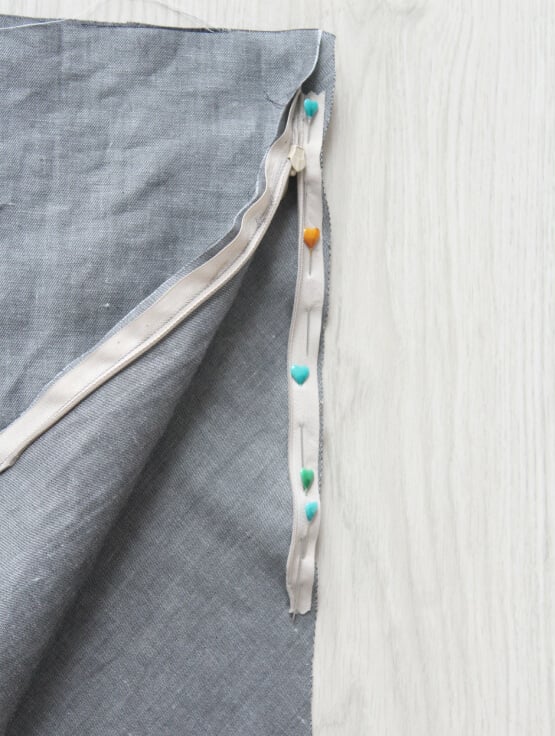
- Pin the zipper to the fabric. (I forgot to take pictures so I’m showing you the pinning for the second fabric strip which is the same as the first one)
- Insert your invisible zipper foot/blind hem foot/zipper foot into your sewing machine. If you use a blind hem foot, adjust the bar so that it keeps the zipper teeth in place and your machine’s needle is very close to the zipper teeth.

- Stitch the zipper, backstitching about an inch. Sew slowly and remove the pins before they reach the foot. Stop when you reach the end of the zipper, or the mark on your fabric where the zipper should end. Backstitch.
- Repeat for the other side of the zipper and the second piece of fabric (fabric right side out, zipper wrong side out).
- Close the zipper to make sure that you’ve pinned it correctly, then unzip it before sewing.
- Stitch the zipper as you did before.
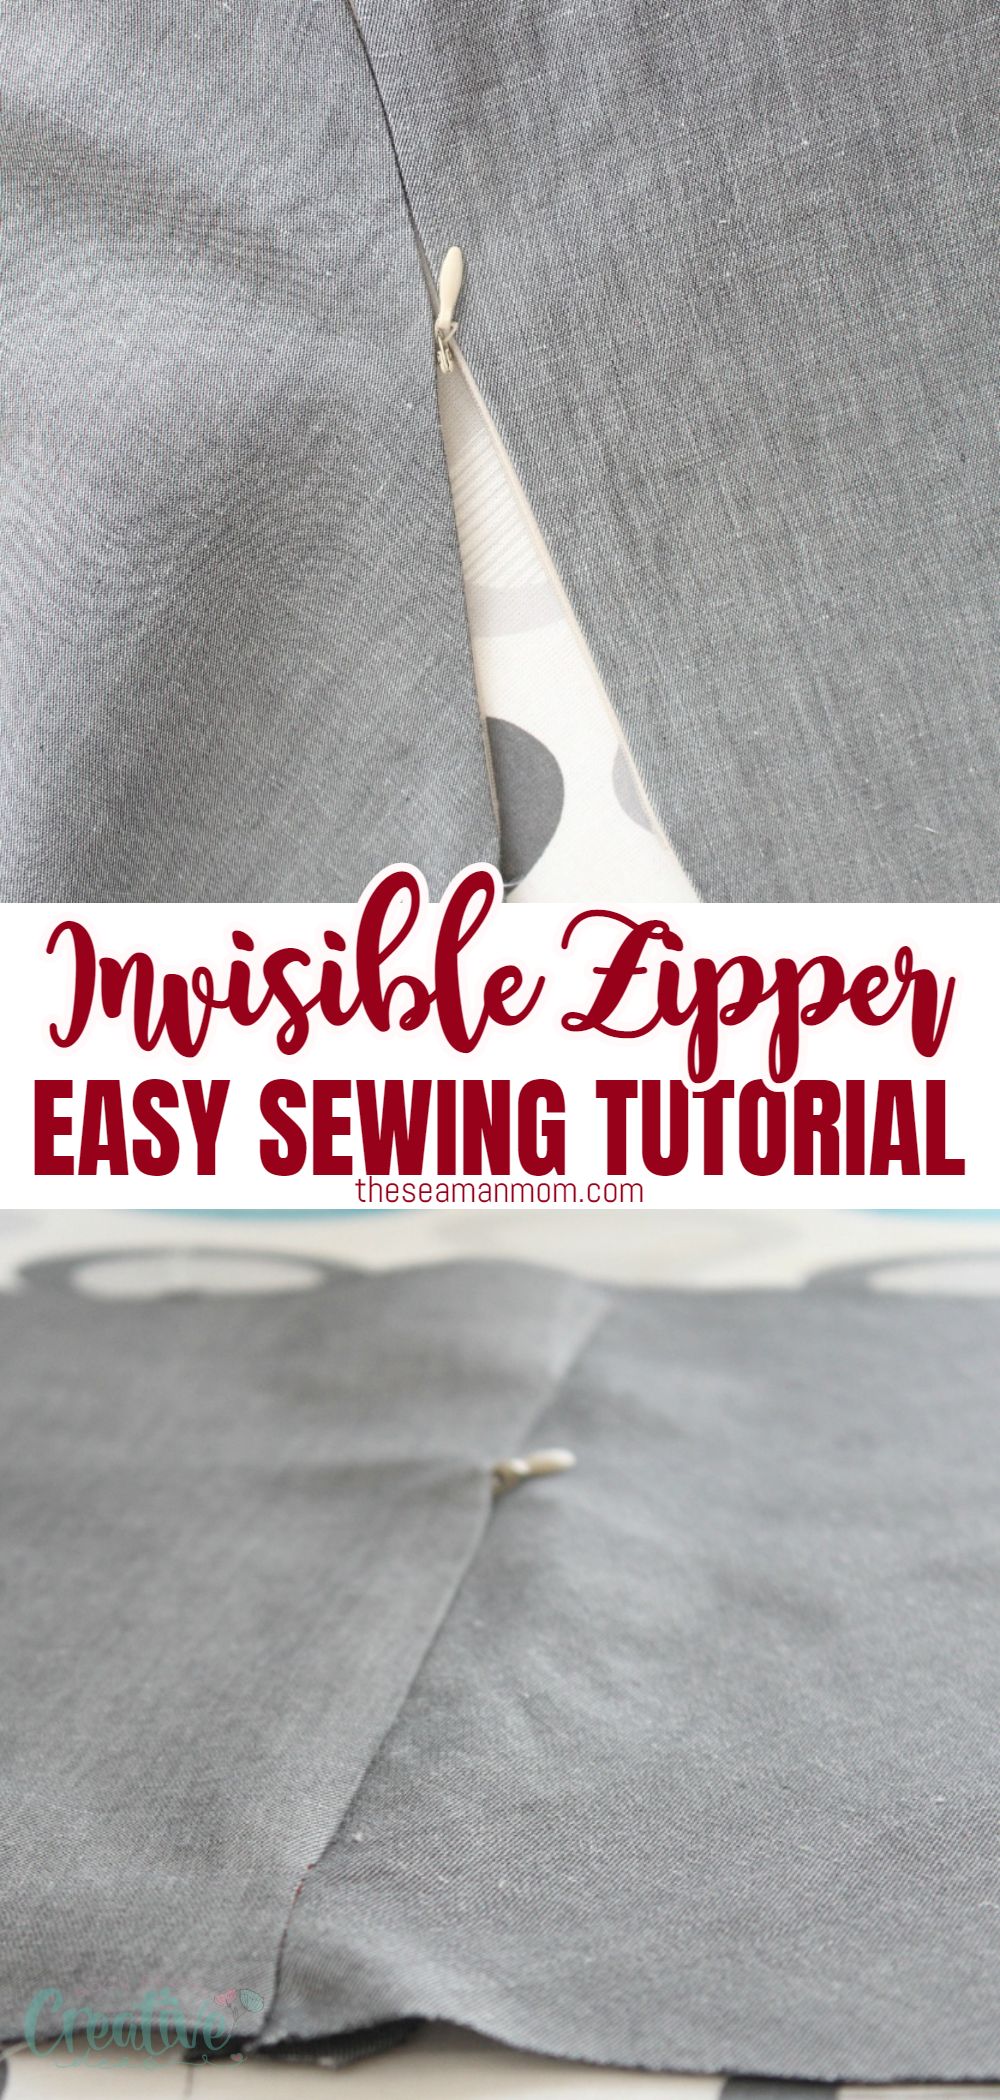
Sandwich the zipper to finish seam
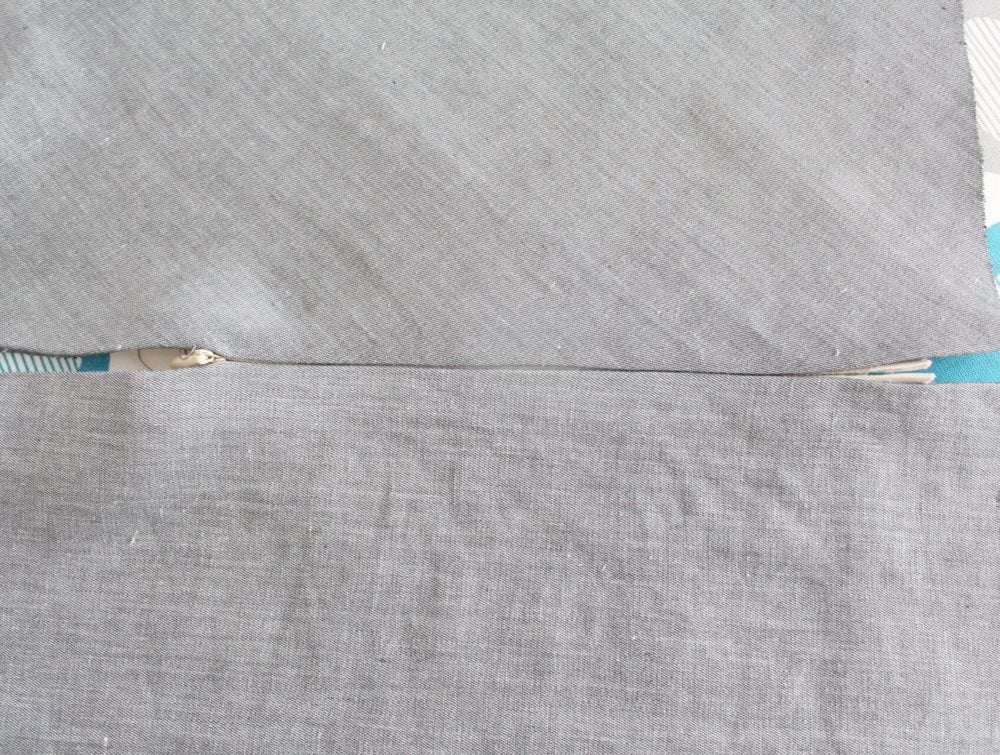
- Pull the zipper closed and press it lightly on the right side of the fabric.
- Sandwich the zipper in the seam allowance and pin carefully down the rest of the seam, with the zipper tail out of the way.
- Replace your foot with a regular zipper foot. Starting about 1/4″ above the end of the zipper, slowly stitch forward then do a small back stitch. This is a tricky part as the zipper will try to pull away from the needle. Just stitch slowly as close to the zipper as you can, down the rest of the fabric. And make sure the zipper pull is out of the way.
- And voila, you’re done sewing an invisible zipper! Easy, right?
Sewing an invisible zipper is a great way to add a professional touch to your garments. With the right tools and some patience, you can master how to sew an invisible zipper in no time! So don’t be afraid to give it a go -you’ll be pleasantly surprised with how easy it is. Good luck!
Pin to save for later
Most popular sewing projects:
- Corded bag handles tutorial
- How to sew a round hem
- Flutter sleeve dress pattern
- Laminating cotton fabric


Article may contain Amazon & affiliate links. As an Amazon Associate I earn from qualifying purchases at no additional cost to you.

I will try it this way. I normally end up putting an ordinary zipper in
For years that’s what I did too. But once I learned how to sew an invisible zipper I got hooked, it looks so much better on most projects!
I love all of your helpful hints on how to make sewing easier…thank you so much for sharing!
Aww, thanks so much, Penny! Happy to be of help!
Great tutorial! I’ve got a Craft Gossip post scheduled for tomorrow morning that features your post:
http://sewing.craftgossip.com/?p=91856
–Anne