

How To Add A Zipper to A Lined Skirt
How to Sew a Zipper on a Skirt
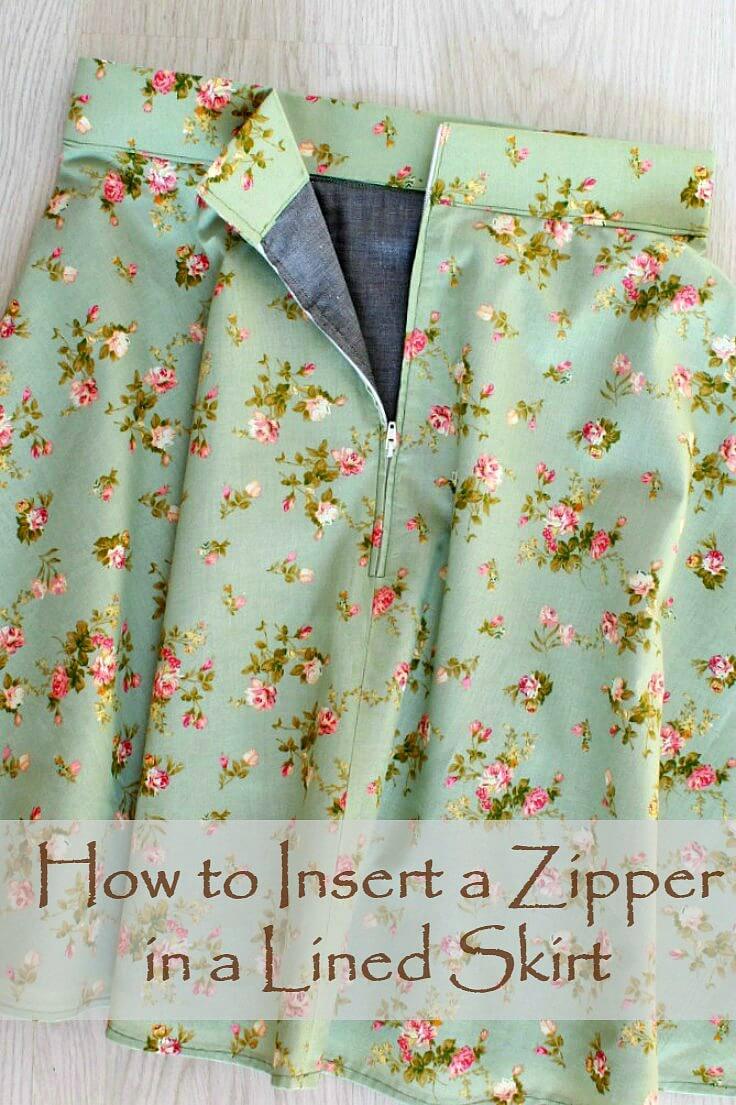
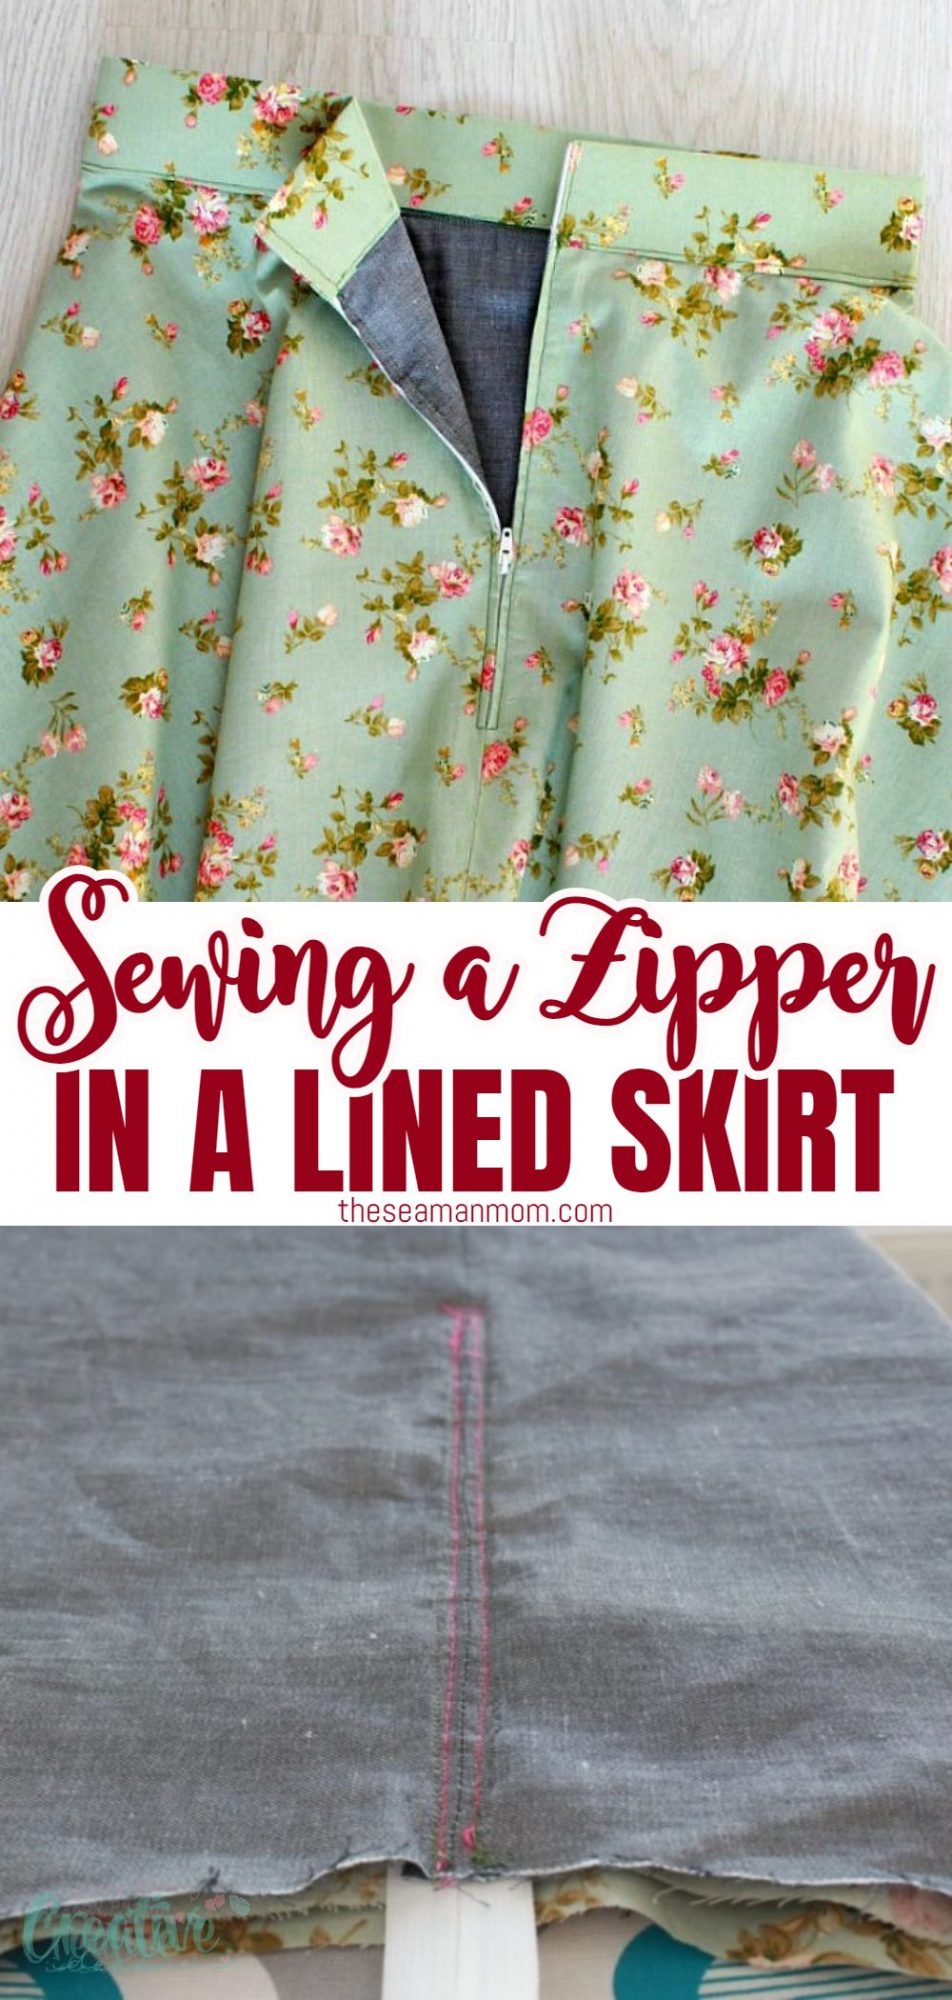
Have you been wondering how to line a skirt with a zipper? Learn how easy it is to use zippers on all your lined garments with this easy tutorial. Here I’ll show you how to sew a zipper on a skirt with lining but this tutorial can be used for many types of lined garments. This is an upgrade to the basic zipper tutorial presented here and the skirt zipper insertion here; you might wanna take a look at those first if you’re a beginner and have zero experience in sewing zippers.
Want more sewing tips?
- DIY hem gauge
- Two cool bobbin storage ideas
- How to adjust presser foot pressure
- DIY seam guide
- Proper seam ripper use and tips
- How to add pockets to a skirt or dress
I honestly was afraid to add lining to my dresses and skirts, especially when a zipper was involved. But one day I decided to conquer my fears and finally learn how to sew a zipper on a skirt with lining! And you know what? It really is no big a deal! I absolutely love adding lining to my skirts and dresses now! I think it adds body, volume and structure, especially for lightweight fabrics. Plus a lined skirt looks a lot less handmade!
There’s a short video tutorial but if you like photos and written details more, there’s plenty below.
Similar Posts You Might Like:
How to line a skirt with a zipper
Materials:
- skirt and lining fabric (use this half circle skirt pattern as a guide)
- matching thread
- matching needle
- contrast thread
- regular zipper foot
- sewing machine
- scissors
- pins
- seam ripper
Instructions:
- At this point you should have your skirt and lining done but kept separated.
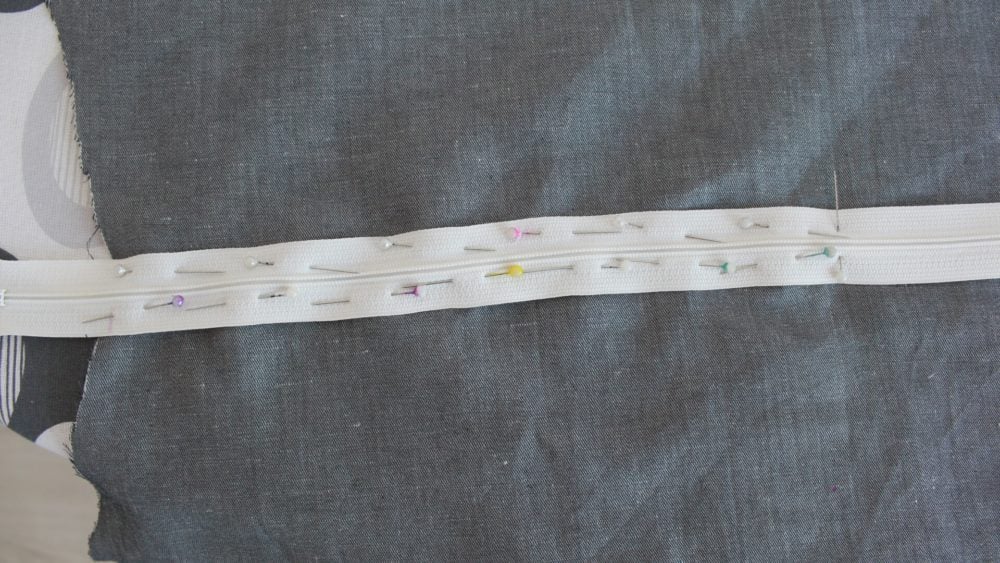
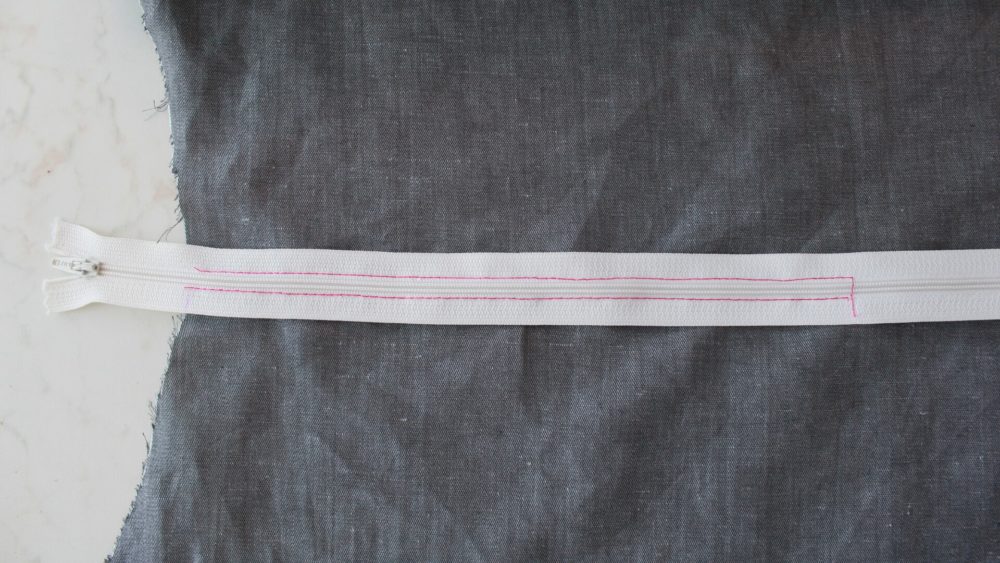
- Take your zipper and pin it to the back seam of your lining (which is wrong side out), leaving enough allowance at the top edge to accommodate the waistband. Make sure the back seam matches the zipper teeth perfectly. You can use zipper tape instead of pins if it helps.
- Mark where you want your zipper to end, if you use a longer zipper as I did.
- Change the foot on your sewing machine with a zipper foot.
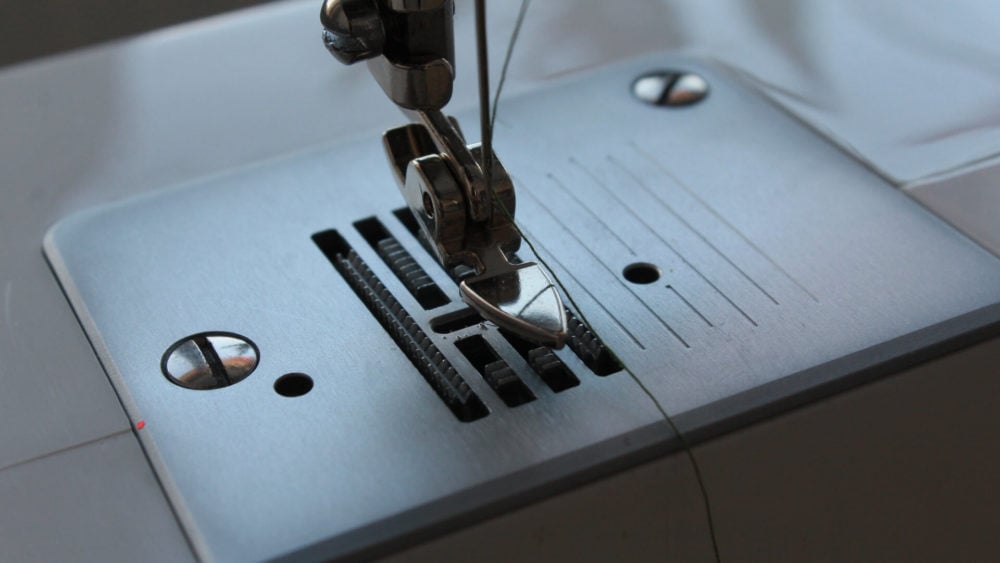
- Using a basting stitch and contrast thread, sew down the zipper on one side, lift and pivot, sew a stitching line perpendicularly then sew down the other side of the zipper. Sew as close to the zipper as possible. You don’t need to backstitch at this step.
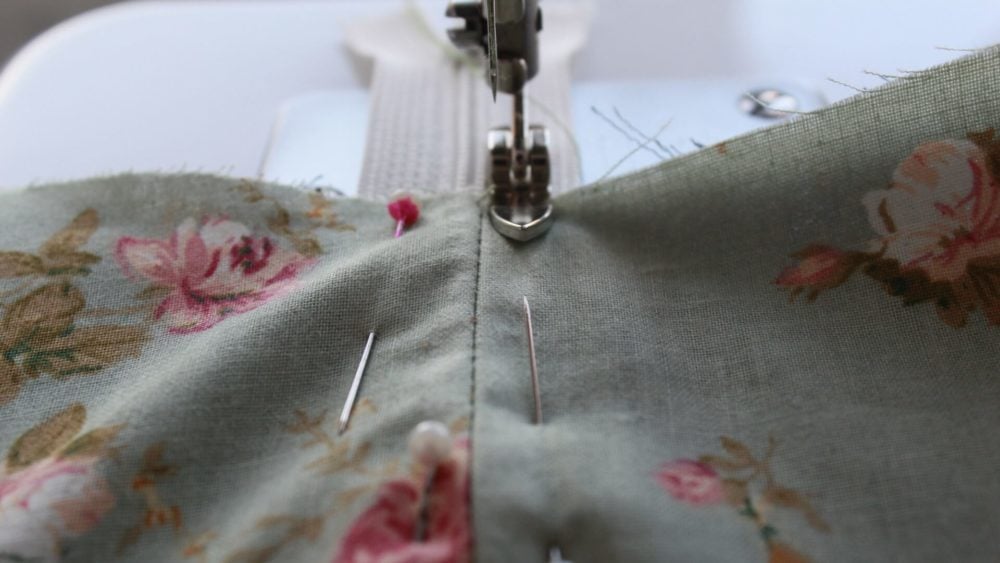
- Slip the skirt over the lining, skirt being right side out. Match the back seam with zipper teeth perfectly and pin. Roll the skirt up then slowly unroll as you pin so you can see the back seam matching the zipper teeth.
- Using a regular stitch, sew down the zipper as before, slightly away from the basting stitch (so you can easily remove the latter once the zipper is attached)
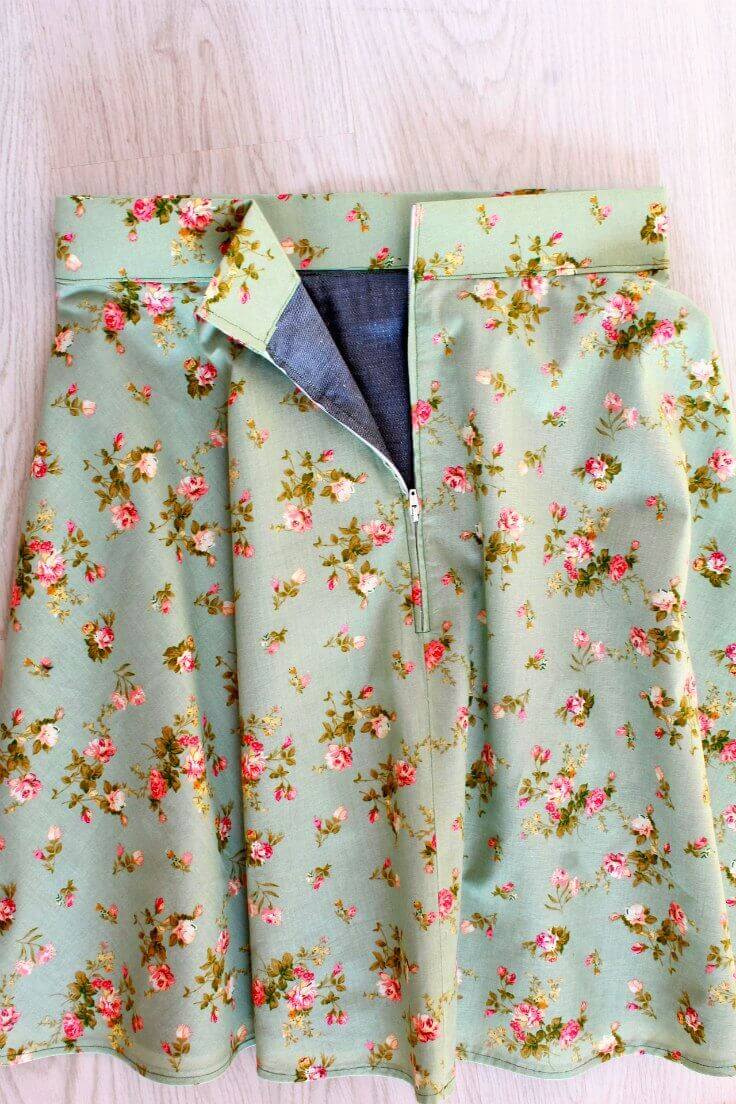
- This is how the lining looks at this point on the inside of the skirt, with the basting stitch done on the back pieces.
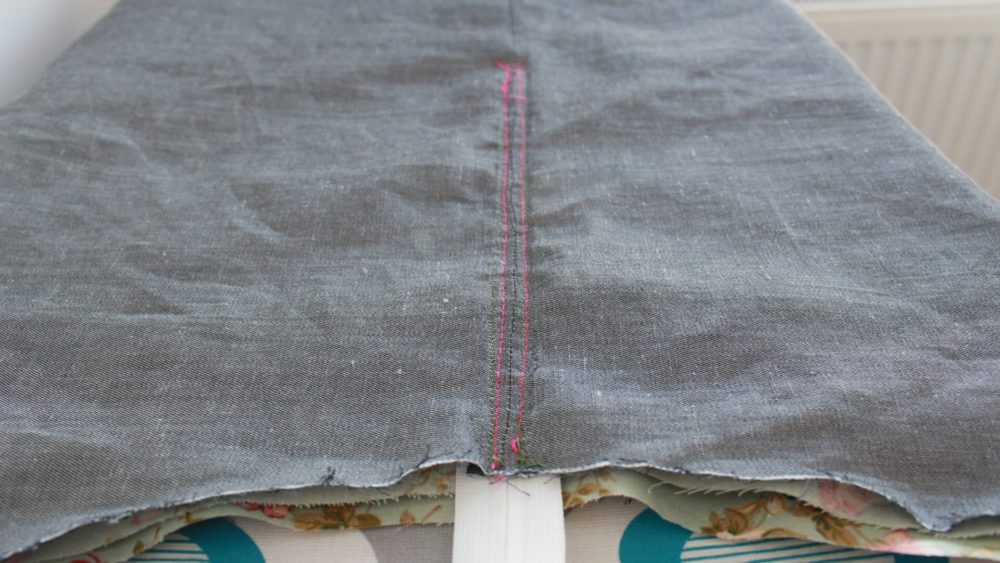
- And this is the outside of the skirt, with the regular stitch.
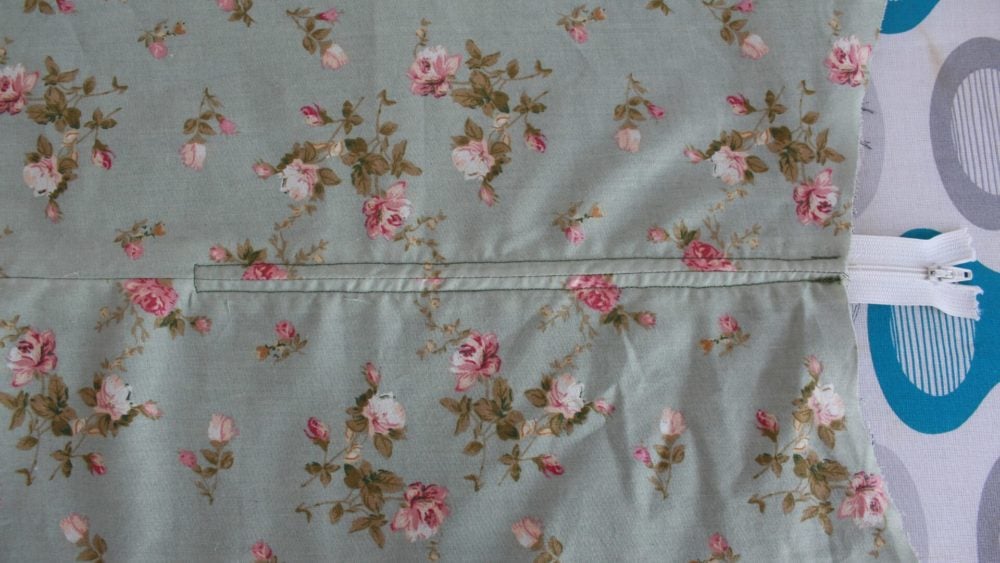
- Using your seam ripper, carefully rip the seam out on both the lining and the skirt. Be careful not to rip through the perpendicular seam line that marks the zipper end.
- Open up your zipper and remove any bits and pieces of thread that might show and you’re done!
- Next step is to attach the waistband at the top of the skirt which is easy peasy! You might need to add some fusible interfacing to this piece.
Pin To Save For Later
Print the craft card

How to sew a zipper on a skirt with lining
Materials
- skirt and lining
- matching thread
- contrast thread
Tools
- zipper foot
- scissors
- Seam Ripper
Instructions
- At this point you should have your skirt and lining done but kept separated.
- Take your zipper and pin it to the back seam of your lining (which is wrong side out), leaving enough allowance at the top to accommodate the waistband. Make sure the back seam matches the zipper teeth perfectly.
- Mark where you want your zipper to end, if you use a longer zipper as I did.
- Change the foot on your sewing machine with a zipper foot.
- Using a basting stitch and contrast thread, sew down the zipper on one side, lift and pivot, sew perpendicularly then sew down the other side of the zipper. Sew as close to the zipper as possible
- Slip the skirt over the lining, skirt being right side out. Match the back seam with zipper teeth perfectly and pin. Roll the skirt up then slowly unroll as you pin so you can see the back seam matching the zipper teeth.
- Using a regular stitch, sew down the zipper as before, slightly away from the basting stitch (so you can easily remove the latter once the zipper is attached)
- This is how the lining looks at this point, with the basting stitch.
- And this is the skirt, with the regular stitch.
- Using your seam ripper, carefully rip the seam out on both the lining and the skirt. Be careful not to rip through the perpendicular seam that marks the zipper end.
- Open up your zipper and remove any bits and pieces of thread that might show and you're done!
- Next step is to attach the waistband which is easy peasy!
Most popular sewing projects:
- Tips for sewing a round hem
- Corded bag handles
- Flutter sleeve dress pattern
- How to laminate cotton fabric


Article may contain Amazon & affiliate links. As an Amazon Associate I earn from qualifying purchases at no additional cost to you.

Great tutorial! I’ve got a Craft Gossip post scheduled for tomorrow afternoon that features your post: http://sewing.craftgossip.com/?p=91599 –Anne
Thanks so much, Anne! xoxo