

How to make spaghetti straps easily
Learn how to make spaghetti straps the easiest possible way! Spaghetti straps are a versatile and stylish addition to any outfit. Versatile and stylish, they effortlessly elevate any outfit, whether dressed up or kept casual. In this easy tutorial, you will learn how to sew spaghetti straps for any garment such as blouses or dresses, in just a few minutes. Making your own thin straps is faster and easier than you’d think, and the results are totally worth it!
Ever wondered how to make spaghetti straps? I have the perfect method to share with you! If you enjoy sewing blouses or dresses, you’ve likely admired the delicate spaghetti straps seen on store-bought garments and dreamed of creating your own. In this quick and easy tutorial, I’ll guide you through making straps that are not only stylish but also functional and durable. Whether you’re sewing a dress, blouse, camisole, or any feminine garment, these beautiful straps will be the perfect addition.
I showed you how to turn narrow tubes right side out before (using a straw instead of a tube turner tool). And now it’s time to learn how to sew spaghetti straps which are the tiniest of all the tiny tubes! Fair enough, this method is not as quick as the one I just mentioned and it requires just a little bit of patience when making the first inch or so of the spaghetti straps. But it’s worth every bit of effort!
Sewing spaghetti straps this way will not only give you the tiniest straps you can think of but it will make these thin straps look neat and with a very clean finish. These straps will then make your handmade projects look just like professional garments we see in shops so no one will ever know you actually made that piece of garment!
How to make spaghetti straps
Materials needed:
- Fabric Strips – Cut fabric strips to the desired length of your straps, plus a little extra for seam allowance. Ensure they are about 1 inch wide for easy handling and durability. Choose fabric that complements your project and is sturdy enough for repeated use.
- Zipper Foot – A zipper foot is a must-have for sewing close to the edge of your fabric when inserting cord. It allows for precision stitching, giving your straps a clean, professional look.
- Twine or Cording – Use twine or cord as the inner structure for your fabric straps. This provides strength and shape, making the straps more durable. Choose a thickness that fits snugly within your fabric.
- Scissors – Invest in a pair of sharp fabric scissors for clean, precise cuts. Dull scissors can fray fabric edges, leading to uneven straps.
- Matching Thread – Choose thread that matches your fabric for a polished finish. High-quality thread ensures strong seams and prevents breakage during use.
- Sewing Machine – A reliable sewing machine is essential for stitching straps efficiently and securely. Make sure your machine is equipped to handle the materials you’re using.
- Blunt Tool – To turn your straps right-side-out after sewing, use a blunt tool like a bamboo skewer or a thin metal stick. This tool helps push out corners and edges smoothly without damaging the fabric.
- Pressing Iron – A pressing iron is crucial for giving your straps a neat and finished look. Press the fabric after sewing to remove wrinkles and set the seams.
Step-by-step instructions to make spaghetti straps:
Sew the cording
- Please note that I use twine as I find that it sticks best to the fabric strip while I work with the fabric but feel free to use any kind of thin cording.
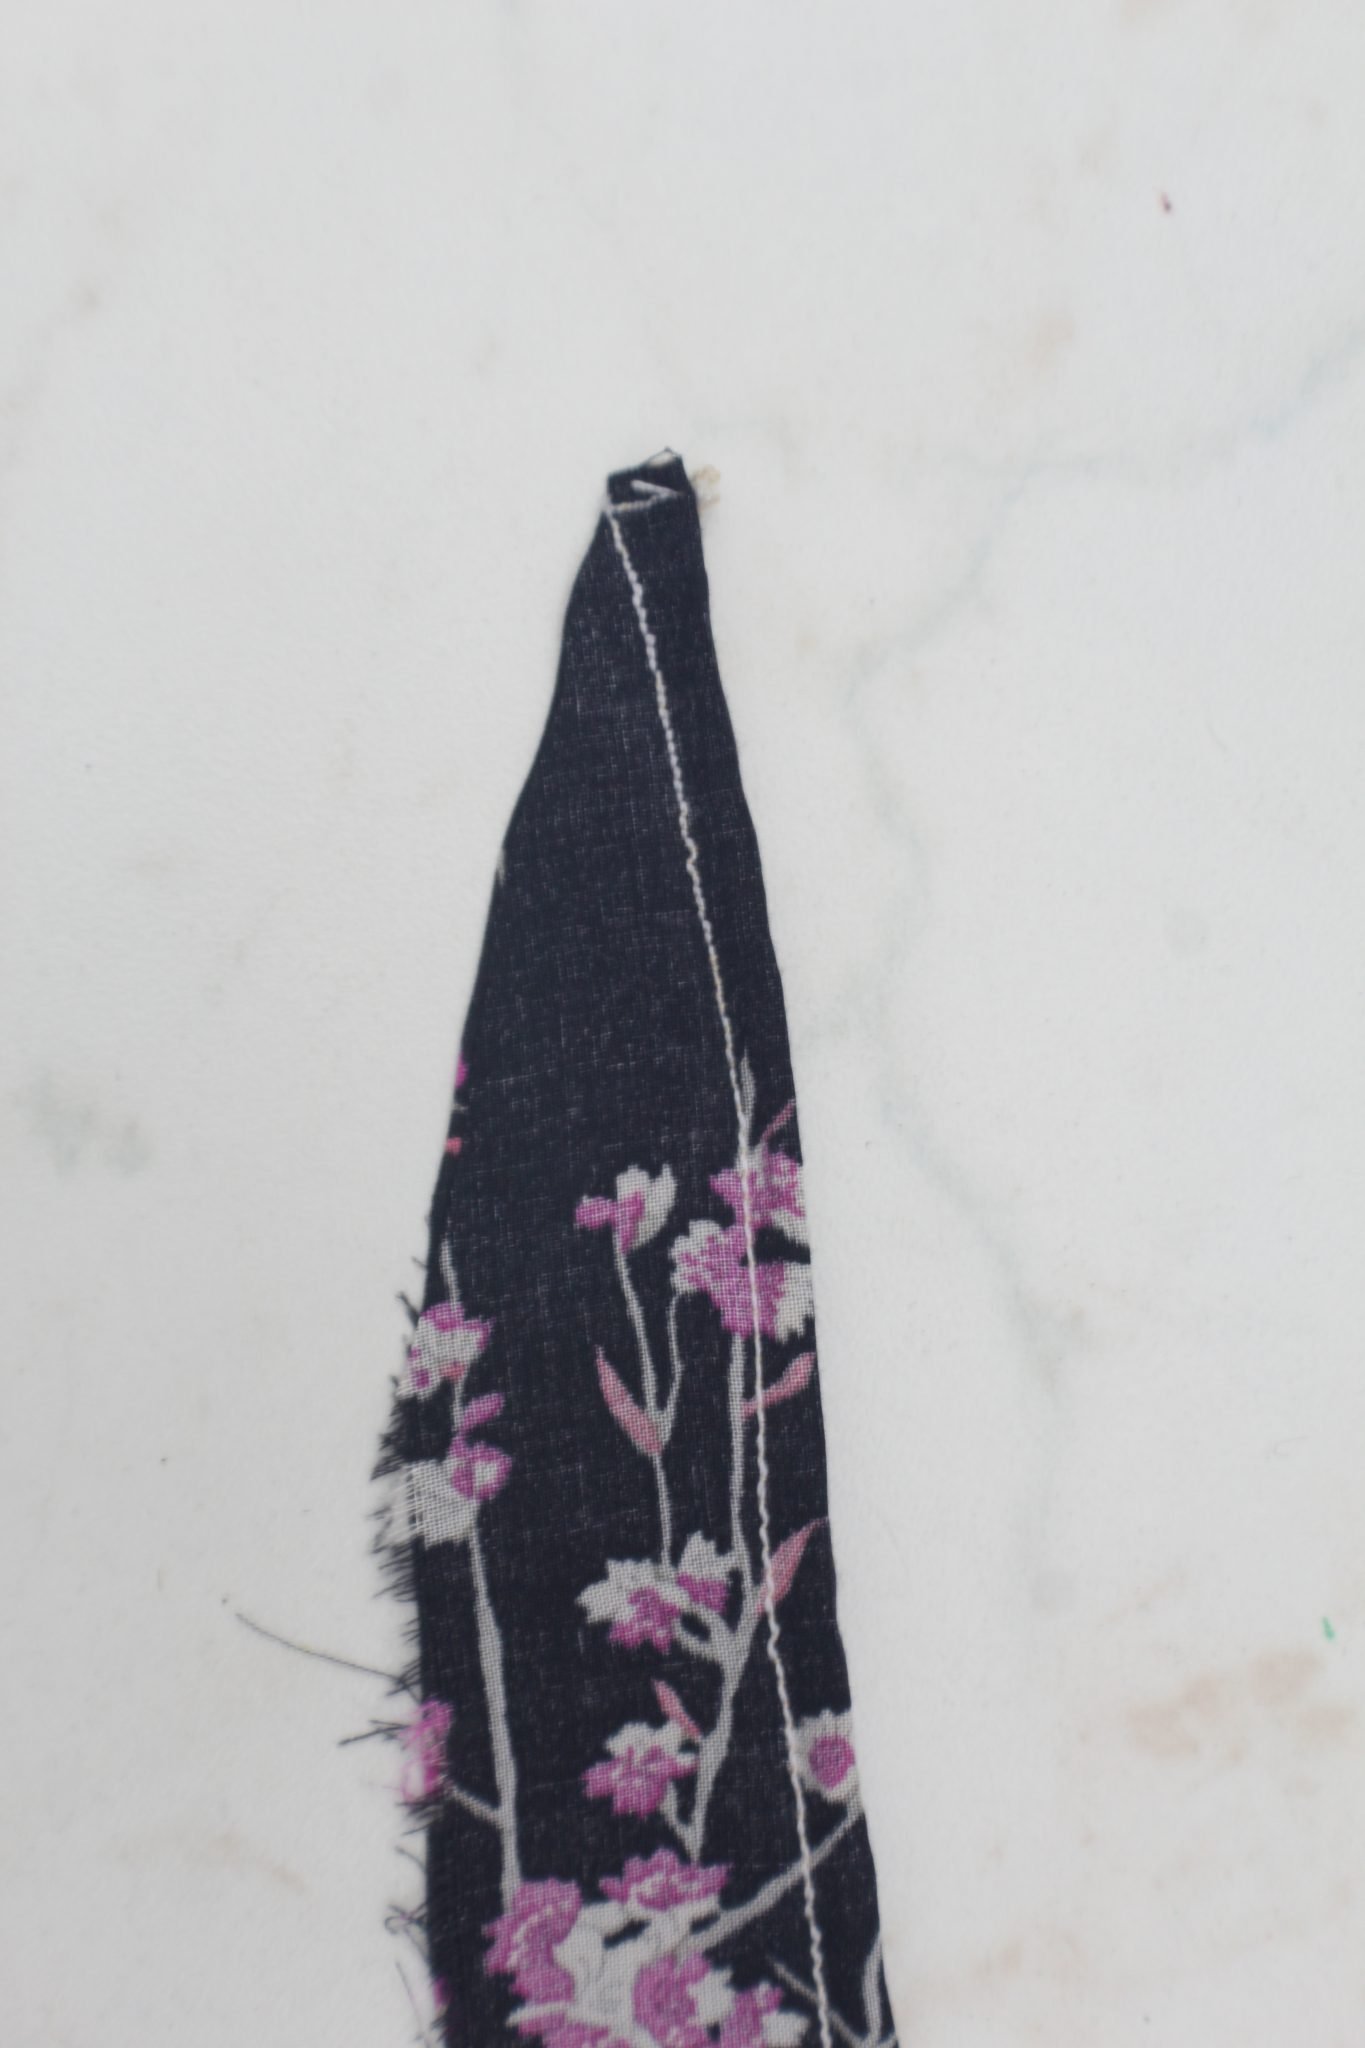
- Fold your fabric strip in half, wrong side out.
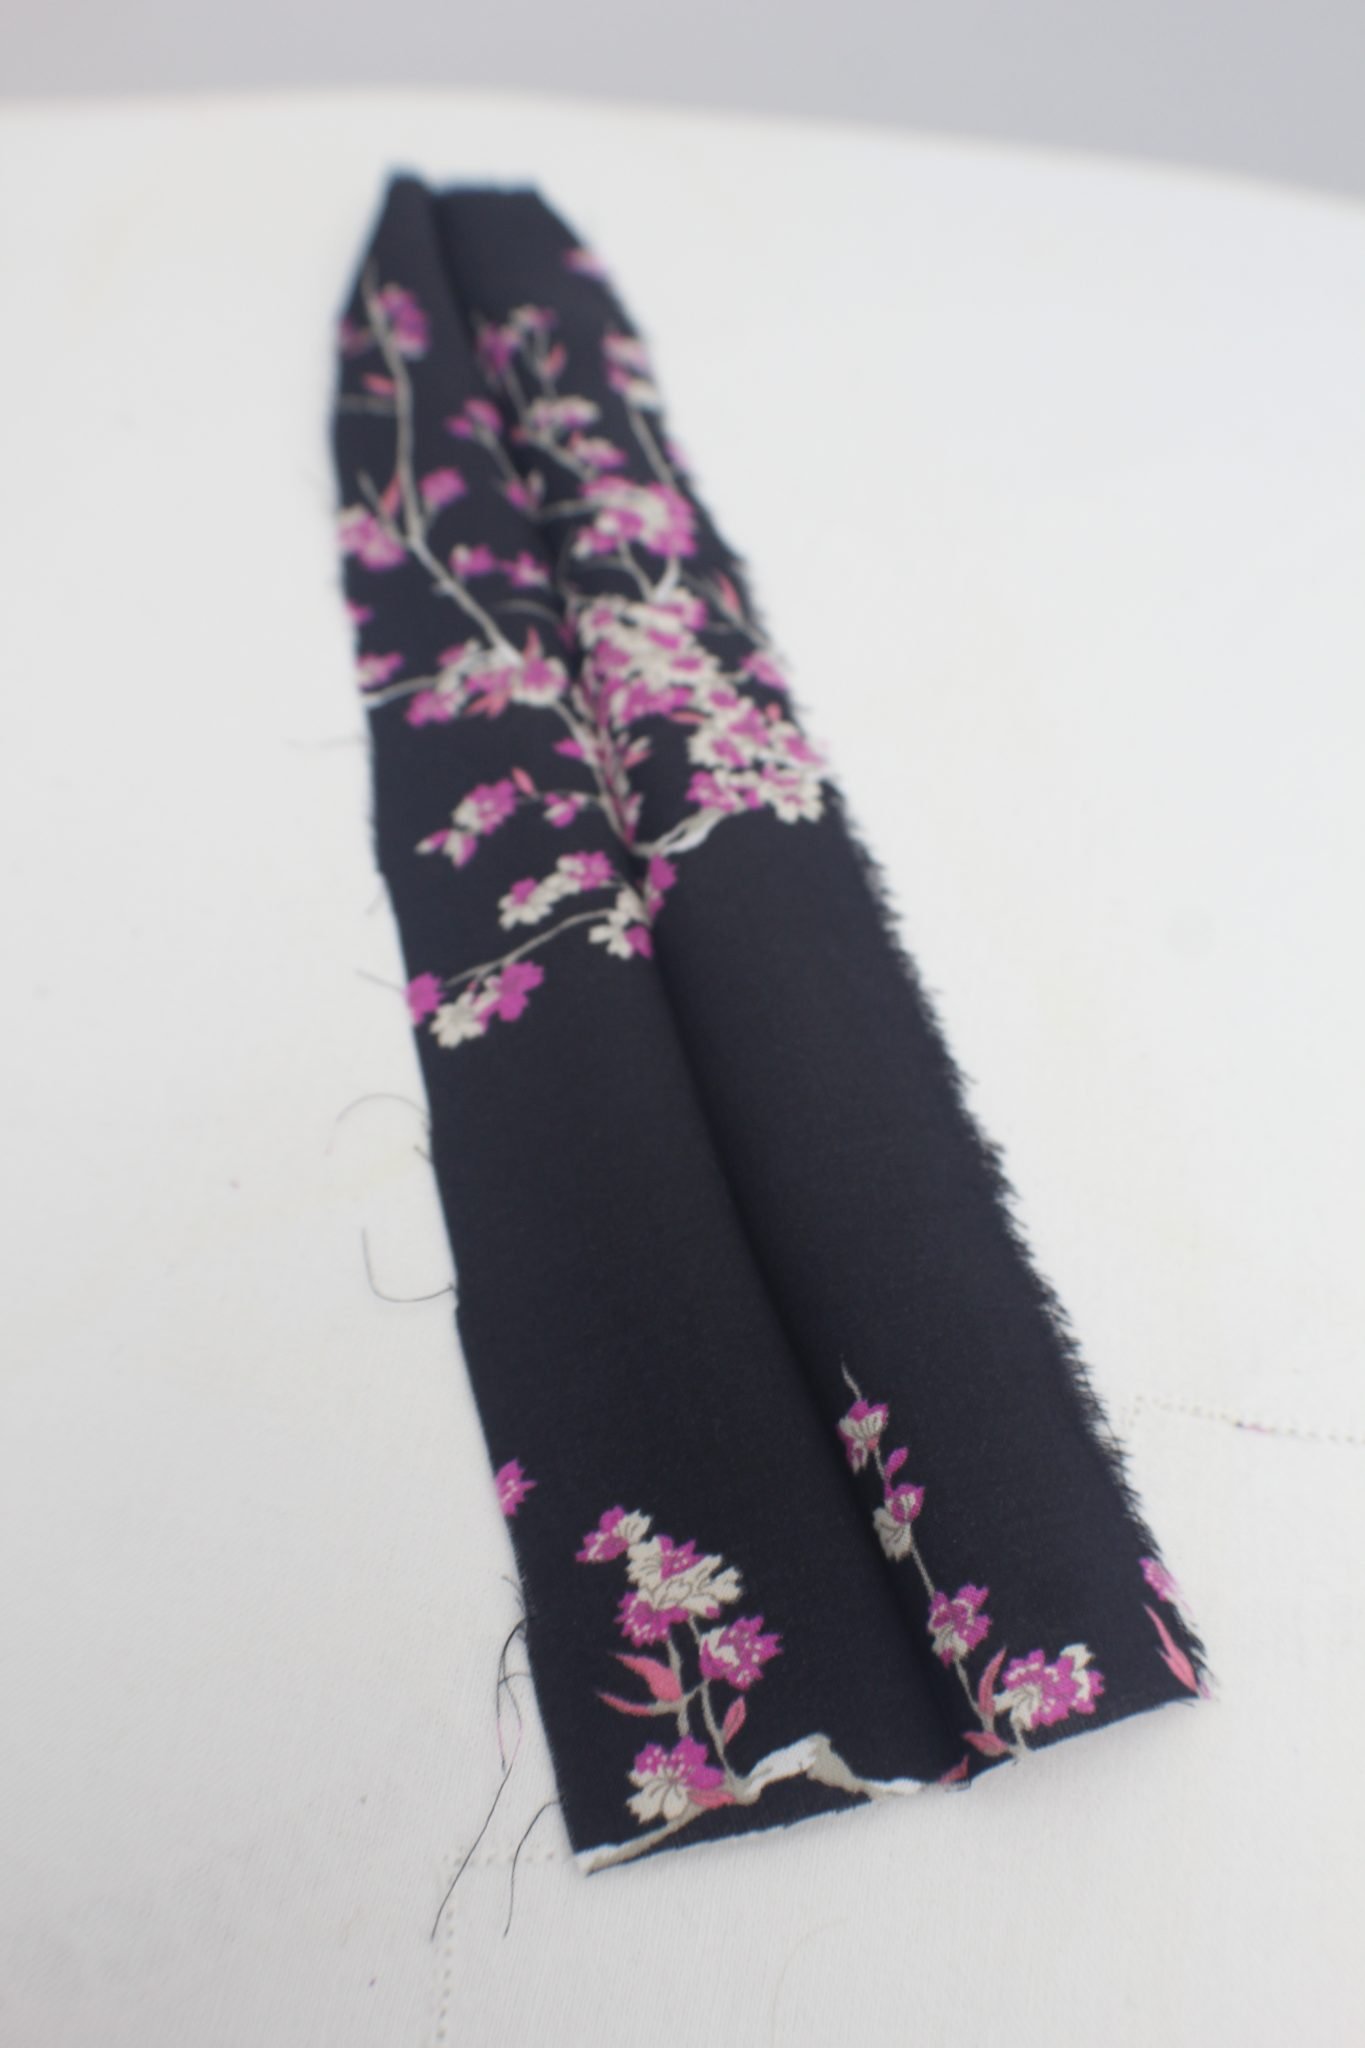
- Press well with your iron on steam to form a sharp edge on the fold.
- Place the twine cord right on the fold, leaving one end to peak out just a bit. The other end should hang outside the strip at least 1″.
- Pin the twine cord to the top of the tube, on the end where the twine peaks out just a bit. A small safety pin would work too.
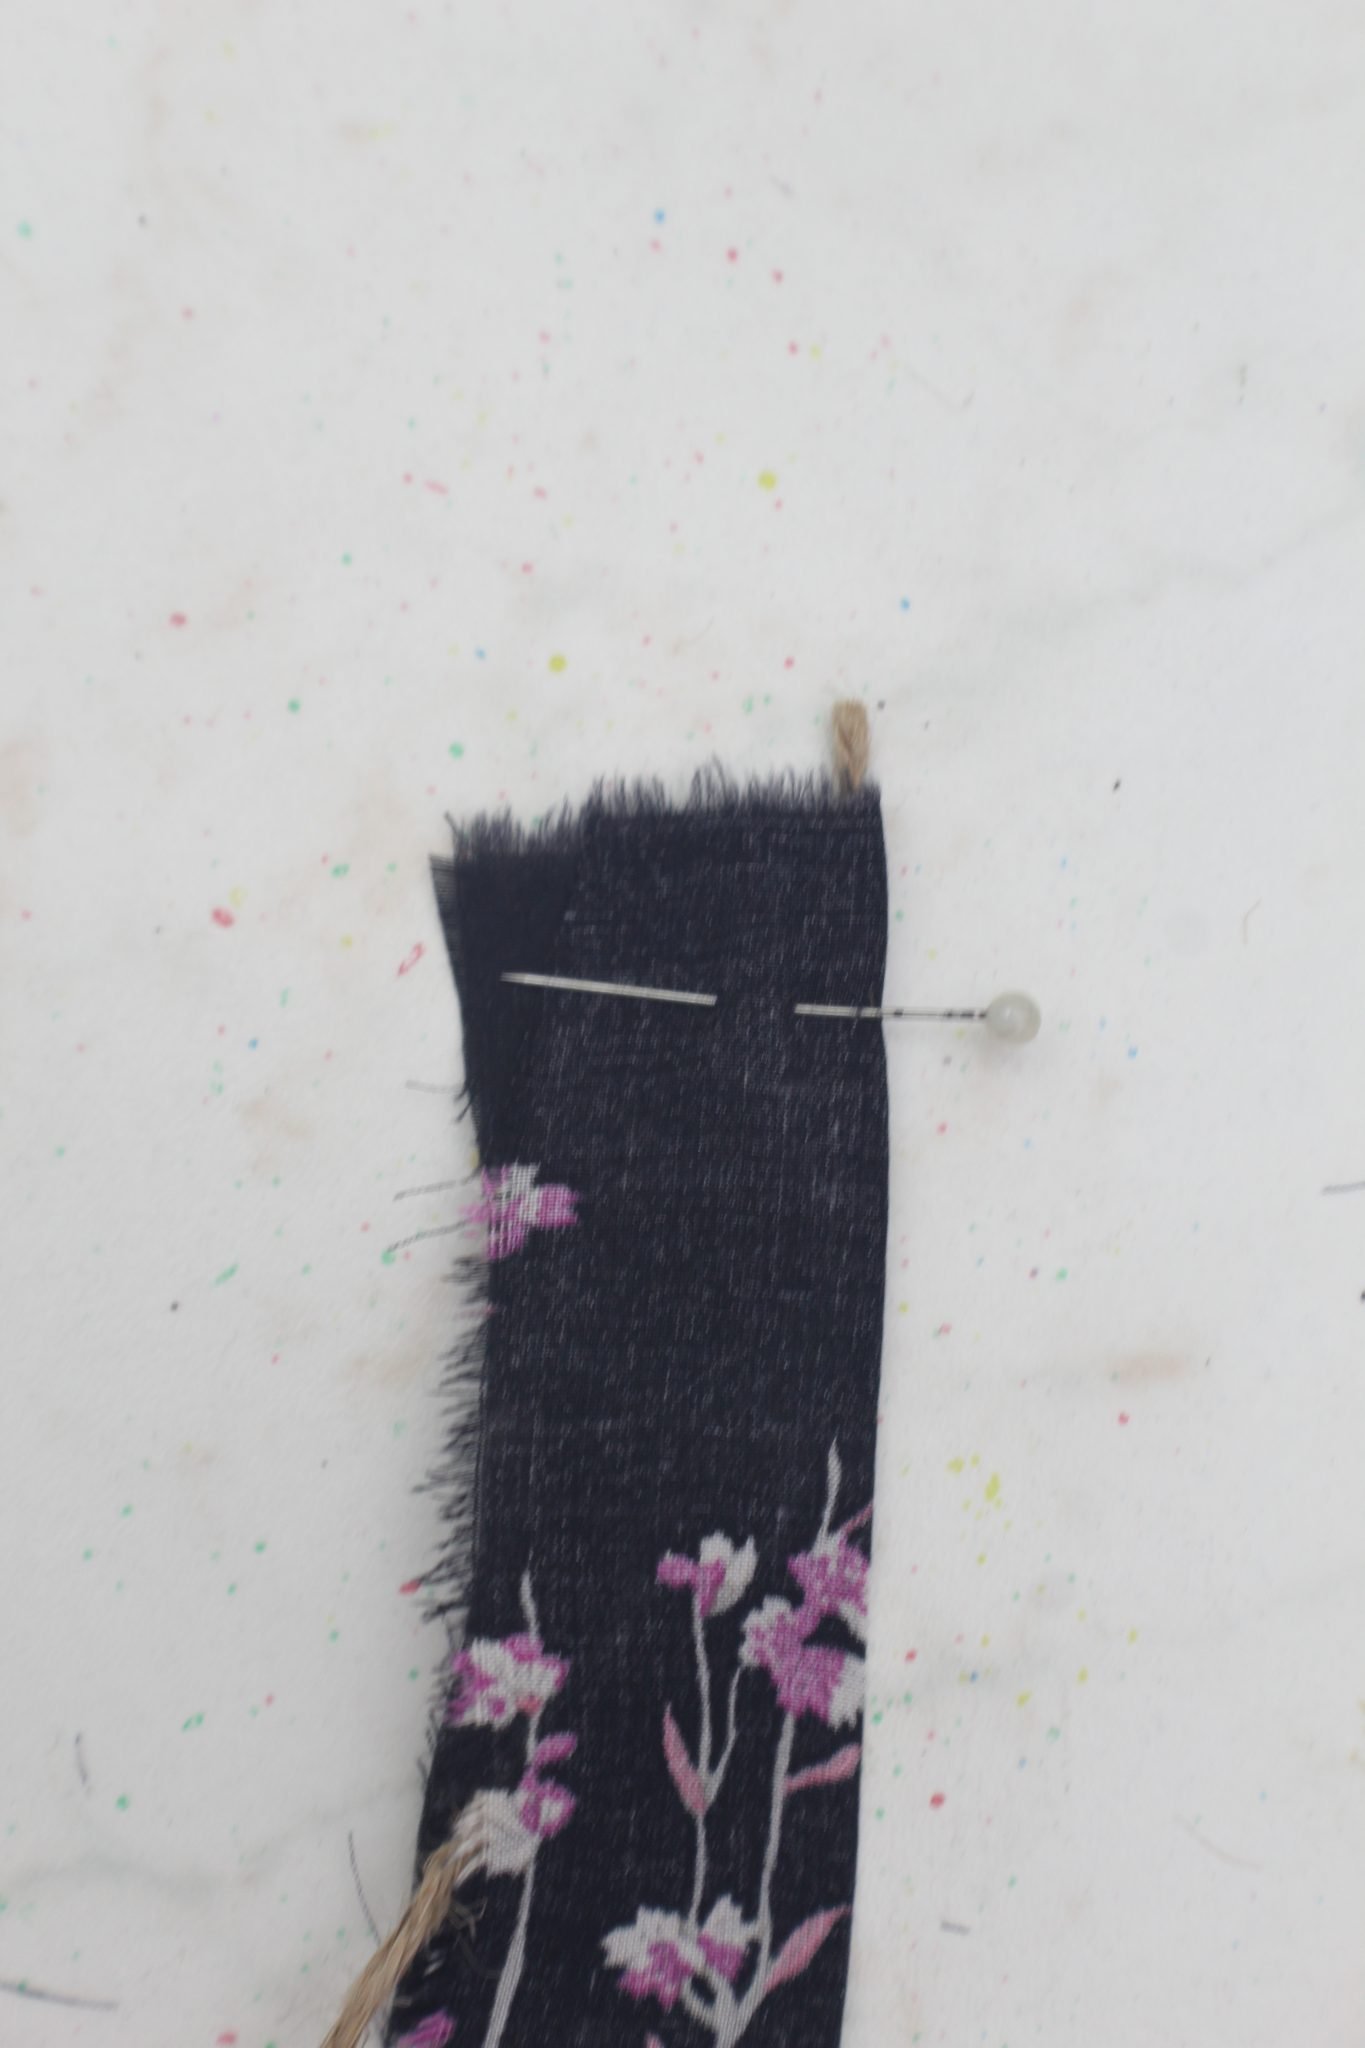
- Attach the zipper foot to your sewing machine.
- Sew perpendicularly to the twine cording, thus trapping the cording. Use a small stitch to make sure the cording is tightly secured inside the fabric strip.
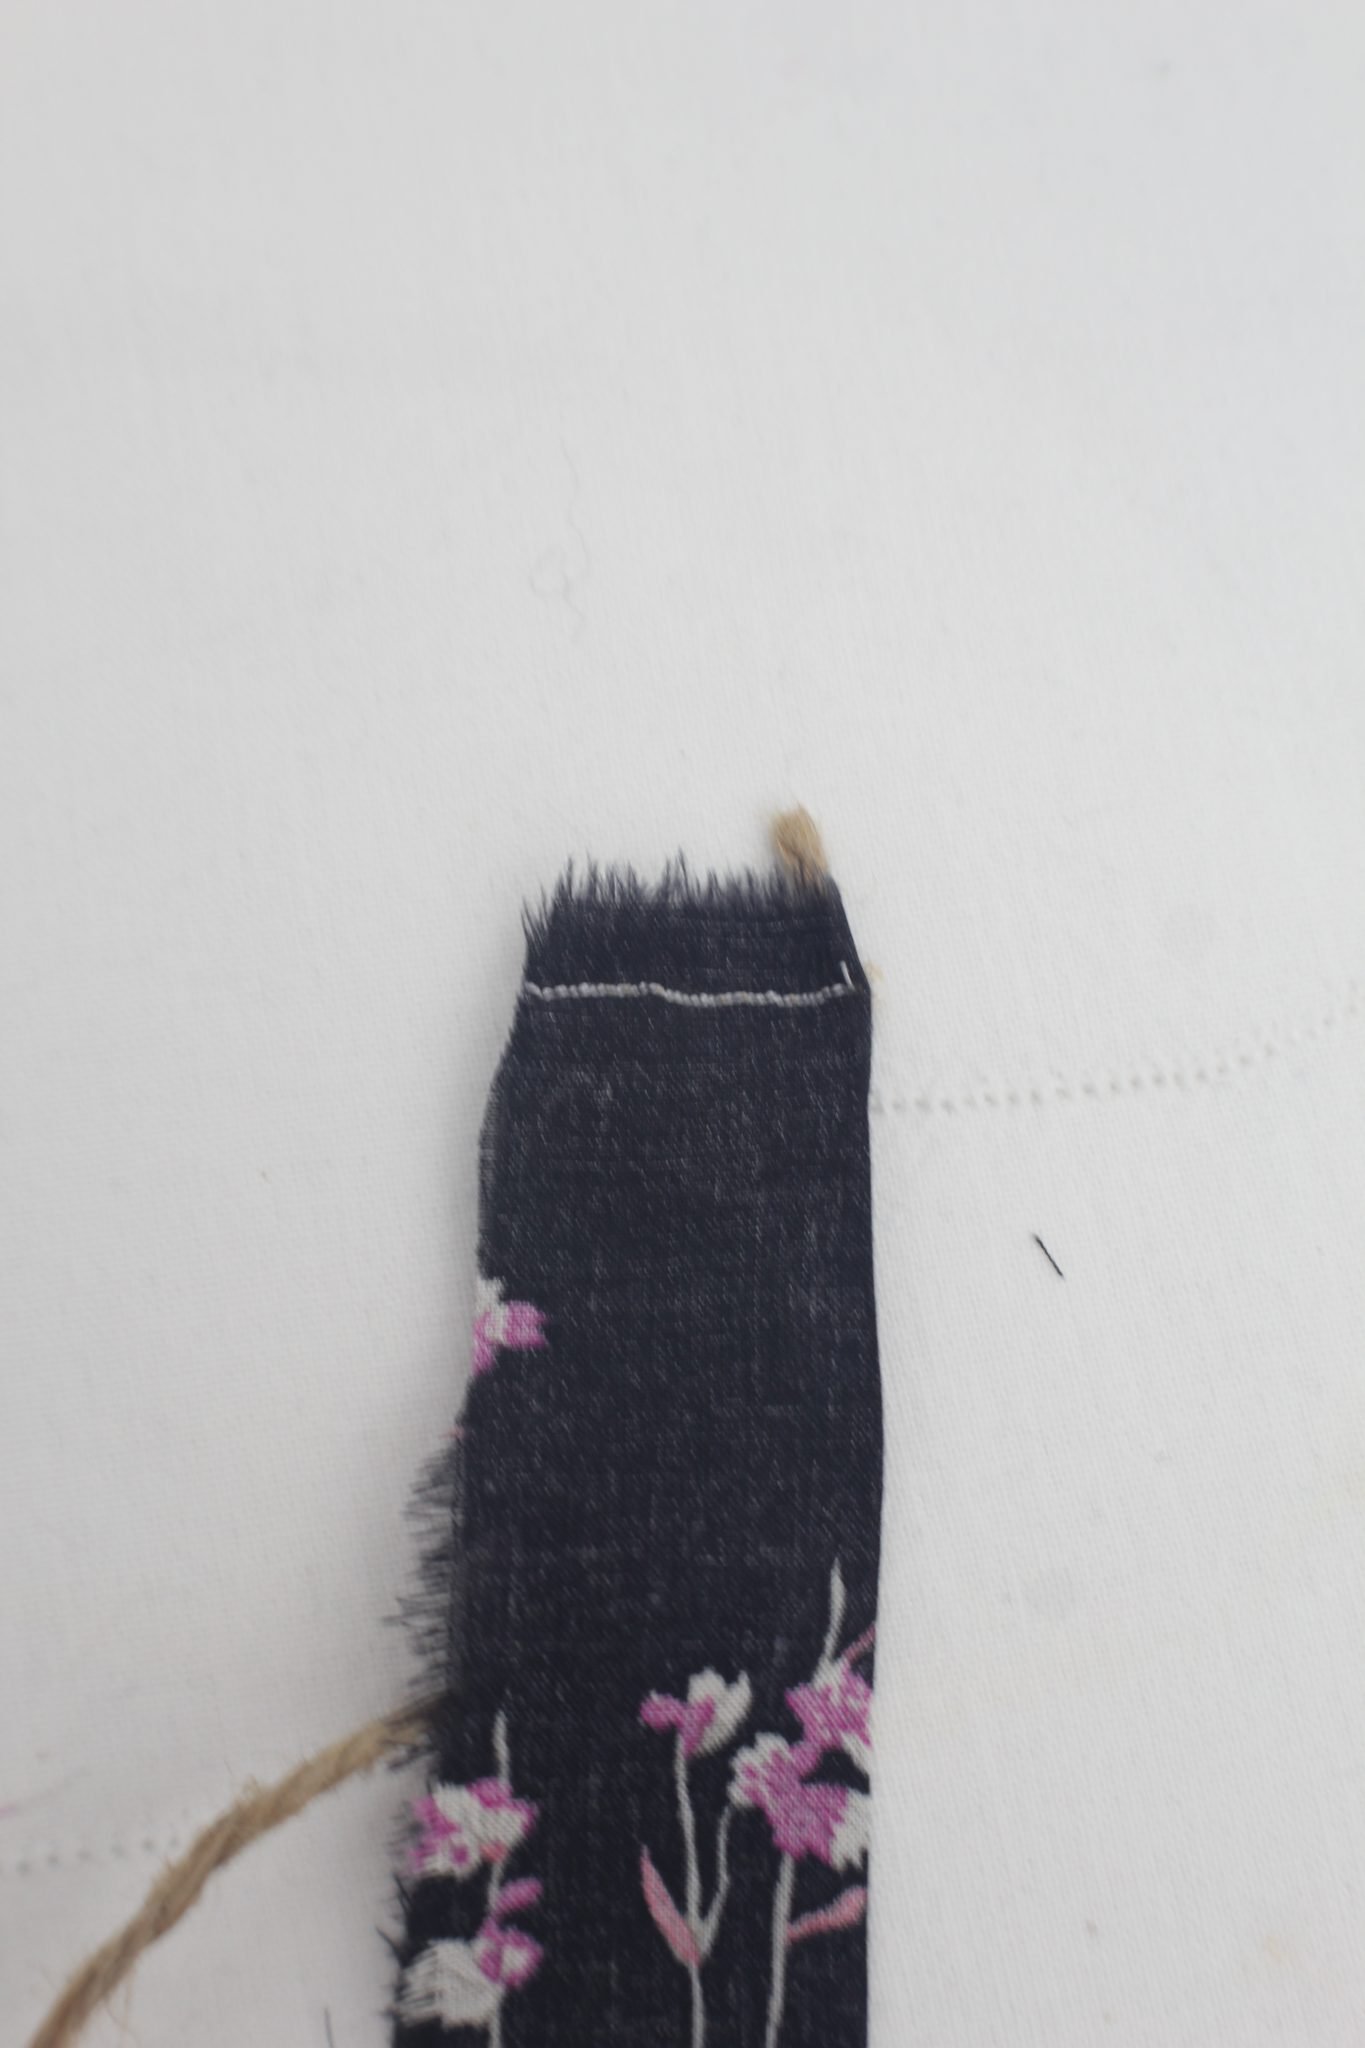
- Place the folded strip under the foot lengthwise, with the twine trapped in the fold. Hold the twine so that it lays flat and straight inside the fabric strip. The tip of the zipper foot should press the twine against the fold so there’s no more room between the cording and the fabric.
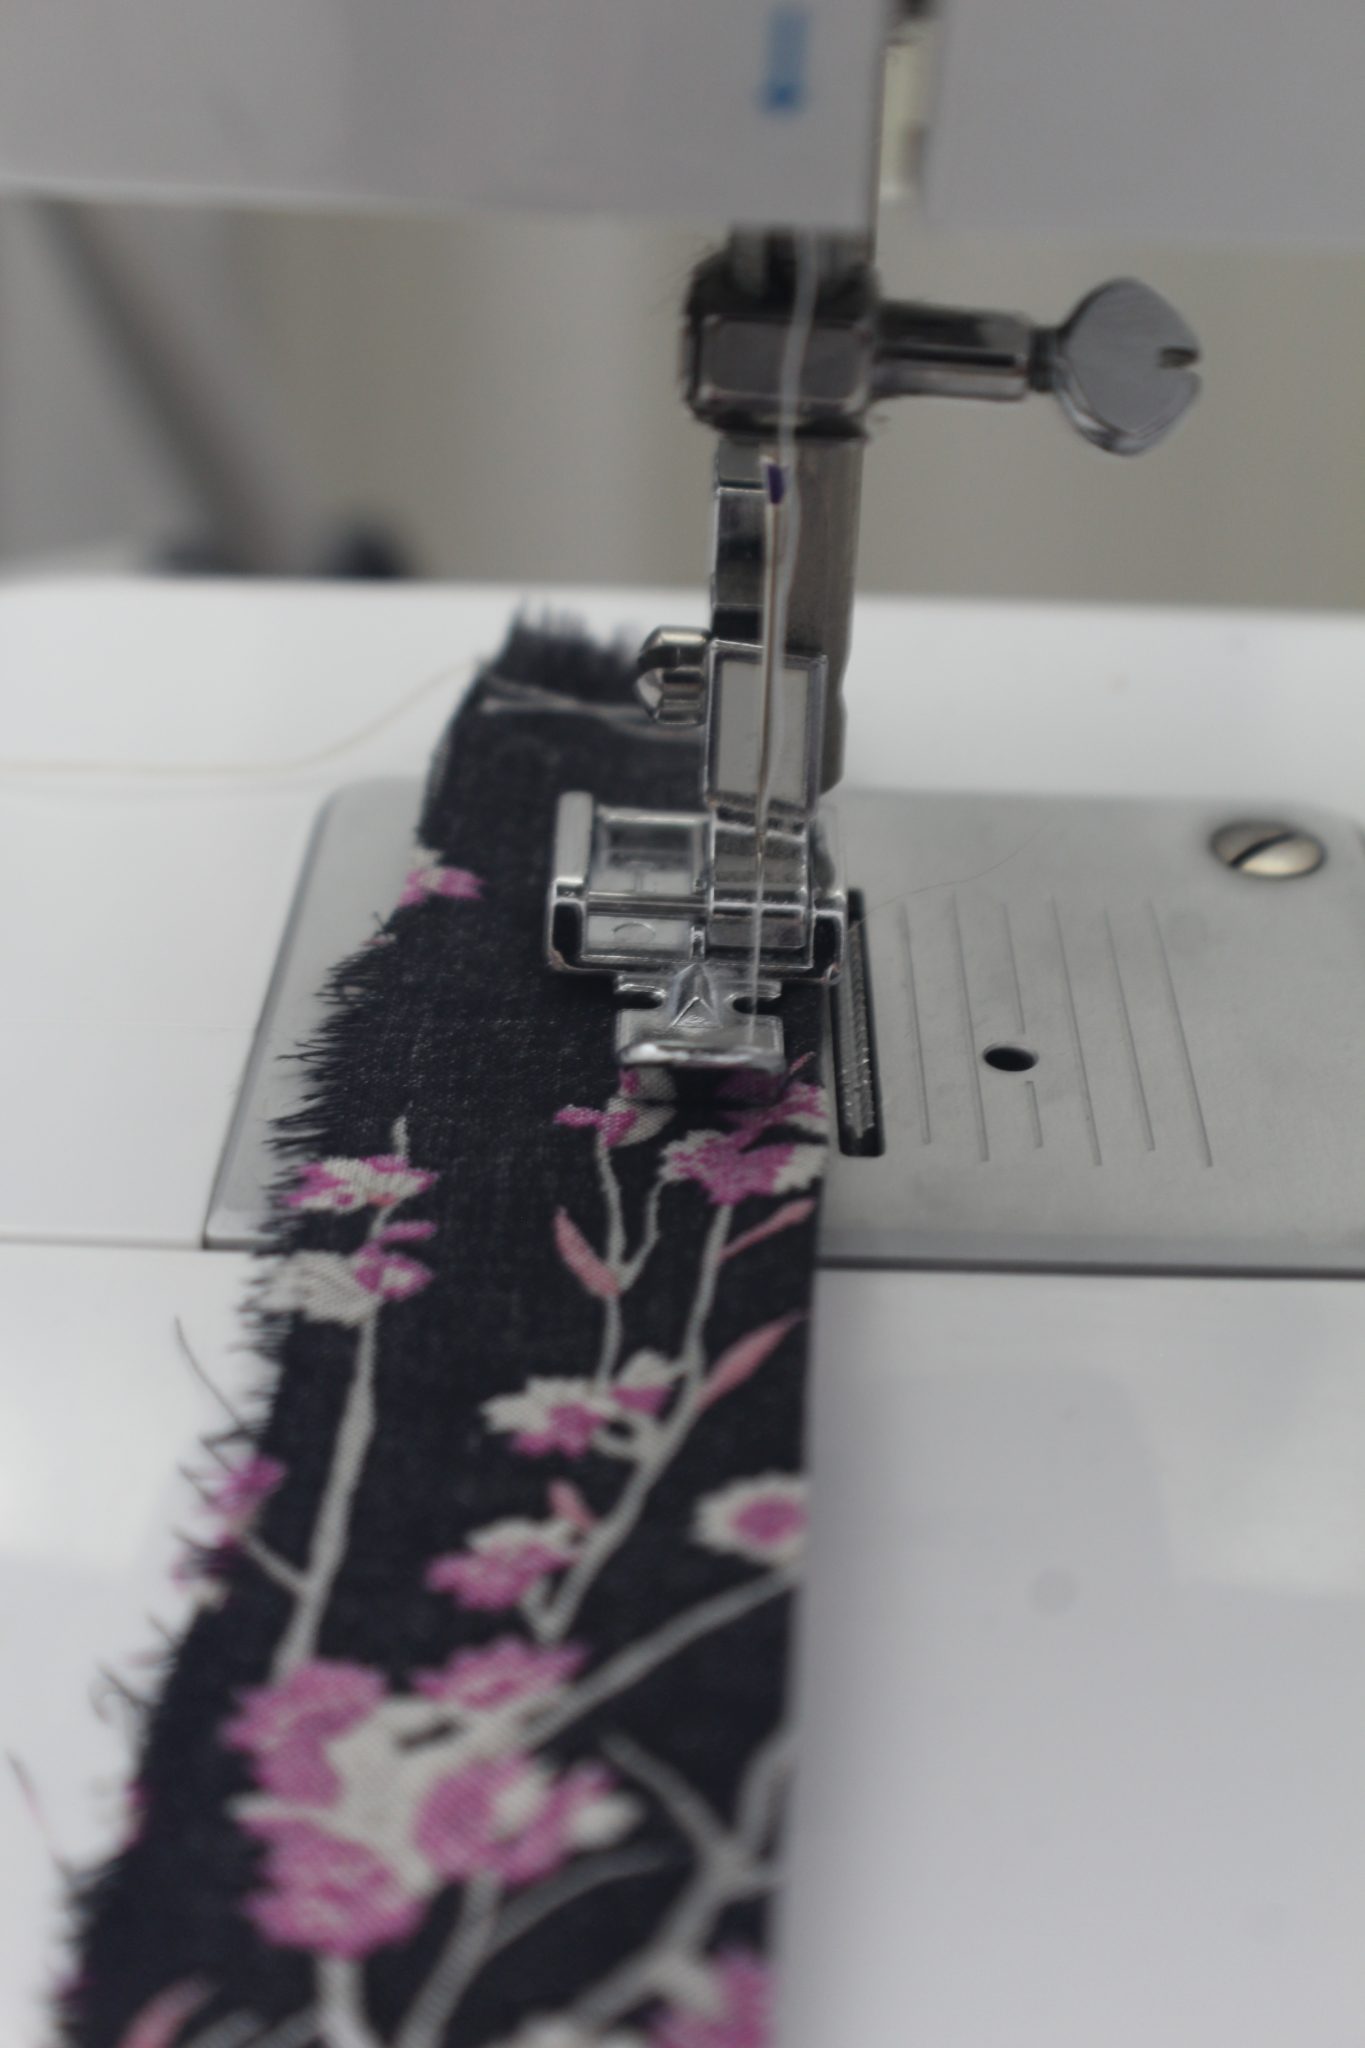
- Sew down along the twine cord to the other end of the fabric strip as far as possible from the open edge of the strip. Do your best to keep the needle from catching the twine. Seam allowance will vary depending on how wide or narrow you want your spaghetti straps.
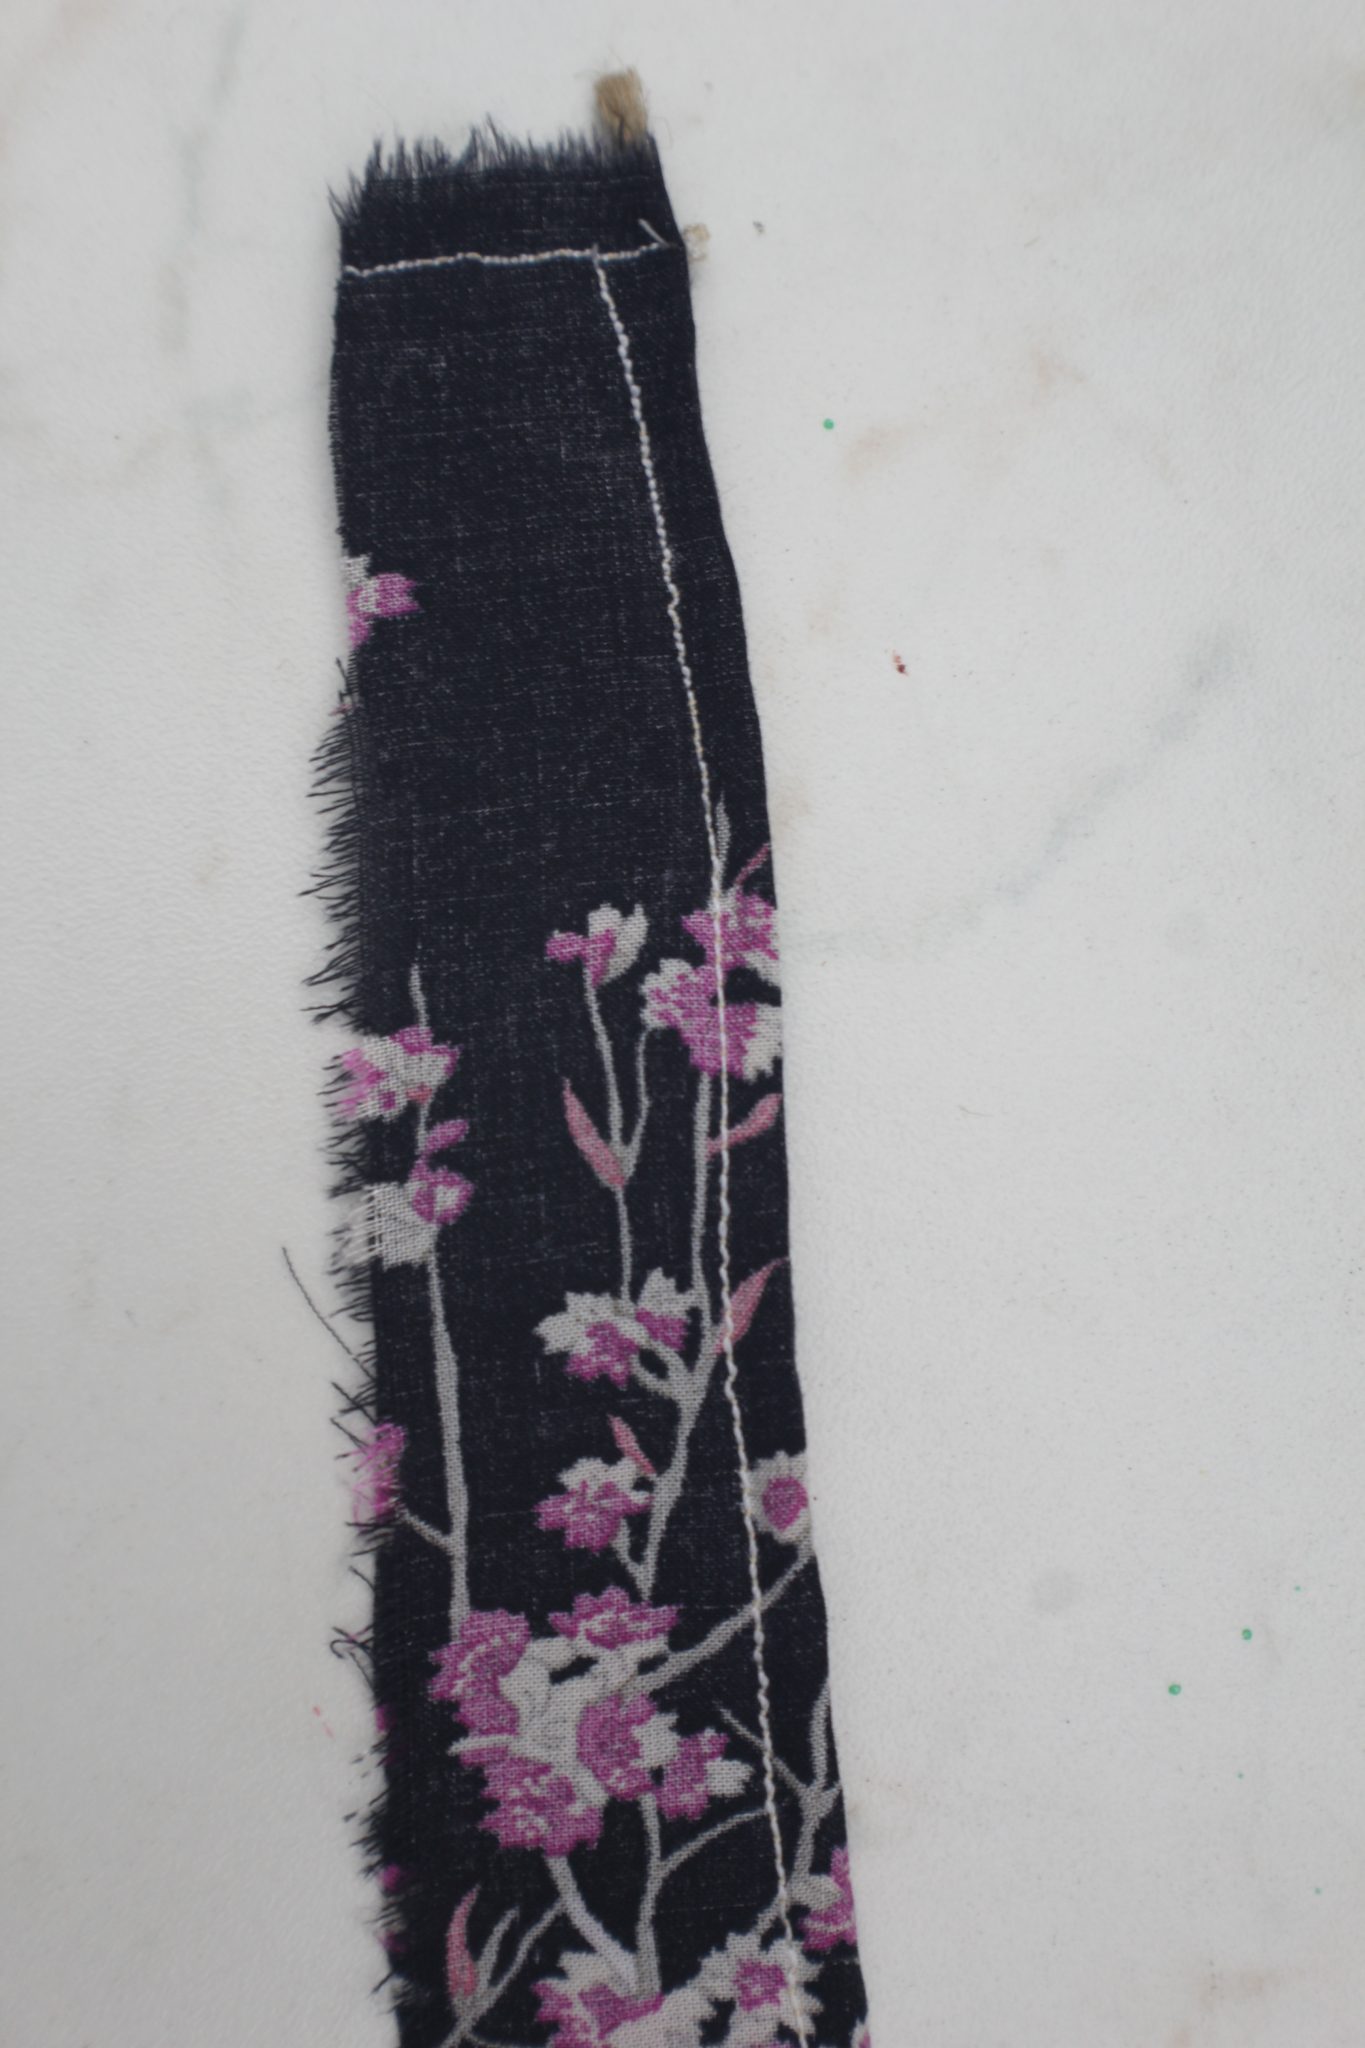

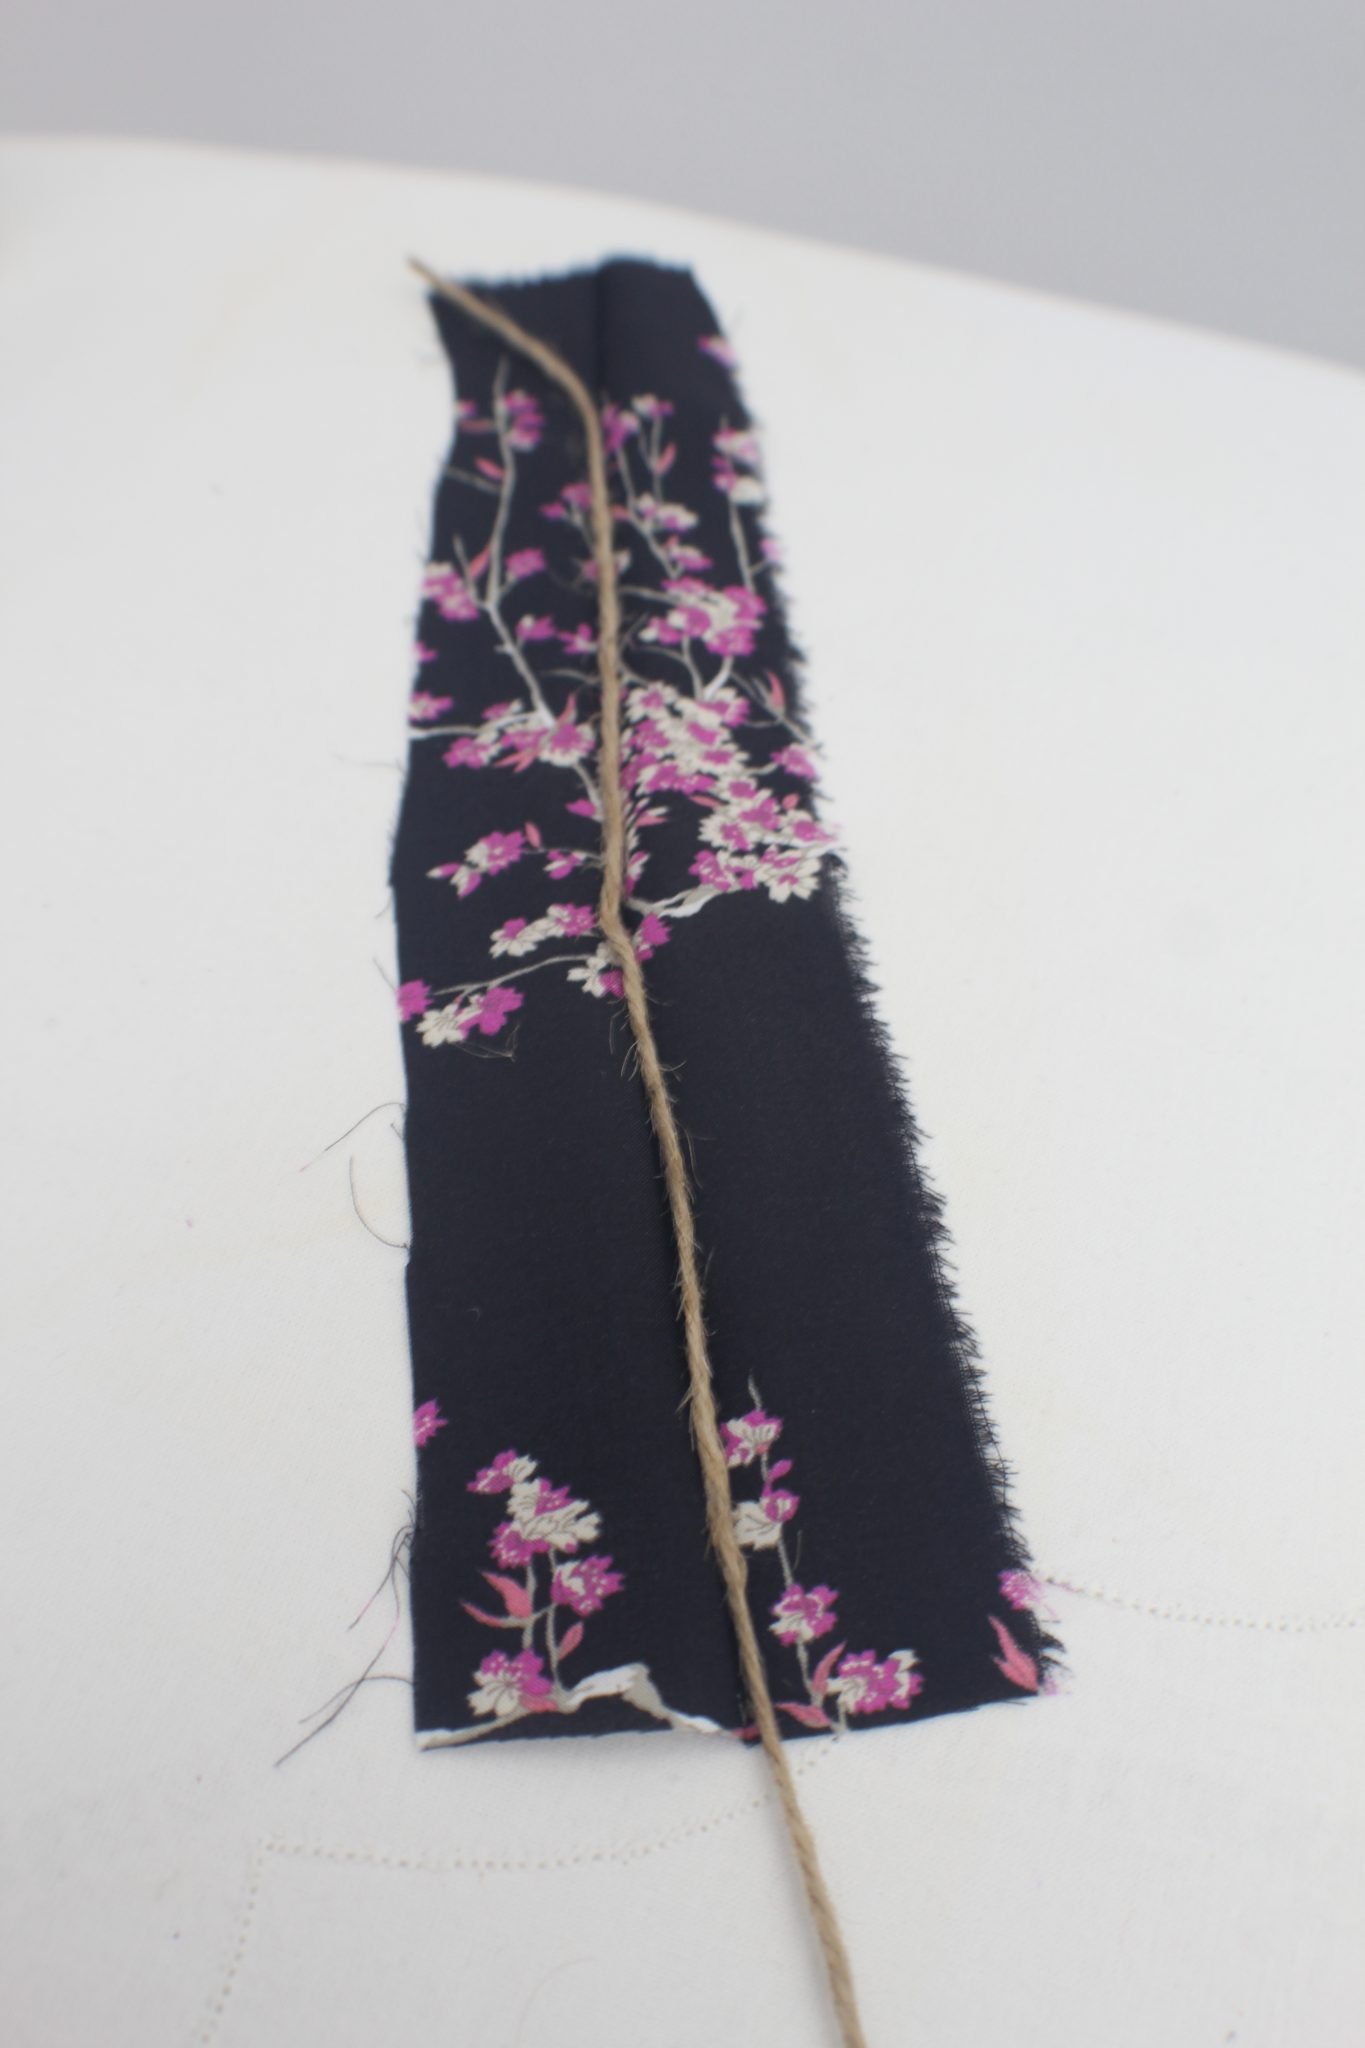
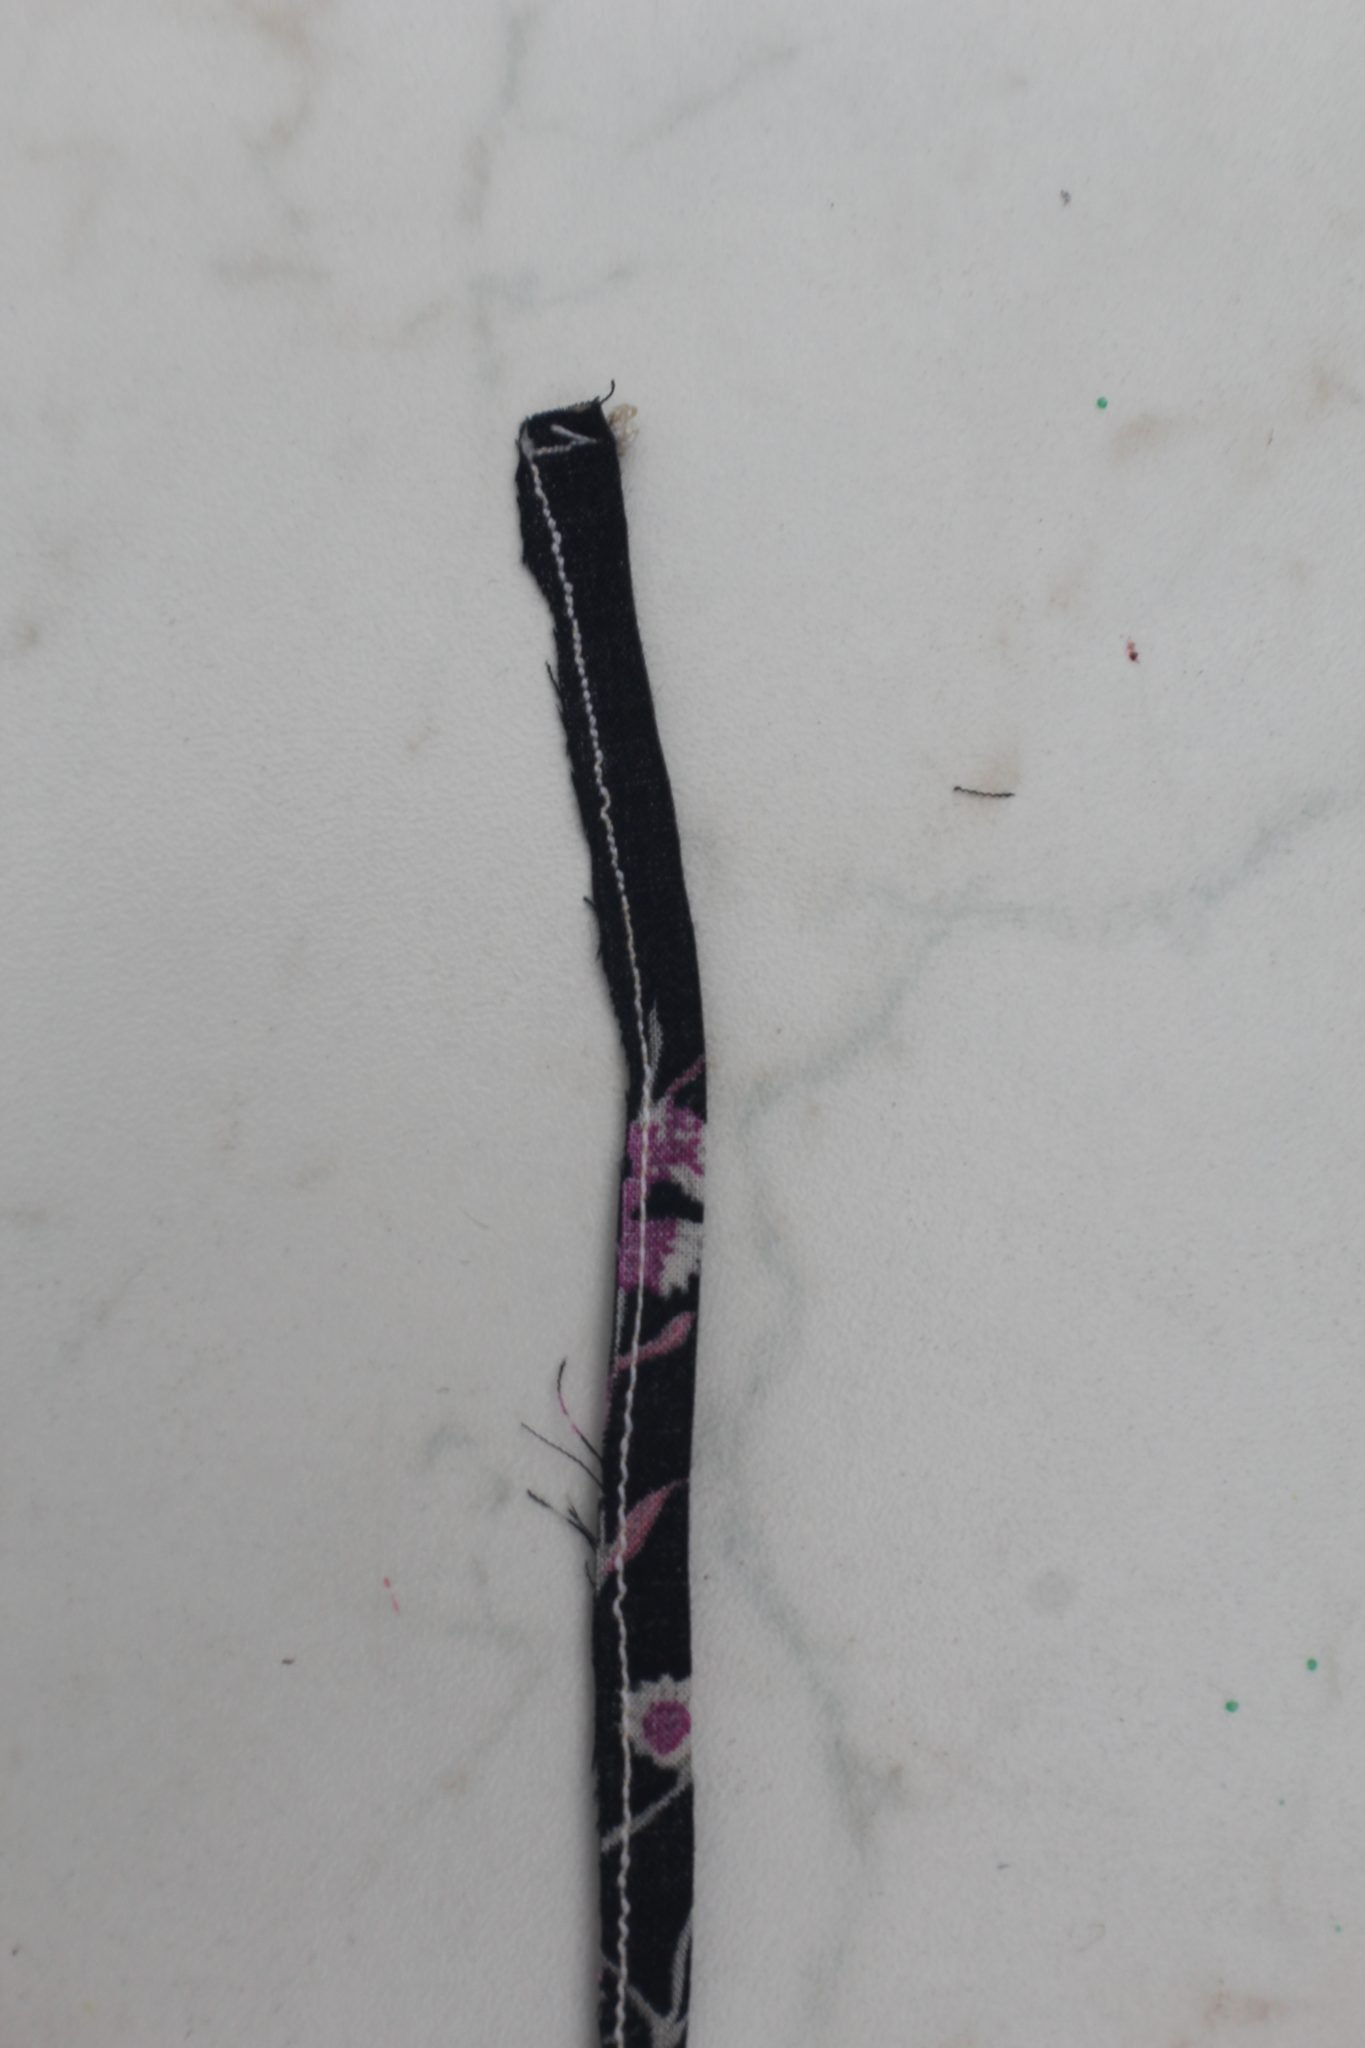
Trim the seam
- Remove the strip and go back to the end of the strip where the twine is barely peaking out.
- Trim the strip diagonally first then trim the seam where the twine is peaking out. From this point on, the small tail of the twine will not peak out anymore but I’ll just refer to it as if it still does, for ease of reference.
- Continue trimming the raw edge of the seam along the twine cording as close to the seam as you can.
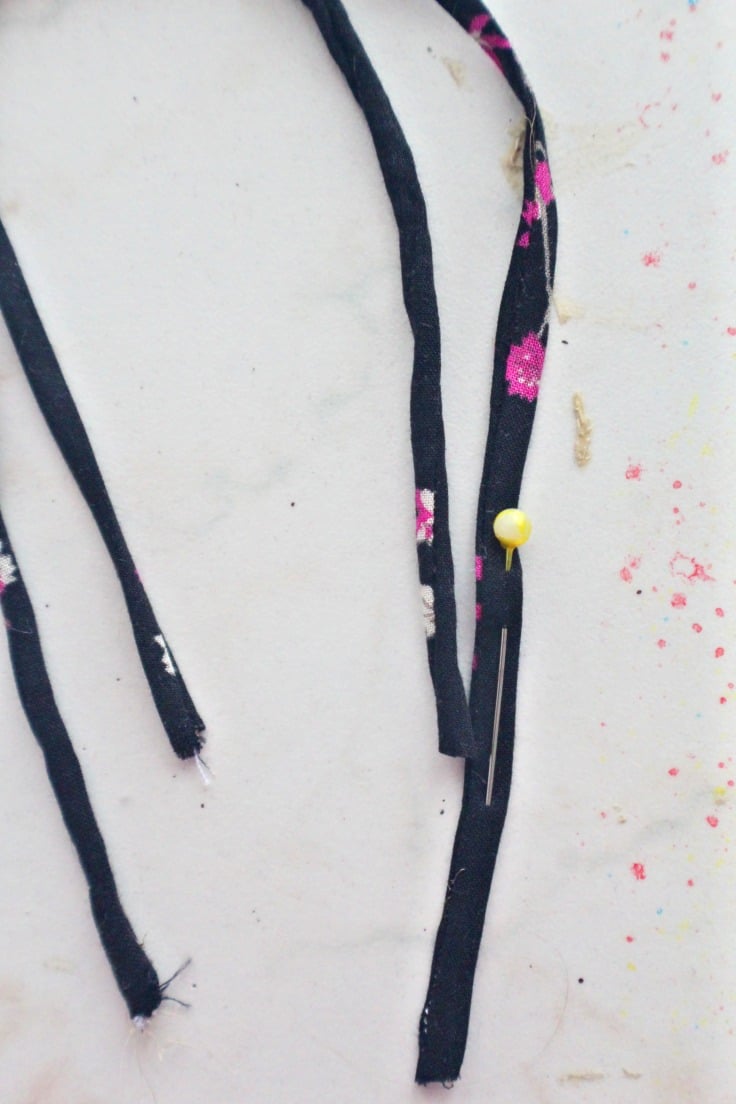
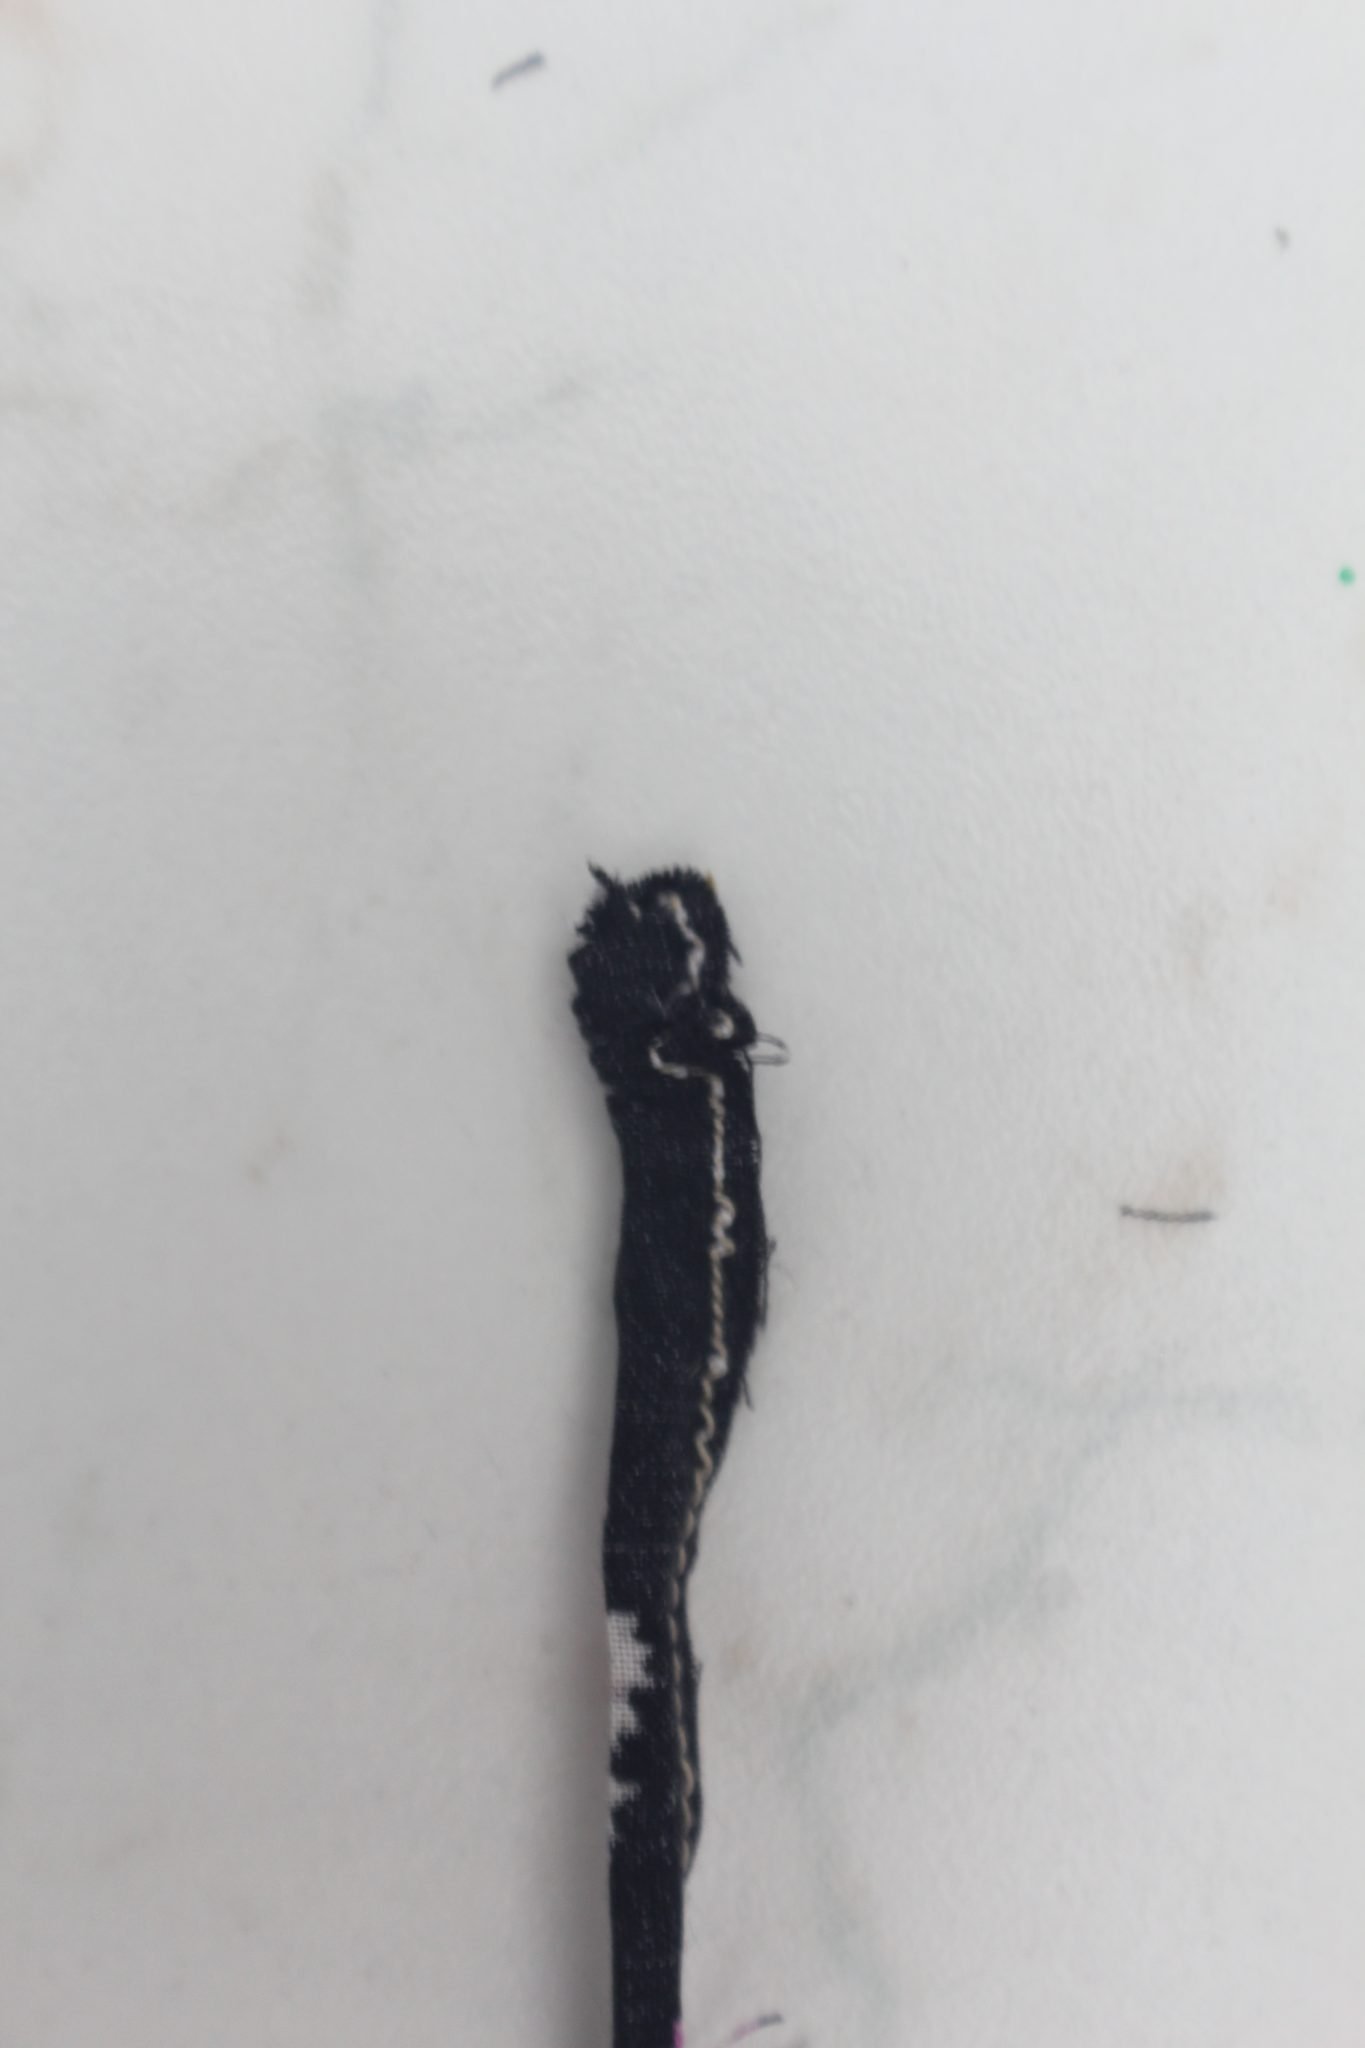
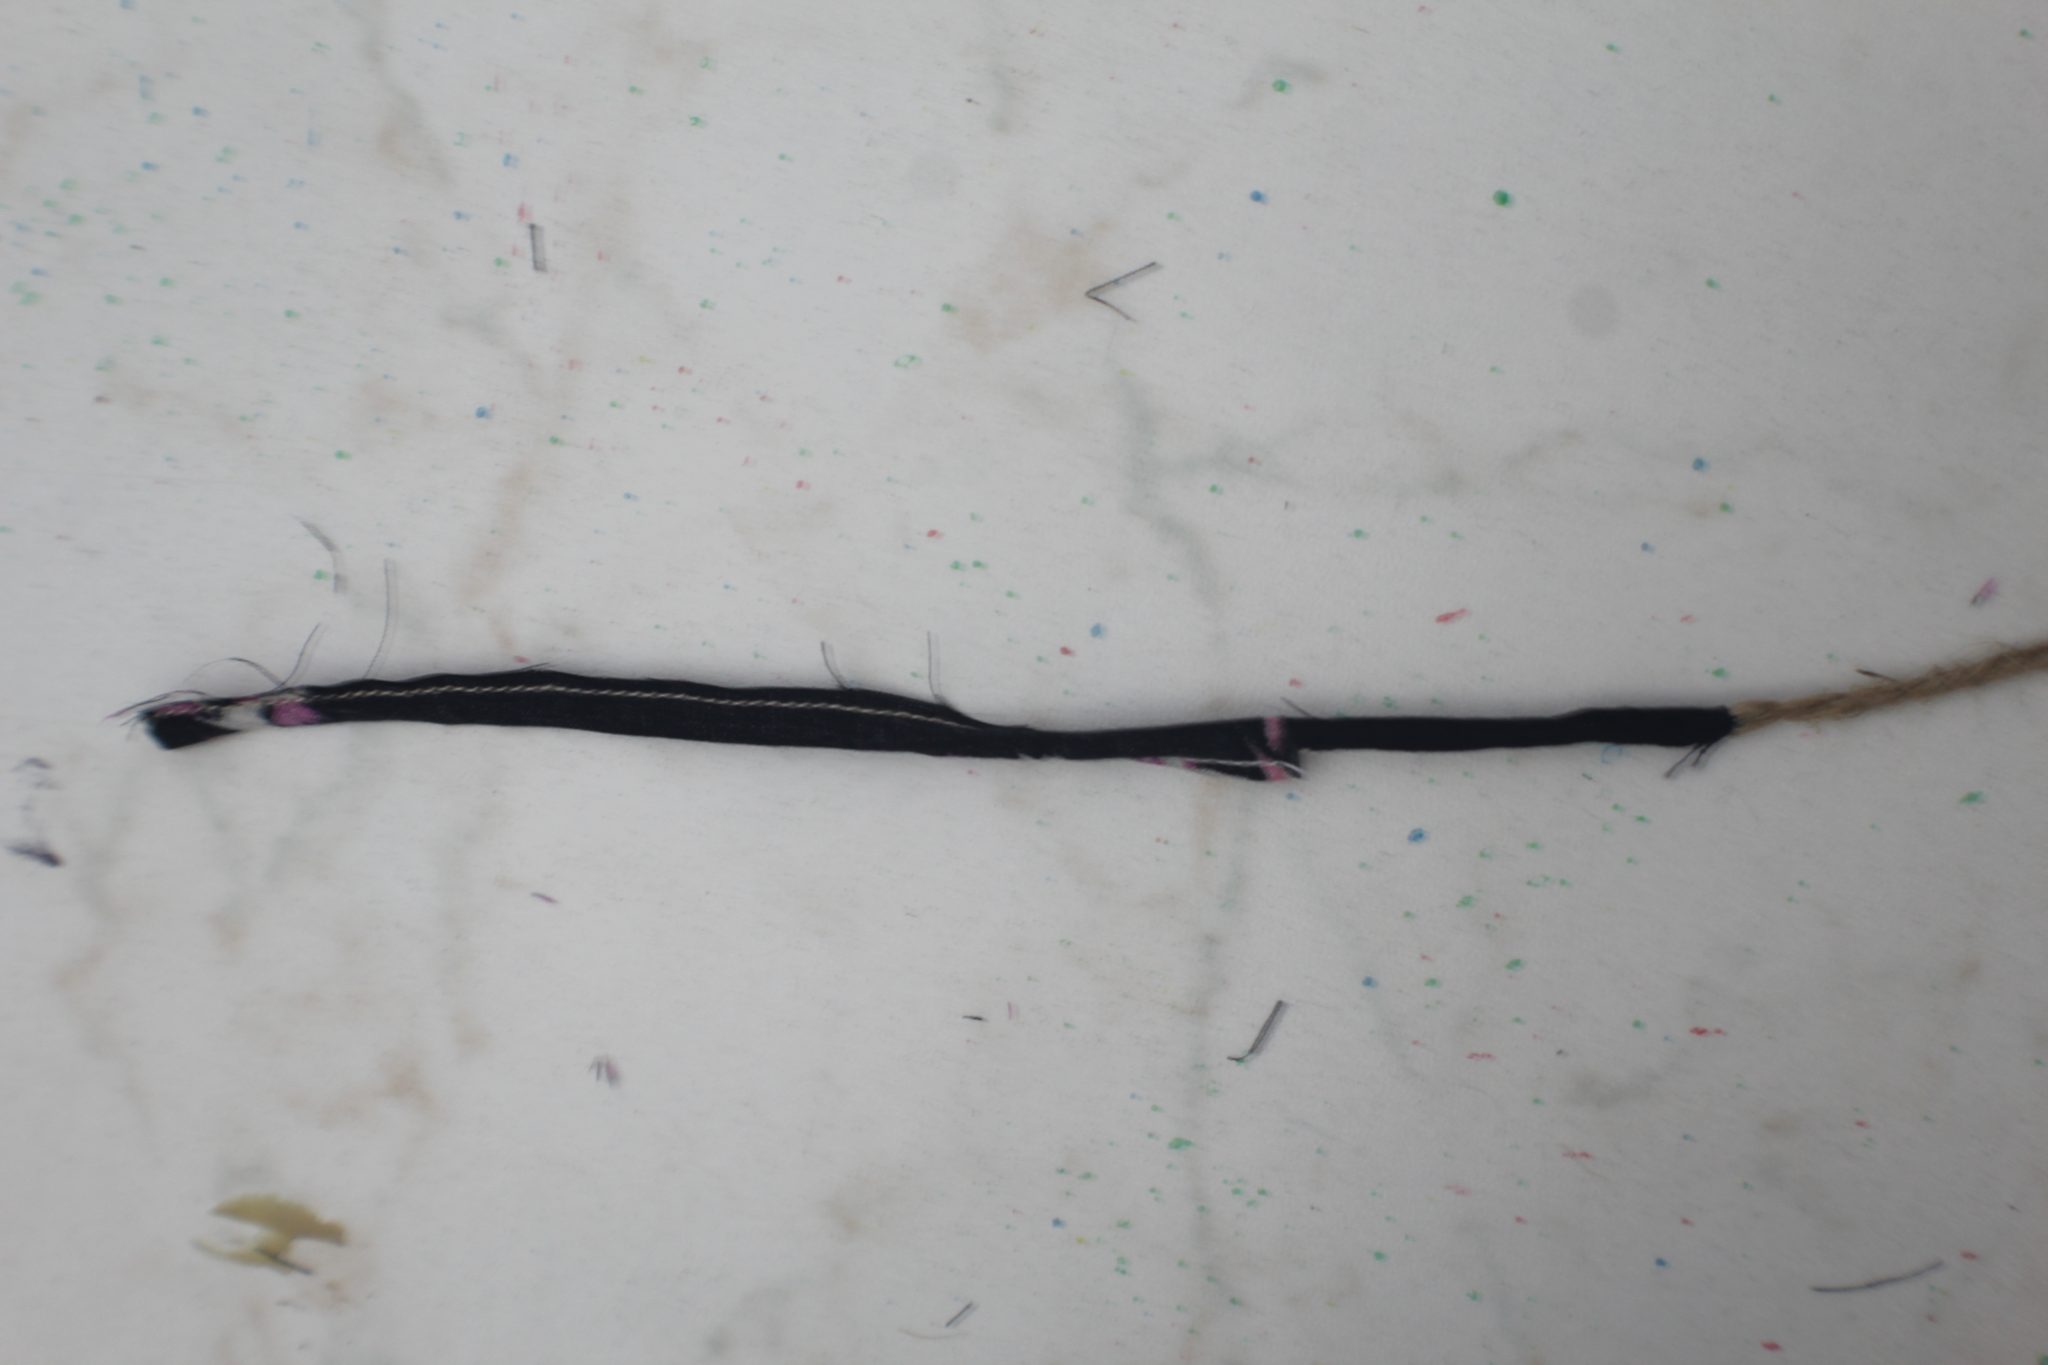
Pull the cording out – the turning process
- To beginning turning the wrong sides inside, grab one end of the twine (with the long tail) with one hand and with the other hand grab the opposite end (the one with the small twine tail).
- Pull the long tail just a little bit while holding the fabric at the opposite end (the one with the small tail). The fabric will tend to gather at the small tail end. You are aiming for pushing the small tail twine inside the fabric tube.
- This will prove to be a bit difficult with just this method alone so you need to push the small tail in with the help of a blunt tool such as a bamboo skewer.
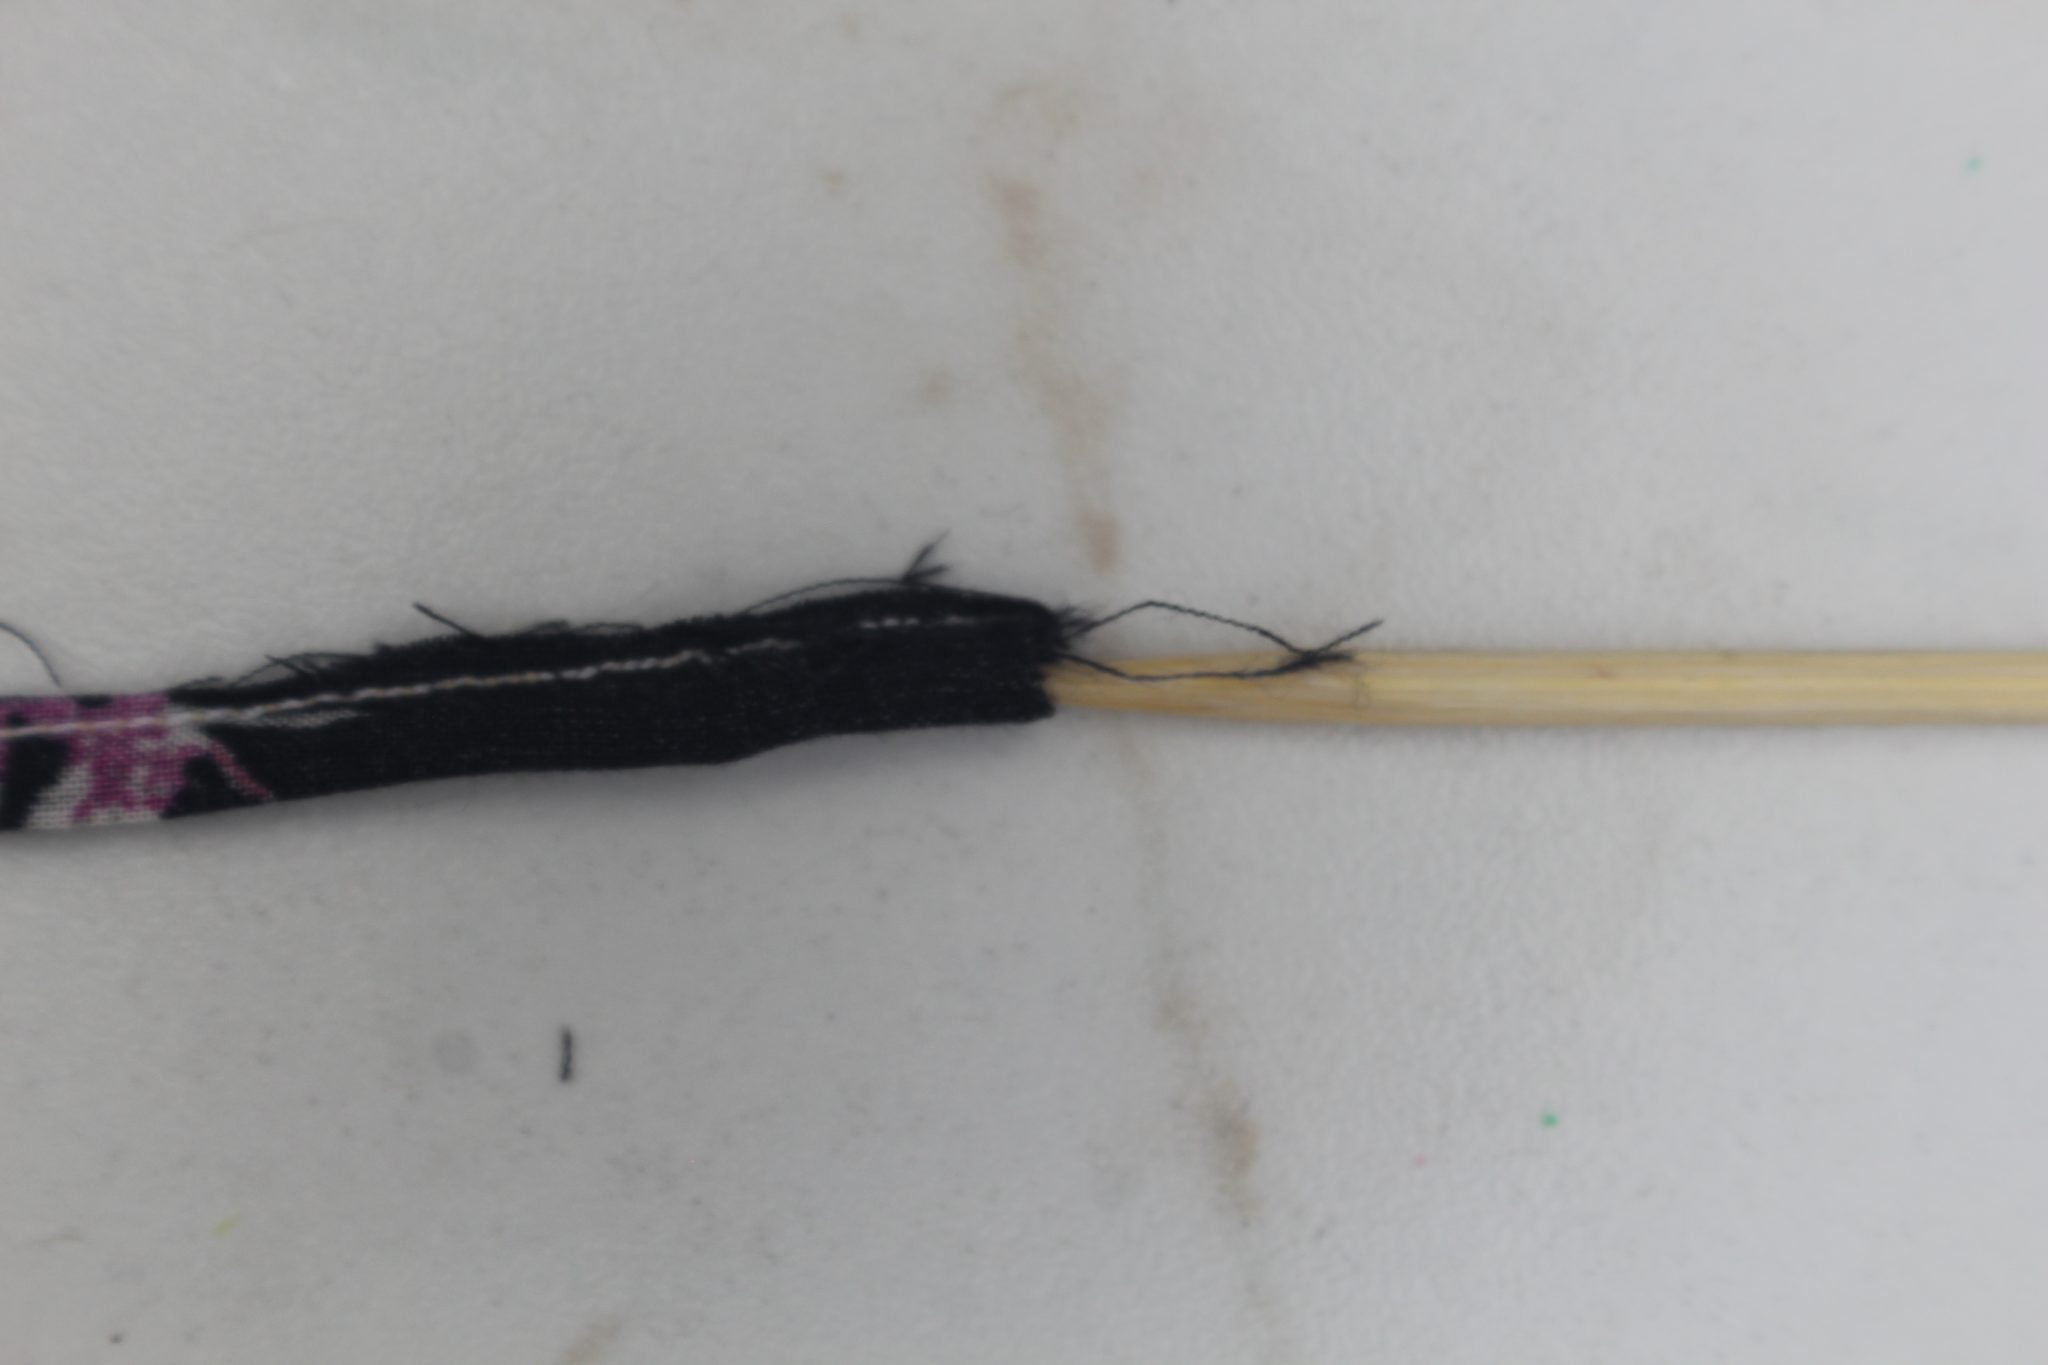
- While pushing the tail with the skewer you need to force the fabric a little to roll over the skewer, using your nails.
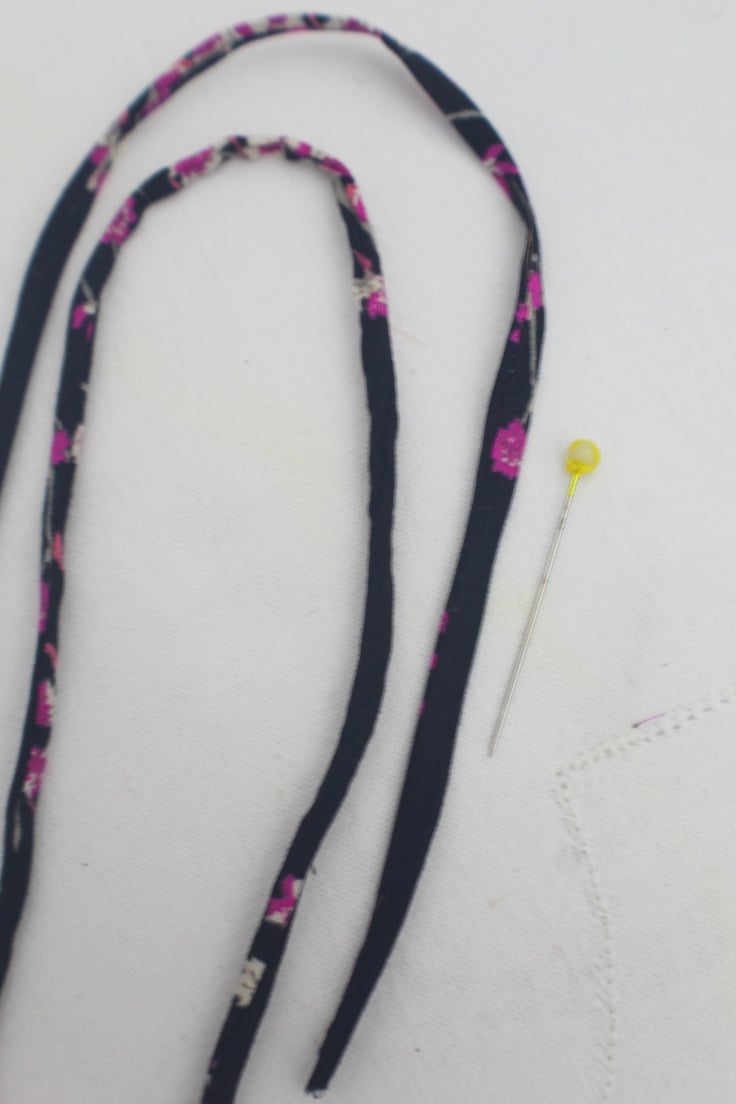
Turn the strap out
- Once the tail has passed the first 1/4″-1/2″ of the tube, turning the straps out is nothing but a breeze. Keep pulling the long tail with one hand while pulling the fabric with the other hand on the opposite end.
- When the entire spaghetti strap is completely turned inside out, snip the sewn end to remove the twine cording.
- Using your fingers, smooth out the seam.
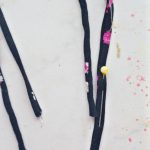
- You can leave the straps as they are or press them into flat straps using your iron on steam
- And you’re done! Enjoy your beautiful finished strap!
Tips
- While turning the straps out, if you feel like it’s not working, stop where you are and push the fabric back in. Then try again as sometimes this helps loosen up the fabric and seam and straighten things up before continuing.
- To make thinner spaghetti straps, reduce the seam allowance. This will prove quite difficult to turn out though.
- To make thicker spaghetti straps, increase the seam allowance and use thicker cording.
- Practice makes perfect and eventually you will find the method that works best for you. Don’t give up!
Frequently asked questions
What are spaghetti straps?
These are the thinnest straps you can make and they are usually less than 1/2 inch in width. They get their name because they look like spaghetti noodles!
Making your own spaghetti straps is a great way to add a personal touch to your wardrobe. These thin spaghetti straps give any blouse or dress an elegant and polished look. Best of all, they are very easy to make! In this tutorial, you will learn how to make spaghetti straps using a simple method that results in neat and tidy straps every time.

How wide should spaghetti straps be?
The width of the strap will depend on the garment it is being used for. For example, a spaghetti strap dress will have thinner straps than a spaghetti strap top. As a general rule, spaghetti straps should be less than 1/2 inch wide.
What type of fabric is best for spaghetti straps?
Any lightweight fabric can be used for spaghetti straps. Cotton, rayon, and silk are all good choices. Stay away from anything that is too heavy or stiff, as this will make it difficult to sew the straps and turn them right side out.
What is the difference between spaghetti straps and rouleau straps?
Rouleau straps are just slightly wider than spaghetti straps, typically about 3/4 inch wide. They are also not as common. Rouleau straps get their name from the French word for roll.
More sewing tips you will enjoy:
- Tips for clipping and notching seam allowances
- Easiest way to make sharp corners
- How to make pleats
- Elastic join tip to reduce bulk
- How to sew a flounce hem
- How to match stripes perfectly
You now have a newfound skill in making super thin straps! Not only are they a great way to jazz up any homemade garment (hello tiny ties and loops!), but they can also be a lifesaver when you’re in a bind and need to fix a strapless dress or top. With just a few simple steps and tricks, you can create beautiful and professional thin straps that will perfectly complete your outfit!
If you liked this tutorial I would love to know your thoughts in the comments below. And if you like to keep yourself up to date with the latest content, updates and offers on my site, sign up to receive my newsletters straight to your inbox!
Thanks and happy sewing!
How to make spaghetti straps
Materials
- fabric strips in the length you need your straps plus a bit more for allowance and about 1" wide.
- twine cording
Tools
- zipper foot
- scissors
- matching thread
- blunt tool (like a bamboo skewer)
- pressing iron
Instructions
Sew the cording
- Please note that I use twine as I find that it sticks best to the fabric strip while I work with the fabric but feel free to use any kind of thin cording.
- Fold your fabric strip in half, wrong side out.

- Press well with your iron on steam to form a sharp edge on the fold.
- Place the twine cord right on the fold, leaving one end to peak out just a bit. The other end should hang outside the strip at least 1".
- Pin the twine cord to the top of the tube, on the end where the twine peaks out just a bit. A small safety pin would work too.
- Attach the zipper foot to your sewing machine.
- Sew perpendicularly to the twine cording, thus trapping the cording. Use a small stitch to make sure the cording is tightly secured inside the fabric strip.
- Place the folded strip under the foot lengthwise, with the twine trapped in the fold. Hold the twine so that it lays flat and straight inside the fabric strip. The tip of the zipper foot should press the twine against the fold so there's no more room between the cording and the fabric.
- Sew down along the twine cord to the other end of the fabric strip as far as possible from the open edge of the strip. Do your best to keep the needle from catching the twine. Seam allowance will vary depending on how wide or narrow you want your spaghetti straps.
Trim the seam
- Remove the strip and go back to the end of the strip where the twine is barely peaking out.
- Trim the strip diagonally first then trim the seam where the twine is peaking out. From this point on, the small tail of the twine will not peak out anymore but I'll just refer to it as if it still does, for ease of reference.
- Continue trimming the raw edge of the seam along the twine cording as close to the seam as you can.
Pull the cording out - the turning process
- To beginning turning the wrong sides inside, grab one end of the twine (with the long tail) with one hand and with the other hand grab the opposite end (the one with the small twine tail).
- Pull the long tail just a little bit while holding the fabric at the opposite end (the one with the small tail). The fabric will tend to gather at the small tail end. You are aiming for pushing the small tail twine inside the fabric tube.
- This will prove to be a bit difficult with just this method alone so you need to push the small tail in with the help of a blunt tool such as a bamboo skewer.

- While pushing the tail with the skewer you need to force the fabric a little to roll over the skewer, using your nails.
Turn the strap out
- Once the tail has passed the first 1/4"-1/2" of the tube, turning the straps out is nothing but a breeze. Keep pulling the long tail with one hand while pulling the fabric with the other hand on the opposite end.
- When the entire spaghetti strap is completely turned inside out, snip the sewn end to remove the twine cording.
- Using your fingers, smooth out the seam.
- You can leave the straps as they are or press them into flat straps using your iron on steam
Video
Most popular sewing projects:
Article may contain Amazon & affiliate links. As an Amazon Associate I earn from qualifying purchases at no additional cost to you.

This is definitely something I struggle with. Thanks for the useful tips! I am actually thinking of sewing a thin neck lanyard and this would work as well.
We were taught sewing in grade school but I have never mastered it. :) This seems easy to follow.
Sewing is not easy for me at all. But with your tutorial seems that I can do it! :)
This is such a really great and very informative post! I am surely gonna give this a try!
Spaghetti straps always gave me trouble when I was learning to sew. Your tips would have helped me out.
That’s really useful. My eldest likes to try making clothes. I am sure she would find this guide really helpful.
Such a helpful post. Thanks for sharing the detailed tutorial with us. I’ll share this post with my bestie who loves sewing.
Thank you for this detailed step by step! I’ve always found these intimidating but you help instill confidence in me.
This is such a great post. I need to add spaghetti straps to at least a few of my tops.
You make it look so easy. I don’t sew but I think that I could manage these straps.
I would love to give this a try, I love how these straps turned out.
Oh cool, my daughter could use these on some of her tops! I will have to show her this post. She can sew better than I can.
That is really good instruction on adding spaghetti straps. I used to wear a lot of tops with spaghetti straps!
This is such an interesting post! I’m not too good at sewing but it’s always been something I wished I could do!
Petro, this video and the straw video are awesome! Thank you! I have avoided camisoles because of the straps.
Thanks for you kind comment, Susan! I’m happy you liked my ideas and found them useful!
Thanks so much Petro, for the tutorial on spaghetti straps! I’ve never made them before on anything I have sewn. You make the process so easy, I’ll definitely have to give it a go! Thanks also for all the work, and love you put into your blog. I absolutely love it! You are a treasure. : )