

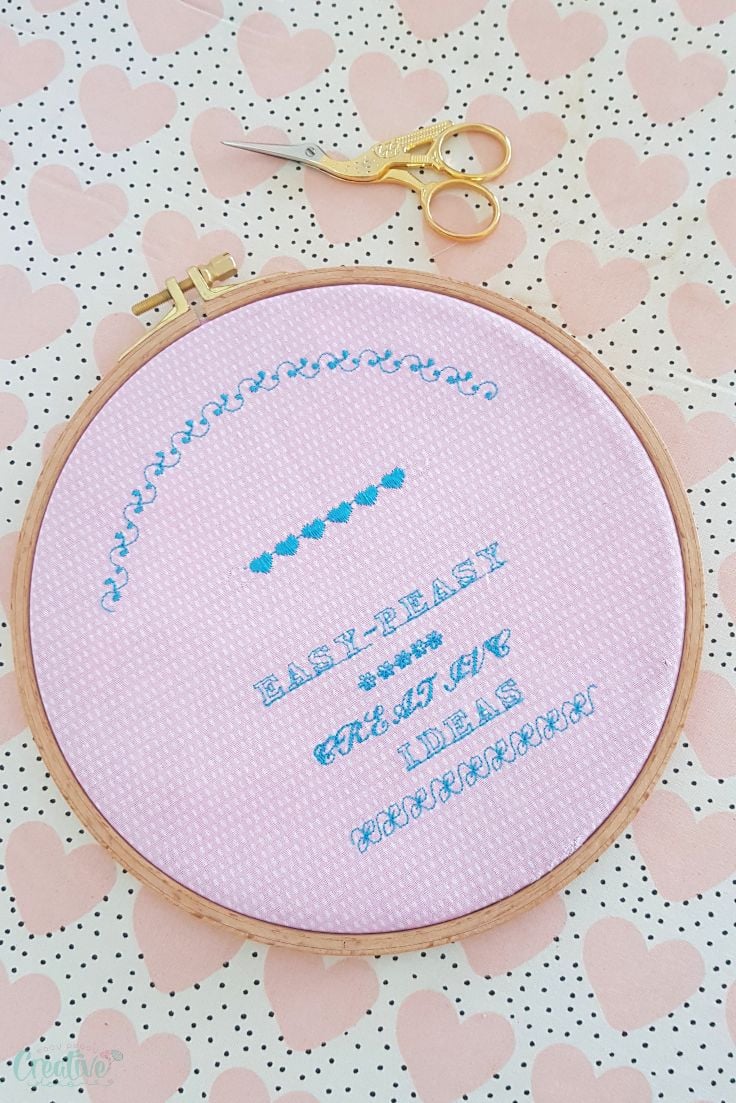
How to use an embroidery hoop
Using an embroidery hoop is super easy and will help you get the best results in your embroidery! In this short tutorial you’ll learn how to use an embroidery hoop to keep your fabric taut and secure!
How to use an embroidery hoop
When I was a child, I remember taking embroidery and needlework classes, somewhere around 3rd or 4th grade, where I was offered an embroidery hoop to help me work easier and get better results from my embroidery. Although it’s been almost 30 years, I can still remember those simple but to the point instructions! In this simple tutorial I’ll show you how to use an embroidery hoop the way I was thought, back in my childhood days.
My mom is a very creative person and she learned everything from sewing, to knitting, embroidery, needlepoint or macrame! Unfortunately I wasn’t interested in taking the same road until recently. I always loved sewing and learning it on my own was super fun and rewarding. But I never pictured myself getting back to embroidery and putting into practice all the wonderful information I got in 3rd grade from my teacher and my mom.
Until I got a new sewing machine which is computerized and a breeze to work with on everything, including embroidery! I’ve been experimenting with my machine and found wonderful things to do with the embroidery setting! And that made me realized my old and forgotten embroidery hoop is an essential accessory!
More sewing tips you will love:
- How to embroider with a sewing machine
- Easy trick to match stripes
- How to make spaghetti straps
- Turning tubes right side out without tool
- How to sew sharp corners
- Elastic join tip to reduce bulk
- DIY ear savers with snaps or buttons
- DIY fabric keychains
- How to sew a ladder stitch
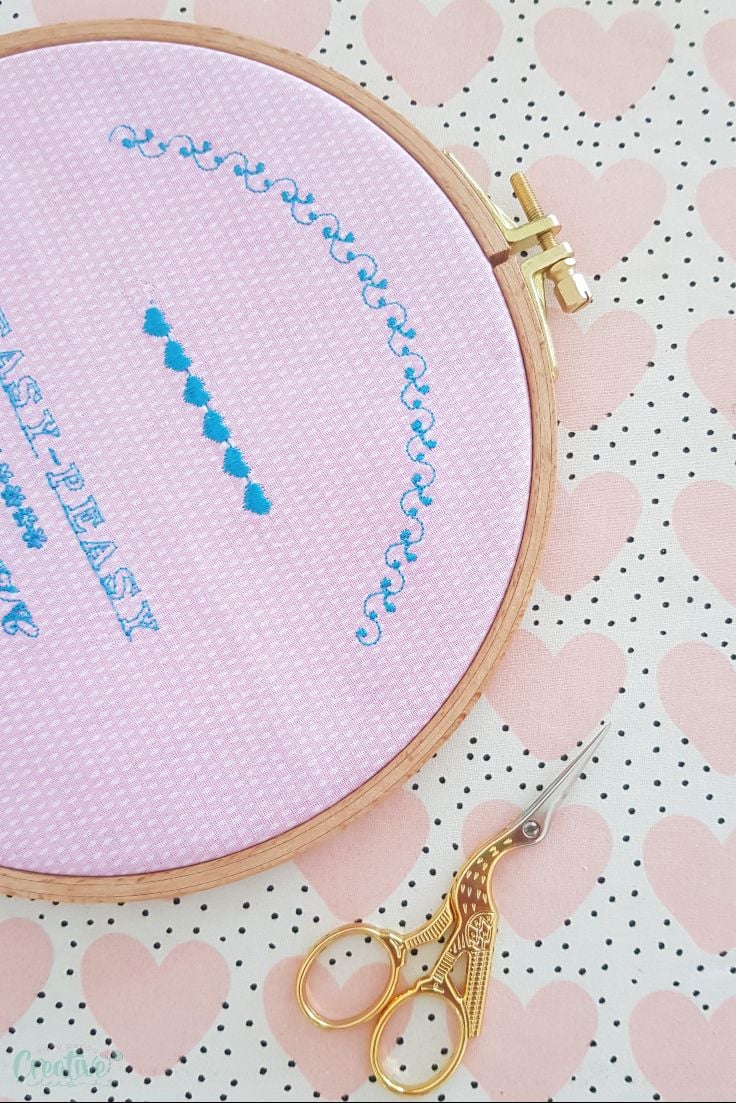
What is an embroidery hoop?
Embroidery hoop, also called tambour frame, is a circular device, typically wooden, designed to keep the fabric taut while doing embroidery or other type of needlework. If the fabric is not taut you might get uneven results and even puckering. If you do embroidery on a sewing machine, the fabric might get stuck in the feed dogs if not taut enough.
An embroidery hoop consists of two circular rings, a smaller one and a larger one, kept together through a tightening device operated by a screw, device placed on the larger ring. Loosening the screw will loosen the large ring, enabling you to remove it from the smaller ring. This will allow you to insert the fabric between the two rings.
Do you have to keep embroidery in the hoop?
Not necessarily, you can embroider or do other needle work without an embroidery hoop. But the hoop will stabilize the fabric, keeping taut and easier to handle. And if you’re doing embroidery on a sewing machine, particularly if you’re using the free motion technique, an embroidery hoop will help you move the fabric easier underneath the needle as you need it.
How tight should an embroidery hoop be?
When placing the fabric between the two rings, it should be taut but not super tight. You should be able to hear a little bouncy noise and the fabric grain should not me modified.
How do you get rid of hoop marks?
I find that a simple pressing with my iron on steam will get rid of the hoop marks in most cases. But if your fabric seem a little stubborn, mist with a bit of water before pressing. For thicker fabrics this might not be enough though but the marks will disappear after washing, followed by pressing.
How to set up an embroidery hoop
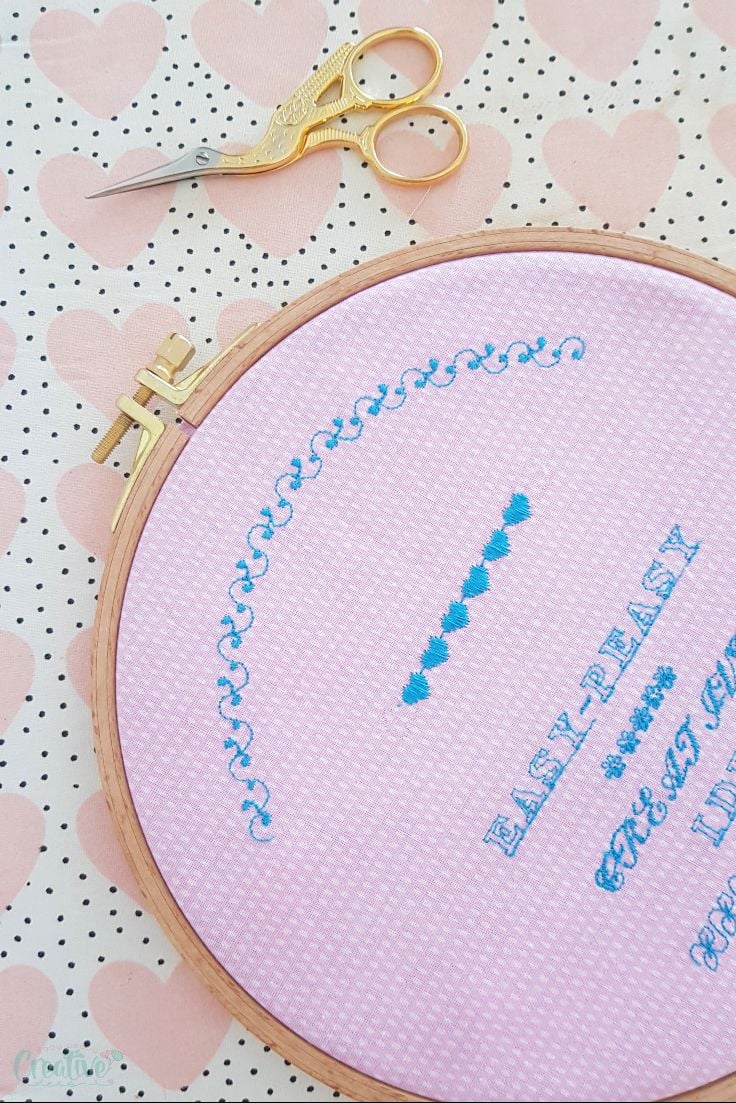
Below I’ll cover the step by step on how to use an embroidery hoop, from opening the hoop, to inserting the fabric and assembling the hoop back up again. It helps to work with a larger rectangle of fabric, rather than a smaller one as it will allow you to adjust the settings and the fabric under the hoop easier.
Materials:
- embroidery hoop
- cotton fabric or embroidery fabric, larger than the hoop
- embroidery stabilizer if you’re doing sewing machine embroidery
- embroidery floss, if doing hand embroidery.
- sharp embroidery scissors
- quilting foot for embroidery with a sewing machine.
Directions:
- Start by applying stabilizer to the wrong side of the fabric. Follow the instructions for the type of stabilizer you’re using.
- Make sure both the embroidery hoop and your hands are clean to avoid any stains transferred to the fabric.
- Pick up the embroidery hoop and look for the tightening device. Lightly adjust the screw until the larger ring is loose enough to slip out. Some hoops are designed in such way that the rings will never separate. If that’s the case, just loosen the outer hoop, without attempting to remove.
- Look for a mark on the inner hoop or something that says “this side up” or similar. Even if your hoop doesn’t have a mark like that, place the smaller hoop on the table.
- Lay the fabric over the smaller hoop. If you’re doing hand embroidery, the fabric should be right side up. If you’re doing embroidery on a sewing machine, the fabric should be wrong side up.
- Press larger hoop over the smaller hoop, keeping fabric as smooth as possible. Use both hands to press the outer hoop down evenly.
- If the outer hoop feels too tight or too loose, remove it and adjust the tightening screw a bit. Pulling the fabric gently might help too. The tension in the hoop should be fairly tight, the fabric should be taut, and you should hear a little bouncy noise when tapping the fabric gently. Keep adjusting the screw until you get the right tension.
- When happy with the setting, tighten the screw until you are no longer able to remove the outer hoop.
- Only keep the embroidery hoop on while stitching as keeping fabric taut will put stress on the fabric grain. Remove the hoop when not in use and repeat the steps above when ready to resume the project.
Pin to save for later
Most popular sewing projects
Article may contain Amazon & affiliate links. As an Amazon Associate I earn from qualifying purchases at no additional cost to you.
ABOUT PETRO
Hi, I’m Petro, author and founder of Easy Peasy Creative Ideas. Sewist, crafter, avid DIY-er, foodie, photographer, homemaker and mommy to one. I’m an expert at coming up with quick, clever sewing tips, recycling crafts and simple, easy recipes! You can find my ideas featured in reputable publications such as Country Living, Good House Keeping, Yahoo News, WikiHow, Shutterfly, Parade, Brit & Co and more. Thanks for stopping by and hope you’ll stay for a while, get to know me better and come back another time. Stick around for real fun projects! Read more…