

How to Make Easy Quilted Potholders, Step by Step instructions with video
Making potholders is fun and easy! Learn how to make some simple but stunning round quilted pot holders with this easy to follow tutorial! Great gift ideas for holidays but work wonders for every day use in your personal kitchen!
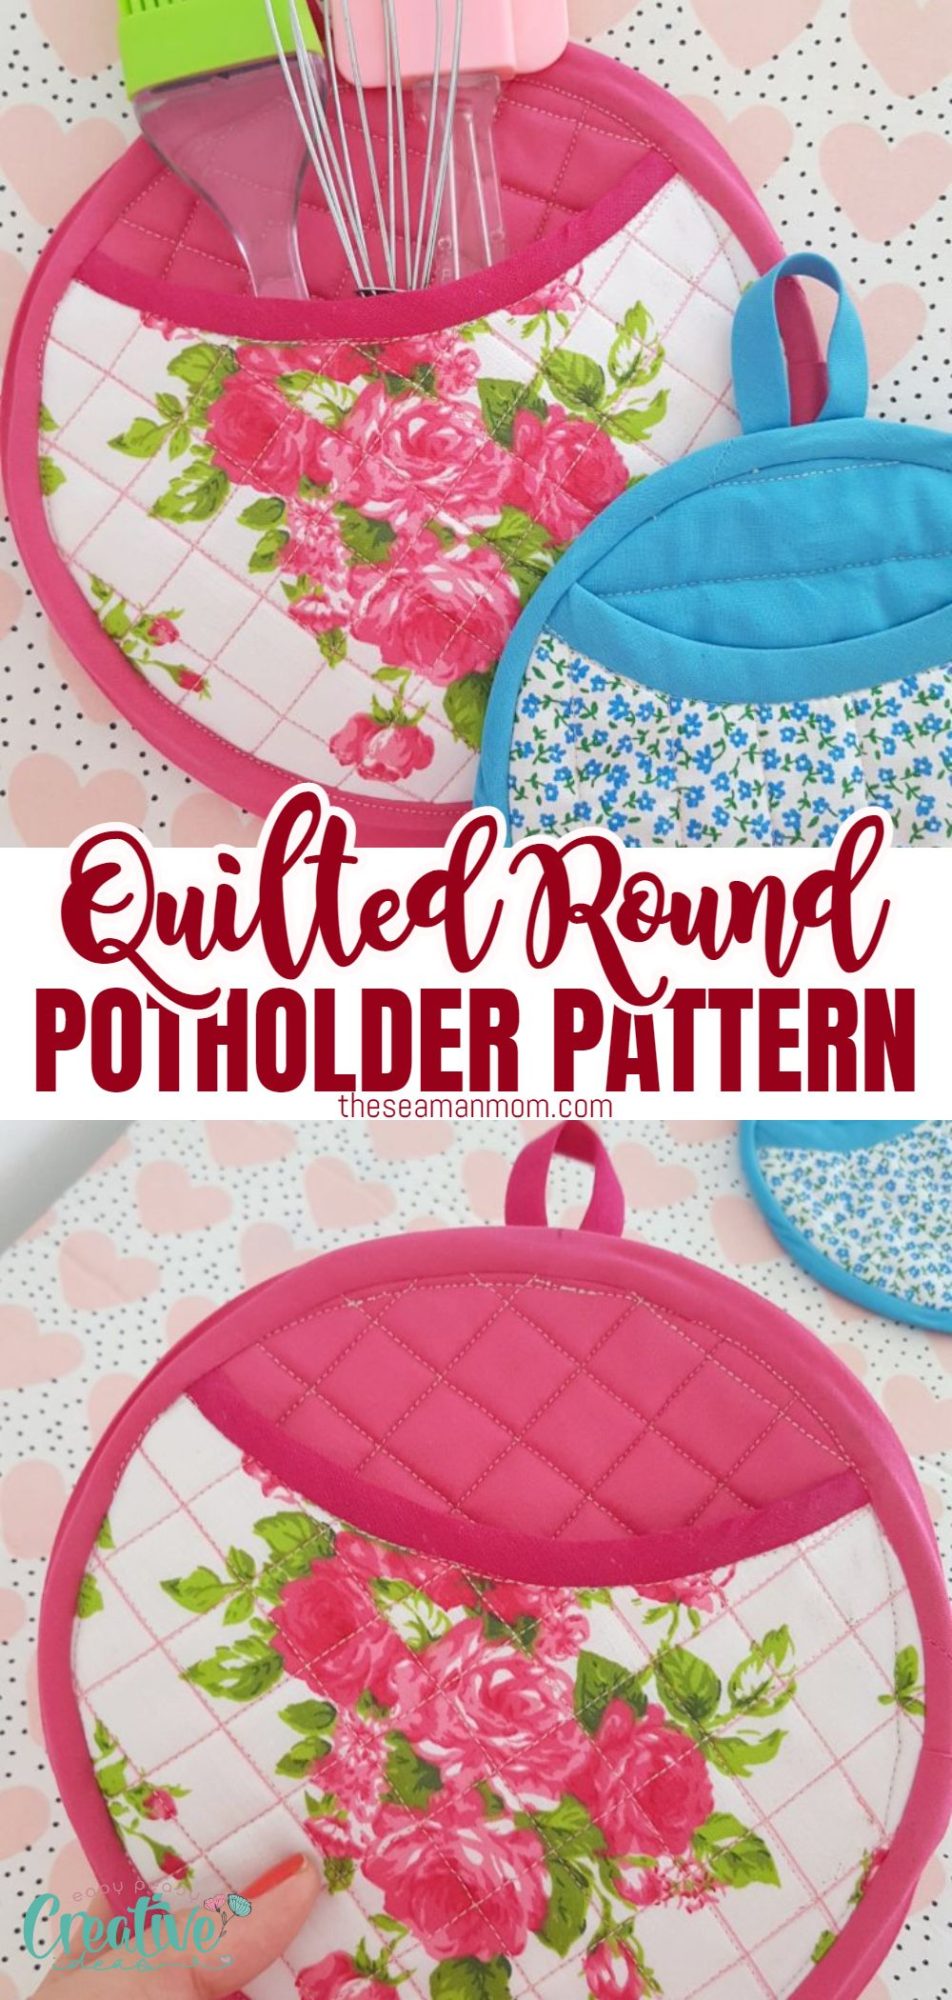
Quilted pot holders
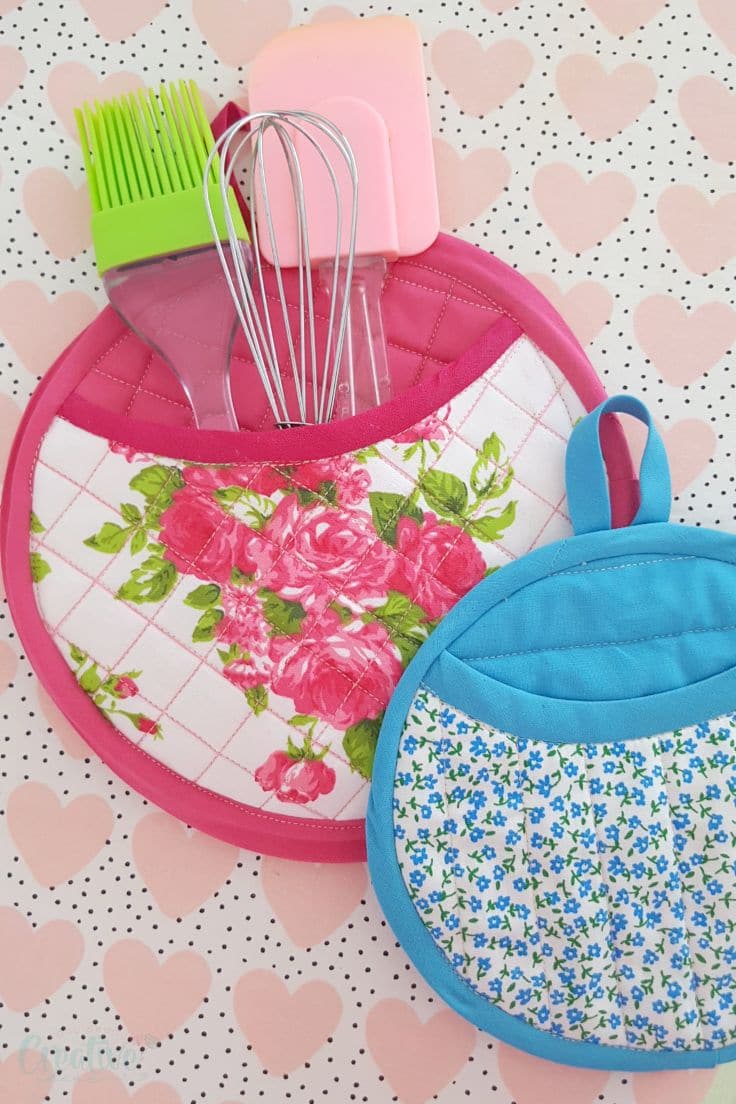
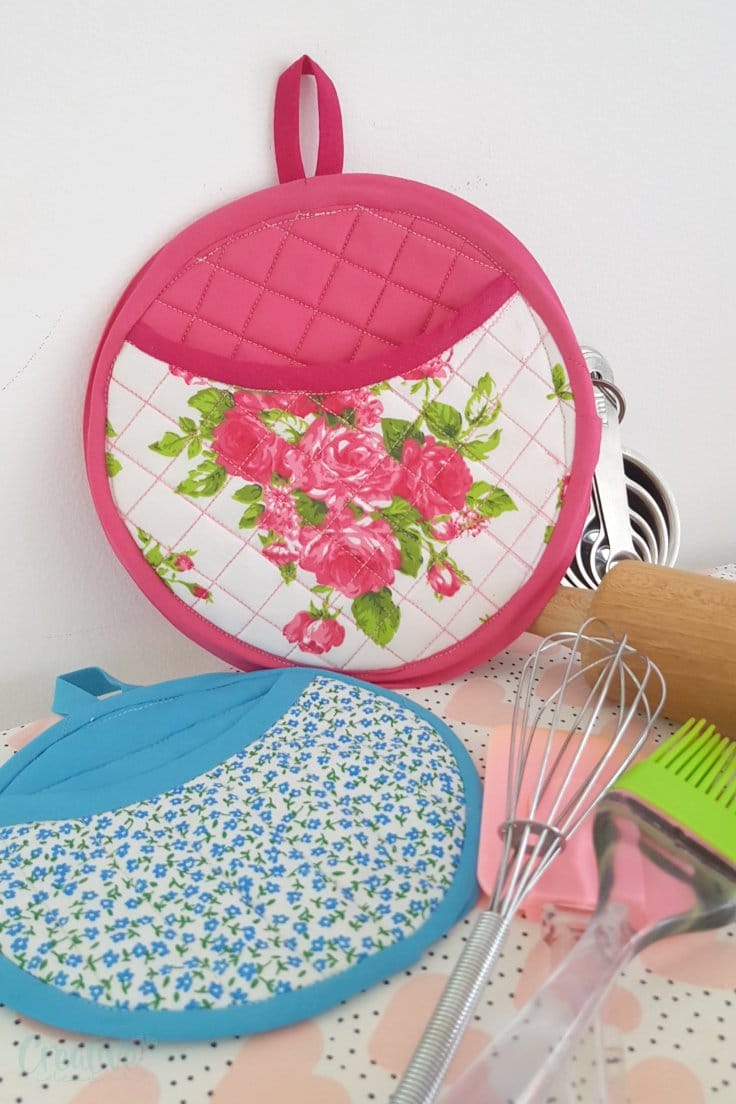
I’m absolutely in love with these quilted pot holders! They’re not only super cute but were very easy to make and do wonders in my kitchen! Quilted potholders are popular kitchen accessories that are easy to make and are great Christmas gifts that you can whip up in no time. With this pattern you’ll be able to make quilted pot holders in two different sizes.
I’ve been meaning to make my own cute round pot holders for years now but there was always something more important to work on and add to my sewing arsenal! And when I finally decided to make a couple, for myself and my little one, I realized I don’t have all the materials I need, particularly insulation. So I decided to improvise! I figured car sun shades are great for reflecting the heat away from the cars so should do the trick for my pot holders too! But if you have insulation available, use that instead; my version with car sun shades is just a suggestion in case you’re running out of supplies like I did.
More sewing for home ideas you will love:
- Cloud baby mobile
- Valentine mug rug
- DIY ironing board cover
- Round fabric basket
- DIY lavender satches
- Quilted sewing machine mat
- Oval pocket potholders
Problem solved! And I could not be happier with the decision! At first I thought sewing through that aluminium foil will not only be hard but might damage my needle and sewing machine. But I decided to take the risk and I’m glad I did as none of these happened! Sewing with this kind of “fabric” was easy as a breeze!
The only problem is, car sun shades are very slippery so I had to improvise again and sacrifice some fabric. So instead of placing the patterns on the fabric and cut just what I needed I had to work with larger pieces of fabric so I can clip them and quilt to keep them together. Then I simply traced around the patterns and cut! The fabrics were no longer slippery but I wasted some in the process.
I also wanted to give my round pot holders enough padding and make them truly heat resistant so I used two layers of car sun shades and a few layers of fleece, plus the outer fabrics, of course. If I caught your interest, let me show you how I made my quilted pot holders!
The pattern for these cute pot holders can be purchased from here.
Quilted potholders pattern
Materials:
- pot holder pattern with seam allowances included
- scraps of fabric for the outer layers of the pot holders (about 1/2 yard for two pot holders) and backing fabric. You can use different fabrics.
- fleece
- sun car shade (optional – use insulation instead if available, like cotton batting)
- craft scissors
- sewing scissors
- clips
- quilting ruler
- fabric marker
- matching thread
- sewing machine
- walking foot (optional but helps sewing thick layers easier)
- double fold bias tape or binding strips
- ribbon for the loop(or use bias as I did)
Directions:
Prepare the fabrics
1. Print your patterns.
2. To make the back piece of the pot holder you need one 2 layers of fabric, two layers of fleece and two layers of car sun shades. Place one fabric, wrong side up, followed by one layer of fleece, then two layers of car sunshades, followed by a layer of fleece and a layer of fabric, right side up. Pin in the middle with a thick pin or safety pin.
3. For the front piece of the pot holder you’ll need two layers of front fabric and two layers of fleece. Place one fabric wrong side up, top with two layers of fleece then add the second layer of fabric, right side up. Pin in the middle.
Quilt the pieces
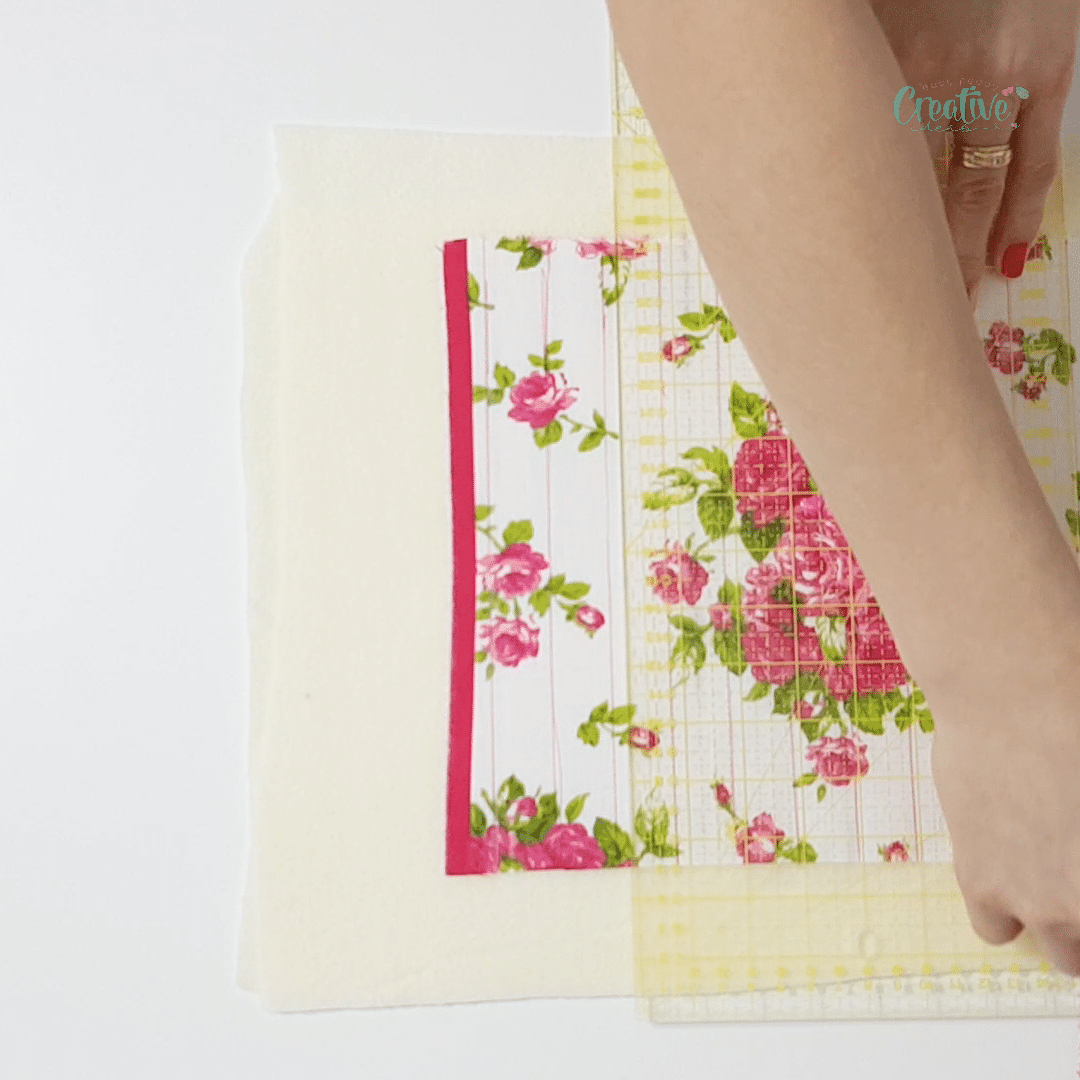
4. Trace 1″ apart horizontal and vertical lines on both the front and back sets of fabrics, using your quilting ruler and the fabric marker.
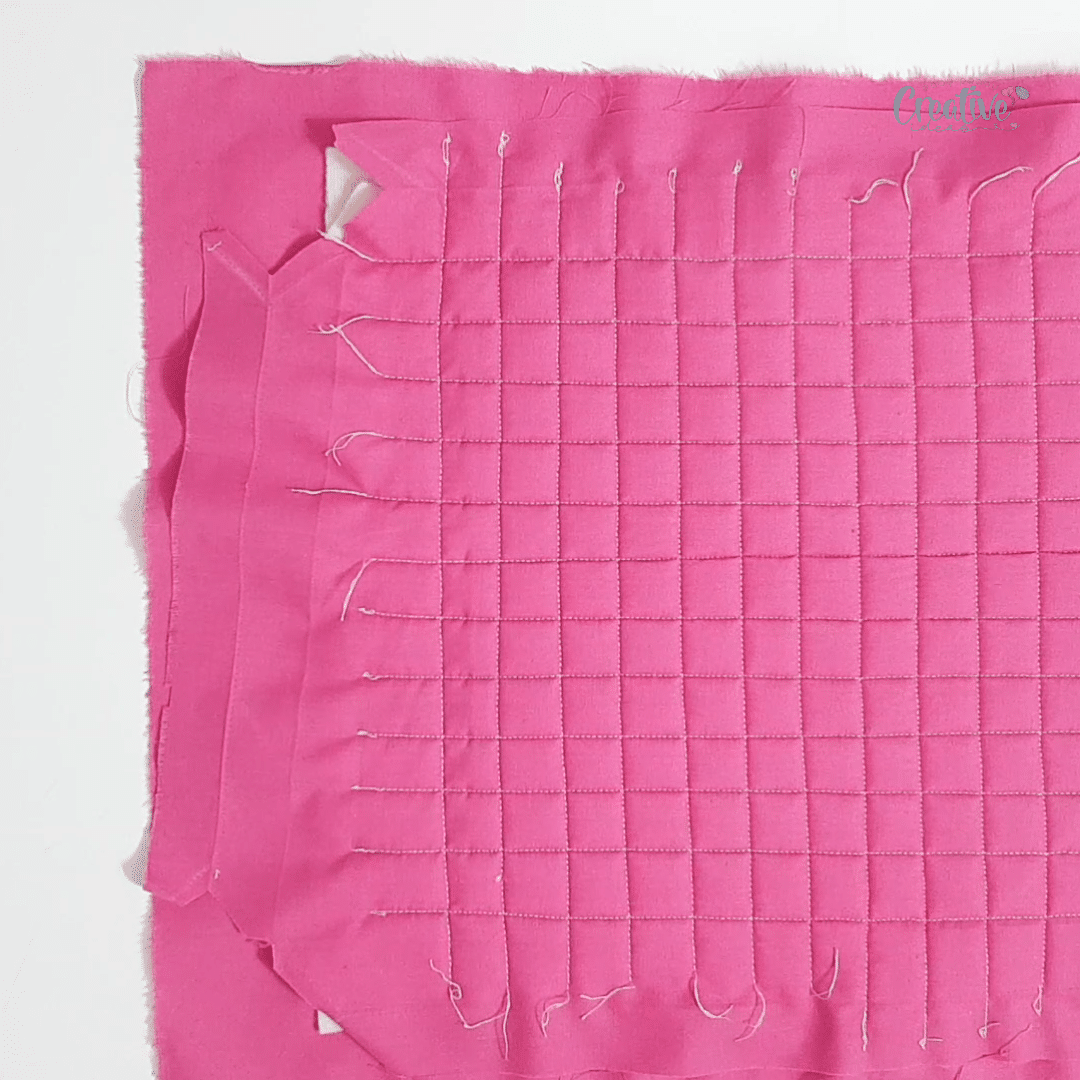
5. Sew along those lines to finish quilting your sets.
Cut the patterns
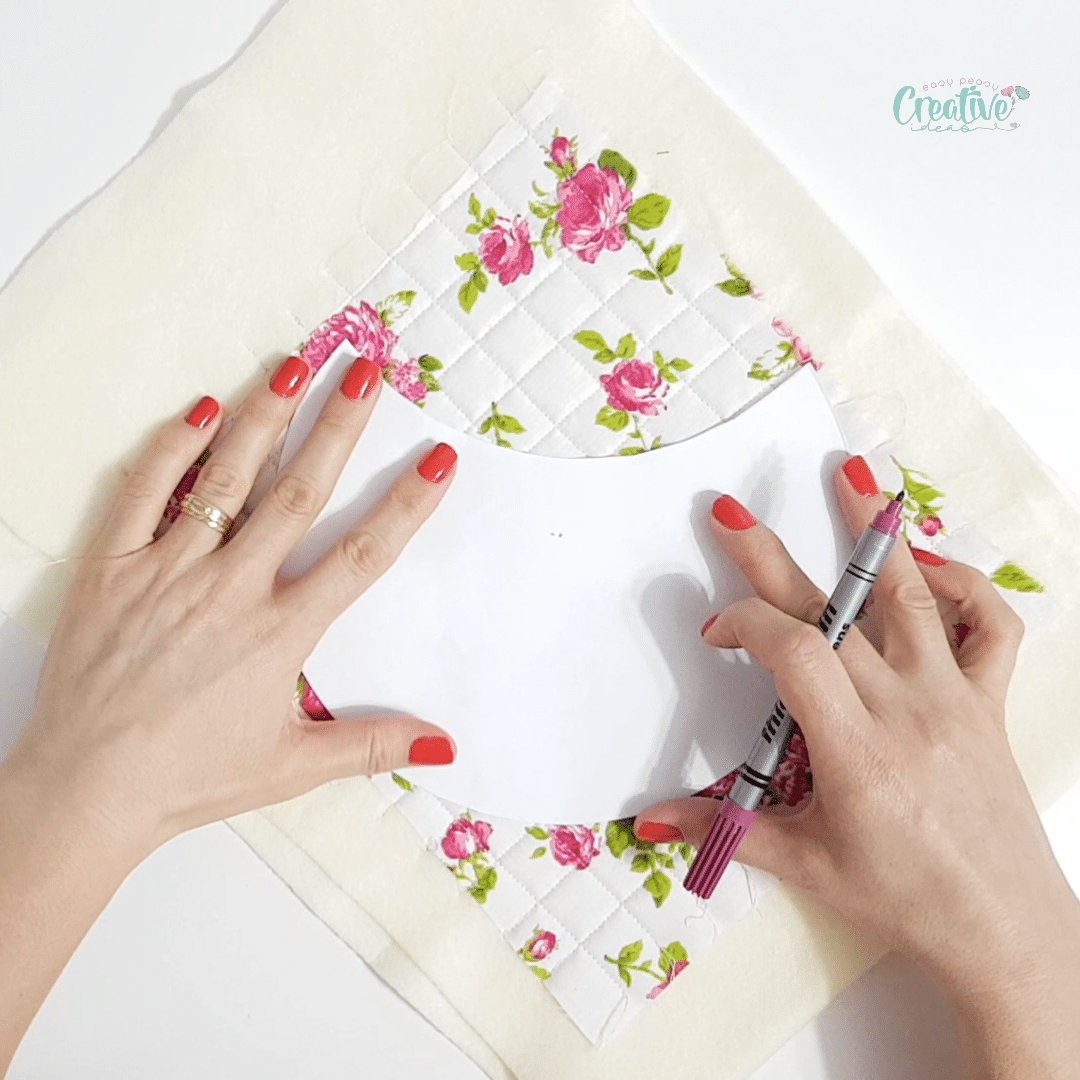
6. Place the pattern piece for the back on the quilted back set, trace with a fabric marker then cut out.
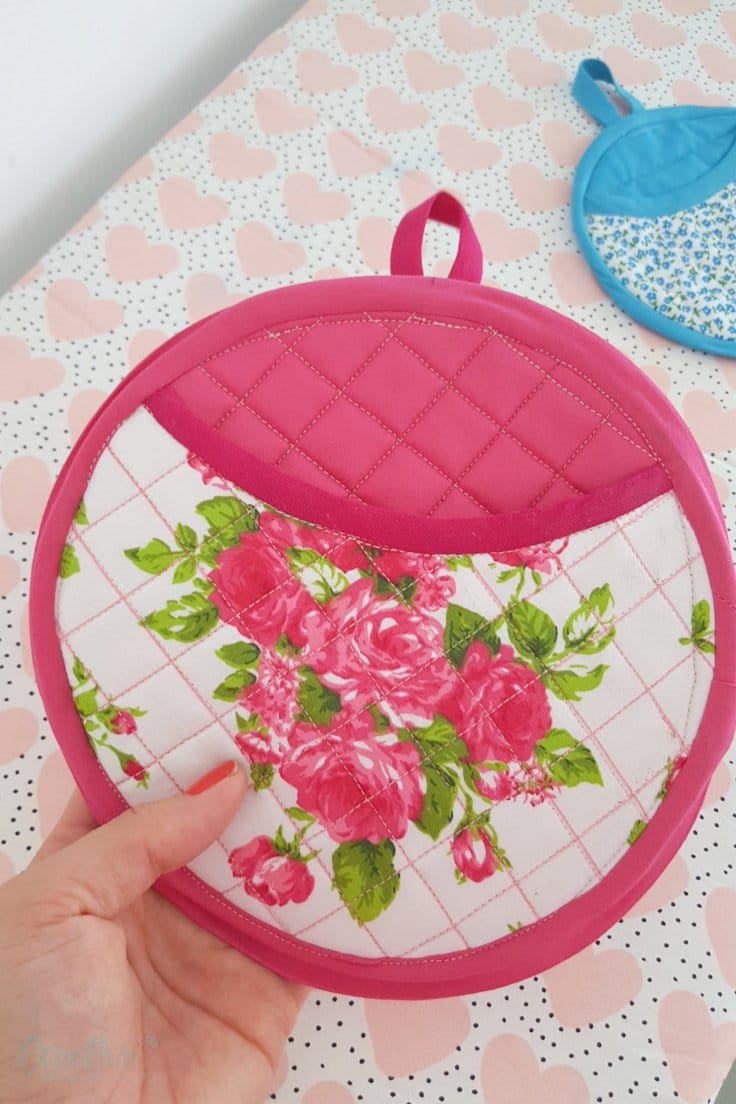
7. Repeat the steps for the front pattern onto the quilted front set. Make sure you turn the front set a little until the squares become rhombuses, before tracing the pattern and cutting.
Finish raw edges with bias tape
8. Attach double fold bias tape to the top of the front piece.
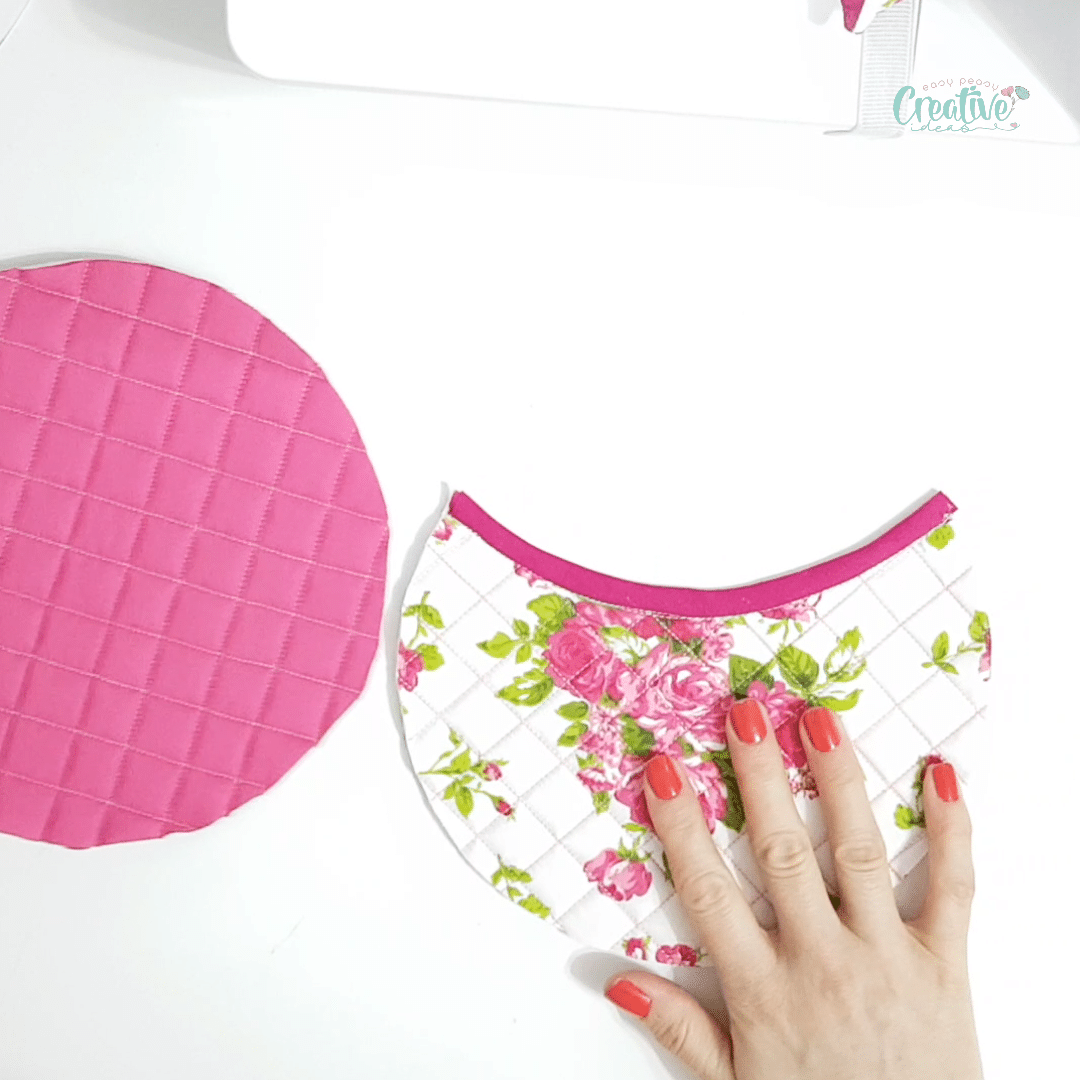
9. Place the back piece on the table and turn it a little until the squares become rhombuses.
10. Top with the front piece to form the pocket.
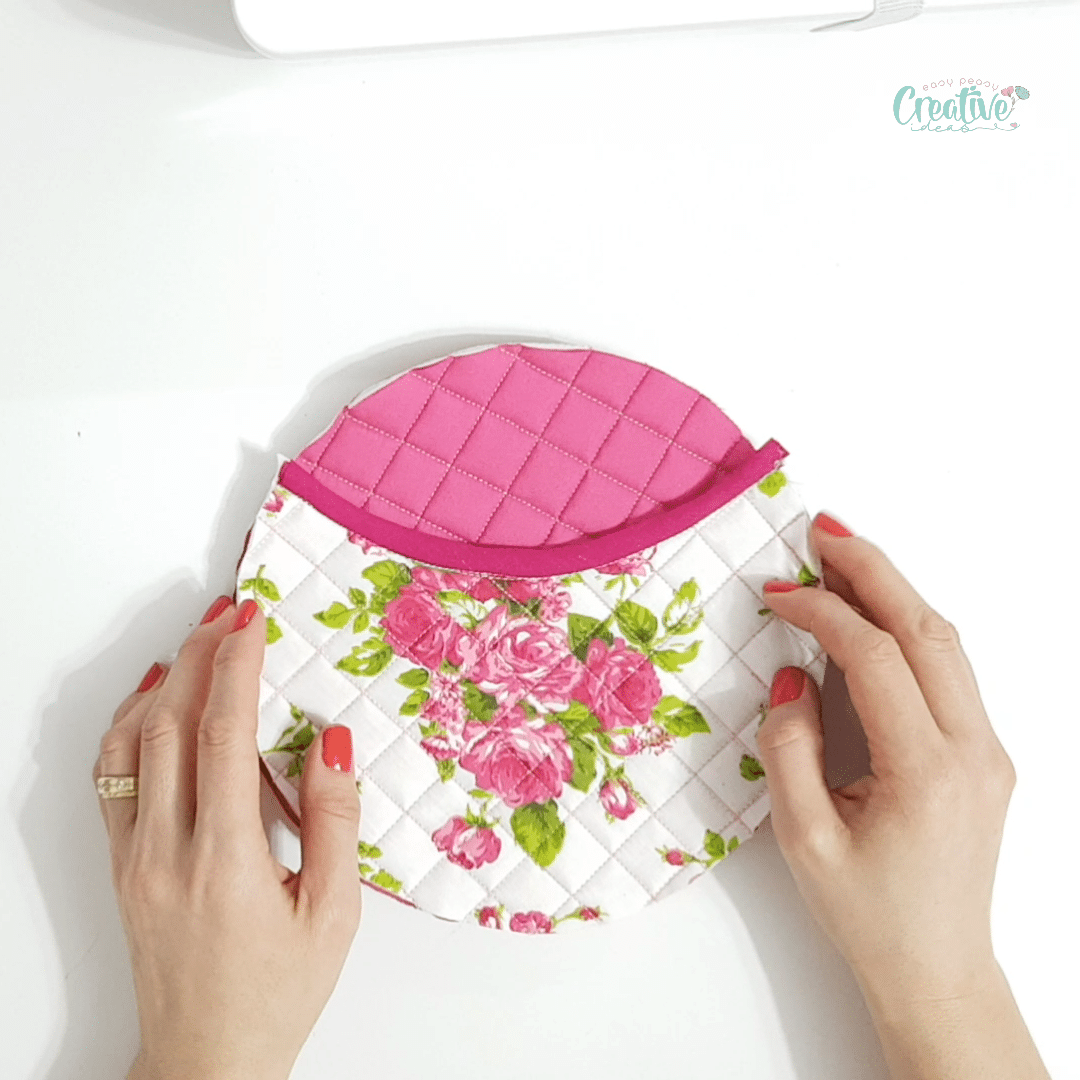
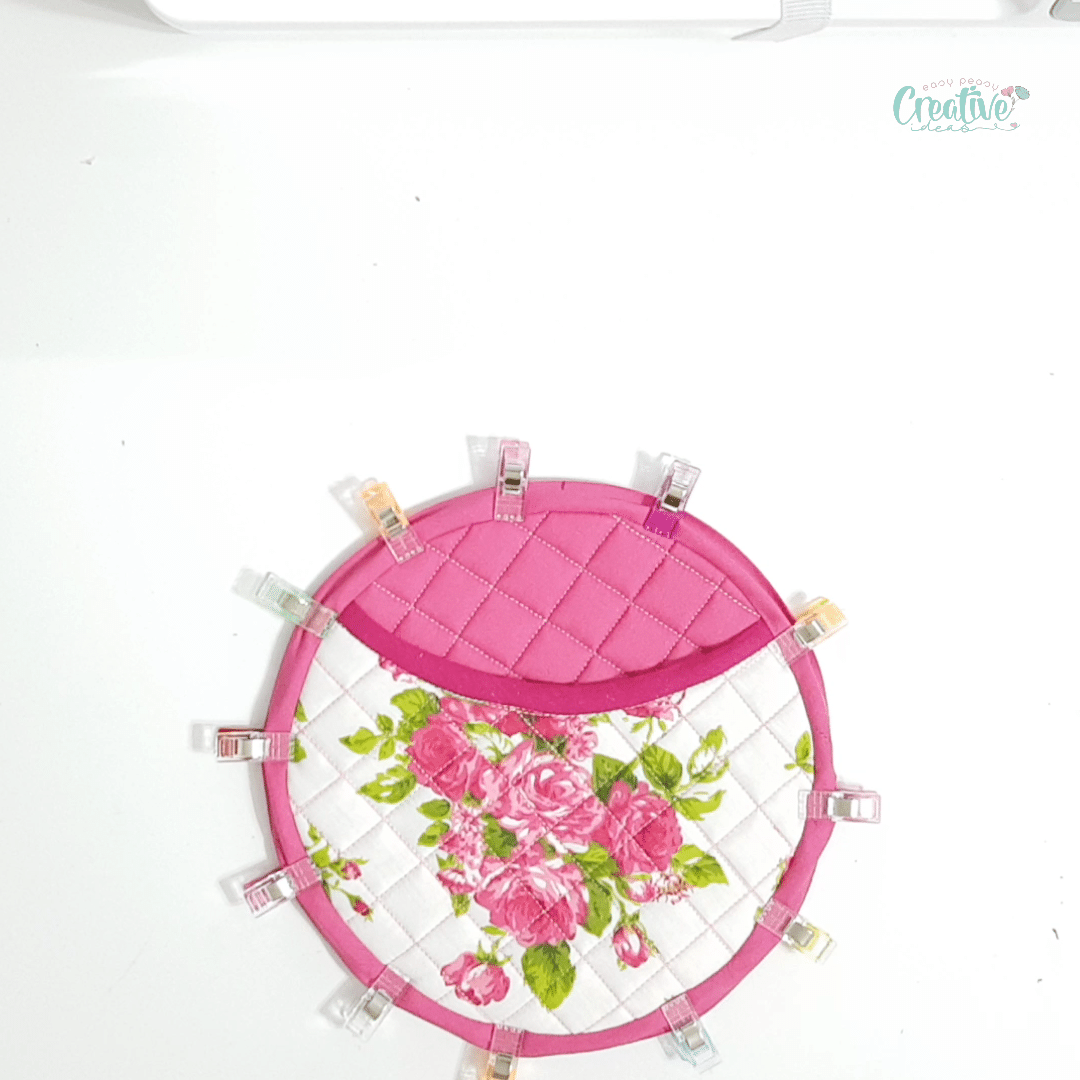
11. Attach bias tape all around the circle with 1/4″ allowance, catching both pieces into the bias tape. Clip the bias and sew on the front.
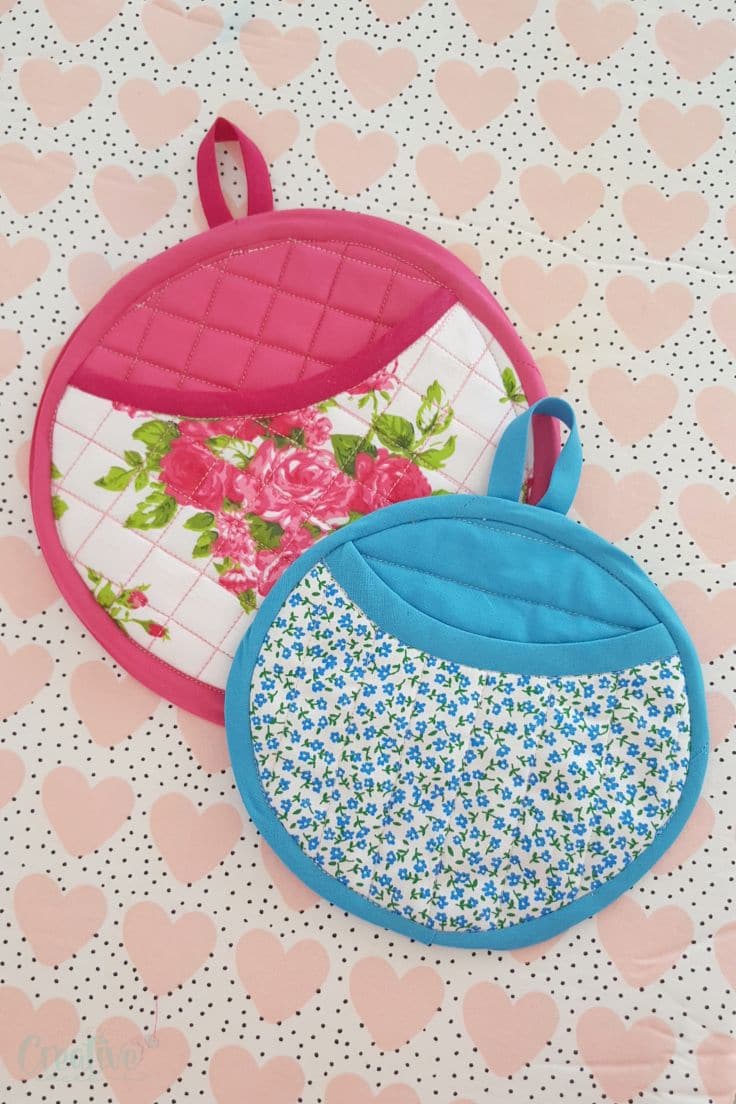
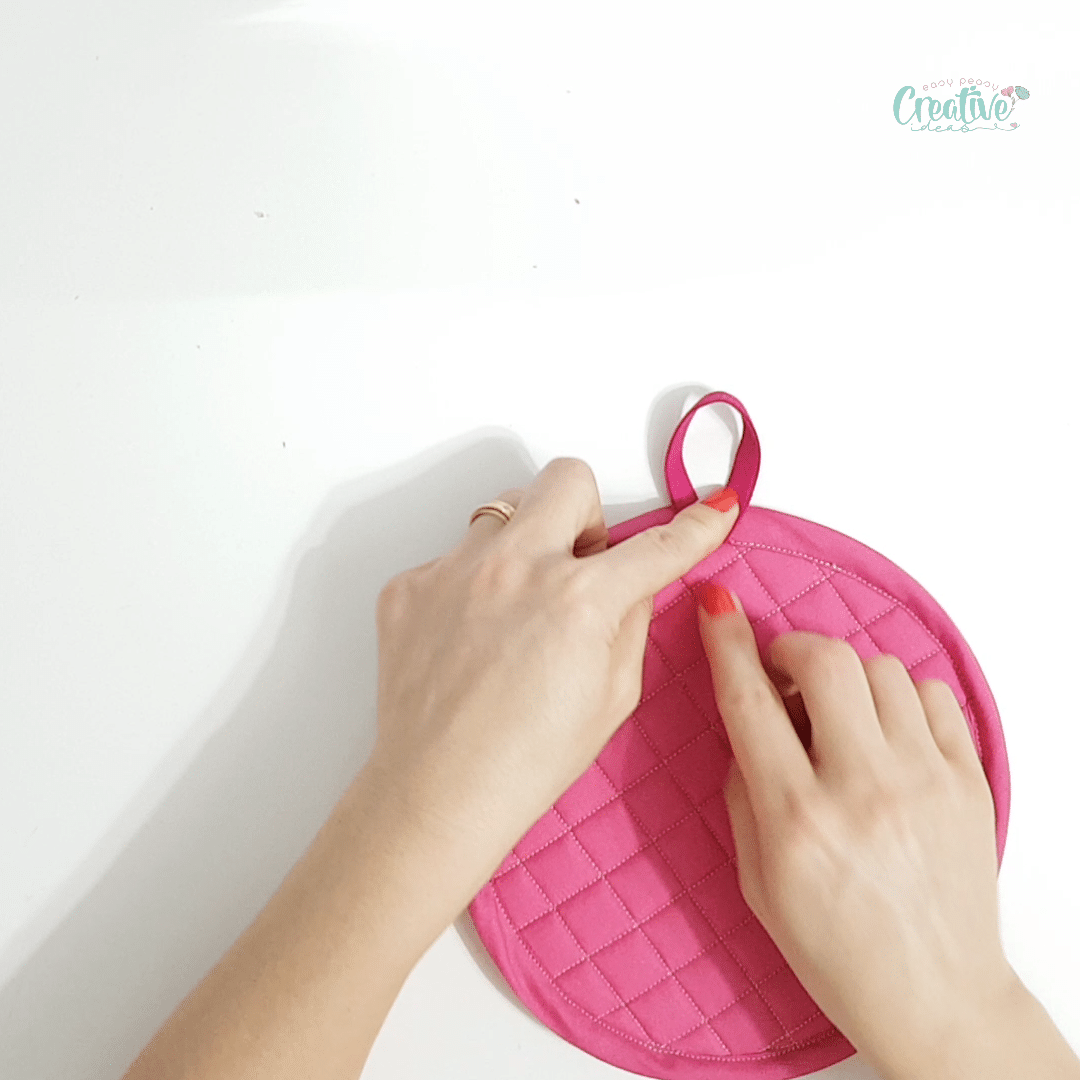
Add a loop
12. Make a loop from a piece of bias tape.
13. Flip the pot holder and insert the loop under the bias tape, with the fold in the loop pointing downwards. Clip to keep in place.

14. Sew the bias to the back of the pot holder.
15. Flip the loop up and sew again along the base.
16. Give your quilted pot holder a good press with the iron on steam.
And you’re done! Take a step back and admire your wonderful work! Then go back to your sewing machine and make some more of these beauties because I’m everyone in your circle will want one!
If you liked this tutorial, please let me know in the comments below and don’t forget to rate it! Thanks!
Pin to save for later
Most popular sewing projects:
- Tips for sewing a round hem
- Corded bag handles
- Flutter sleeve dress pattern
- How to laminate cotton fabric


Article may contain Amazon & affiliate links. As an Amazon Associate I earn from qualifying purchases at no additional cost to you.
ABOUT PETRO
Hi, I’m Petro, author and founder of Easy Peasy Creative Ideas. Sewist, crafter, avid DIY-er, foodie, photographer, homemaker and mommy to one. I’m an expert at coming up with quick, clever sewing tips, recycling crafts and simple, easy recipes! You can find my ideas featured in reputable publications such as Country Living, Good House Keeping, Yahoo News, WikiHow, Shutterfly, Parade, Brit & Co and more. Thanks for stopping by and hope you’ll stay for a while, get to know me better and come back another time. Stick around for real fun projects! Read more…