

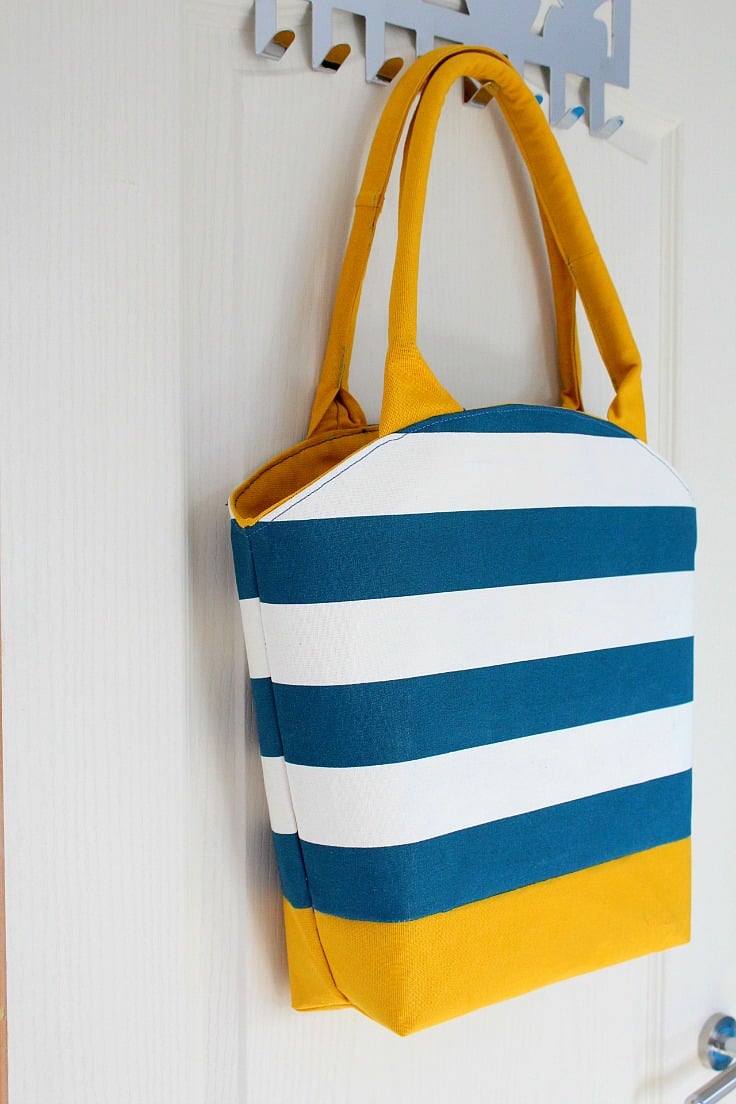
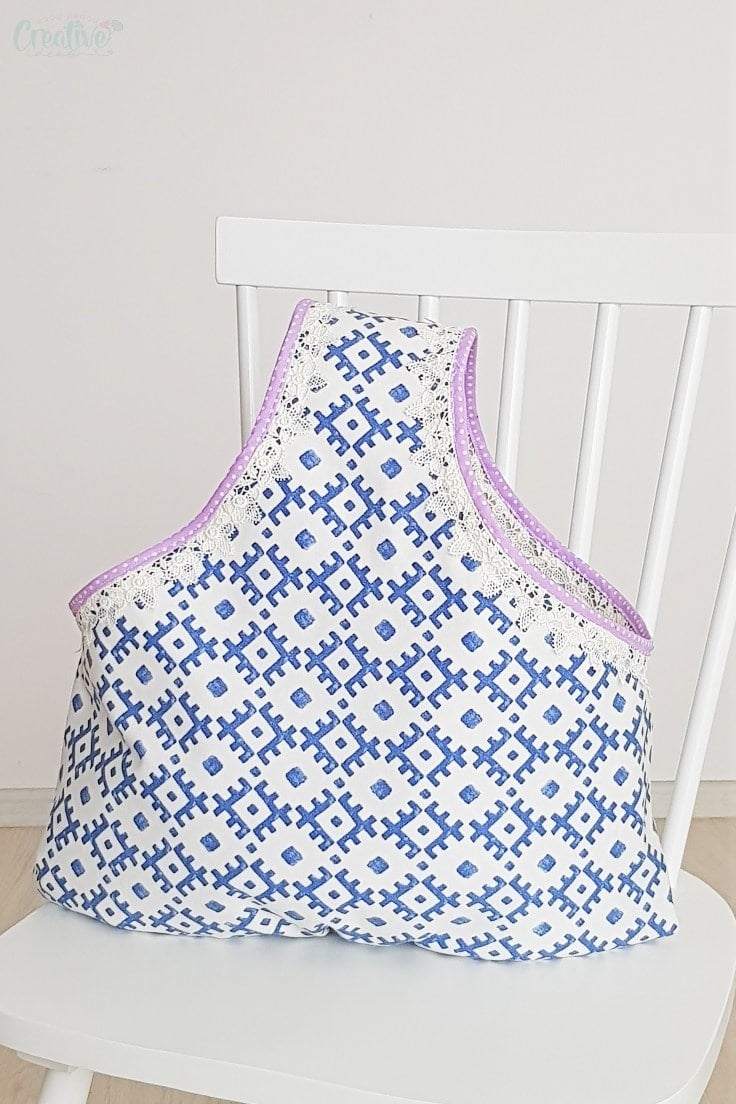
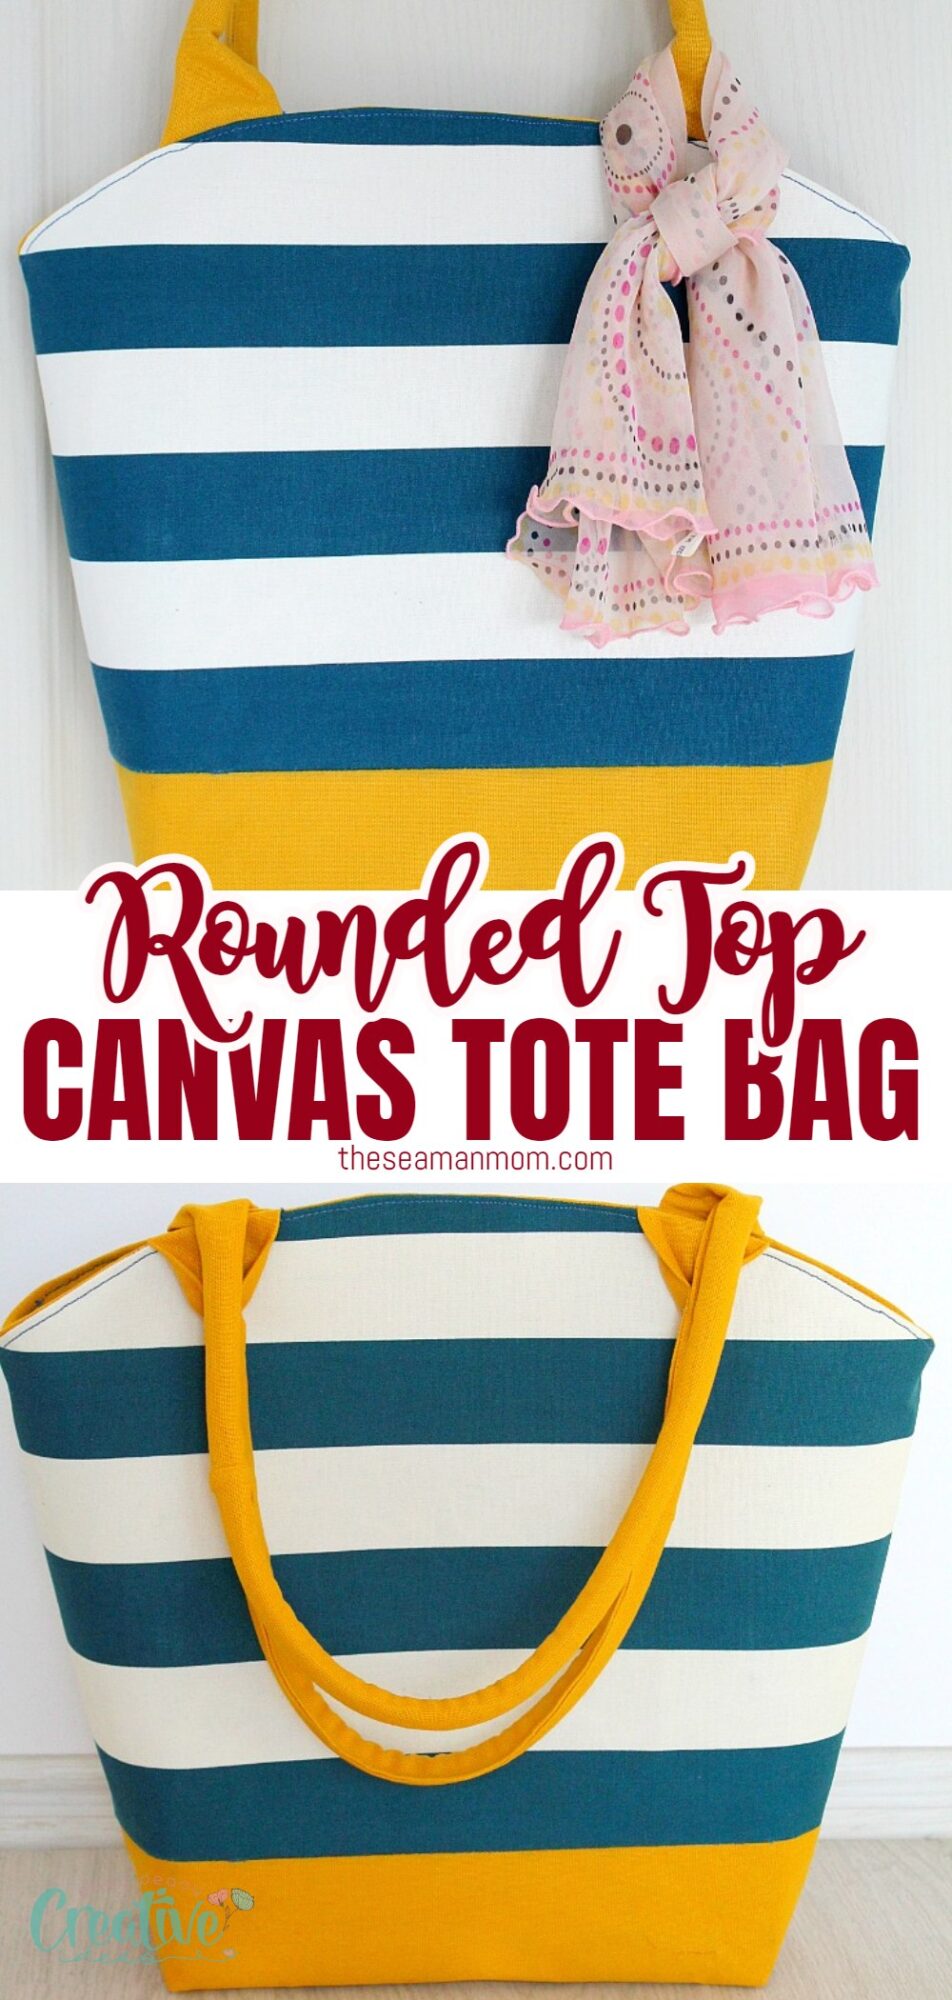
Rounded top canvas tote bag pattern
If you’ve been looking for a spacious tote bag to effortlessly carry all your essentials, this canvas tote bag pattern not only offers ample room but also boasts a delightful and vibrant design, making it a charming accessory ideal for the sunny days of the summer season.
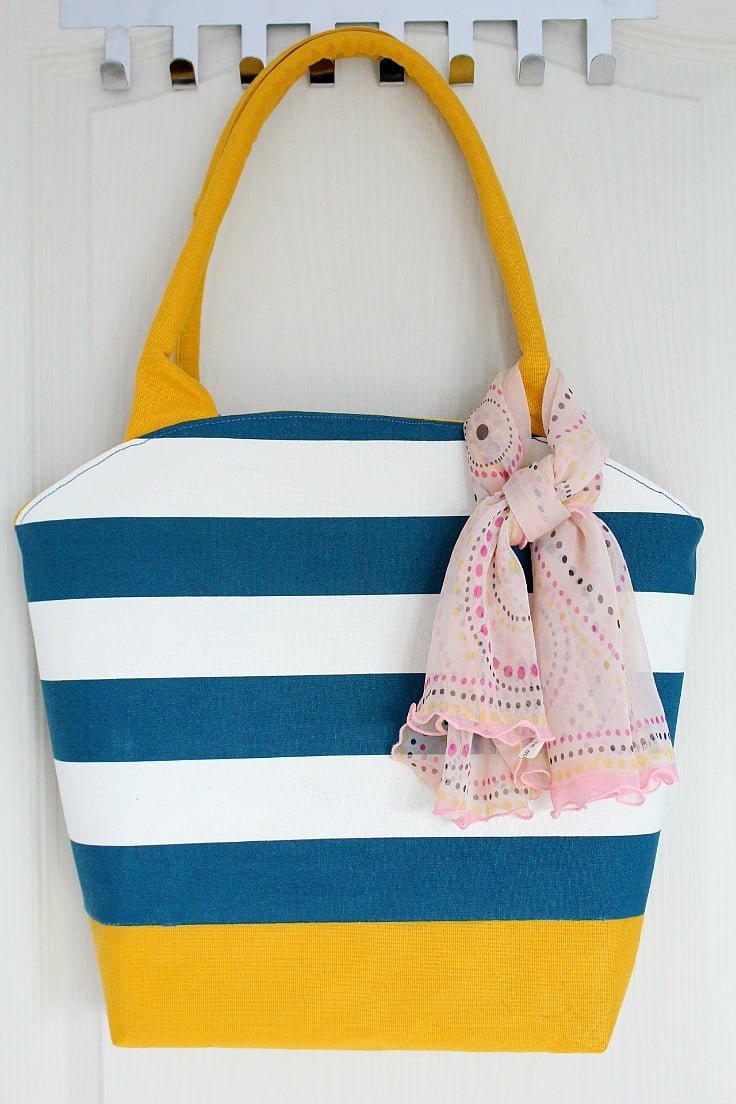
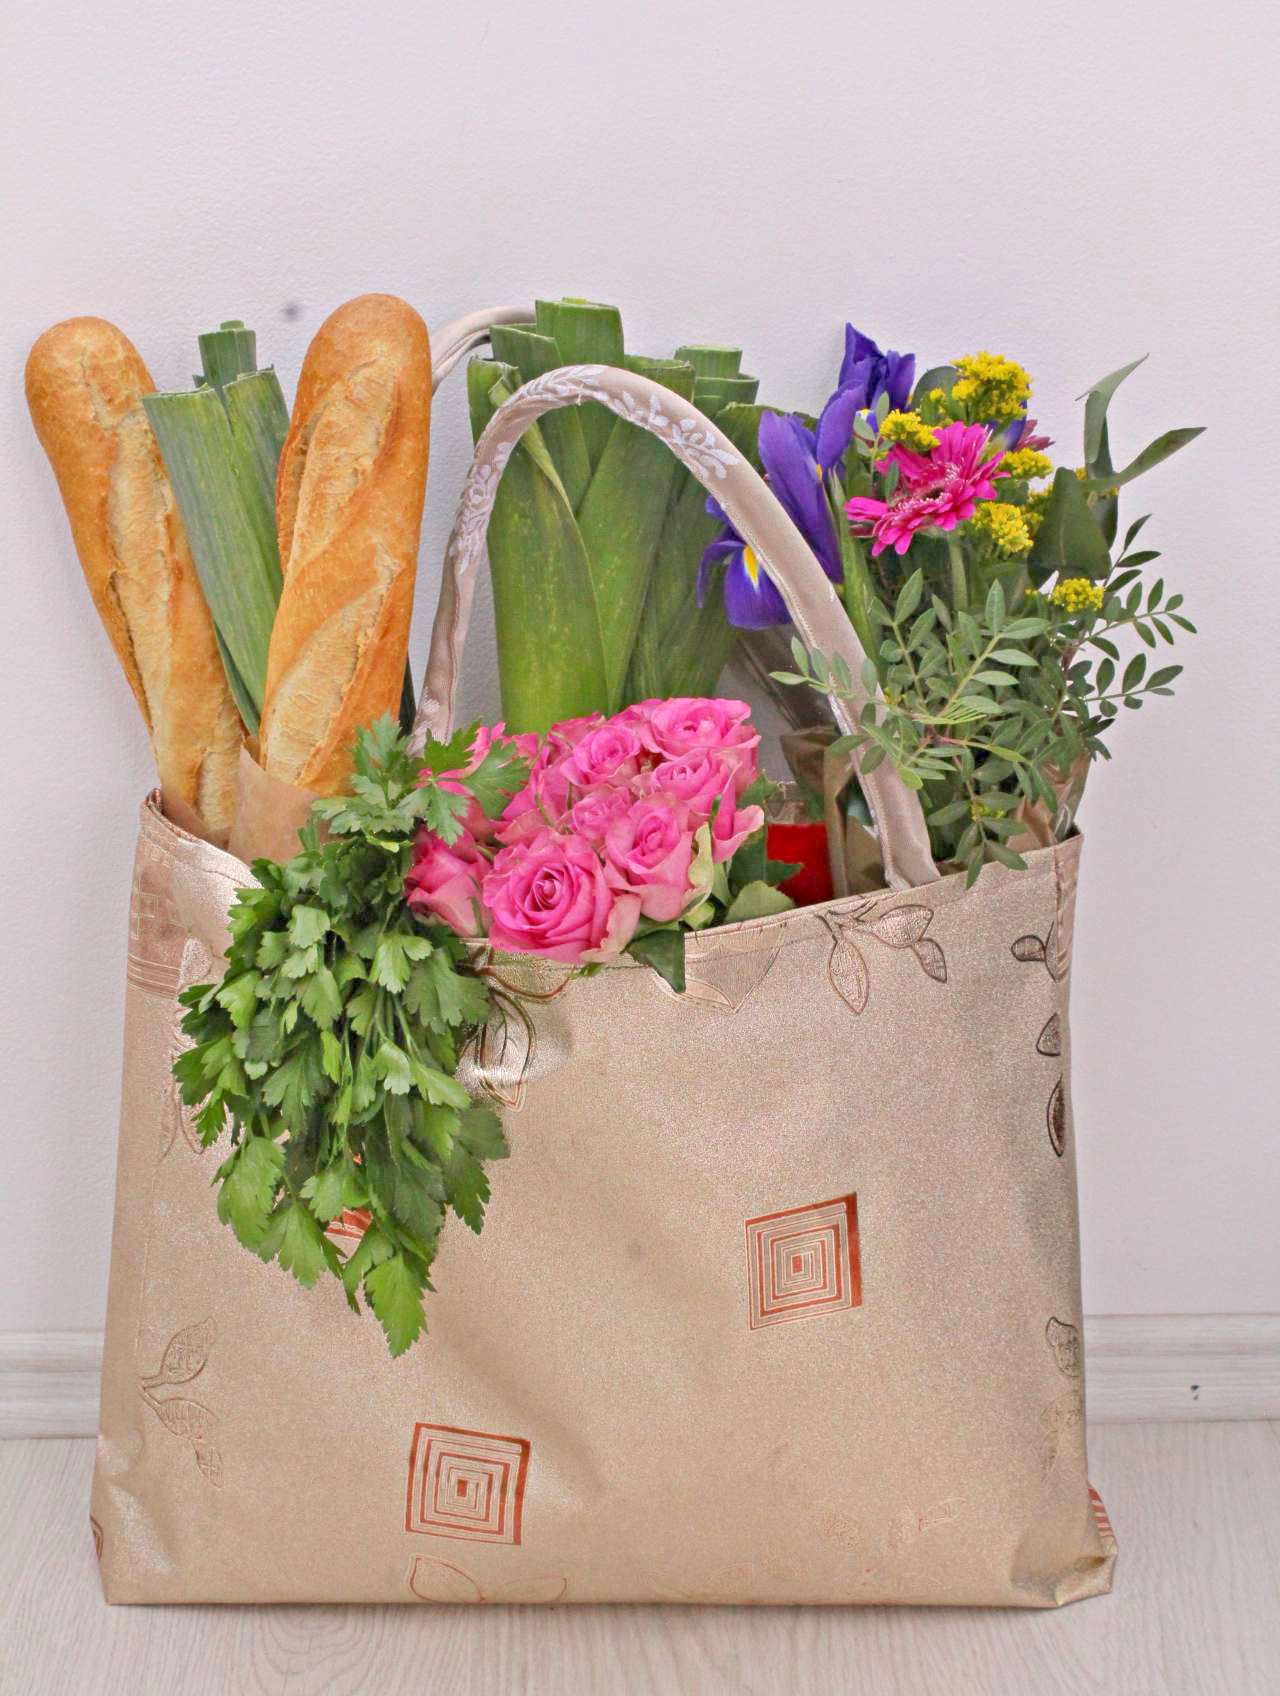
This charming canvas tote bag design will be your favorite companion when summer rolls around, I guarantee it! It is a fantastic, incredibly spacious canvas tote bag that’s ideal for carrying all your essentials. Moreover, it doubles up as a fantastic beach tote or a delightful gift suggestion.
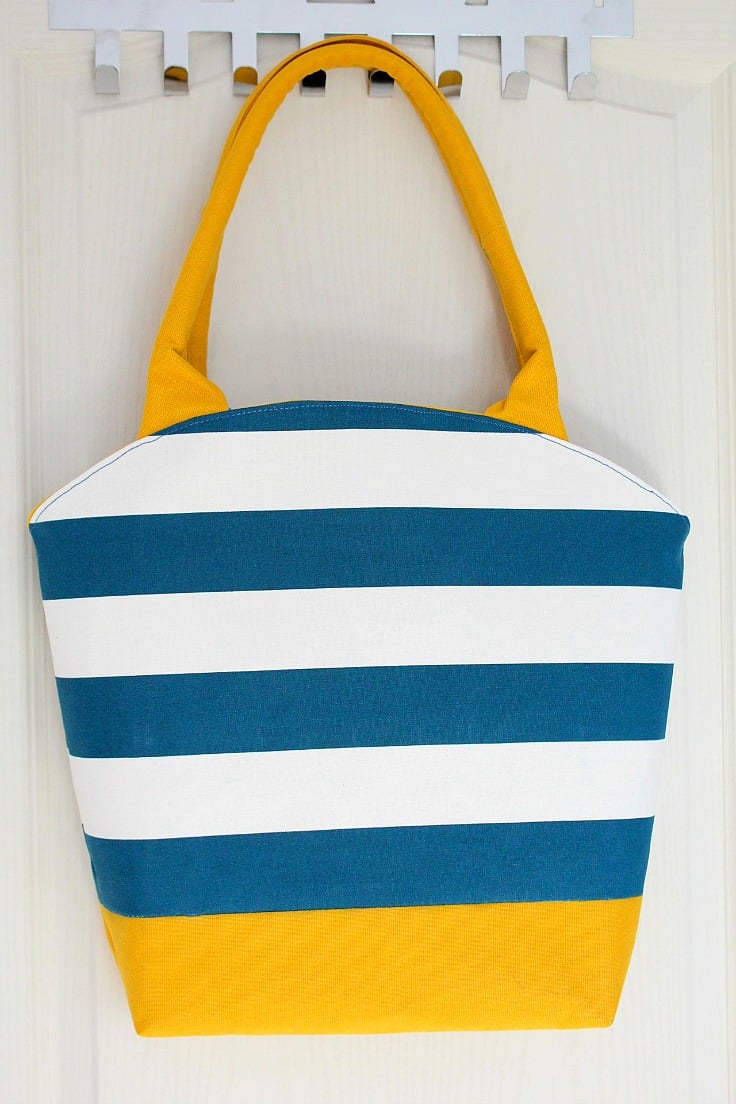
While the fashion world may seem saturated with canvas tote bags, this design offers a nice twist: a stylish rounded top! Not only is this tote fashionable, but it’s also incredibly durable. Made from canvas fabric both inside and out, this canvas tote bag pattern features sturdy interfacing for added strength. If you’re interested, you can find this interfacing here to recreate a similar bag. However, note that sewing and turning the bag inside out can be a bit challenging with this interfacing, so it’s best suited for more experienced sewists rather than beginners.
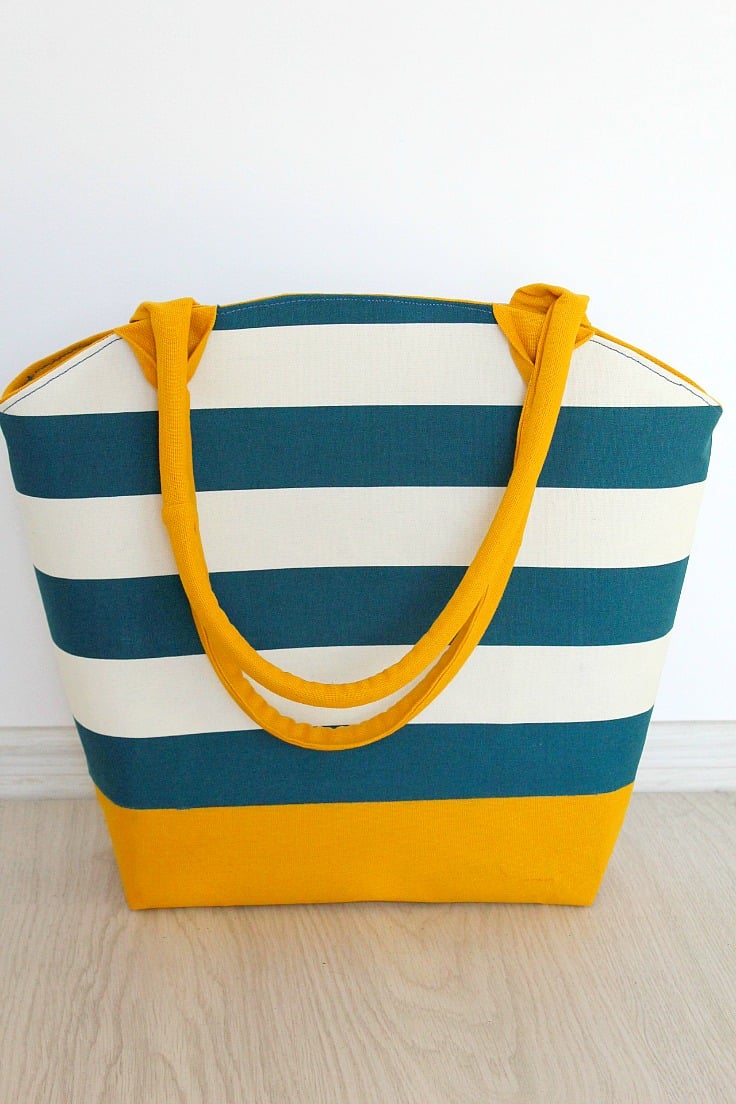
This canvas tote bag pattern may seem basic at first glance, but the fabric selection, the gentle curve at the top, and the interfacing combine to give this bag a distinctive edge. Plus, let’s not forget the stylish corded handles! For a tutorial on making corded handles, check out this link. If you’re new to sewing with canvas, you’ll find these canvas tips quite helpful. Let’s see how to make this stylish tote bag!
Sewing the canvas tote bag pattern
Materials:
- Mustard Canvas fabric – 2 x 20″ by 20″ for outer and lining panels
- Striped Canvas fabric – 2 x 20″ by 20″ for outer and lining panels
- 2 Strips of mustard canvas fabric 26″ by 5″ for handles
- Interfacing 2 x 20″ by 20″ (this and this are good options but for a super stiff, sturdy bag use this)
- Bag Pattern available to purchase here
- Scissors
- Sewing machine (I used this one)
- Zipper foot for when making the handles (tutorial here)
- Jeans/Canvas needle of 100/16 or 110/18 (recommended)
- Heavy duty thread in color of choice
- Fabric marker
- Cording for handles
- Pins or clips
- Iron
- Tips for sewing with canvas found here.
Directions:
Cut the fabrics
- Wash, dry and iron your fabric.
- Print your pattern pieces from here. Use code 75OFFCANVASTOTEBAG to get 75% Off on your order
- Assemble the pattern for the top piece and the bottom piece.
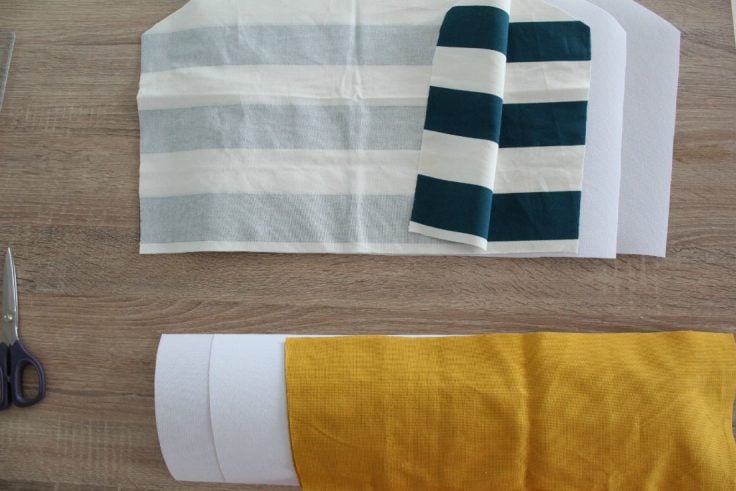
- Place both top and bottom pattern pieces on the striped fabric and cut around the patterns. Do the same for the mustard fabric.
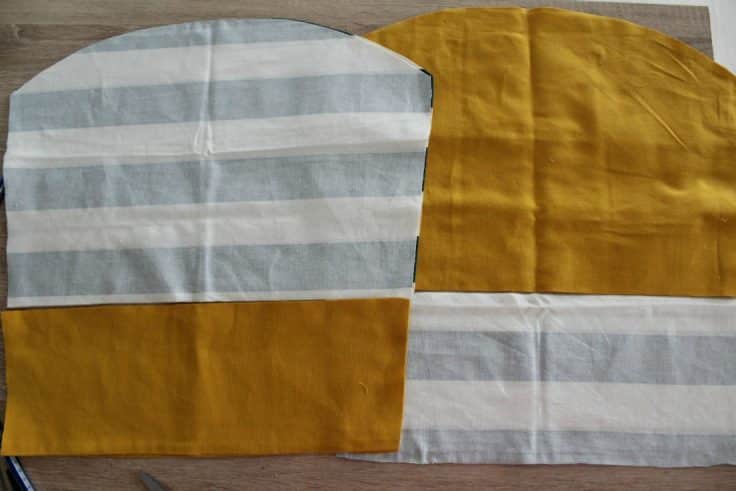
Prepare fabric pieces
- Then mix and match. Match the bottom pieces of the mustard to the top pieces of the striped fabric and the bottom pieces of the striped fabric to the top pieces of the mustard. I used the mustard top/ striped bottom panel as lining but you can choose which ever one you like.
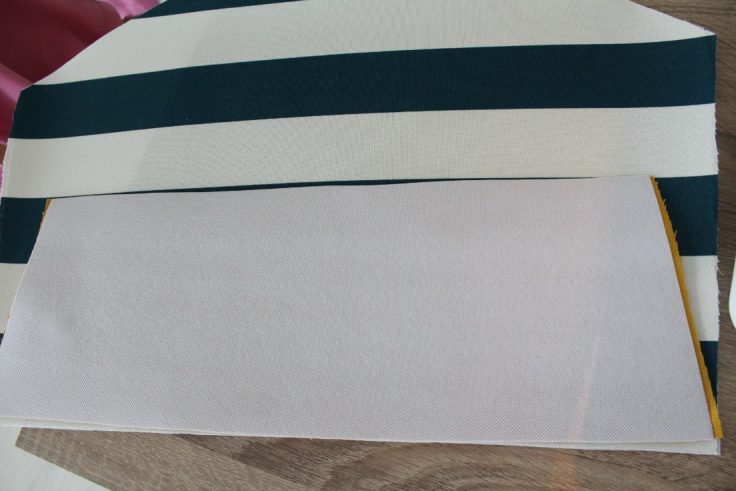
- Place the pattern pieces on the interfacing and cut accordingly. You will only need 2 pieces for the bottom and 2 for the top as you’ll only use interfacing for the outer fabric panels.
- Fuse interfacing to the outer fabric as instructed on the package.
Sew the bag pieces
- Take the outer panels and match them at the straight line, facing together then sew with 1/4″ seam allowance. Do the same for the other outer panels and the lining panels.
- Now you’ll have 2 big outer fabric pieces and 2 big lining pieces.
- Take the 2 outer fabric pieces, pin at the sides and the bottom then sew a 1/4″ seam.
- Do the same for the 2 lining pieces.
Box the bags
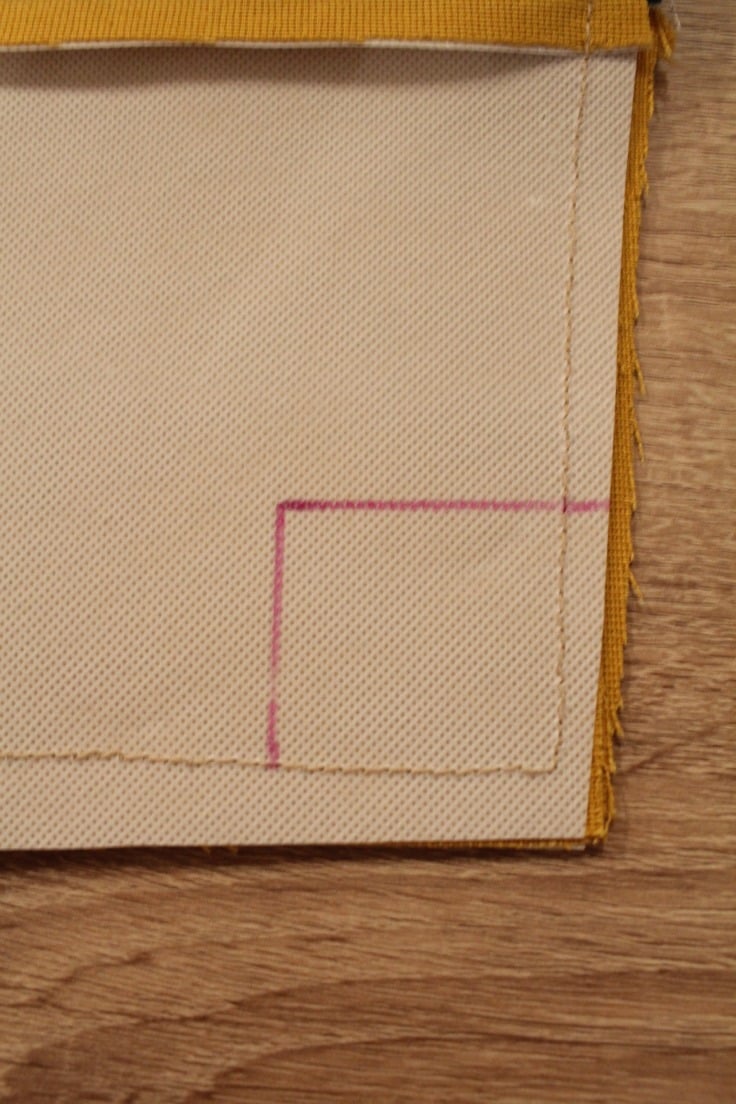
- Box the lining fabric. In the corner, measure 2″ away from the side and the bottom and mark with a fabric marker.
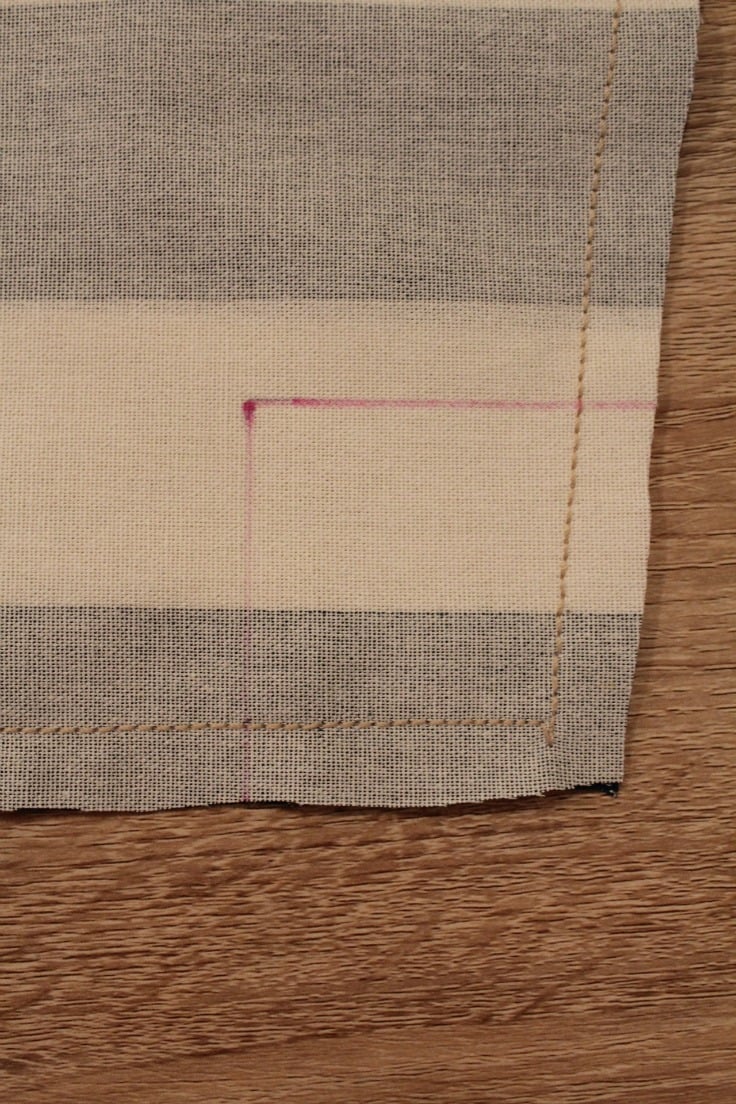
- Now pinch the top fabric and match the side seam to the bottom seam, lining them up to make a nice triangle. Stick a pin if you need to.
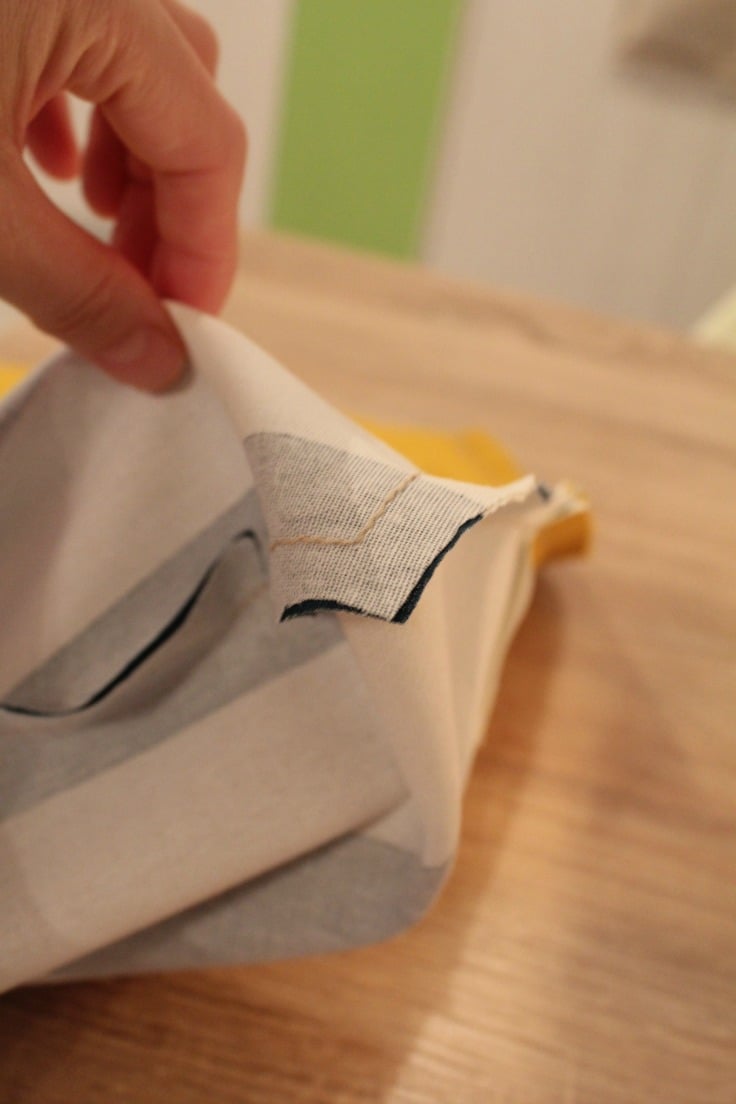
- Sew a straight line perpendicular to the corner and do a backstitch at the beginning and at the end.
- When boxing the outer bag you may find it difficult to pinch and match the seams so draw the 2″ mark and cut the fabric out then match the seams as above and sew with 1/8″ allowance, backstitching at the beginning and the end.

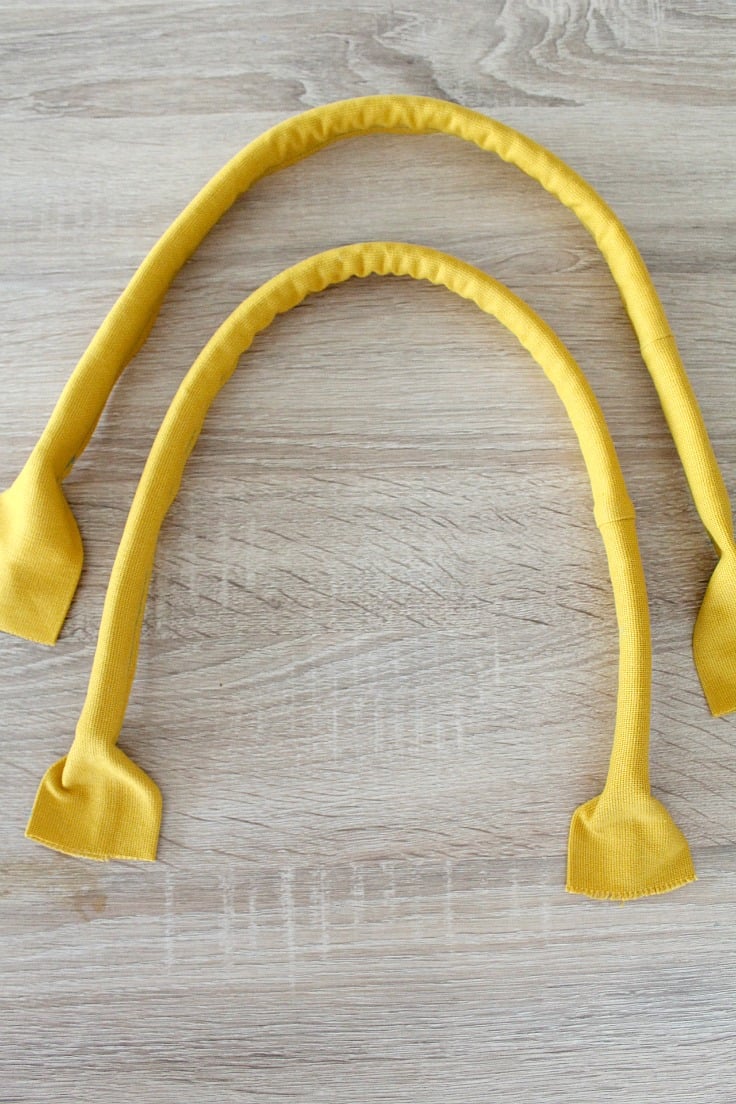
Insert the handles
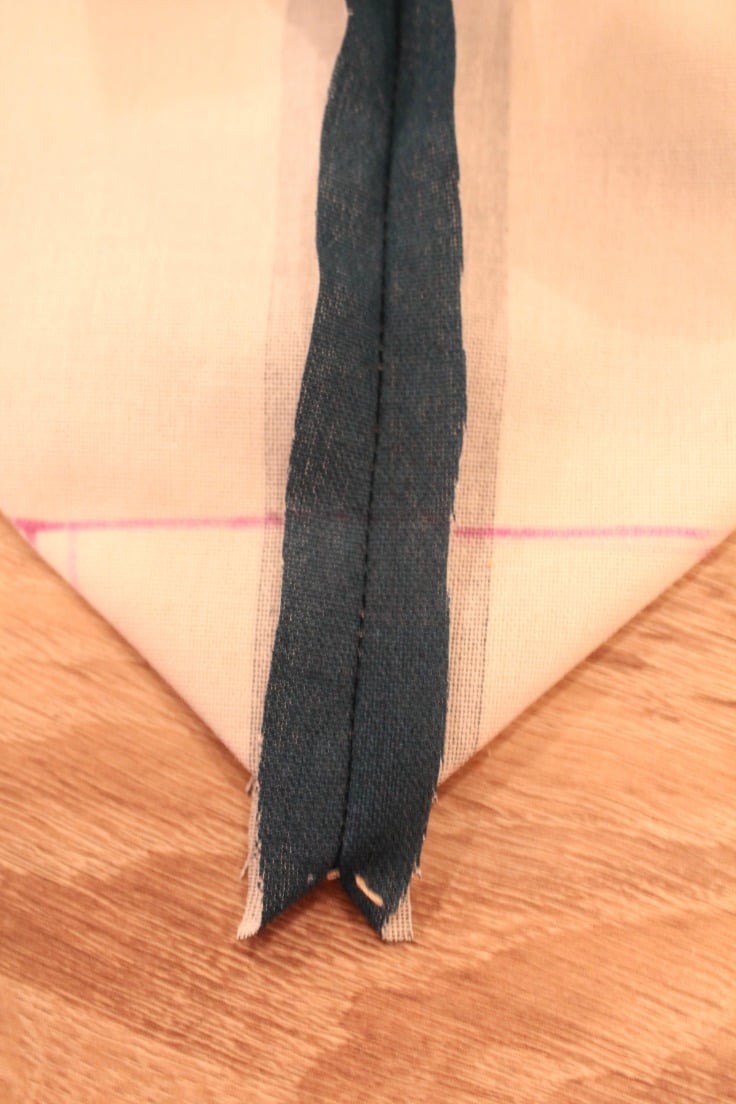
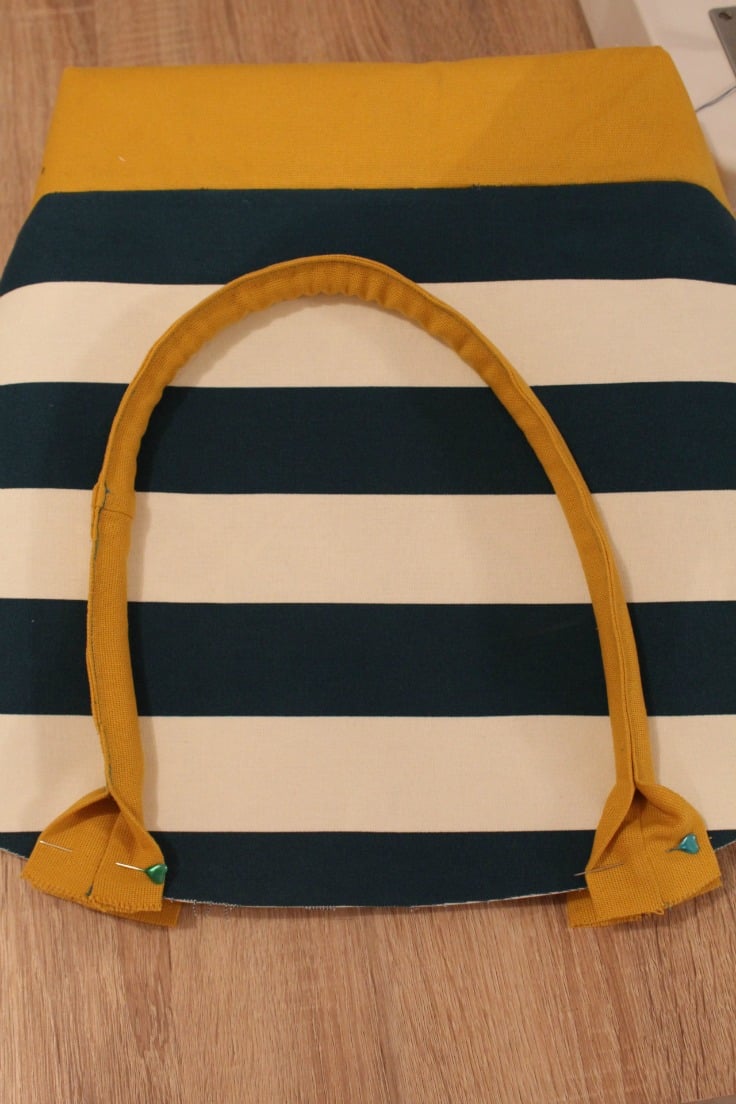
- Make the corded handles as indicated in this tutorial.
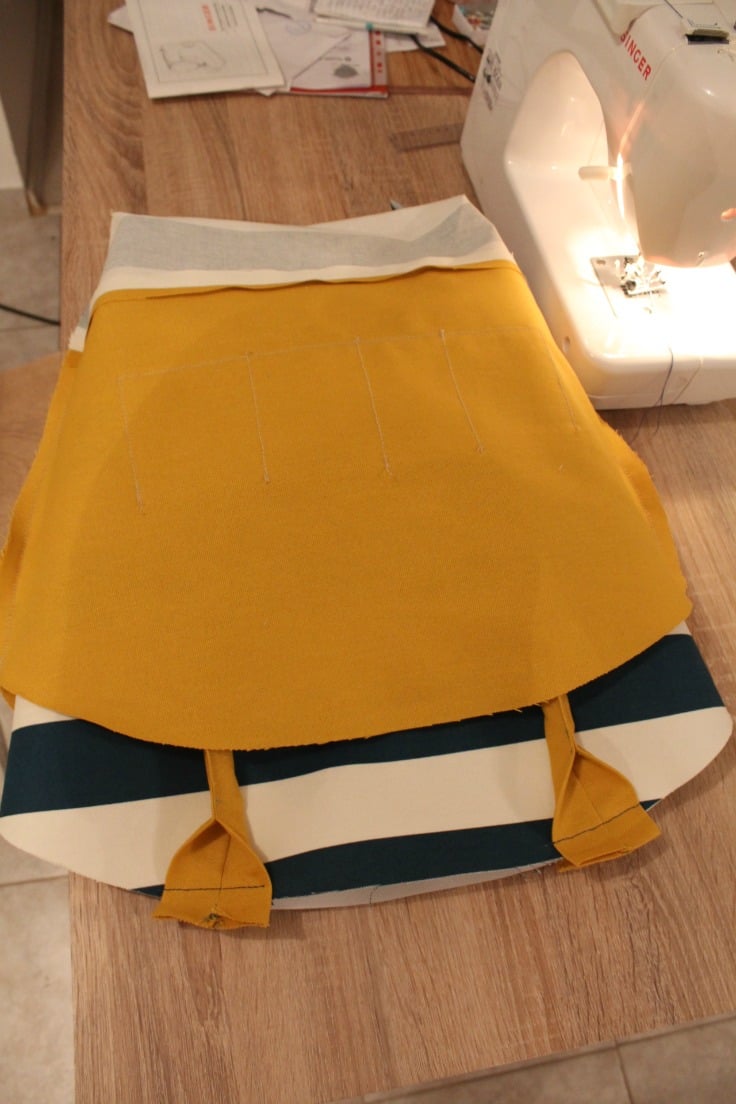
- Take your handles and place them on the outer bag as indicated in the image below, 4″ away from each side and 1/8″ outside the rounded top. Pin in place and sew to the bag with 1/8″ allowance.
Assemble the bag
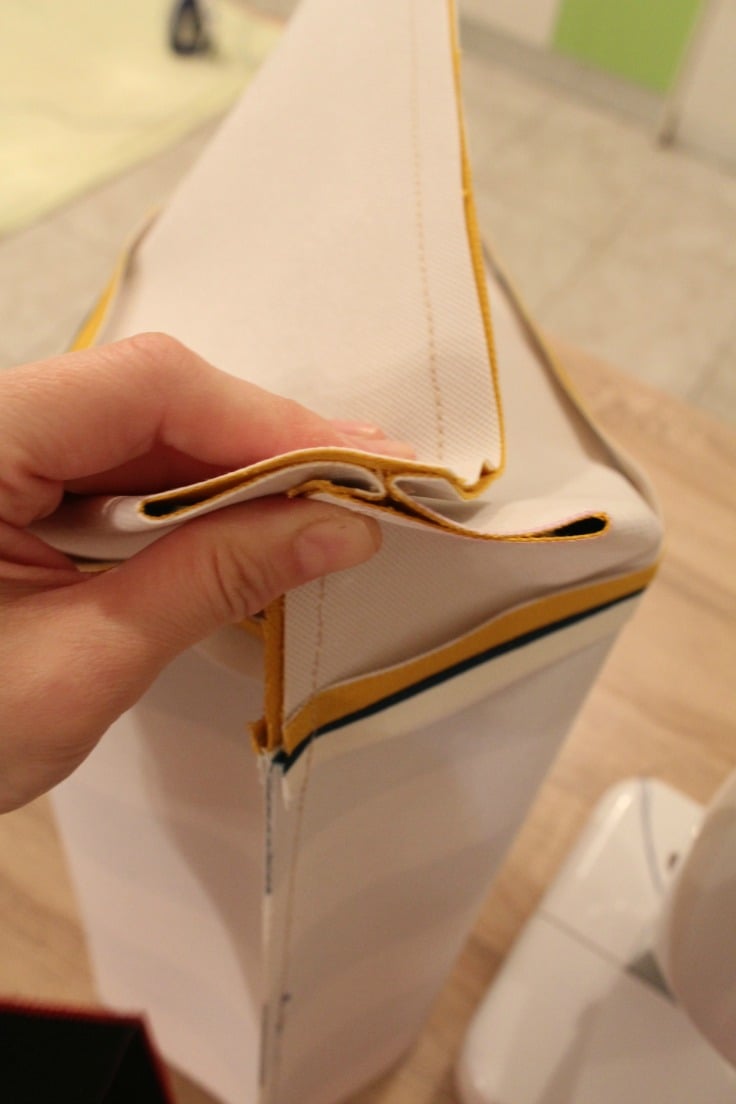
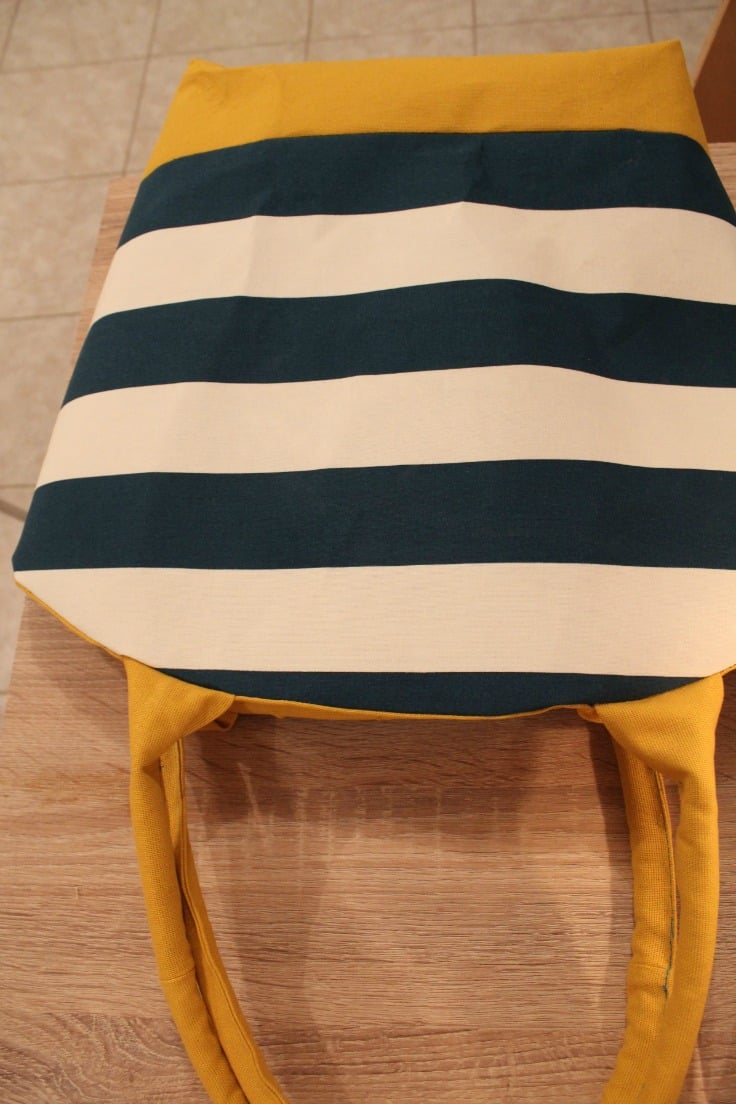
- Take your lining and outer bag and place the outer bag into the lining bag, facing right sides together. (I added some simple pockets to my lining before so that’s what shows in the image below)
- Match up the top side seams and edges, pin, and sew leaving a 1/2″ seam allowance around the top of the bag.
- Don’t sew all around the bag. Leave an opening in between the handles on one side of the bag, to leave room to turn the bag right side out.
Finishing the bag
- Turn the bag right side out through the gap. If you use really stiff interfacing this will prove a bit tricky. Spray some water on your outer bag to make the interfacing moist then turn the bag right side out. This will also help with ironing which is the next step, once the bag is right side out.
- Place the lining down into the bag, iron your top edges, and top stitch as close to the edge as possible.
- Use an ironing board or the back of a chair to smooth out the wrinkles easier. If you didn’t spray any water on the previous step, you may want to do it now or use a damp cloth.
And you’re done! Treat yourself to your fabulous new super duper, ultra roomy, and delightfully summery tote bag, perfect for carrying all your essentials in style in every season!
Tips for sewing this bag
- Something I’ve learned while making this canvas tote bag pattern, that you should keep in mind if you plan to make one too: if you’re using the same interfacing as I did which is super stiff, it’s best to fuse it up to the seam allowance so when you sew the bag pieces together, your needle will only have to go through the fabric, not the interfacing, making your project much easier.
- If you want to enhance this beautiful bag even more, you can add a welt zipper pocket to the back.
- This tote bag pattern is not a beginners project but I wouldn’t call it intermediate either, it’s somewhere in between these, so a little experience in sewing bags, using interfacing, a zipper foot and heavy duty fabric are a plus.
More bags you will love:

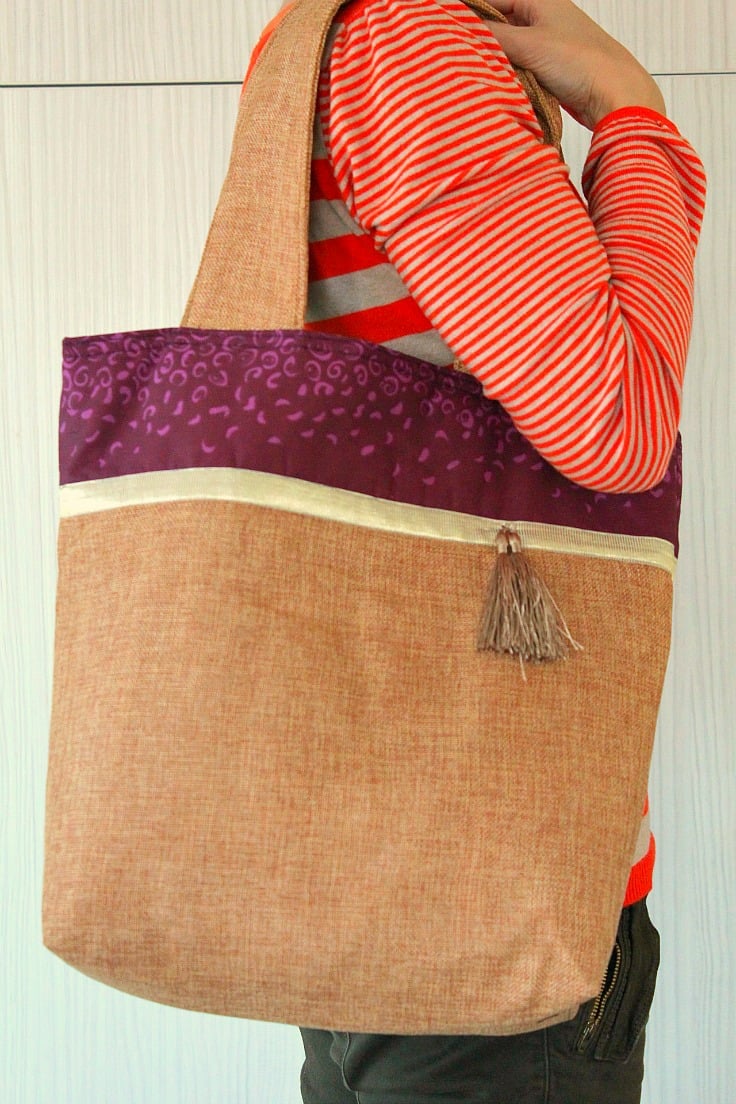
- Deep front pocket tote bag
- One handle canvas tote bag
- Quilted handbag sewing pattern
- Reversible grocery bag from vinyl
- Color block tote bag with wide handles
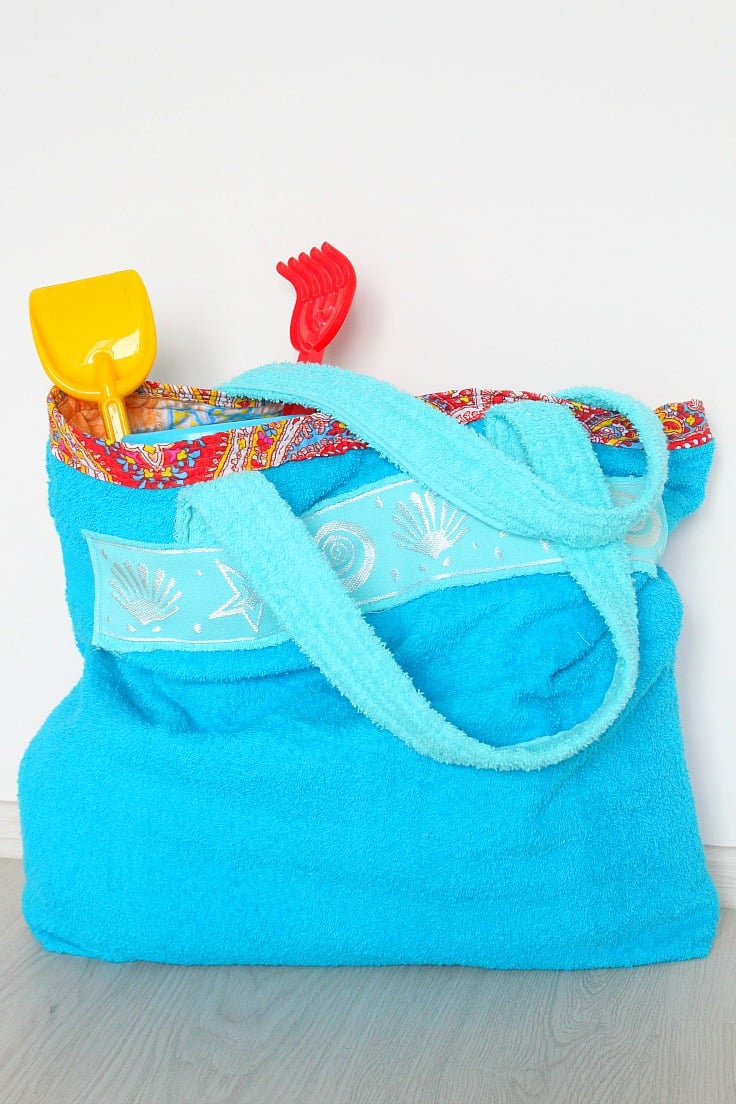
- Beach bag from towel
- Drawstring makeup bag pattern
This delightful canvas tote bag pattern is the perfect addition to your summer wardrobe. With its generous size and eye-catching design, it’s not only practical but also a fashionable accessory that will elevate any outfit! So go ahead, get creative and make a statement with this versatile and trendy tote bag. Happy sewing!

Canvas tote bag pattern
Materials
- Mustard Canvas fabric 2 x 20" by 20" for outer and lining panels
- Striped Canvas fabric 2 x 20" by 20" for outer and lining panels
- 2 Strips of mustard canvas fabric 26″ by 5″ for handles
- Interfacing 2 x 20" by 20" = 50 cm x 50 cm 2 x 20" by 20"
- Heavy duty thread in color of choice
- Cording for handles
Tools
- Bag Pattern available to purchase here
- scissors
- zipper foot for when making the handles
- jeans needle 100/16 or 110/18
- Pins or clips
- Iron
Instructions
Cut the fabric
- Wash, dry and iron your fabric.
- Print your pattern pieces from here.
- Assemble the pattern for the top piece and the bottom piece.
- Place both top and bottom pattern pieces on the striped fabric and cut around the patterns. Do the same for the mustard fabric.
Prepare the fabric pieces
- Then mix and match. Match the bottom pieces of the mustard to the top pieces of the striped fabric and the bottom pieces of the striped fabric to the top pieces of the mustard. I used the mustard top/ striped bottom panel as lining but you can choose which ever one you like.
- Place the pattern pieces on the interfacing and cut accordingly. You will only need 2 pieces for the bottom and 2 for the top as you'll only use interfacing for the outer fabric panels.
- Fuse interfacing to the outer fabric as instructed on the package.
Sew the bag fabrics
- Take the outer panels and match them at the straight line, facing together then sew with 1/4" seam allowance. Do the same for the other outer panels and the lining panels.
- Now you'll have 2 big outer fabric pieces and 2 big lining pieces.
- Take the 2 outer fabric pieces, pin at the sides and the bottom then sew a 1/4" seam.
- Do the same for the 2 lining pieces.
Box the corners
- Box the lining fabric. In the corner, measure 2" away from the side and the bottom and mark with a fabric marker.
- Now pinch the top fabric and match the side seam to the bottom seam, lining them up to make a nice triangle. Stick a pin if you need to.
- Sew a straight line perpendicular to the corner and do a backstitch at the beginning and at the end.
- When boxing the outer bag you may find it difficult to pinch and match the seams so draw the 2" mark and cut the fabric out then match the seams as above and sew with 1/8" allowance, backstitching at the beginning and the end.
Add handles
- Make the corded handles as indicated in this tutorial.
- Take your handles and place them on the outer bag as indicated in the image below, 4" away from each side and 1/8" outside the rounded top. Pin in place and sew to the bag with 1/8" allowance.
Assemble all bag pieces
- Take your lining and outer bag and place the outer bag into the lining bag, facing right sides together. (I added some simple pockets to my lining before so that's what shows in the image below)
- Match up the top side seams and edges, pin, and sew leaving a 1/2" seam allowance around the top of the bag.
- Don't sew all around the bag. Leave an opening in between the handles on one side of the bag, to leave room to turn the bag right side out.
Finish the bag
- Turn the bag right side out through the gap. If you use really stiff interfacing this will prove a bit tricky. Spray some water on your outer bag to make the interfacing moist then turn the bag right side out. This will also help with ironing which is the next step, once the bag is right side out.
- Place the lining down into the bag, iron your top edges, and top stitch as close to the edge as possible.
- Use an ironing board or the back of a chair to smooth out the wrinkles easier. If you didn't spray any water on the previous step, you may want to do it now or use a damp cloth.
Most popular sewing articles:


Article may contain Amazon & affiliate links. As an Amazon Associate I earn from qualifying purchases at no additional cost to you.

When I go to the “Circle Skirt” pattern to find out how to sew a circle hem, where it says continue reading, I click on that, and it sends me to this “Rounded Top Canvas Tote Bag” Pattern. What am I doing wrong? I love your pattern for the ironing board cover, and want to try it! As a barely experienced sewer, I felt I could really benefit from your tutorial on sewing the curved hem….but can’t find it! I would very much appreciate your help, and thank you for your free pattern!
Hi Diane. Thanks so much for letting me know! The article is fixed now so you can check the round hem tutorial. Happy sewing! :)
I feel so foolish, I couldn’t even find out how to get to your instructions. And I usually cann figure things out…
Hello, Susan! The instructions are on page 2 https://theseamanmom.com/rounded-opening-tote-bag-tutorial/2/
How can I get the pattern for the round tote bag
Hi Gwen. It’s right in the materials listing. Here’s the link http://shrsl.com/s1mk
Umm, following the above link above takes me to a page where I have to pay for the pattern yet at the beginning of this blog it says the pattern is FREE.
Hi Bev! The pattern used to be free for everyone and is now free for my newsletter subscribers only!
I’m a bit late commenting, Petro. Love the shape of this bag! The stripes and colours make it a perfect bag for Summer. I’ve showcased your fab tote today.
Awesome tote bag pattern! Thank you for sharing with my readers!! I just published it!!
Thank you so much, Denise! You are so kind :)
Love your posts!
Aww, thanks so much, Carolyn! xoxoxo