

3 Methods for sewing box corners on bags
Sewing box corners is the key to giving your bags design, depth, shape, and volume. In this easy tutorial, you’ll discover three simple methods to create a flat bottom and enhance the look of your bags! You’ll love seeing how that ugly, shapeless bag suddenly blossoms into something really beautiful and cool once you’re done sewing those box corners!
Sewing box corners is a simple technique that gives most bags a flat bottom, enabling them to stand up while adding volume and shape. If you are a beginner, learning how to sew a square bottom bag might sound like heavy engineering or some sort of rocket science but truth is, sewing box corners could not be easier!
This tutorial has been converted to a PDF file, available to purchase HERE. This article is completely free to read.
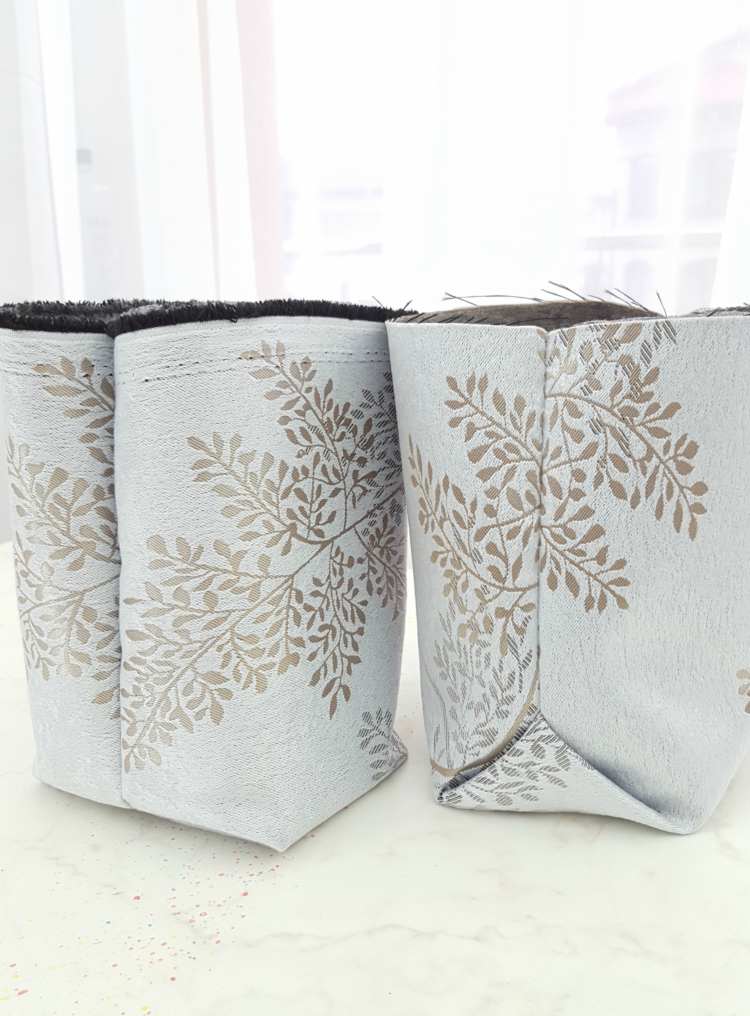
A box bottom bag can be achieved 3 ways and all three methods are super simple, easy and quick but make such a huge difference in the way your bag looks, feels and functions! Sewing box corners on bags helps them look more professional while creating space for you to carry all sorts of things in them. And it also helps them sit flat when you’re not wearing them on your shoulder or as hand bags.
Even though some bags are made with no boxed corners and designed to carry just a few light items, you will definitely benefit from having a roomy bag with a flat bottom! So learning how to make a box bottom bag will always come in handy! Here’s the simple instructions for how to box corners 3 ways. And once you learn these methods, you can apply the techniques to other items too, like pillows, cushions, book bags, a stand-up pouch, or virtually anything that needs a boxed bottom.
How to sew box corners
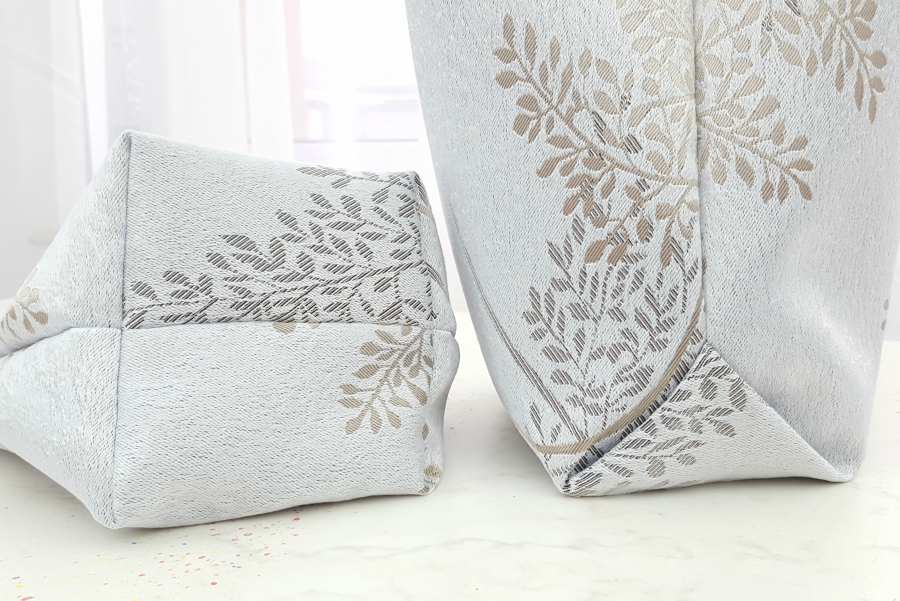
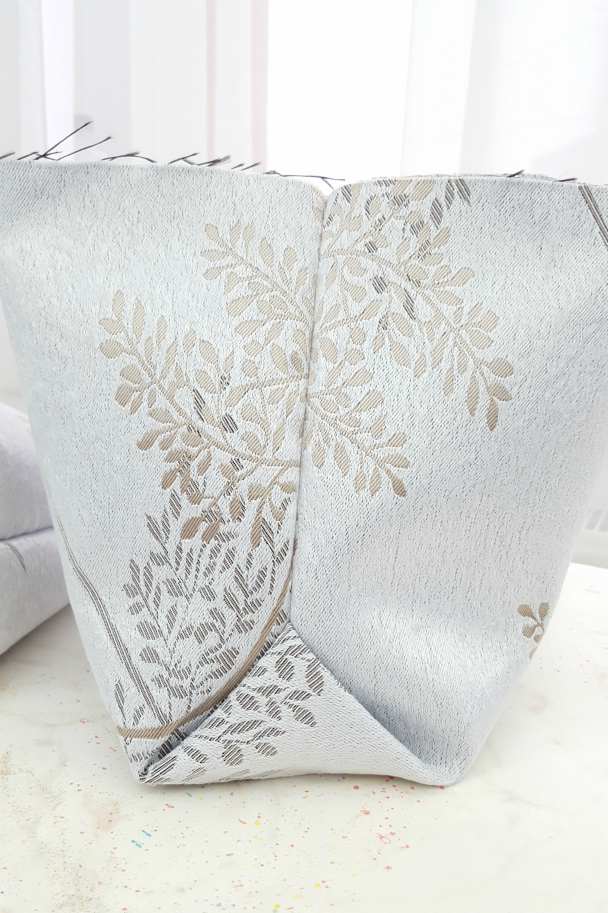
The size of the boxed corners is decided by you and your needs and it will affect how large and flat the bottom of your bags will be and also the width and height of your bag. When making square corners on my bags I like to use a measurement between 3″ and 5″.
Materials you’ll need
- 2 strips of fabric
- interfacing
- scissors
- ruler
- pins
- fabric marker or chalk wheel/pen
- thread
- sewing machine
Instructions for sewing box corners
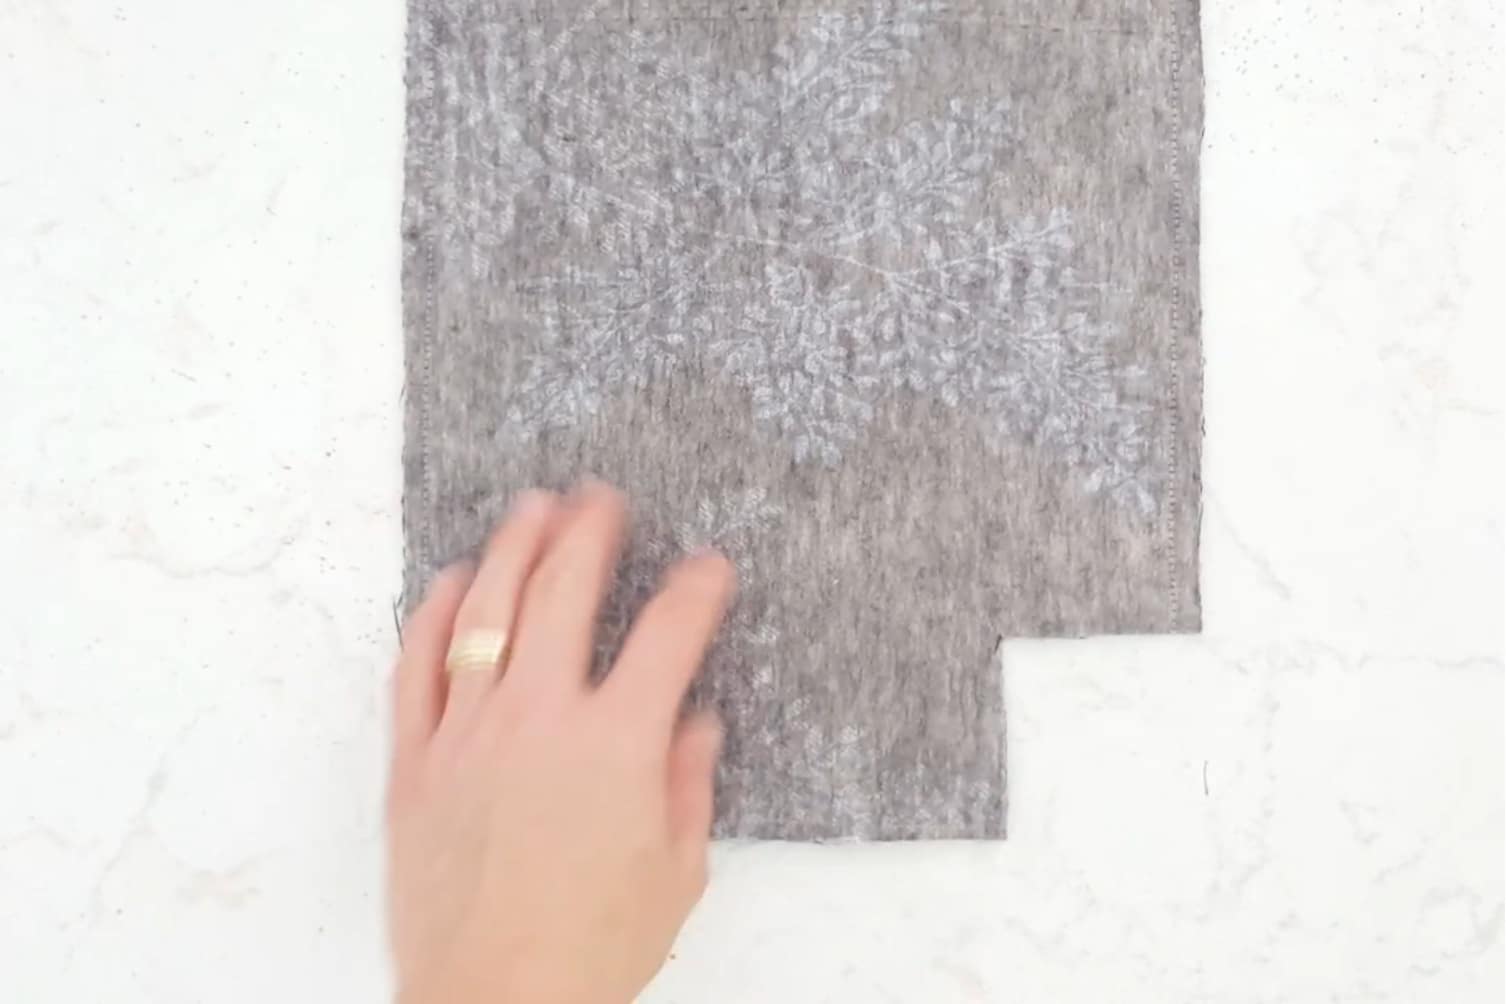
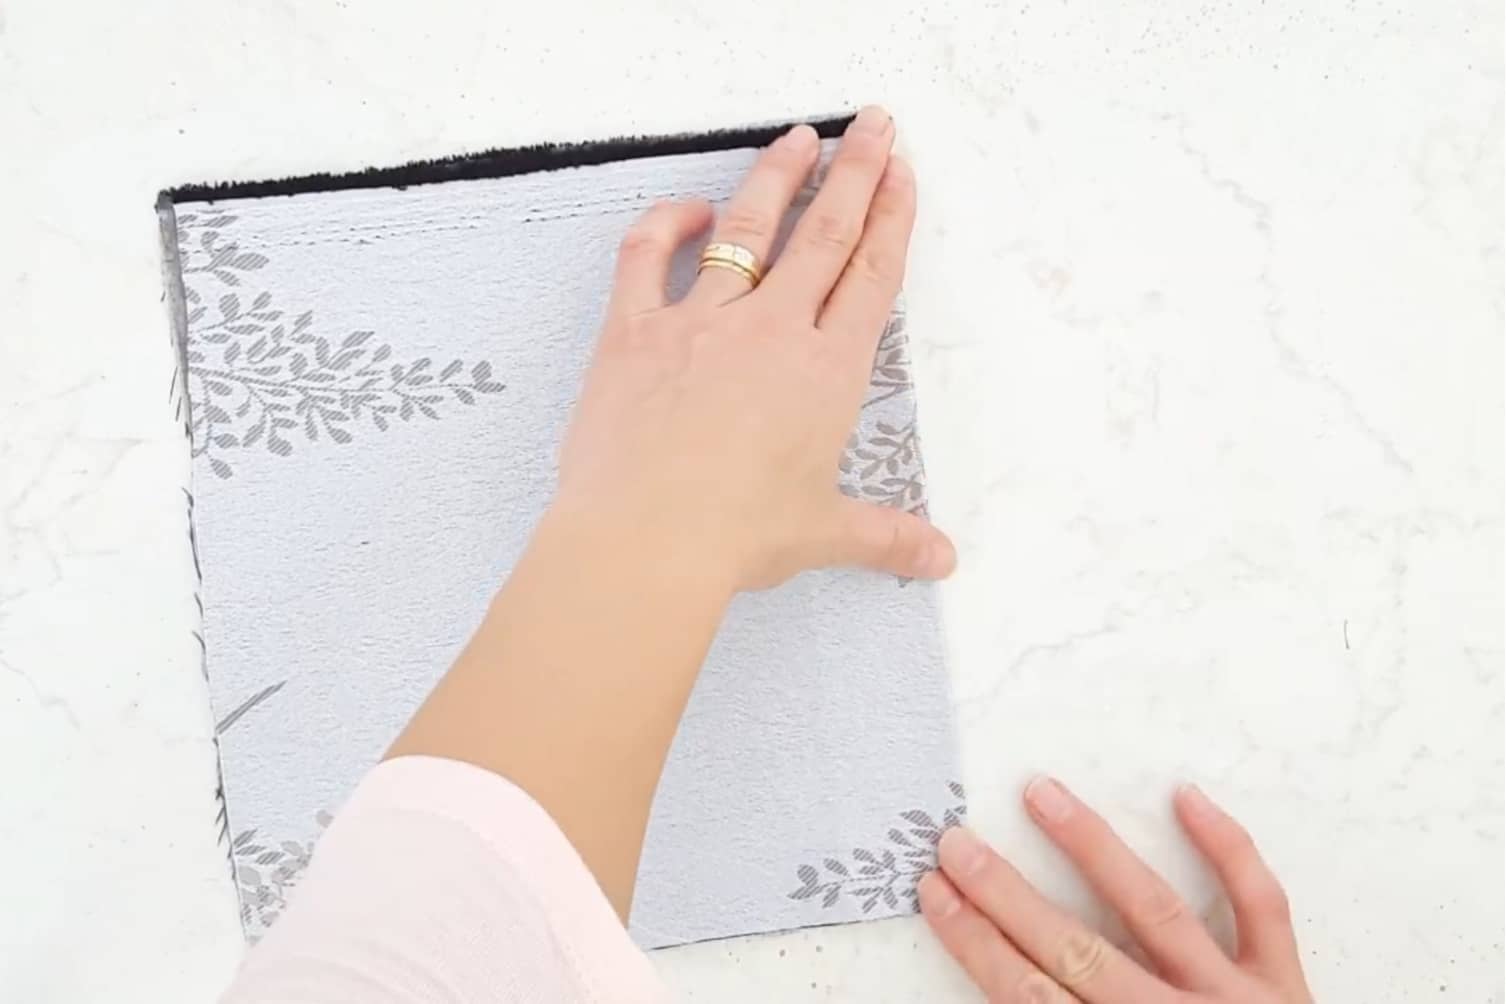
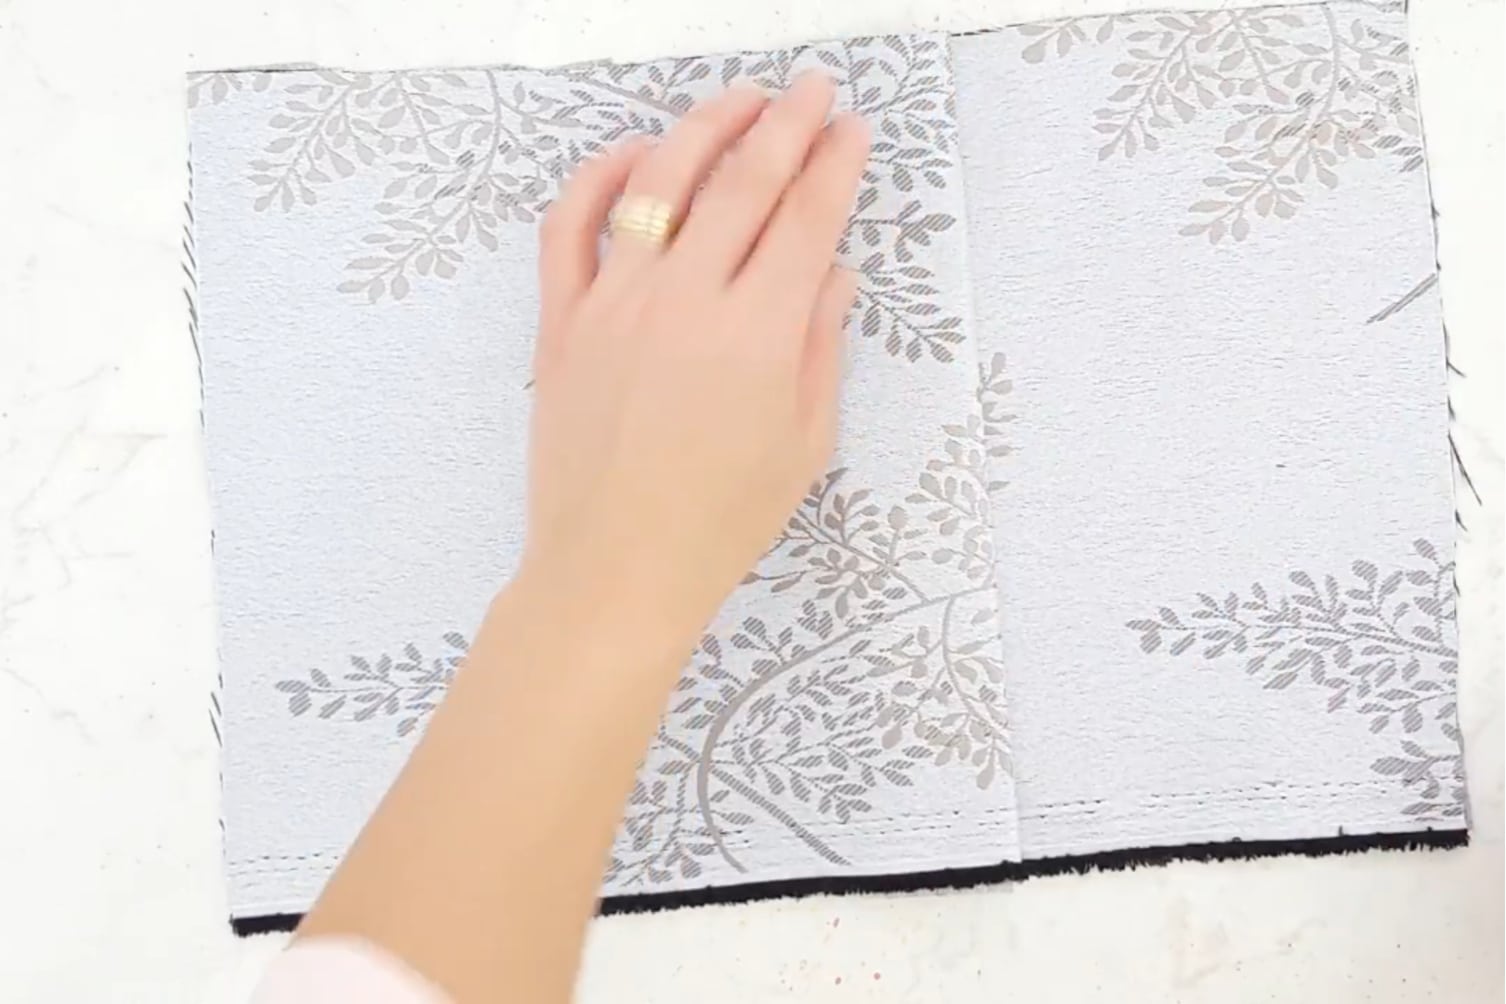
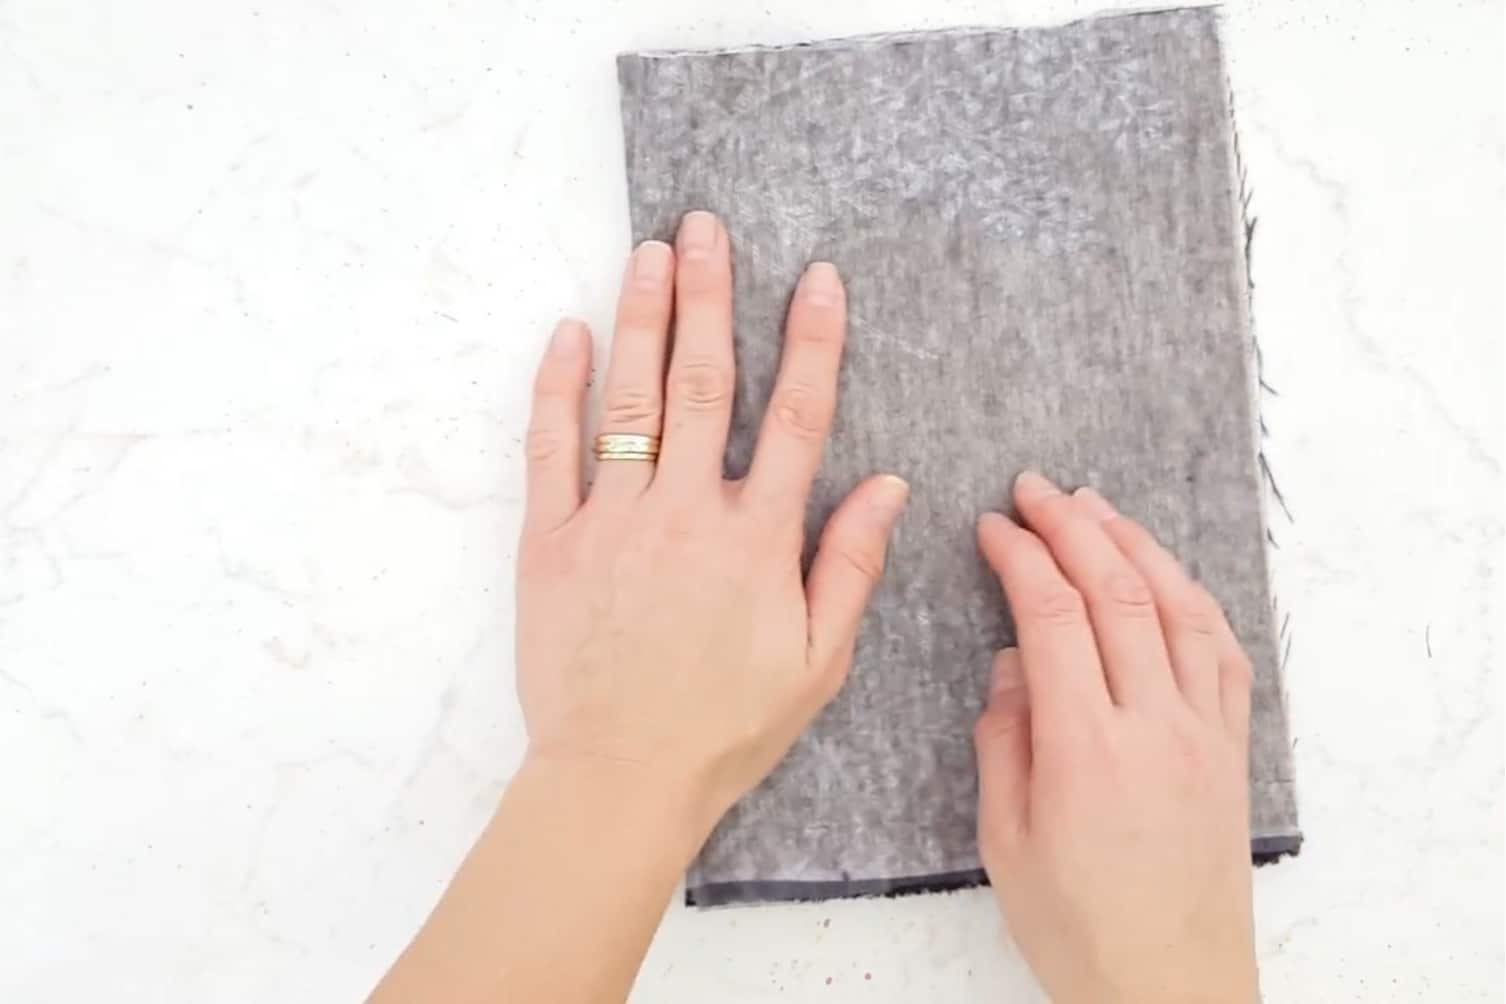
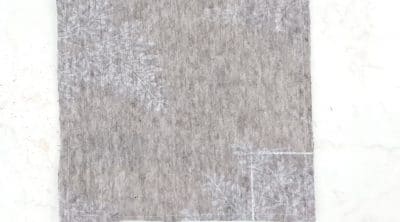
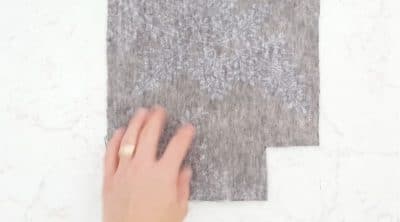
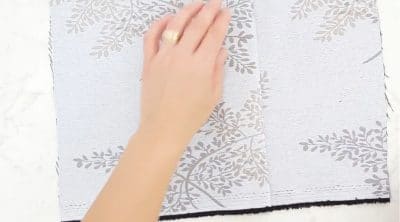
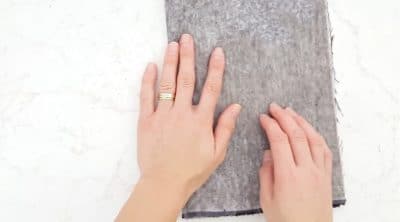
Note: As this is for learning and practice, I won’t be using precise measurements for the fabric strips. I cut 2 squares from the thick fabric I used to sew these curtains and I placed iron on interfacing on the back of each. All methods are illustrated in the video in this article, accompanied by written instructions below and in the craft card at the bottom.
1. Method #1 for sewing box corners:
- This is the most common method used for sewing boxed corners.
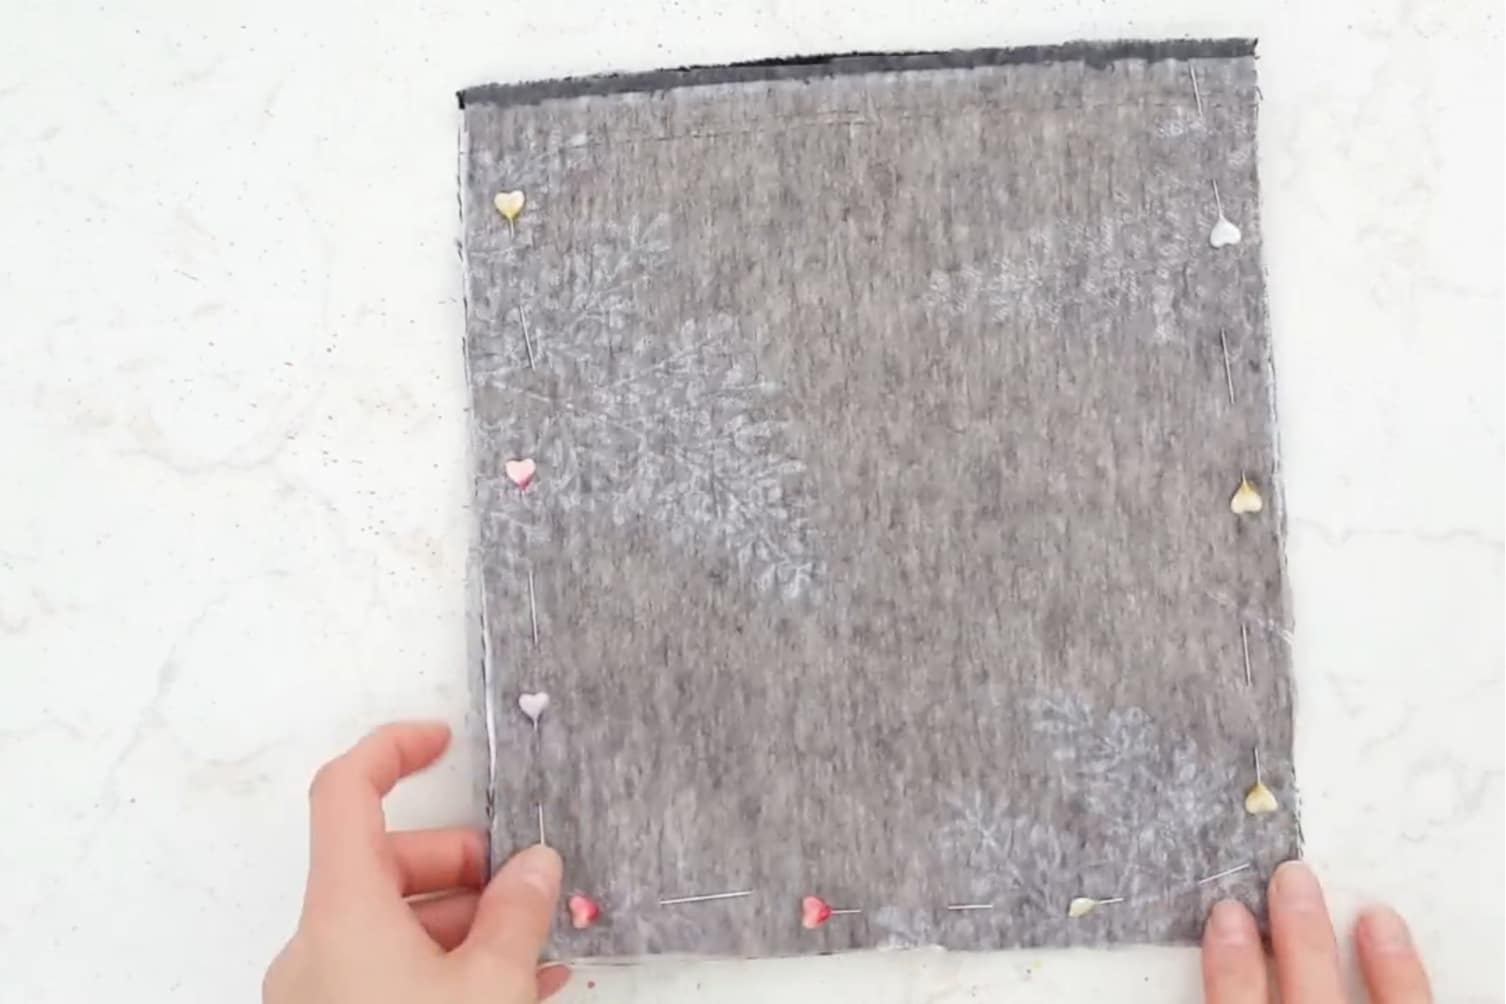
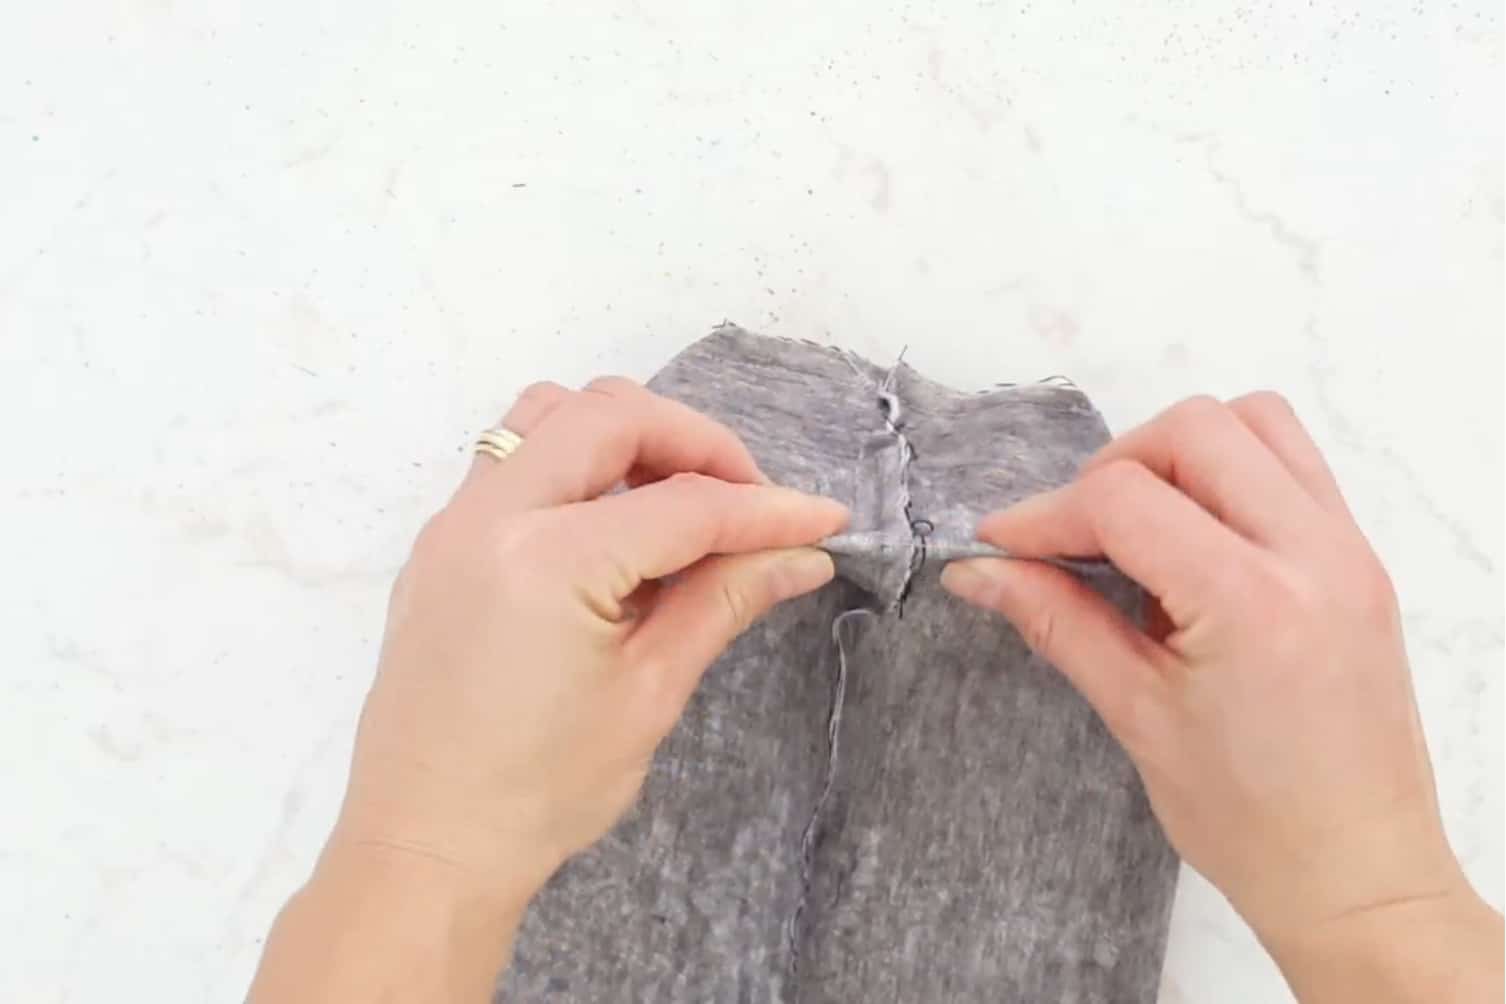

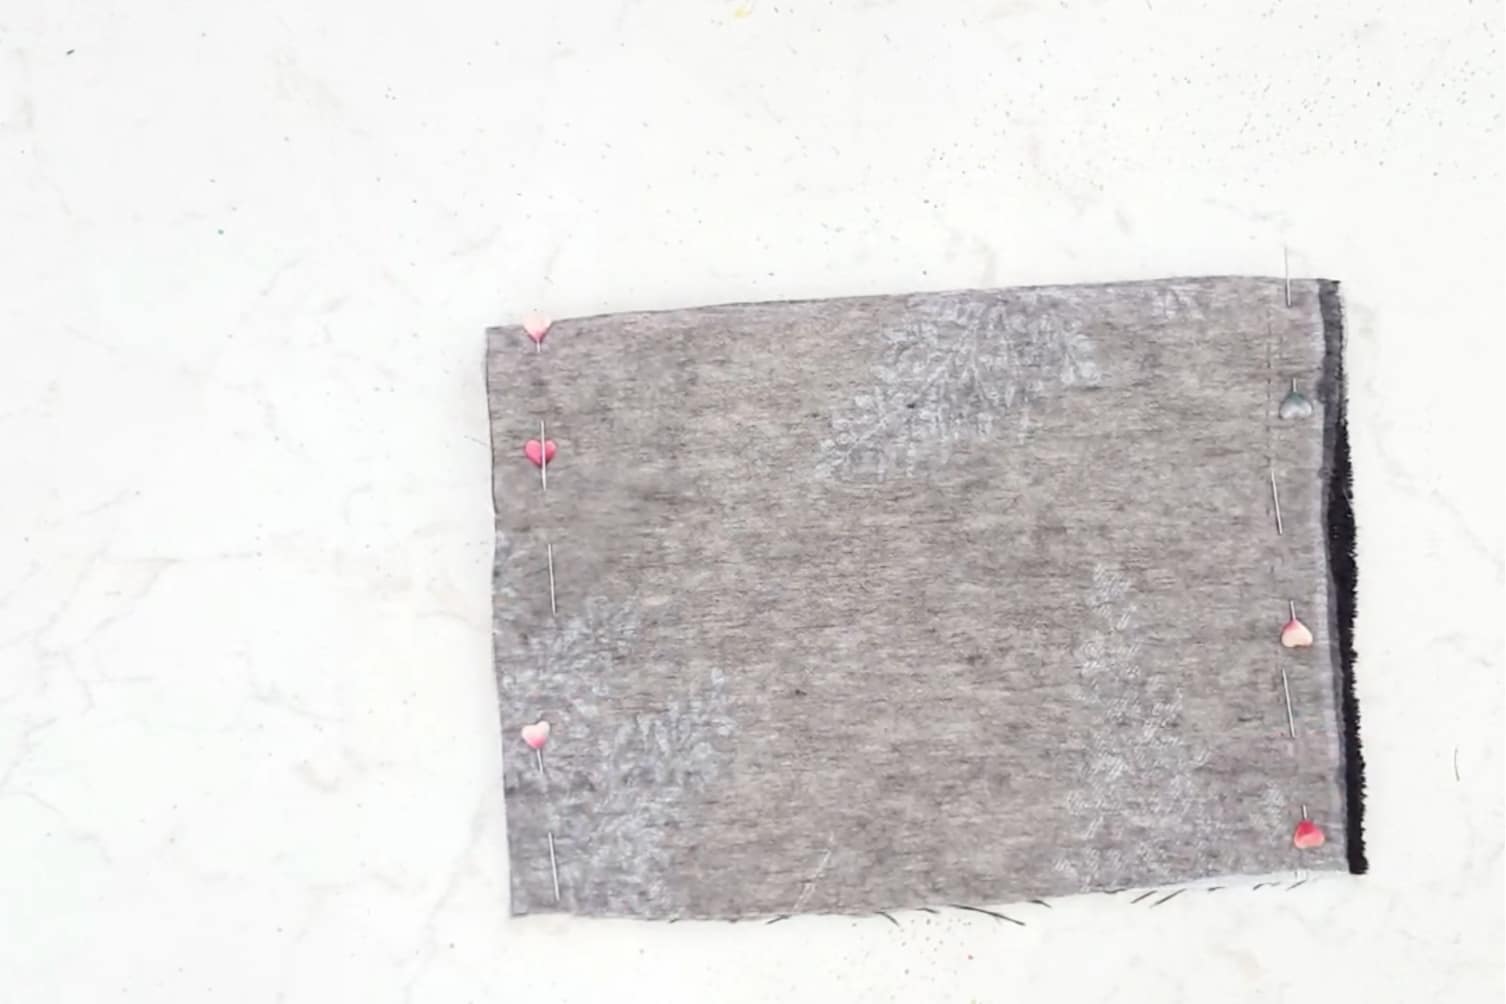
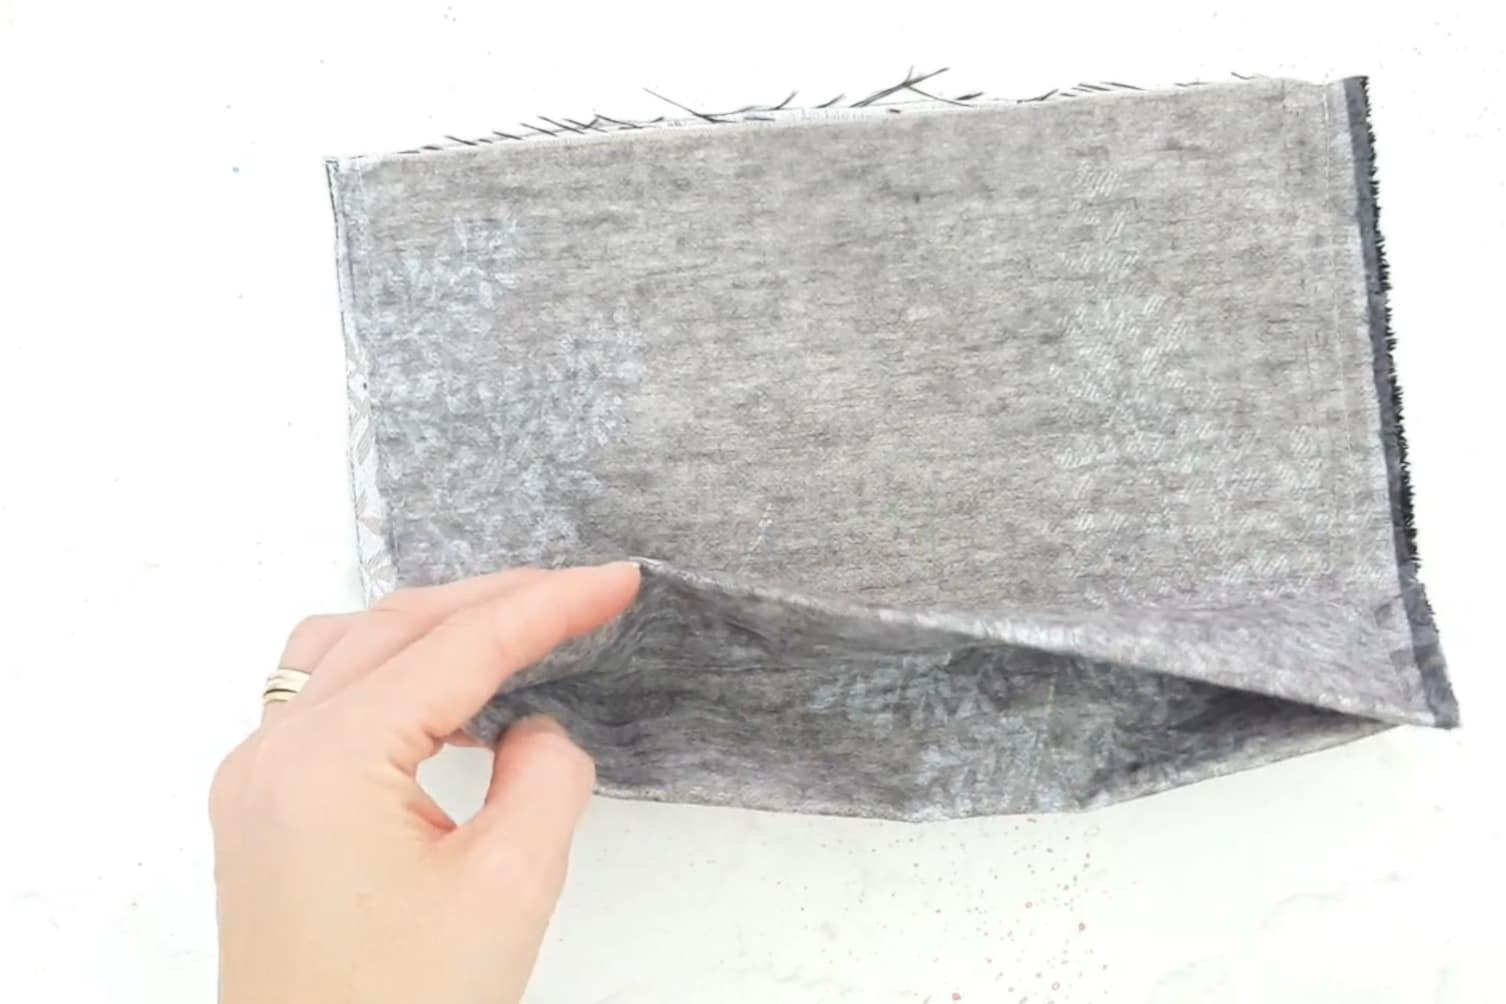
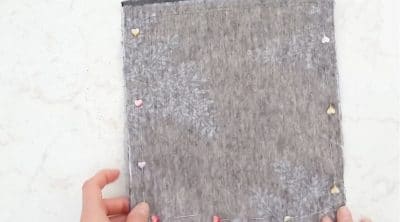
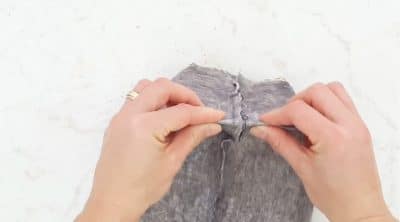
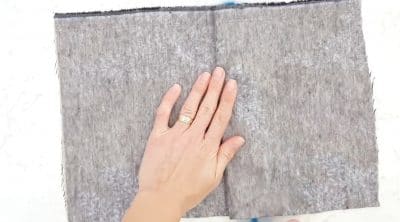
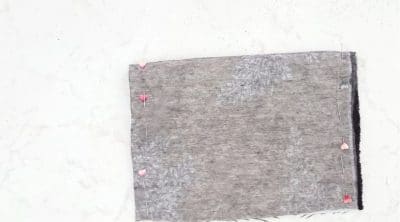
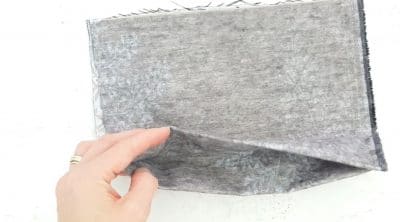
- Place fabric right side together (RST).
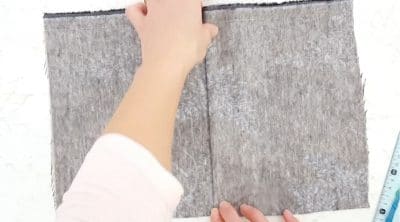
- Pin sides and bottom and sew down.
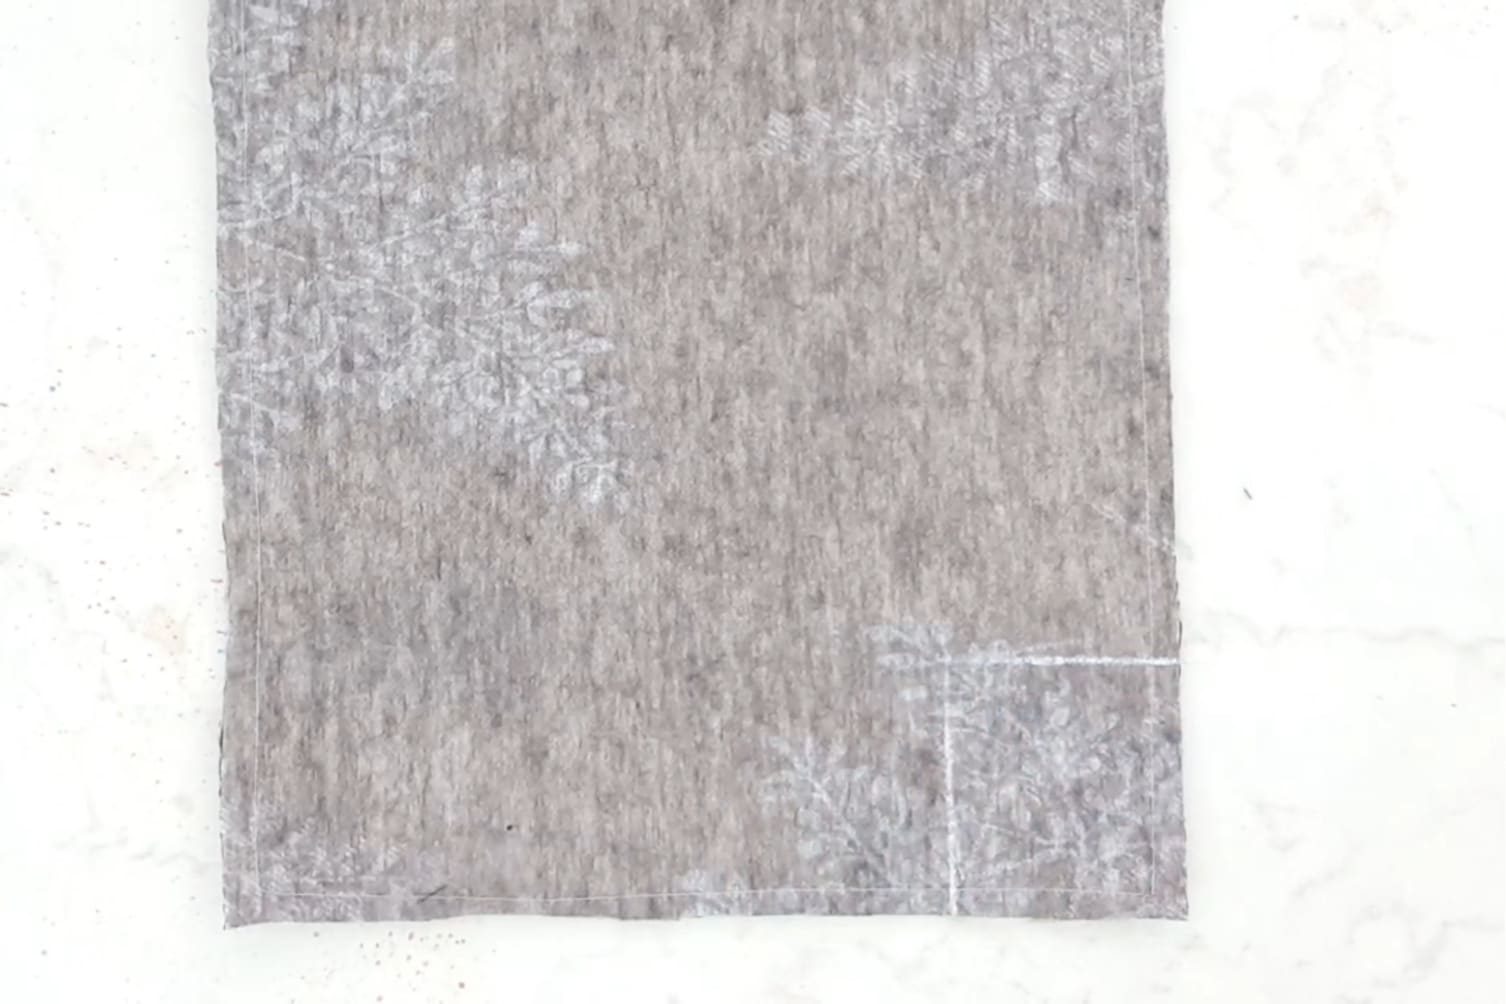
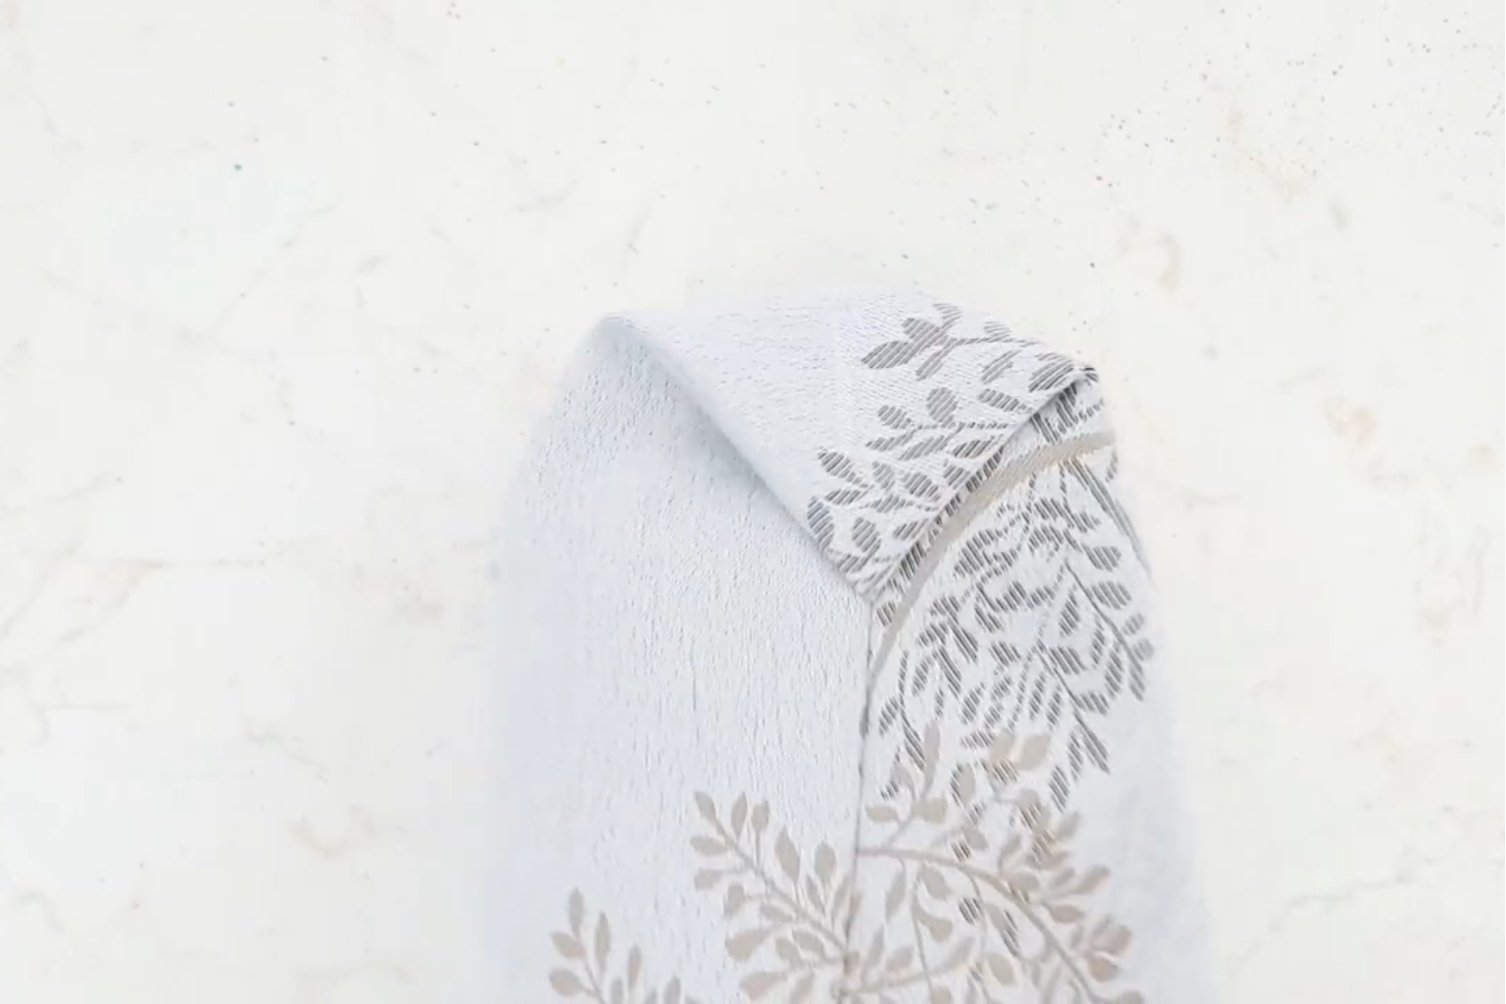
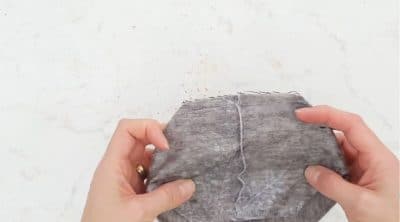
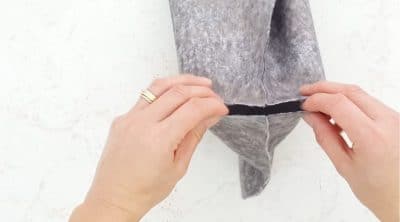
- In the bottom right corner, measure 2″ away from the side and the bottom seam and trace a square.
- Pinching the corners of this square, match the bottom seam with the side seams.
- Press flat, arrange the seams so that one points to the right and the other to the left.
- Pin and sew down.
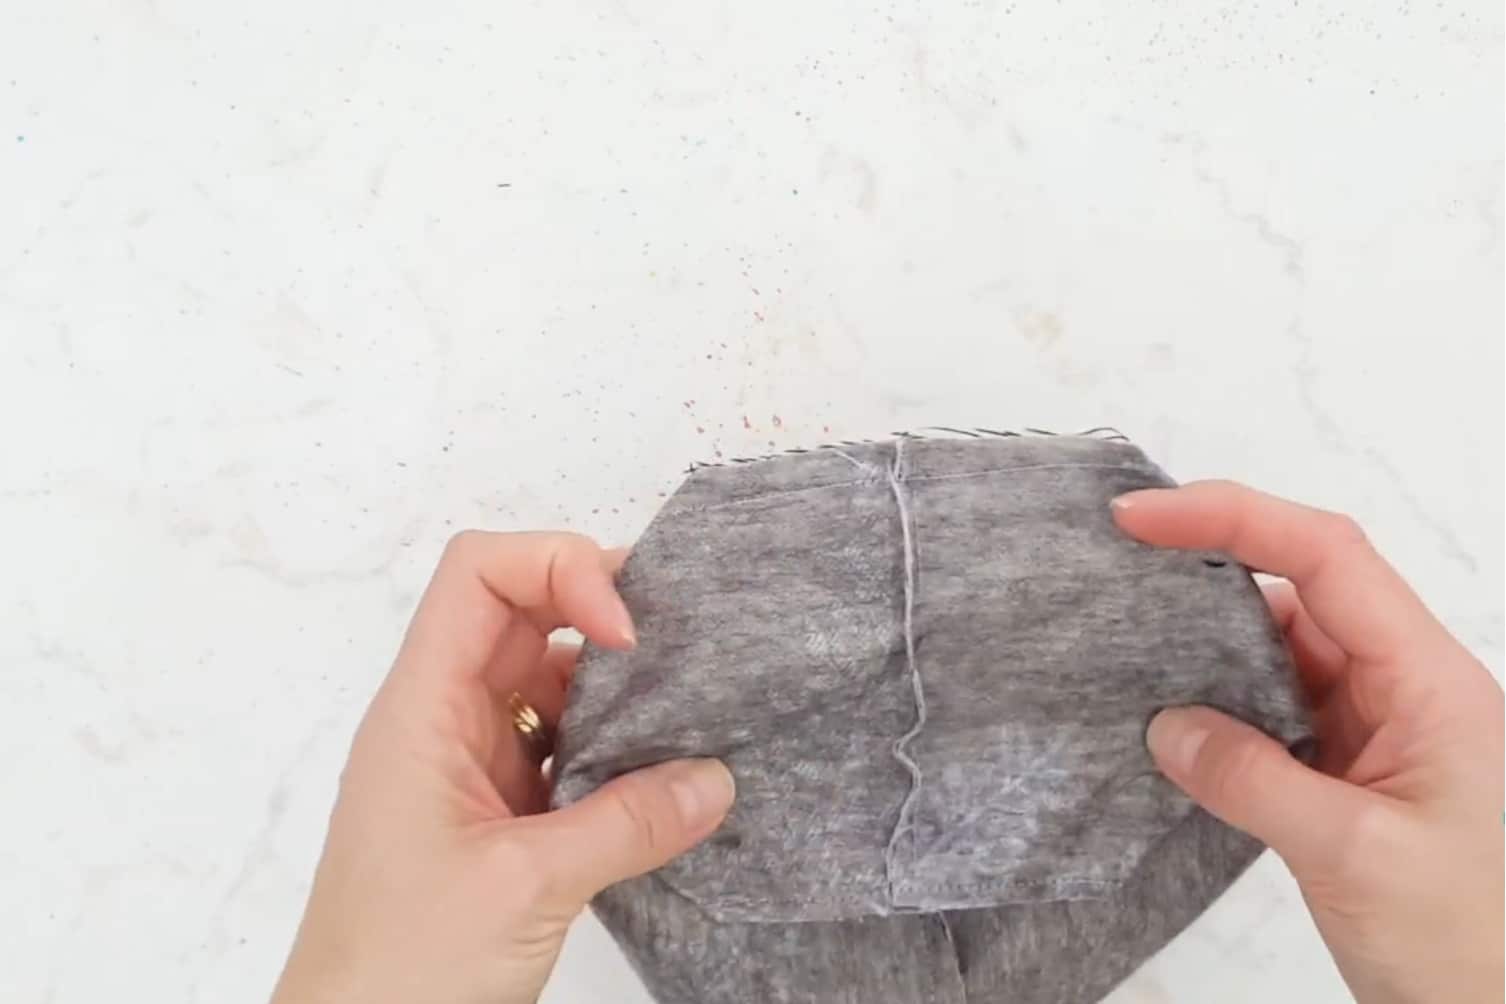
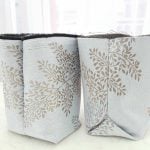
- Then either fold the flap down to give extra body and sturdiness to the bottom of the bag or simply trim it off.
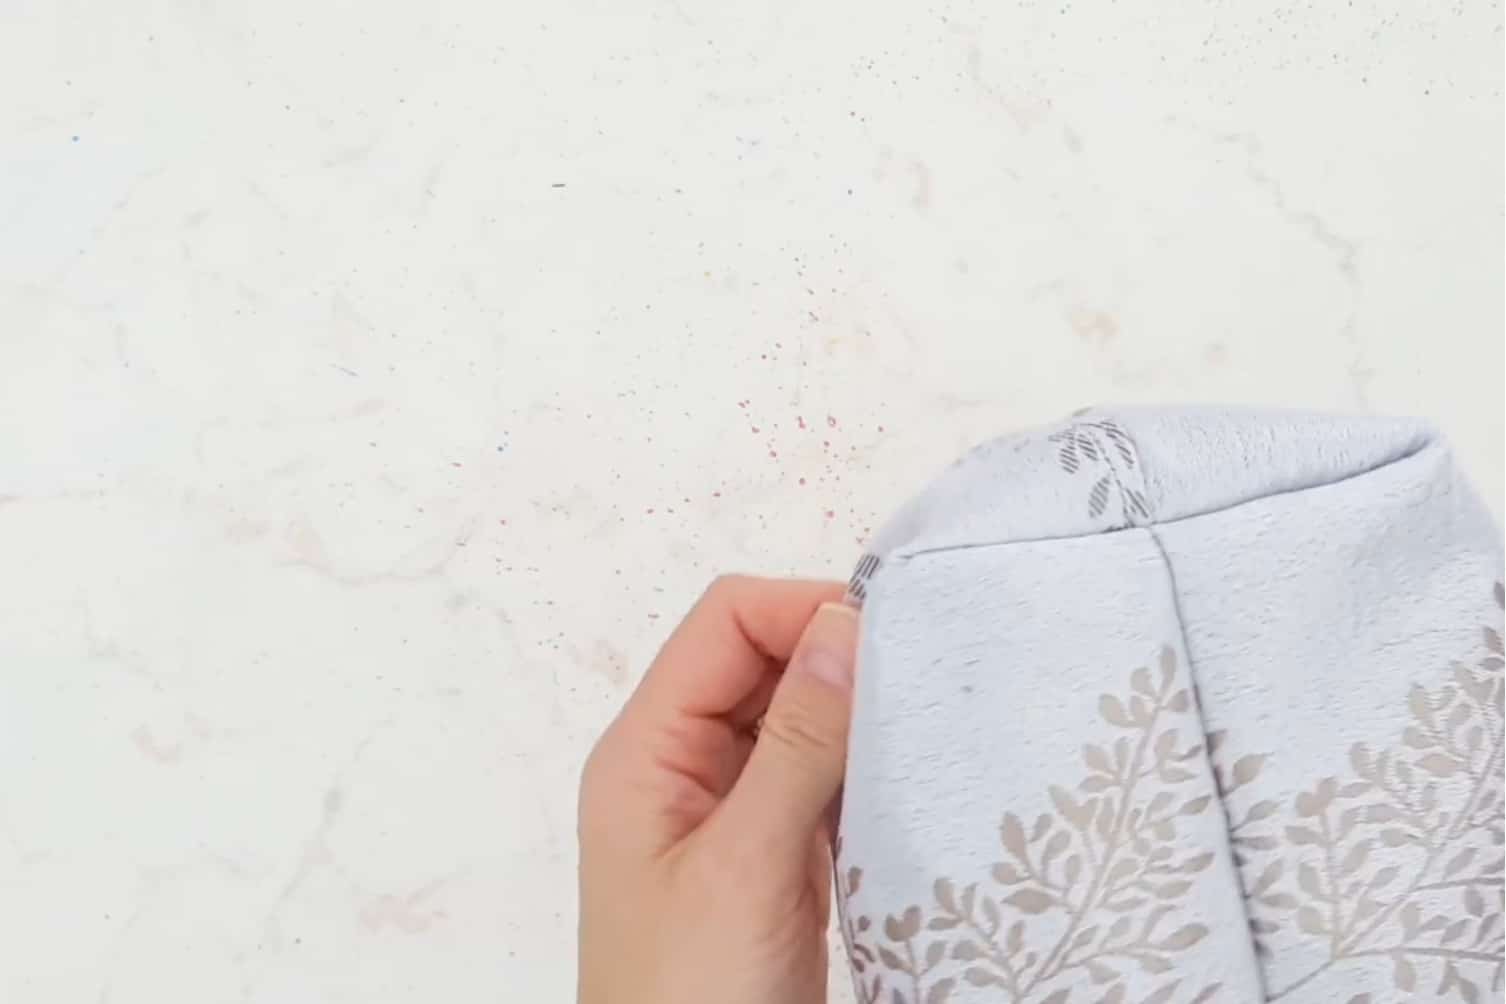
- Turn bag right side out and push the corners out.
2. How to box corners on a bag with method #2:
- This is a simplified variation of the first method.
- Place fabric right side together (RST).
- Pin sides and bottom and sew down.
- In the bottom right corner, measure 2″ away from the side seam and the bottom seam and trace a square.
- Using your scissors, cut out the square.
- Match bottom and side seams, pin and stitch down with desired seam allowance (1/4″ should be fine).
- Turn bag right side out and push the corners out.
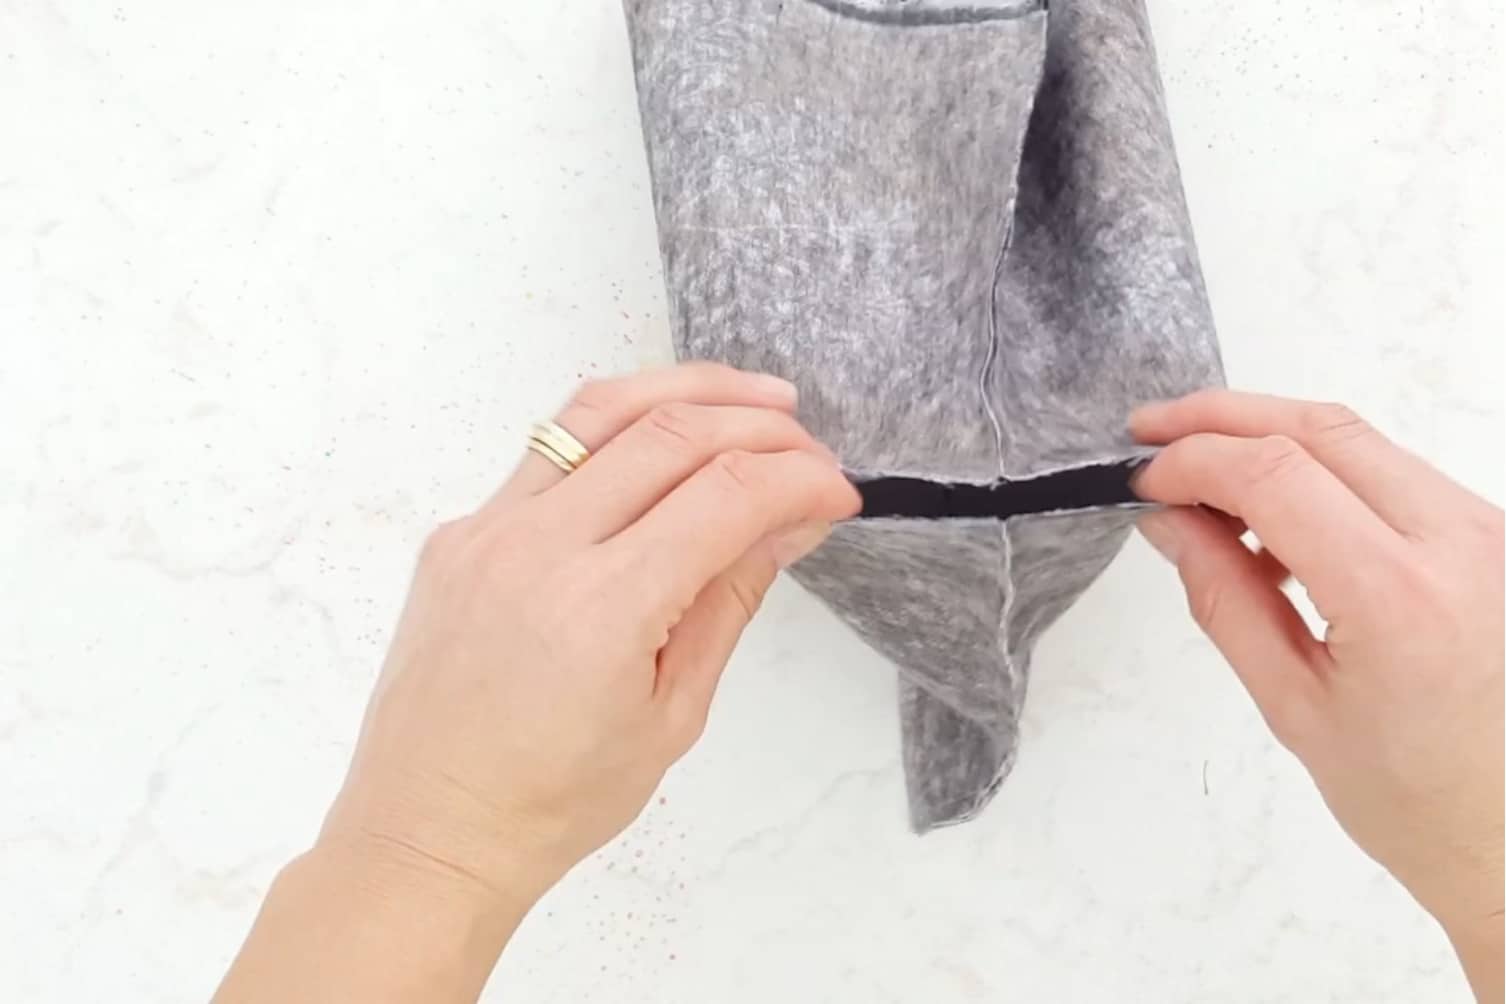
3. Method #3:
- This will give your box bottom bag a totally different outcome than the 2 methods above, but with the same effect. This method is mostly used for small items such as pouches and cosmetic bags, rather than on totes and hand bags.
- You will need a single strip of fabric for this method.
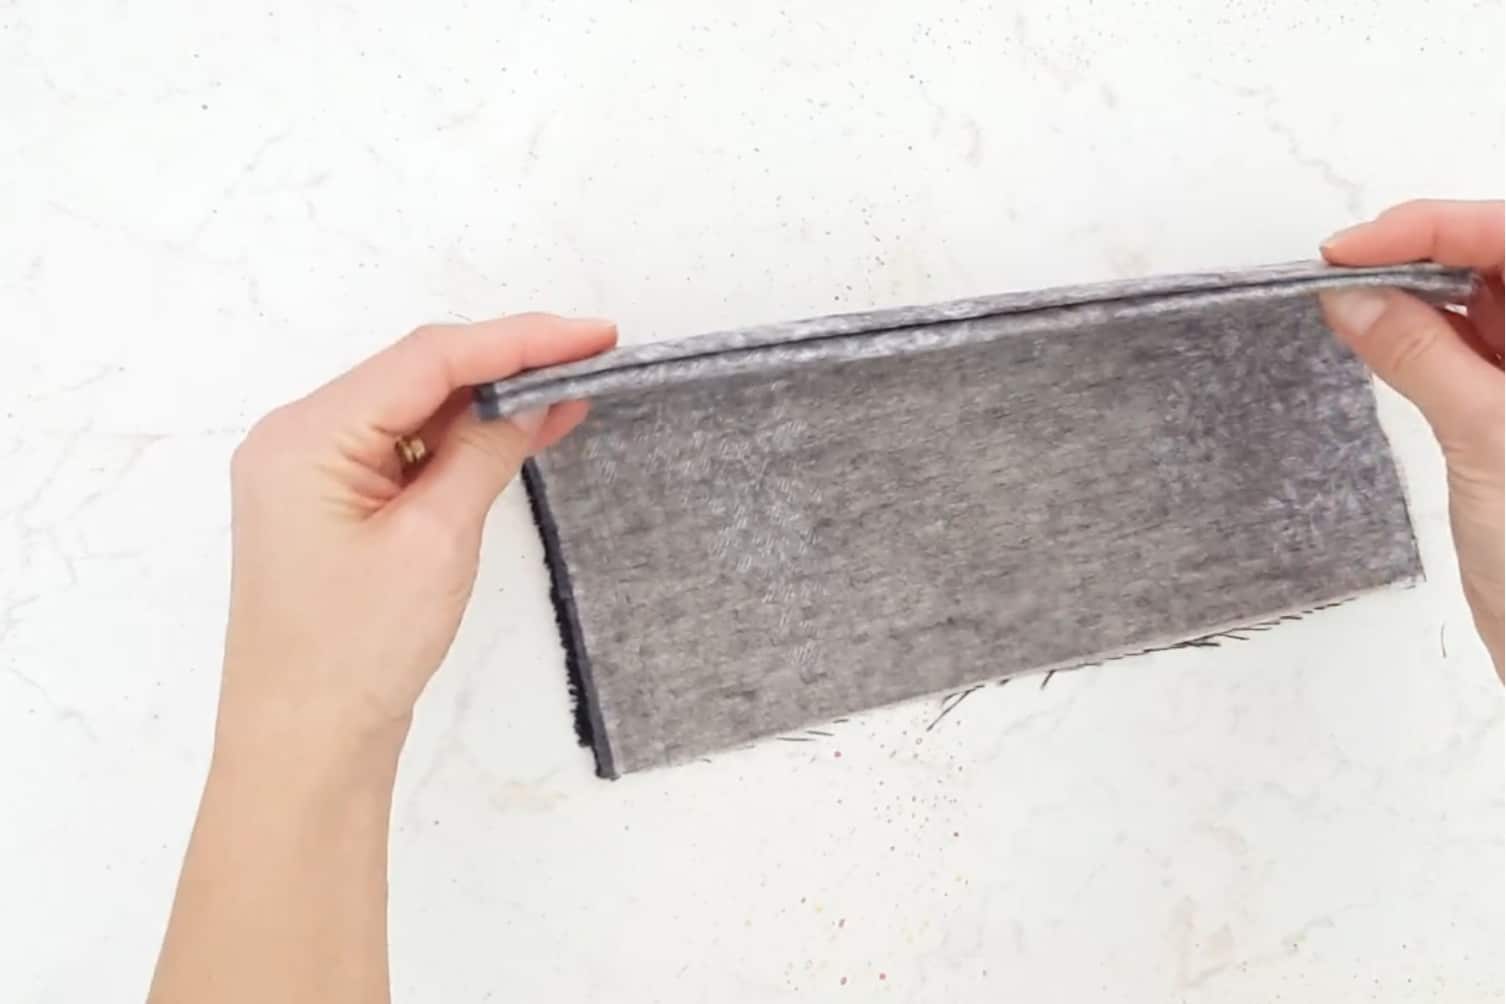
- Fold rectangle in half, right side out, and press.
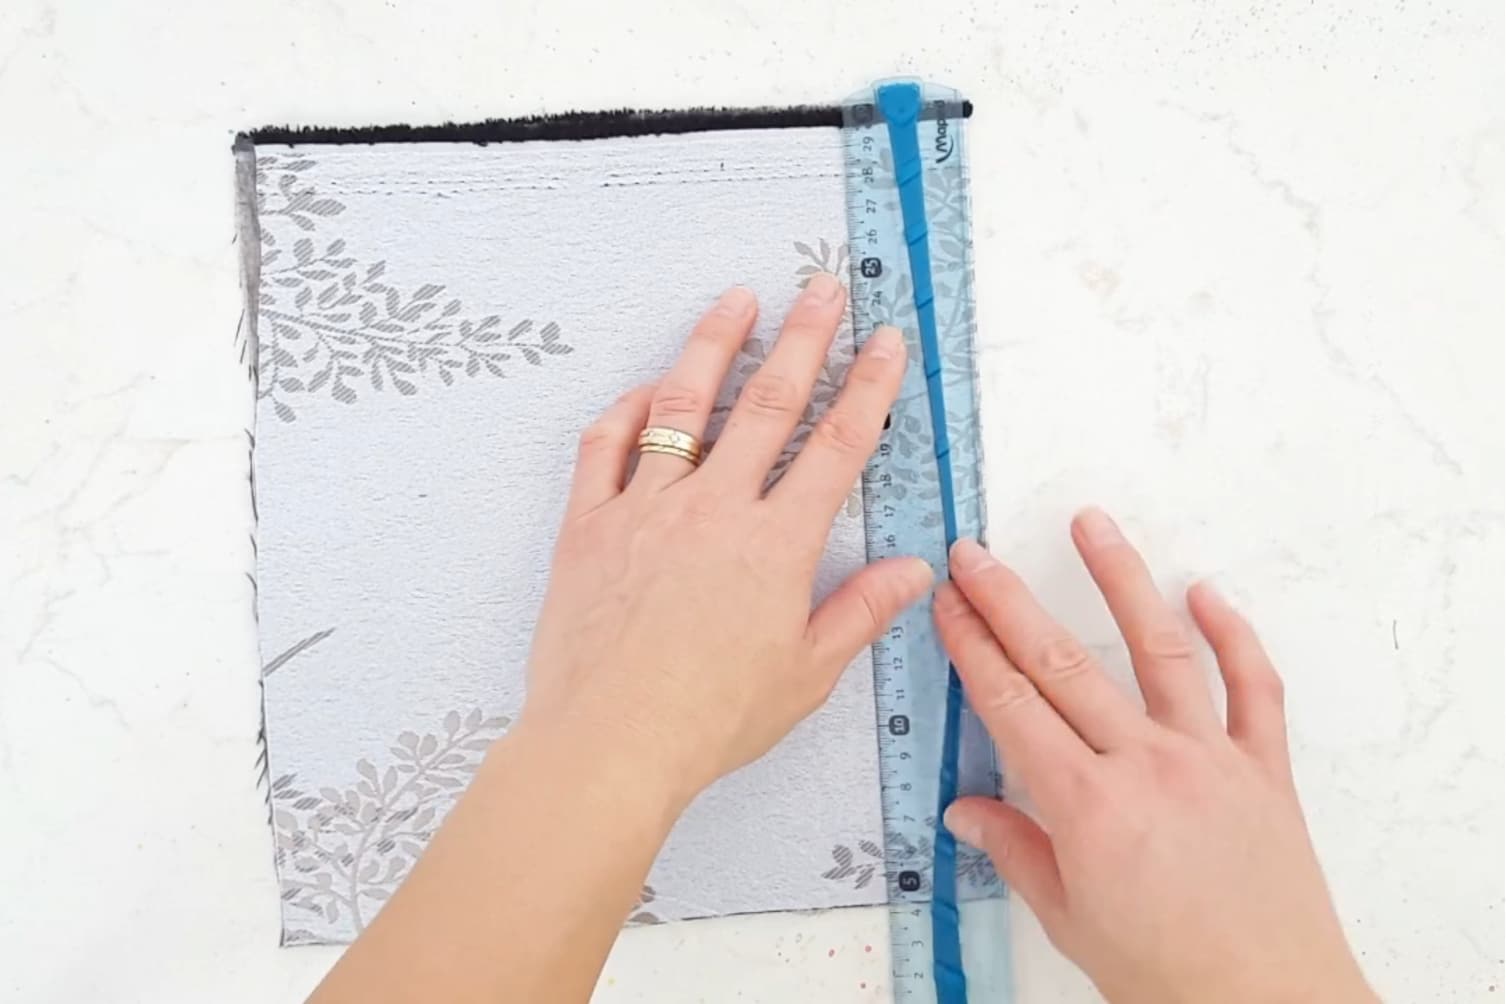
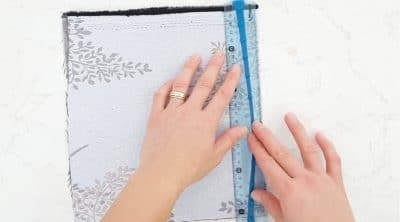
- Measure 1 1/2″ away from the fold, mark and place a ruler over the fabric.
- Then fold one side over the ruler.
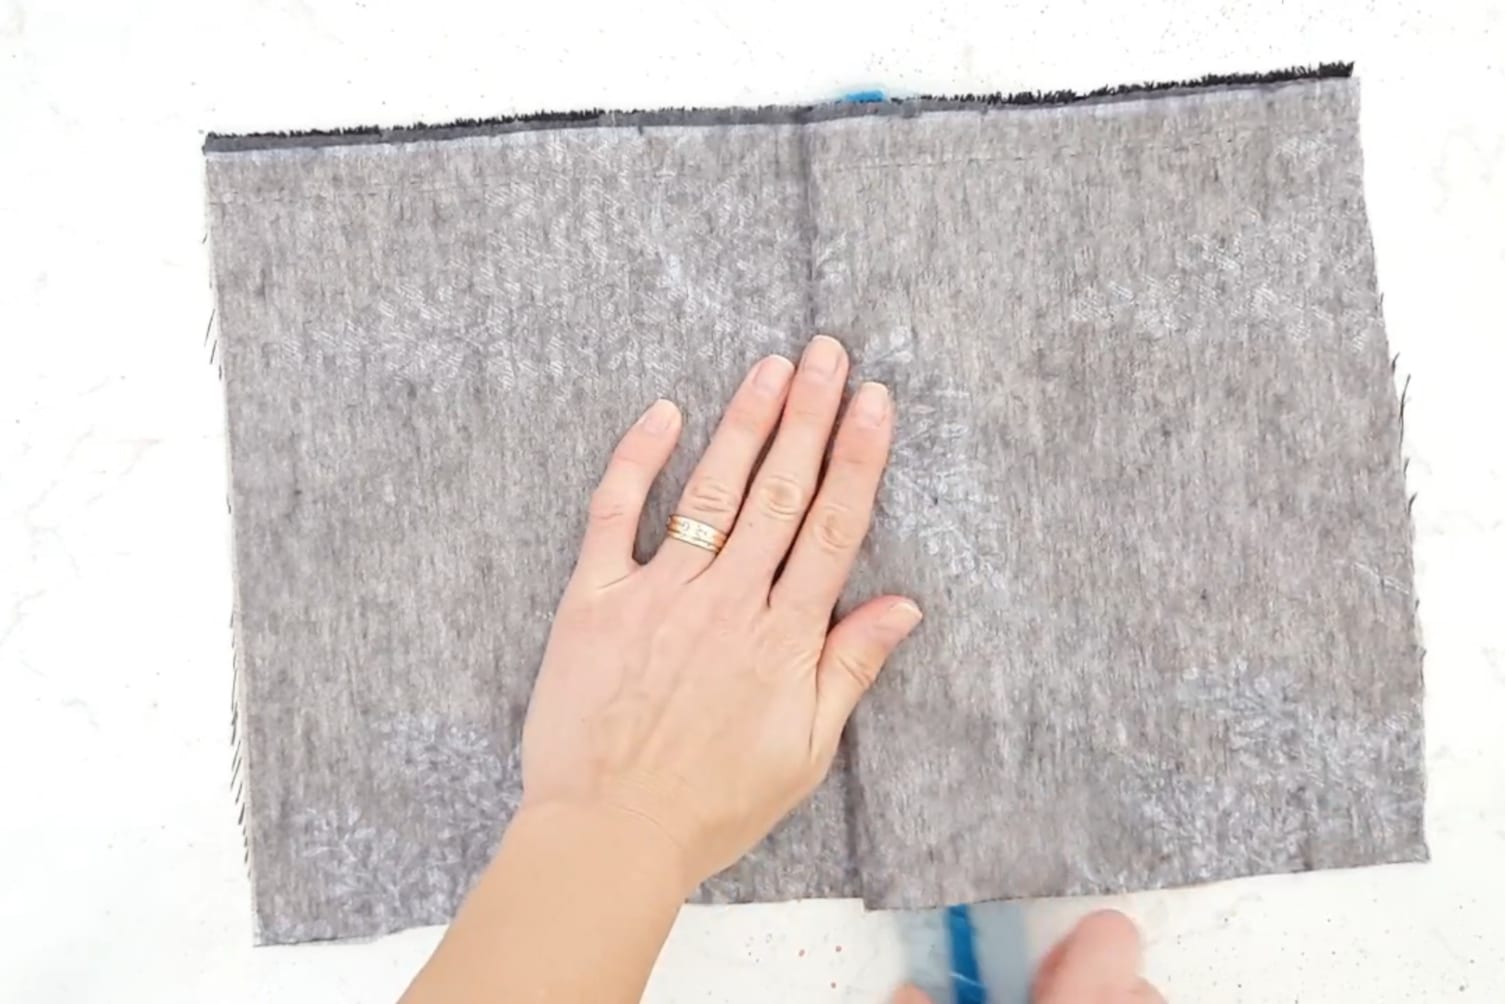
- Press using a pressing iron. At this point the rectangle should be wrong side out.
- Turn it right side up and repeat the steps for the other side of the rectangle. Now the whole rectangle should be wrong side out.
- Place fabric so the fold is at the bottom and raw edges at the top; pin sides and sew down.
- Turn bag right side out and push the corners out.
Tips and tricks for sewing box corners
- Be careful when trimming off the excess fabric from method #1.
- Don’t be afraid to experiment with different sizes for your boxed corners. It all depends on the size of your bag and how flat or roomy you want it to be.
- Ironing is key in giving a neat finish to your box bottom bag.
- Always measure twice before cutting. A mistake can easily be made when measuring from the sides rather than looking at the bottom of the bag.
- Add a layer of interfacing to give your bag extra structure and support, especially if you’re using lightweight fabric.
- You can also add piping or trim along the seams to add a decorative touch to your box corners. Just make sure to sew them on before sewing the sides and bottom together.
More sewing tutorials you’ll enjoy
- Tips for sewing canvas
- French seam tutorial
- Tips for sewing organza
- Two bobbin storage ideas
- DIY hem gauge
- How to sew rolled bag handles
I hope I was able to help you learn something new and useful today. If you liked my tutorial, I’d love to know it so please leave a comment below! And if you make a tote bag with any of these methods, I would love to see pictures so don’t hesitate to send me an email, or tag me on social media.
Sewing box corners on bags with 3 methods
Materials
- 2 strips fabric
- 2 strips interfacing
- thread
Tools
- scissors
- ruler
- fabric marker or chalk wheel/pen
Instructions
Method #1
- Place fabric right side together (RST). Pin sides and bottom and sew down.

- In the bottom right corner, measure 2" away from the side and the bottom seam and trace a square.
- Pinching the corners of this square, match the bottom seam with the side seams. Press flat, arrange the seams so that one points to the right and the other to the left. Pin and sew down.
- Then either fold the flap down to give extra body and sturdiness to the bottom of the bag.
- Or simply trim it off.
- Turn bag right side out and push the corners out.


Method #2
- Place fabric right side together (RST). Pin sides and bottom and sew down.
- In the bottom right corner, measure 2" away from the side seam and the bottom seam and trace a square. Using your scissors, cut out the square.
- Match bottom and side seams, pin and stitch down with desired seam allowance (1/4" should be fine).
- Turn bag right side out and push the corners out.
Method #3
- You will need a single strip of fabric for this method. Fold rectangle in half, right side out, and press.
- Measure 1 1/2" away from the fold, mark and place a ruler over the fabric.
- Then fold one side over the ruler.
- Press using a pressing iron. At this point the rectangle should be wrong side out.
- Turn it right side up and repeat the steps for the other side of the rectangle.
- Now the whole rectangle should be wrong side out.
- Place fabric so the fold is at the bottom and raw edges at the top.
- Pin sides.
- Then sew down
- Turn bag right side out and push the corners out.


Video
Most popular sewing projects:


Article may contain Amazon & affiliate links. As an Amazon Associate I earn from qualifying purchases at no additional cost to you.

Hi Petro,
Thanks for the instructions for the external boxed corners. I remember written directions the best.
Hi, Cheryl! Thanks for your comment, I’m glad you found my tutorial informative!
Great post petro!
I’m truly excited to sew my box corners. surely I’ll follow your guidance.
Hi there! Thanks for stopping by! I’m glad you found my tutorial informative and easy to follow! xoxo