

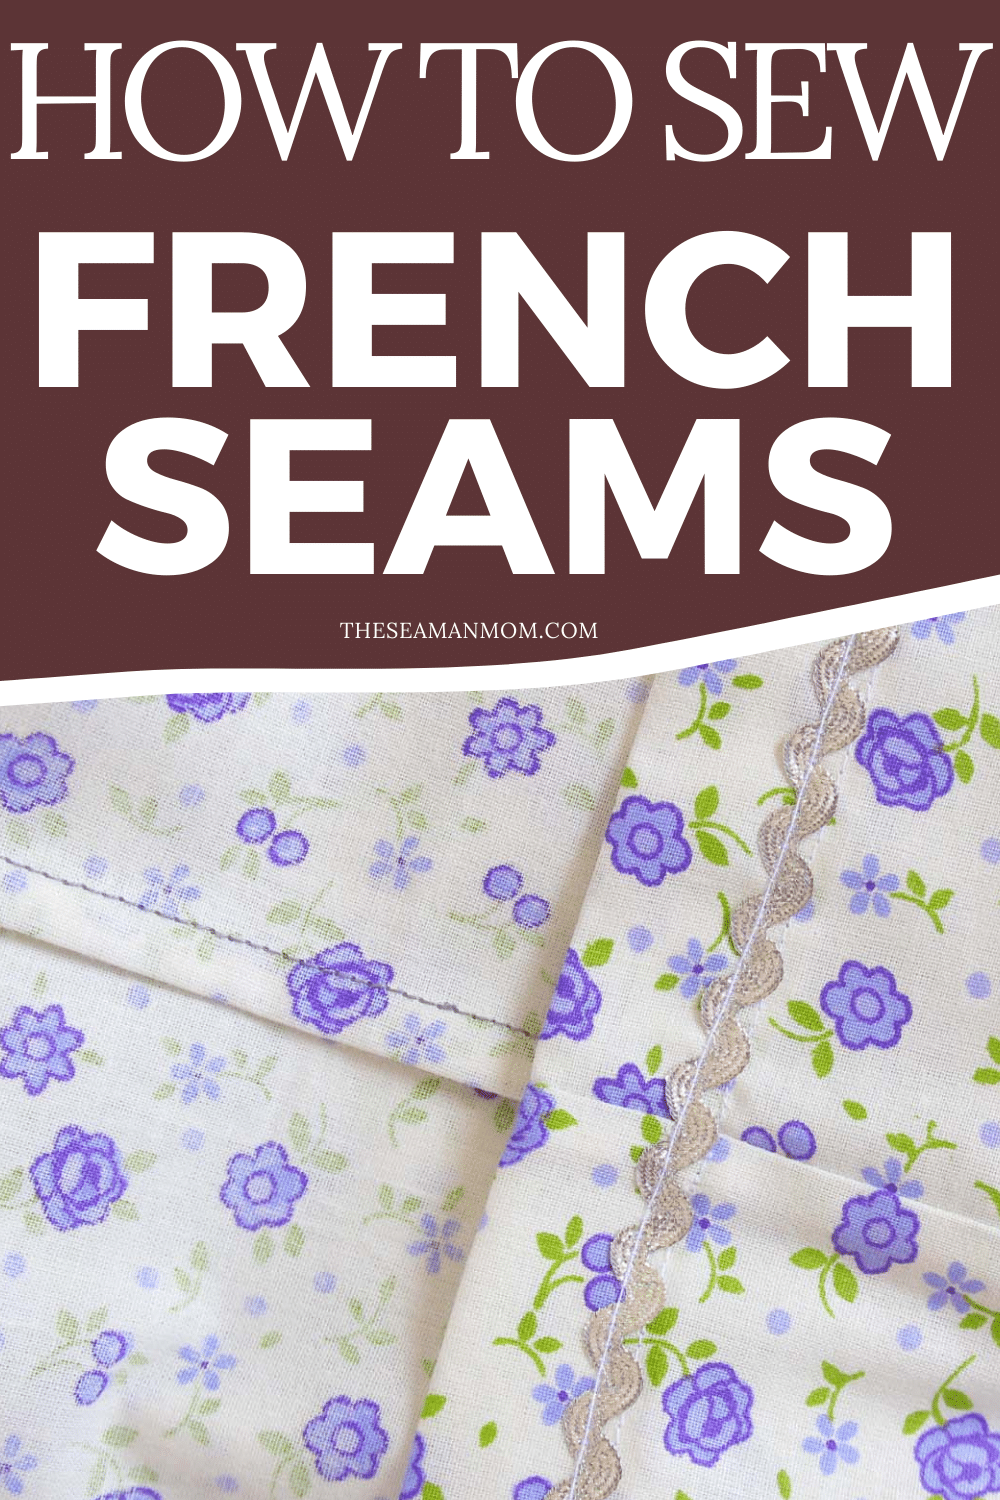
An easy guide to sewing the perfect FRENCH SEAM
Adding a sophisticated, polished look to your sewing projects is easy with a French seam! Whether you’re sewing clothes or home decor pieces, mastering this handy technique will help take your projects from beginner to professional in no time! So what are you waiting for? Let’s get sewing!
French seam
Looking for a simple and elegant finishing touch to your sewing projects? Look no further than the French seam! This technique is easy to learn and creates clean, professional-looking finishes on lightweight or medium-weight garments without creating too much bulk. Whether you are new to sewing or an experienced seamstress, mastering the art of French seams is a great way to take your skills to the next level.
I bet you’ve considered at least once to make use of the French seam in your projects! In spite of its bad reputation, a French stitch is so easy peasy to make and adds such an elegant and neat touch to your sewing projects. Read along and this French seam tutorial will guide you through all the steps necessary to make a beautiful enclosed seam for your garments! You’ll be hooked, I promise you!
More sewing tips you’ll love!
- How to sew faster
- Tips for sewing organza
- 2 Cool bobbin storage ideas
- DIY hem gauge
- DIY seam guide
- How to adjust presser foot tension
- Flat felled seam
I just finished making this pretty (and insanely easy!) paper bag skirt for my little daughter and I thought it would be a good opportunity to practice my French seam skills and also make a tutorial for those who wanted to try it but never had the courage to. While this type of seam looks rather fancy and complicated, it’s truly super simple and quick to make! I’ll get to it in a minute and I bet you will immediately get all “Oooo! la la!” over this awesome seam finish technique!
But first let’s clarify a couple of questions I hear pretty often when it comes to a French seam!
What is a French seam?
A French seam is a method of enclosing the raw edges of fabric inside a seam. The French seam gets its name because this type of seam was first used in France.
This type of seam is commonly used on delicate, lightweight fabrics or when you want to create a neat finish to your garment. It also helps prevent fabric from fraying or unraveling.
A French seam is probably one of the most popular ways to finish seams on garments, particularly for lightweight or sheer fabrics. It encloses the raw edges in an elegant, durable seam which looks super neat and tidy, adding a professional touch to any garment!
Many people are scared of making a French seam since the name sounds so fancy but the truth is, French seams are not scary at all! And did you know French sewers call this type of seam an English seam? I was mind blown when a French seamstress told me this!
What is the difference between plain seam and French seam?
The plain seam is the most common way of sewing a seam and is used for the majority of your sewing projects. This simply means that the raw edges of fabric are sewn together, leaving behind unfinished edges on both sides.
A French seam, on the other hand, involves folding each raw edge inwards when sewing, enclosing the raw edges inside the seam. This gives a much cleaner and neater finish to your garment.
What is a French seam most commonly used for?
A French seam is commonly used to finish the raw edges of lightweight or medium-weight fabrics, such as cotton, linen or silk. It can also be used on sheer fabrics such as chiffon or organza.
In general you’ll get to use this beautiful seam whenever you like, but keep in mind this method might create bulky seams on heavy fabrics. So I’d recommend you to use it for lightweight and medium weight fabrics only. It’s particularly useful for super light fabrics that might unravel with other seam finish methods.
When it comes to the types of projects you can use a French seam, you can opt for using it on any garments (from skirts to tops or dresses) but keep in mind you can only use this method for straight seams, not curves.
What is the difference between a French seam and a flat felled seam?
The French seam is a type of locking stitch, which means it encloses the raw edges inside a single seam. A flat felled seam, on the other hand, is used to finish the edges of a seam and is created by folding the fabric over on itself and topstitching in place. To get a clearer idea on how a flat felled seam looks like read my article on How to sew a flat felled seam.
Both methods are used to finish the raw edges of a garment and create a professional-looking finish. However, the French seam is more commonly used on delicate fabrics or when you want a very neat finish, while the flat fell seam is a more durable and sturdy seam that can be used on all kinds of fabrics. It’s commonly used in trousers and jeans and creates a very sturdy seam that resists ripping or fraying.
Another difference between these two seams is that the French seams are created on the inside of the garment while flat felled seams are typically used on the outside of the garment.
While there are some differences between the French seam and the flat felled seam, both techniques are used to create clean, professional-looking finishes on your garments.
Similar posts you might like:
- How to sew a lettuce hem
- How to hem lightweight fabrics
- Serged rolled hem sewing tutorial
- Learn how to make a flounce hem
How much seam allowance do I need for a French seam?
The exact amount of seam allowance required will depend on the thickness and weight of your fabric. It’s best to start with leaving a smaller seam allowance and then gradually adjust this as needed based on the results you get. You may find that you need a wider seam allowance for some fabrics, while a narrower one may work better for finer or thinner fabrics. Generally, a seam allowance of 1/4 to 3/8 inch is recommended for this type of seams.
What is the advantage of a French seam?
Some of the main advantages of using a French seam include:
- A neater, more professional finish for your garment
- The ability to use this method on lightweight and medium-weight fabrics, as well as sheer fabrics like chiffon or organza
- The raw edges of the fabric are completely enclosed, which helps to prevent fraying or unraveling
- It’s a good option for those who are new to sewing, as it’s a relatively simple technique
What are the disadvantages of a French seam?
Some of the main disadvantages of using a French seam include:
- You can only use this method on straight seams, not curves
- It can be a bit time-consuming compared to other methods of finishing raw edges
- It’s not suitable for heavy fabrics as it can be quite bulky and create bulk at the seam
What is a mock French seam?
This is a type of seam that gives the appearance of a French seam, but has two visible seams instead of just one. This method is often used on light-weight or sheer fabrics where a French seam would be too bulky.
To sew a mock French seam, you first press the seam allowance open and then fold the raw edges of the seam inwards towards each other. Then you sew a tiny seam along the fold to enclose the raw edges. You can use a straight stitch to sew this seam, or for even more durability you may choose to topstitch or zigzag over the edge. While this method doesn’t provide quite as professional a finish as a French seam, it’s still an excellent option for those who want a neater finish than a serged seam.
French seams are quite enjoyable, quick to make and in my humble opinion, the most gorgeous way to finish seams! So grab your tools and join me in learning how to sew a French seam!
How to sew a French seam step by step tutorial
Materials needed:
- 2 strips of fabric (similar here)
- ruler
- marking pen
- scissors
- sewing machine
- thread
What are the steps in making French seam?
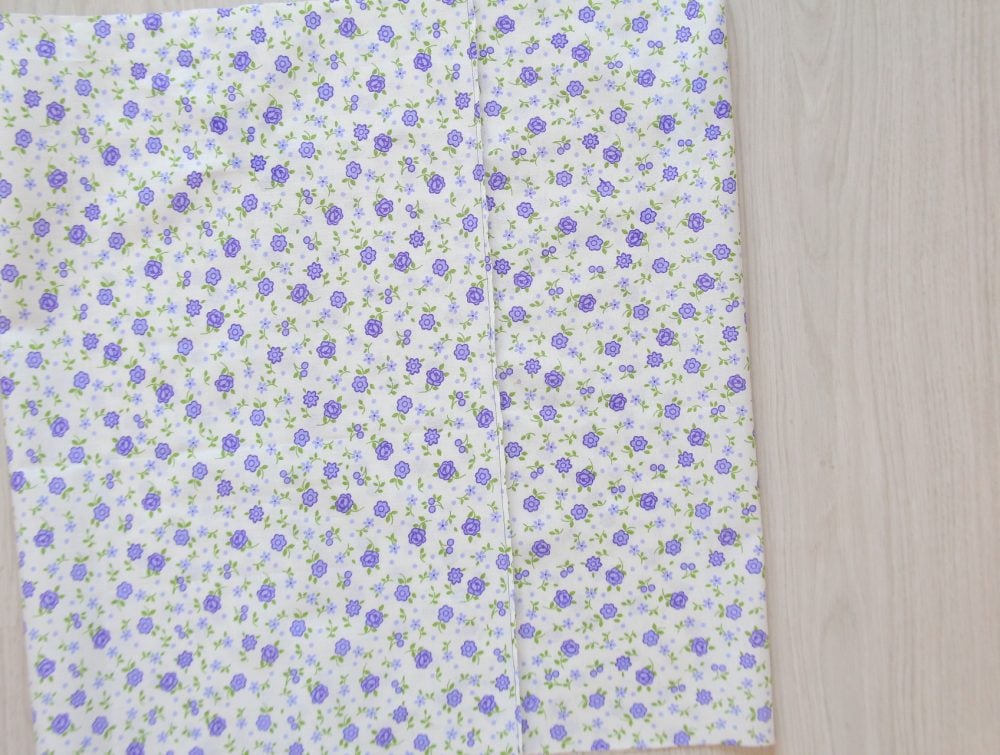
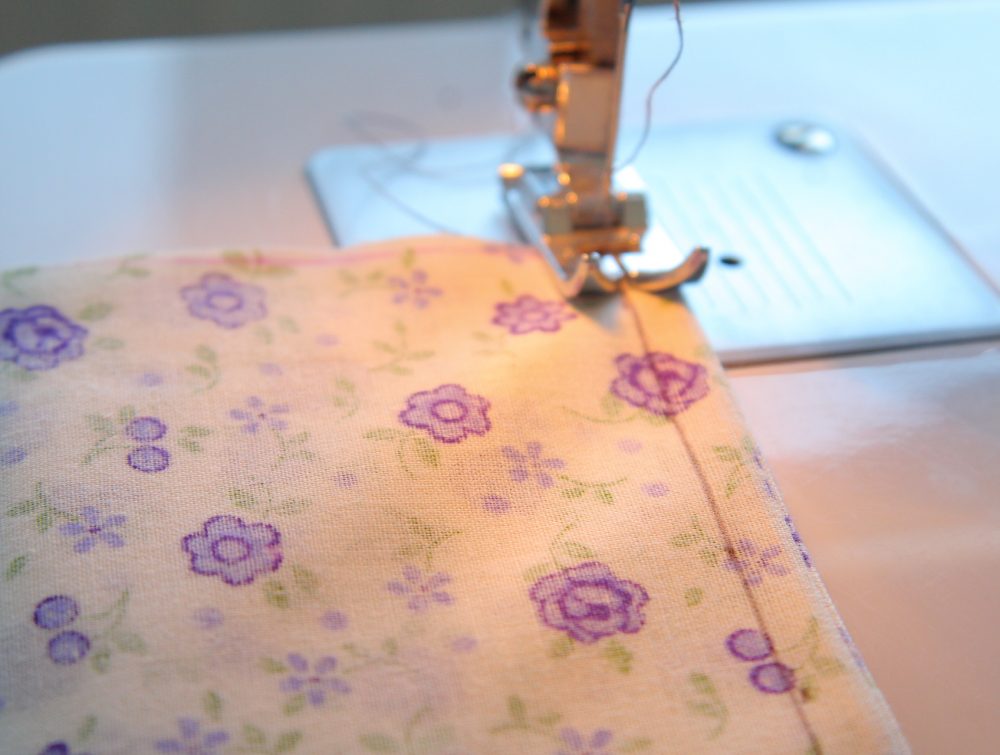
- Place fabrics wrong sides together.
- Pin and sew down using a 3/8″ seam allowance.
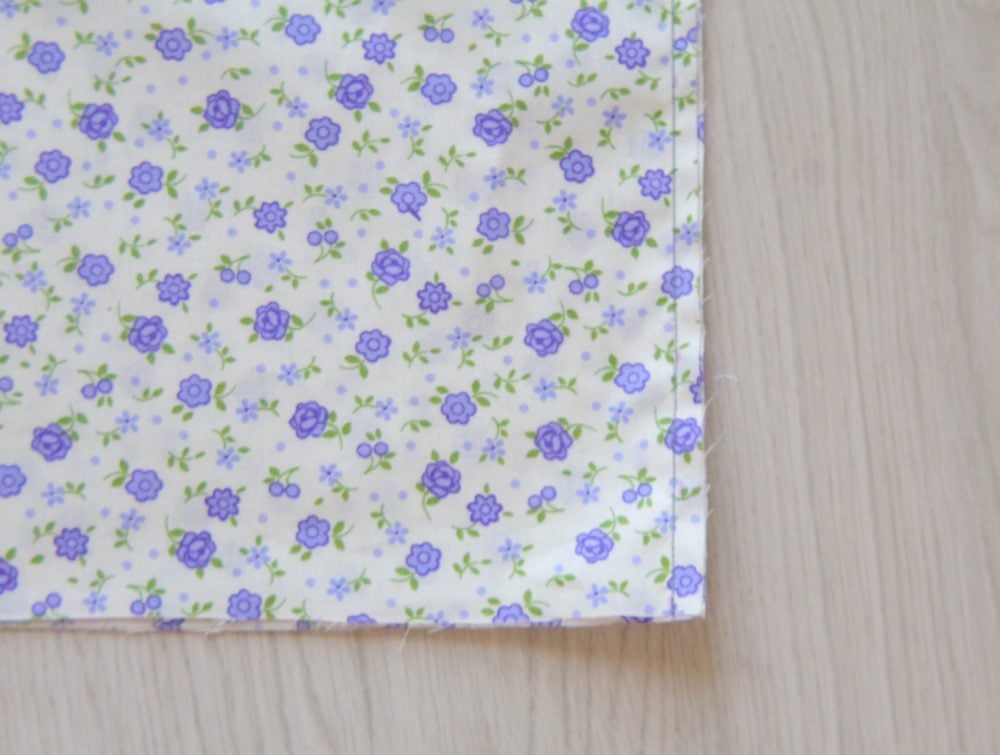
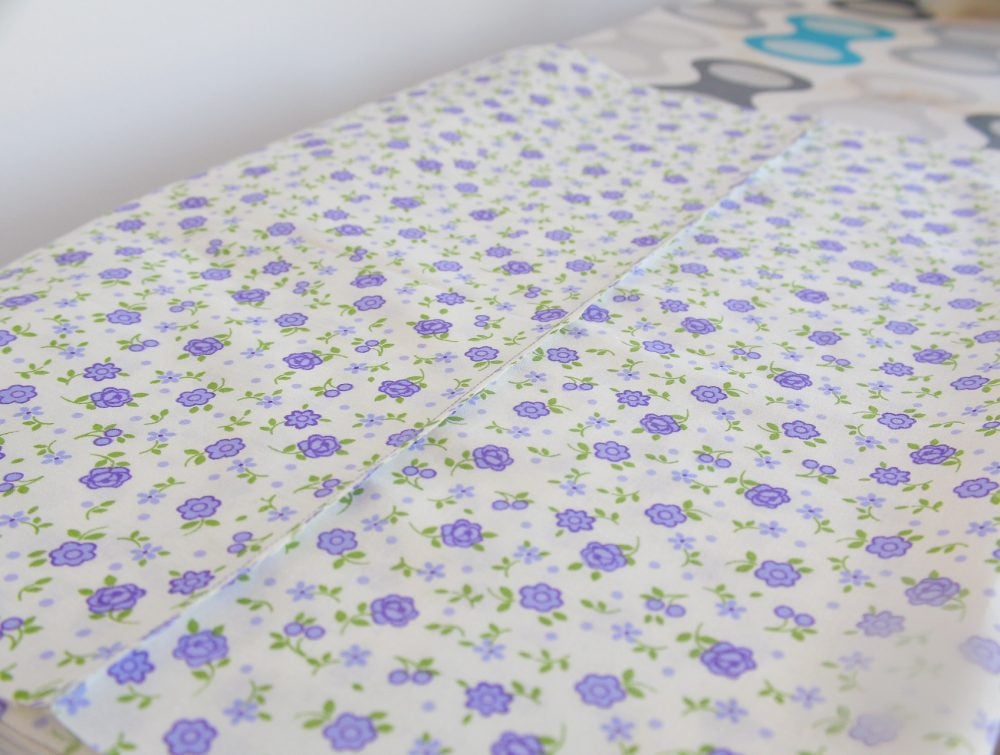
- Trim the entire seam allowance down to 1/8″.
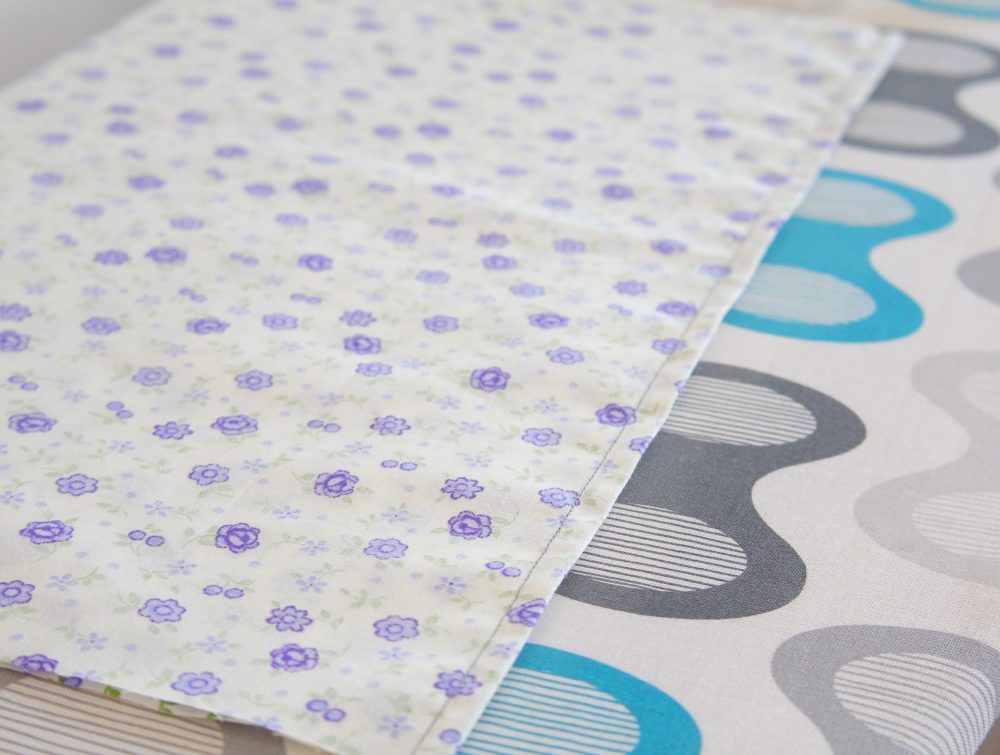
- Open the seam with fabrics right side up.
- Press the seam to one side.
- Turn the fabric wrong side out and press the seam on this side too, making sure the seam is flat.
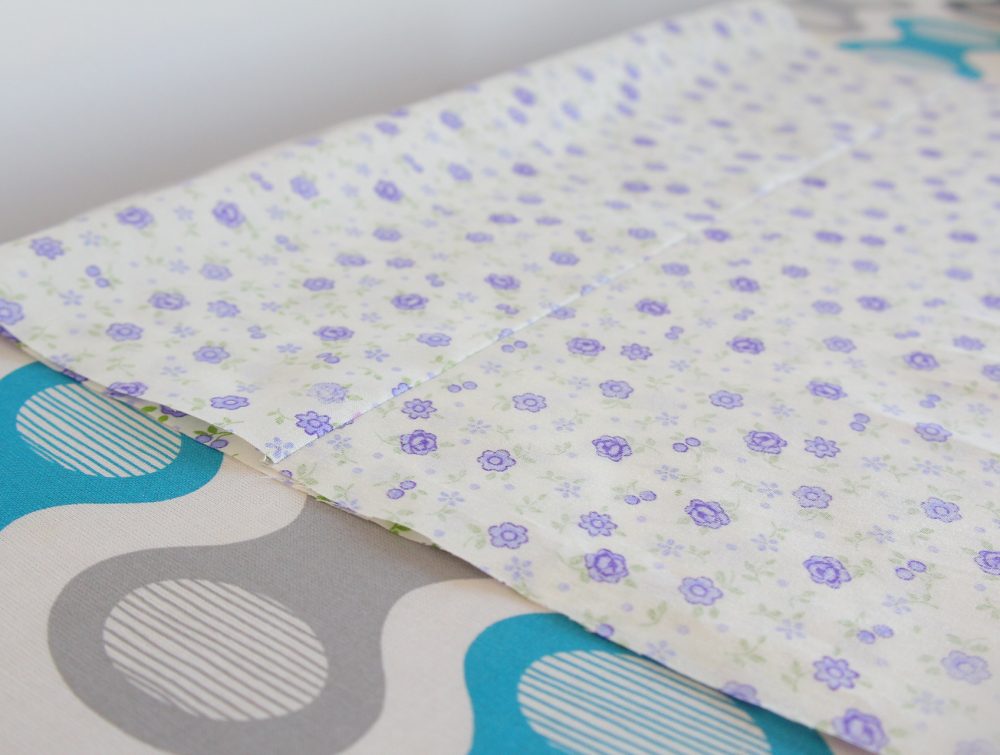
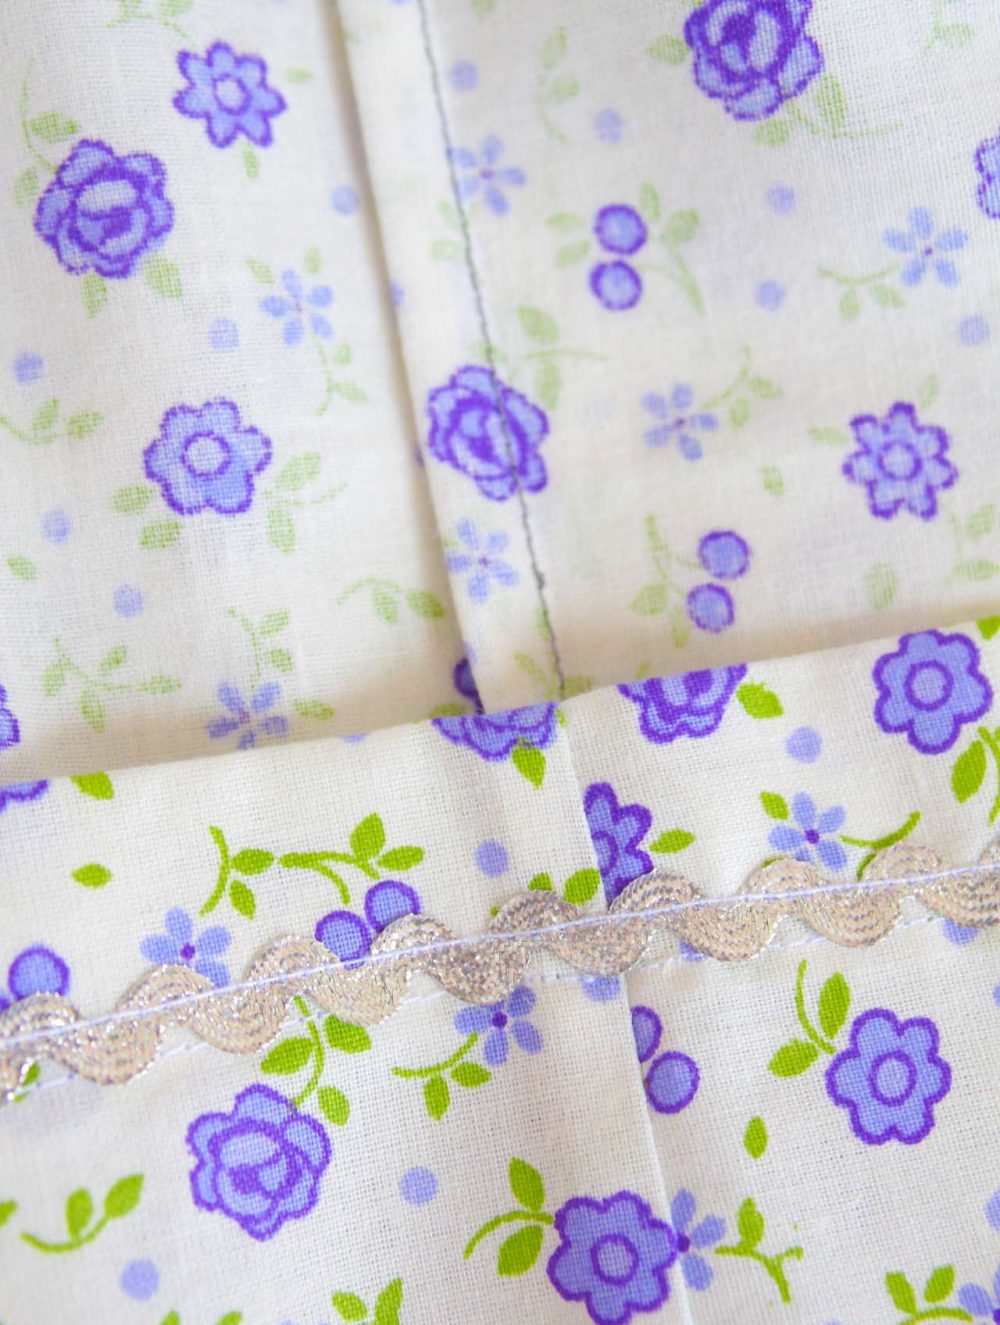
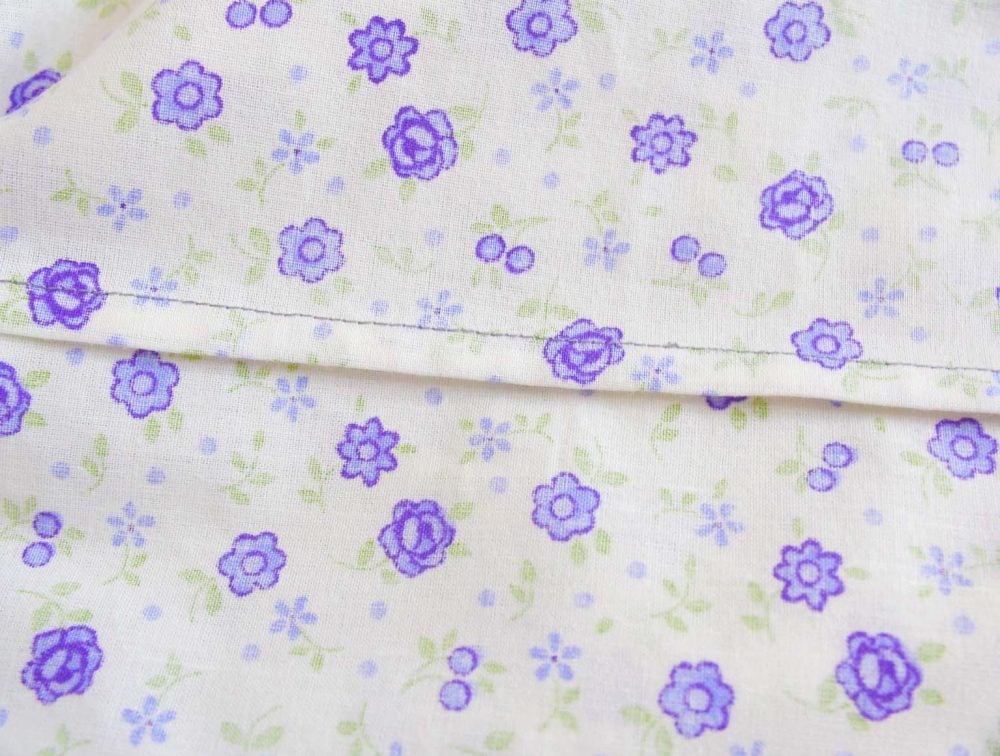
- With fabric still wrong side out, fold one strip under the seam, fabrics facing right sides together now.
- Press the seam. The stitch is now on the edge of the seam.
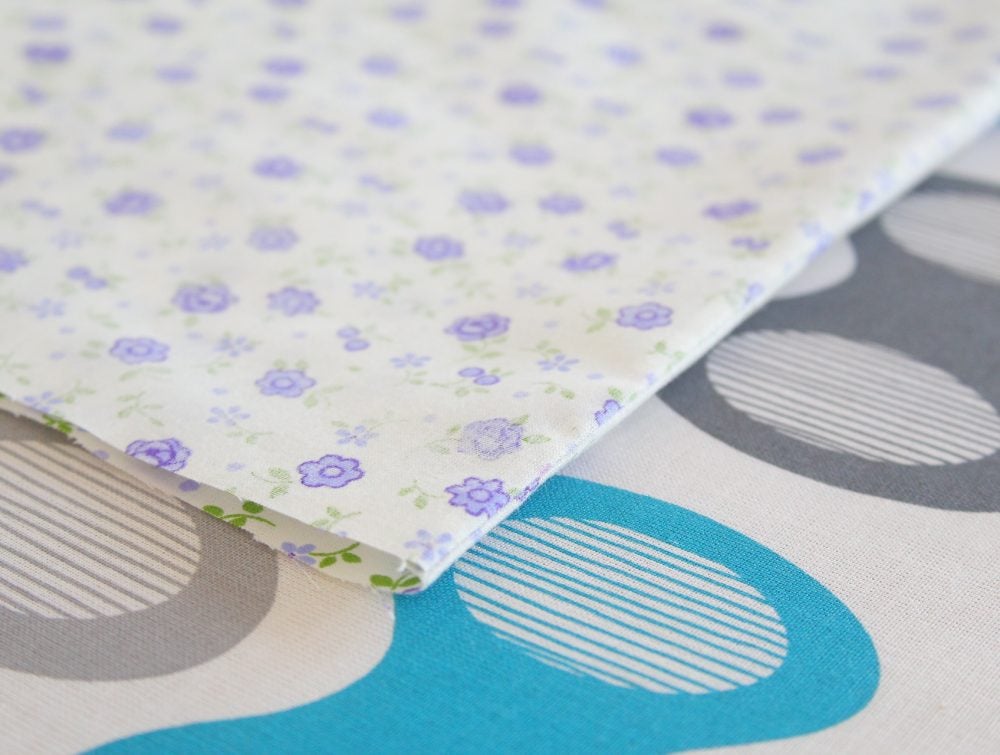
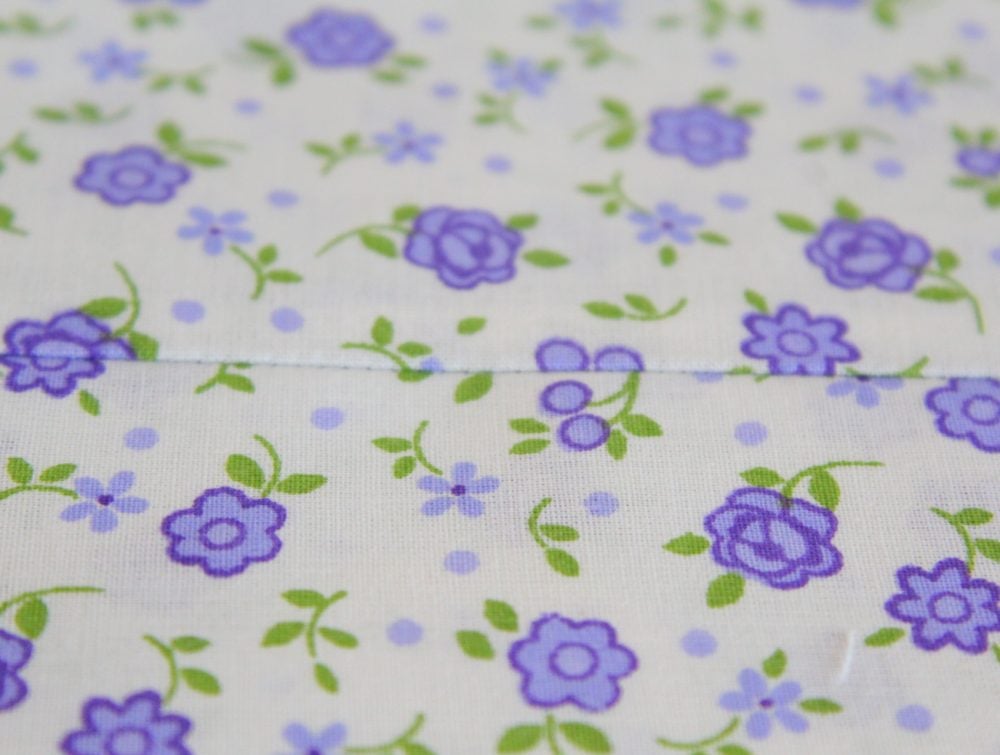
- Measure and sew down with 1/4″ allowance. This will enclose the original seam and allowance completely.
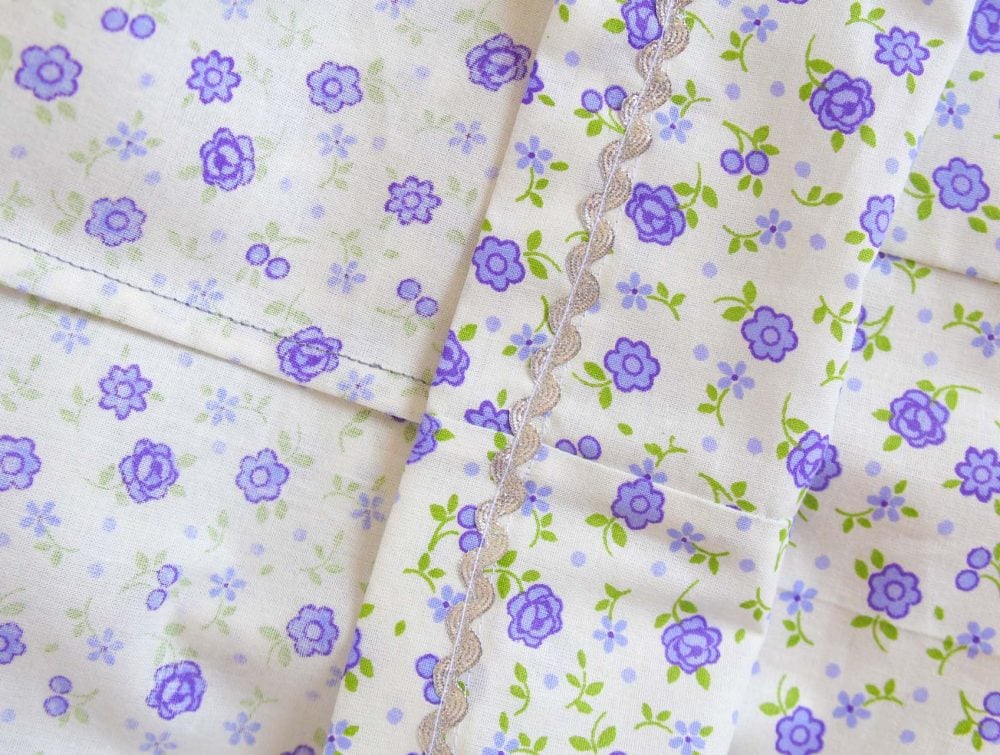
- On the wrong side of the fabric, press the seam to one side.
- Then press on the right side of the fabric, making sure the seam is flat.
There you have it! A quick and easy guide to sewing a French seam. It’s simple enough for beginners to master, and gives garments a professional finish. Give it a try the next time you’re sewing a new project, and enjoy the beautiful results!
Do you have any tips or tricks for making French seams? If so, share them in the comments section below! Happy sewing!
Pin to save for later
Most popular sewing projects:
- Tips for sewing a round hem
- Corded bag handles
- Flutter sleeve dress pattern
- How to laminate cotton fabric


Article may contain Amazon & affiliate links. As an Amazon Associate I earn from qualifying purchases at no additional cost to you.

Saw this on a project at our quilt club yesterday! It was soo pretty. Today I saw your video! Thanks for a simple video to watch and learn from!