Easy method for adding lining to an existing bag
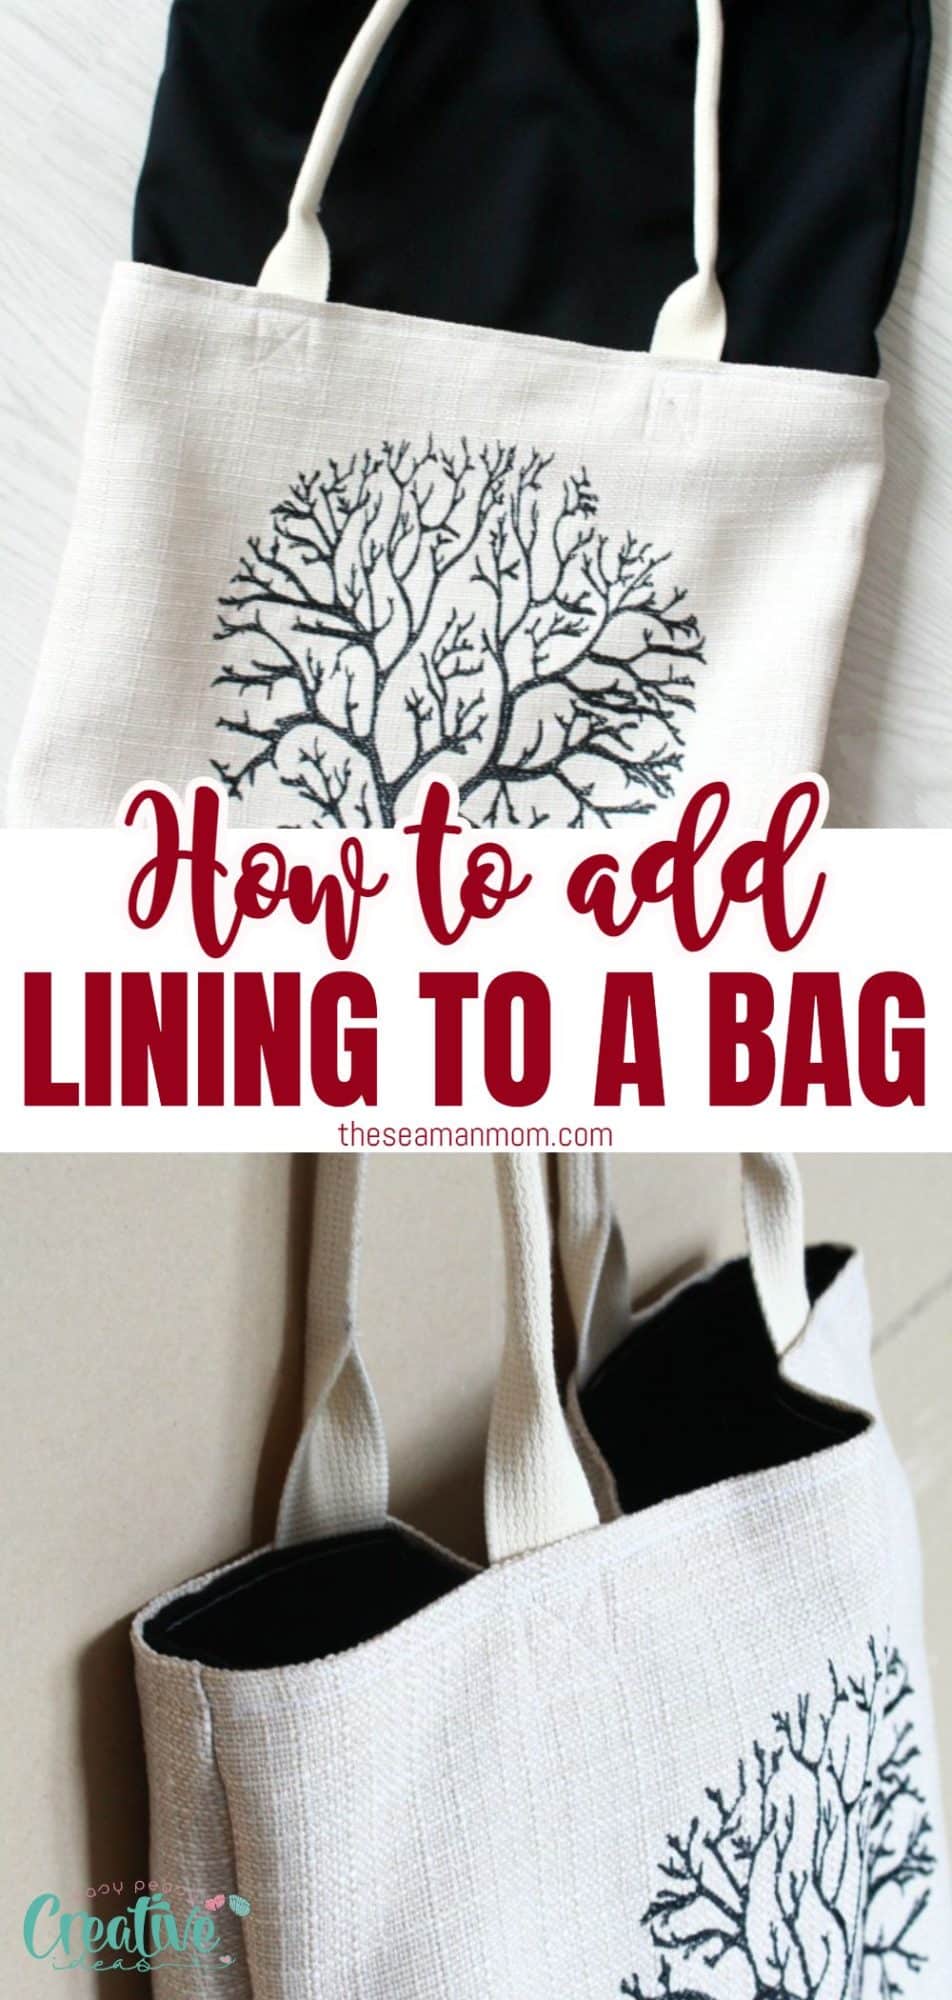
There are various ways for lining a bag! In this sewing tutorial you’ll learn how to line a bag using the simplest method that works for almost any style of purse! Bag lining has never been easier!
How to line a bag
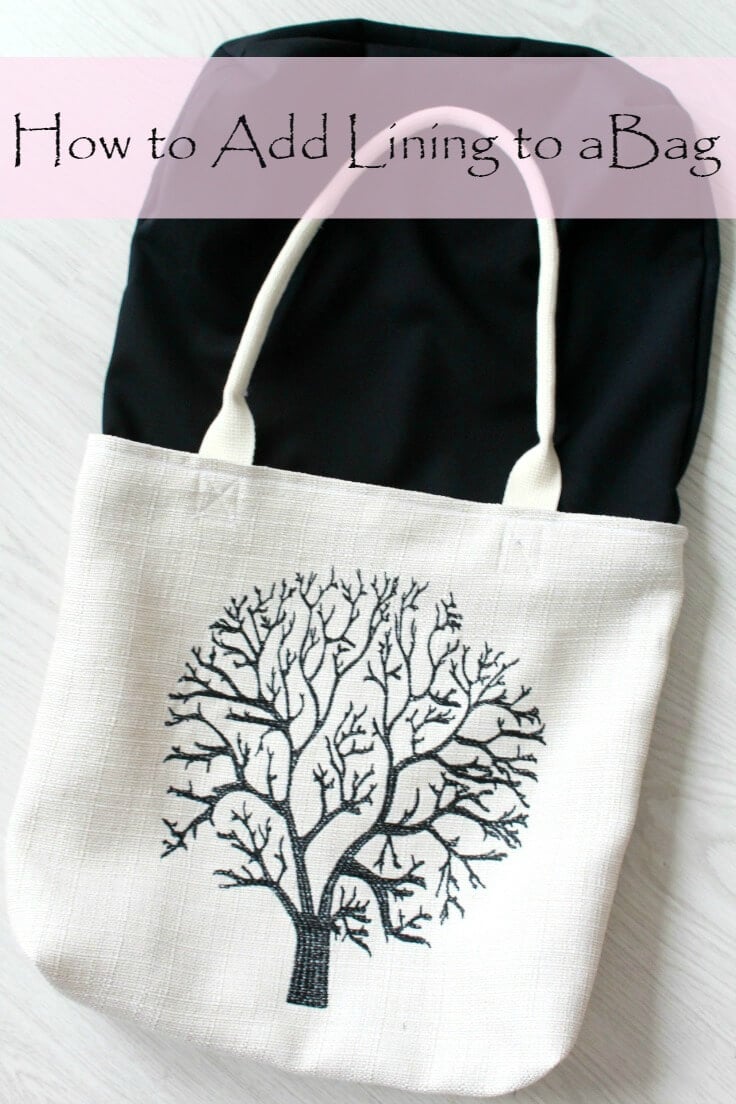
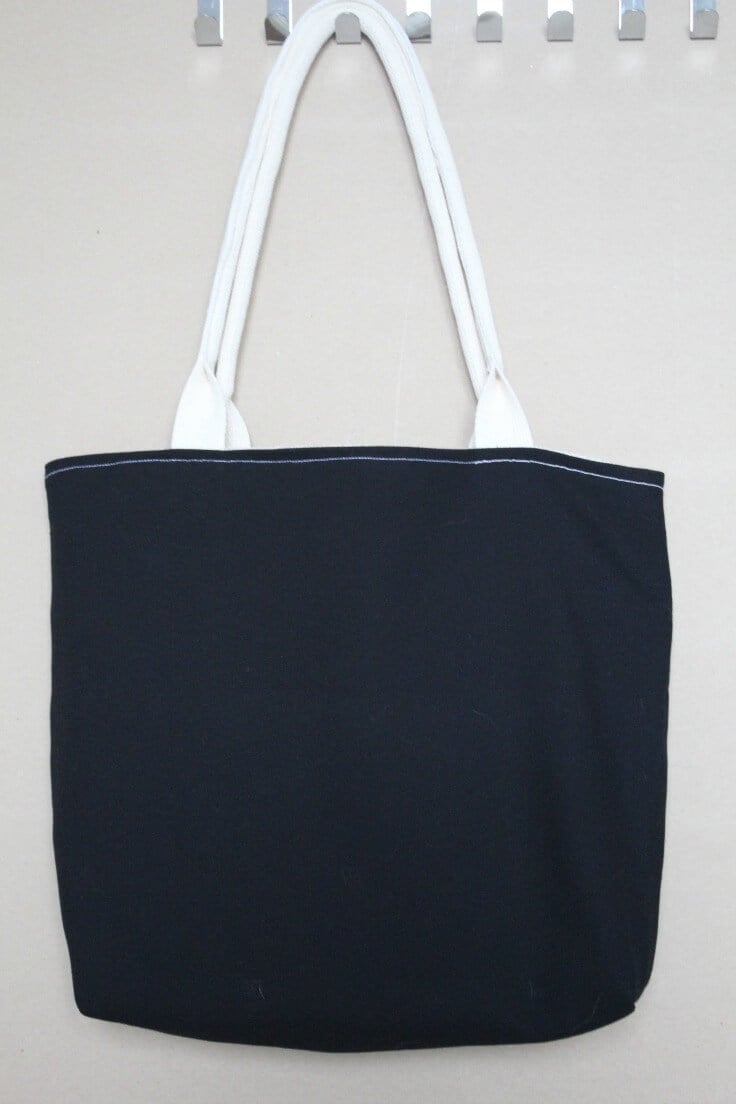
While you can easily go by with making a bag without the lining, adding one will make any bag look more “finished” and professional. Lining a bag will also help making it more sturdy and stronger, adds structure, body and shape and improves durability. In today’ sewing tutorial you’ll learn how to line a bag through the simplest, the easiest and the very best method!
As` mentioned, adding lining to a purse is a great way to add stability and will help with sewing pockets in, as well as adding snaps or buttons and conceal a zipper if you like your bag to have one. Custom bag linings will also add a personal fashion statement to your bag. If the fabric on your bag is very soft (like a knit) you can also add interfacing to your lining to make the bag a lot more stable.
Similar posts you might like:
- How to make corded bag handles
- Corded webbing straps for bags
- Tips for sewing canvas fabric
- Reversible rope handled bag
- DIY evening purse from placemat
- 3 ways for sewing box corners
Even if you purchased a bag and came with no lining, chances are learning how to put lining in a bag with this tutorial will help you easily add one to your bag, as this method works for most types of bags and purses. You can also apply this method for the bags and purses you make. It’s easier, quicker and fuss free! This amazing, simple, way of sewing lining into a bag can be applied to the simplest tote bags but also to the more complicated purses and bags too.

Before proceeding to showing you how to line a bag, I assume you have already pieced together your bag patterns and the handles. If you’d like to apply pockets to the interior or exterior of your bag, do so before you attach the lining, by attaching the interior pockets to your lining or to the outside of your bag.
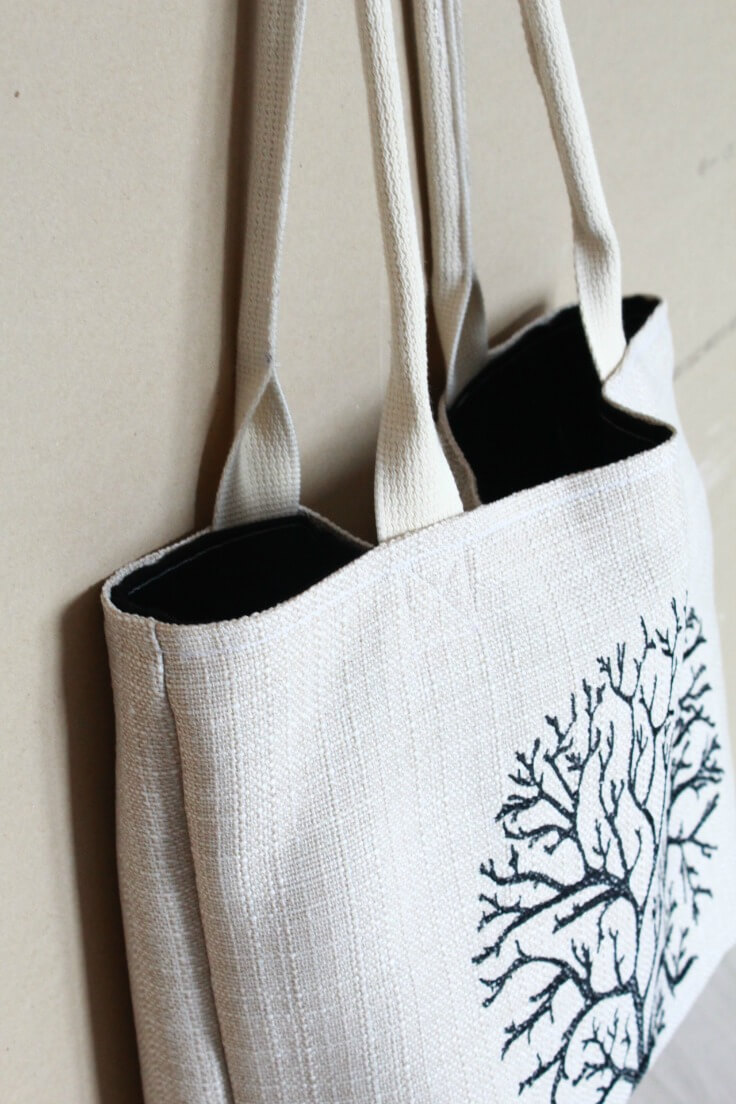
For this project I used a pillow cover I got at my local store and I made my own handles using webbing and cord as indicated in this tutorial.
Sewing lining into a bag step-by-step instructions
Materials:
- bag without the lining
- fabric for lining, the same type as the main bag (i.e. for a cotton fabric bag use cotton fabric lining)
- matching thread (canvas thread if your bag is canvas as mine)
- jeans needle if your bag is made of canvas as mine
- pins
- scissors or rotary cutter
- cutting mat if using a rotary cutter
- measuring tape
- fabric marker or chalk
- sewing machine
Directions:
Create the lining piece
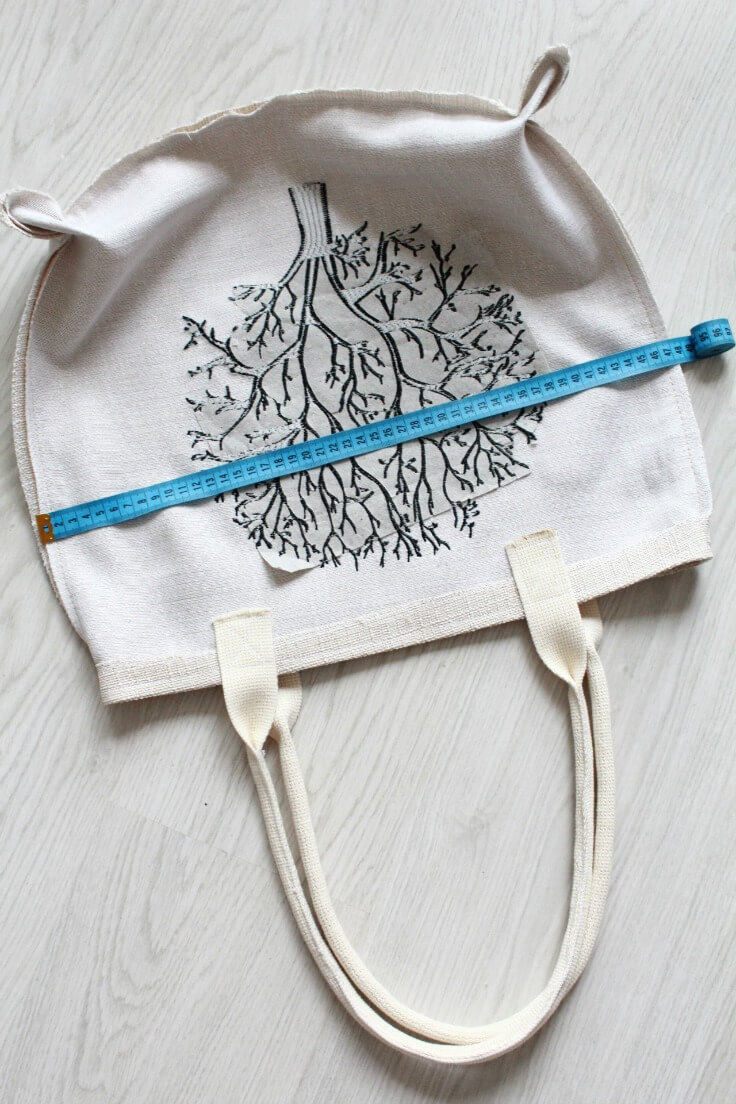
- Turn your bag wrong side out and measure its height and width, including the seam allowance. Add an extra 1/2 inch to the top edge (as you’ll be folding this in).
- Cut your lining according to these measurements then pin or clip the sides and the bottom.
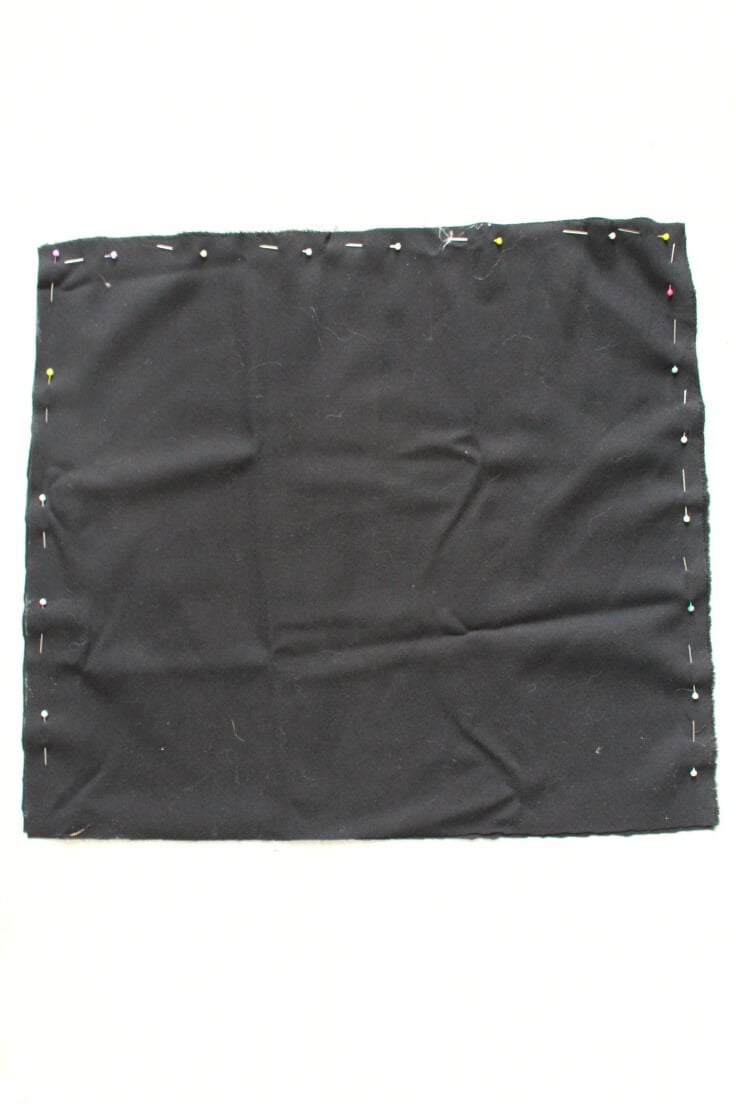
- Sew the side sand the bottom, pivoting at the corners and following the same seam allowance as you bag has (mine had about 1/2″).
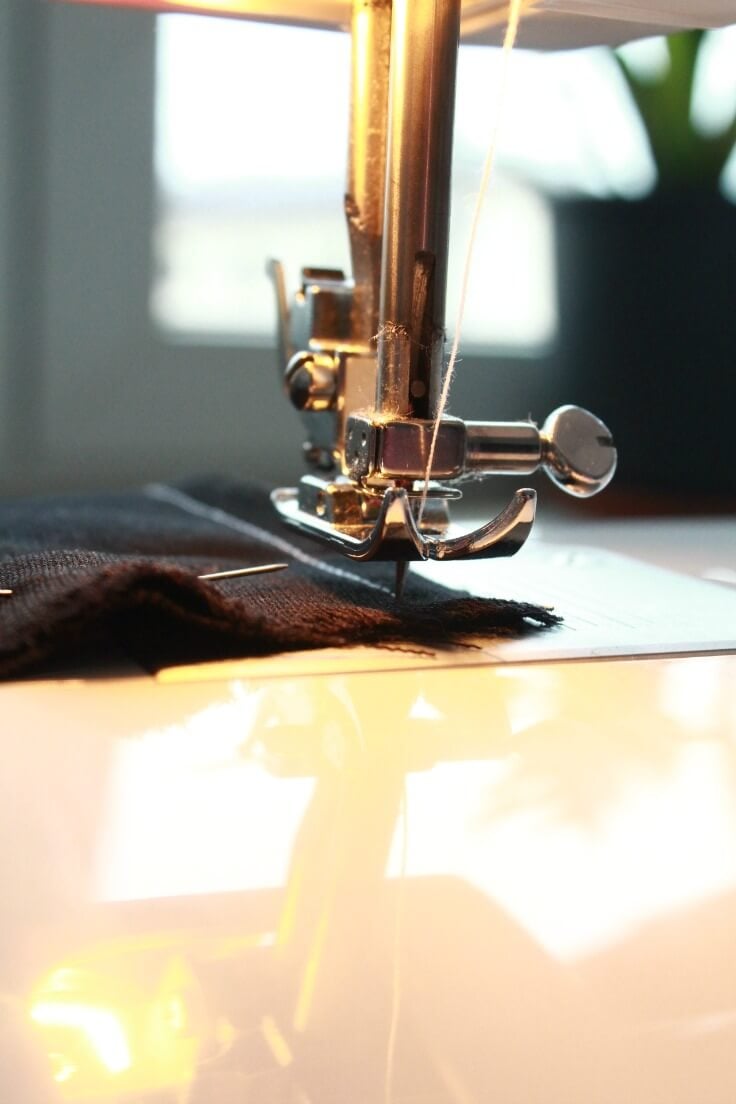
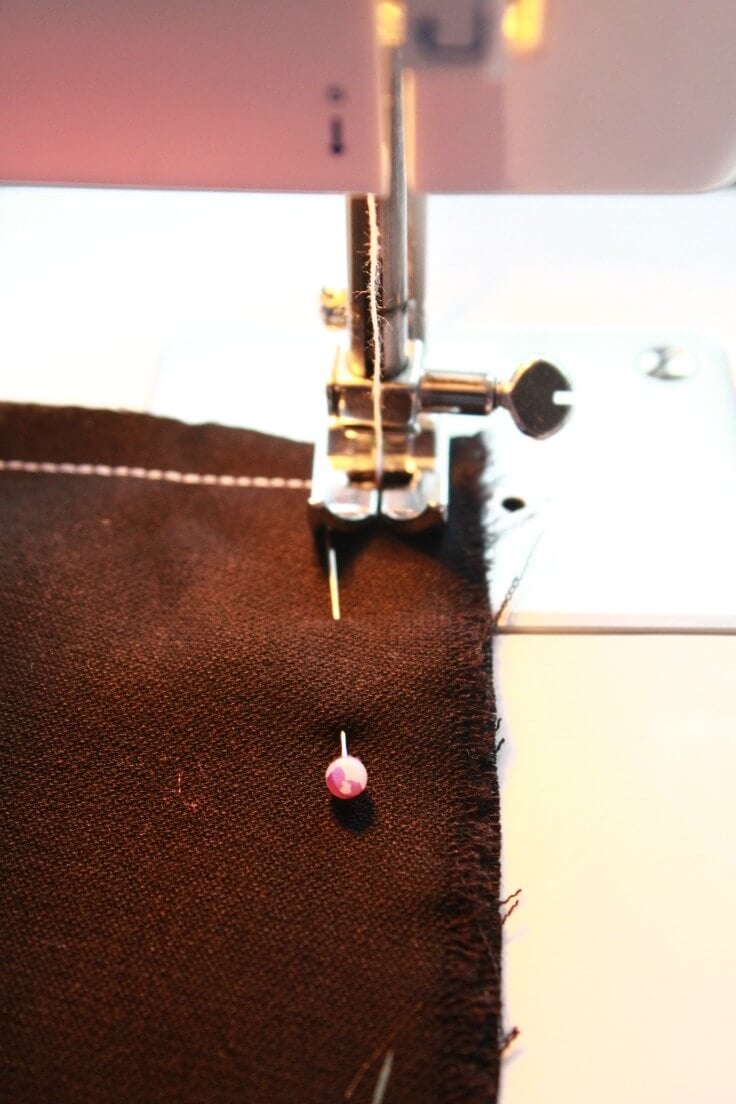
- Box the corners of your lining (if you need help with boxing the corners, follow the method here or this one here). Make sure you use the exact same boxing method and measurements as your main bag.
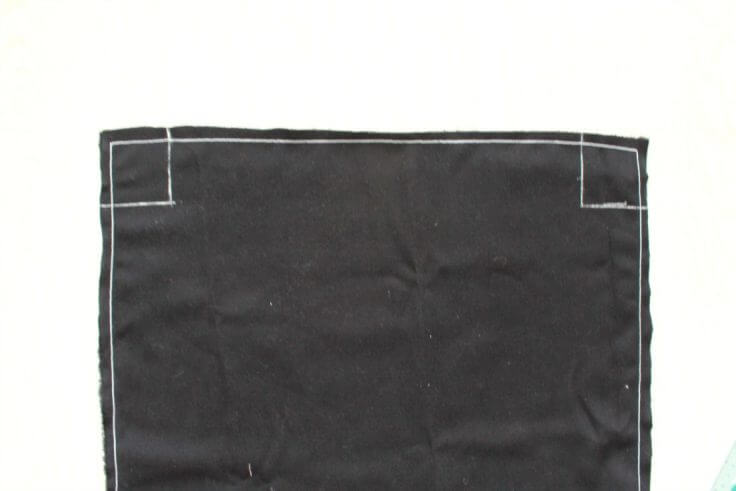
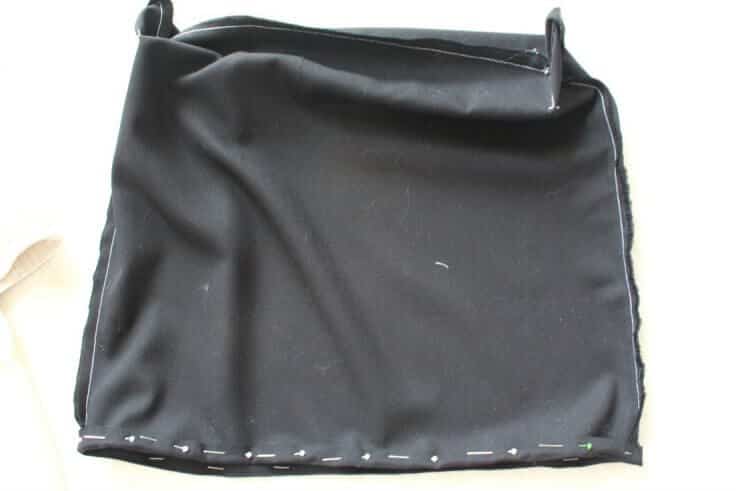
- With the lining wrong side out, fold the top out, as illustrated, about 1/2″. I used pins to hold the folded top in place, I pressed with my iron on steam then I removed the pins. Make sure your pins have no plastic if you do the same.
Add the lining to the bag
- Turn your bag right side out and slide the lining in (lining would be wrong side out) so the wrong sides of the bag and the lining are matching and the side seams align.
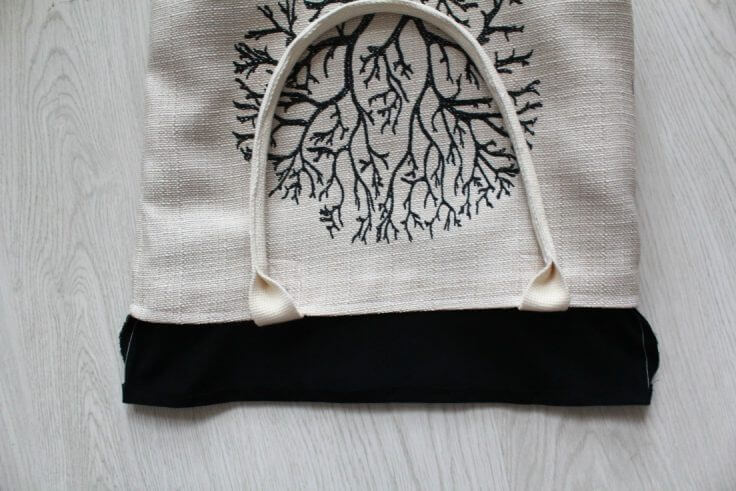
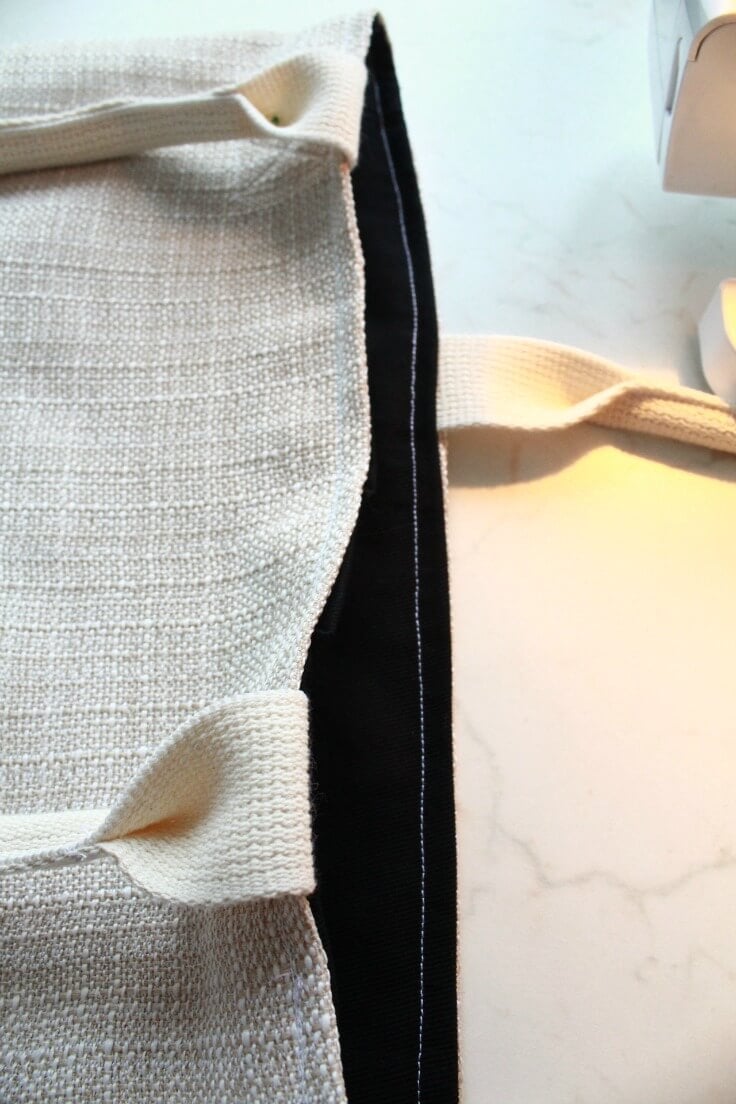
- Match the top edges of the bag with the top of the lining, placing the lining just a hint lower than the bag so it won’t peak out after sewing.
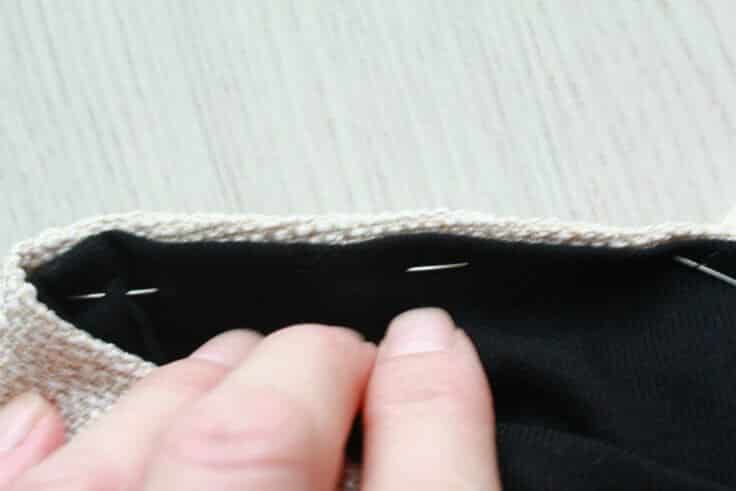
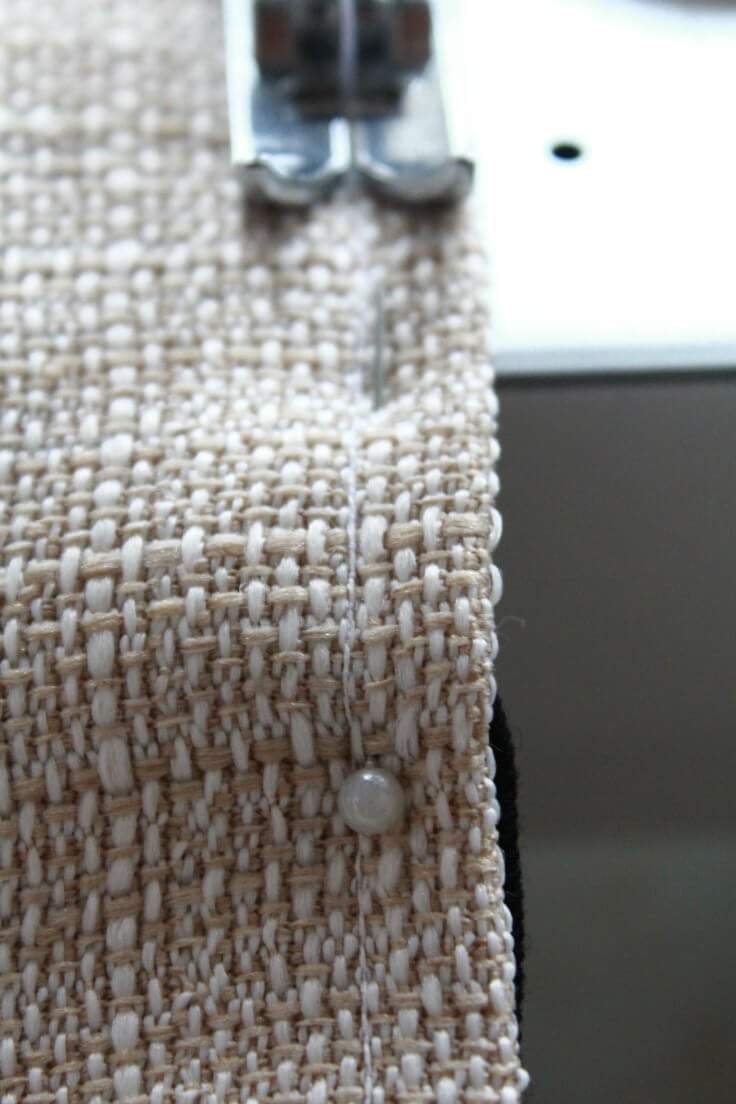
- Pin the bag to the lining around the top then sew all following the original seam on your bag. If your original seam is too low, you may want to run a second, decorative stitch around the top, as close to the edge.
- And you’re done!
Adding lining to a bag not only adds stability and functionality, but it also allows for personalization and style. Armed with this simple tutorial, you can easily add a lining to any type of bag or purse, whether store-bought or handmade.
So go ahead and give it a try – your bags will thank you! And don’t forget to check out my other tutorials and pattern for bag making. Happy sewing!
Pin to save for later
Most popular sewing projects:
- Tips for sewing a round hem
- Corded bag handles
- Flutter sleeve dress pattern
- How to laminate cotton fabric
Article may contain Amazon & affiliate links. As an Amazon Associate I earn from qualifying purchases at no additional cost to you.


I have suggestion, if you want pockets or zipper pocket inside you can do it upside down then when you turn the lining right side up with will be in position that way the stitches will not show thru the front of the bag afterwards.
I thought your direction was good. My question is how do you line a knitted purse?
Hi Pat! Thanks for stopping by and taking the time to leave a comment and rate this tutorial! I have no experience with knitted bags but I don’t see any reasons these instructions would not apply to that type of bags too.