

You’ll Love Sewing These Easy And adorable Fabric Bowl Covers
Create personalized fabric bowl covers and tote your side dishes to potlucks and barbecues in style! Make your own customized DIY bowl covers with this easy and quick sewing tutorial!
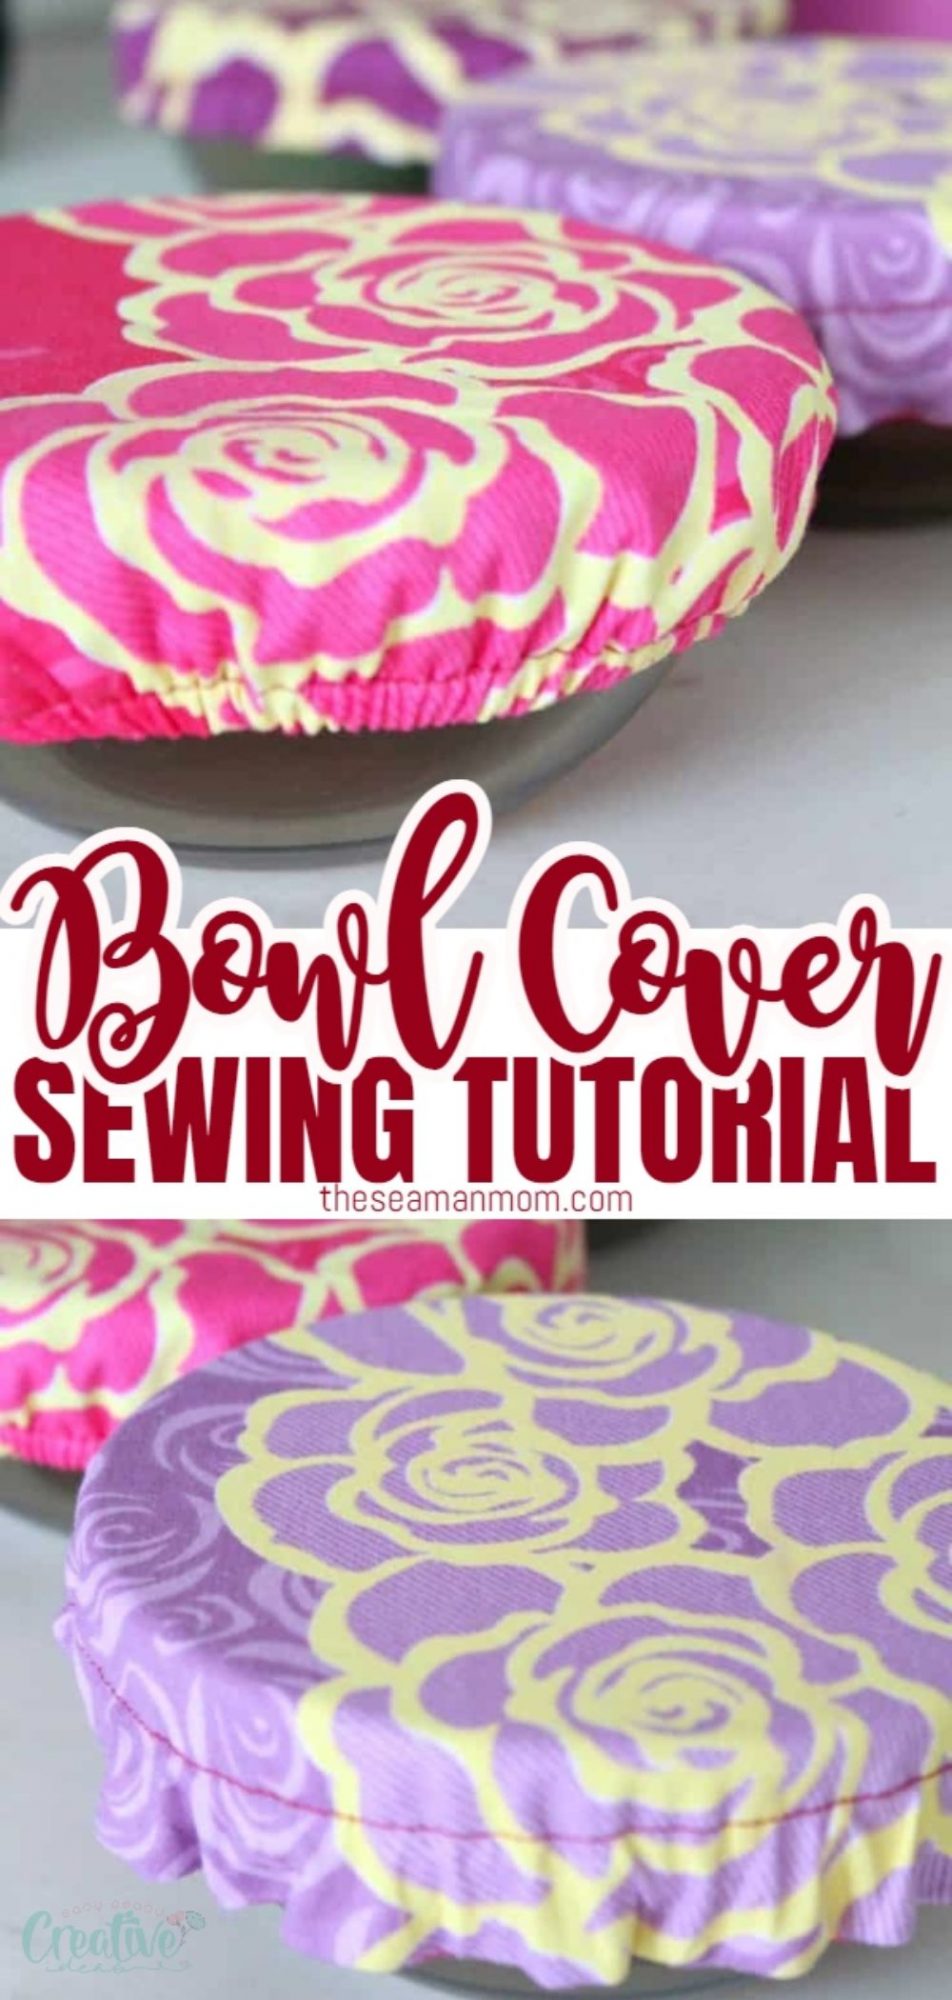
Fabric Bowl Covers
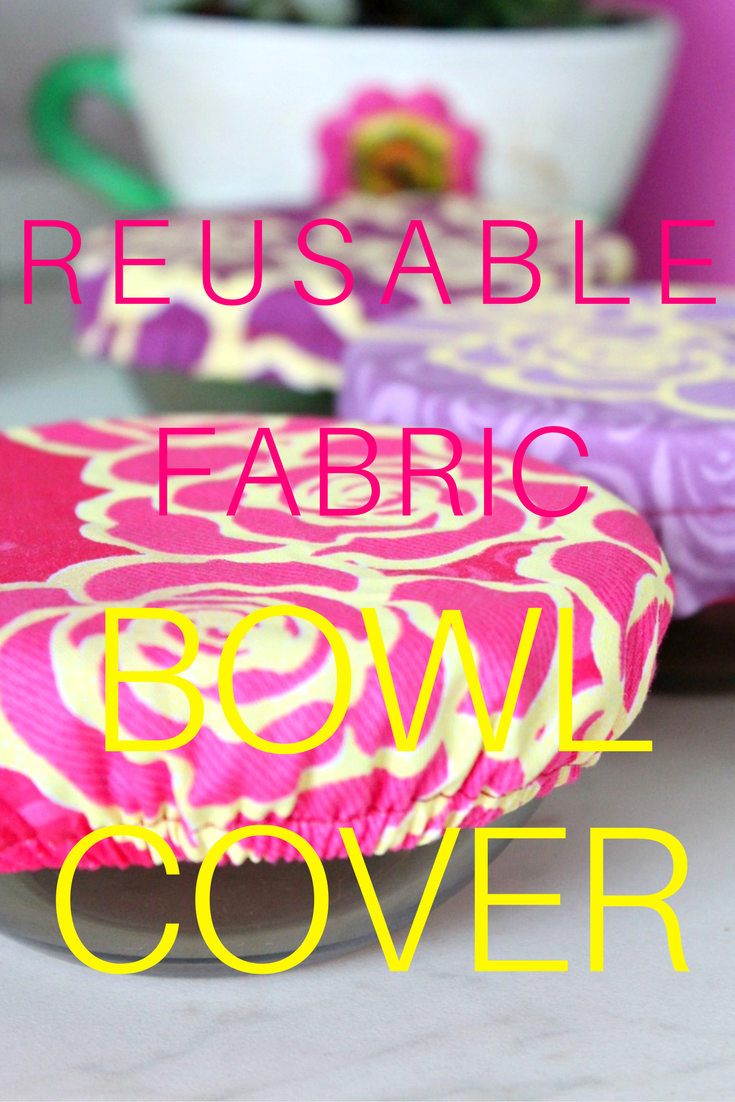
Reusable fabric bowl covers are less wasteful than plastic wrap to cover leftovers. Make your own customizable bowl covers with my simple tutorial! This way the bugs outside won’t be flocking to your food but the people will!
Other scraps projects you might like:
- Cutlery pockets
- Ruffled mug rug
- DIY fabric twine
- Fabric twine trivets
- Triangle fabric weights
- Fabric covered buttons
- Plastic bags holders
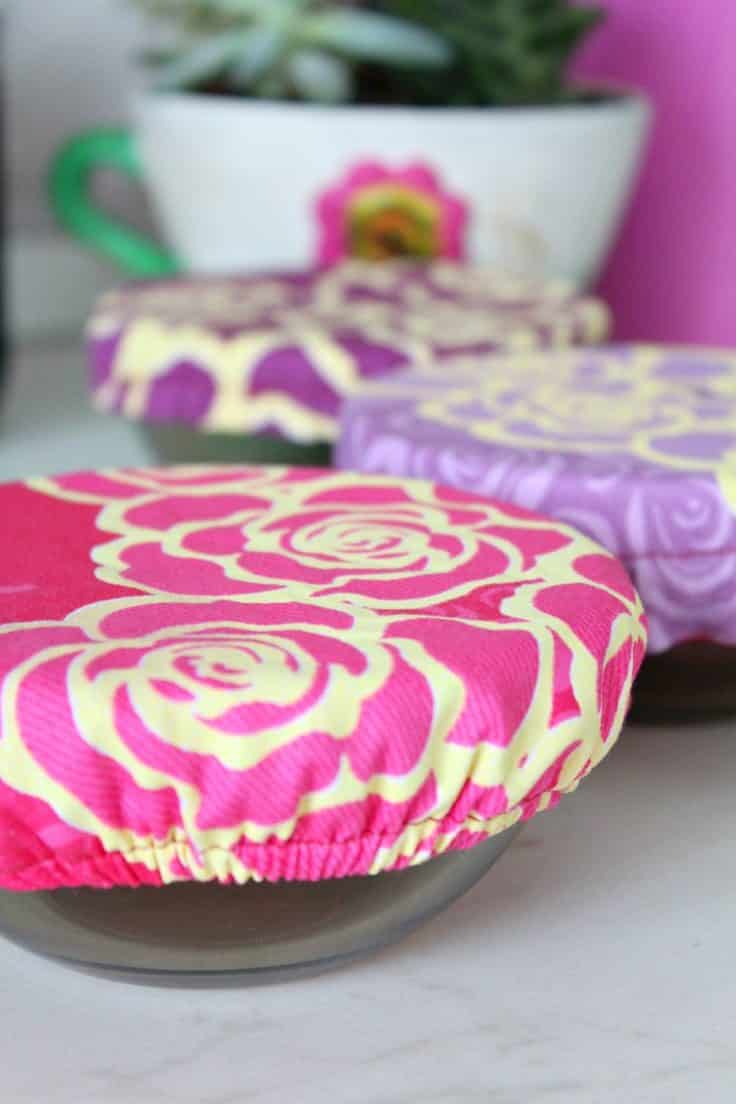
I love soup in any season, be it cold or hot: chicken, tomato, vegetables, beef etc. But fall and winter feel so much more special with a bowl of my favorite soup, enjoyed in front of the fireplace. We enjoy a bowl of soup almost every day, sometimes twice a day; we just can’t imagine a meal without a bowl of soup! And these lovely fabric bowl covers really come in handy when we eat outside, in the garden, keeping the bugs away from our food while we gather around the table.
Making your own customized fabric covers is so easy and quick with this tutorial! Use my tutorial to make covers for all your bowls to transport goodies to a potluck, or to keep bugs away at picnics.
This is a great beginner project! And the best thing about these DIY bowl covers is that you won’t need an actual bowl cover pattern, you get to make it yourself in the size you need. This way your reusable bowl covers will fit your bowls perfectly!
More bowl projects you might like:
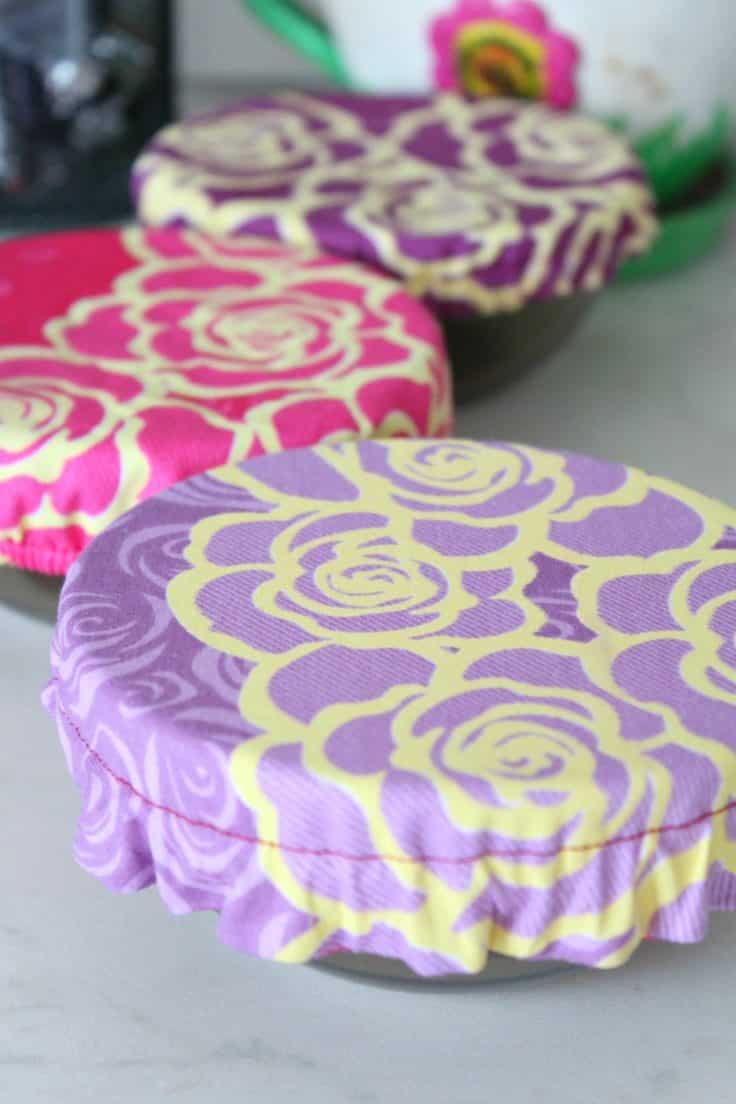
I had so much fun making these, I didn’t stop at just one and I played around with the fabric and the elastic, creating slightly different designs. It was such a quick and easy project!
Please note, these reusable bowl covers are not water resistant and if you want a tighter seal you will need to use a lid or foil or plastic wrap. But it’s washable and you can make it in all kinds of colors and patterns and you can use different methods to sew the elastic so you’ll get slightly different designs as I did. Plus it’s a great project for some of those scraps you keep collecting!
If you want your food to stay warm longer you could use chips bags instead of the second cotton fabric piece but you’ll need to leave a larger opening and turn the fabrics out carefully as the chip bag might break. Or you can use insulation between the fabrics.
How to sew Bowl Covers
Materials:
- 2 pieces of 100% Cotton fabric, large enough for your bowl measurement (coordinating or contrast fabric)
- Thin Elastic (the length depends on the size of your bowl)
- Sewing machine (optional; you can easily sew these by hand too)
- Matching or contrast thread
- Scissors
- Safety pins
Directions:
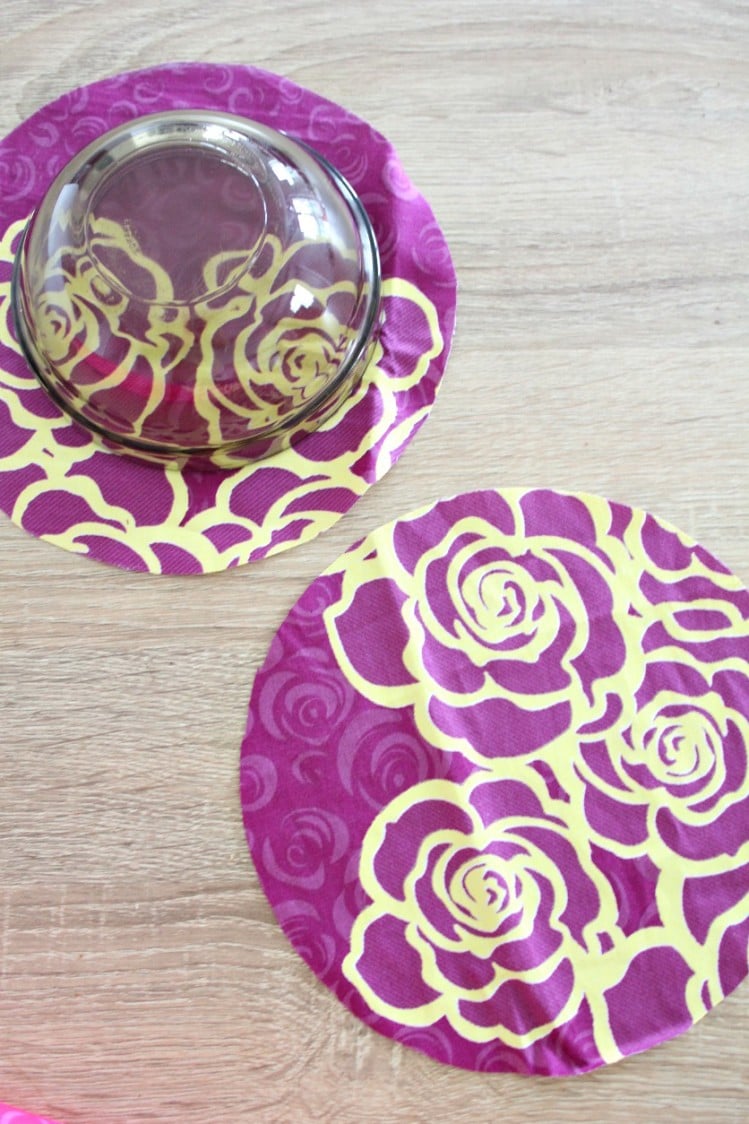
- Choose the bowl you plan to make the cover for
- Flip it up side down and place it on your fabric
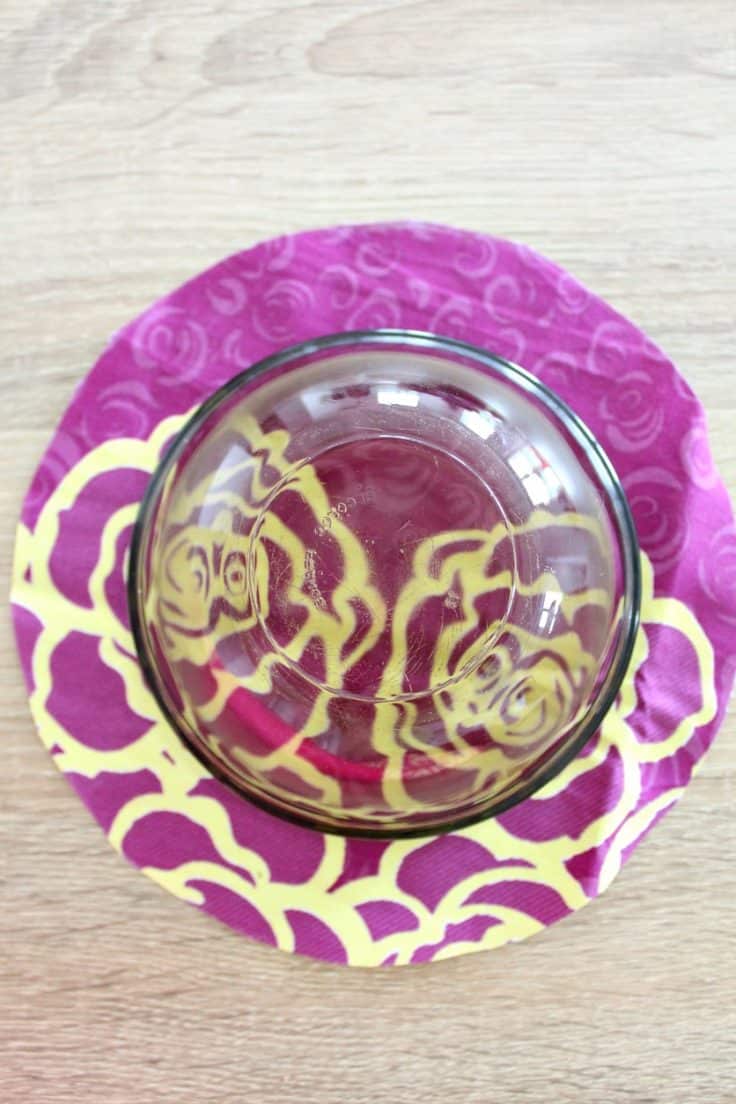
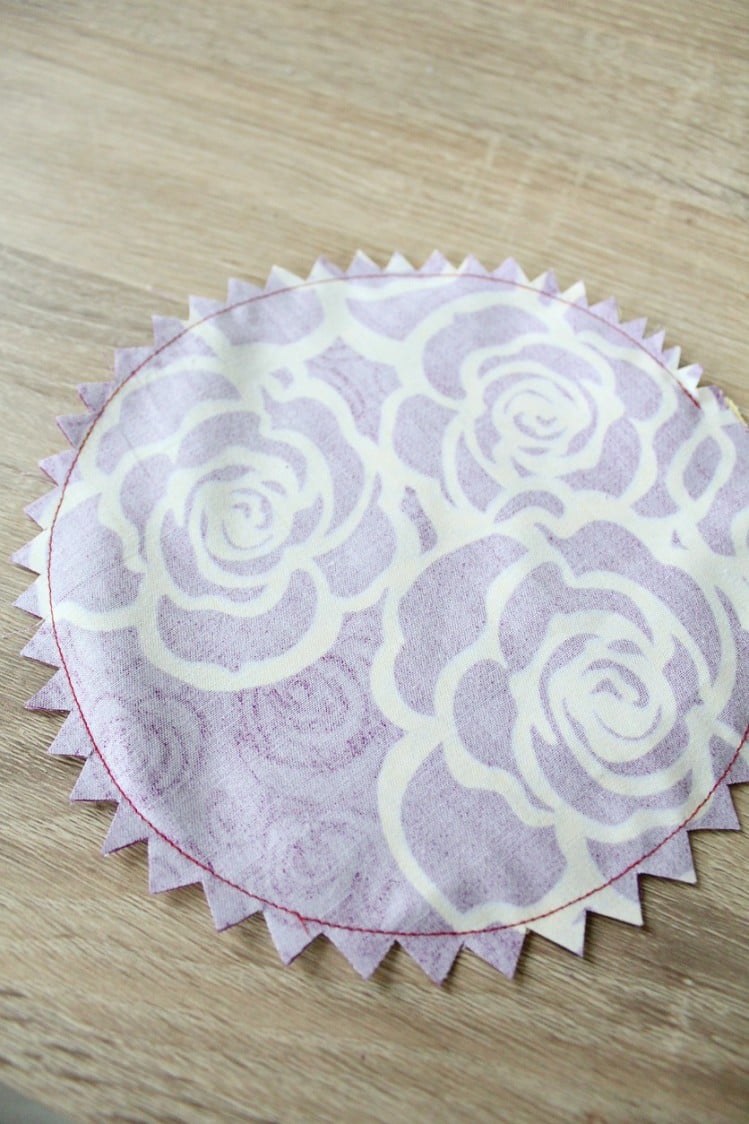
- Cut two pieces of preshrunk cotton fabric, 3″ wider than your bowl
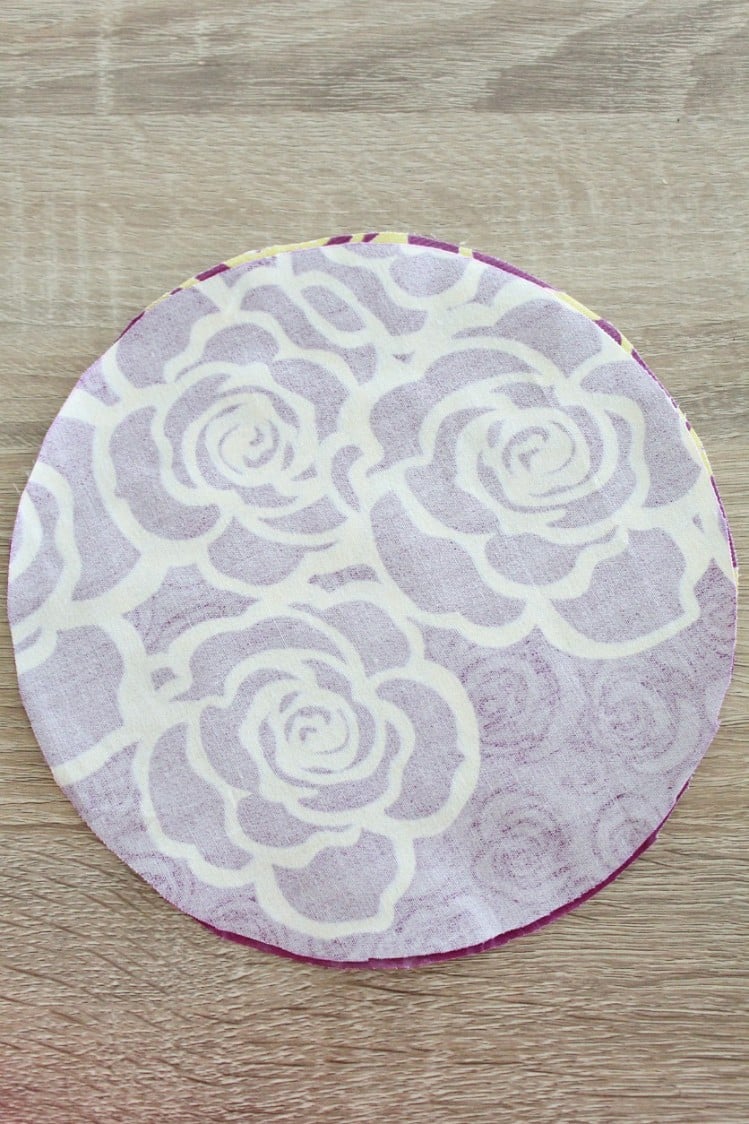
- Place the fabric pieces right sides together
- Sew around with 1/2″ seam allowance
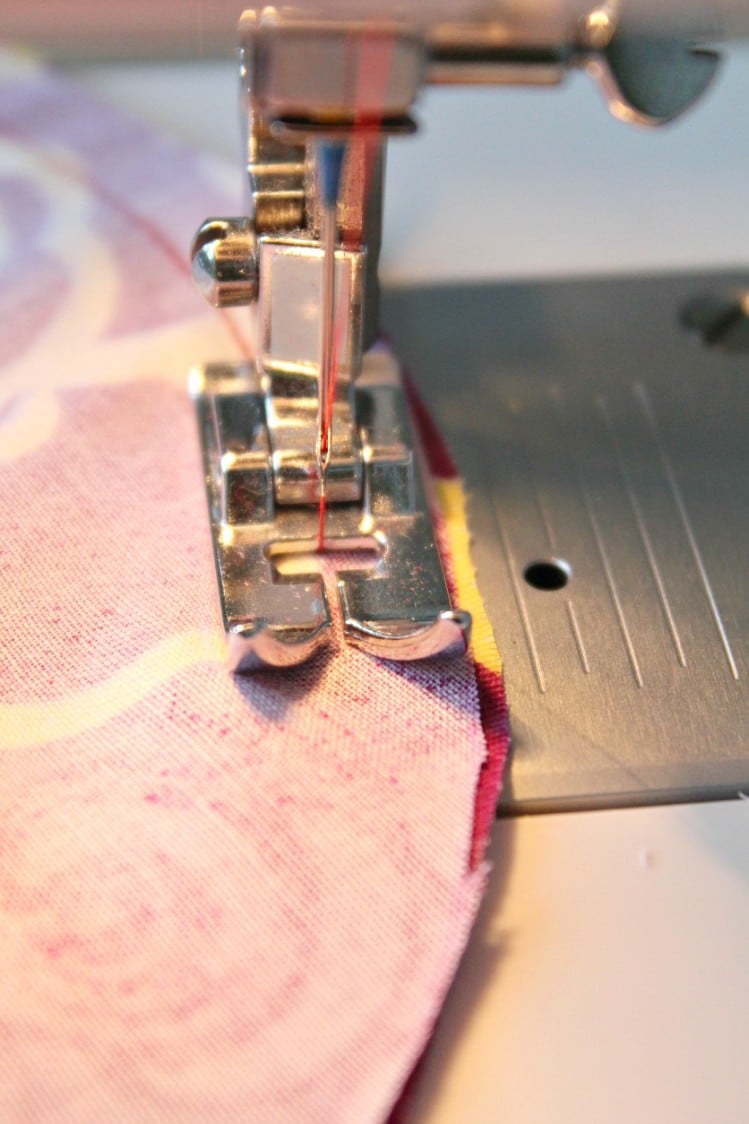
- Leave a 2″ opening so you can turn the fabrics out
- Clip around the circle formed with the 2 fabric pieces. This will make it easier to press the fabrics once turned right side out.
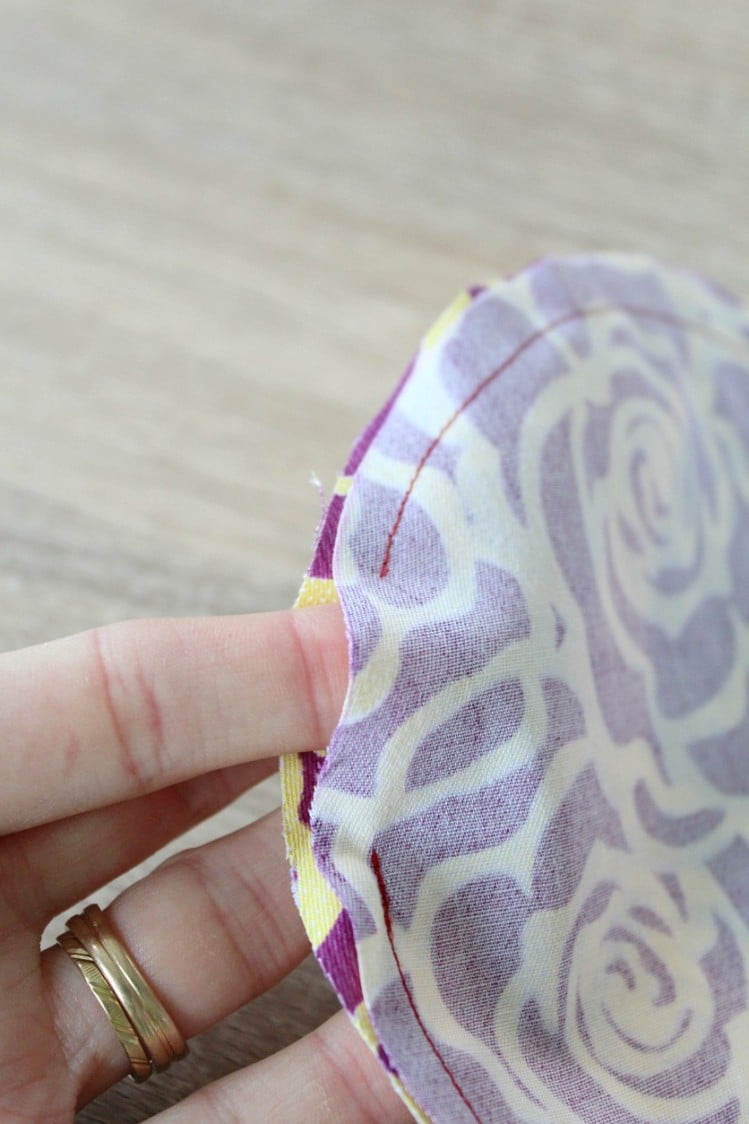
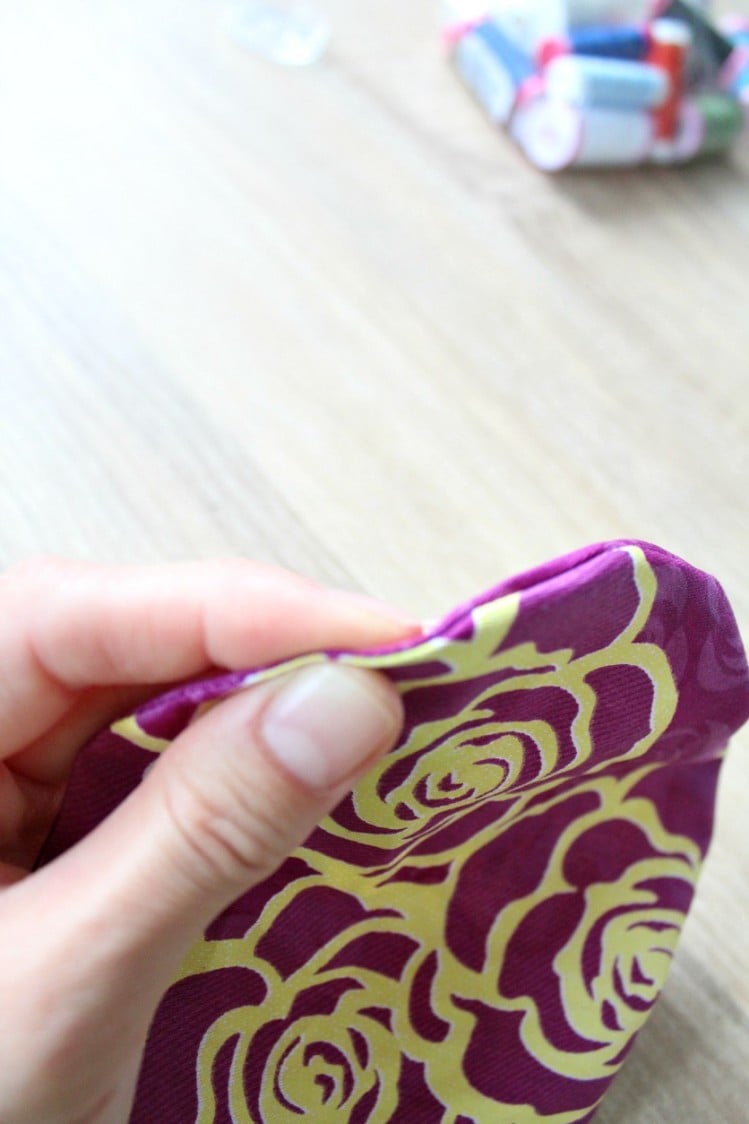
- Pull the two pieces right side out
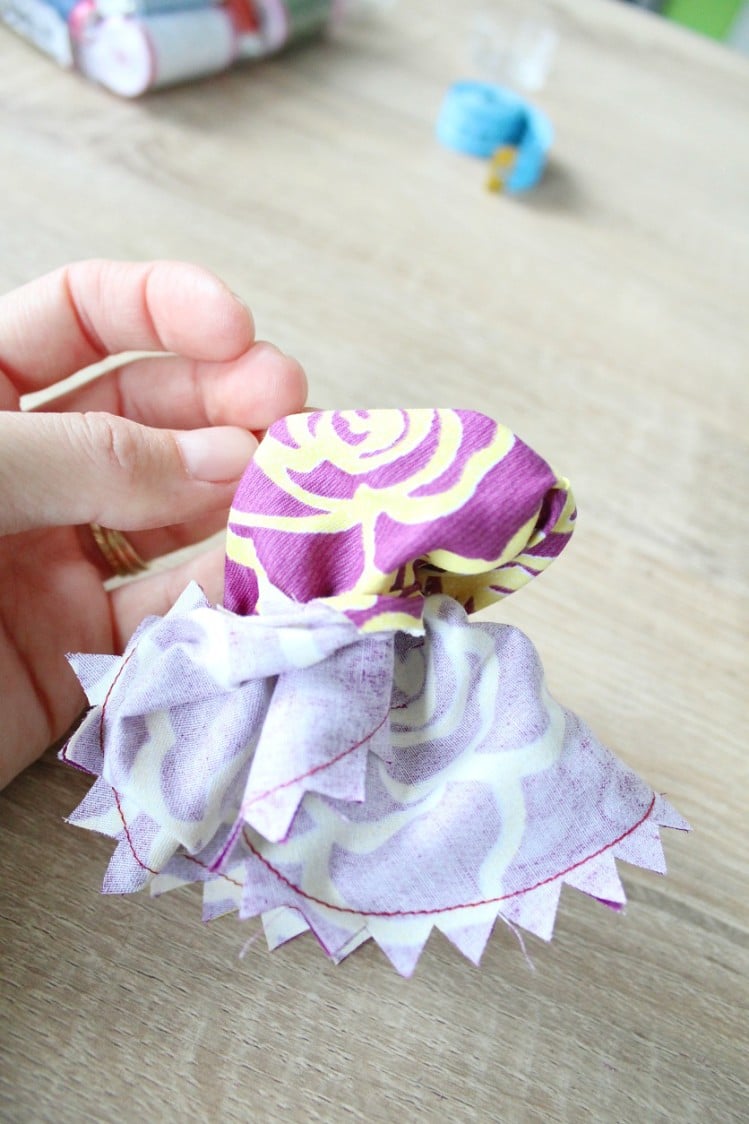
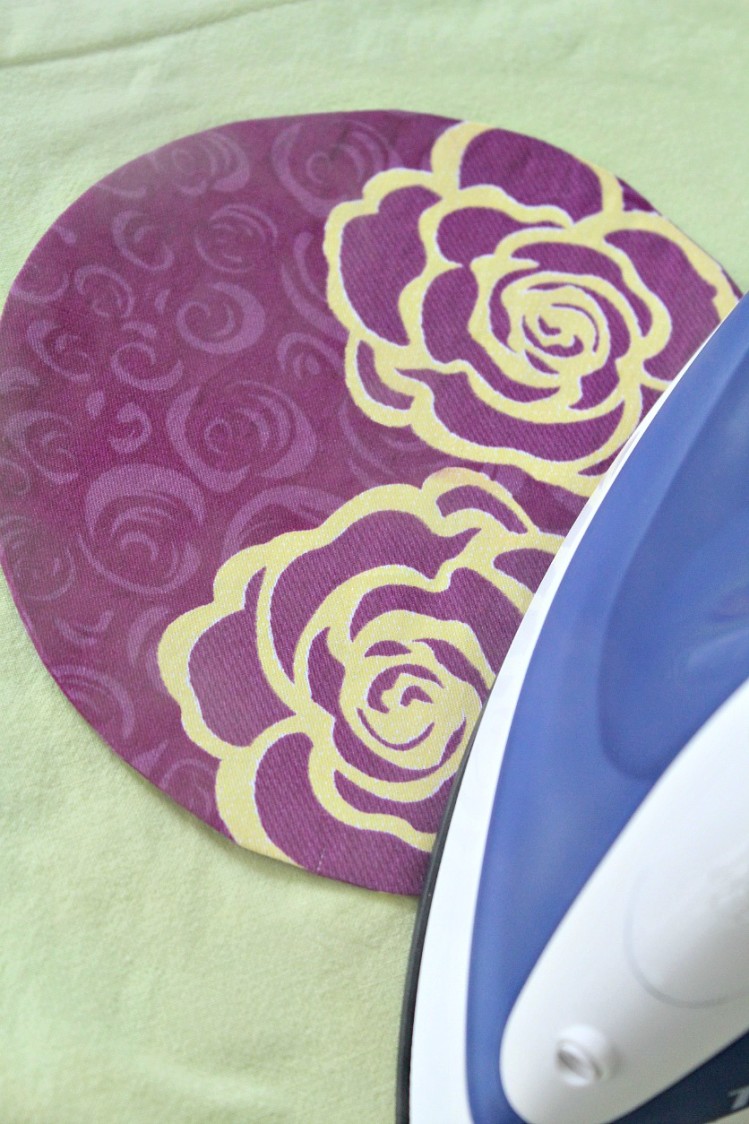
- Finger press the 2 pieces of fabric around the edge then iron press on both sides
- From the edge of the pressed seam, sew with 1/2″ seam all the way around to create a case for your elastic(I’m sorry, I forgot to take photos of this step)
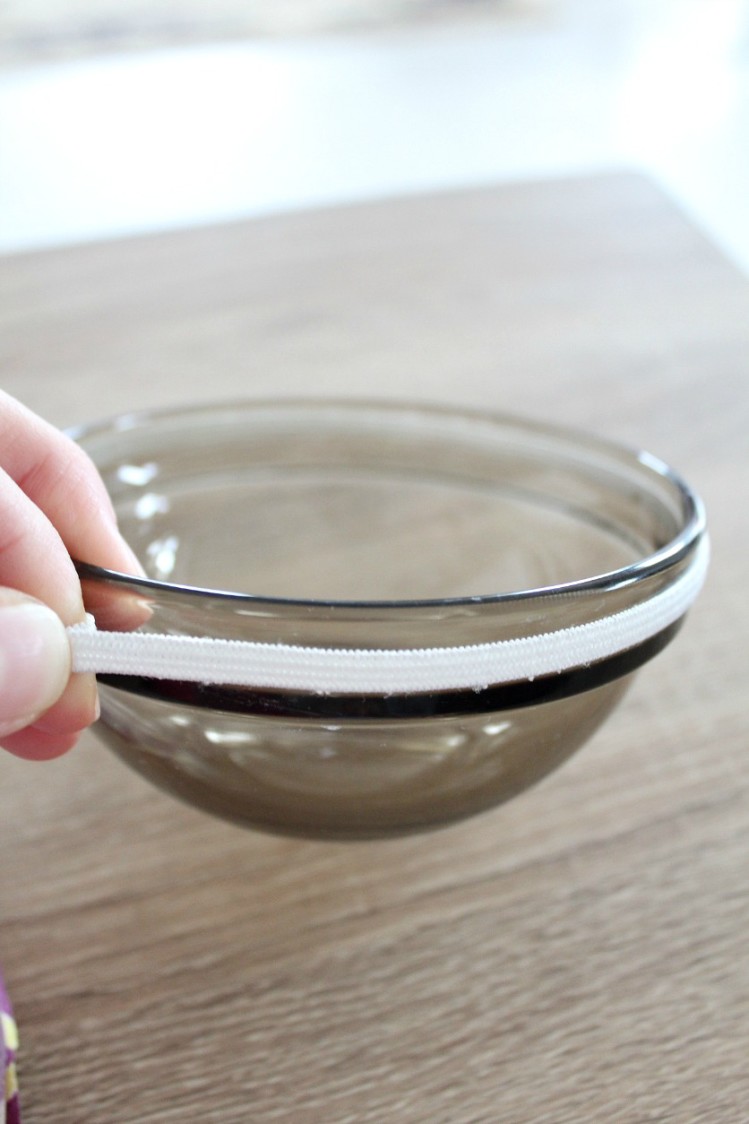
- Measure towards the top of your bowl and subtract two inches; that is how much elastic you will need. You want it tight but not too tight
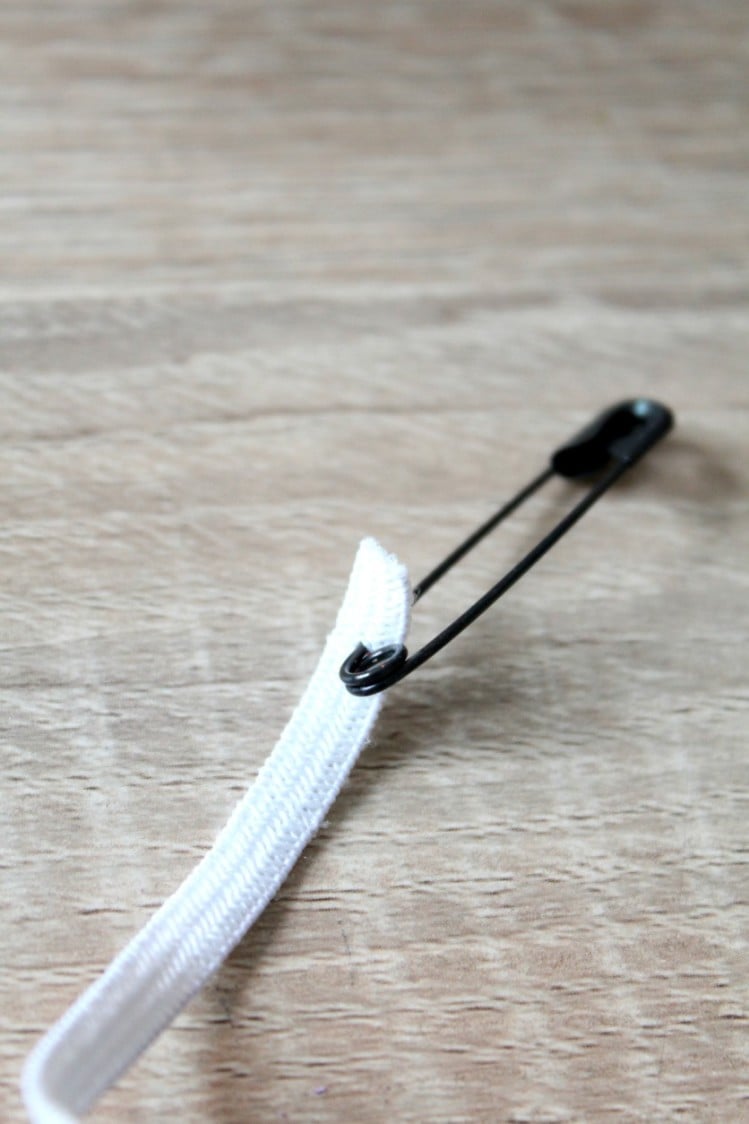
- Stick a safety pin through the end of the elastic
- Thread your elastic through the casing, all around the circle
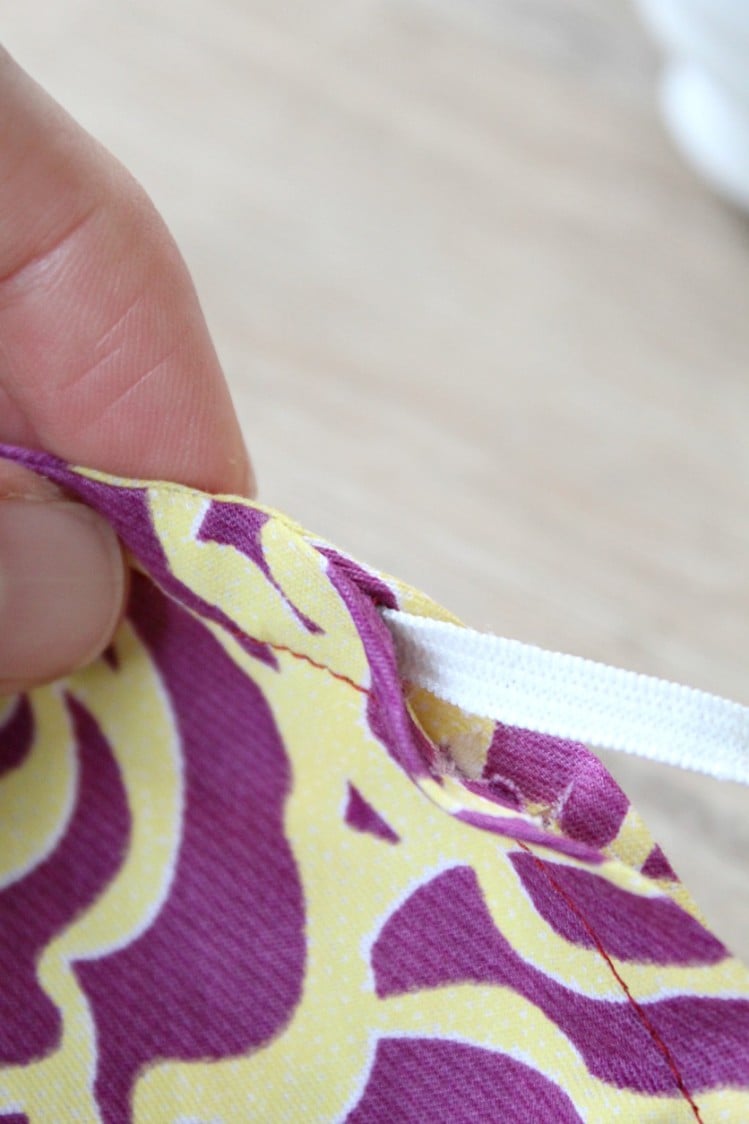
- Evenly distribute the casing so that you have even ruffling
- Stitch the ends of elastic together
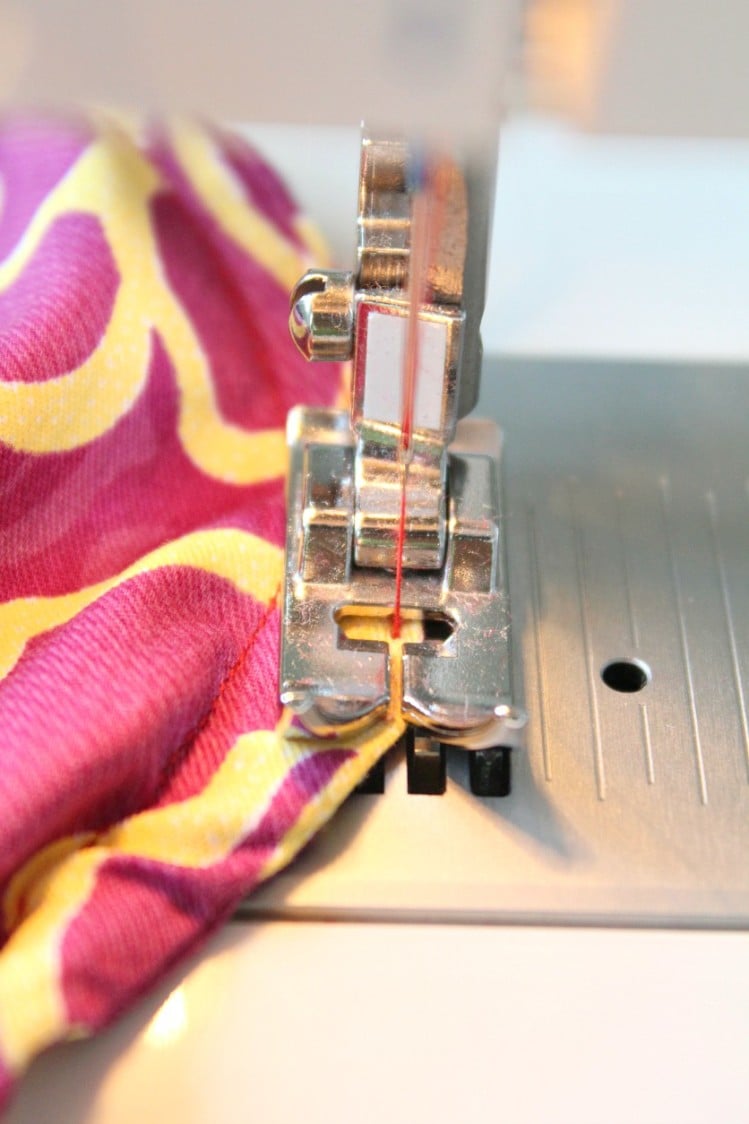
- Close the opening in your circle by top-stitching. Avoid sewing through the elastic
- Place your covers on top of your bowls and you are ready for your gathering!
Most popular sewing projects:
- How to make corded bag handles
- Tips for sewing a round hem
- Flutter sleeve dress pattern
- How to laminate fabric


Article may contain Amazon & affiliate links. As an Amazon Associate I earn from qualifying purchases at no additional cost to you.

Thanks. I never knew how to clip on curves.
I hate clipping curves (not that I’ve ever clipped too close to the stitching. Just sayin’). I LOVE trimming curves with pinking shears.
What is the name of this fabric for the bowl covers and where to buy it??I would love to get it! Thanks
Hi, Barbara! It’s from a bed sheet I got in my local shop, haven’t seen it anywhere else.
I was looking for a project for scrap material I have left from making/donating masks, and this fits the bill. Looks easy enough. Will be using these for Christmas presents.
Perfect for keeping flies away from food over the summer months. The covers are well made and I love the fabric design.
Thank you!
Thanks so much for your lovely comment! :)
Thank you very much for taking the time to share. I saw these at a kitchen store and thought of making my own. I just wanted to mention that you have one small typo in the instructions which is worth fixing. You say 5″ intead of 0.5″ for the 2cm conversion. I love your fabric choices.
My Grandmother always had a few vinyl? covers similar to these that she used for storing leftovers or make-ahead salad or cold soup in the fridge. I don’t know if she made them or bought them, but I’m going to think of her when I make some of these. Thanks for the tutorial!
Hi Lizzie. Thanks so much for stopping by. Hope you’ll have as much fun making these as myself.
I like Traditional Chicken & Wild Rice Soup
Chicken Noodle is the best!!
I really like the Progresso Traditional Chicken Noodle Soup.
Gluten Free New England Clam Chowder always hits the spot!
I like the Italian Wedding soup!
I love the chicken and wild rice!
I like the clam chowder.
new england clam chowder
I like their Chicken Noodle soup!
I love the New England Clam Chowder.
I’m also a chicken noodle fan
I luv a hearty chicken noodle soup!
My favorite soup would always have to be the Chicken Noodle.