Bunny Sewing Pattern For Kids
Don’t know what to sew for your little ones this Easter? Make a cute DIY bunny (or more)! This easy bunny sewing pattern makes an adorable stuffed bunny that could play as a softie for smaller kids or as a decorative bunny pillow for older ones.
Bunny sewing pattern
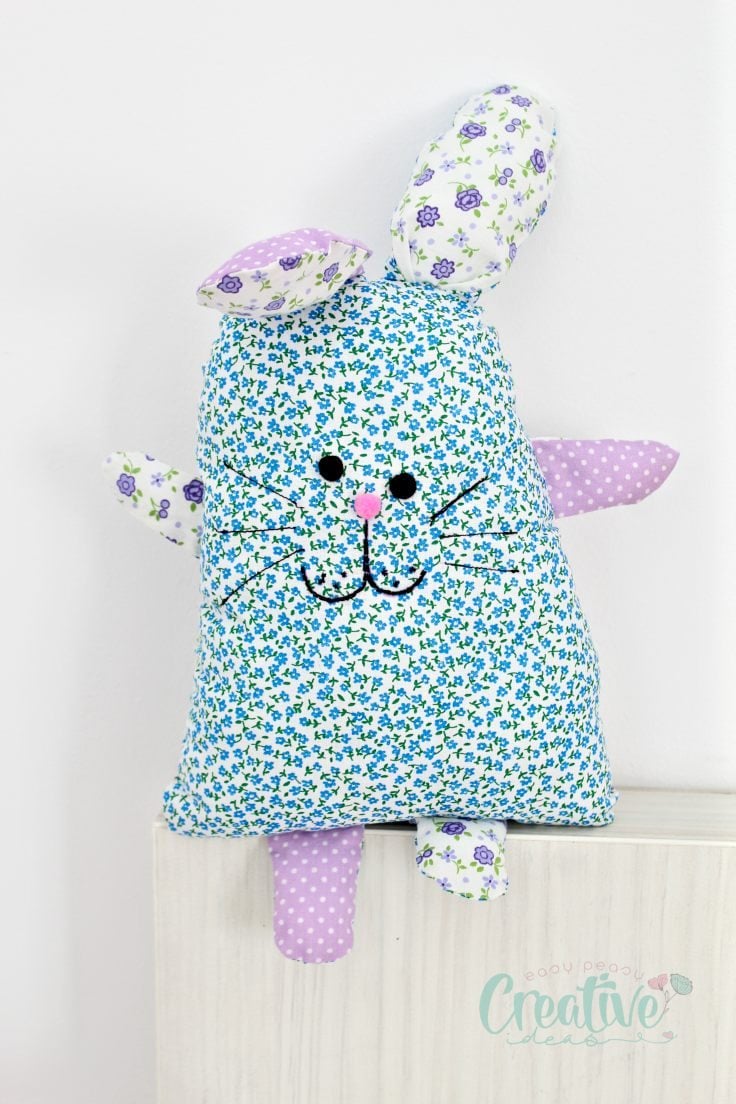
So you think it’s too early to start sewing for Easter? Let’s agree to disagree! There are sooo many cute things you can and must make for Easter, like this bunny sewing pattern, so better start early! You probably noticed that I LOVE sewing for my little girl! I don’t want to miss any occasion to make something for her, be it for more practical reasons, like garments she really needs or for decorative ones like in this case.
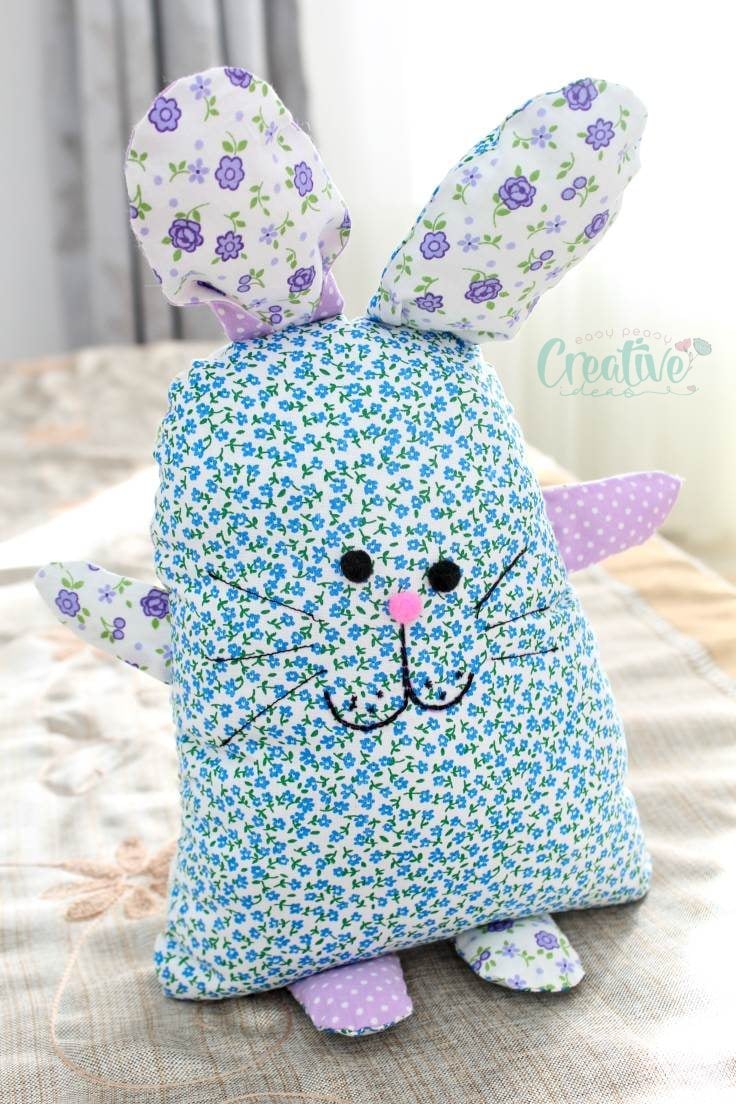
Ellie loves stuffed animals and small pillows/softies to the point of turning this passion into a rather expensive obsession! She’s got all kinds of stuffed animals, from kitties, to foxes, to sheep and even a bunch of stuffed bunnies and a bunny shaped pillow. Since she shows no signs of stopping I thought I would try and get a little thrifty and make her another bunny pillow with this bunny sewing pattern!
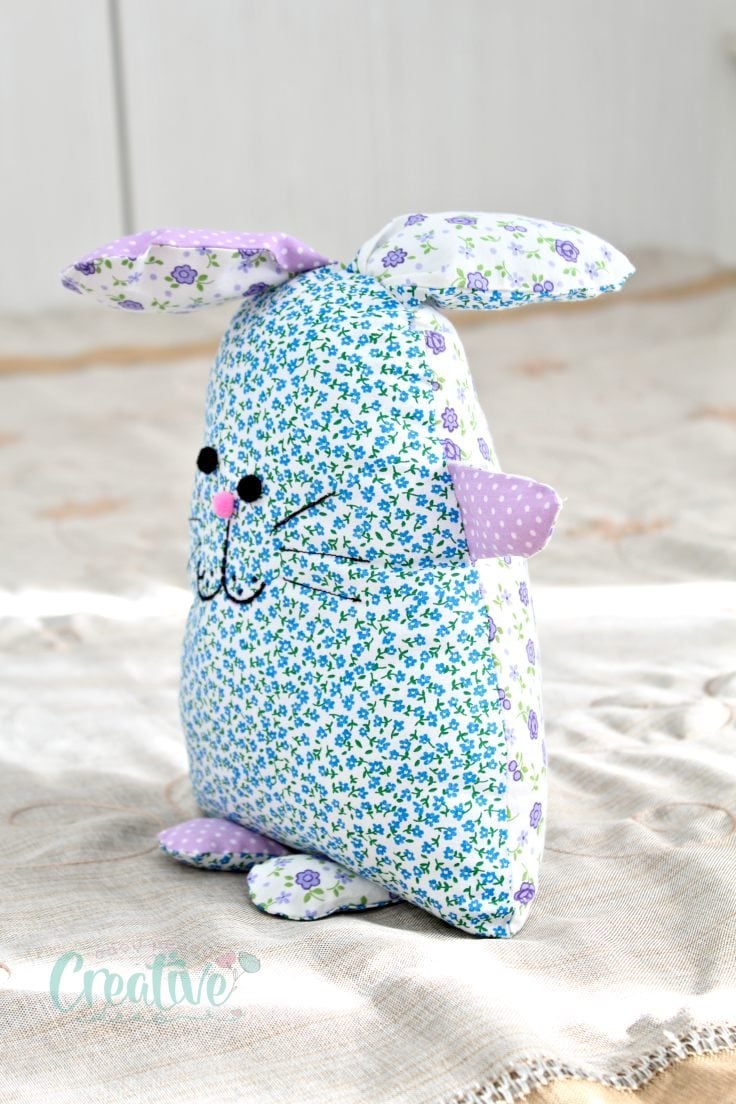
This bunny pattern makes a pillow that is medium small and could be used as a softie for smaller kids. I know Ellie will use her stuffed bunny as a softie or a pillow but for her toys (she likes to play pretend a lot) and when done playing the bunny will then be used as a decorative pillow on her bed.
More cute projects:
- Bunny sleep mask pattern
- Bunny treat bags sewing tutorial
- DIY fabric envelopes
- Round crossbody bag for girls
- Bunny hair clip pattern
- Christmas tree pillows
- Hello Kitty coin purse
- Bunny banner
- 30 Minute easy sewing projects
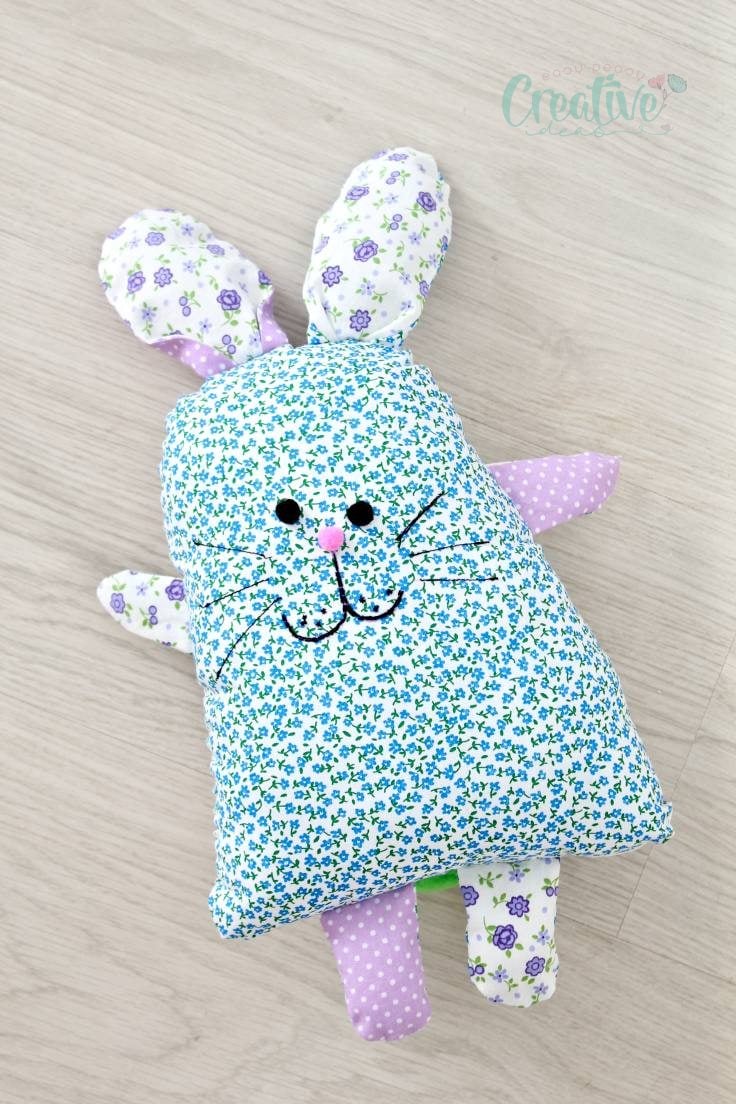
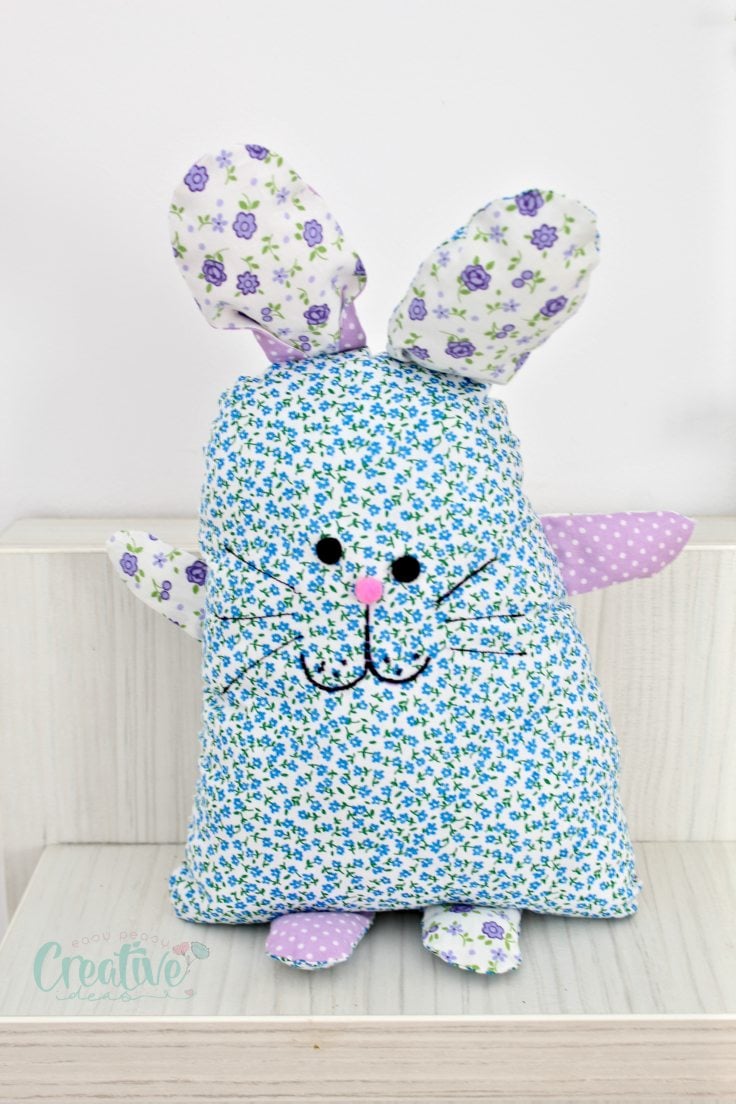
I never expected this bunny sewing pattern to turn this cute! In fact I had doubts about taking step by step shots as I didn’t see it as a good material for a tutorial. And for some reason I thought it would be hard to make. But to my surprise, once I finished drawing the bunny sewing pattern, putting it all together was nothing but a breeze. I can safely call this now a beginner sewing project! And an amazing opportunity to use up some of those scraps you keep stashing!
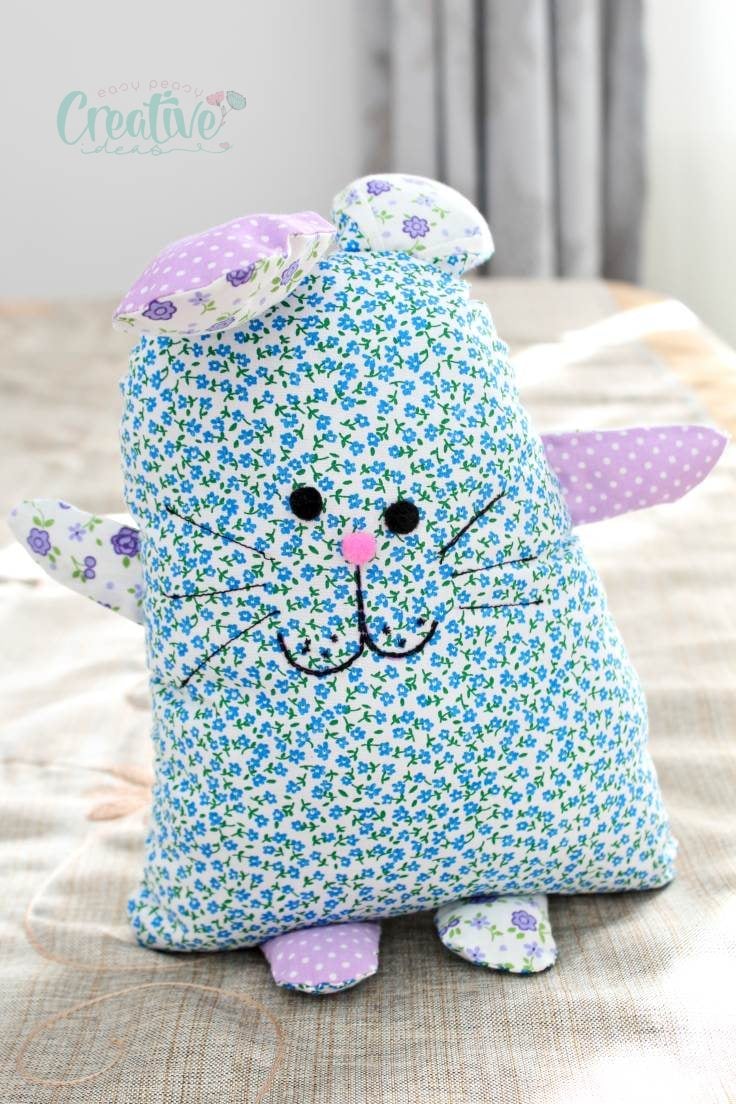
This adorable bunny shaped pillow is a wonderful Easter gift idea for the kids in your family or for friends but could also play as a gift for baby showers or a birthday! My bunny sewing pattern is so easy and quite fast to sew, you’ll be able to make a bunch of these cuties in no time. I took roughly about an hour and a half to draw the pattern, cut the fabrics and sew the bunny. To be honest, picking the fabrics was a major problem as I just couldn’t make up my mind on what scraps to use, I have too many and too cute!
The pattern for the bunny (body, ear, hand and foot) is available for purchase here!.
Stuffed bunny pattern
Materials:
- bunny pattern with body, ear, foot and hand
- scrap fabric
- pins
- fabric pen
- scissors
- pom poms for eyes, nose and tail
- hand needle
- black thread
- poly fill
- matching thread
- sewing machine
- pressing iron
Directions:
Cutting the bunny pieces
- Decide what fabrics to use for each ear, hand and foot. I wanted each of these in a different fabric (although I messed it up a bit when I attached the ears to the body and that’s why the ears appear to be the same fabric)
- You will need to cut 2 for body and 4 each for ears, hands and feet so group your scraps as needed according to these.
Making the bunny parts
- Let’s take the body first and then the process is similar for hands, feet and ears.
- Match the fabrics for front and back right sides together.
- Place the body pattern over the fabrics and trace it onto the fabric using a fabric pen.
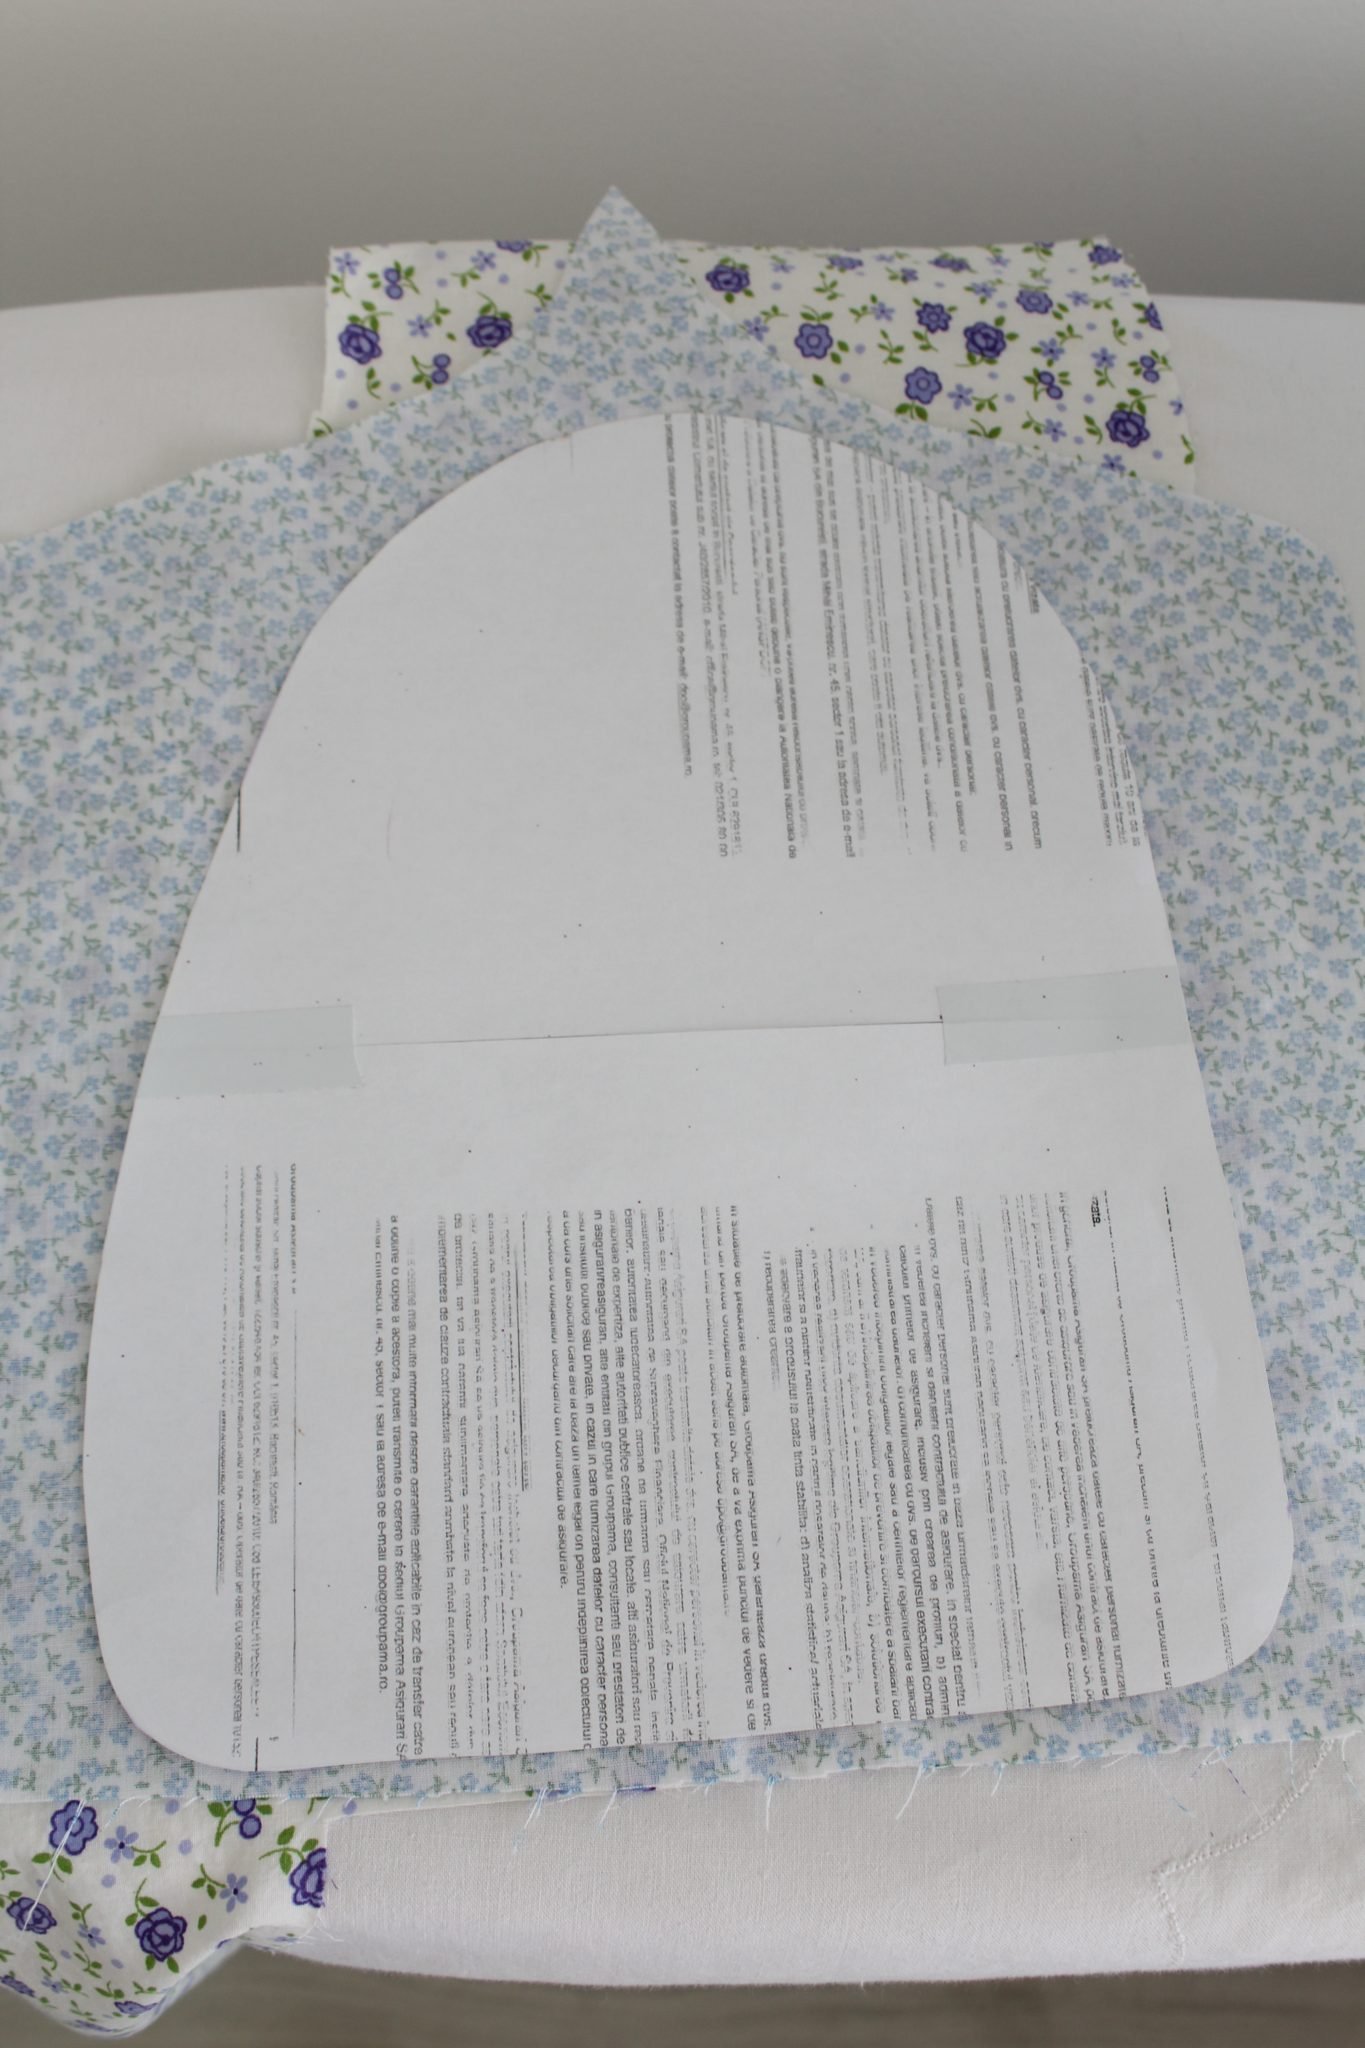
- Pin the fabrics then cut out the body.
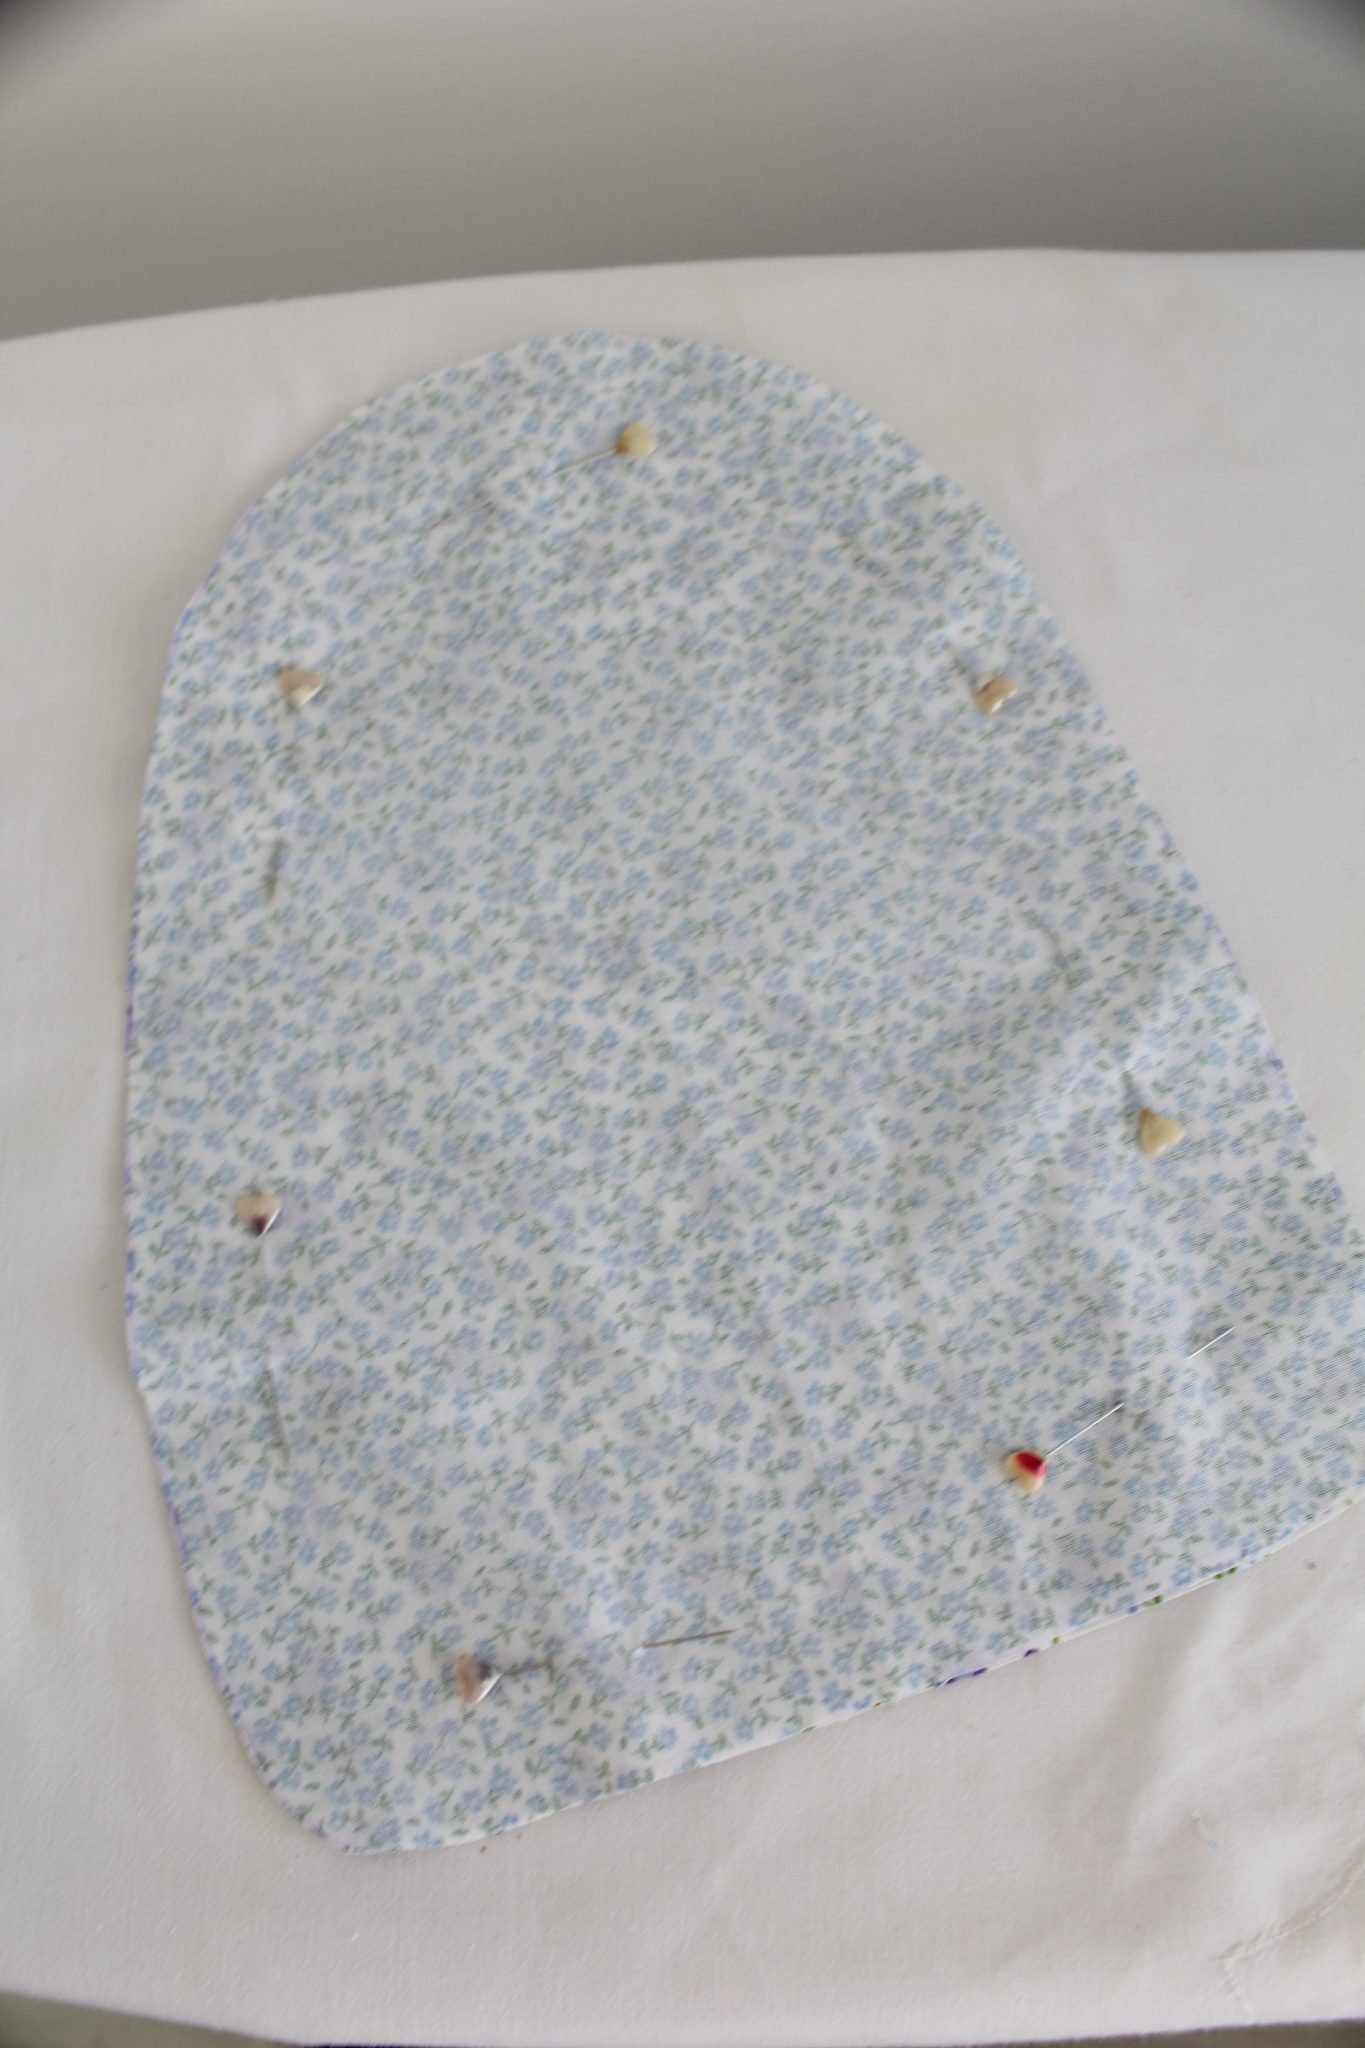
- Repeat for all the other bunny parts.
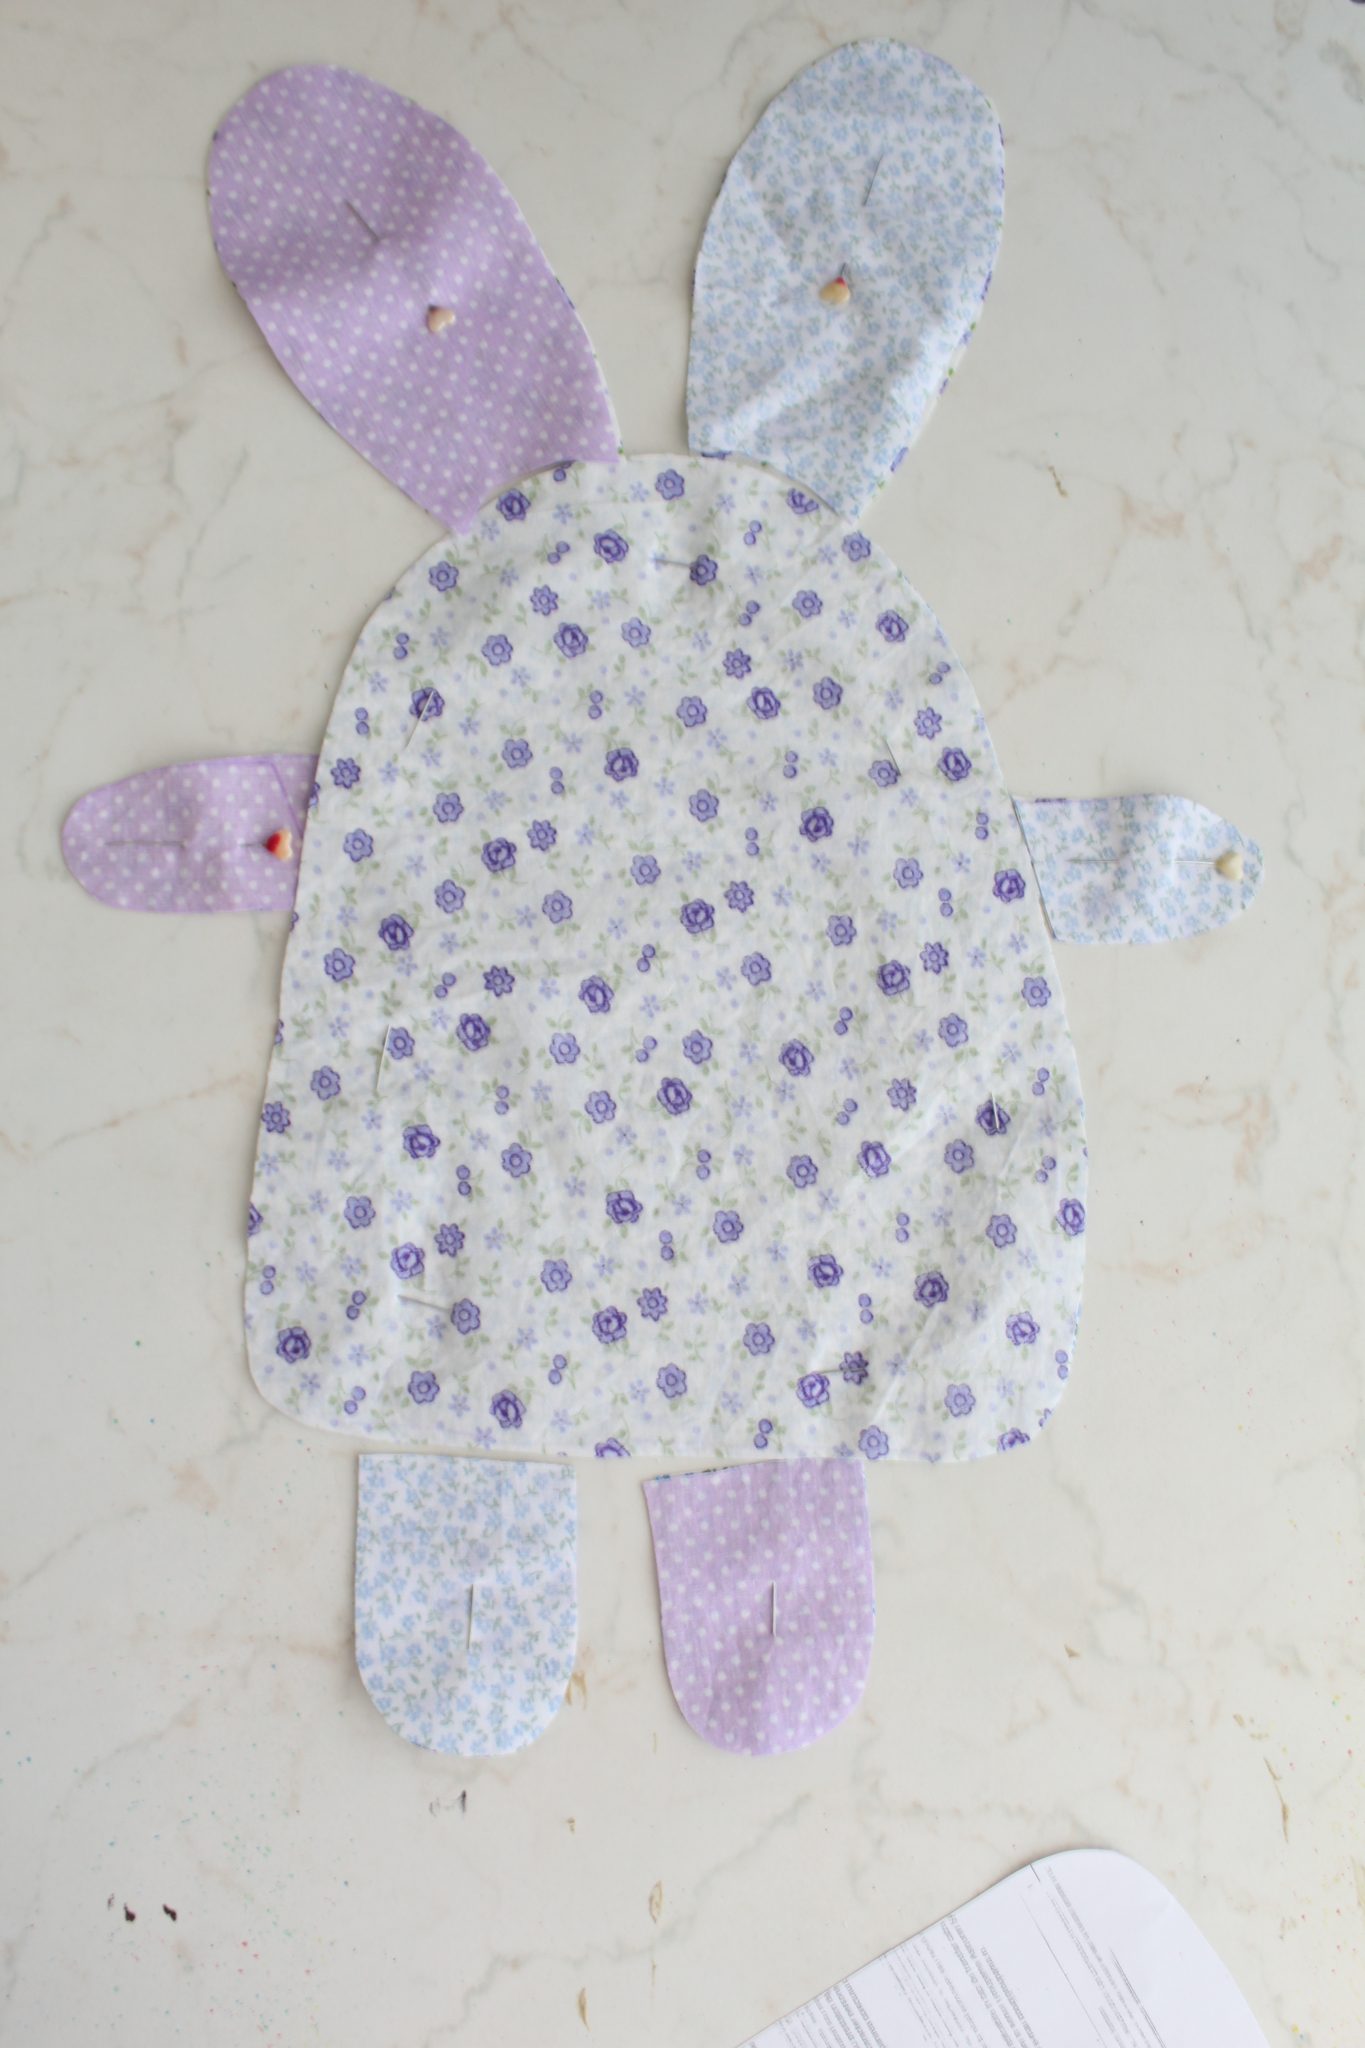
- Note: if you want the ears to stand up straight you’ll need to add some interfacing to both sides of the ears. I personally like them floppy.
- Take the front piece of the body and hand stitch the eyes and nose (I marked these on the pattern with an X) onto the outer side of the fabric.
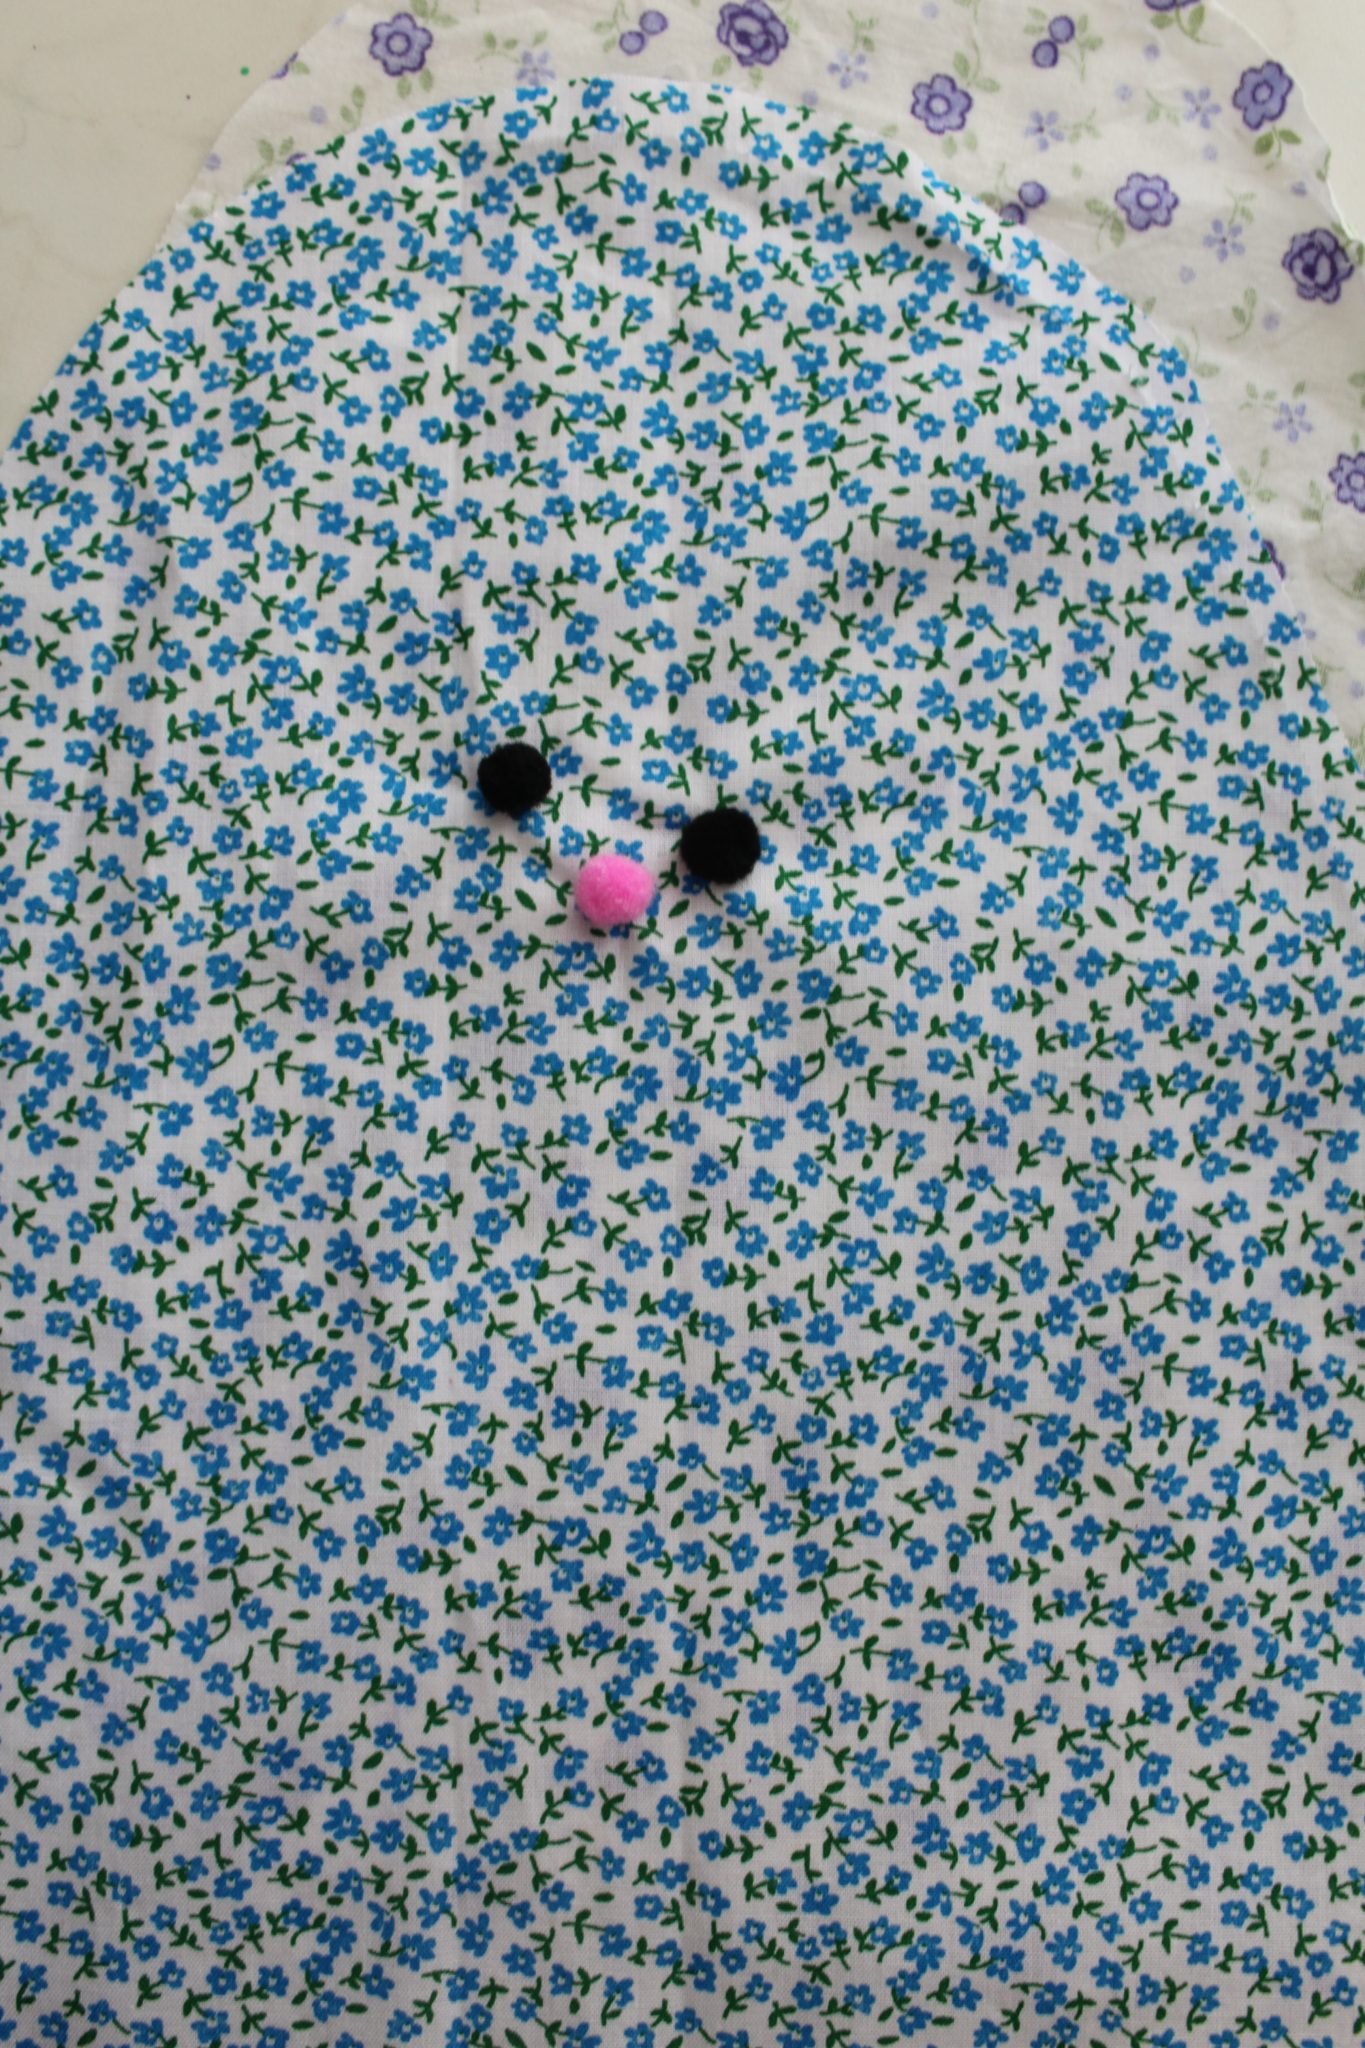
- Hand stitch the mouth and sew the whiskers with your sewing machine, using black thread.
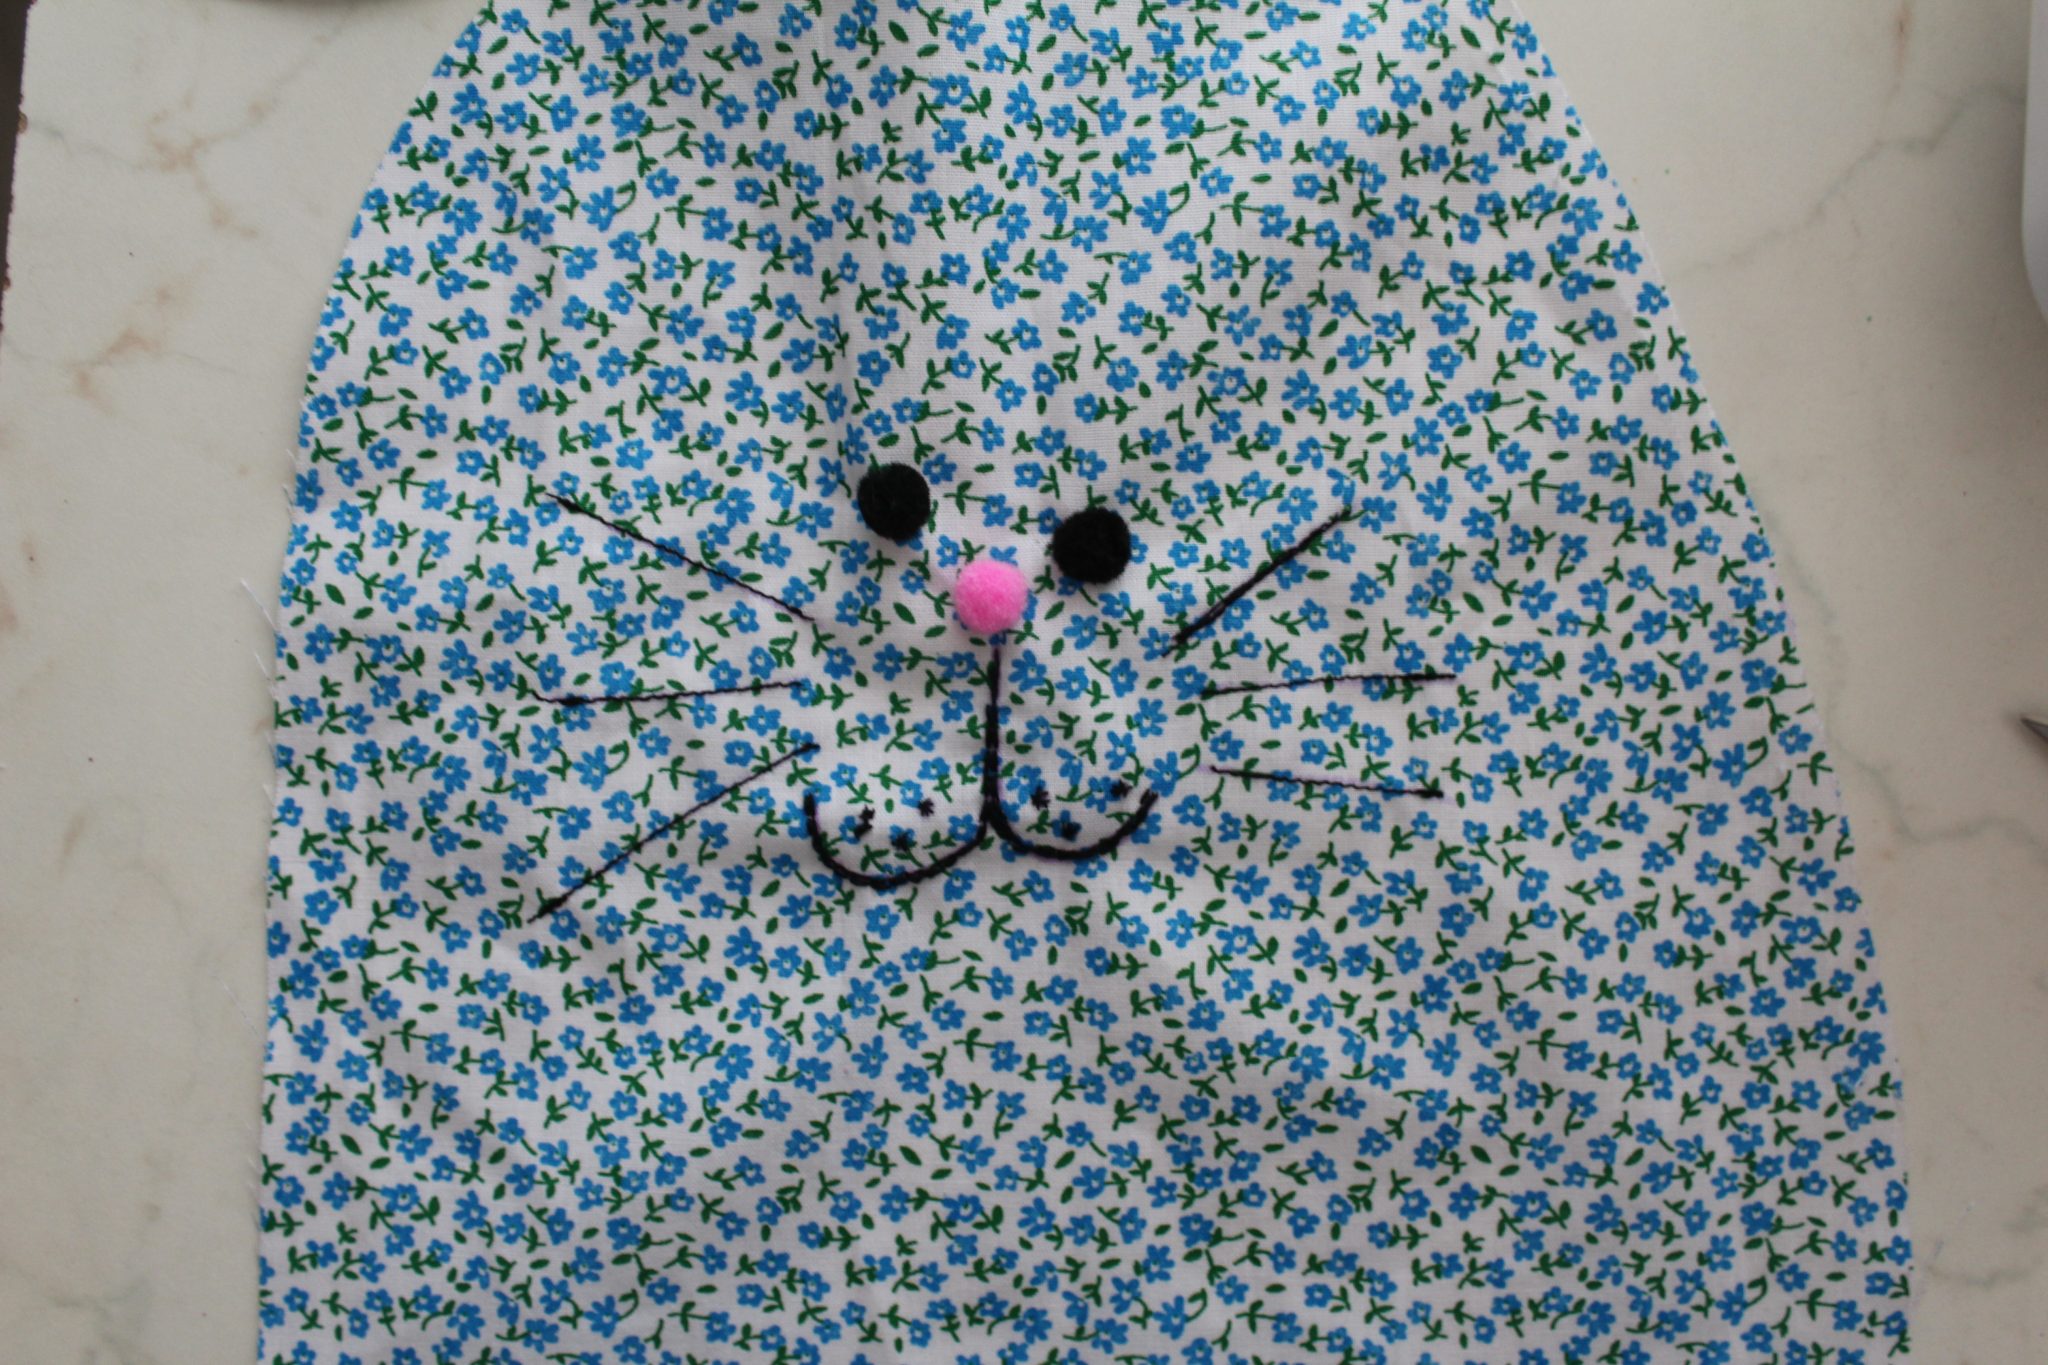
- Stitch the tail to the outer side of the back fabric piece of the body.
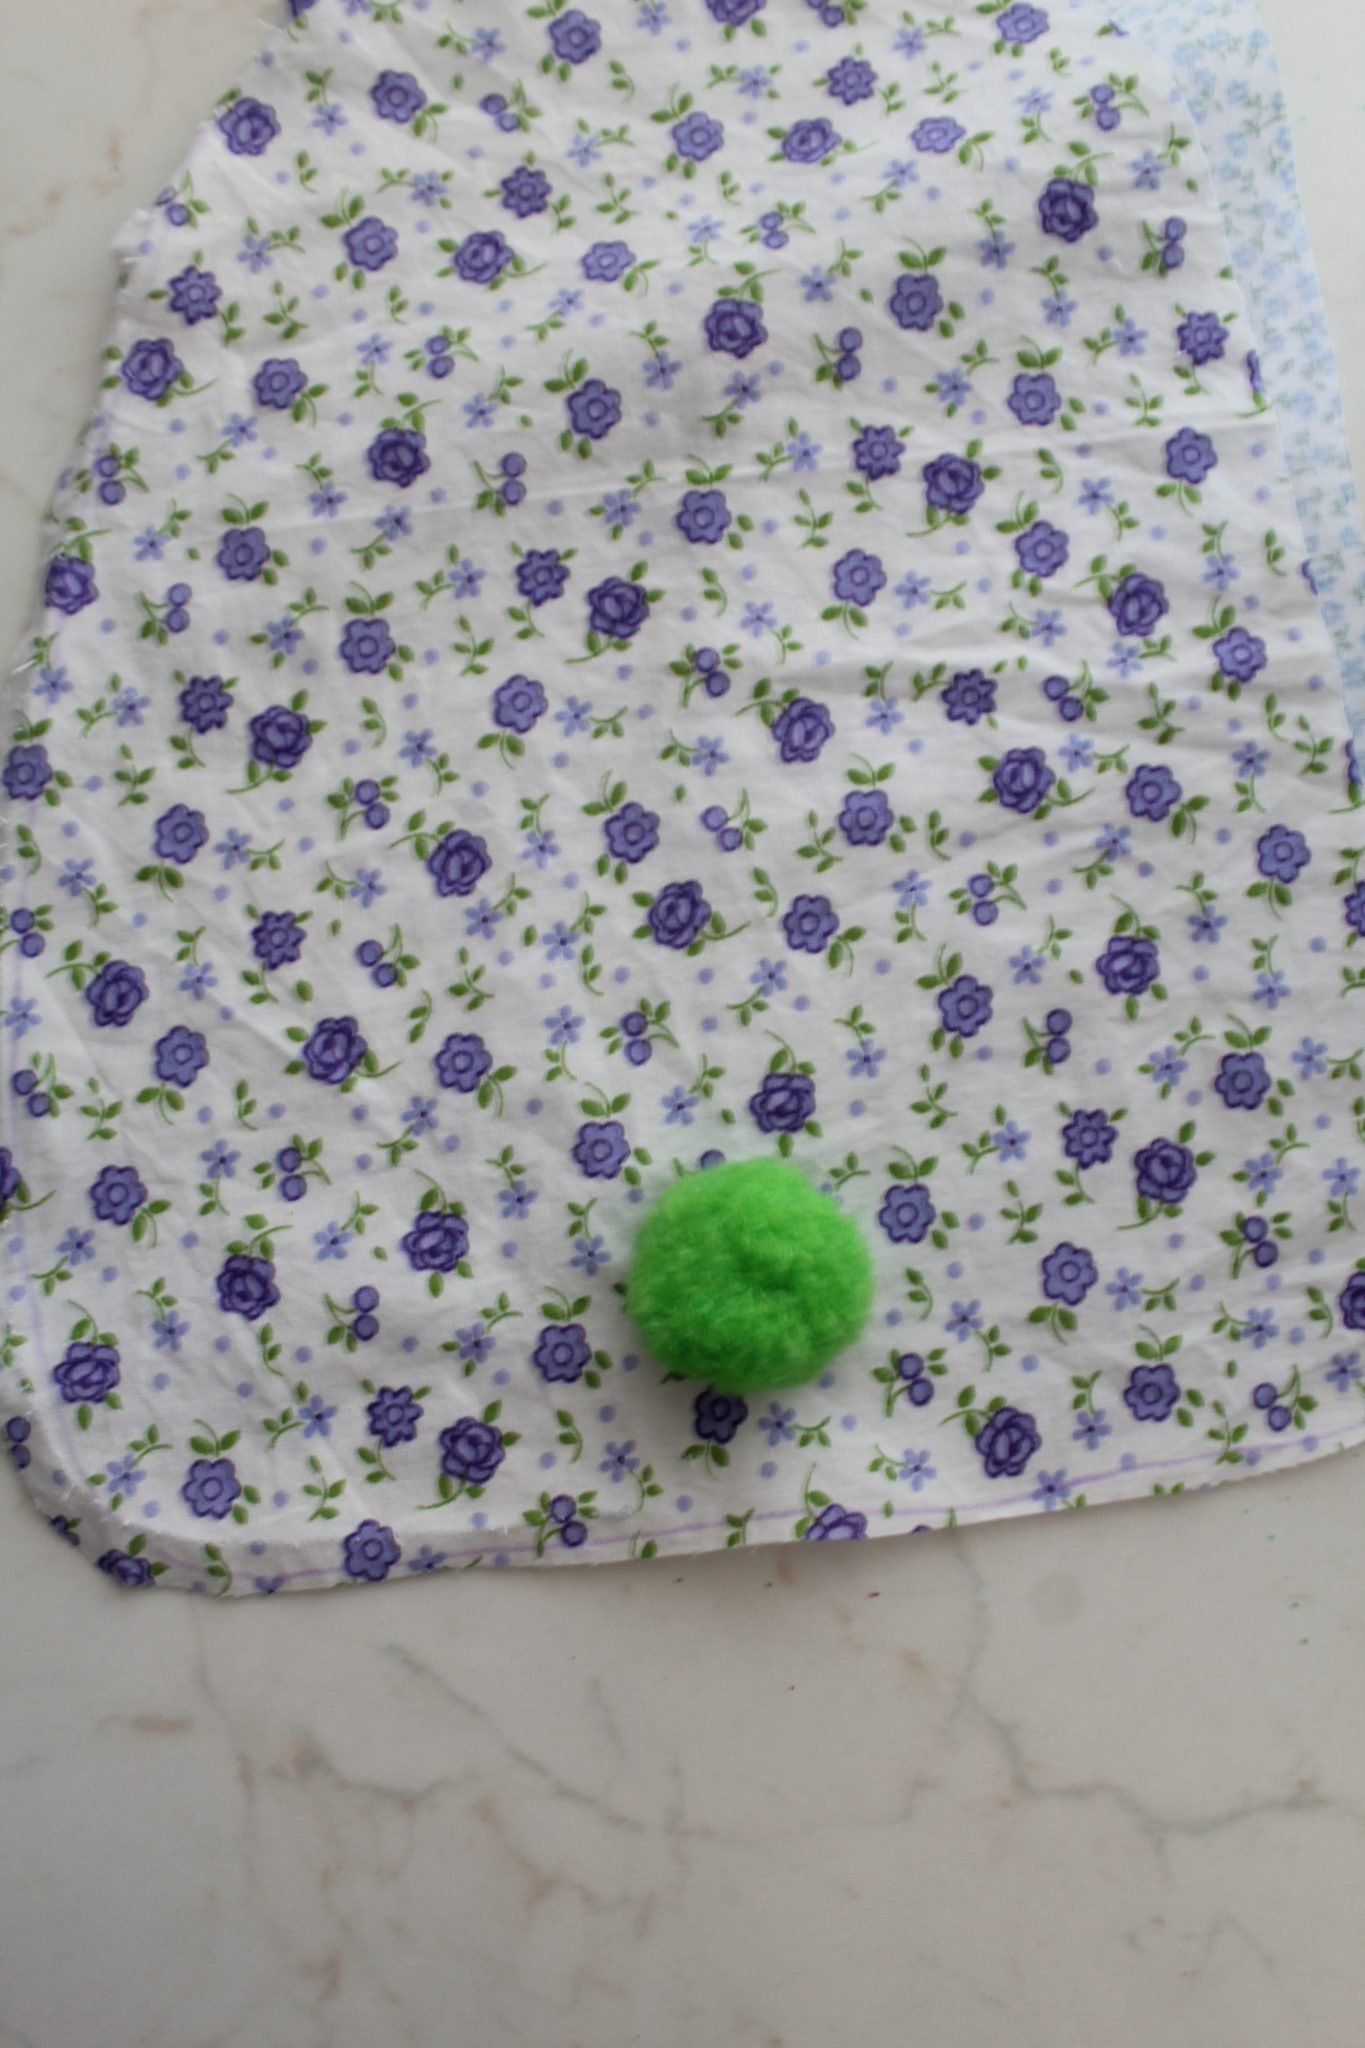
- Place the fabrics for each of the hands, feet and ears right sides together and sew with 1/4″ allowance.
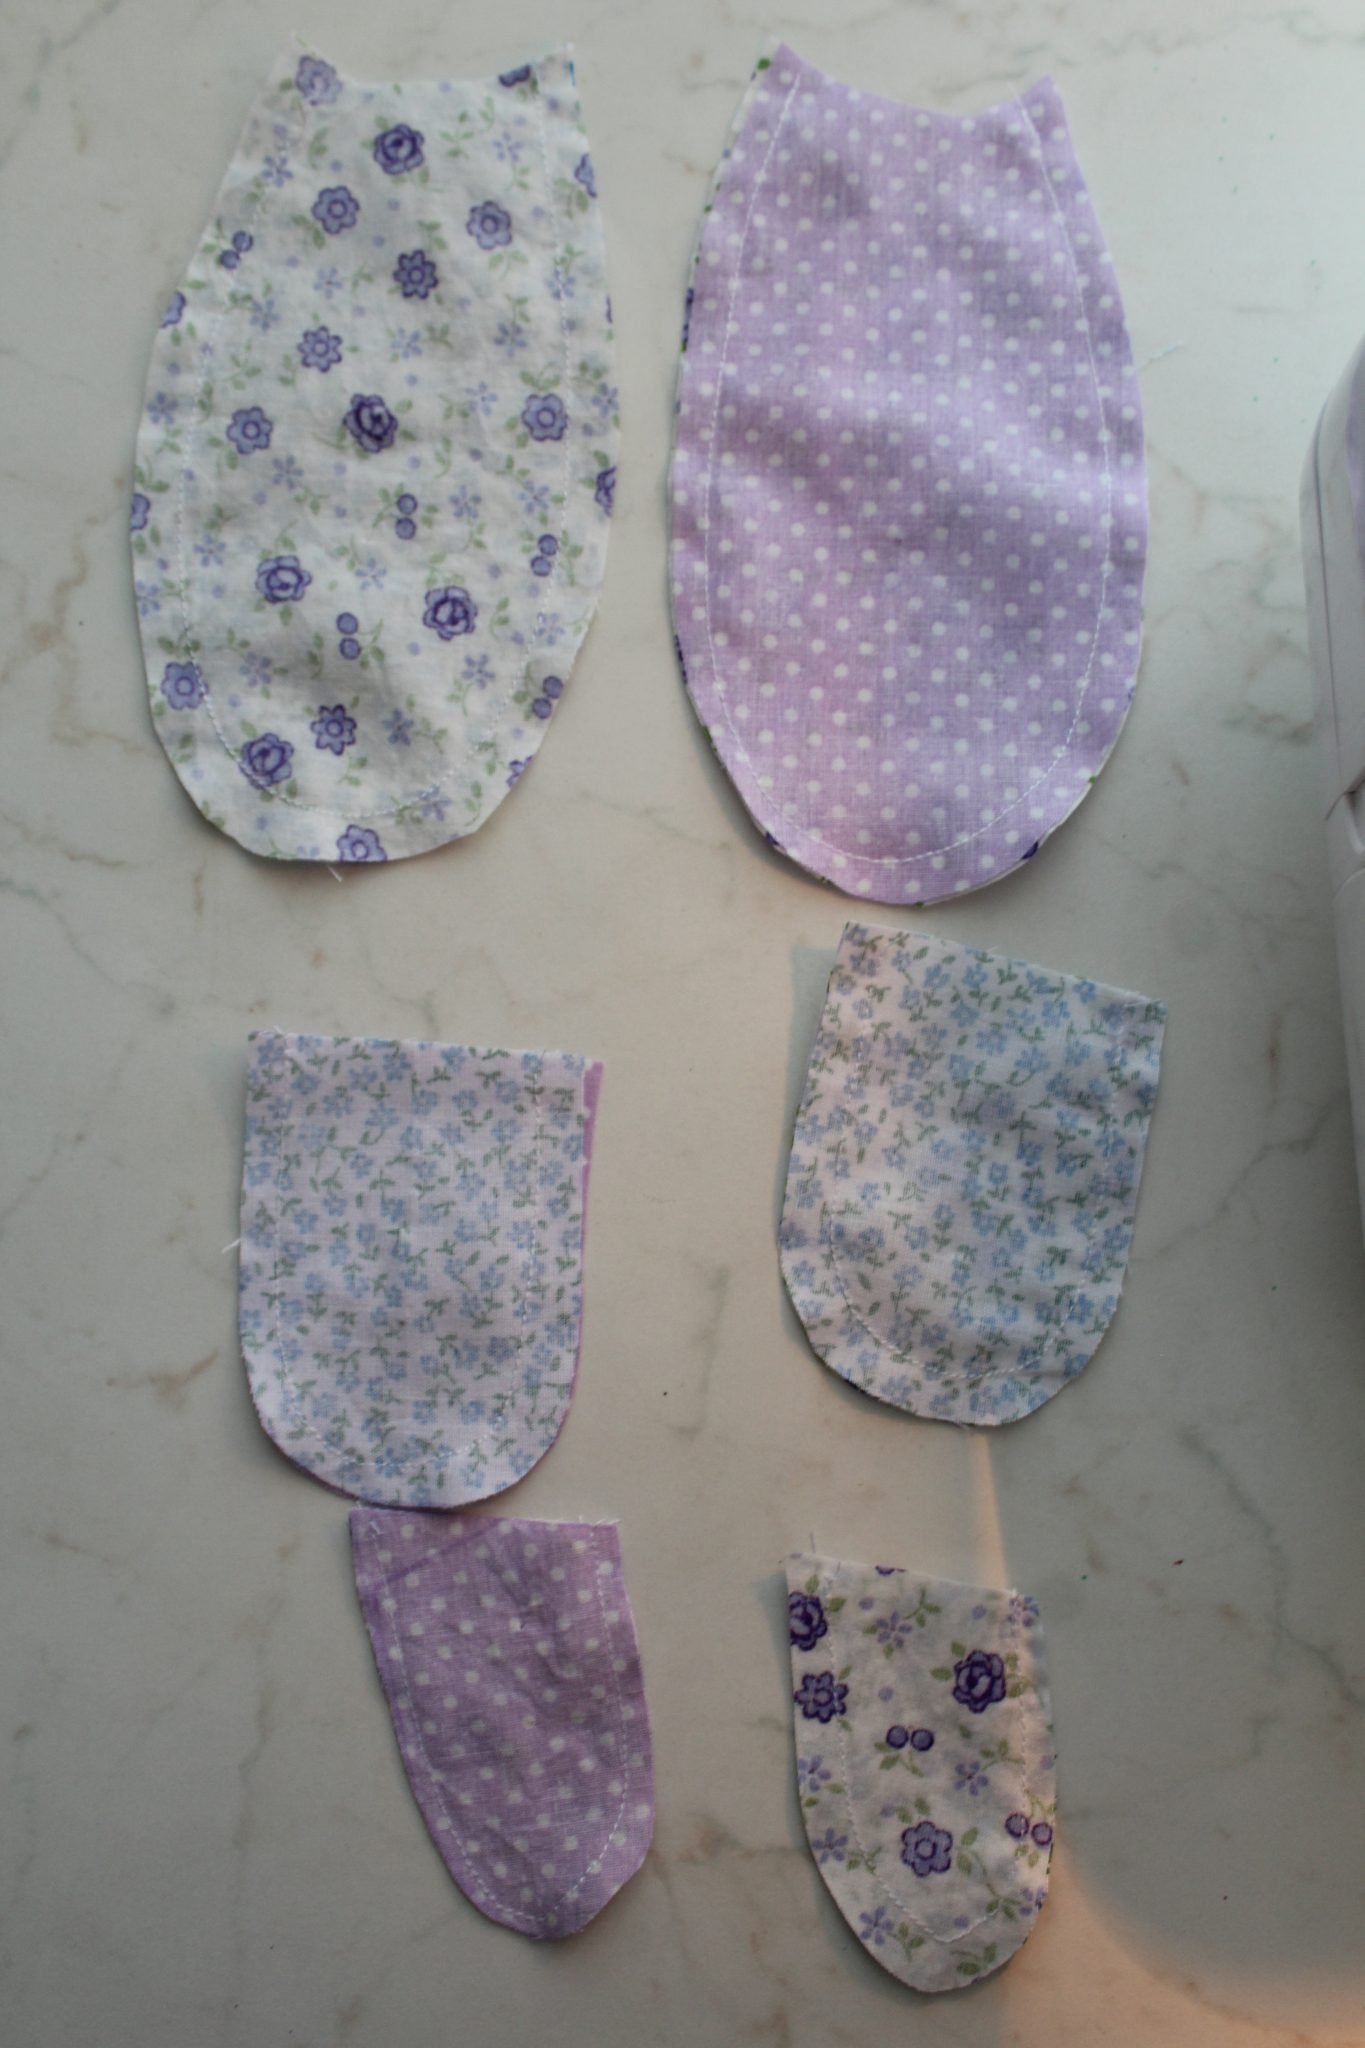
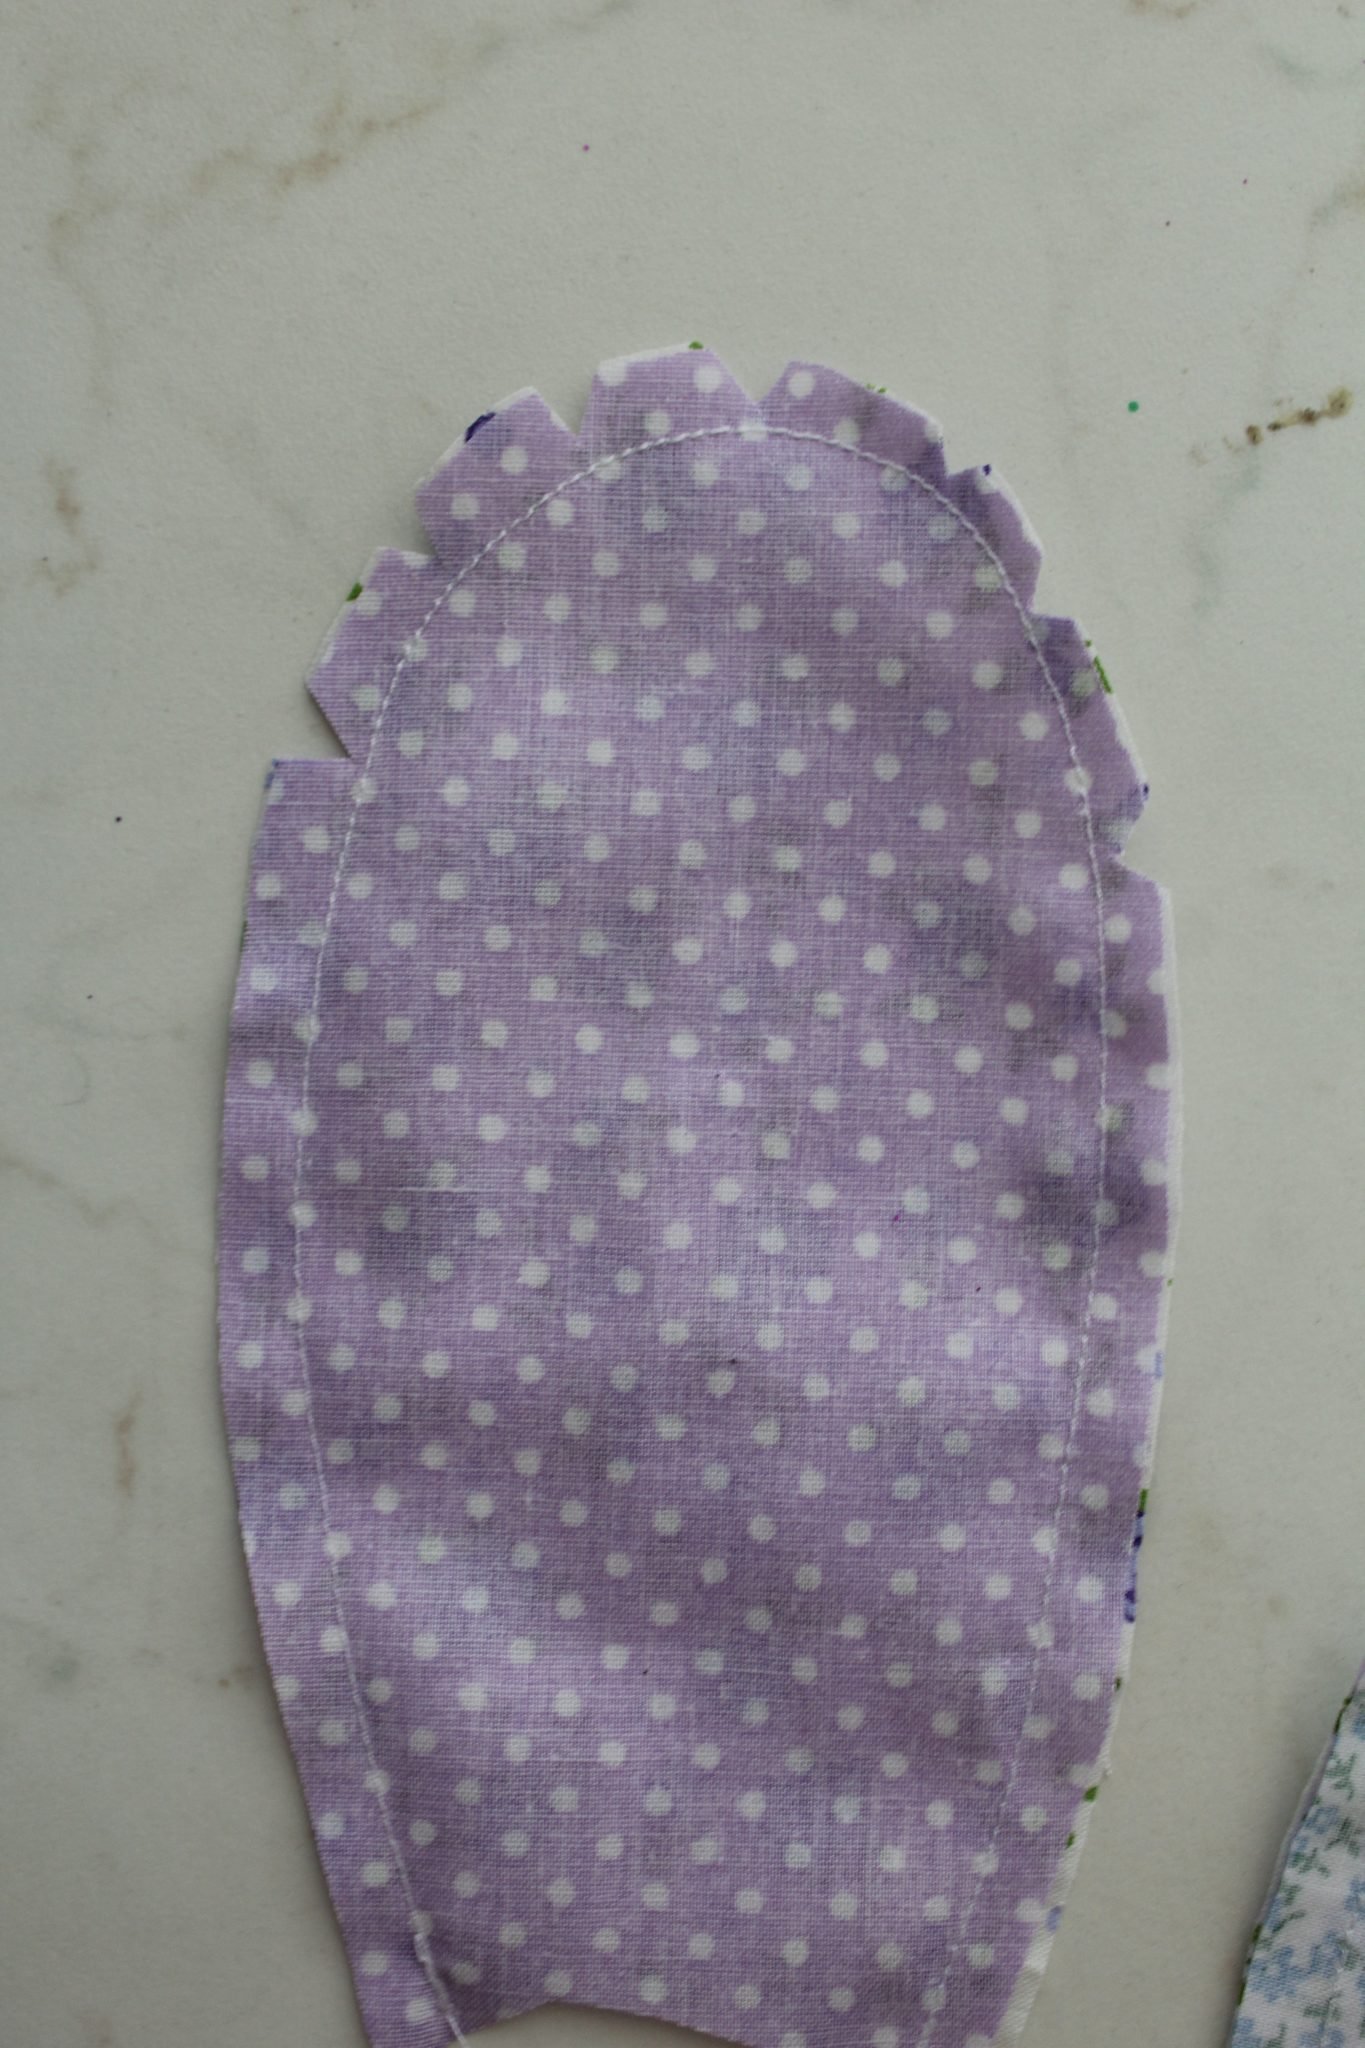
- Cut notches around the curves then turn pieces right side out.
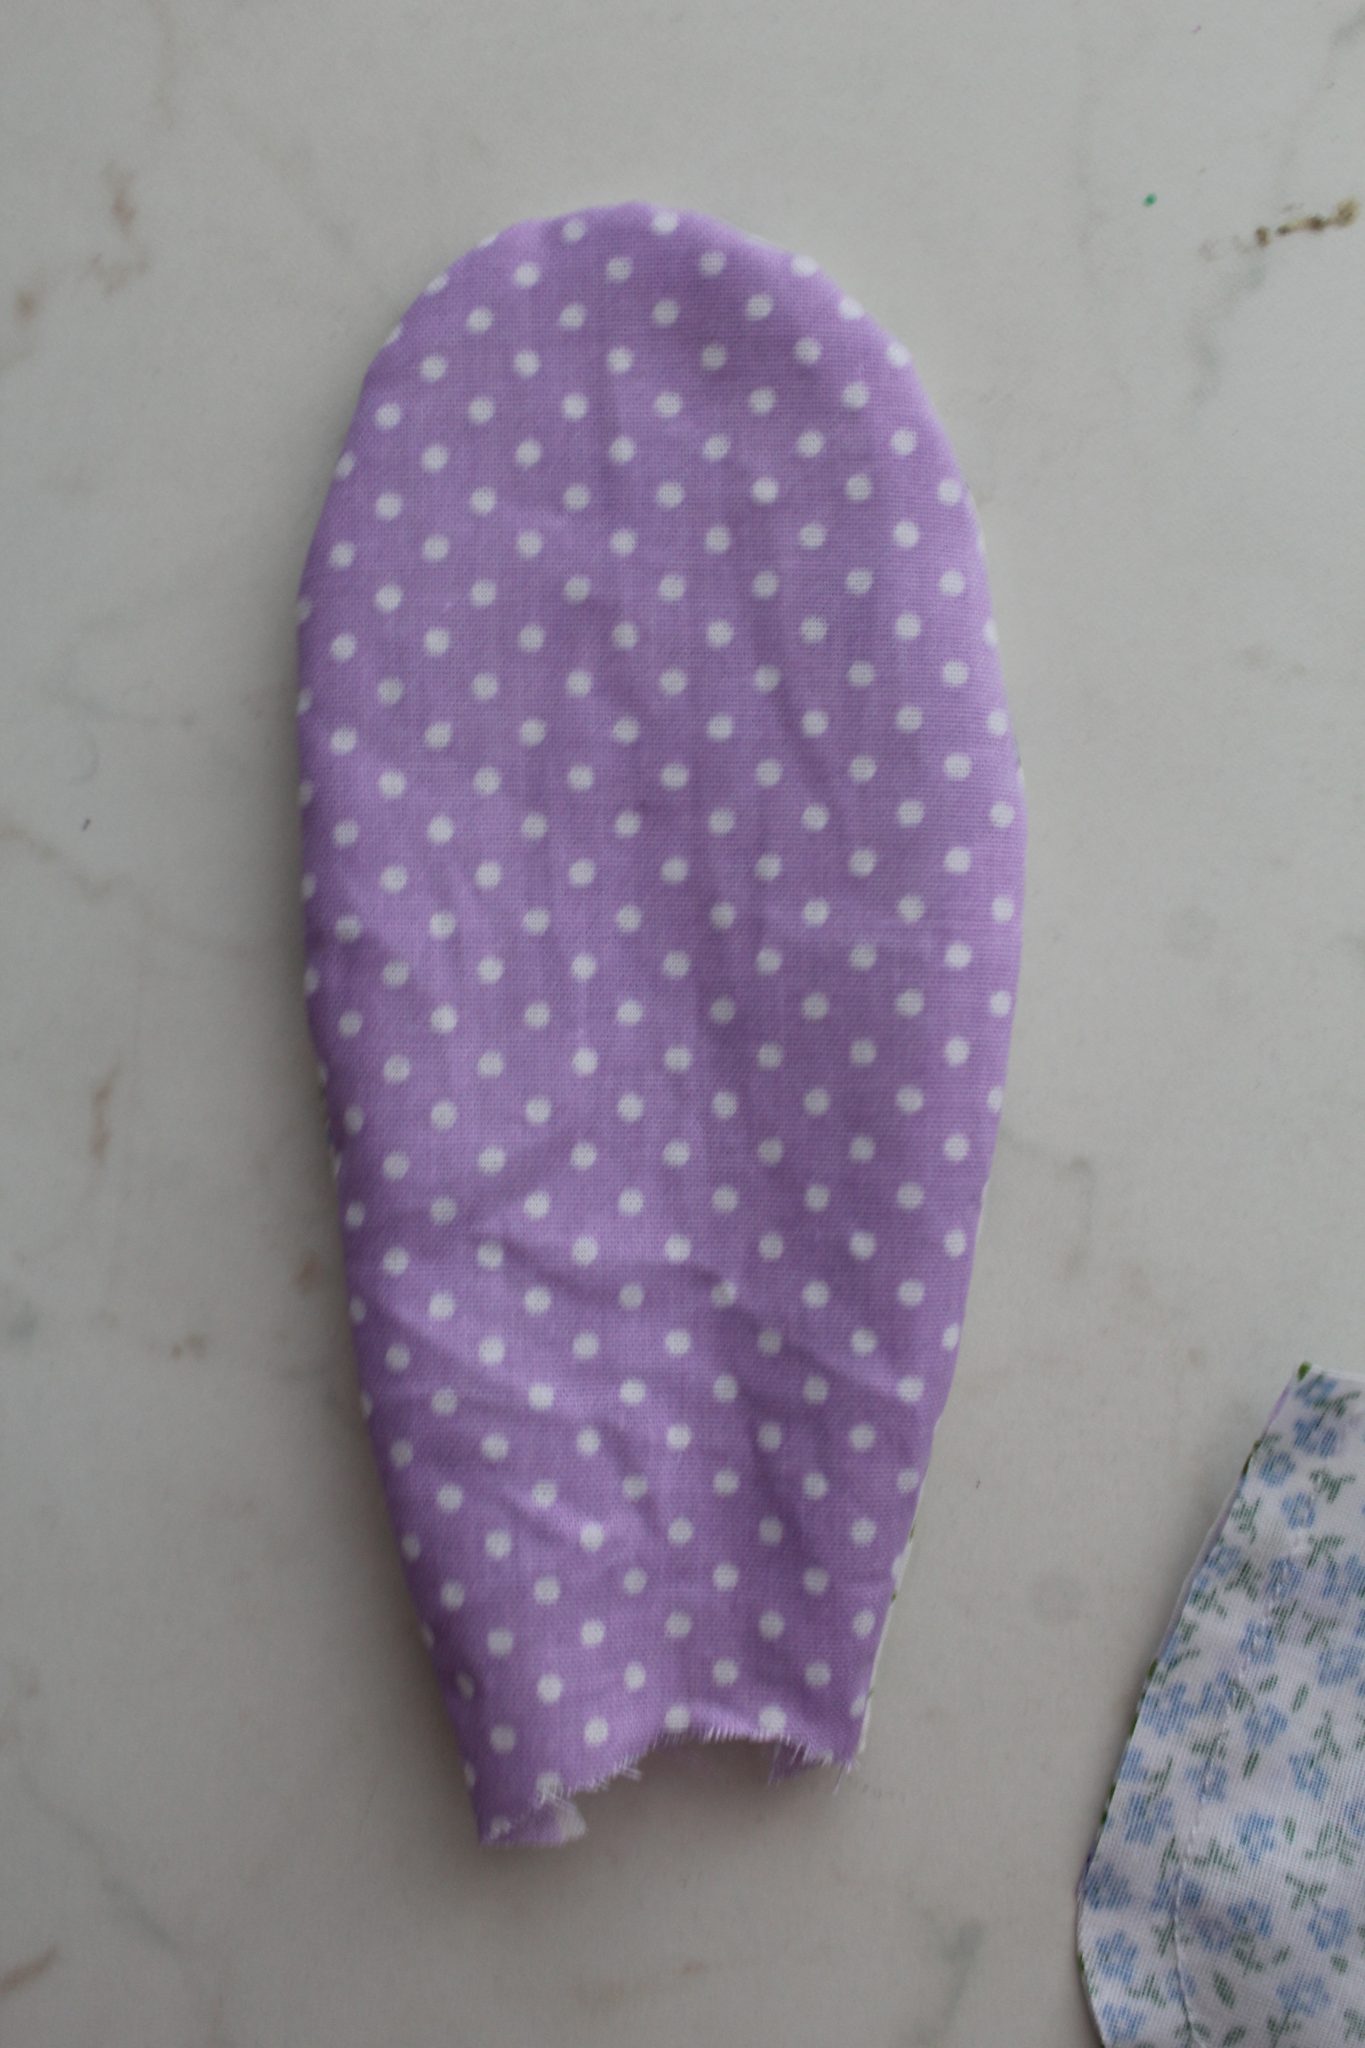
- Press well with iron on steam.
- Take a little bit of poly fill and stuff each of the years, hands and feet, just a little. You can add a little more to the ears.
- For the ears only, fold the sides of the base to the middle and sew.
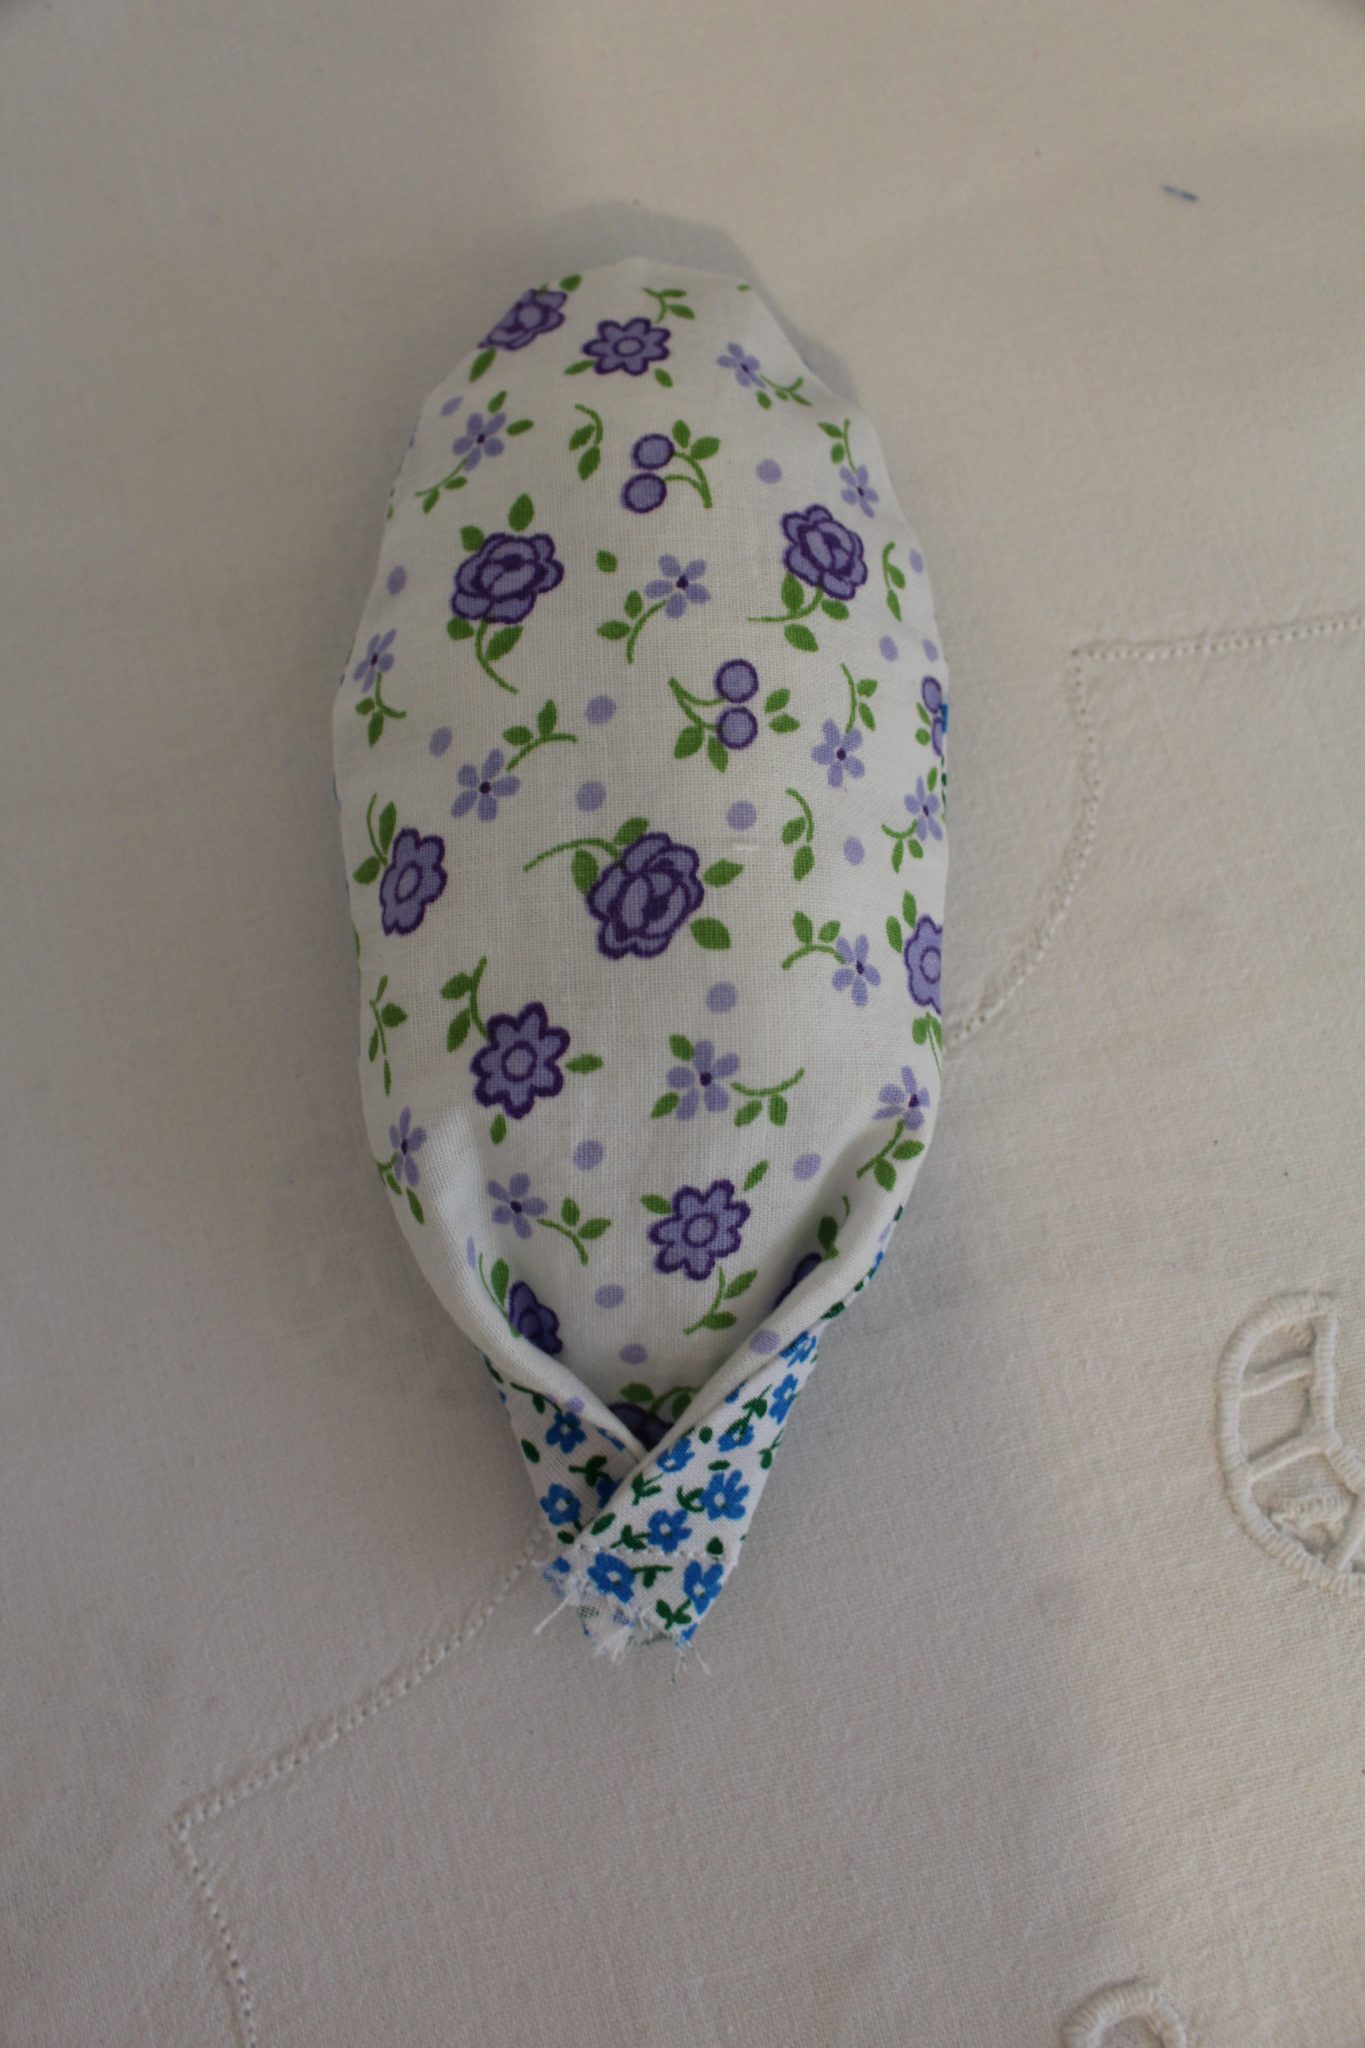
Putting all bunny parts together
- Place the front body piece right side up.
- Arrange the ears, hands and feet in their normal position, as if the bunny is done.
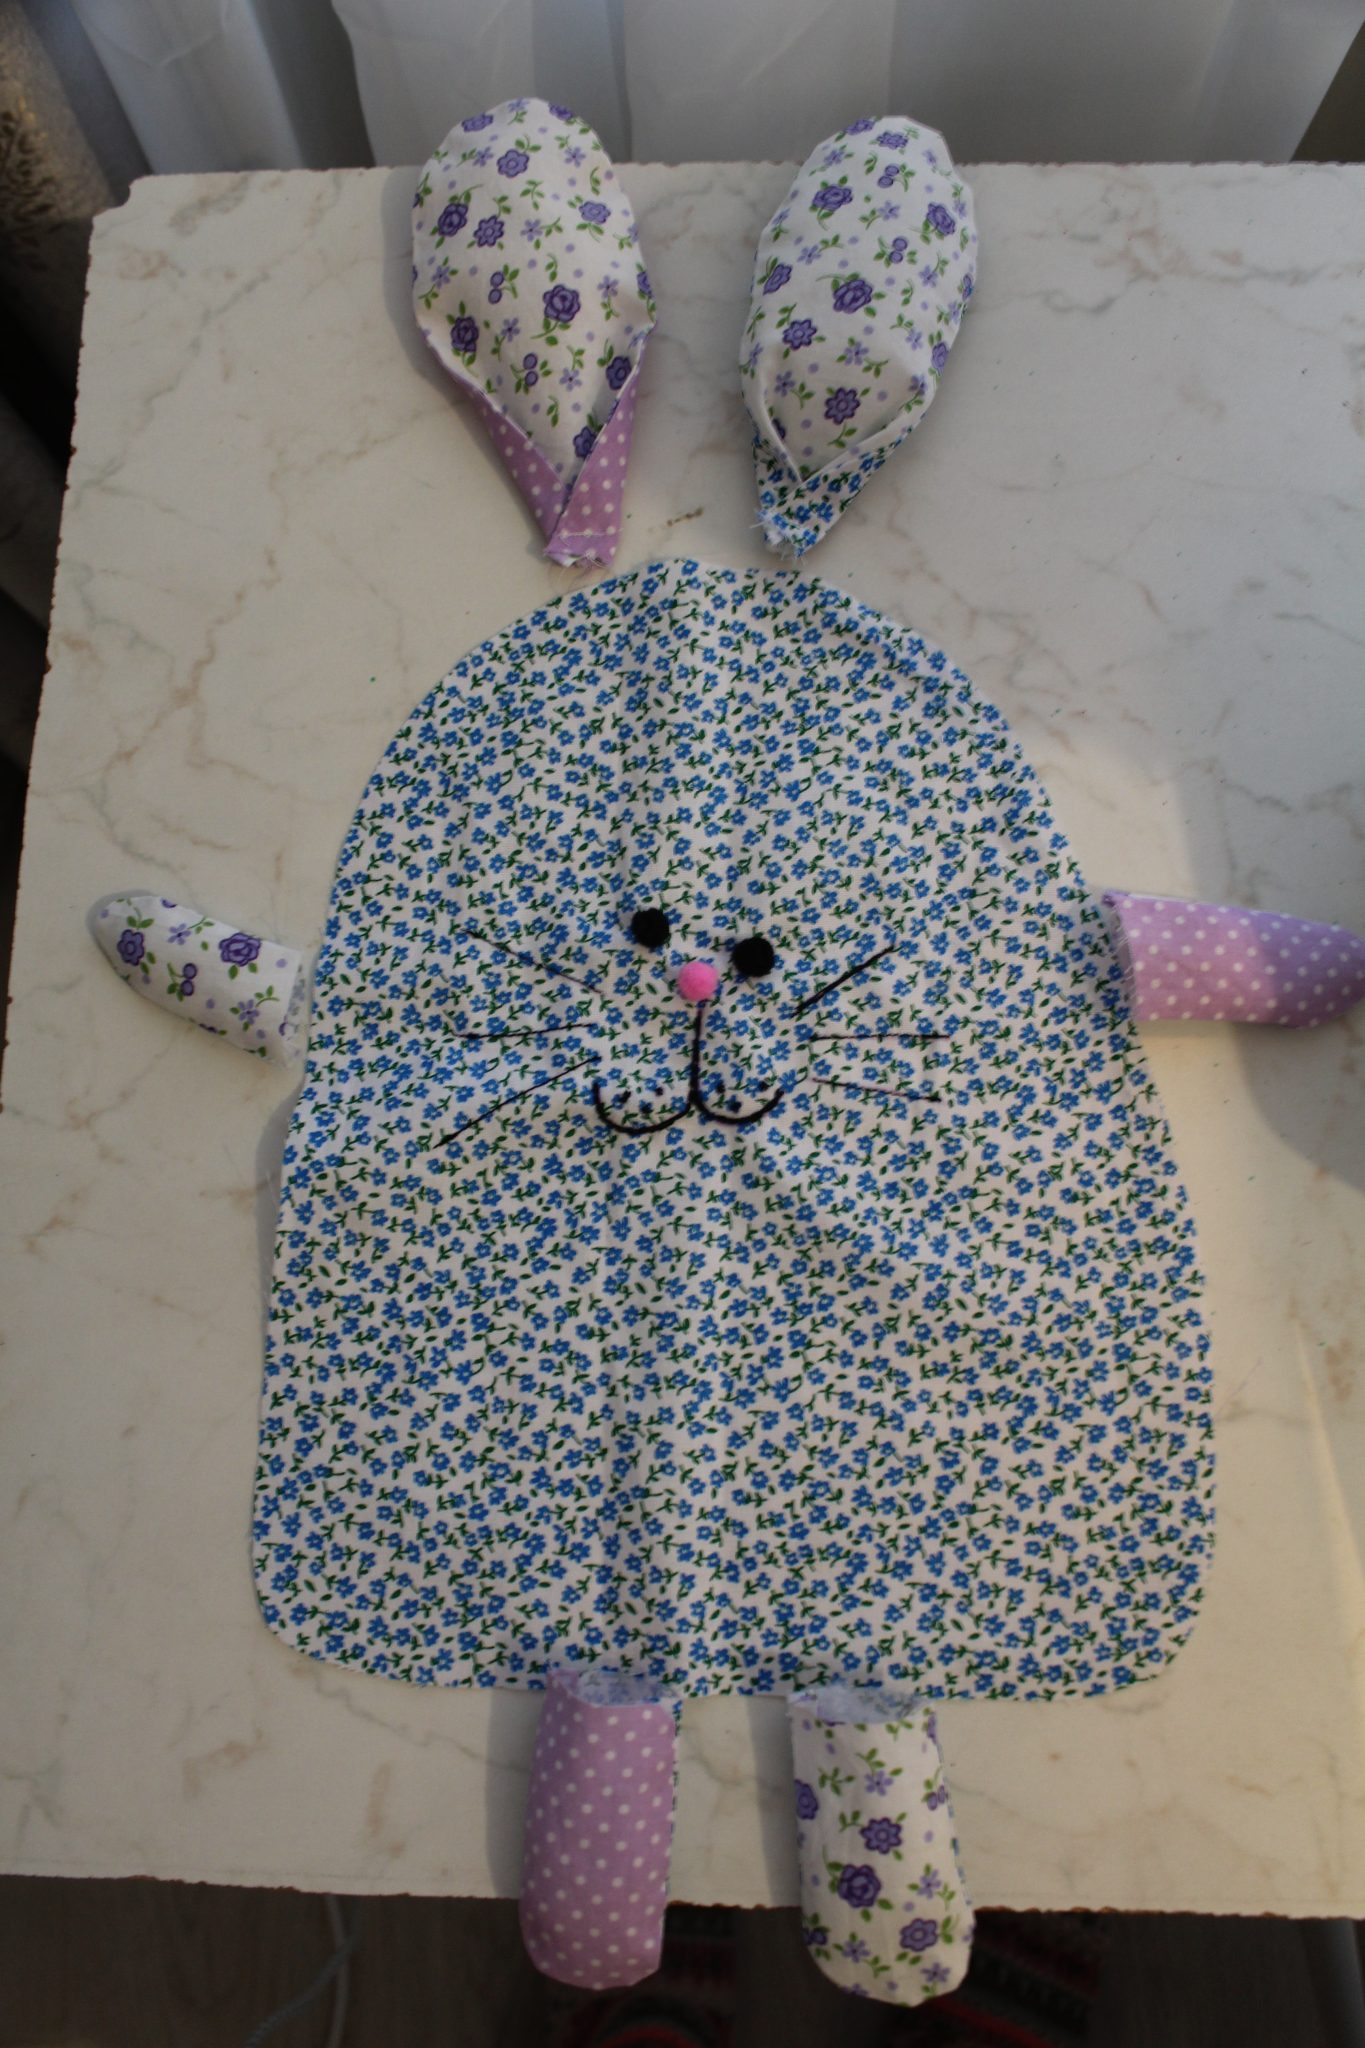
- Fold them towards the center of the body and pin.
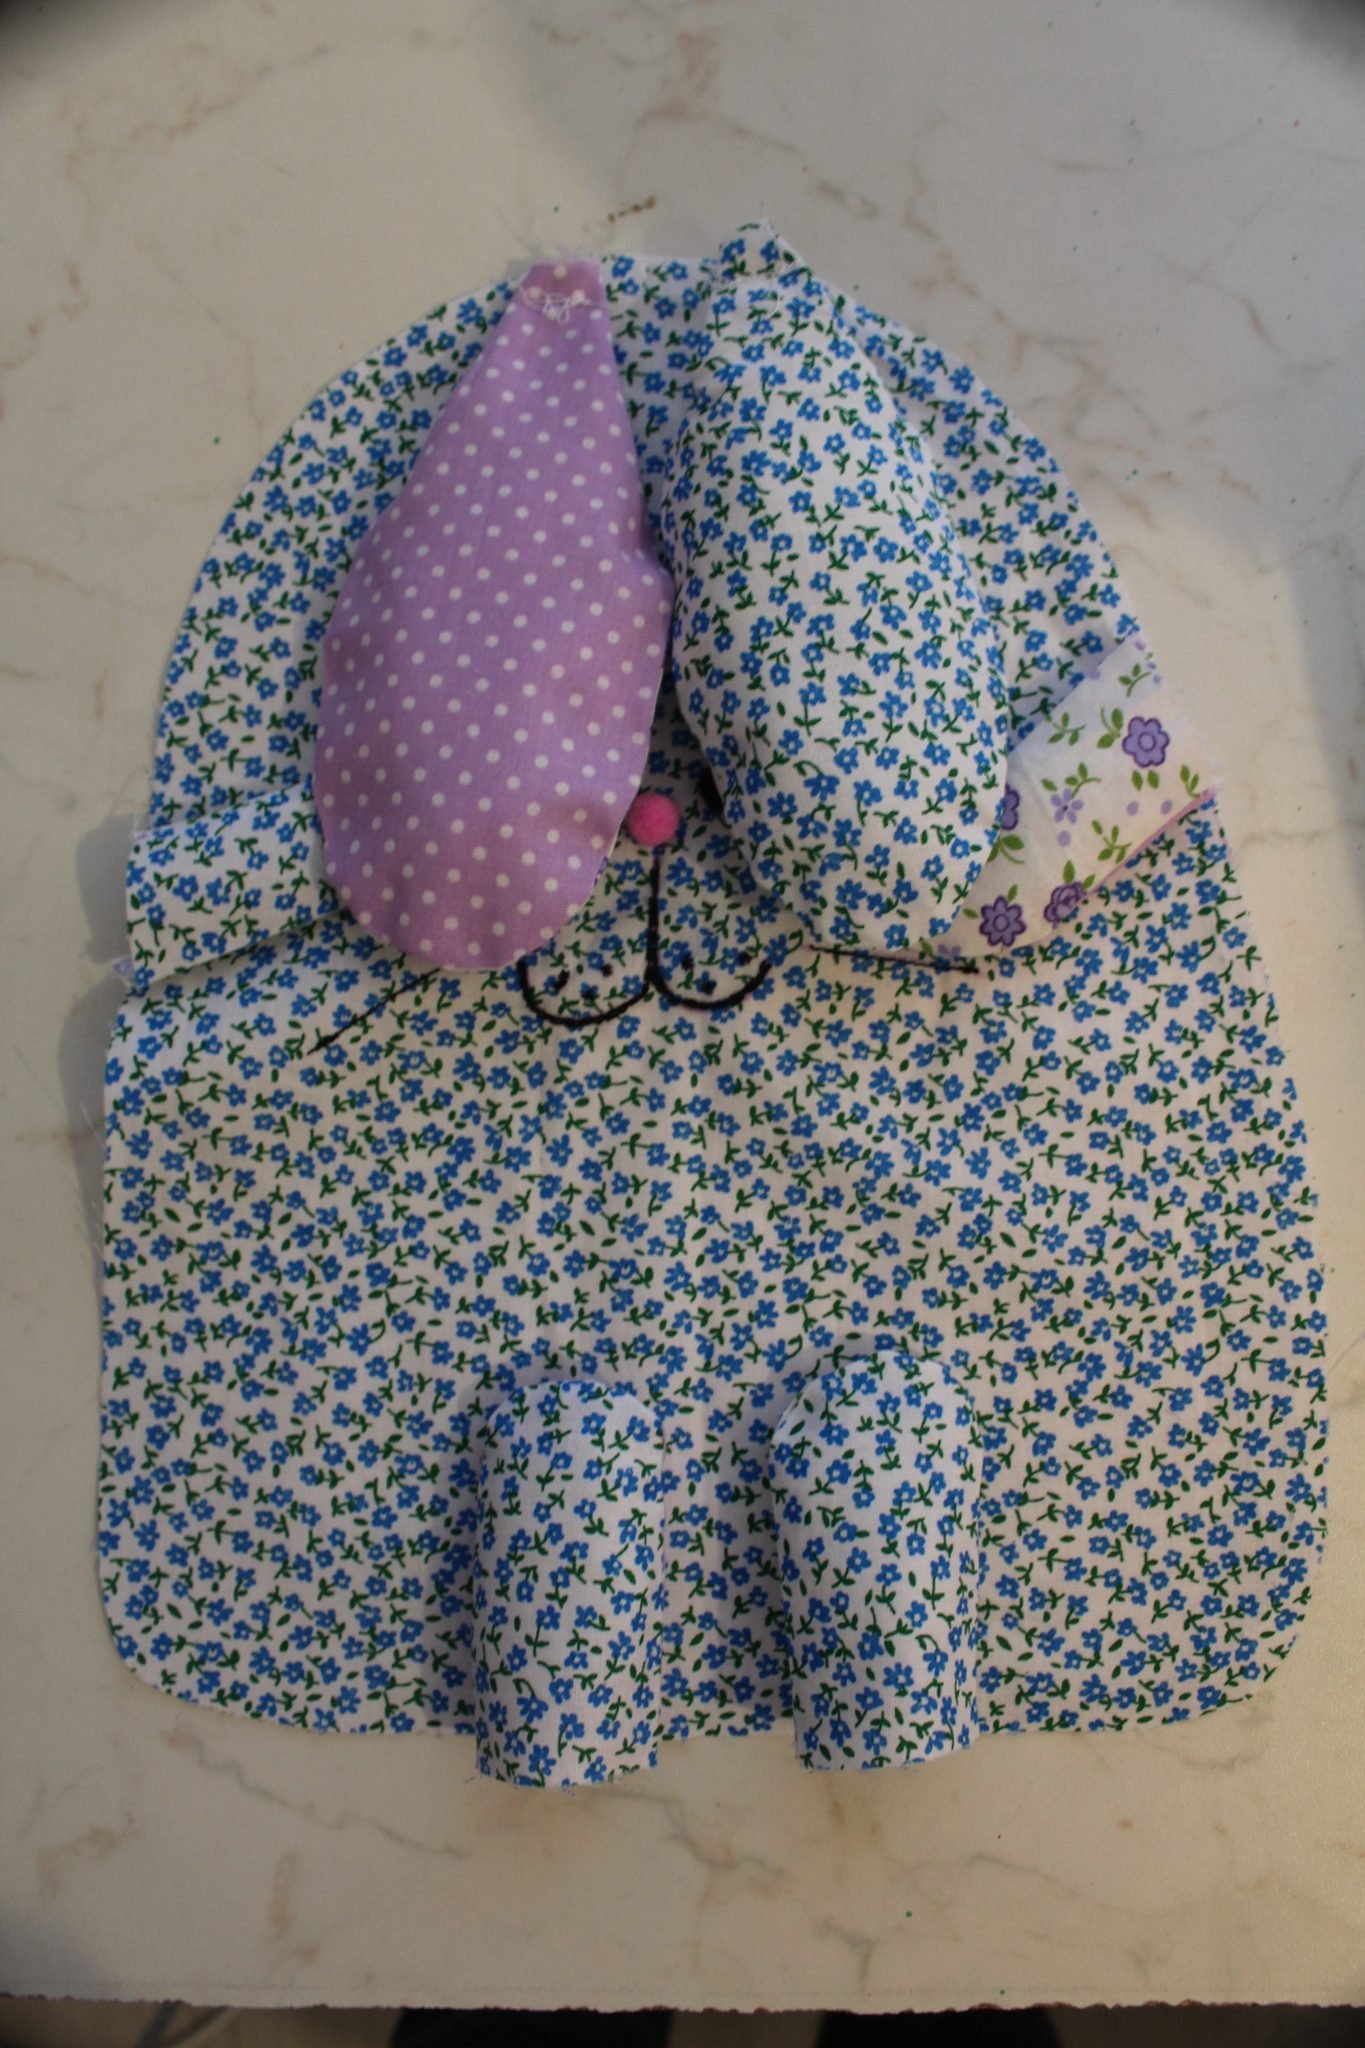
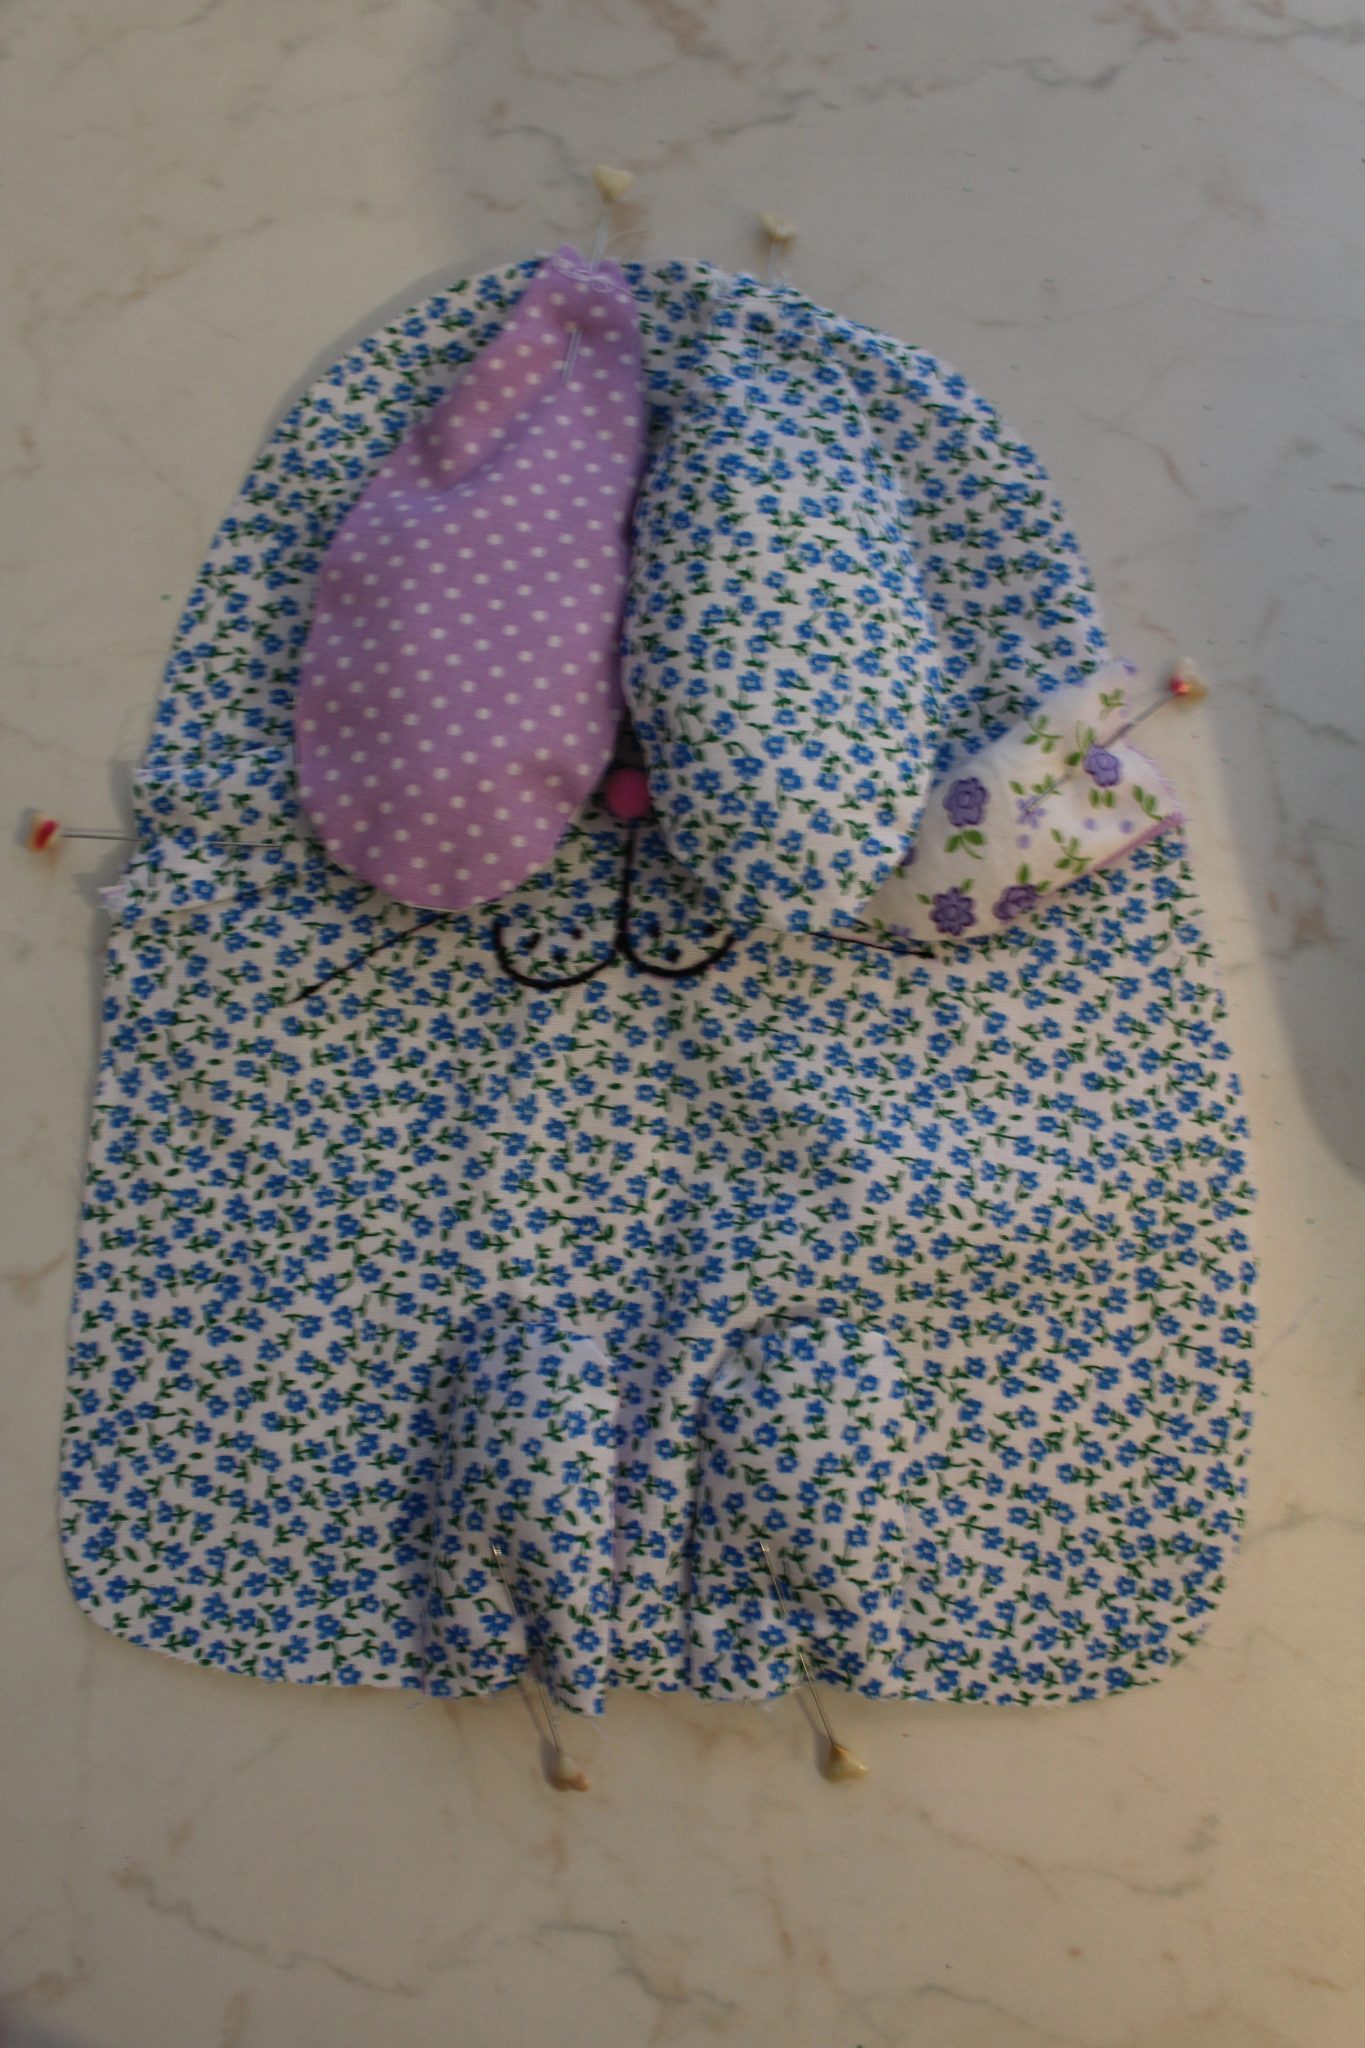
- Place the back body piece over and pin to the front piece.
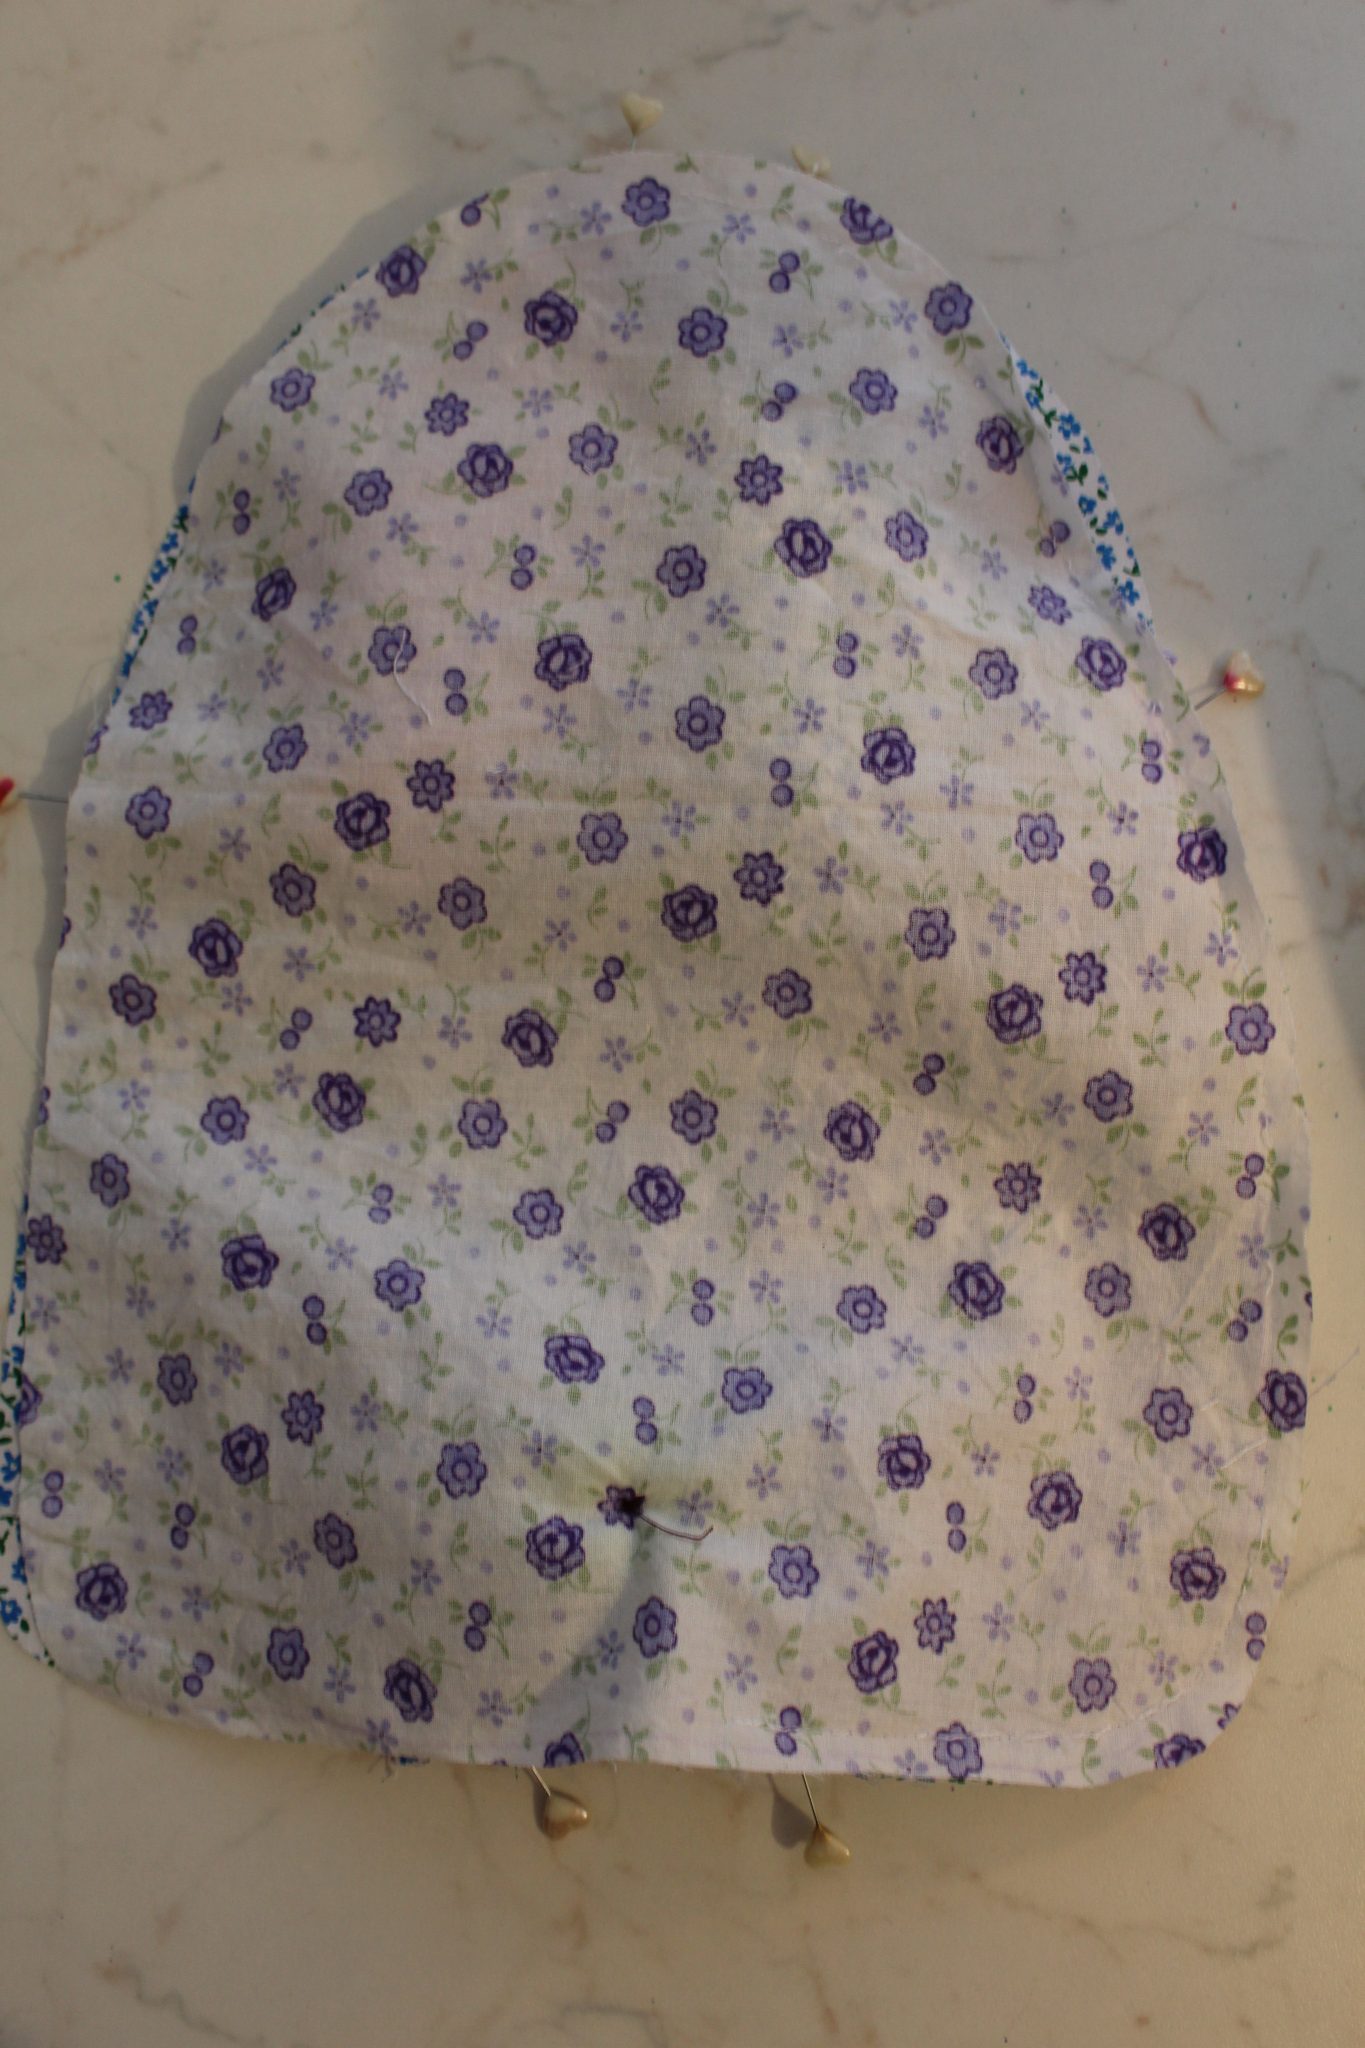
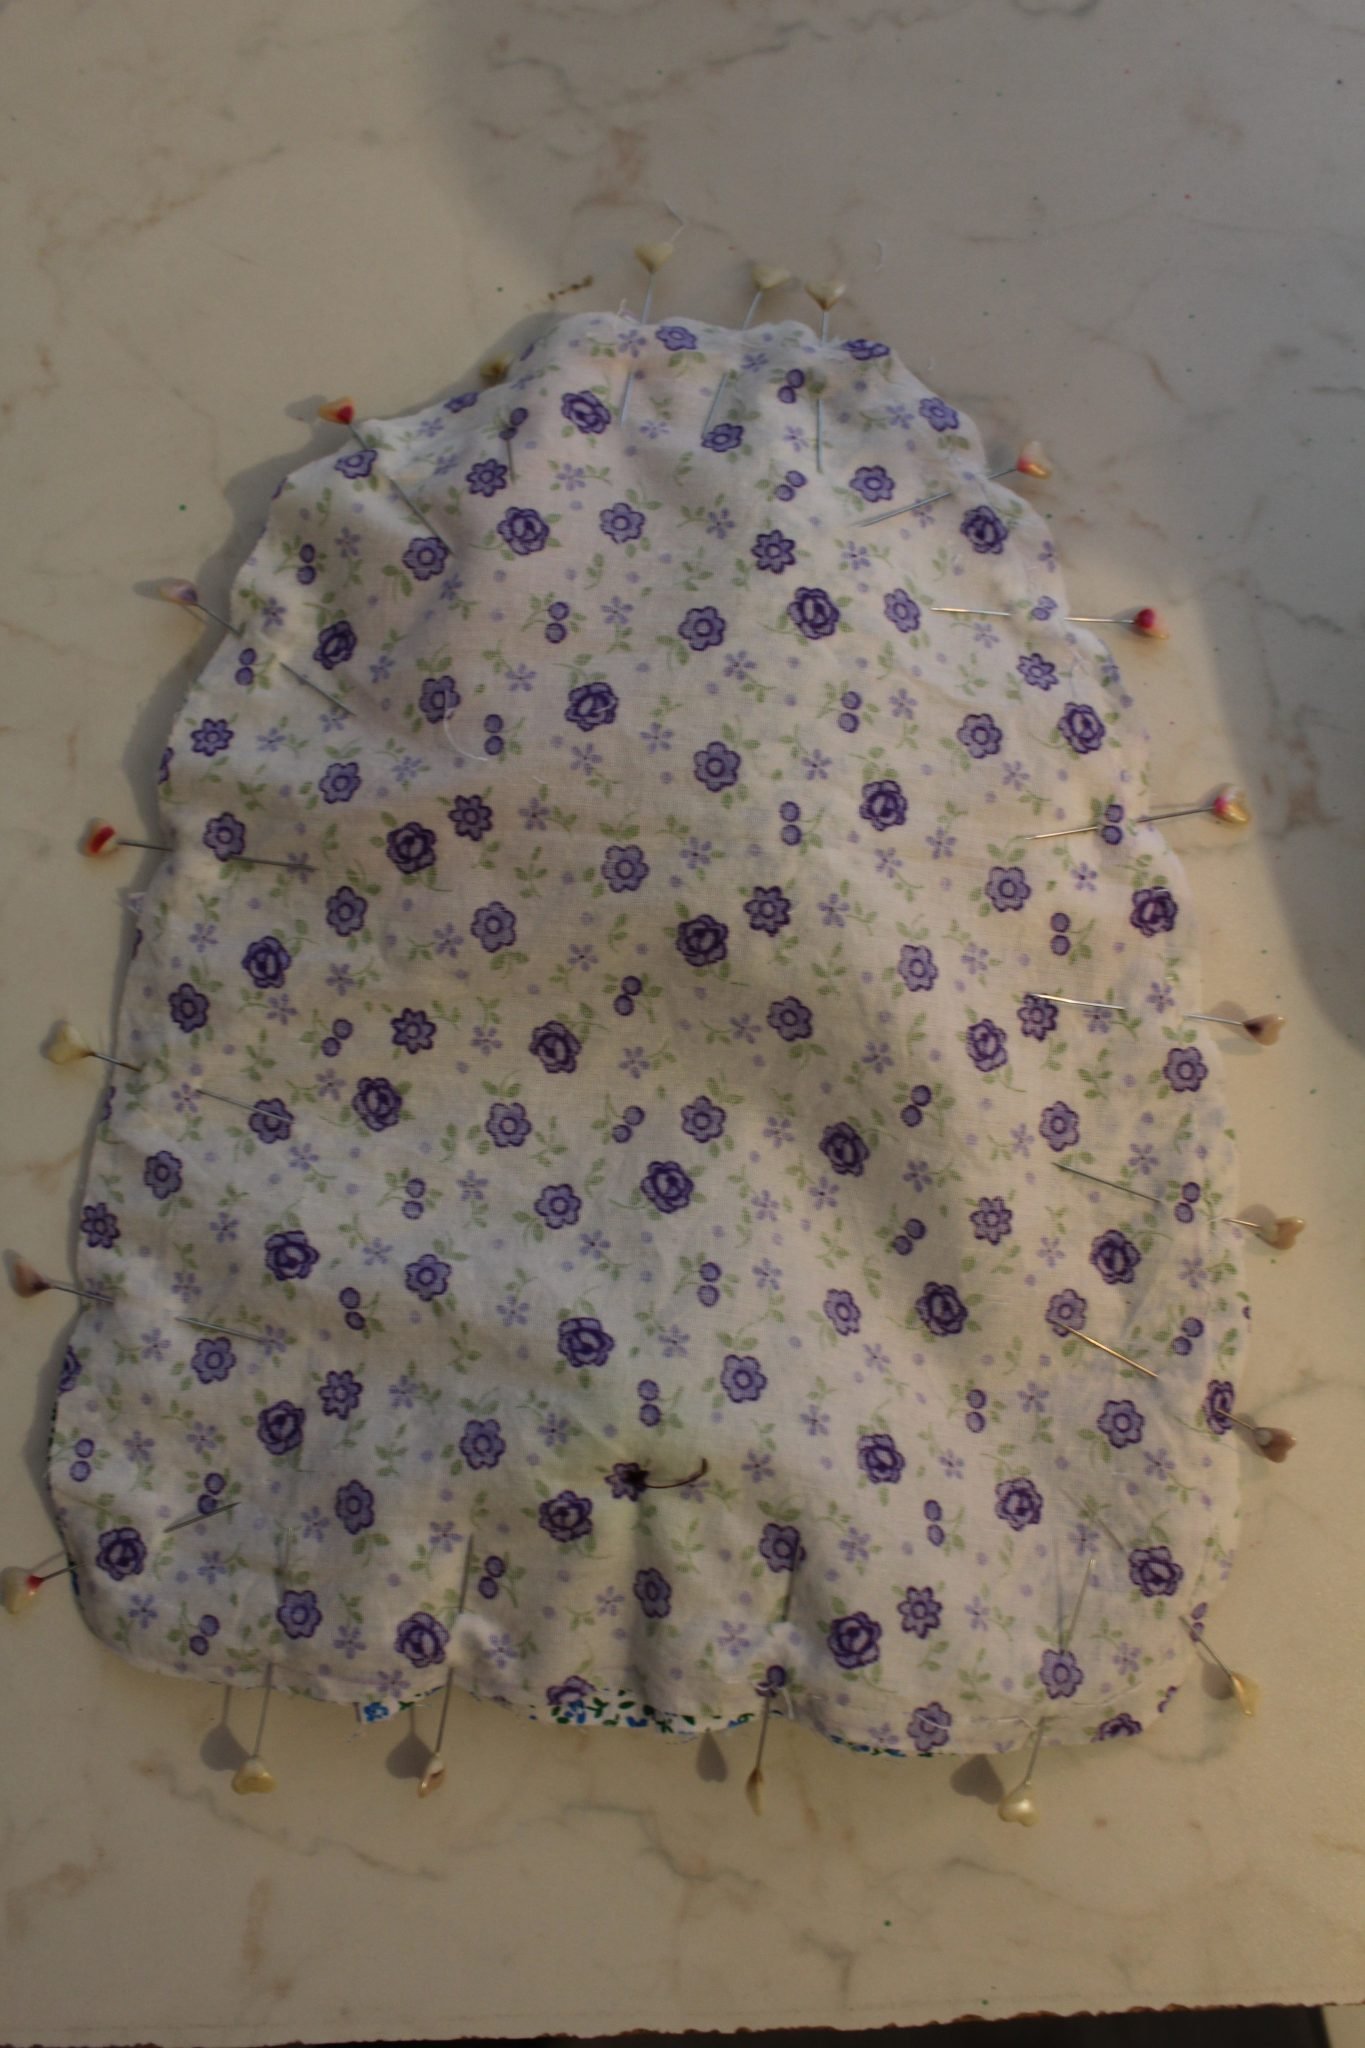
- Push the ears up about 1/4″. If you want the ears to appear of different sizes, push one of them up a little more.
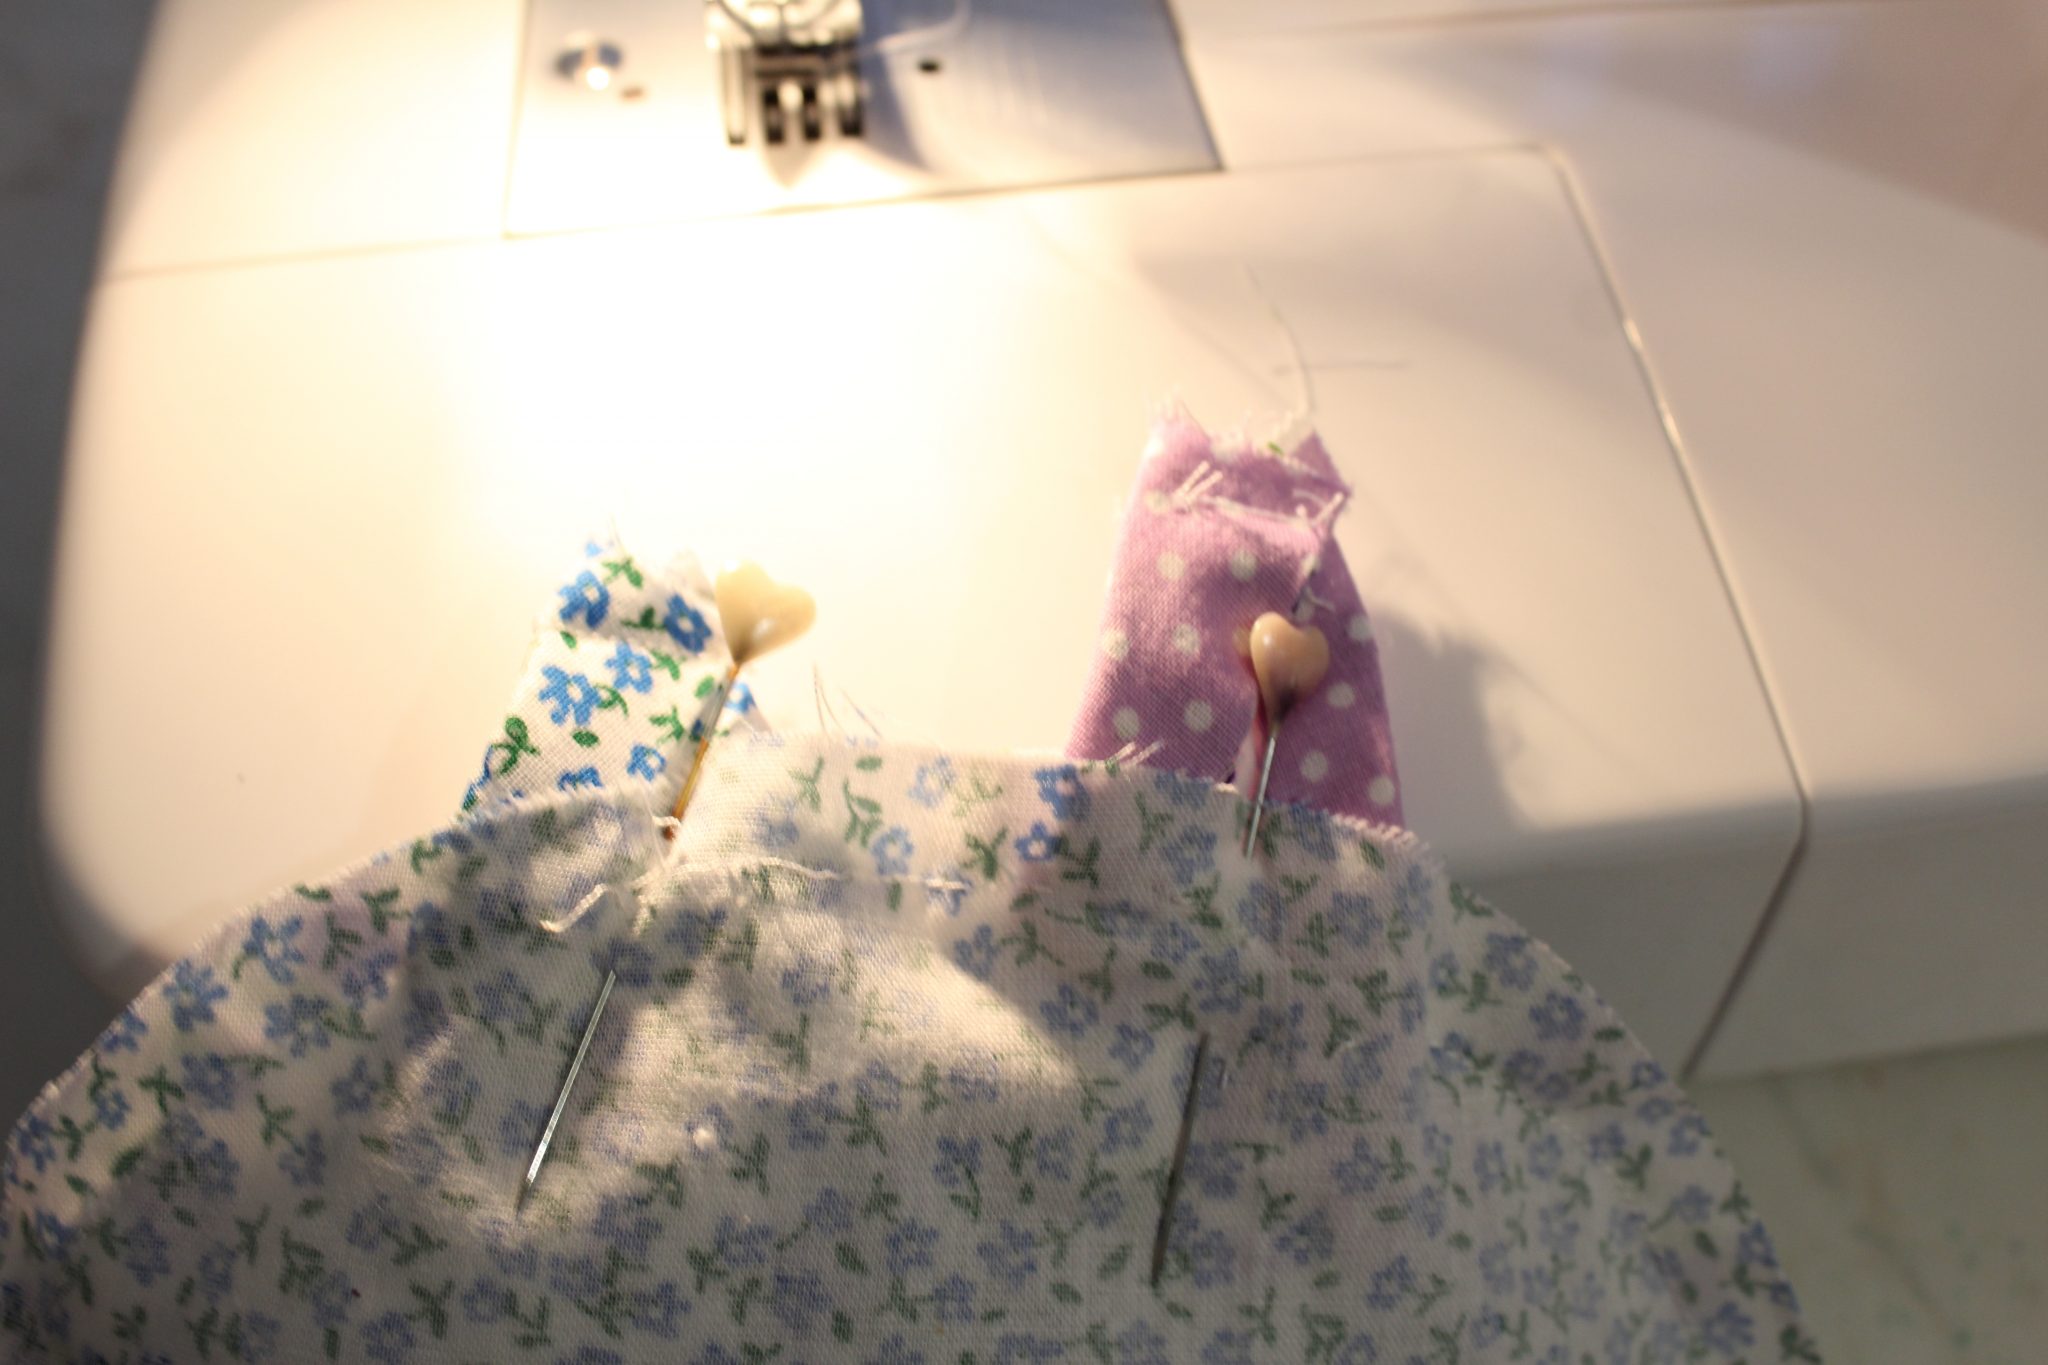
- Sew the pieces together using a 1/4″ allowance, leaving a gap in the side of the bunny.
Finishing the bunny
- Turn the bunny right side out and fold the gap in 1/4″ then press well.
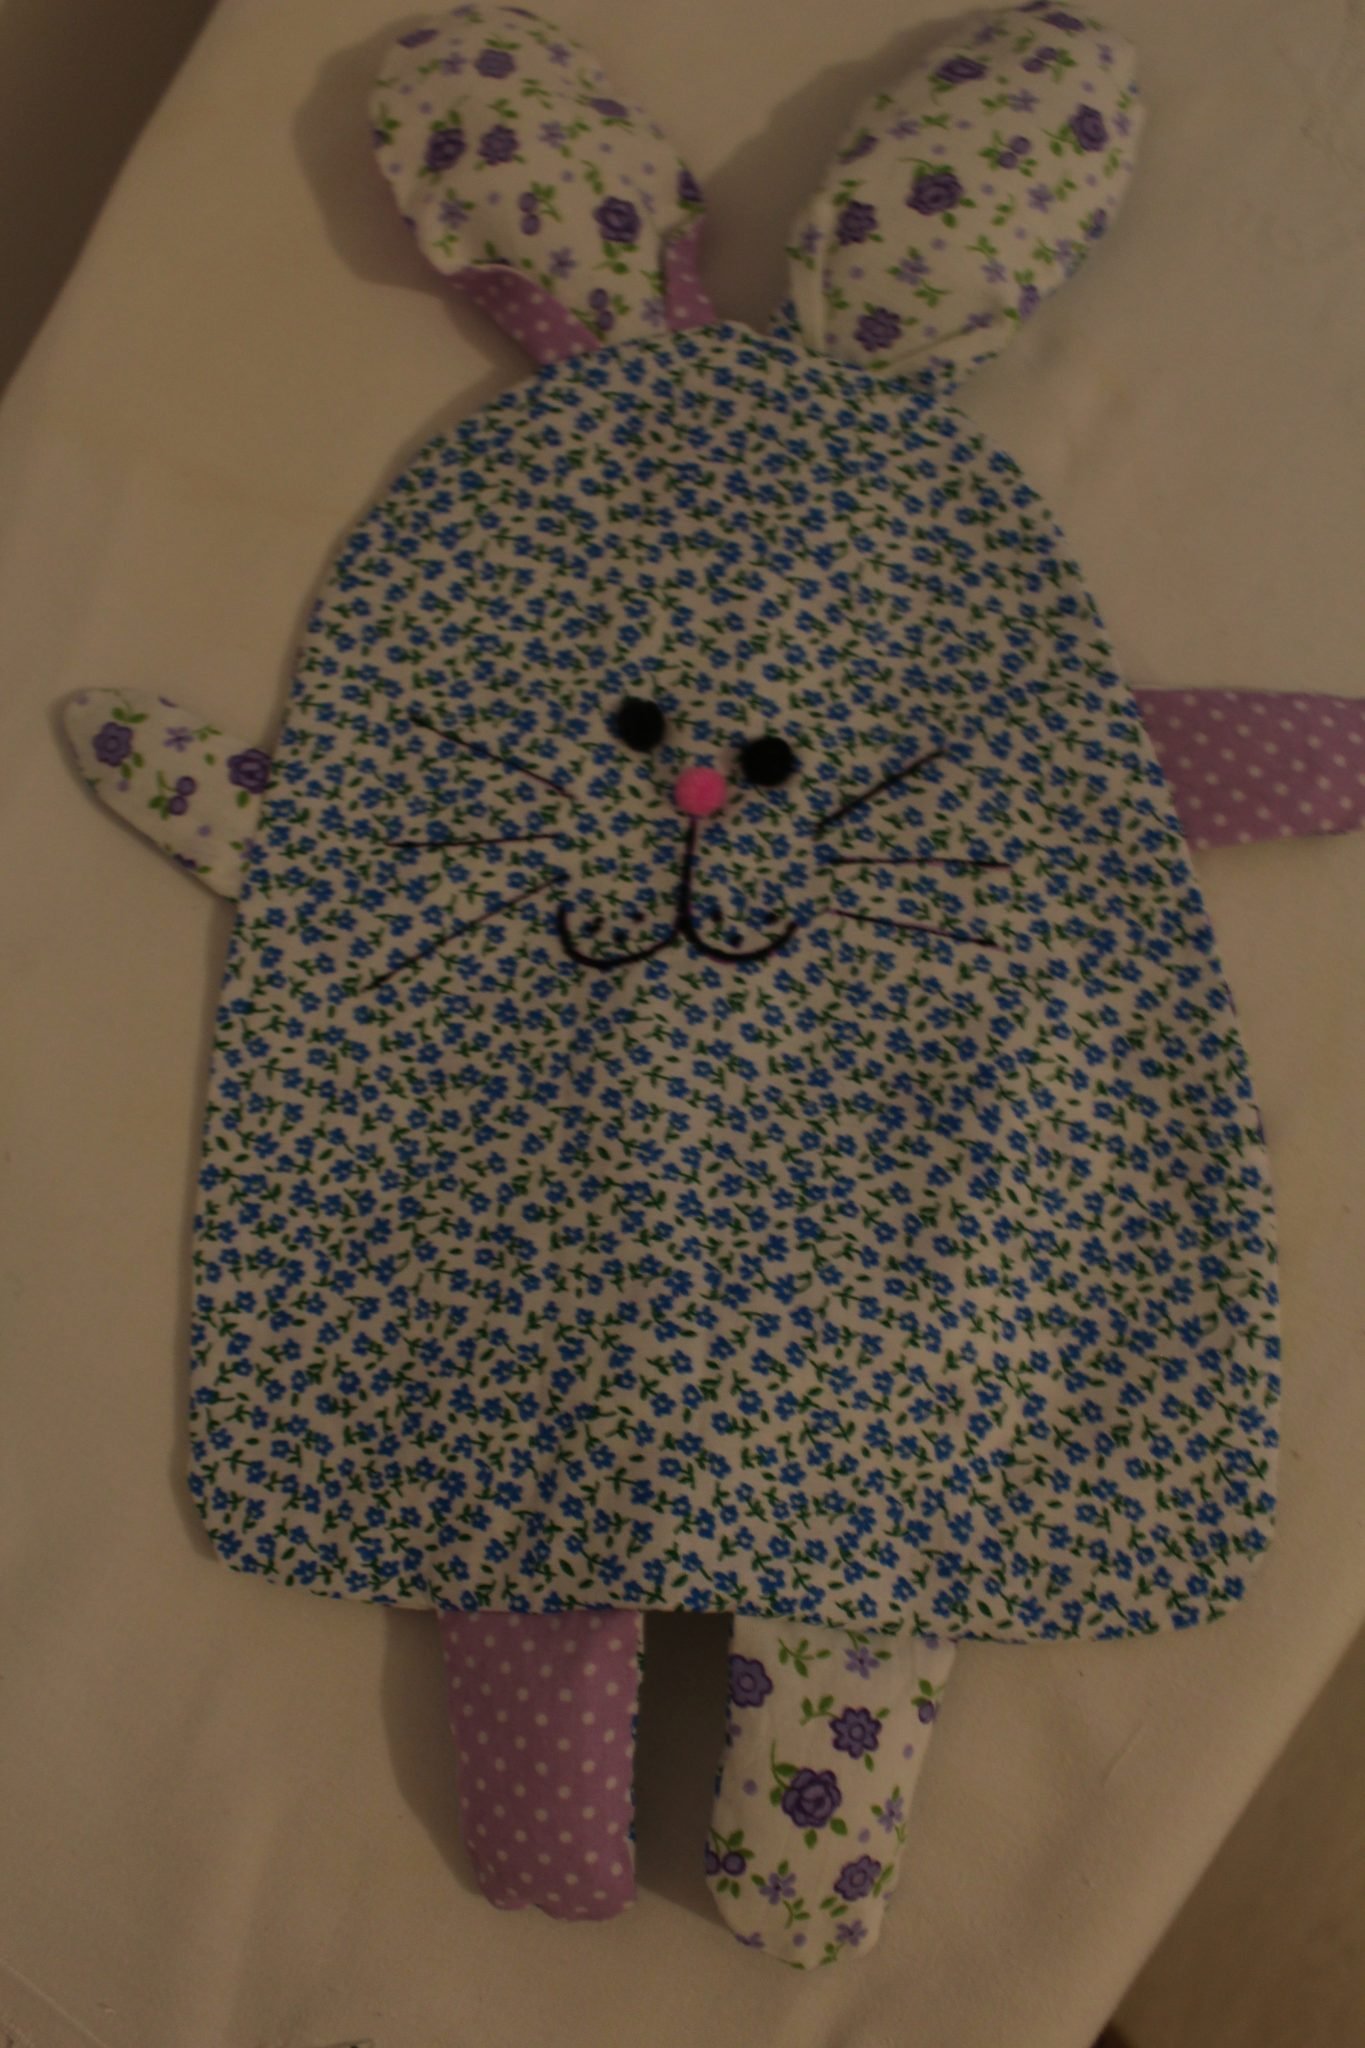
- Fill bunny with poly fill through the gap.
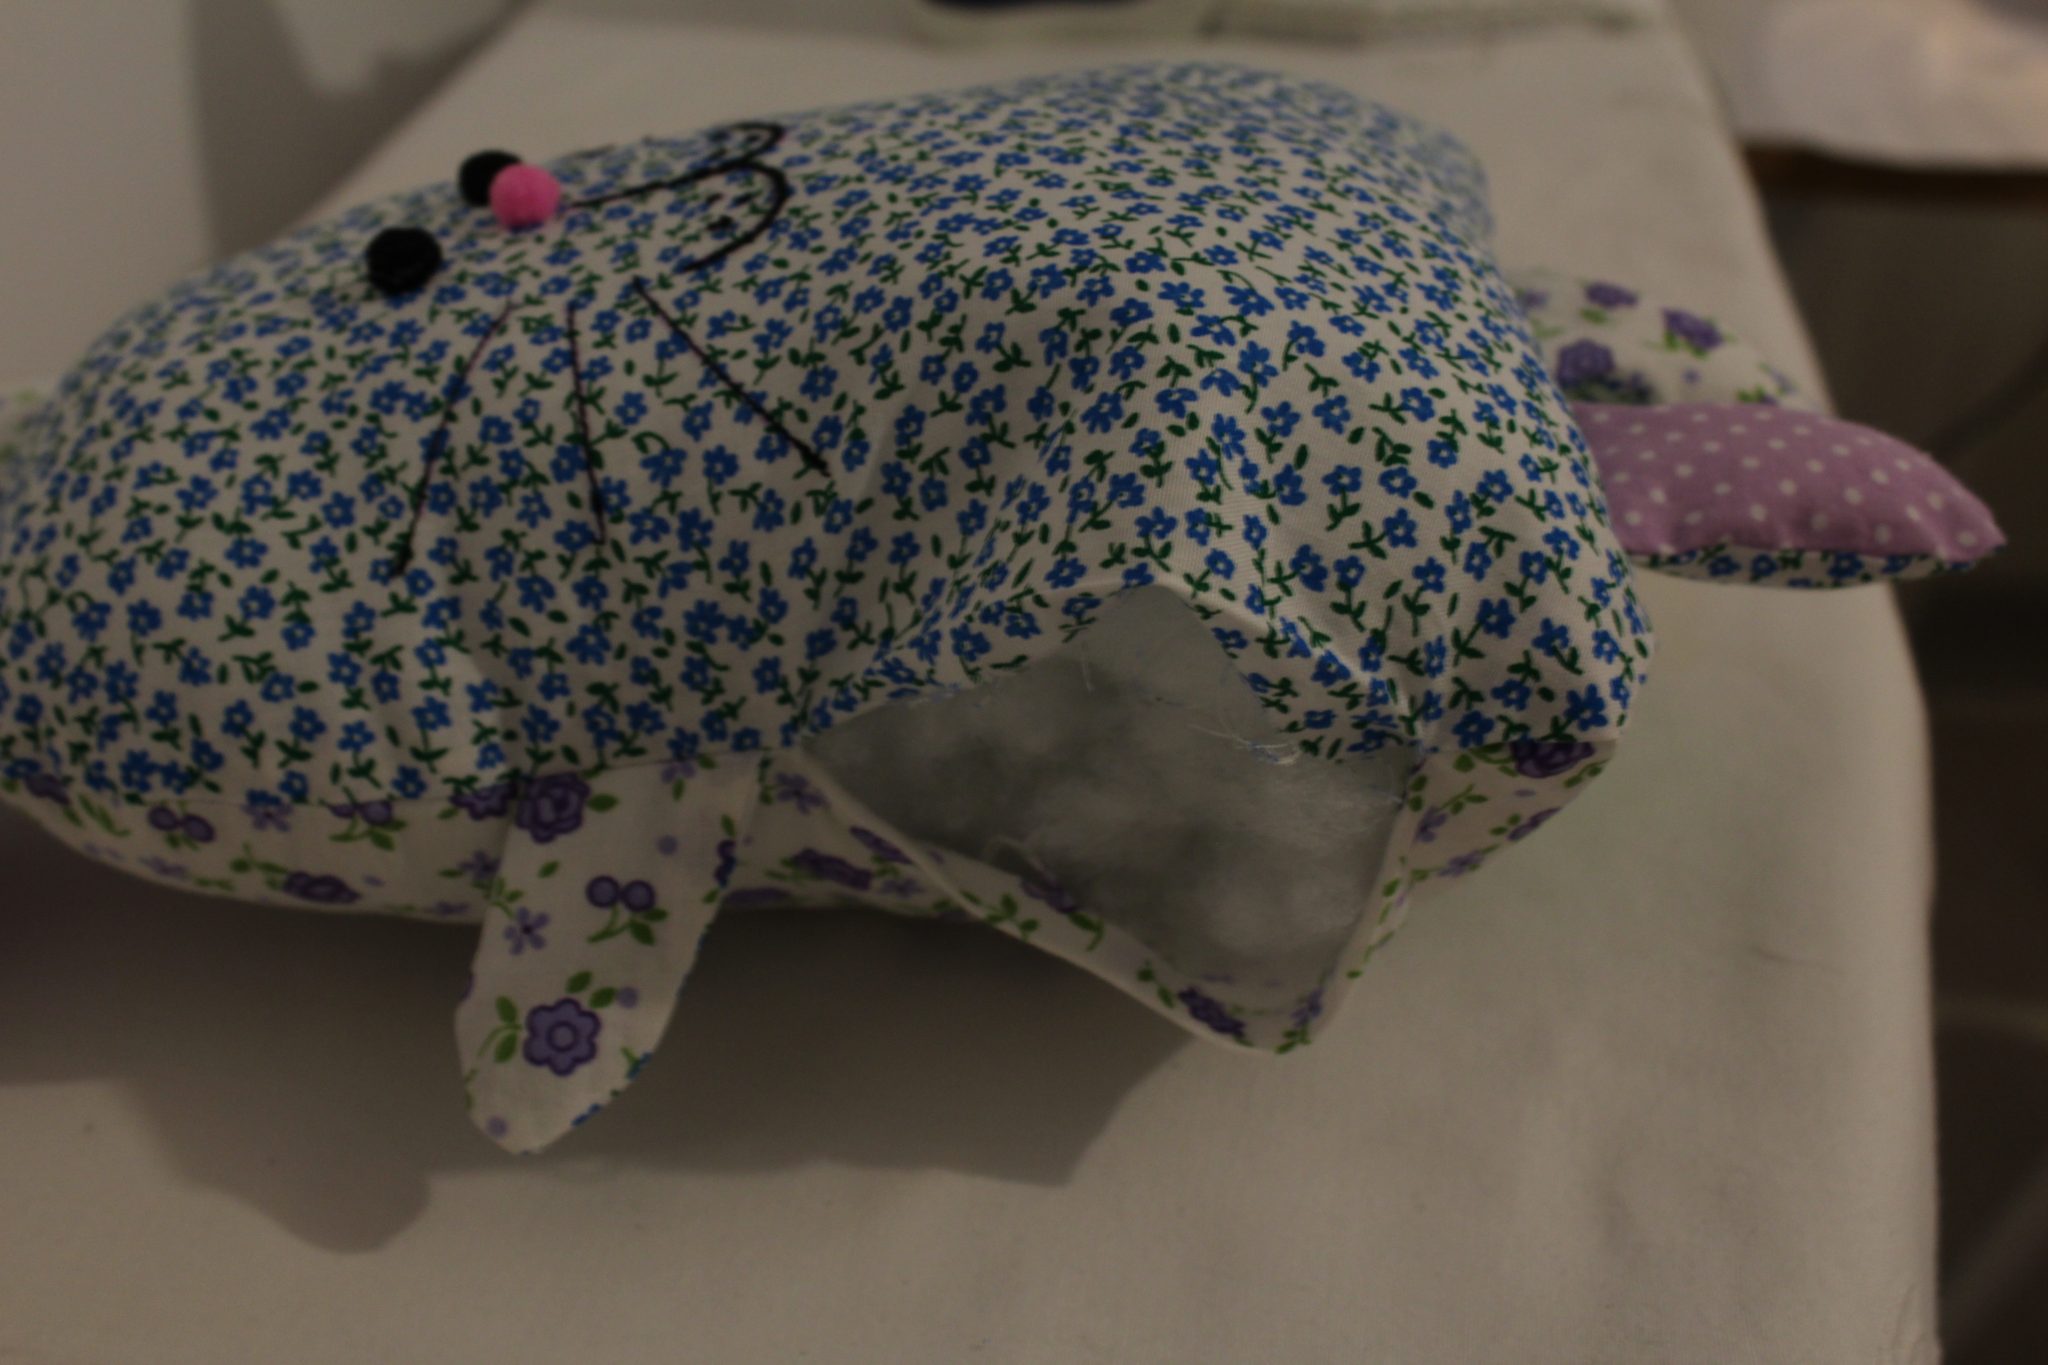
- Close the gap with a ladder stitch and admire your stunning bunny pillow!
If you liked this tutorial I”d love to know about it so please leave a comment below. Thanks!
Pin to save for later
Most popular sewing projects:
Article may contain Amazon & affiliate links. As an Amazon Associate I earn from qualifying purchases at no additional cost to you.


Can you please tell me the size of the bunny? Would I be able to size it down if necessary?
Hi, Anne. The finished size is about 11″ by 9″ and the template is easy to size down or up.
So lovely am going to try make this for my Granddaughters. Thank you. x
This is so cute! Love it!
Thanks, Ruby!
I have looked in your files and can not find the pattern for the bunny pillow. Can you point me in the right direction?
Thanks!!
Hi Faith. I just checked and the pattern is there right after the bunny sleeping mask.