Cross Back Dress Sewing Tutorial
Sexy but low key, comfortable to wear and easy to sew, this cross back dress is a show stopper! This is more of a crossed straps dress and is so simple to make even beginners will love this project!
Criss cross back dress
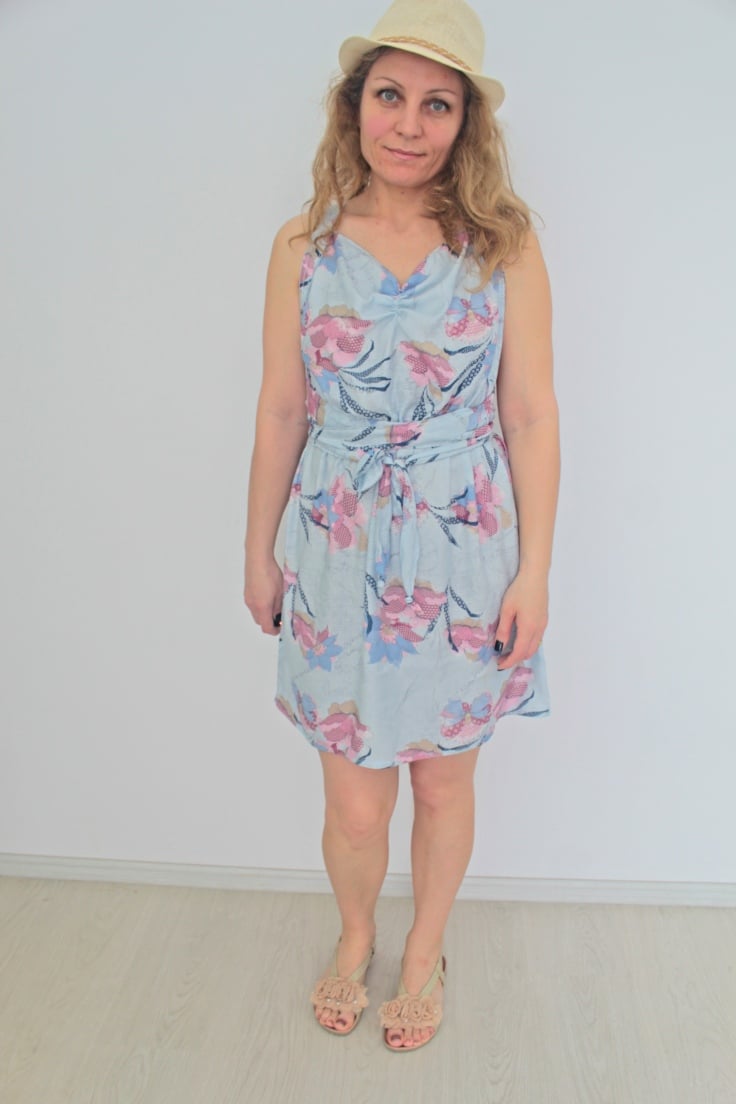
I’ve been wanting to make this cross back dress for a while now, I think it’s been a year since I bought the fabric. But to be honest I had a hard time figuring out how to make this DIY cross back dress as simple as possible. I also wanted anyone to be able to make a pattern for their own body shape and size and all these took time.
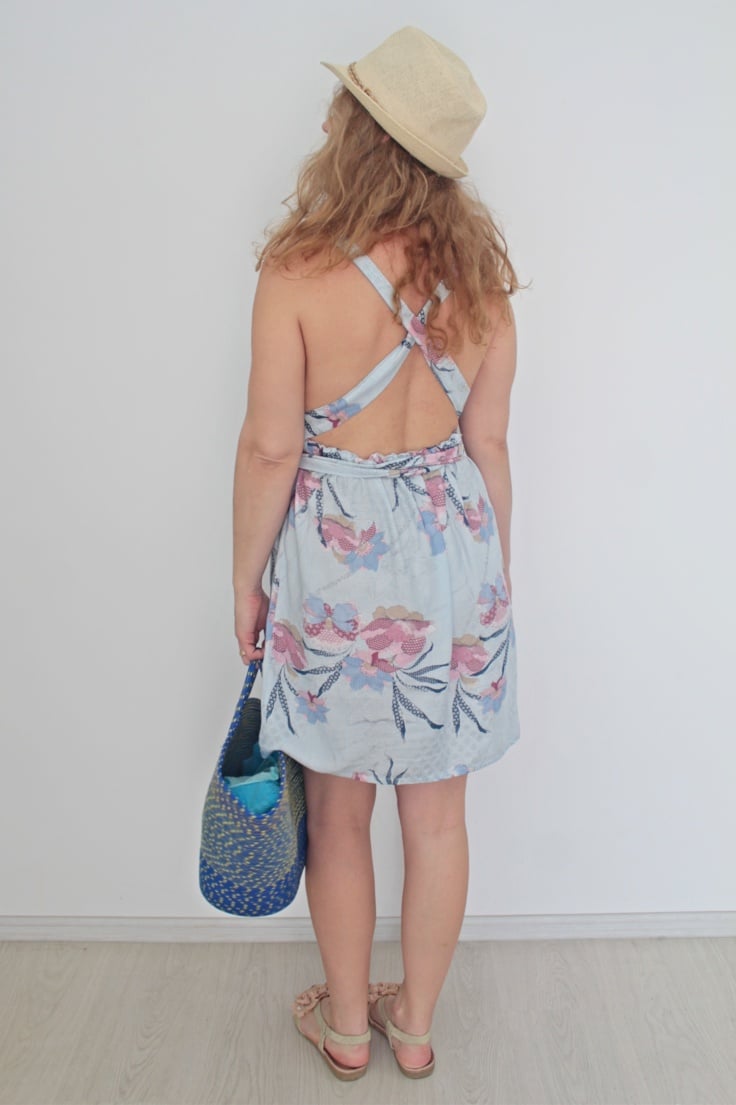
But the cross back dress is finally here and I have good news: it’s as easy as it gets! This simple dress is suitable for sewers of all level and even beginners will find joy in making this dress. With the easy instructions in the cross back dress tutorial below you will be able to make your own cross back dress pattern in the size and length you need. Sewing the cross back dress will probably take a beginner about two hours as soon as the pattern is done and the dress pieces are cut. If you’re an experienced sewer it should not take you more than one hour so yay!
Want more ideas for women’s clothes?
- How to make your own dress pattern
- V neck dress pattern with sleeves
- How to sew a v neck
- Gathered waist summer dress
- Knit dress with pockets
- Shirred top dress tutorial
- DIY layered tulle skirt
- A comprehensive guide to different types of dresses
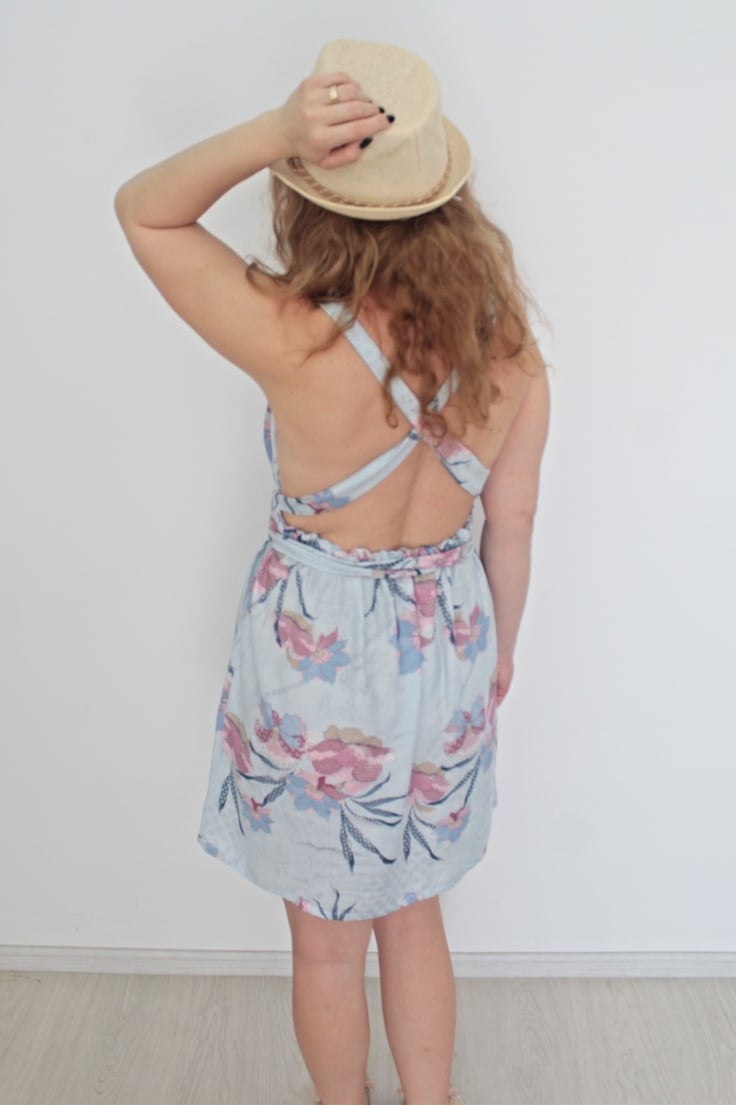
In all fairness this is not a cross back dress per se, it’s more of a crossed straps dress which makes it even easier to sew and wear! I love that this dress looks sexy but not too much! Although the crossed straps don’t cover too much of the back I think their simple presence there makes the sexiness a little less wild don’t you think?
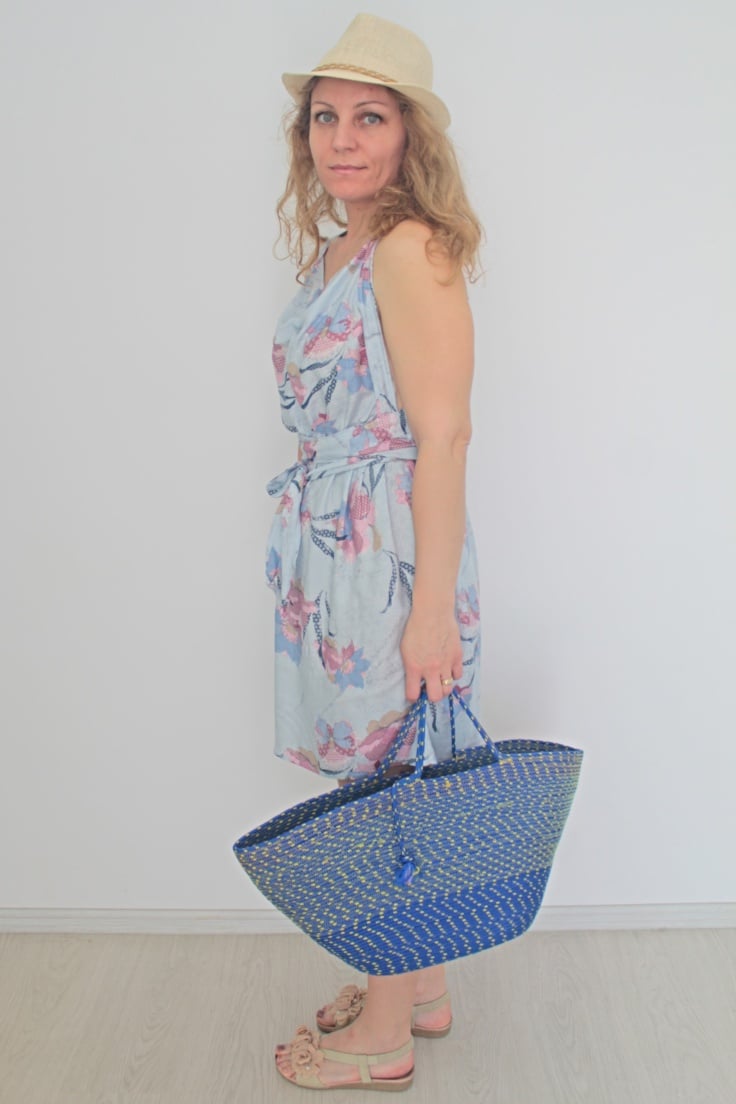
Wearing this dress is also a breeze as tying the straps in a criss cross at the back is super easy and keeps the dress in place quite nicely. The dress is also very comfortable to wear and it’s the perfect dress to wear as an every day dress or as a beach dress in summer days. Make it in a right fabric and I can totally see this cross back dress suitable for formal events too!
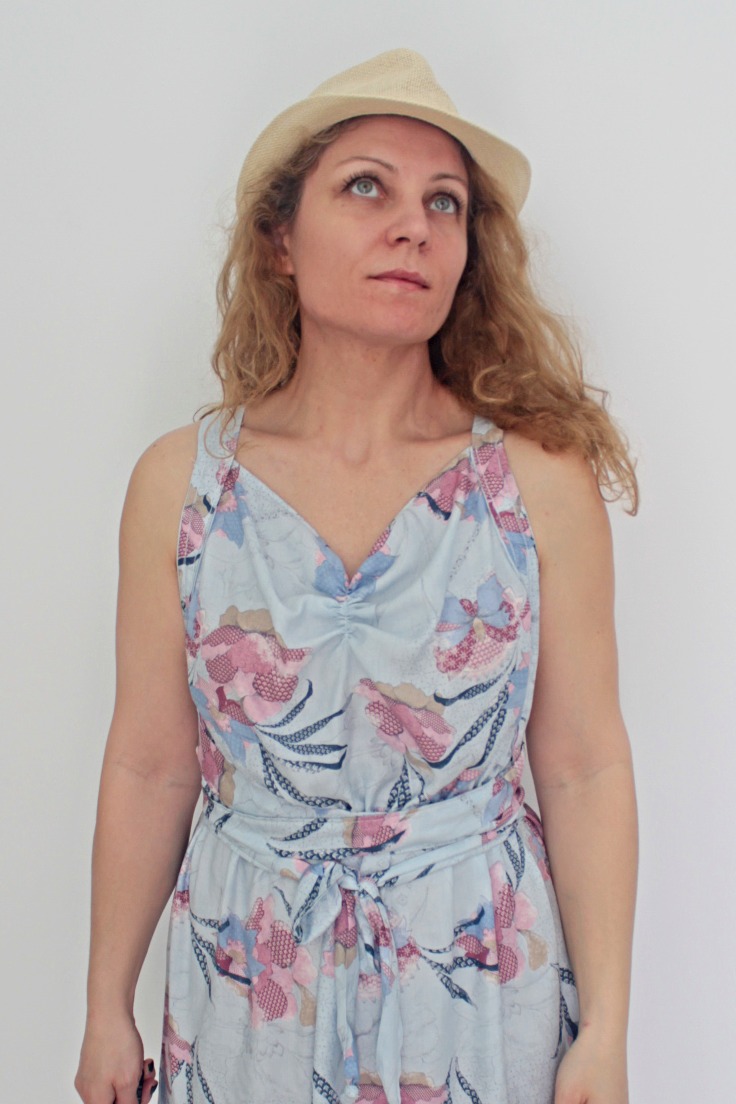
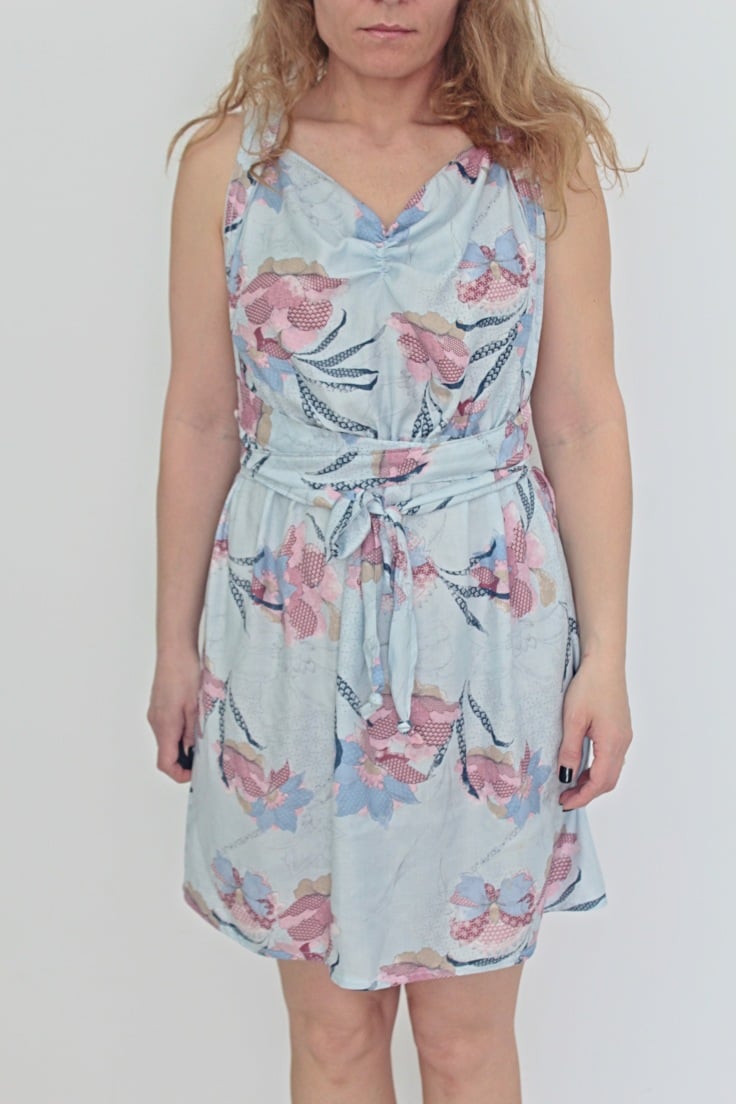
Just as a side note: I chose to ruffle de neckline as I’m a bit challenged in the bust department and I felt like adding a bit of volume will help the dress look nicer. If you’re more blessed in this area, you may want to skip the ruffling part. Try your dress on before ruffling to see how the neckline falls and if you’re not happy then run a short ruffle right through the middle of the neckline.
Cross back dress
Materials:
- fabric (I used rayon so my dress if pretty flowy but linen works good too)
- large paper to draw the pattern
- pencil
- yardstick
- fabric pen
- scissors
- elastic
- safety pin
- pressing iron
Directions:
- Take your hip measurements (or the widest area in your lower body) and measure front armpit to front armpit.
- Then make the pattern as indicated in the photo below.
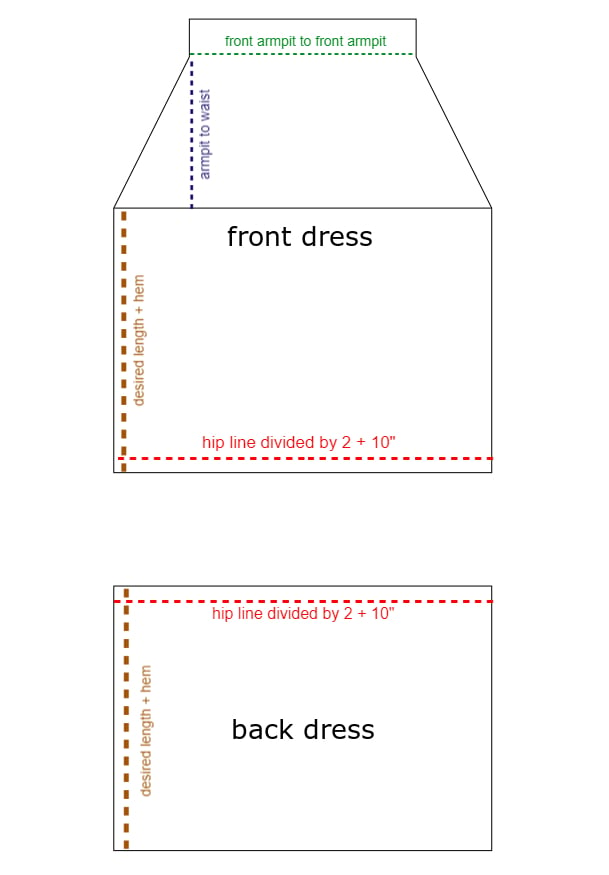
- There’s no need to waste so much paper to make both the front and back dress pattern. Use the front dress pattern to cut out the front panel of your dress.
- Then fold the pattern (the bust folded over the skirt) and use the remained skirt pattern to cut the back piece of the dress (which is basically a skirt).
- Serge or zig zag the top of the front dress.
- Press the top in about 1/4″ and sew with 1/8″ allowance.
- Another alternative for finishing the top of the front dress is to do a rolled or narrow hem if you’re using lightweight fabric.
- Cut two long straps about 6 ft long and 2,5″ wide.
- Fold the straps in half and press.
- Fold the edges inside about 1/4″ and press
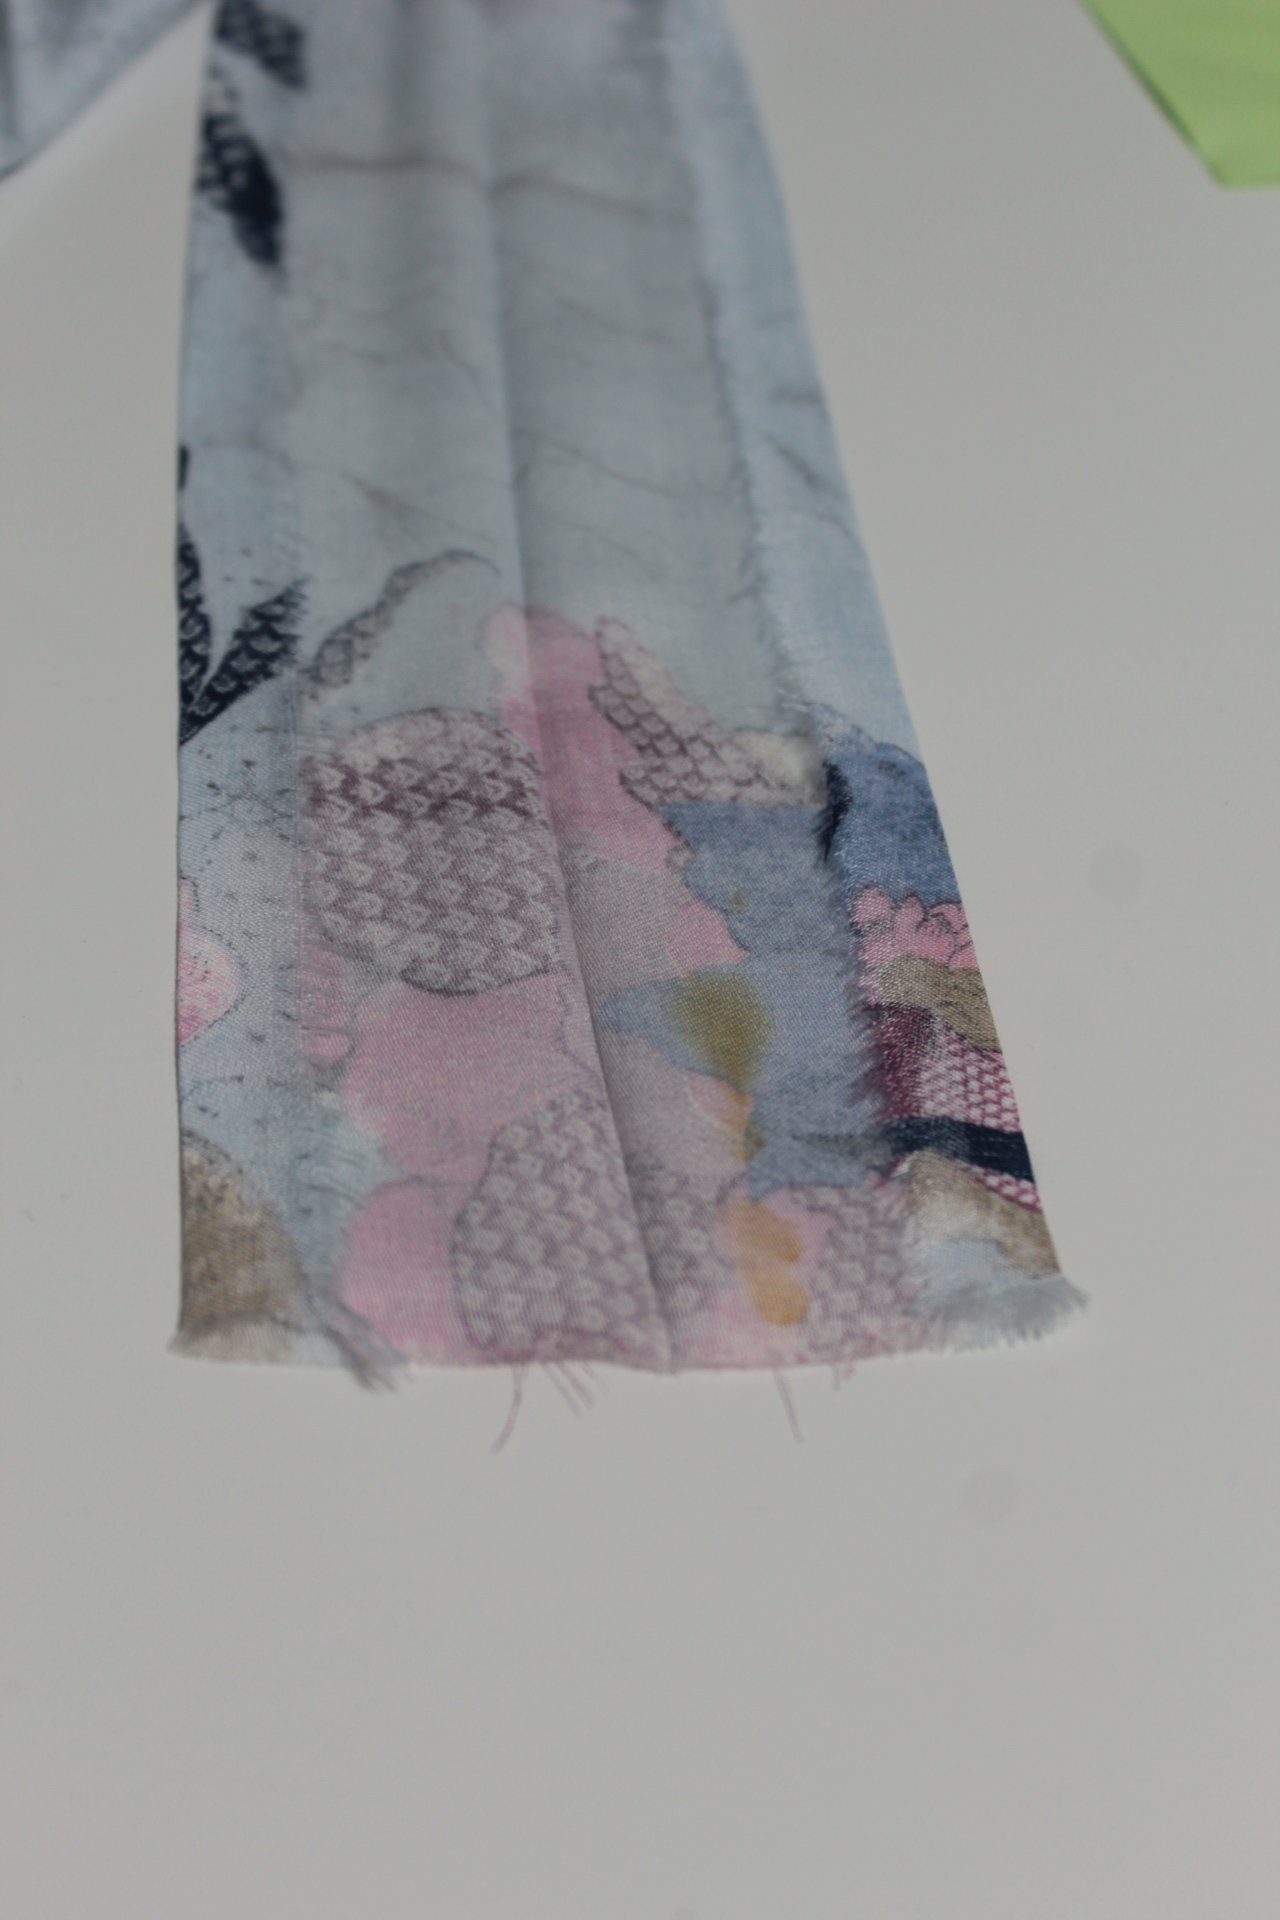
- Place the front dress wrong side up and then pin the straps to the sides starting 1/2″ below the waistline and going upwards.
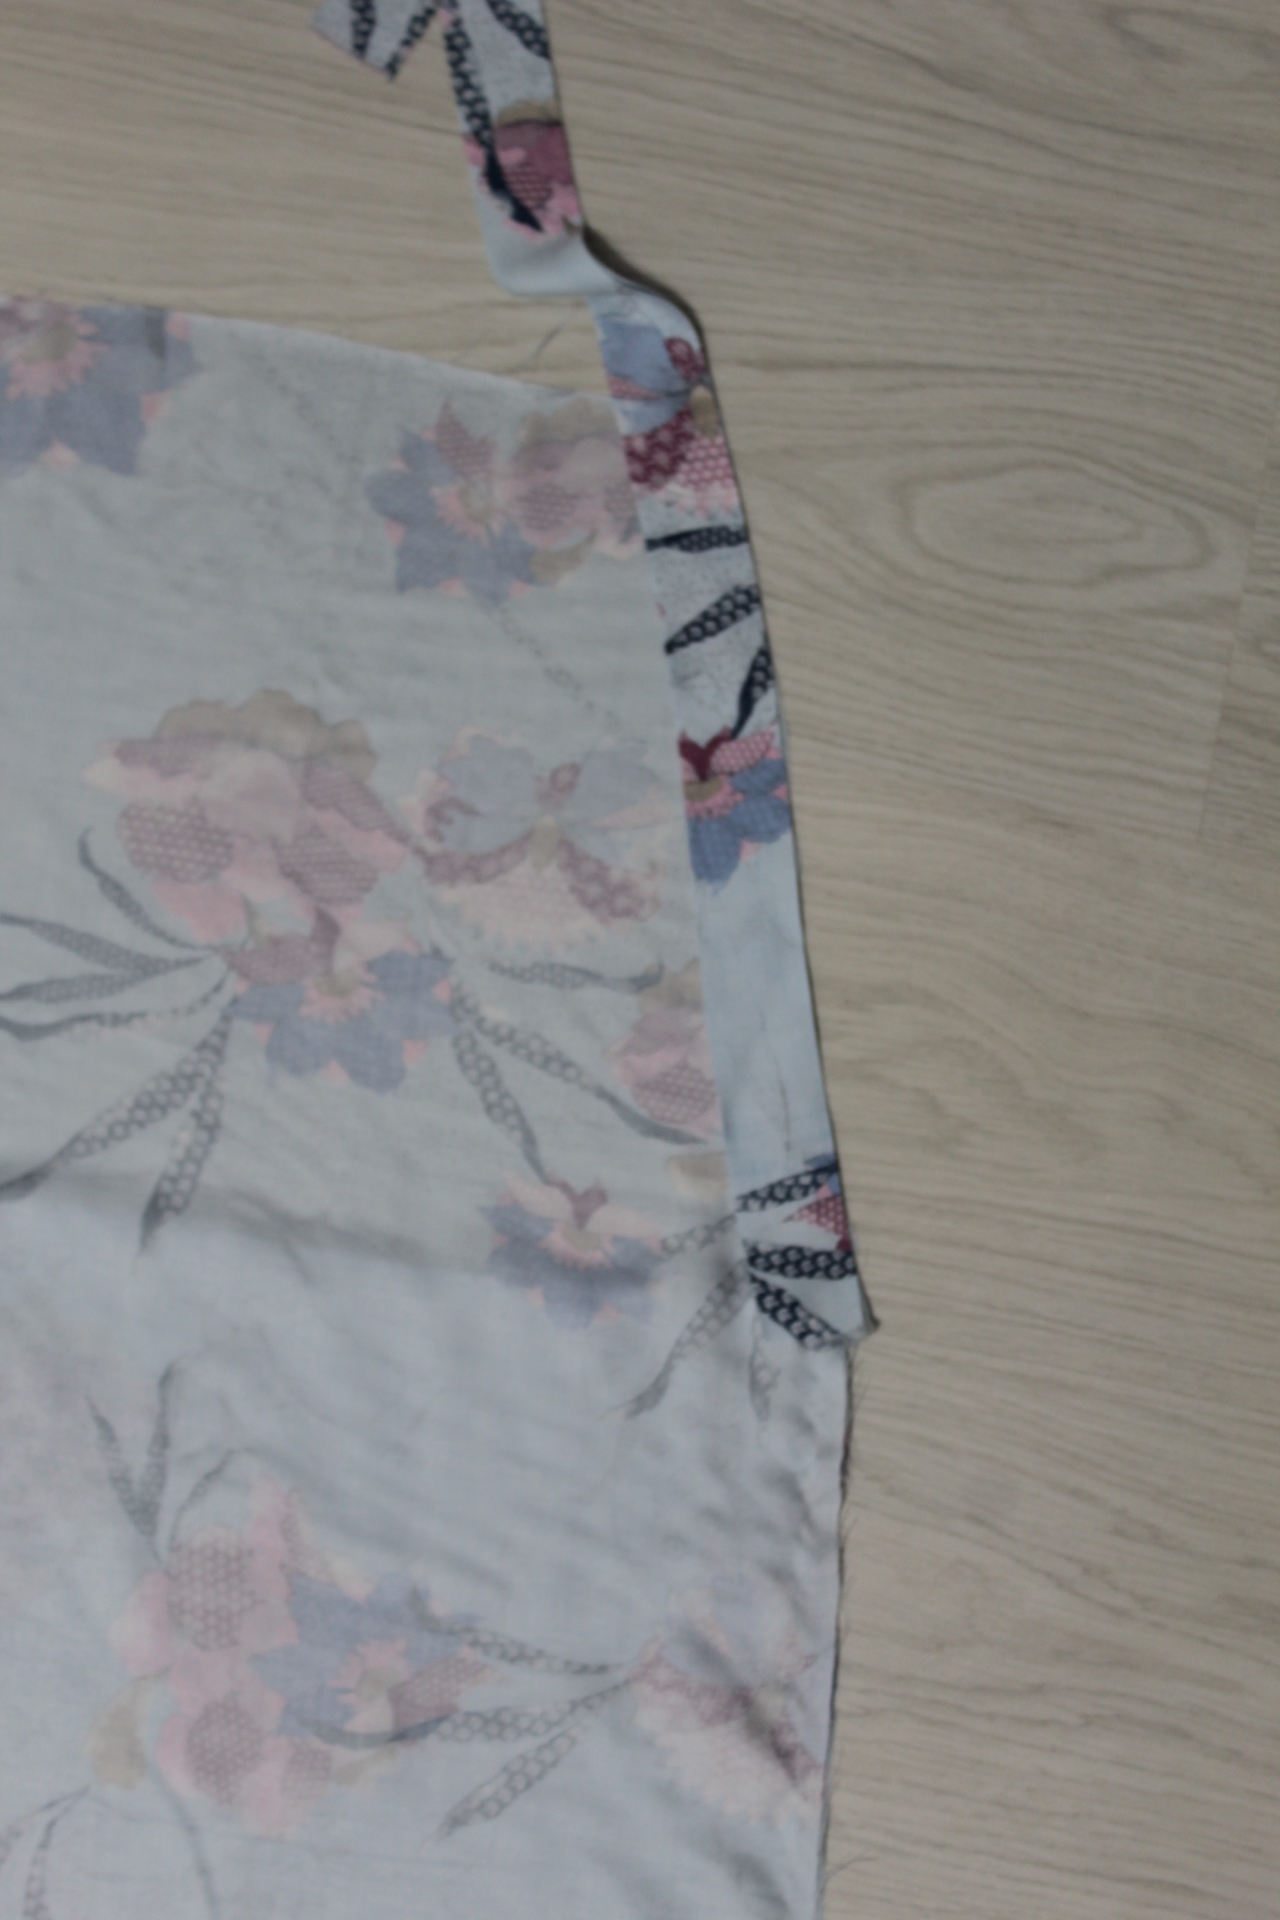
- Sew the straps to the front dress using a 1/2″ allowance.
- When you get to the end of the dress (the top) continue sewing so you sew the straps closed.
- Fold the straps to the right side of the dress pin and sew about 1/8″ away from the edge.
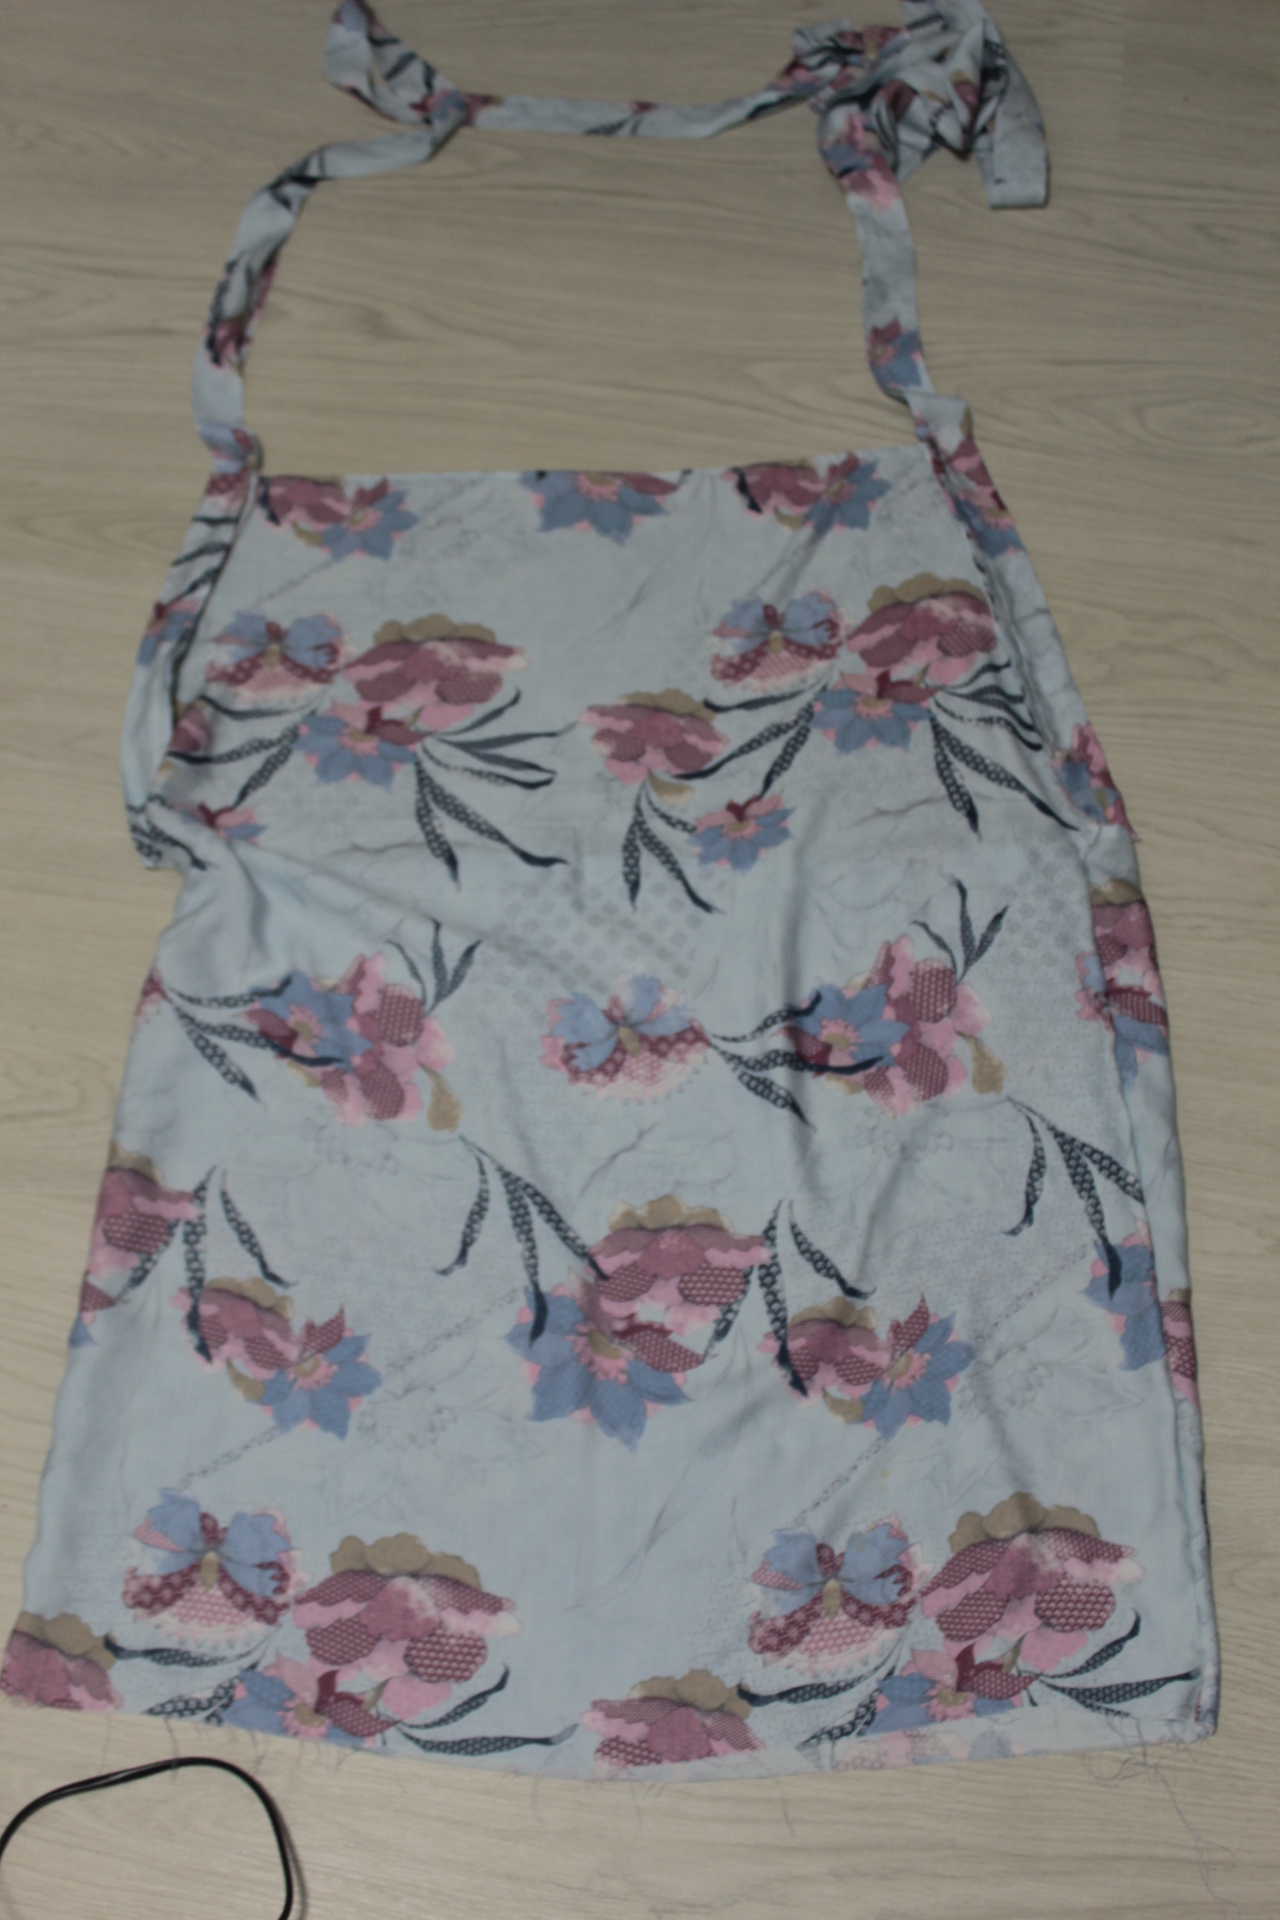
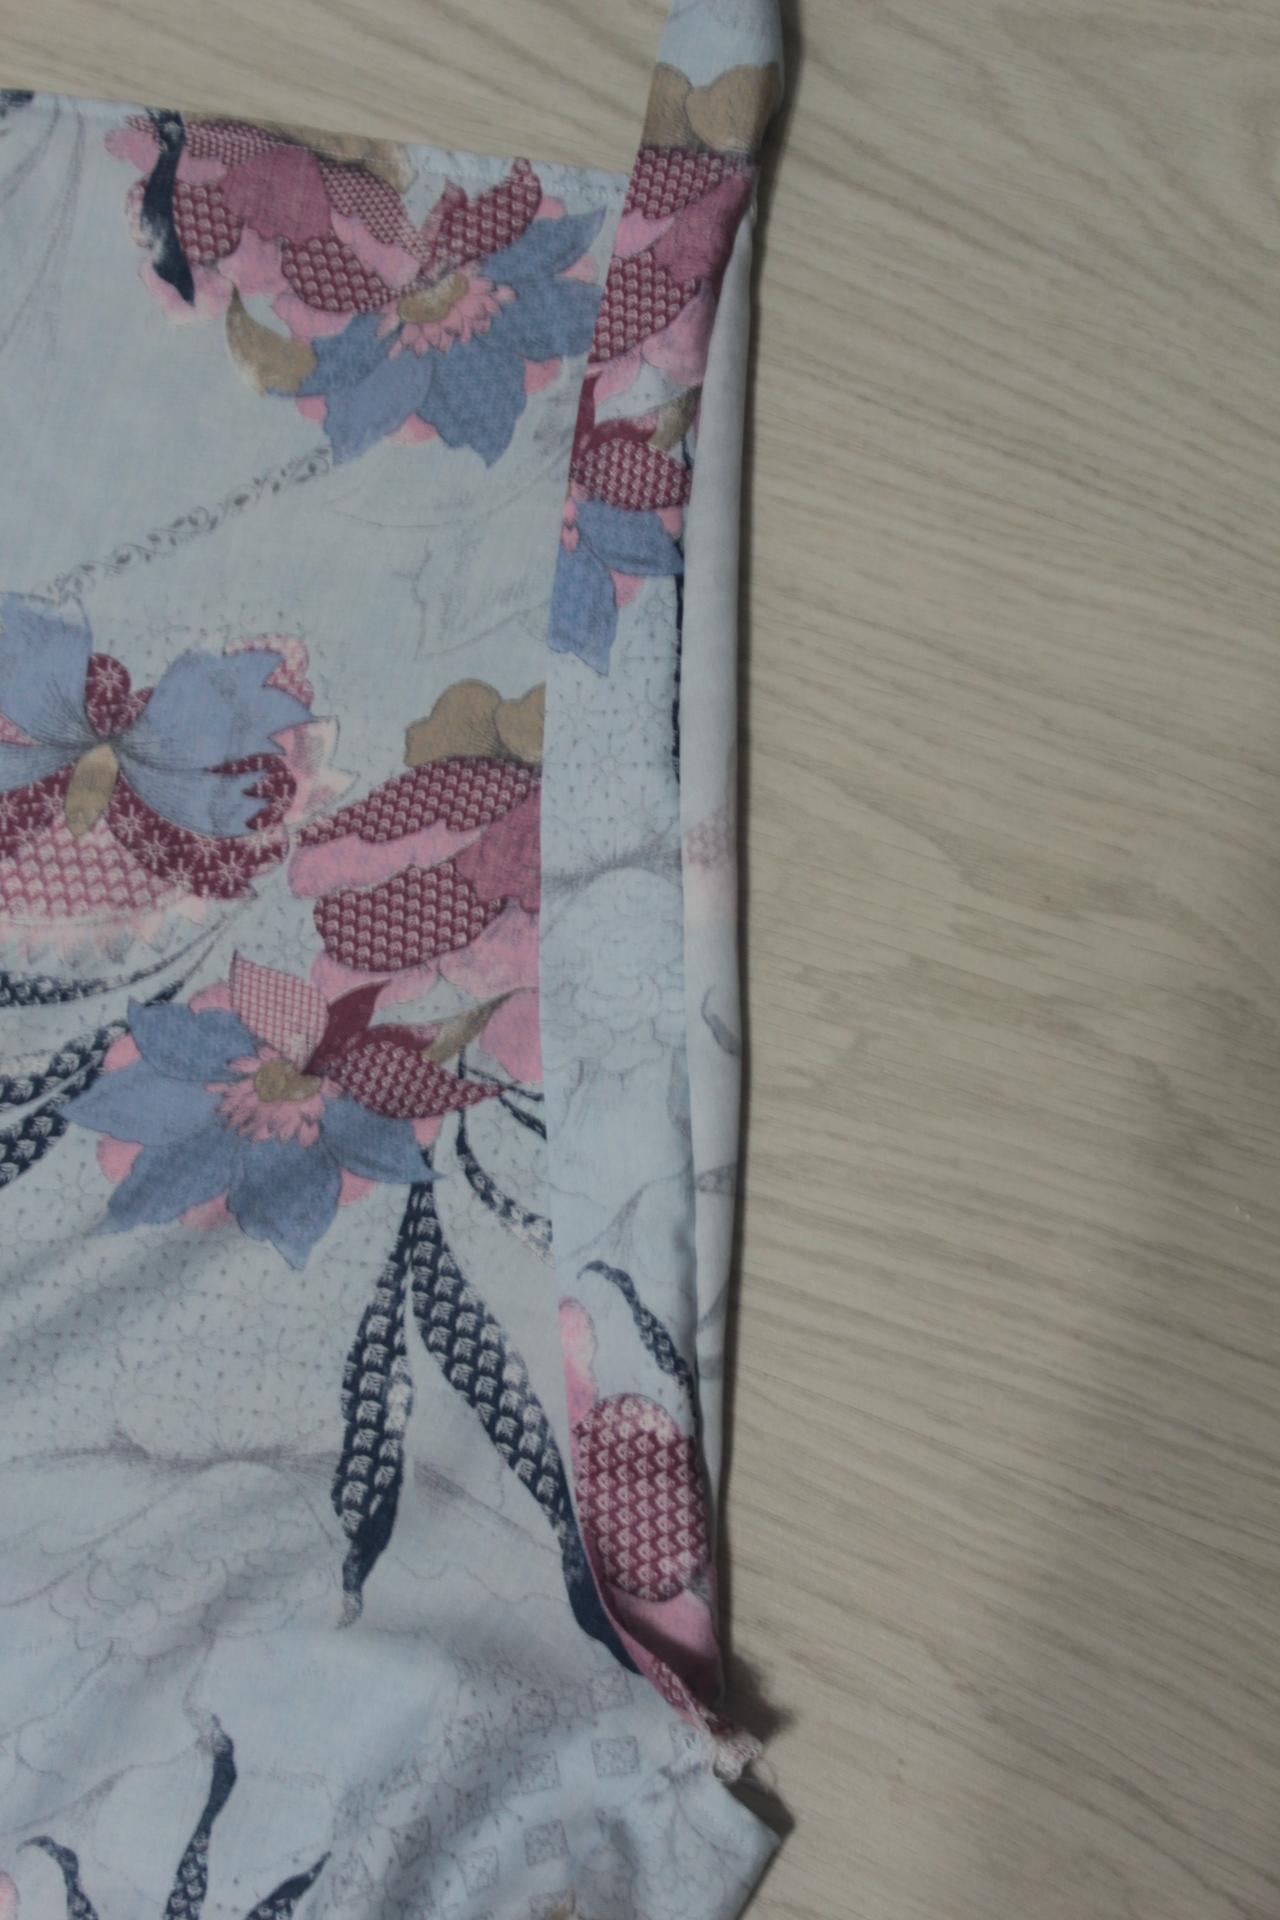
- Run a stitch parallel to the first line of stitches, about 1/8″ away from the other edge of the straps.
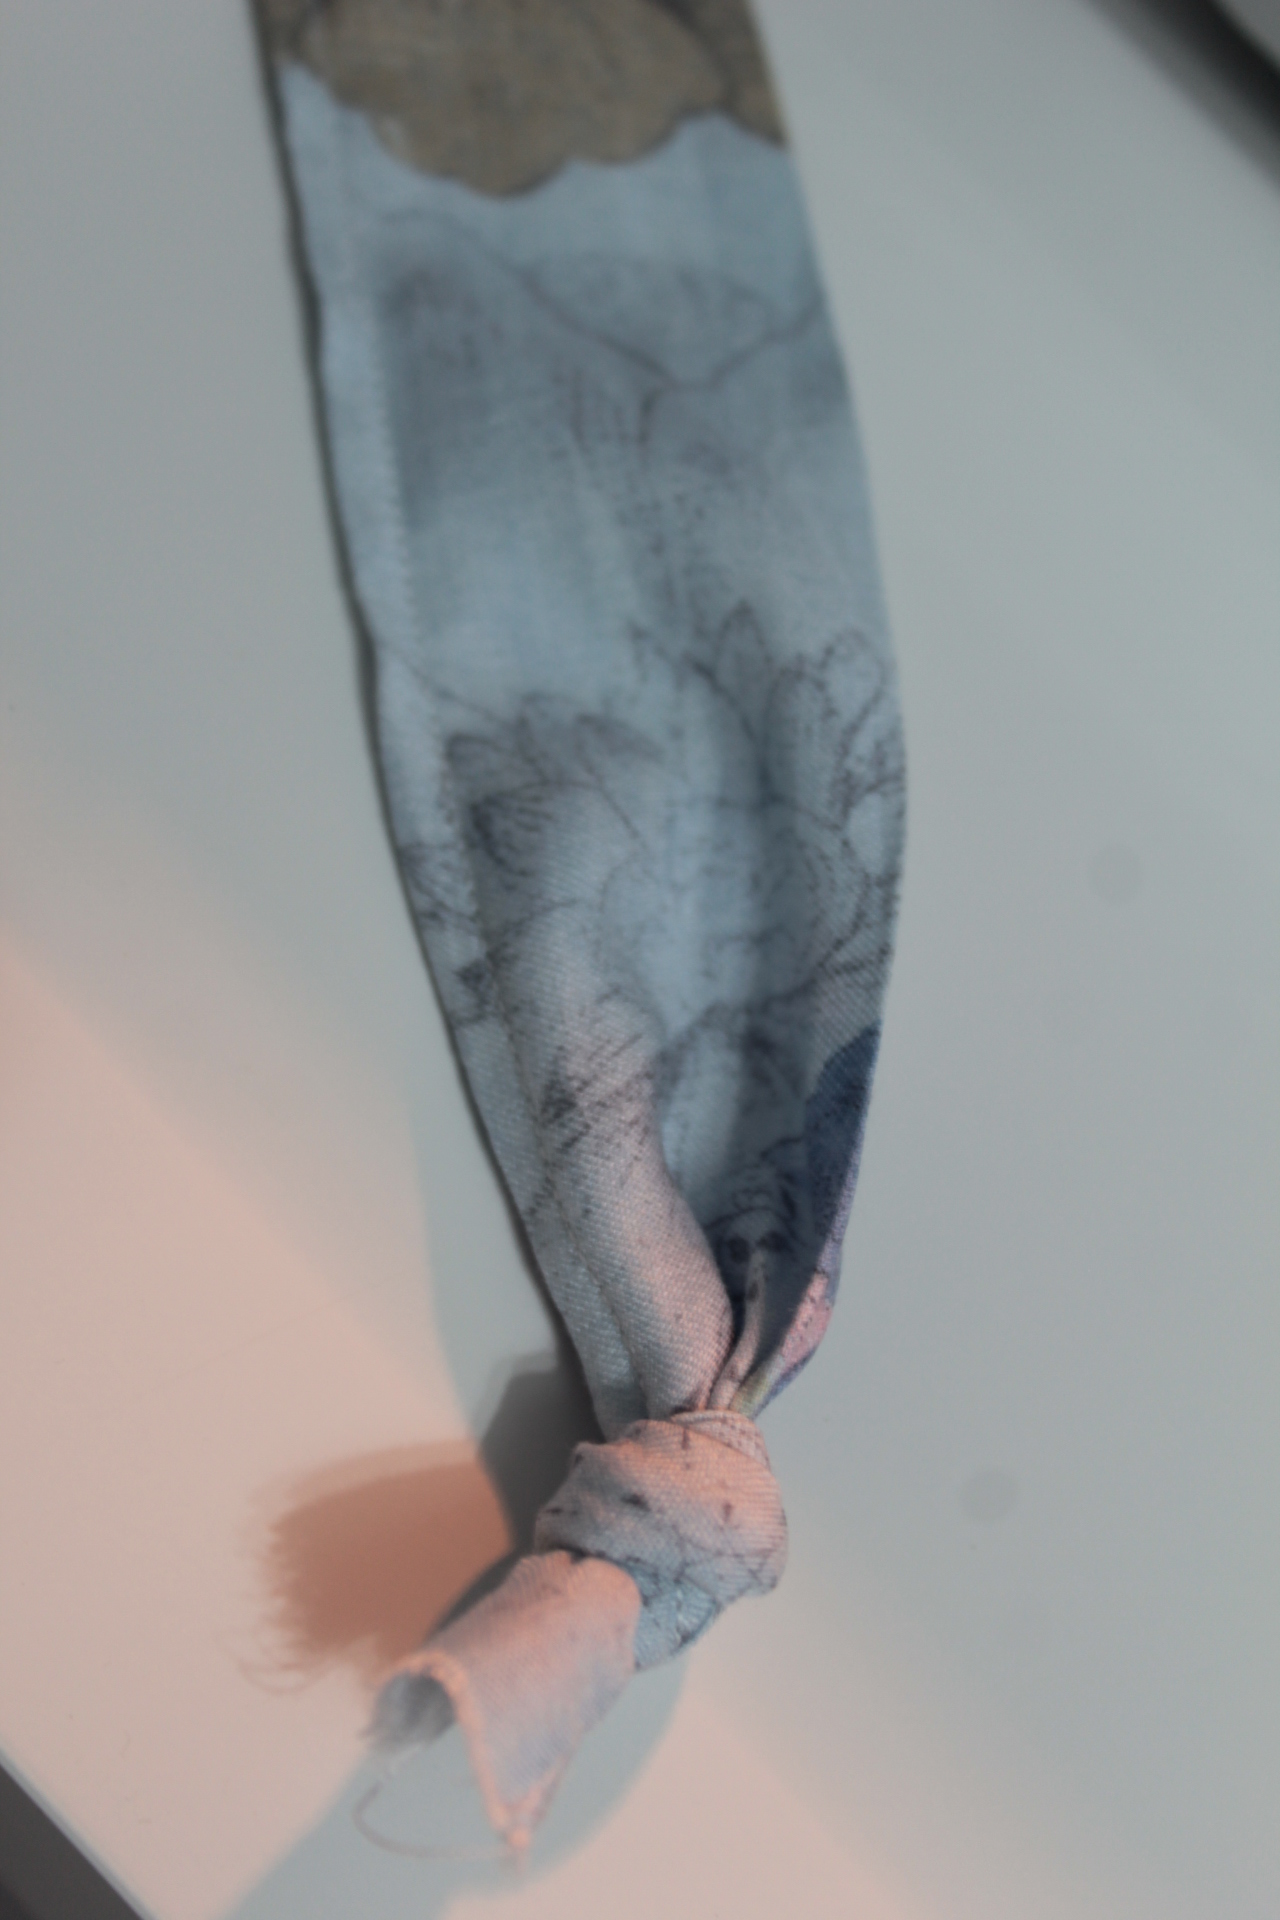
- Tie the ends of the straps into a knot.
- Sew a ruffle through the middle of the neckline, about 2″ down the neckline (this is optional if you have a small chest as I do).
- Place the front dress and the back dress/skirt right sides together and pin the sides.
- Sew with 1/2″ allowance. When you get to the bottom of the straps, a little bit of the strap will be caught inside the seam (I haven’t been able to figure out a better way).
- Cut a strap that is as long as your waist measurements and 2″ wide.
- Fold the sides in until they meet in the middle and press.
- Pin this strap around the waistline to make the elastic casing.
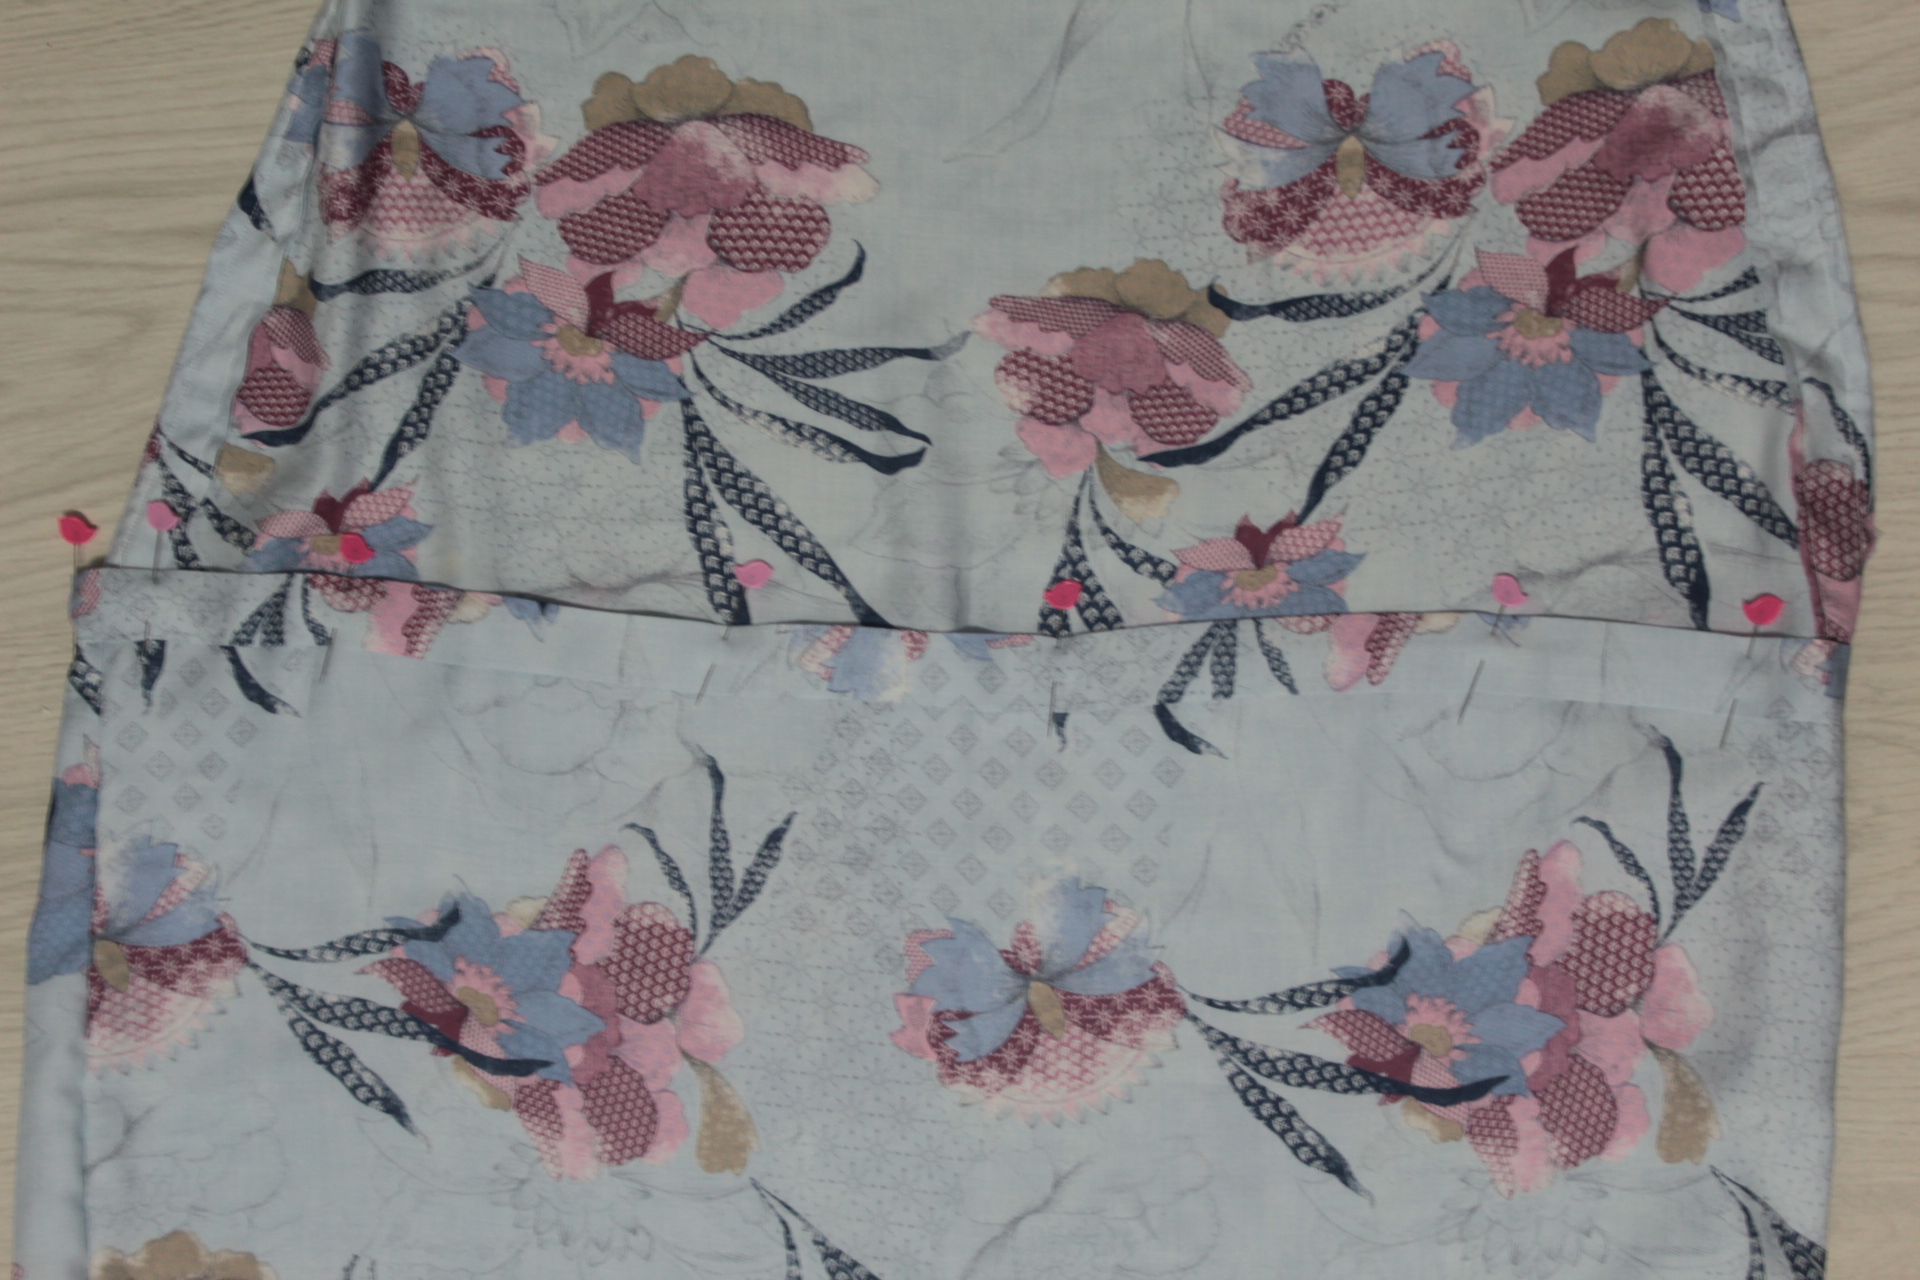
- Sew the top and the bottom of the casing, leaving a small opening in the bottom stitch to insert the elastic.
- Using a safety pin thread the elastic through the waist casing.
- Close the casing.
- Hem the dress using a regular hem for linen fabric, a narrow hem or a rolled hem if using lightweight fabric.
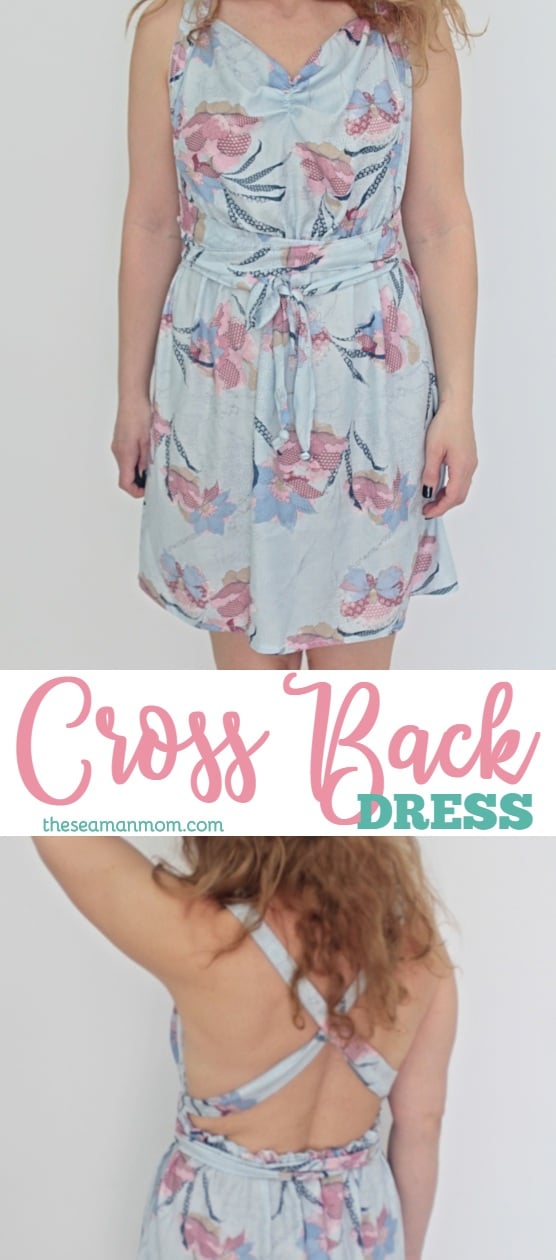
- Wrap the straps around your back and then around your waist to wear this cross back dress.
Pin to save for later
Most popular sewing projects:
Article may contain Amazon & affiliate links. As an Amazon Associate I earn from qualifying purchases at no additional cost to you.


How can I view all your sewing patterns
They are listed on this page https://theseamanmom.com/pattern-shop/