DIY wire snowman easy Christmas decoration
If you want to bring the winter in your Christmas tree, make interesting Christmas snowman decorations like these simple, easy and inexpensive wire snowman ornaments.
Snowman Decorations
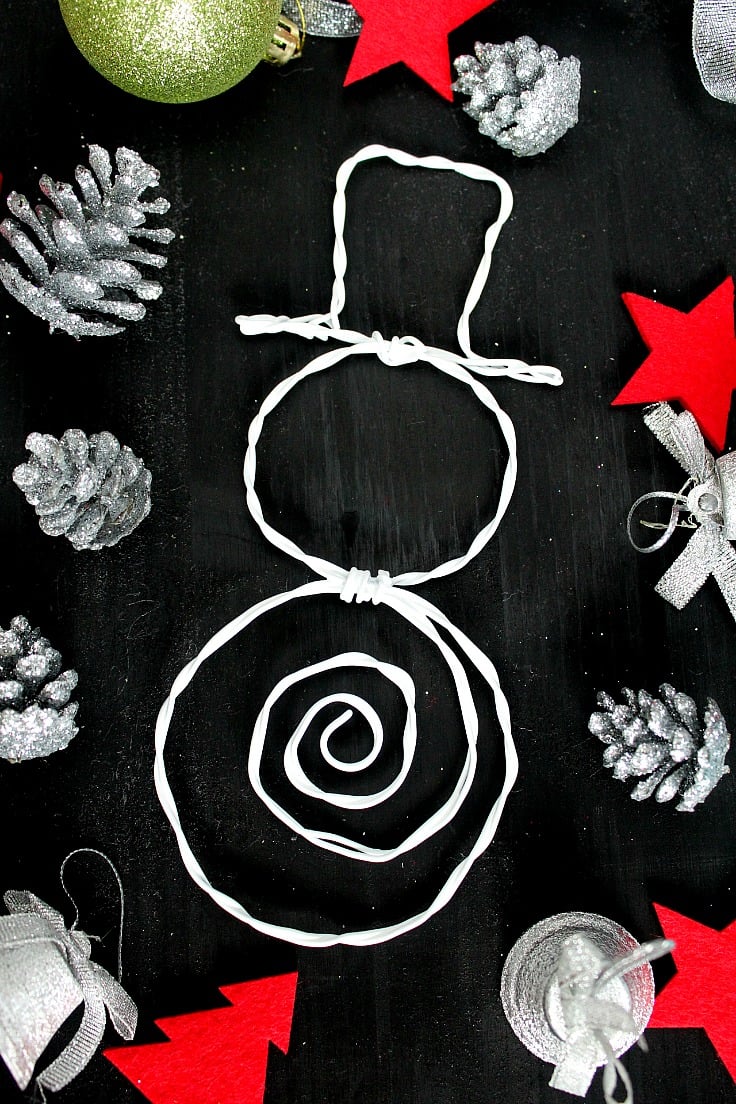
Snowmen made out of snow aren’t the only interesting ideas to make Christmas snowman decorations for your home, outside and inside. Plus it’s pretty difficult to bring snow in the house! Want to make some snowmen without snow? These snowman decorations may seem like nothing but once you start making these cuties, you won’t be able to stop at just one.
Similar ideas you will love:
- Clothespin star ornaments
- DIY cinnamon stick ornaments
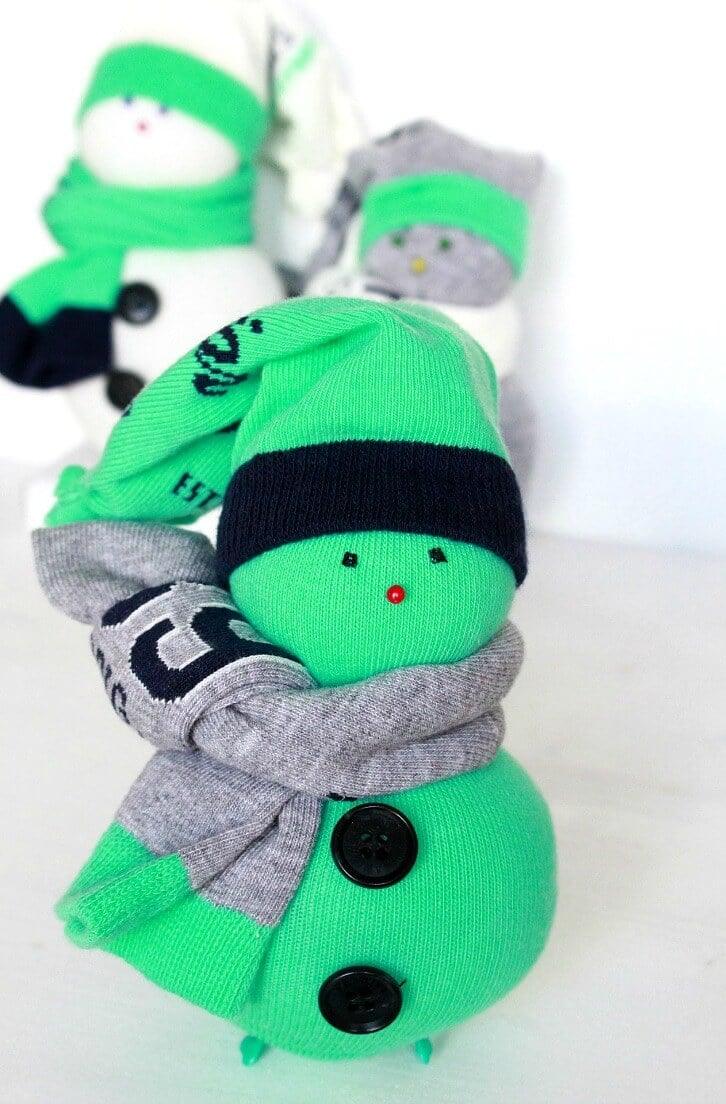
- DIY sock snowmen
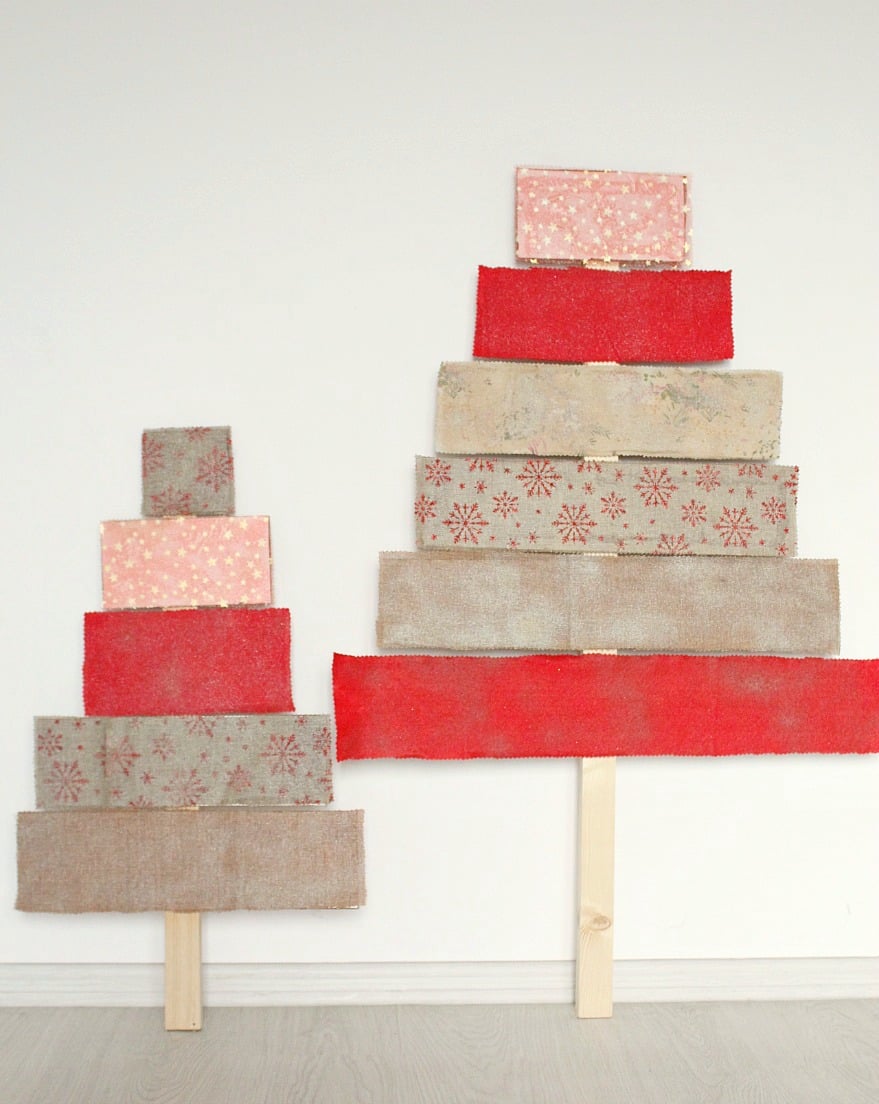
- Fabric covered plywood Christmas trees
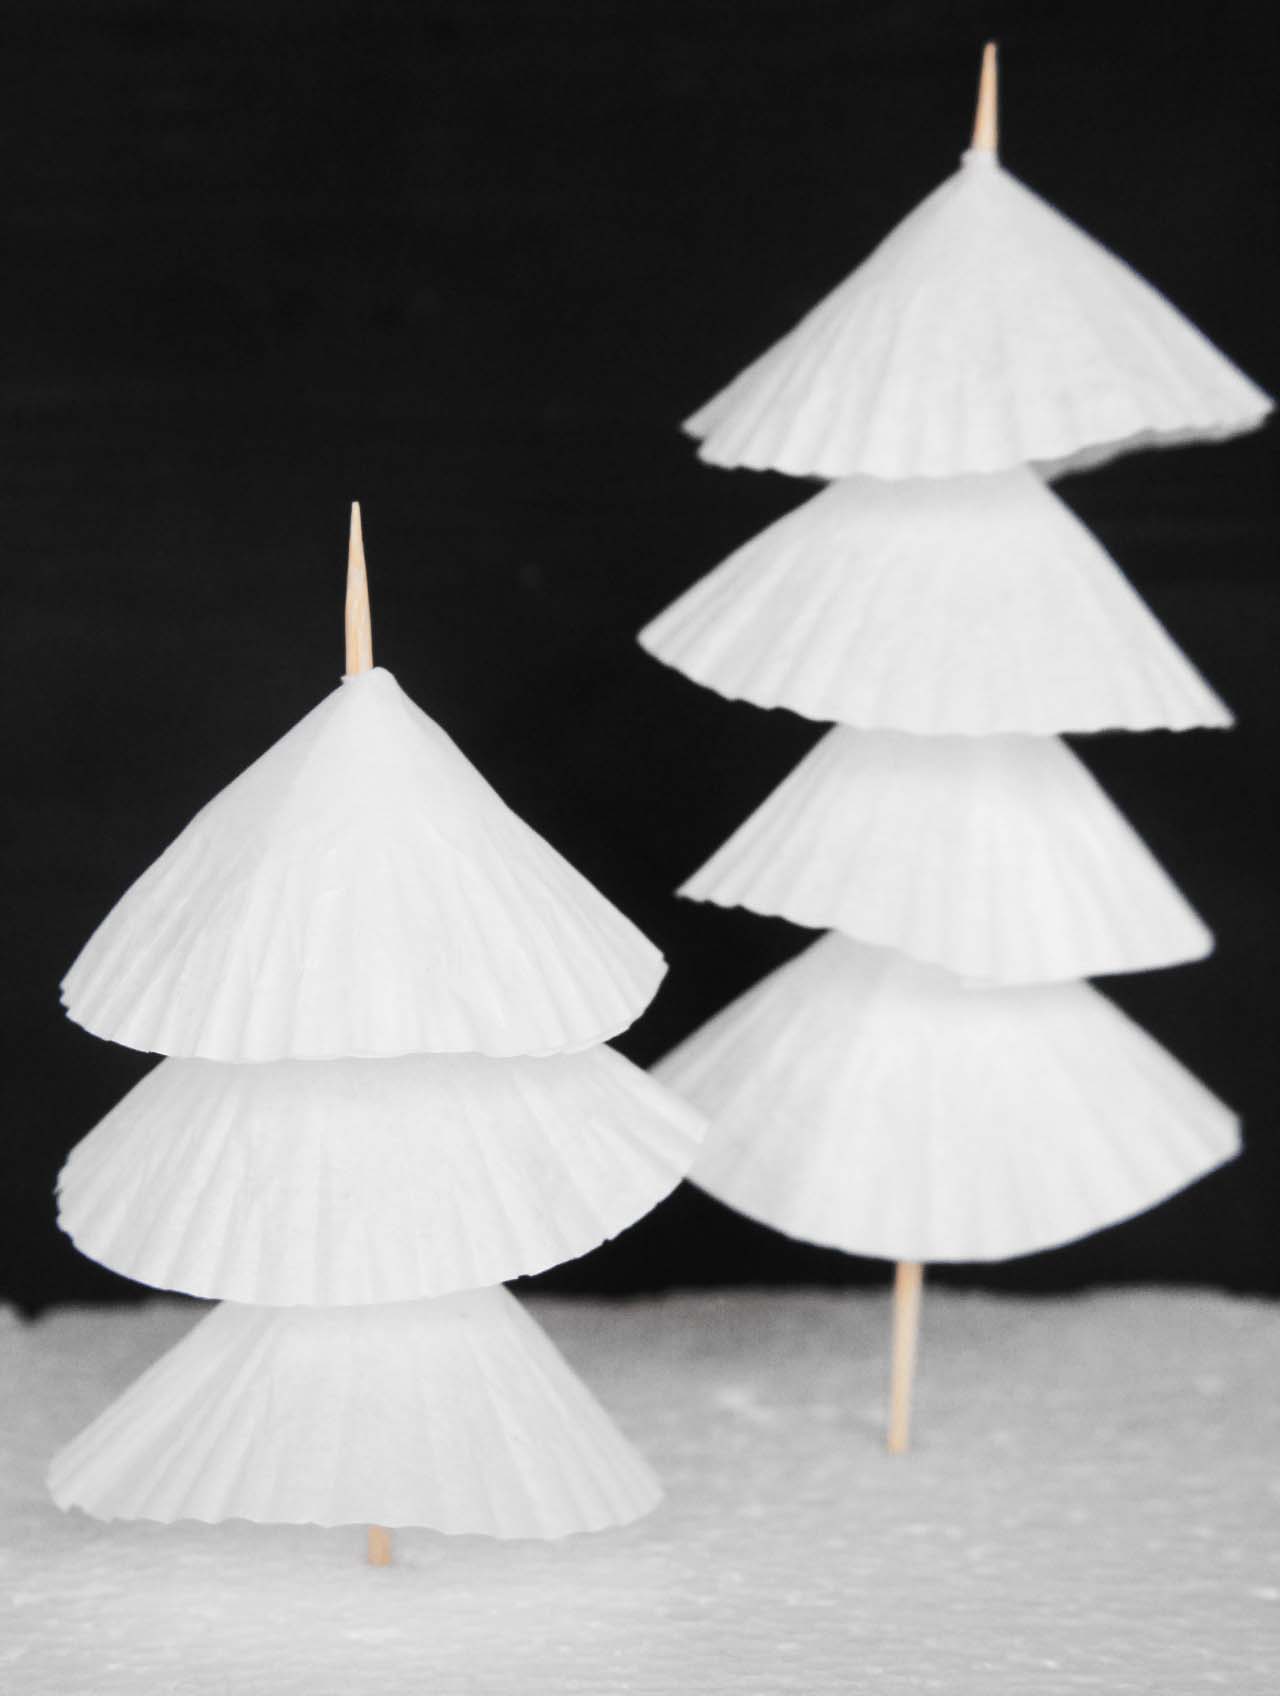
- Paper Christmas trees
- Christmas tree napkin folding
- DIY jar luminaries
- Paper tube Christmas tree
They’re just so adorable hanging in a Christmas tree or around the house! And they’re a great project to make on cold, boring days. And it takes less than 15 minutes to make one wire snowman! These snowman decorations are also a good way to use wire that’s just hanging around with no use and an awesome way to cheer up the kids when they feel down.

My little one has been feeling quite emotional as we’re all going through a tough time with my dad passing away around Christmas time. Him and Ellie were super close and loved each other so much and him not being around at the most wonderful time of the year took a toll on Ellie. These little snowman Christmas ornaments were truly a blessing, they managed to put smiles back on my angel’s face and that says a lot about how awesome these are!
Other holiday ideas:
Living a More Creative Life: 30 Ways in 30 Days
Felt Christmas Stocking
Holiday Crafts
Online Craft Classes
Christmas snowman decorations
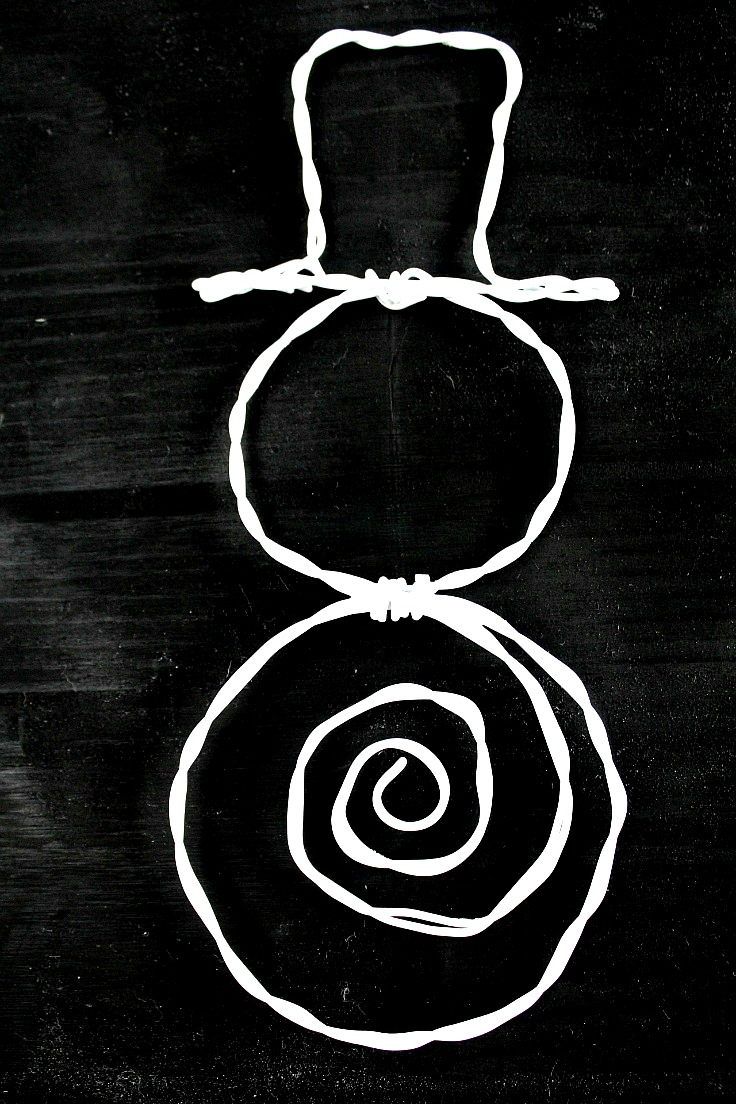
To make this simple ornament you need wire (or galvanized wire) cutting pliers, pliers (both round tip and flat tip) and white spray paint
Directions:
Twist the wires
- Star by deciding how big you want your snowman and cut 2 wires of the desired length (I cut mine 100 cm = 40″ long, for each wire).
- Twist them around each other, using your fingers or pliers if you are very handy (just like in this project).
- From one end, start making a small “curl”, which will be sitting in the middle of your snowman’s body (use this short video tutorial if you don’t know how to curl wire).
Make the body
- Make the body as big as you like (I made about 4 rolls around the small curl).
- Once you get to the top of the body, secure the wire in place with a small piece of wire.
Make the head
- Then switch directions to make a single circle for the “head”.
- Secure the end in place by grabbing another small wire and twisting it at the part where the head and the body meet.
- Clip the rest of the double wire with your cutting tool.
Make the hat
- Time to make the hat. Grab the remaining wire and make a base, starting at one end and making a small loop.
- Continue to the other side of the hat and make another loop of the same length. Bend the wire upwards, then sideways and downwards so you can create the body of the hat.
- Once you reach the first loop, twist the remaining wire around the loop to close the hat. Use pliers to flatten the wire.
- Attach the hat to the head with another small piece of wire and flatten with pliers.
Paint the snowman
- Lay your snowman on a working surface and spray white paint. Start with the front, leave to completely dry, then do the back. You may need to spray paint twice for each side.
- Attach a Christmas themed ribbon or twine if you like a rustic look, to the top of the hat and hang in your Christmas tree.
- If you want your snowmen more festive you can use some glitter paint too.
Enjoy your holidays, everyone!
Snowman decorations with wire
Materials
- wire or galvanized wire
- white spray paint
Instructions
- Star by deciding how big you want your snowman and cut 2 wires of the desired length (I cut mine 40" long, for each wire).

- Twist them around each other, using your fingers or pliers if you are very handy (just like in this project).

- From one end, start making a small "curl", which will be sitting in the middle of your snowman's body (use this short video tutorial if you don't know how to curl wire). Make the body as big as you like (I made about 4 rolls around the small curl). Once you get to the top of the body, secure the wire in place with a small piece of wire.

- Then switch directions to make a single circle for the "head". Secure the end in place by grabbing another small wire and twisting it at the part where the head and the body meet. Clip the rest of the double wire with your cutting tool.

- Time to make the hat. Grab the remaining wire and make a base, starting at one end and making a small loop.

- Continue to the other side of the hat and make another loop of the same length. Bend the wire upwards, then sideways and downwards so you can create the body of the hat.

- Once you reach the first loop, twist the remaining wire around the loop to close the hat. Use pliers to flatten the wire.

- Attach the hat to the head with another small piece of wire and flatten with pliers.

- Lay your snowman on a working surface and spray white paint. Start with the front, leave to completely dry, then do the back. You may need to spray paint twice for each side. Attach a Christmas themed ribbon or twine if you like a rustic look, to the top of the hat and hang in your Christmas tree.

Pin to save for later
Popular Christmas ideas:
Article may contain Amazon & affiliate links. As an Amazon Associate I earn from qualifying purchases at no additional cost to you.







What gauge of wire did you use on the snowman and tree? Love! Love your ideas!!
I think it was 1.2 mm but if you can find thinner wire it would be easier to handle. Mine was a bit stiff.
I love you wire snowman!!! I went straight to making one! I ended up use it wire from ribbon that was wire in it
. He turned out to be about 2.5 inches tall. Hehe I wanted to include a picture of him but can’t seem to find how to do it . ????
Thank you for the “how to do it” it was clear and easy to follow!!!!
Aww, thanks so much, Lori, you just made my day! You can upload the photo on our FB page (https://www.facebook.com/TheSeamanMom/), I’d love to see your snowman! And Merry Christmas! xoxo
Thanks so much for sharing your post with us at Full Plate Thursday and have a great day.
Come Back Soon!
Miz Helen
This is such a cute ornament! I absolutely love it!
Hi Marie. Thank you so much for your wonderful comment.
This is such a cute idea. And it’s easy enough that it can be done with the kids. Also it’s frugal in that you don’t need a ton of money or supplies. Thanks for sharing with us. I like the name of your blog. Were you really a nautical person?
Thank you so much for your kind comment! I was, indeed! It seems like so many years have passed by when it’s only been 2.
so super cute! love this wire snowman! You show great skills, I wonder if mine would turn out the same but I have to give it a try :)
Aww, thank you so much! I’m sure yours will turn out great, these are so insanely easy to make!