

How to install magnetic snaps
Are the instructions for your sewing pattern unclear about how to install magnetic snaps? Don’t worry! This tutorial will provide you with a simple and straightforward guide on how to install magnetic snaps on any sewing project.
How to install magnetic snaps on fabric
I used to feel scared when it came to adding magnetic snaps to my sewing projects for a long time. I finally decided to try experimenting with these little creatures! Guess what? It’s incredibly easy and here I’ll show you how to install magnetic snaps in just a few super easy steps! No stress involved, I promise you!
This article has been converted to a PDF file, available to purchase HERE! However this tutorial is free to read on the website.
I love magnetic bag clasps, they’re so easy to use and convenient! Most magnetic snaps are pretty sturdy too and add a touch of class to any purse or bag. But before learning how to install magnetic snaps you need to get familiar with a few details about these type of snaps.
More sewing tips you might like:
- Bobbin storage ideas
- How to sew perfect hems
- How to change presser foot pressure
- Adjusting bobbin tension
- DIY seam guide
- Sewing buttonholes with a buttonhole foot
What are magnetic snaps?
Magnetic snaps are two pieces of metal, one contains a magnet and the other has a steel plate. When you bring them together they stick securely until you pull them apart. The skill to install magnetic snaps is important to any bag maker who wants to make professional looking purses and bags.
How many types of magnetic snaps are there?
There are two types of magnetic snaps: sew-in and no-sew. The most common type is the sew-in snap, which requires you to use a sewing machine or a hand needle to attach it to the fabric. No-sew snaps are easier to use and require you to insert them into pre-made slots in your bag or purse. For this tutorial we’ll be using no sew magnetic snaps.
What are the parts of a magnetic snap?
Any magnetic snap will have a female and a male part with 2 prongs and 2 washers. The prongs are the metal pieces that will hold the snap together on the wrong side of the fabric. The washers protect the fabric from being damaged by the prongs and help spread out any pressure caused by inserting it into your project.
You’re going to need to use some scraps of interfacing and some padding (optional). So one more reason to save those fabric scraps, you never know when you’re going to need them.
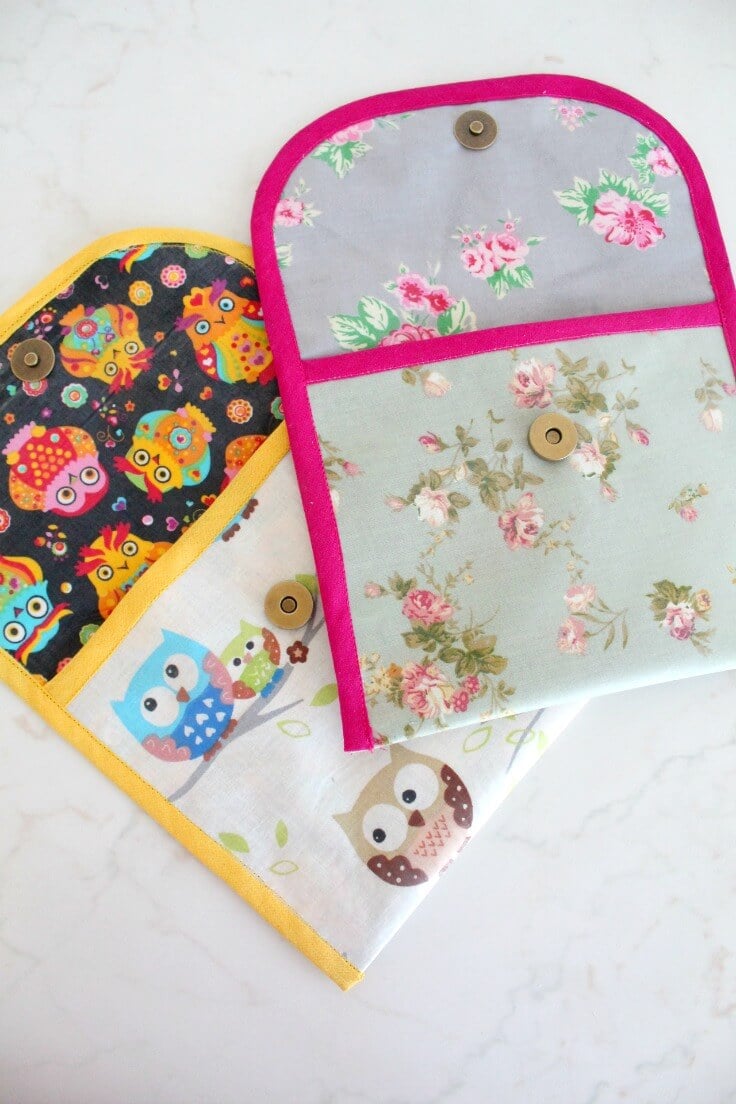
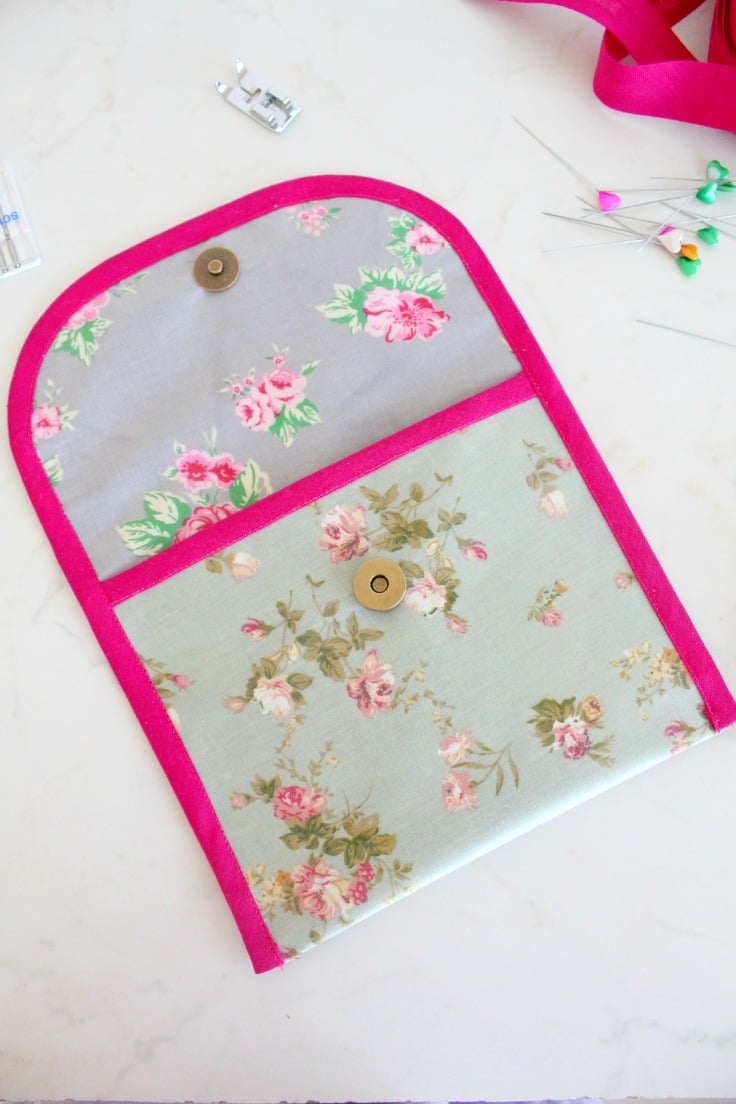
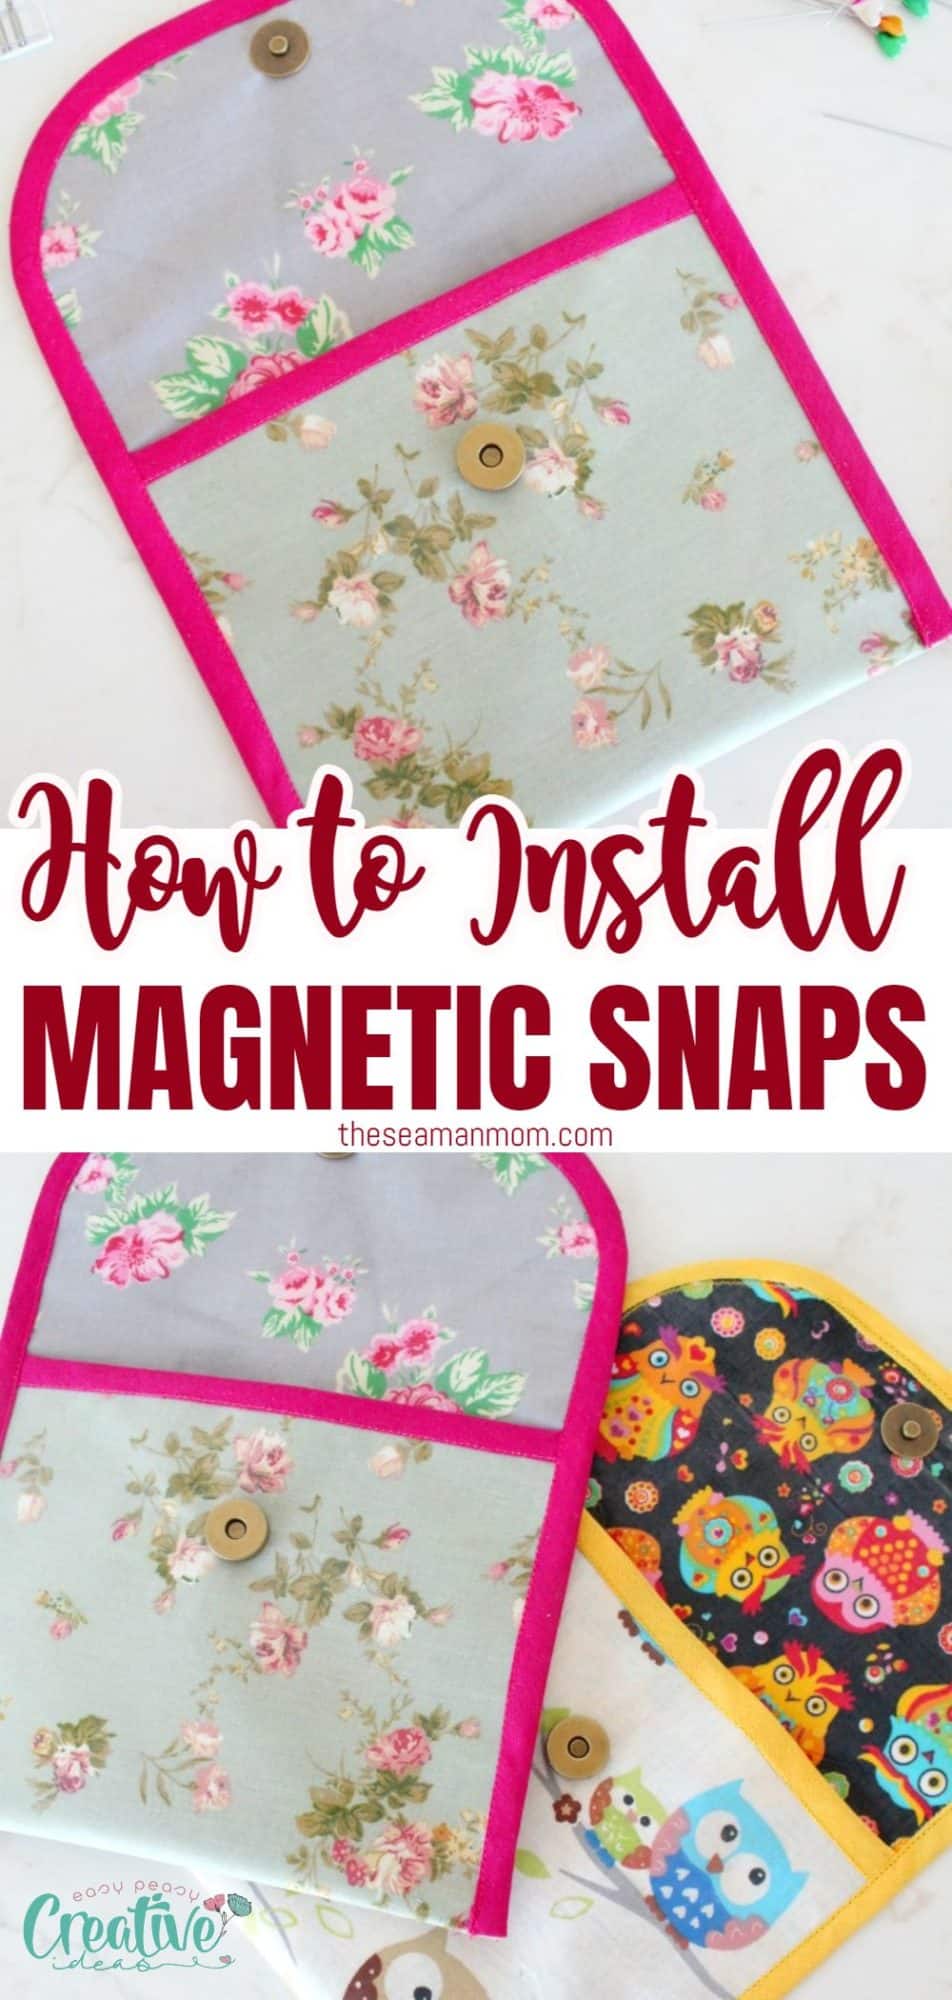
I’ve used these magnetic snaps for a snack bag project I’ve just finished (and I’m totally smitten with the results)! I also took the chance and used my own laminated cotton fabric (tutorial here) which is pretty sturdy so I didn’t have to use padding to add the snaps. But if your fabric is soft you’ll need padding and interfacing. You’ll also be inserting the magnetic snap between the outer and lining pieces of your sewing project. You won’t want the back of these magnetic snaps to show.
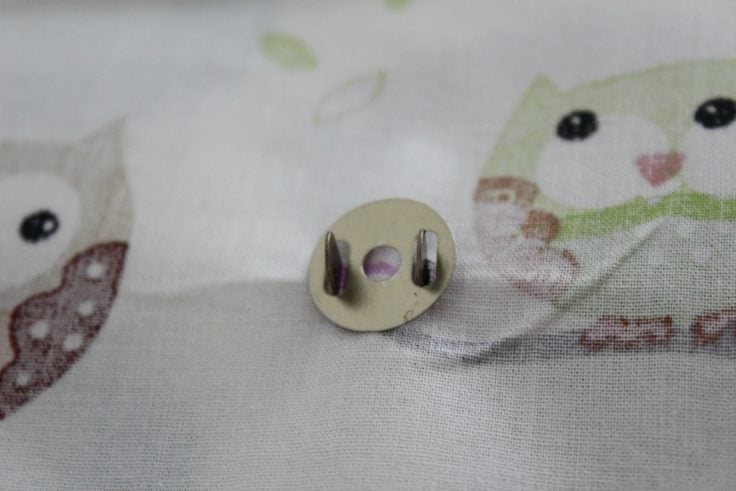
What is the female side of the magnetic snap?
The female side of the magnetic snap also known as the socket part, is the one with the indentation in the metal plate and 2 prongs in the back.
What is the male side of a magnetic snap?
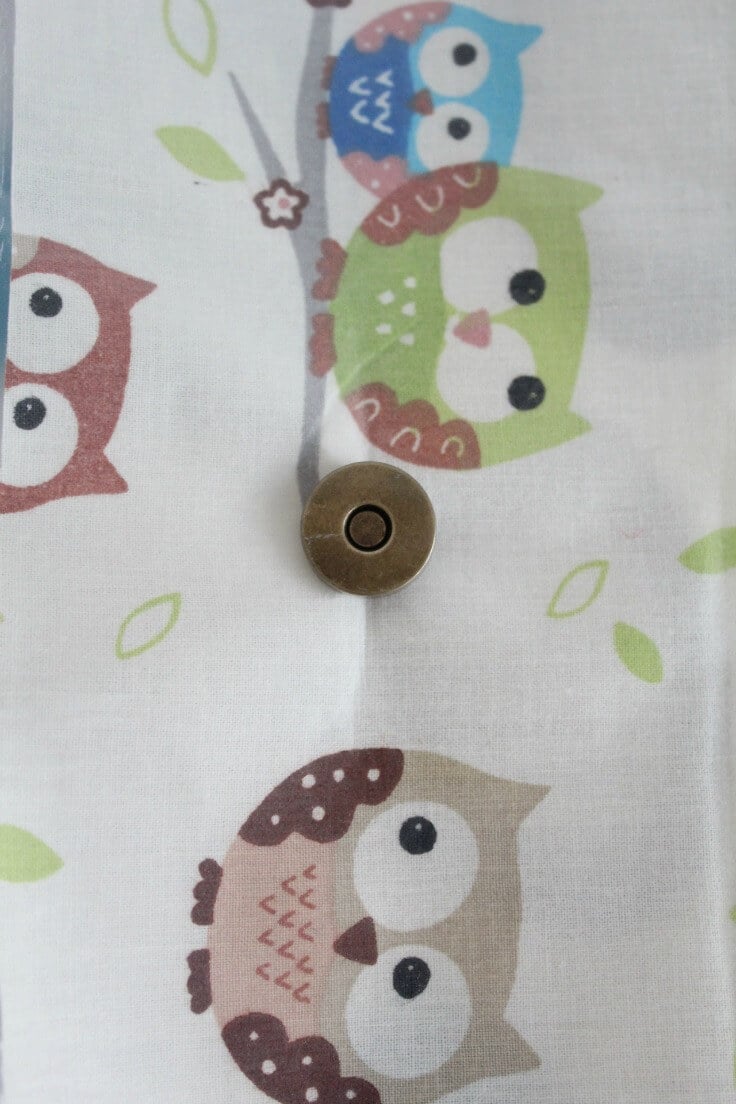
The male side of the magnetic snap is the one with a little ball in the middle and 2 prongs in the back and it’s usually inserted into the female part.
How do magnetic snaps work?
Magnetic snaps work by attaching the two pieces of the snap together, one with a magnet and one with a steel plate. When you bring them close together the magnet will pull the steel plate towards it, and when you pull them apart the magnetic force is released.
Where can you use magnetic snaps?
You can use magnetic snaps on any project that requires a closure, such as bags, purses, clothing and accessories. Not just limited to sewing projects either – you can use them for crafting projects too!
The most popular items that use magnetic snaps are bags and totes. But they’re also used in clothing items such as dresses, jackets and outerwear.
How do you make a magnetic snap stronger?
For extra security, you can add padding or fusible interfacing to the back of the snap. This will make sure that your item is securely closed and won’t come undone.
How do you attach magnetic snaps to fabric?
To attach magnetic snaps to fabric you will need to measure and mark the area where you want to place them. Once they are correctly marked, use a hammer and anvil (or a screwdriver and an old cutting board) to insert the prongs of the male side of the snap into your fabric. Snipping the fabric with a pair of scissors also work well for medium fabrics.
Follow the easy tutorial below for the exact steps on how to install magnetic snaps on fabric!
Materials:
- magnetic snaps
- sharp scissors or seam ripper
- fabric marker
- scraps of interfacing and /or fusible fleece
- iron
- pair of pliers
Directions:
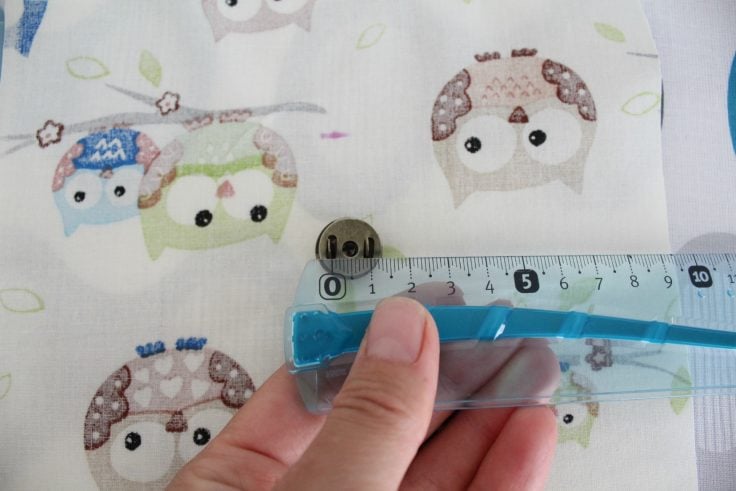
- Mark a dot on the fabric piece, where you want your snap inserted (my dot got a little messy as you’ll see below)
- Measure the distance between the prongs and mark that down on the fabric.
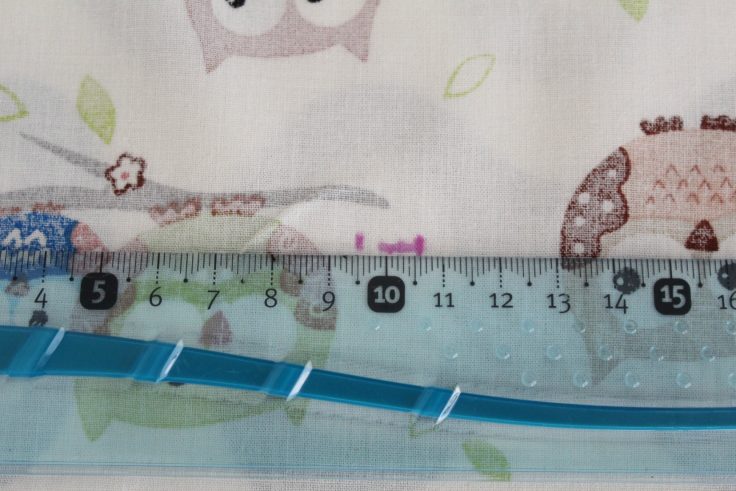
- Cut tiny slits where you made the second set of marks using sharp scissors or a seam ripper handled carefully.
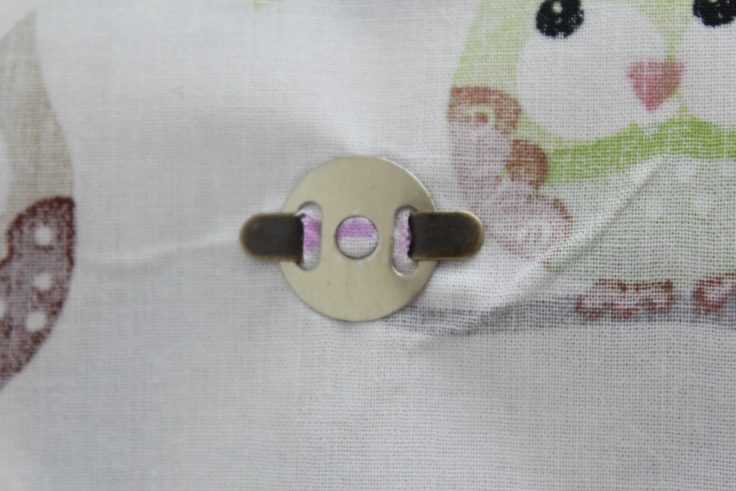
- Take the female piece and push the prongs through the slits from the right side of the fabric.
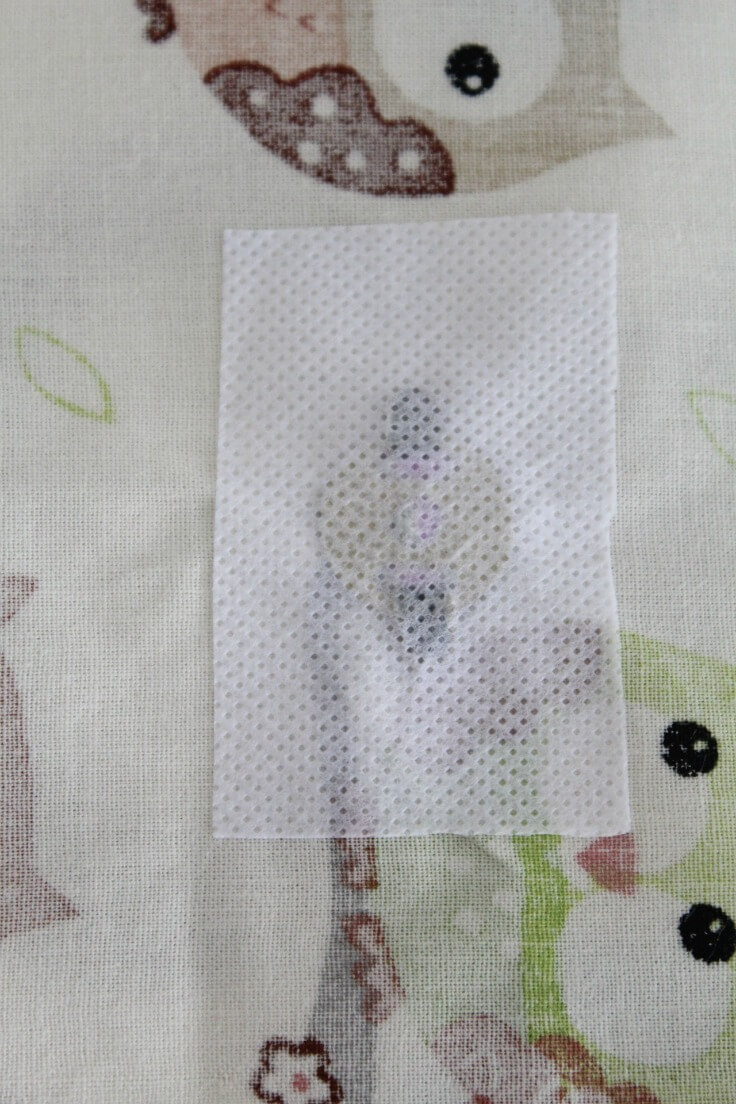
- If your fabric is soft, add a small piece of fusible fleece on top of the snap, make slits as before then push the prongs through the fabric and the fusible fleece. The interfacing will help with fraying and also give more stability to your magnetic snap.
- Slide washers over prongs.
- Push the prongs outwards and press a little with your pliers for a better hold. Don’t use a lot of force though.
- Fuse some interfacing on top of the snap.
- Repeat steps for the male snap of the magnetic snap.
Magnetic snaps are a great way to add an extra touch of class and convenience to your sewing projects. With the right materials and tools they’re easy to install with just a few simple steps. Once you get the hang of the magnetic snap closure, you’ll be attaching them to fabric like a pro! Have fun and happy sewing!
Pin to save for later
Most popular sewing projects:
- Tips for sewing a round hem
- Corded bag handles
- Flutter sleeve dress pattern
- How to laminate cotton fabric


Article may contain Amazon & affiliate links. As an Amazon Associate I earn from qualifying purchases at no additional cost to you.
ABOUT PETRO
Hi, I’m Petro, author and founder of Easy Peasy Creative Ideas. Sewist, crafter, avid DIY-er, foodie, photographer, homemaker and mommy to one. I’m an expert at coming up with quick, clever sewing tips, recycling crafts and simple, easy recipes! You can find my ideas featured in reputable publications such as Country Living, Good House Keeping, Yahoo News, WikiHow, Shutterfly, Parade, Brit & Co and more. Thanks for stopping by and hope you’ll stay for a while, get to know me better and come back another time. Stick around for real fun projects! Read more…