

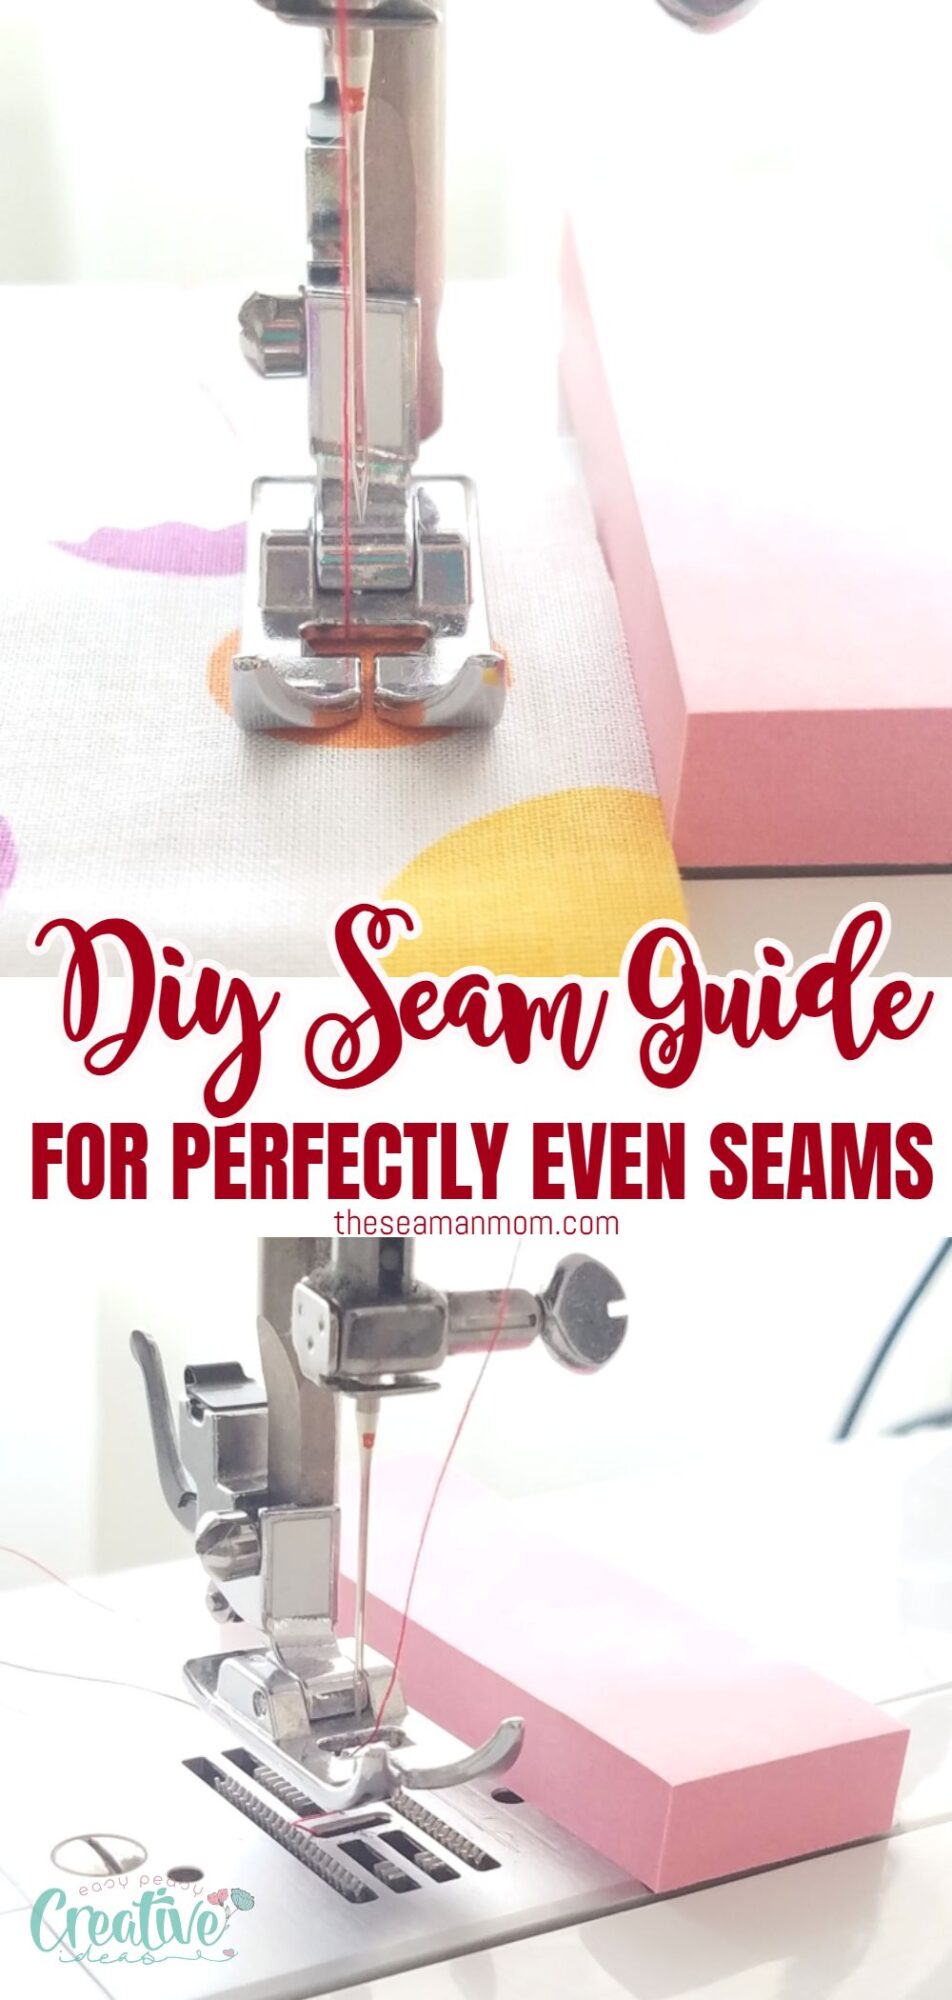
DIY seam guide for perfectly even seams
Create your own easy and budget-friendly DIY seam guide with a basic office supplies item! This handy guide will level up your topstitching and sewing seam allowances for neat, precise seams every time you sit down to sew! It’s a small but impactful addition to your sewing toolkit that can enhance the overall finish of your creations.
This DIY seam allowance guide is the most amazing thing you’ll ever need! Why? Because it’s crazy cheap (most likely free) and ready in the blink of an eye! Today’s tutorial will be super short but super sweet too, as you’ll get to learn a simple trick to the perfect seam allowance!
It’s actually really easy and on-hand to make a DIY seam guide, as chances are, you may already have everything you need. Post-its, painter’s tape, rubber bands…these are all thing you would usually find in most homes. My most loved trick is in the post-it!
What I love most about this method is that the post-it acts like a seam guide but also helps preventing the fabric from sliding and moving in the wrong direction. It’s kind of forcing the fabric to go the right way and not slip. Here’s a quick step by step on how to use it as a seam guide.
DIY seam guide tutorial
Materials:
- Post-it pad (preferably a larger one with plenty glue to the back)
- seam gauge or ruler
- erasable marker (optional)
- fabric to sew
- thread
- sewing machine
Directions:
- Using your seam gauge, measure the seam allowance you need to sew, starting from the needle to the right.
- Mark the spot for ease of reference (this is optional).
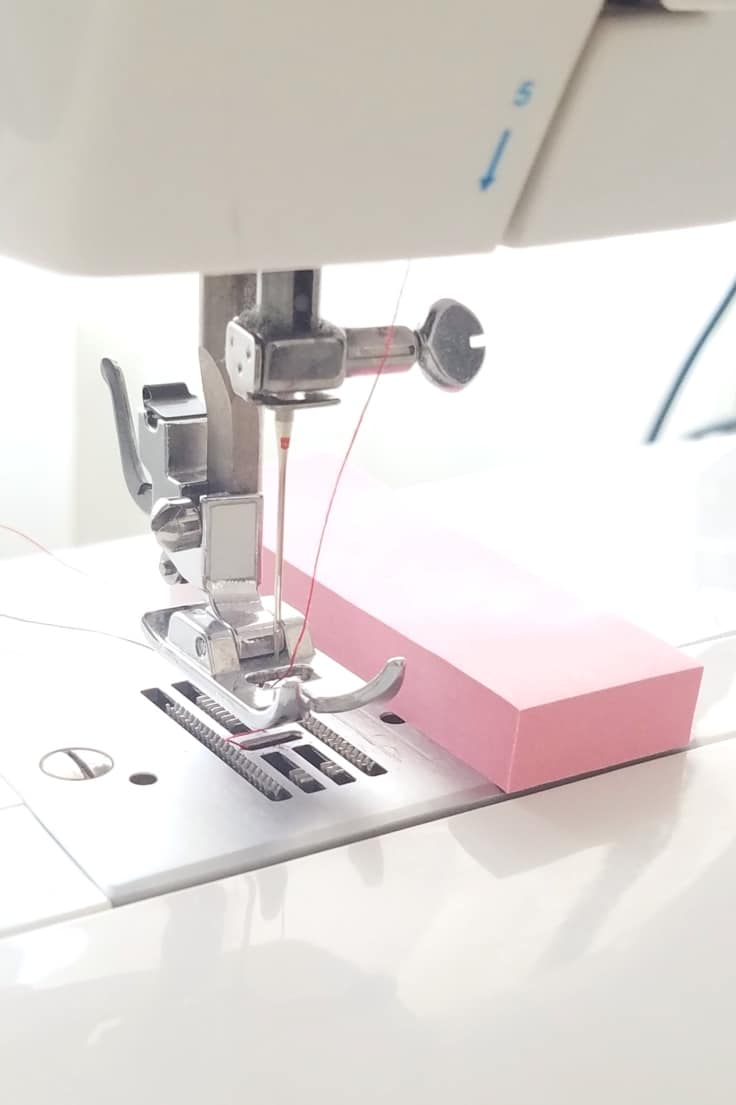
- Remove the last page from the post it pad.
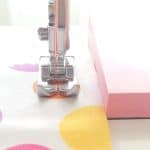
- Place the post it with the glue side right next to the mark you made on your sewing machine plate and press firmly.
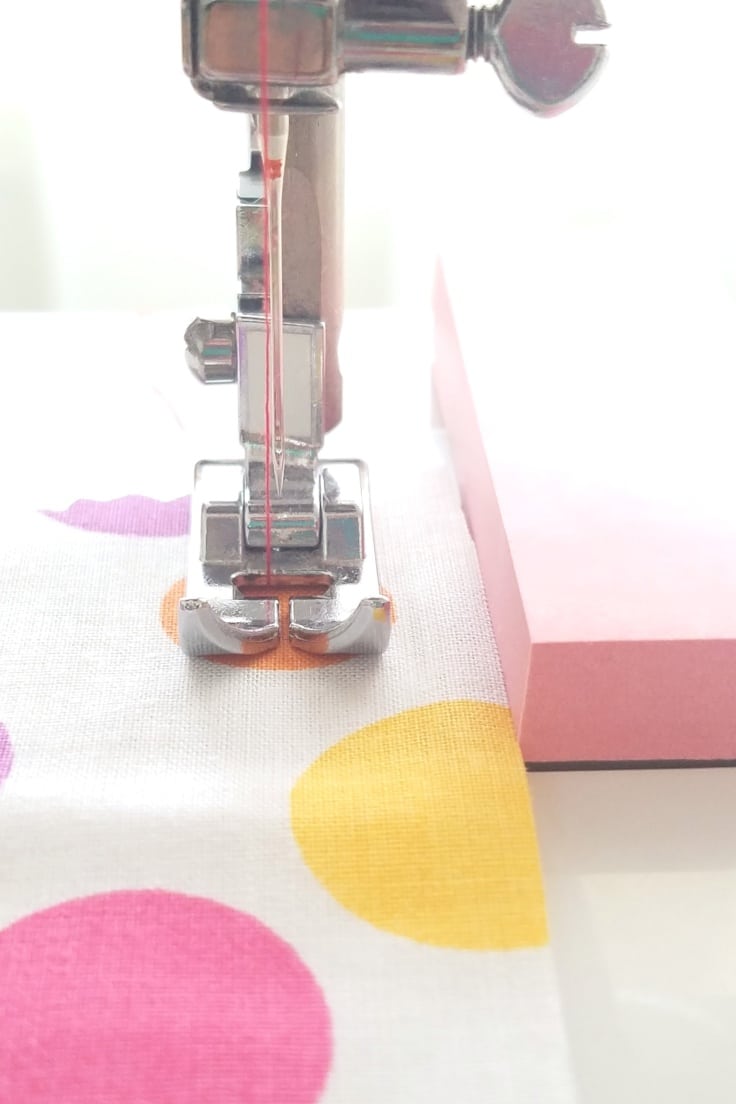
- Place the fabric under the foot and push it to the right until the edge meets the pot it.
- Start sewing. At this point you only need to make sure the fabric doesn’t slip to the left as the right side is secured by the post it.
Tips to help you get the best seams and straight stitches
- If you’re feeling confident you can keep your fabric straight and don’t need a stopper, you can also use a rubber band or painter’s tape to mark the seam allowance on your sewing machine;
- You may notice the post-it block won’t be as sticky as you like after removing the last sheet. You can secure it in place with painter’s tape or any tape available;
- If you don’t have a sticky notes block, you can stick any other blocky object you don’t need, such as an eraser or match box;
- To determine the length at which to place your seam guide, you can use any ruler you have. An alternative would be marking the future seam line with a marking pencil or a pin, and placing the guide at the end of the fabric;
- Presser feet toes are also great guides for small seam allowances or spacing between decorative stitches, but will usually not keep the fabric in place. Unless it’s a special presser foot with a lower right toe;
- Striped fabrics may sometimes be helpful if stitching vertical lines and the pattern isn’t curved. Just use the closest stripe as a guide. Just be careful, as this won’t keep the fabric in place, either;
- If you’re feeling edgy, attaching a laser to your sewing machine may be the thing for you. You can install it to mark your seam, but also move it around to mark the fabric edge. You just need to secure the fabric yourself, as this won’t keep it from slipping.
Frequently asked questions
If you are a beginner chances are you have plenty of questions about sewing in general, and seam allowance in particular.
What is a seam allowance?
The seam allowance is the space between the edge of the fabric and the stitching line. This is calculated outside the drawn pattern, to allow you to sew your garments without taking in fabric and affecting your measurements.
What is a standard seam allowance?
You can usually find the seam allowance printed on your pattern and depends on the producer. Seam allowances can range from 1/4″ wide to several inches but usually, the seam allowance is 5/8”. Different-sized seam allowances will be marked on the pattern. I personally like to use a 1/2″ or a 1/4″ allowance, depending on the thickness of my project.
How do you make a seam allowance?
If using patterns without a seam allowance, you can easily draw one while transferring the pattern to the fabric: just tie two pencils together with a rubber band (put something in between for a larger distance) and voila! You don’t have to do the same job twice.
Depending on what you want to make, it may be useful to have a wider or narrower seam allowance. For example, when sewing sheer fabrics like georgette, seam allowances need to be smaller. Wide seam allowances will be visible and less aesthetic.
Also, fabrics that don’t unravel will do with a smaller seam allowance. I’m talking about velvet, spandex, fur, velour or vinyl. Still, straight seams are a must if you want your garment to look good.
What is a sewing machine seam guide?
Usually, seam allowances are marked on the plate of your sewing machine, right next to the presser foot. If you can follow those lines, that’s great. If not, which is most of us’ case, you will need something to help you out. Not-so-straight seams, especially when they are visible, would scream “homemade!” and you don’t want that. You want professionally-finished clothing that looks brand new and off the rack.
Stores sell a variety of ready-made seam guides: magnetic, adhesive, throat plate guide (if your machine didn’t come with a marked one, as mine did). Seam guides are great to use, especially for quilting and decorative stitches, as you really need to do straight stitches.
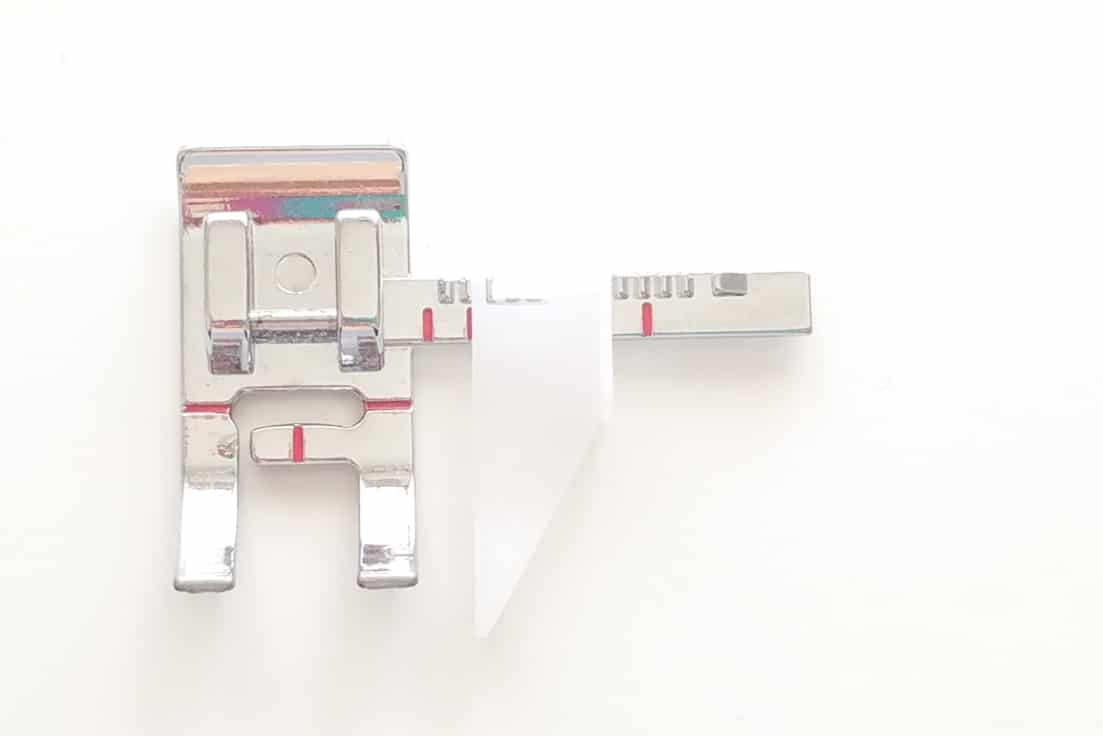
Not long ago I purchased this super duper seam guide foot which proved to be really useful and so easy to use, I use it in most of my projects instead of my regular foot.
Want more easy sewing tips?
- Adjusting presser foot tension
- How to use the seam ripper properly
- How to match stripes perfectly
- Easy spaghetti straps
- Easy way to turn tubes right side out without a tube turner
- Sewing sharp corners and points
- Elastic join tip to reduce bulk
- DIY hem guide
- 12 ways for finishing seams
I hope you found this tutorial both enjoyable and informative! I appreciate your feedback, so feel free to share your thoughts in the comments section below. Thank you for reading my tutorial and watching the video, and may your sewing projects bring you joy and creativity! Happy sewing!
DIY seam guide
Materials
- fabric to sew
- thread
Tools
- Post-it pad
- seam gauge or ruler
- erasable marker
Instructions
- Using your seam gauge, measure the seam allowance you need to sew, starting from the needle to the right.
- Mark the spot for ease of reference (this is optional).
- Remove the last page from the post it pad.
- Place the post it with the glue side right next to the mark you made on your sewing machine plate and press firmly.
- Place the fabric under the foot and push it to the right until the edge meets the pot it.
- Start sewing. At this point you only need to make sure the fabric doesn't slip to the left as the right side is secured by the post it.
Video
Most popular sewing projects:


Article may contain Amazon & affiliate links. As an Amazon Associate I earn from qualifying purchases at no additional cost to you.

You can use clear glue gun glue on back of your rulers and it doesn’t ruin your fuller and it can be removed with by rubbing it with thumb on it
I absolutely LOVE your idea of using a post-it pad as a seam guide. For those with a free-arm machine – try an elastic thru a matchbox. Place the elastic at the desired seam allowance and the matchbox will do the same as the pad of post-its.
I just use a short piece of double sided foam tape, using one side until the sticky is gone then peeling the protective layer off and using the other side. When not in use I just stick it onto the end of the machine for ease of access.
Hi Ronald! Thanks for the great tip! Have a wonderful day!
I really needed this, I have been wanting to get something plastic to put near my throat plate for a guide. This is really going to be a help, rated #10. Thank you so much! 👵
Thanks so much, Karen! Have a wonderful day! xoxo
Hello, I used this method prior to reading your post.
However, I have one more step….
I first would ADD
– SUPER GLUE to all sides
– I then used a LARGE binder clip – to hold post-it-Note pad together,
to enable lit dry.
—-UPDATE—-
I NOW USE FLEX Glue (Rubberized Glue) – Got from husband ….
Before the Flex Glue, I used Elmer’s Rubber Cement…
Hope this helped you….
If you want a picture, let me know..
Ingenious! Who else would have thought of something so obvious? I have to go and try this now. Thank you! I always find your tutorials so helpful and beyond useful. ♡♡♡
Hi, Sheila! Thanks so much for your wonderful comment! Makes me so happy to see my simple ideas are helpful to others too! xoxo
Ingenious! Somedays my hands tremble and I have the worst time keeping the fabric feeding straight! I am eager to try this out.
Thanks so much for stopping by and taking the time to leave a comment! I hope this little trick helps you with your problem!
Thanks so much for the tip! I too have difficulty keeping my seams straight! This is the best tip I’ve seen yet!!
Thanks, Jill! I’m glad you found it useful! xoxo
What a creative and easy way to sew straight seams. I love it!
Fabulous idea 💡 i really struggle with trying to get straight seems.
You are my FAVORITE site to find the newest ideas. I’ve have used others, but your format and the wide range of crafting ideas is the best!!
Aww, so sweet of you to say that! Thanks so much Rebecca! xoxo
What a great idea, thank you!
Now could you please tell me how to mark the machine to know where to stop before you get to the corner, to stop and pivot to sew the next side?
Hi Cindi. I’m glad you found this tip useful! Regarding your question I would make a mark using just one sheet of paper from the note pad, placed in front of the needle. Calculate the allowance starting from the needle towards you and place that paper there. For example, if you need to stop sewing and pivoting at 1/4″, place the paper 1/4″ away from the needle, in front. When the edge of the fabric reaches the edge of the paper you know you need to stop and pivot. Or you can draw a line on the paper to make it more obvious, 1/4″ away from the needle, and stop when the fabric reaches that line. Another option would be to trace your allowance directly on the fabric using a fabric marker (I think this would be easier and more accurate to use)
WOW!!! This is easy-peasy. Thanks for sharing.