How to pin tulle quick sewing tip
Sewing and hemming tulle and other thin, slippery fabrics can be tricky and time consuming, especially when dealing with multiple layers. Here I’ll share a quick tip on how to pin tulle, that will help you cut, hem and sew tulle without any hassle!
How to pin tulle

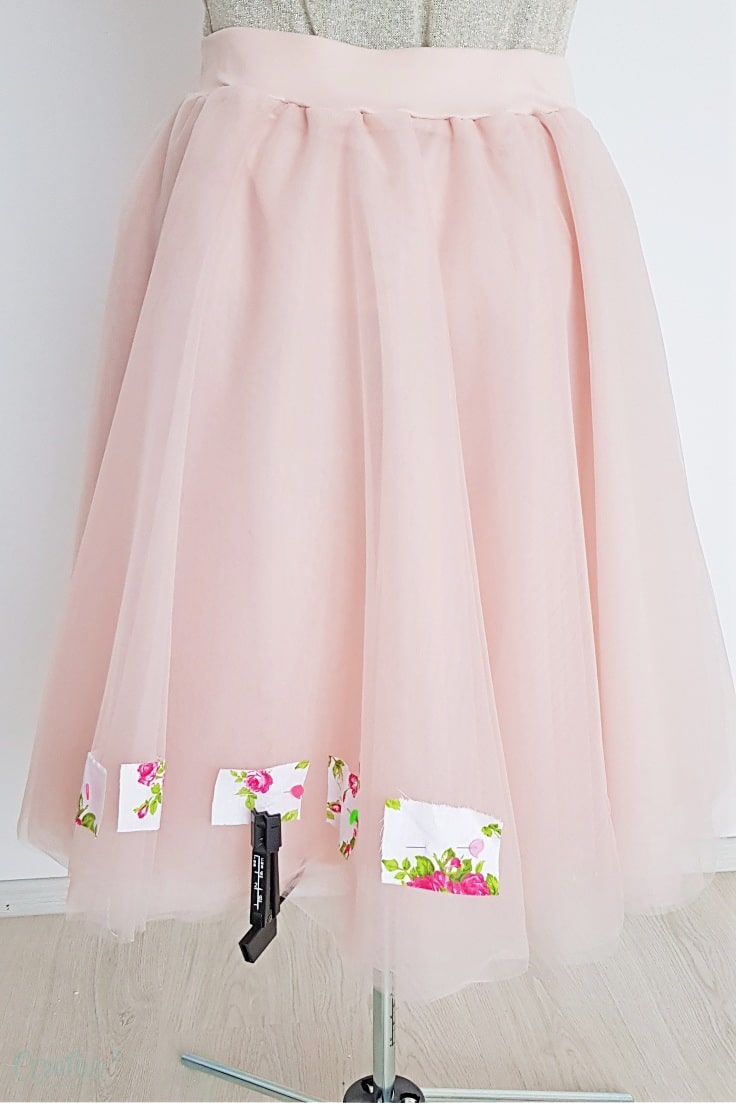
Hey, guys! Today I wanted to share another quick sewing tip I discovered in my sewing journey. This time the tip is related to how to pin tulle fabric but works just as great for other lightweight fabrics that while very beautiful and fine fabrics, are slippery and hard to pin, cut, hem and sew (like organza, chiffon, silk and veil). And you probably already guessed it from the image above, it’s such a simple but brilliant idea!
As you might remember, I made this pretty tulle skirt a while ago. Overall, making this skirt wasn’t hard at all as I used a circle skirt pattern to cut all the layers. But pinning and sewing the tulle were posing a little bit of a problem, mainly because most of my pins were slipping and falling with every move. It was a little time consuming as I had to move slower and with care but I was excited to get that project finished and wear that adorable skirt!
Not long after I made my skirt, my little girl wanted one too. And because I didn’t want to go through the same problems with pins running away from me, I put my mind to work and came up with the best tip: use fabric scraps to place under the pins! This simple idea saved me so much time and helped me sew Ellie’s skirt quicker and with more confidence.

More quick sewing tips you’ll love:
- How to keep sewing needles organized
- Quick way for hiding serger tails
- DIY hem gauge
- DIY seam guide
- Proper seam ripper use & tips
- How to turn a tube right side out without tube turner
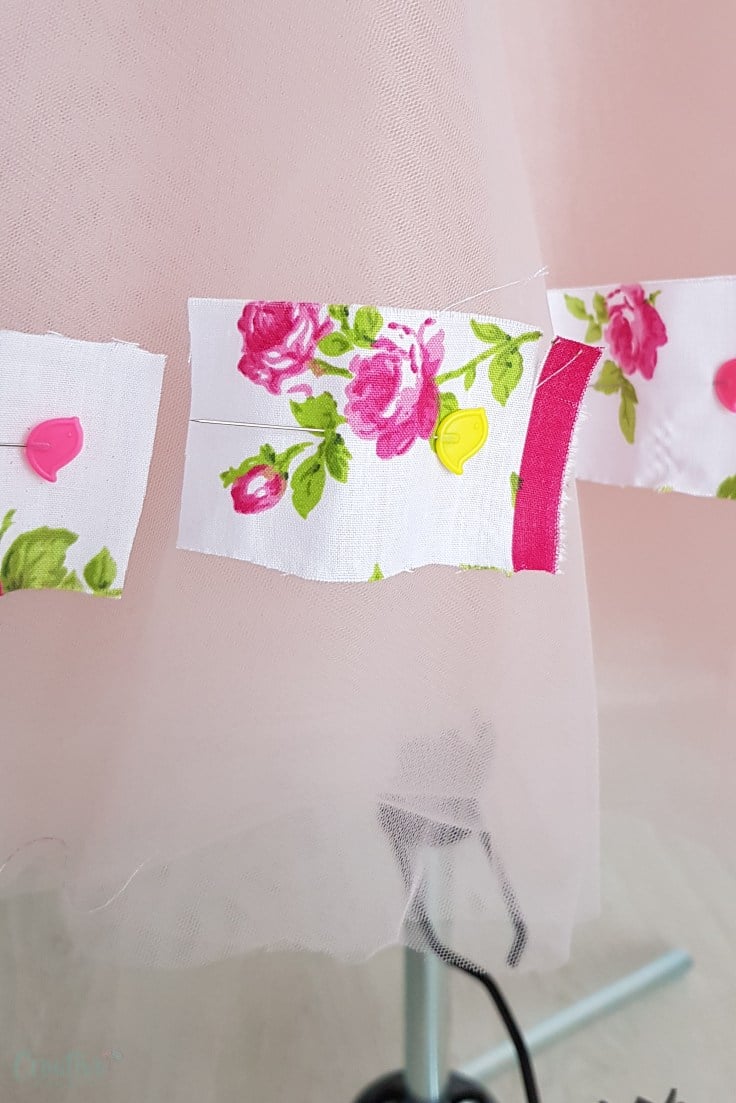
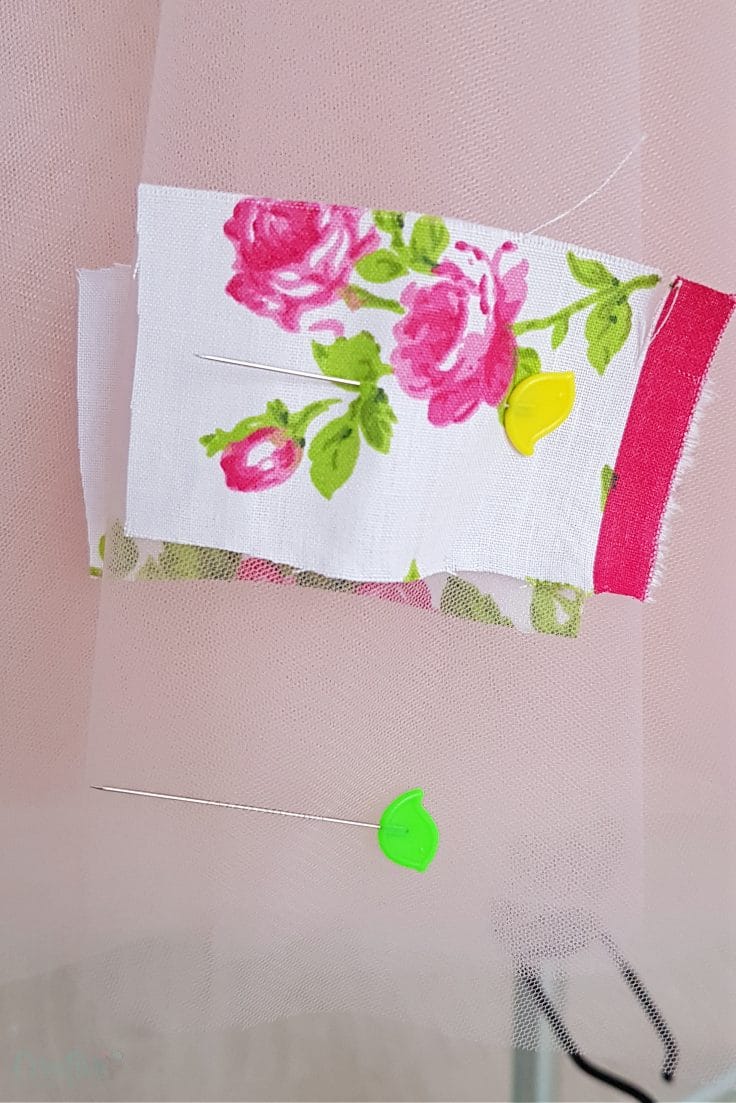
Whether you’re cutting tulle, pinning or hemming single or multiple layers, this trick works wonders for all! Sewing pins won’t stay well in tulle, because the weave in lightweight fabrics is so thin and not strong enough to hold the pins in place. So what I do is cut small rectangles of fabric scraps (or even small pieces of paper), and pin through them. The scraps give the pins something to grab onto and a lot more stability and also more visibility.
So the pins will stay put, even if you shake the garment! I made an experiment and the pins with no fabric scraps were falling right away while the pins with scraps weren’t moving at all.
Using this tip when pinning is also helpful to prevent injuries yourself and works particularly well when hemming a tulle skirt, especially one with multiple layers. What I do is put the skirt on my dress form, pin through all layers using this pinning tip, mark the hem with the help of the hem marker on my dress form then I use my serger to cut along the hemline. I simply un-thread my serger then run the skirt through, allowing the knife to cut just above the hem marks.
What is the best fabric for pining tulle?
A lightweight cotton is the best fabric for pinning tulle. It’s easier to work with and pins can securely hold the fabric.

Can you sew tulle together?
Technically speaking, you can sew a few layers of tulle together but because the fabric is so lightweight and slippery it’s a little tricky to work with. When sewing tulle I recommend using a longer, basting stitch with your sewing machine, for gathering purposes on a single layer of tulle. This would be the longest stitch length setting that your machine accommodates.
But when needing to attach multiple layers of tulle, do this by hand! It’s a lot of work but it’s worth the effort and time you put in!
What are some tips for pinning tulle?
It may seem a little harder to pin tulle but just keep these tips in mind:
- Using shorter, thinner pins is the best way to pin tulle because it has such thin weave that regular straight pins can pull or distort the fabric easily.
- Also, you should use more pins because they might not stay in place, so it’s better to use more than one which will help you hold the fabric in place.
- Measure often to make sure the pins are added in a straight line.
- Try using sewing clips instead of regular sewing pins. They hold the fabric better and I use them for most projects, including when working with tulle.
- Pin as close to the edge as possible and take your time!
- If you have a dress form, use the dress form ruler to hold and pin your fabric layers in place.
- Safety pins are a good alternative to actual sewing pins, especially if you’ve experienced the fabric slip issue.
- Don’t forget to use fabric scraps when pinning.
- Tissue paper is also a good choice for pinning tulle and easy to remove and reuse. I also tried wax paper but found it not as well performing.
- When trimming the excess tulle after pinning (assuming you’re pinning for hemming purposes) use a rotary cutter with a fresh blade to keep the tulle from being distorted instead of using regular sewing scissors. I think tulle is best left without a regular hem though so I would leave the edges of tulle raw. I use pins to establish an even straight edge on the hem line but I always leave the hem edge of the tulle raw. So I just make sure the tulle’s hem line aligns with the base fabric underneath (the skirt lining) so the tulle lenght and the skirt length are the same.
What if you can’t pin tulle?
I know that sometimes it’s just not possible to pin tulle. For instance, when the skirt has multiple layers and you don’t have a dress form to pin through all the layers at once. In this case I recommend try using sewing clips instead of regular sewing pins because they hold the fabric better.
If this doesn’t work, try using a serger or hand baste. I like to use a larger needle to hand baste as it’s easier to see and handle and you can work with larger areas at a time, as opposed to a smaller needle. When hand basting, I also like to use lightweight thread for easy removal and to avoid distorting the tulle. Regular weight thread works fine for machine sewing, particularly if it’s used to attach a few layers of tulle together.
There you go, these are my little tips on how to pin tulle. I hope you’ll find this tutorial helpful and if you like my simple trick share the post with others who might need it!
Is there anything else you’d like to add? Please let me know your thoughts in the comments below! Thanks and happy sewing!
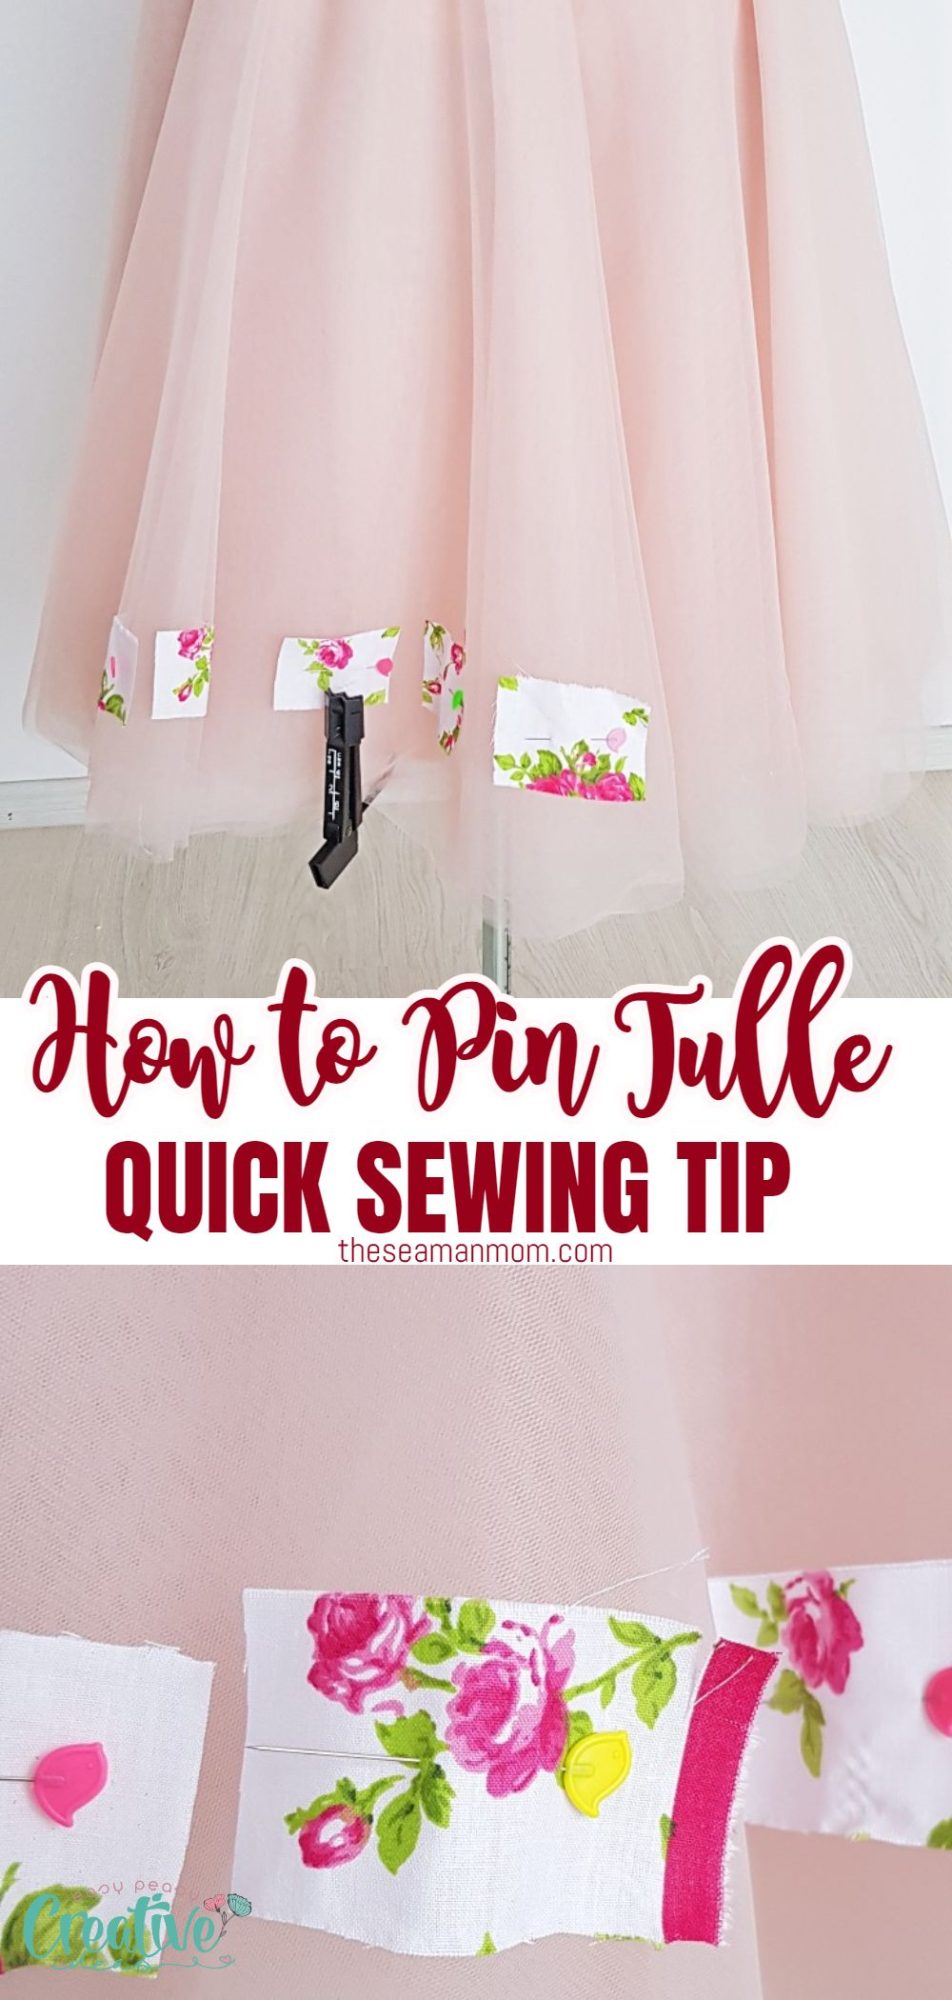
Pin to save for later

Most popular sewing projects:
- Tips for sewing a round hem
- Corded bag handles
- Flutter sleeve dress pattern
- How to laminate cotton fabric
Article may contain Amazon & affiliate links. As an Amazon Associate I earn from qualifying purchases at no additional cost to you.


A long time ago, when I was using illusion and tulle for bridal veils, I used boutonnière size pins, weaving them in and out of the fabric. Sewing clips would have been wonderful.
Great tips.
Sheila