

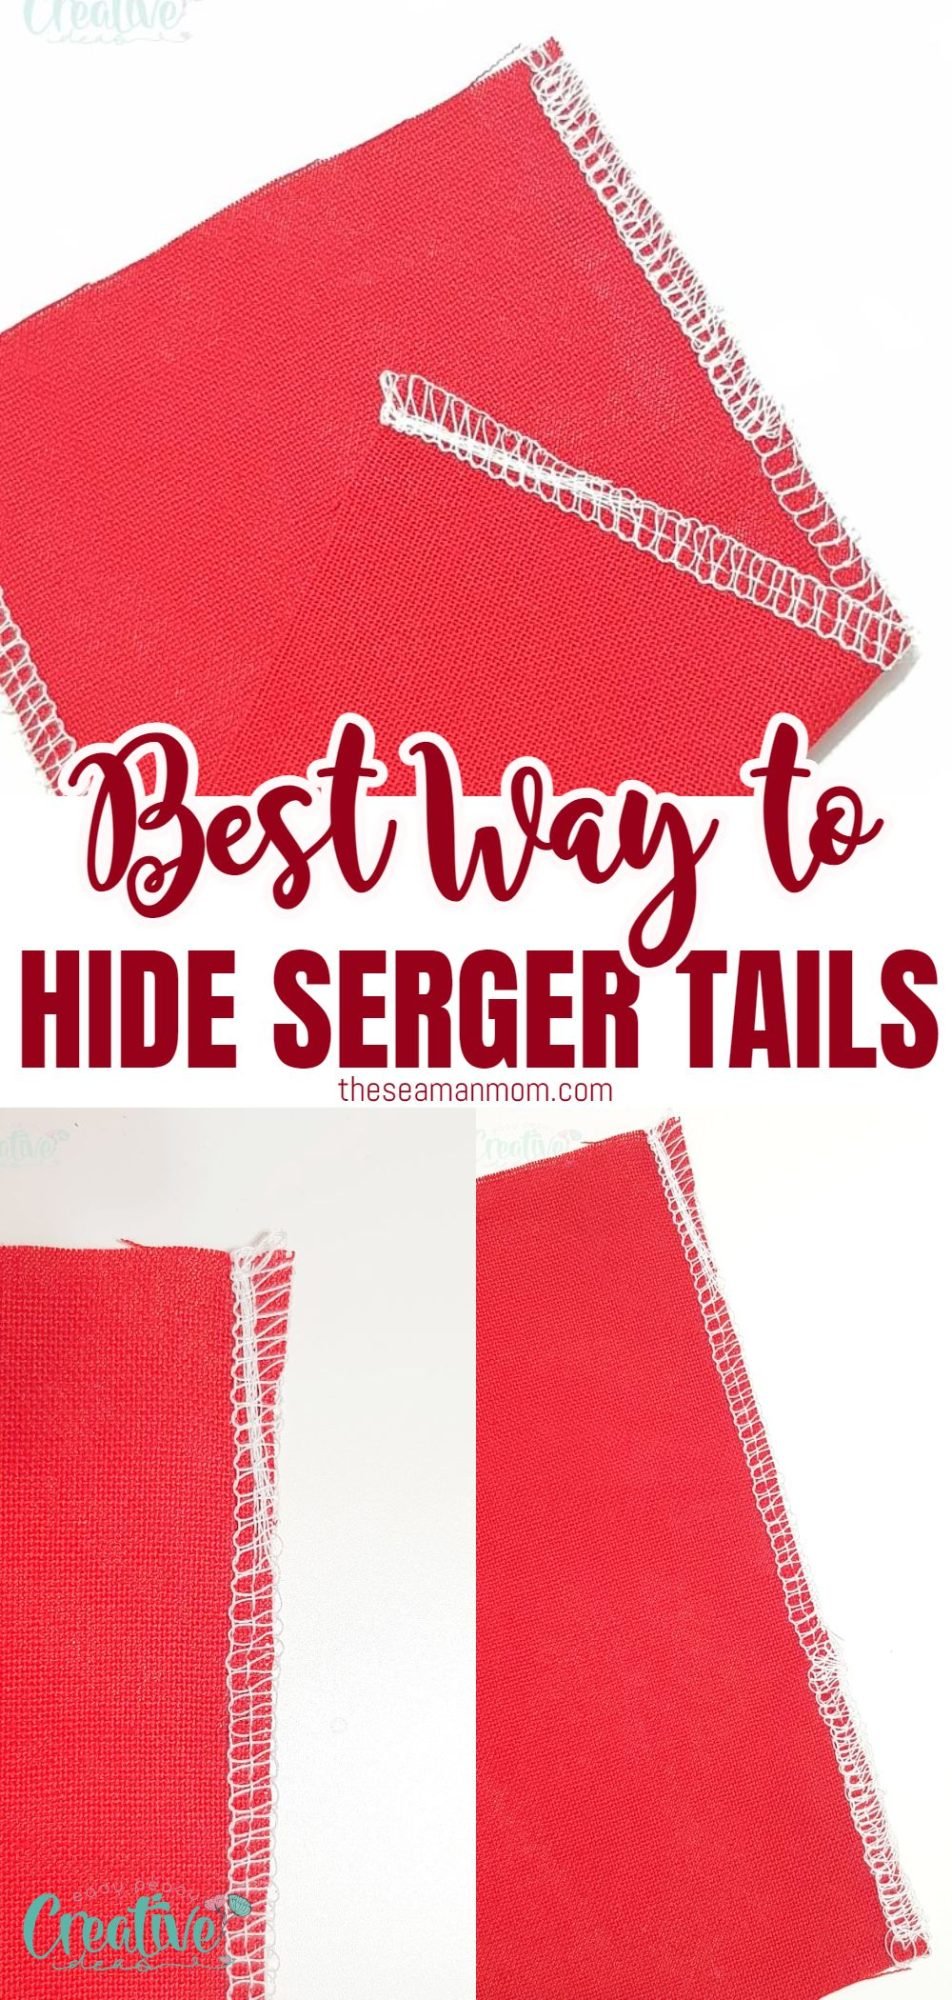
How to hide serger tails – Best easy and quick method
Wondering how to hide those thread tails on your serger? Invisible seaming isn’t exactly a magic trick, but it does seem like a bit of wizardry. Learn how to hide serger tails like a professional so all eyes are on your project and not the seams.
How to hide serger tails
If you’ve ever wondered how to hide serger tails without cutting, tying or tucking the tails, you’re in the right place! While I love my serger machine, I’ve always been terrified about starting and finishing serging because of those ugly thread tails! I never knew how to finish serger tails or how to have a clean start until I discovered this simple and quite cool method.
I never really wanted to get a serger, I was convinced it’s not a necessary supply so for years I finished my seams other ways and I was pretty happy . There are so many ways to finish your seams and make them look beautiful! But last Christmas I got a nice gift, the kind of gift you can’t possibly say no to because you instantly fall in love with: a Brother serger 1034d. The moment I saw this machine I realized my sewing will get an instant upgrade to a totally new and professional level! This machine was amazing and still works as great as on day one! I absolutely love it and I won’t waste any opportunities to use it!
More quick sewing tips you’ll love:
- Serged rolled hem tutorial
- DIY hem gauge
- Make your own seam guide
- How to match stripes
- How to make spaghetti straps
- Turning tubes right side out without a tube turner
- How to pull out corners completely
- Elastic join tip to reduce bulk
But…! I hated starting and finishing the thread tails, they looked quite disturbing to me, just hanging there and looking out of place! I used to spend a few good minutes hand stitching them, just to get them out of my way. My eyes were literally hurting at the sight of these ugly thread tails! I figured there must be an easy and quick method for hiding serger tails, other than cutting and unraveling the whole chain. And I got lucky! A sewist friend who’s a lot more experienced than I am, showed me how to hide serger tails in a nice, easy and professional way.
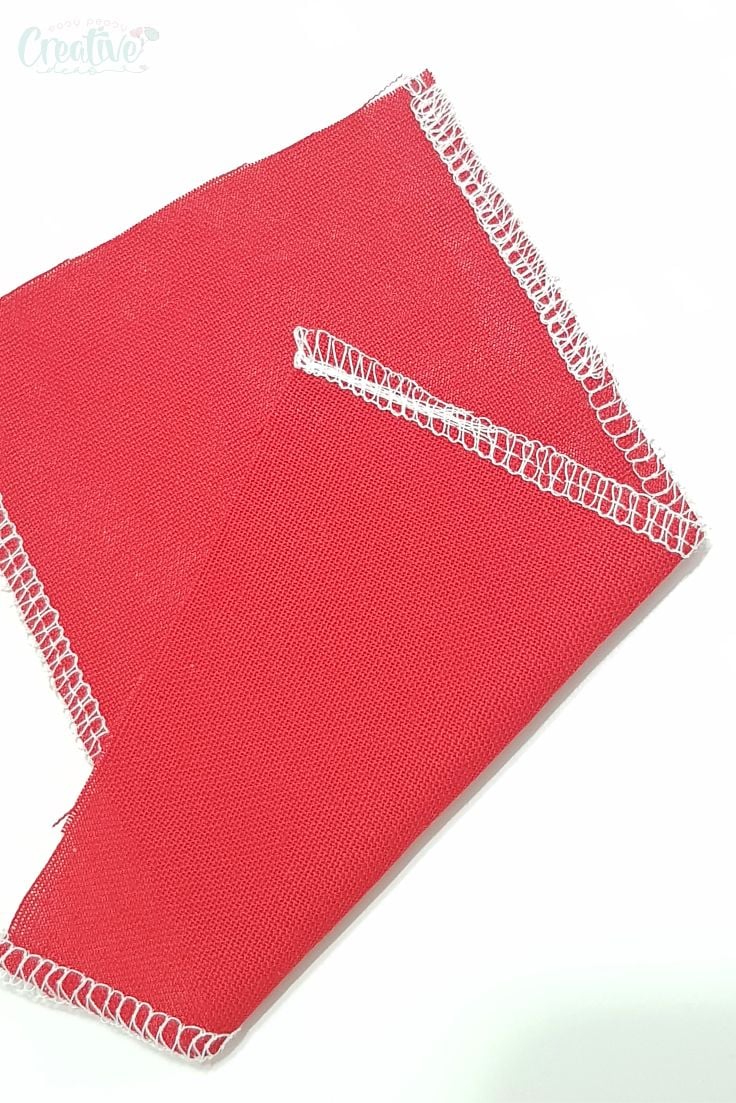
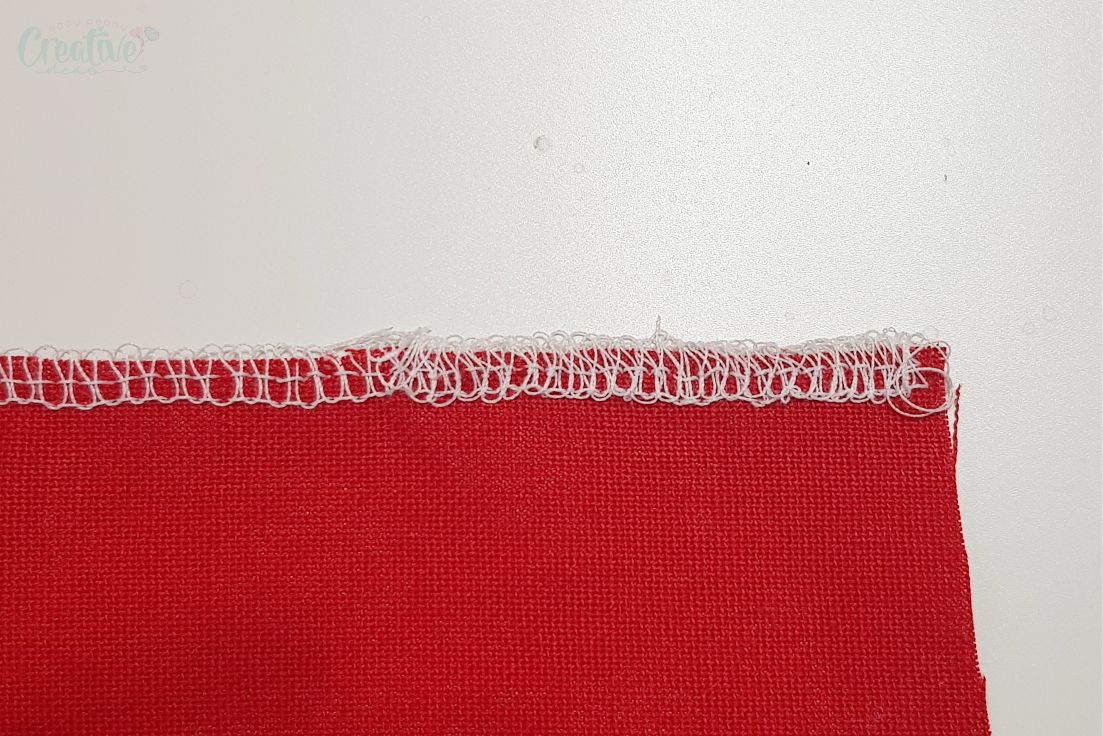
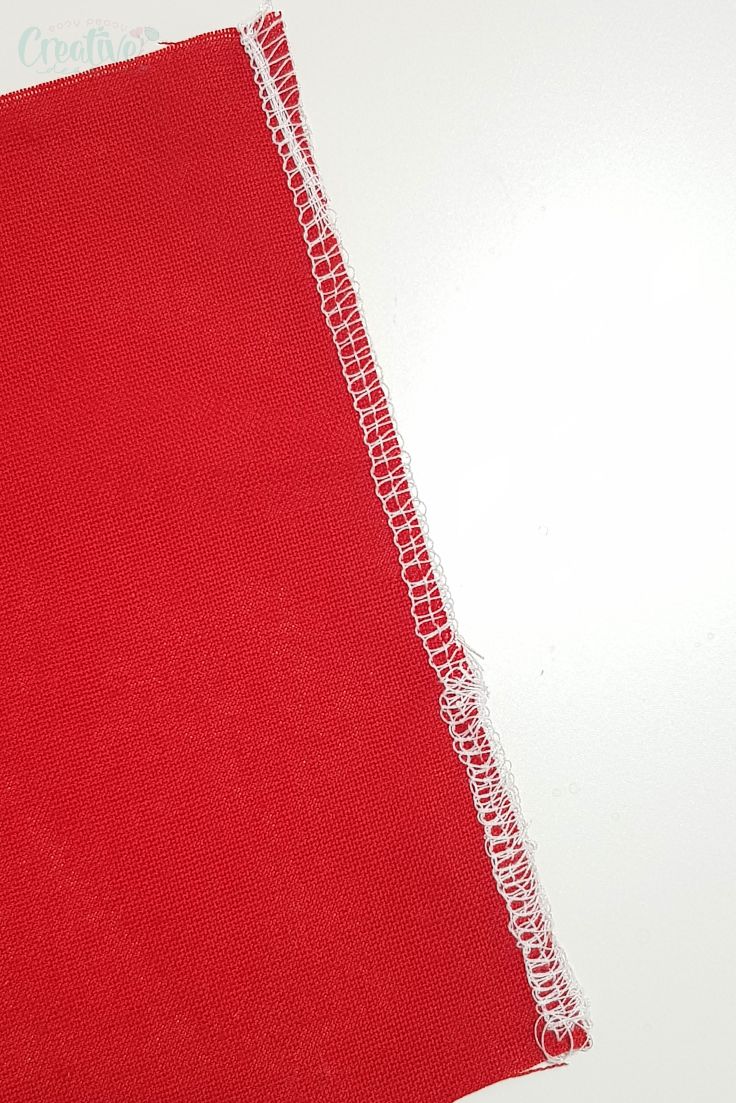
These are the tails at start
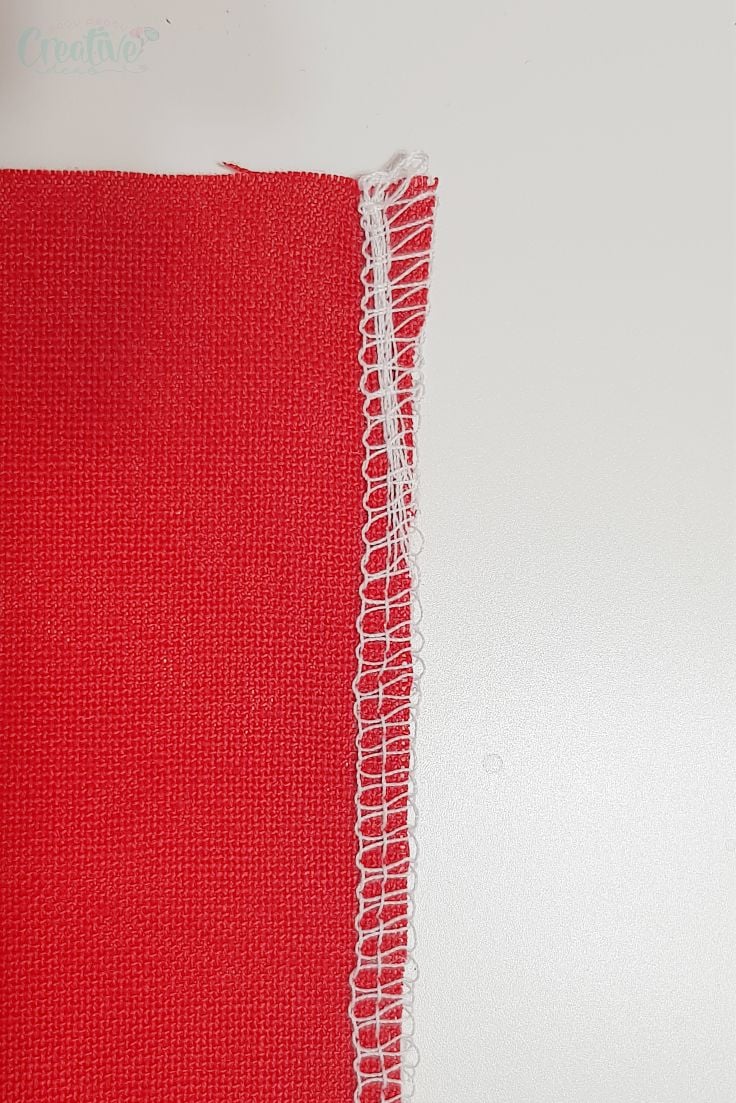
And finish
This method needs a little bit of practice but once you get the hang of it, you’ll never go back to any other method you might have in use right now. With this method you’ll get to hide both the starting and finishing serger stitches and the whole process takes less than a minute. Fair enough you could always go back to your serger tails once your project is done, tuck them in, tie them, sew over them or secure them with glue but why would you spend extra time on finishing your thread tails when you can do that “as you go”?
How to finish serger tails
Materials:
- scrap fabric to practice on
- sewing machine
- scissors
- pins
- serger/overlocker machine
- optional – clear serger foot
Directions:
Hiding tails at start
- Start by folding your piece of fabric scrap and cutting into two pieces.
- Place them right sides together, pin and sew with 1/4″ allowance along one side.
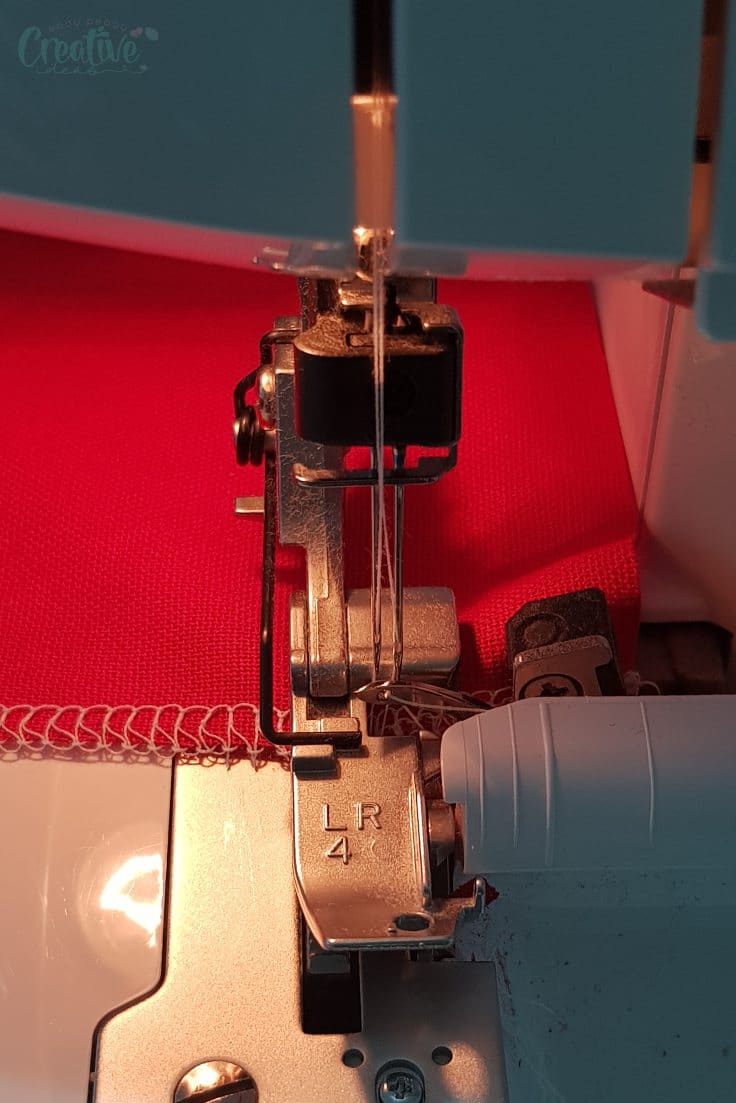
- Take your project to the serger machine, lift the serger foot and place the fabric under the foot, right in front of the needles (the fabric edge should be parallel to the needles).
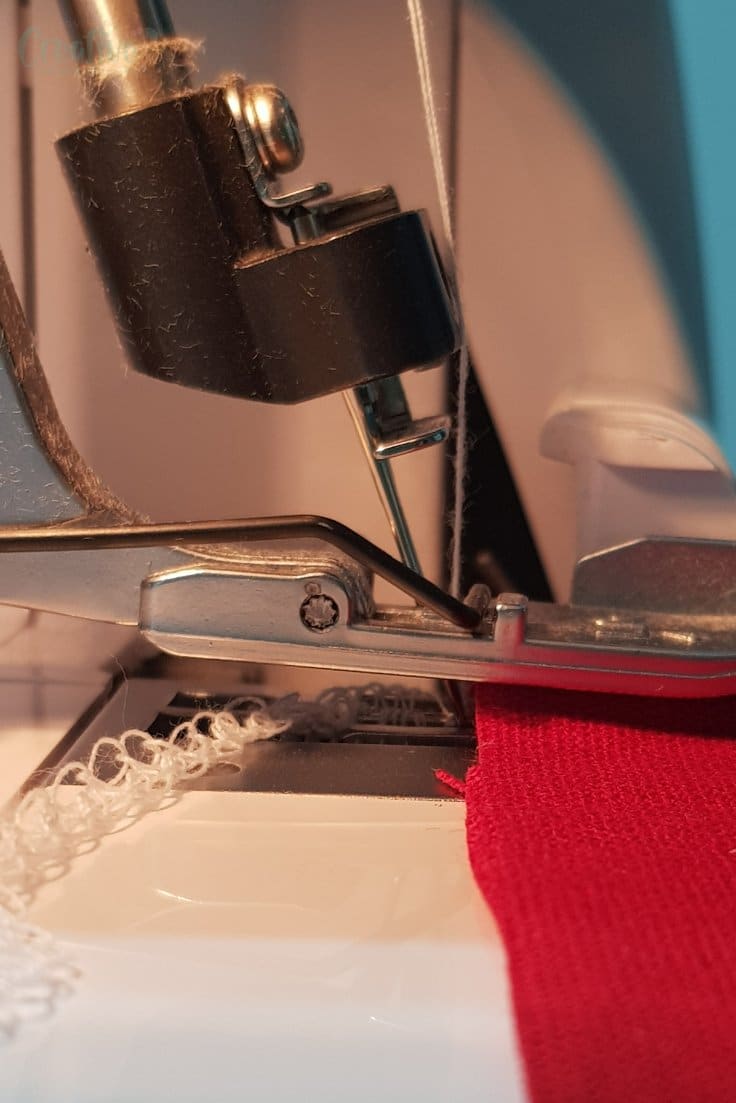
- Lower the serger foot. Sew only 1-2 stitches, just enough to catch the fabric, then stop. This is where a clear foot comes in very handy so if you have a clear serger foot, use that one instead of your regular foot.
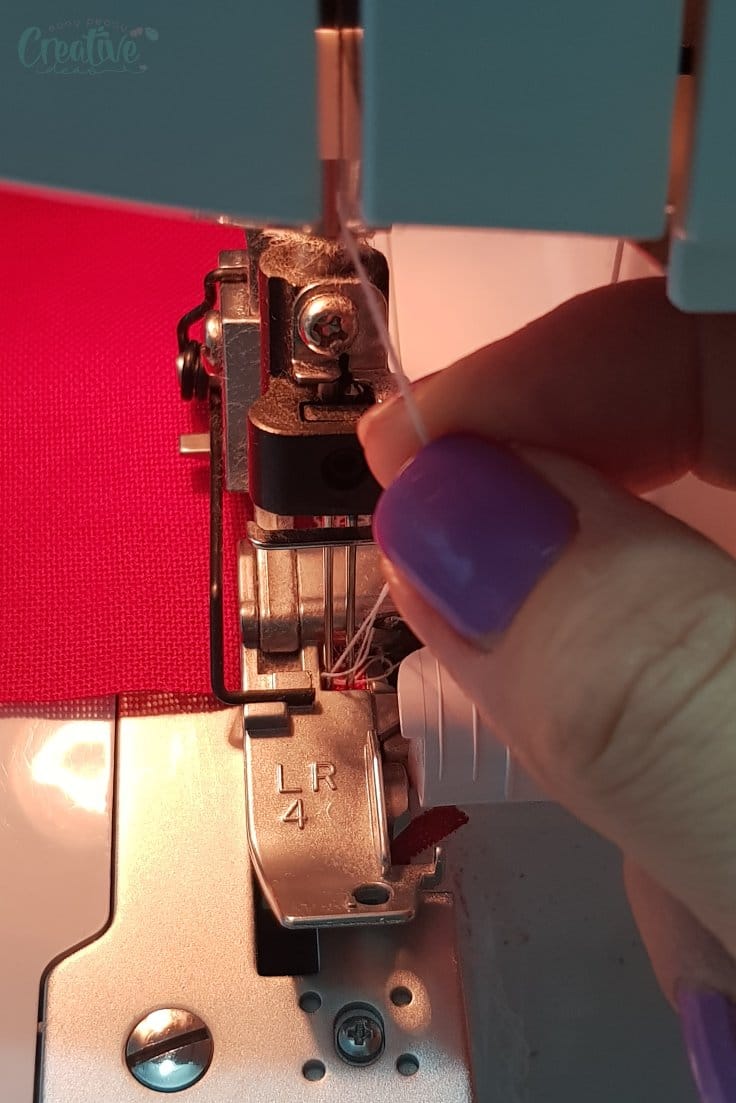
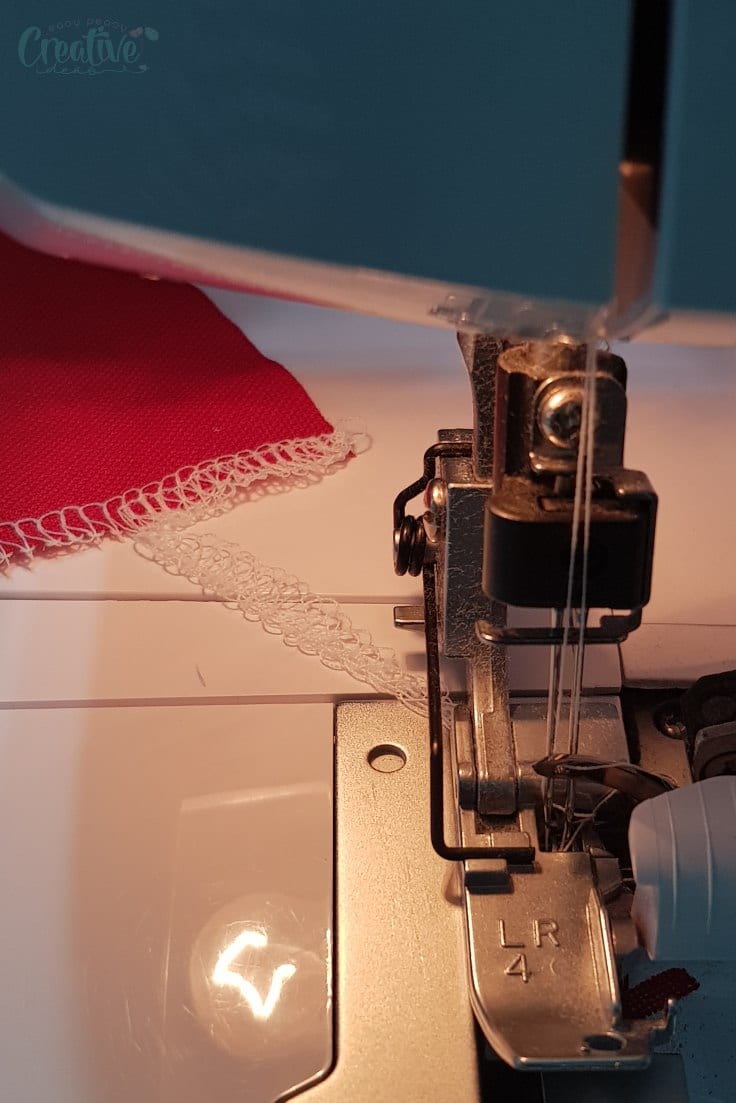
- With the needles down into the fabric, lift the presser foot again.
- Pull the chain of threads firmly until it unravels completely.
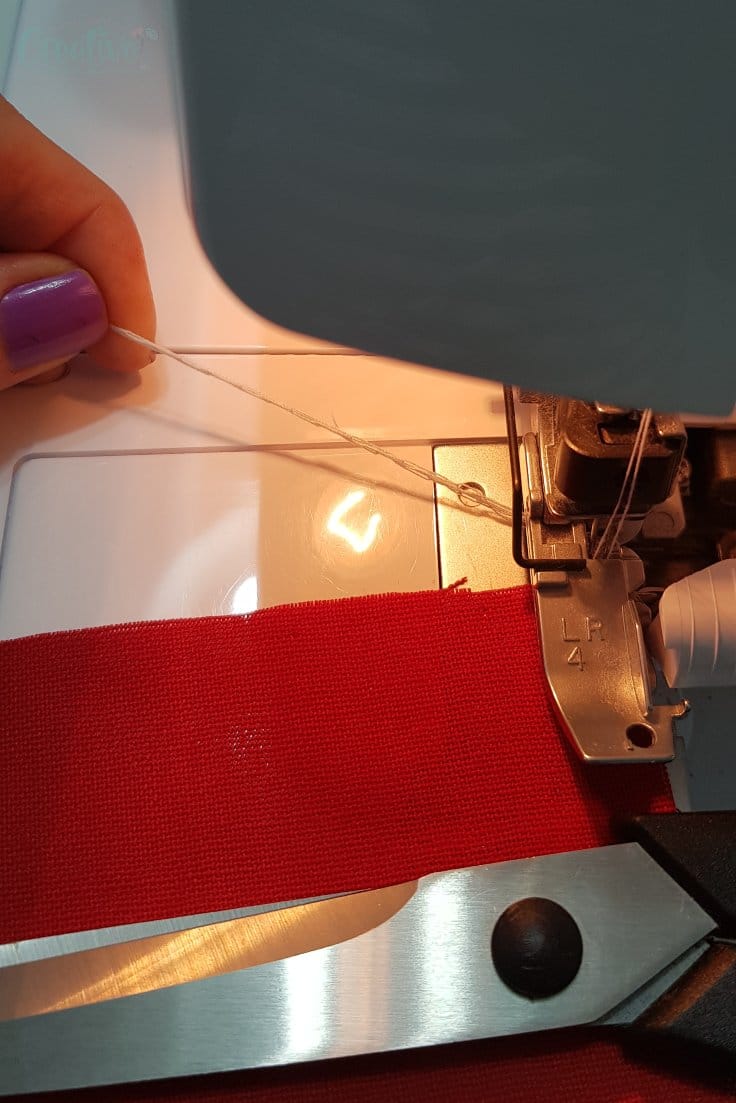
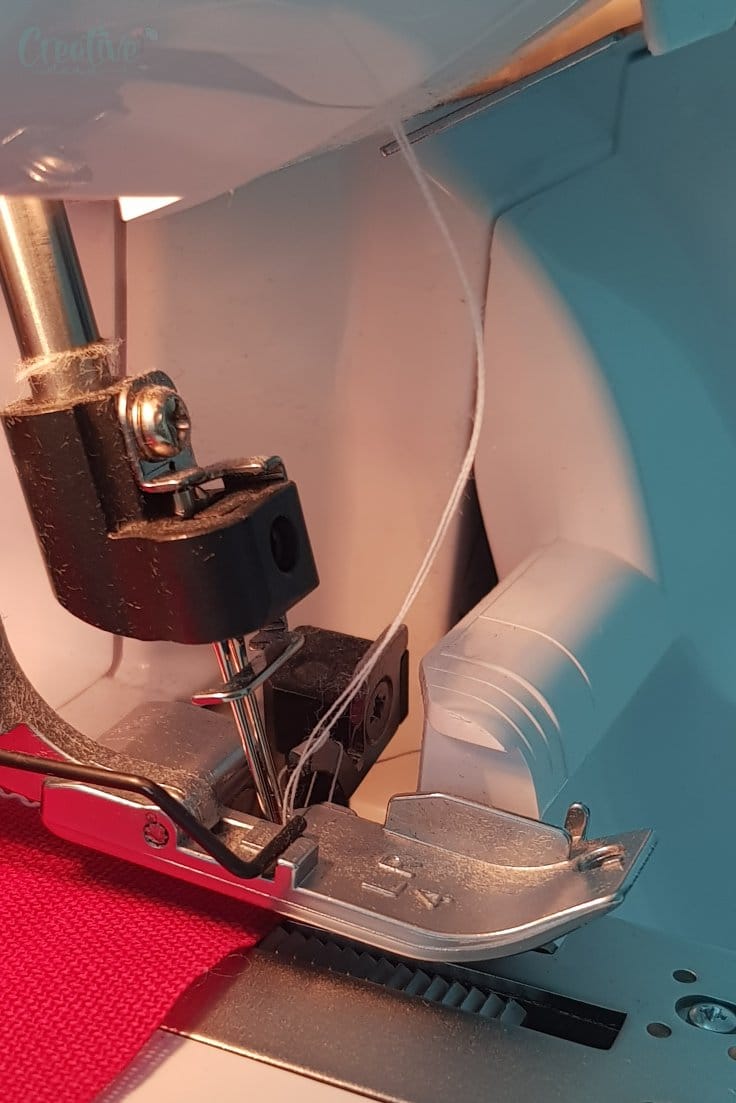
- Bring the unraveled thread chain around the needle, under the presser foot, towards the front.
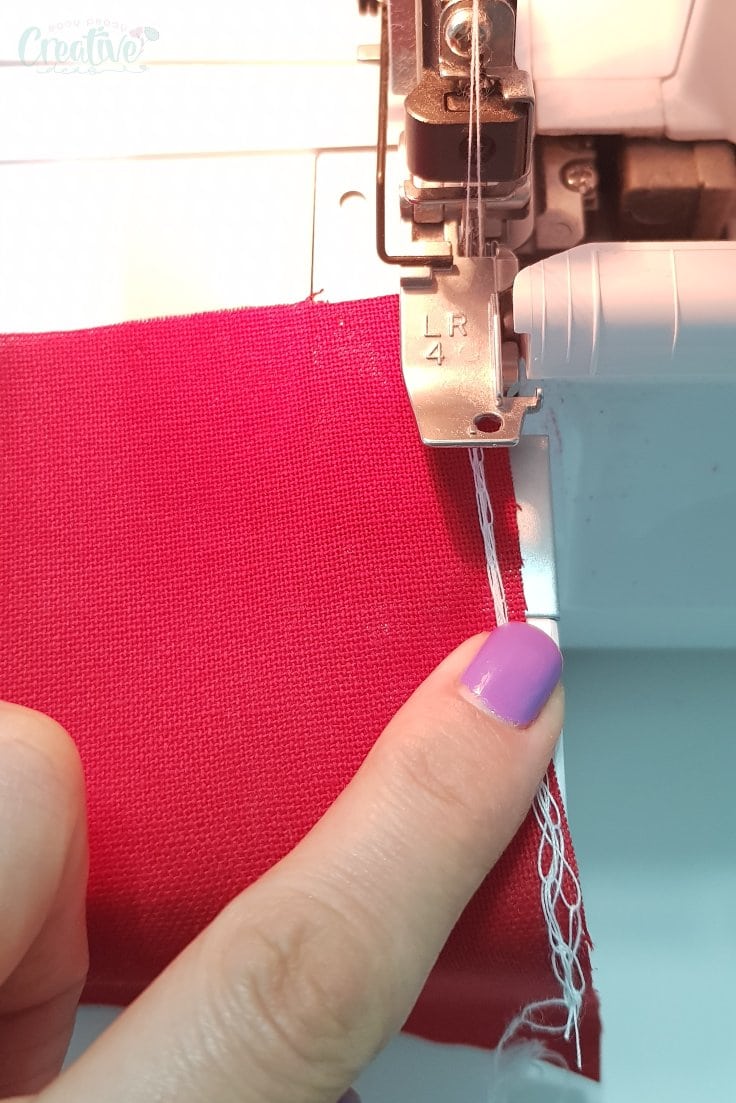
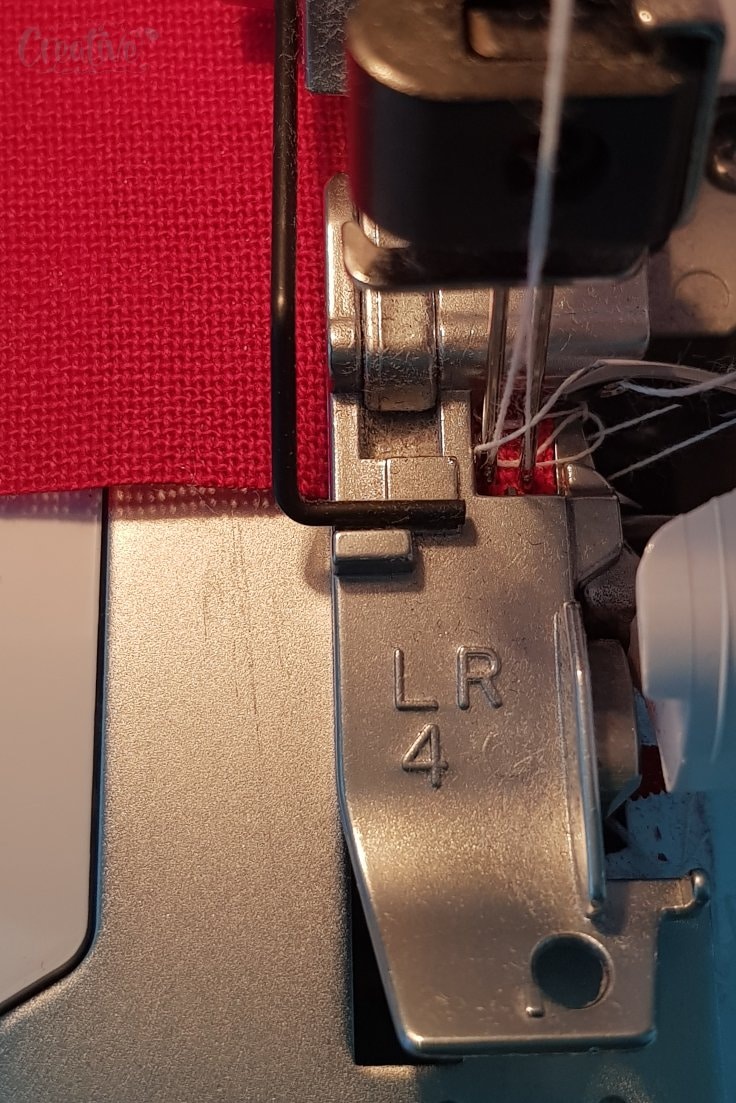
- Lower the presser foot and start stitching over the unraveled chain until it reaches the knife.
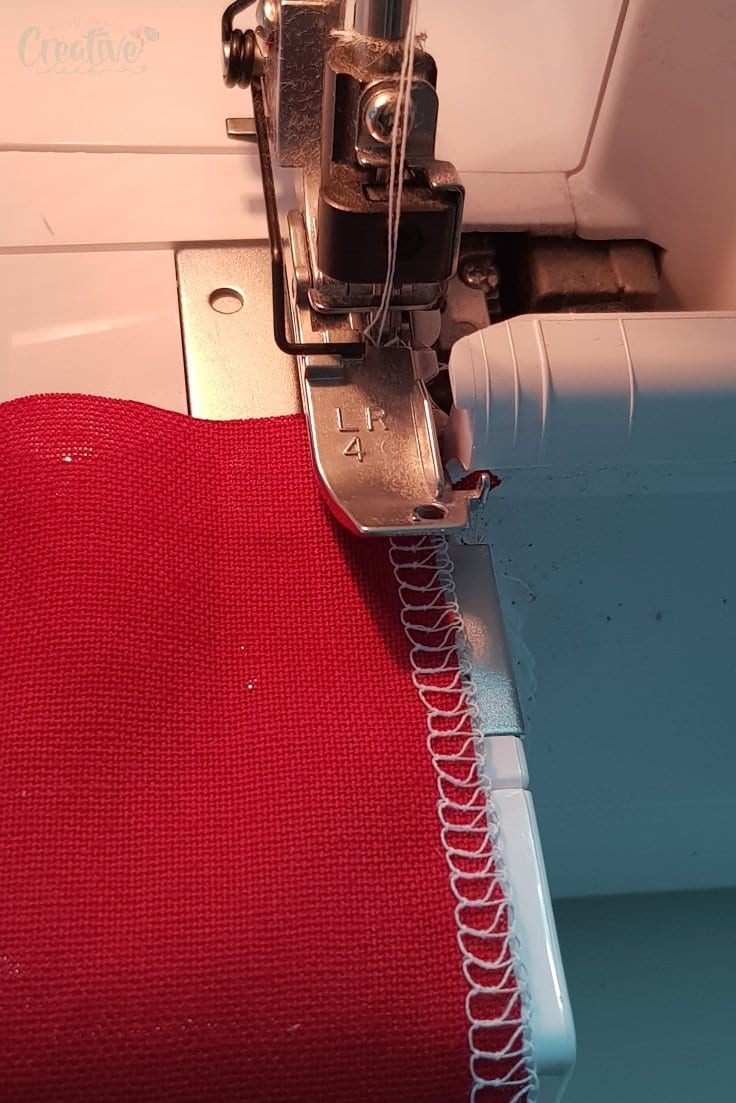
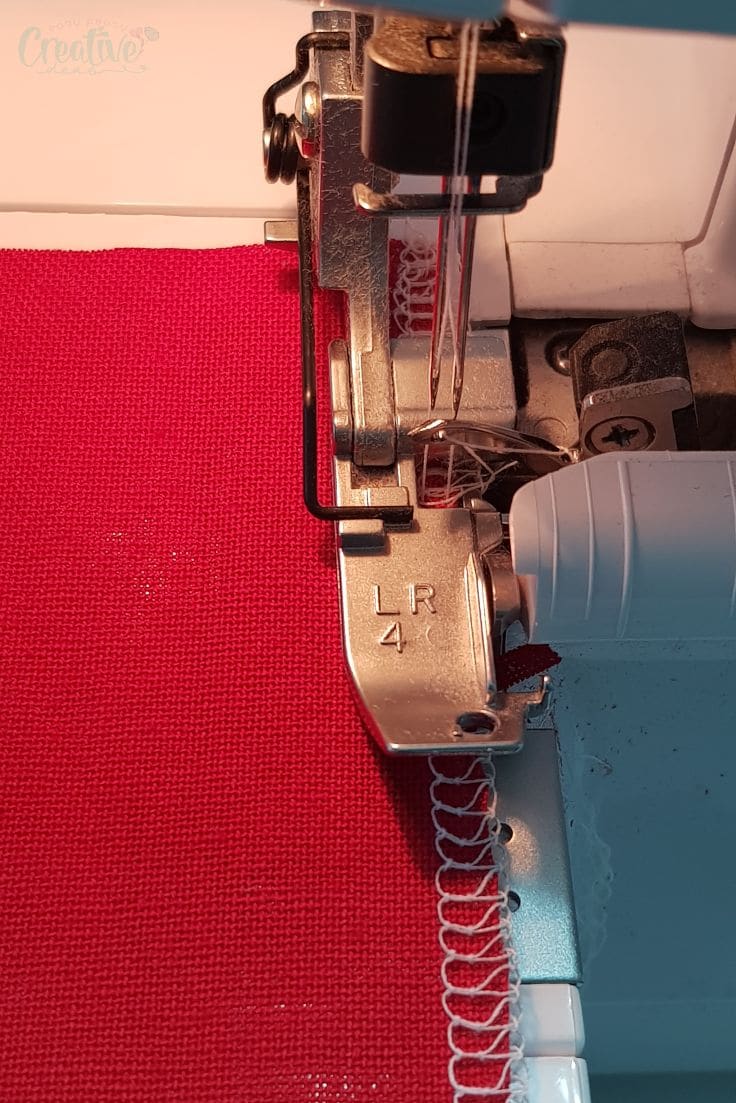
- Continue stitching all the way to the end of the seam.
- Stop when the needles are right at the edge of the fabric (again, that clear foot comes in very handy). You need to make sure you stop right at the edge otherwise a new chain is created and you can’t get rid of that. Use the wheel for the last 2-3 stitches instead of sewing with the pedal, if you need to. This is the reason this method needs a little bit of practice.
Hiding tails at end
- When you finish serging, lift the presser foot up.
- Grab the needle threads and pull them just a little. This will loosen up the tension under the needle plate so you can easily flip the fabric in the next step.
- Grab the top of the fabric, slide it to the left then flip it over completely, bringing it around the needles and to the front.
- The bottom of the fabric should now be the top. The edge of the fabric should be right in front of the needles, perfectly aligned with the needles.
- Lower the presser foot and sew about 1/2″.
- Stop and lift the presser foot again.
- Push the fabric to the back so the serged seam is now parallel to the needles, the edge perfectly aligned with the needles.
- Leave the foot up and sew until the fabric is released and you’re able to safely cut the chain.
- Trim the extra chain and you’re done hiding your serger tails on both ends!
If you found this tutorial helpful, please let me know in the comments below. I would also love to hear your best method for how to finish serger ends!
Pin to save for later
Most popular sewing projects:
- Tips for sewing a round hem
- Corded bag handles
- Flutter sleeve dress pattern
- How to laminate cotton fabric


Article may contain Amazon & affiliate links. As an Amazon Associate I earn from qualifying purchases at no additional cost to you.

Good idea, thanks!
I don’t really mind tucking the ends in with a needle but this is even better :-)
And I am so very happy with my serger, best buy of 2019!
Thanks, Yvonne! Happy you found my method helpful! Enjoy your serger! xoxo
Thank you so much!!! Gone in circles attempting to figure out a method. I will practice this afternoon. Still learning how to use my new serger. They are a lot like horses really; they sense fear. I think I’m more afraid of creating a situation (with threads, needles, etc) that I can’t fix rather than the knives or the damage capable from them to my fabric. There is just so much going on with that machine. Don’t want to mess up the magic when it’s working. Am learning that my new machine is much more forgiving than the older models though. Pulling some slack in the threads doesn’t send all into chaos now. Thanks again for the clear, step-by-step. Gently leading me through. Just what I needed!
Hi Kathryn! Thanks so much for your lovely comment! Happy to hear you found my tutorial useful and easy to follow! xoxo
This is the best thing since the invention of the serger itself!! I’ve always made sure the cut ends are encased by the intersecting serged edges, or taken a large plastic or metal blunt needle and threaded the tails back in for an inch or so. This is fantastic – thanks so much for sharing :)
Glad you found it useful, Cheryl! Thanks for your lovely comment!
Oh! Such great and easy to understand tutorial! This really help me a lot because I´ve got reuma. This is going to be an extra loved favorite in my sew-folder. Thank´s for all the great things you share with us.
Hi, Marie! Thanks for your lovely comment! I’m happy to help :)