

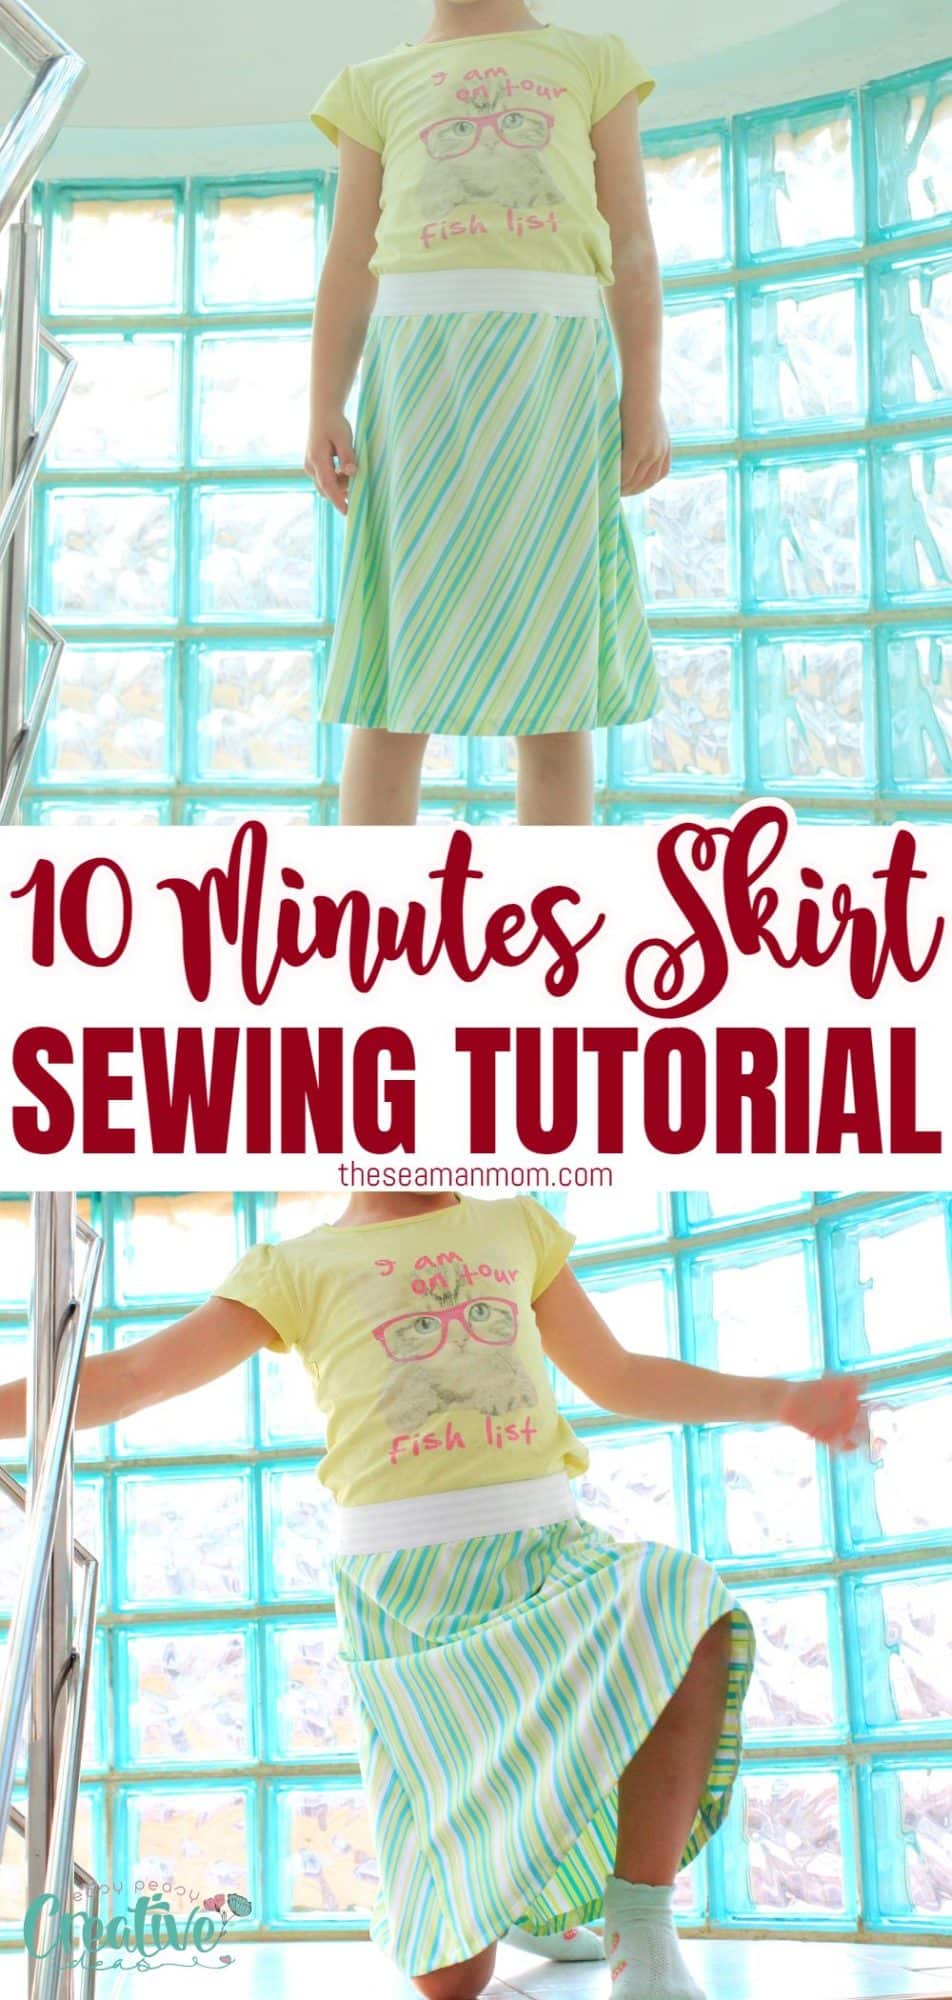
The 10 Minutes Skirt Sewing Tutorial
Need a quick skirt that’s easy to make, comfortable to wear and looks great on most body shapes? Make this easy peasy a line skirt pattern that’s ready to wear in just 10 minutes!
Elastic waist skirt

Ever since I quickly pulled together this half circle knit skirt for myself (which I absolutely love btw and wear everywhere!), I’ve been meaning to make an A line skirt pattern for my little munchkin girl using the same fabric. Unfortunately life happened and I kept postponing it. Until today! I had no excuse really, since this DIY a line skirt is so easy and super quick to sew, just 10 minutes from start to end so not sure exactly why I didn’t manage to sit down and finish this until now.
As a side note, could she be any funnier with those kind of creepy teeth? One of them was super loose and started to move in a funny way (she’s lost it soon after shooting this), so every time she was smiling, that cheeky tooth was in a new position. So funny but still super cute in a child her age, don’t you think? Oh, and she’s also obsessed with cats, can you tell?
Similar posts you will love:
- Box pleated skirt
- Flutter sleeve dress pattern
- Reversible skirt tutorial
- A line dress pattern
- Paper bag skirt
- Gathered dress pattern
- Girls peasant top pattern
- Circle skirt pattern

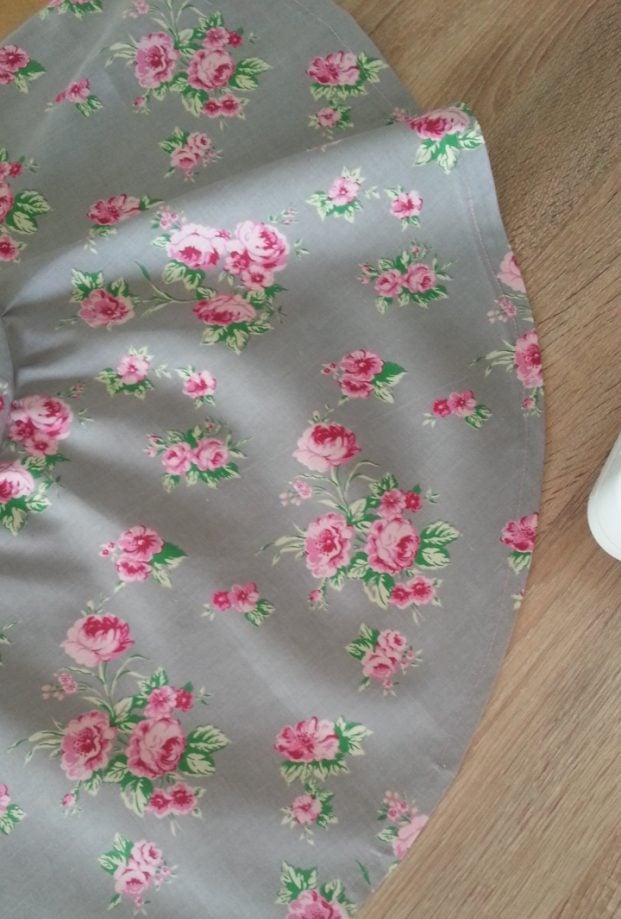
But let’s get back to business, to our lovely A line skirt pattern! I realized I don’t have enough fabric left to make a half or full circle skirt for Ellie as I made for myself. But I’ve been inspired to make a way quicker version: a simple A line skirt with elastic waist! I only needed two small pieces of fabric and a wide elastic band to make this cuteness in a snap! Literally! It took longer to measure her than cutting the fabric and sewing the waistband and the skirt!
For my A line skirt tutorial, I took Ellie’s waist and thigh measurements, decided the skirt length, cut two trapezoids out of knit fabric, joined them at the sides, attached the elastic band at the waist and hemmed the skirt.
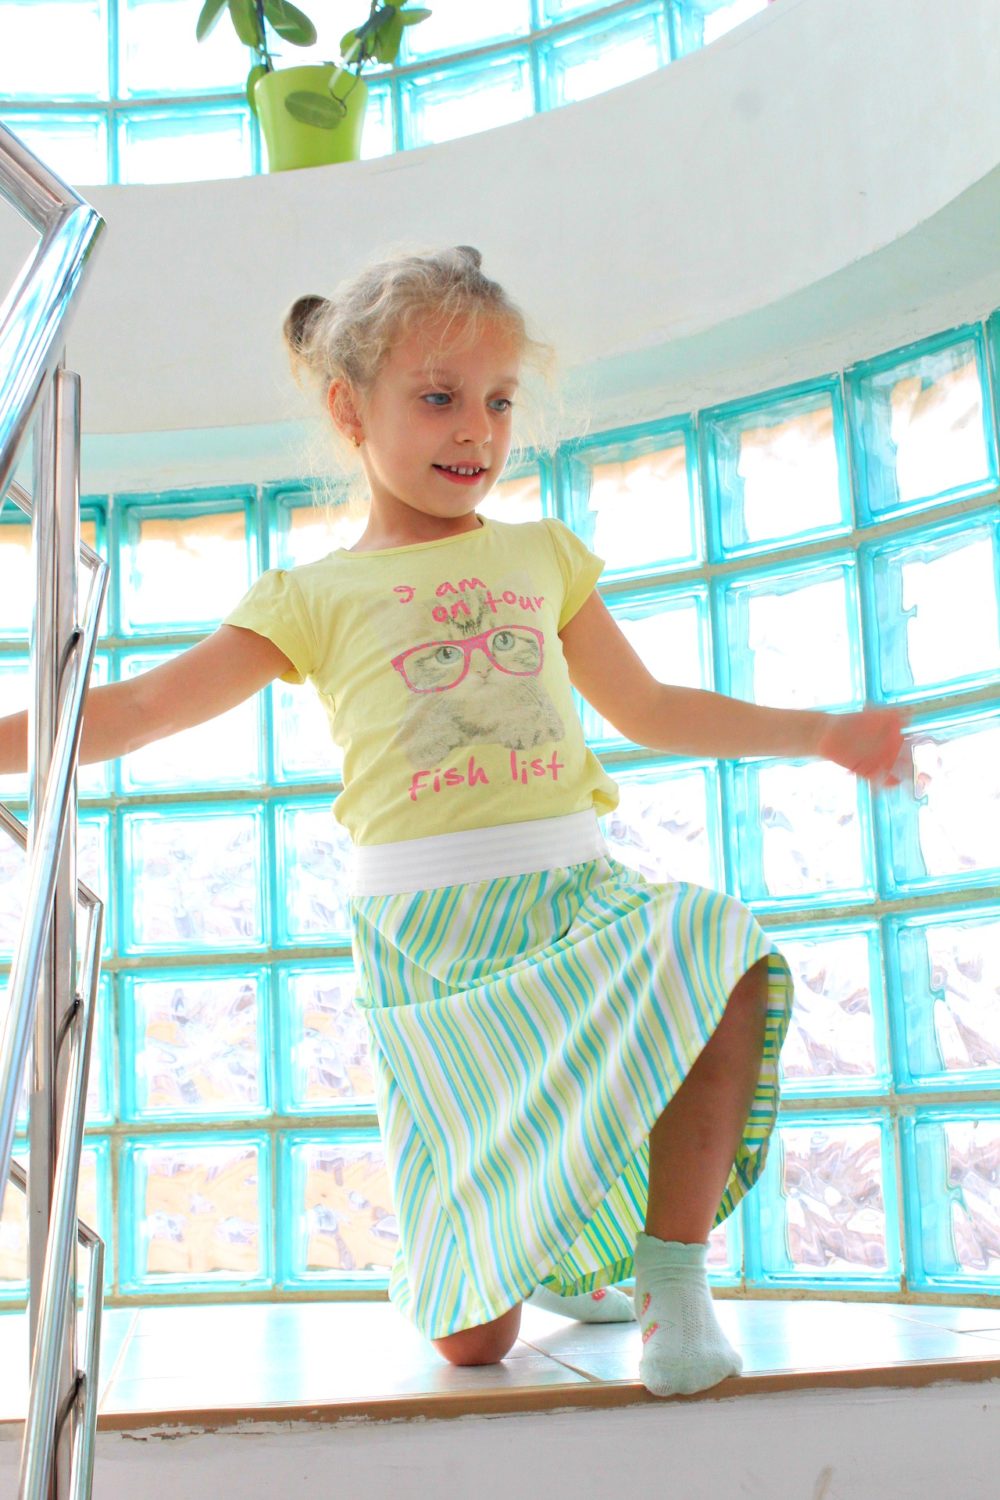
And now Ellie’s gonna be wearing her super comfy elastic waist A line skirt everywhere too, just like her mommy (we’ll probably need to wash those babies soon though lol; just kidding, we’re never taking them off, ever!). Wanna make your own? Easy peasy, lemon squeezy! Here’s how to sew a simple skirt!
A Line Skirt Pattern

Materials:
- about 1 yard of knit fabric, for a child skirt (for an adult you probably need about 2 to 2 1/2 yards)
- 2″ elastic
- knit needle
- matching thread
- pins
- measuring tape
- fabric pen
- scissors
- walking foot (optional; adjust presser foot tension to a lower setting if using regular foot, as indicated in this post)
- sewing machine
Directions:
- Get your measuring tape and measure around your waist, your thighs (or the widest area of your lower body), and the length of the skirt. Add 2″ seam allowance to all measurements.
- Decide how wide the bottom of the skirt would be. Mine was double than the waist measurements.
- Draw a trapezoid shape using the thigh measurements for the top edge of the trapezoid, the bottom skirt measurements for the bottom edge of the trapezoid and the skirt length for the height of the trapezoid. Cut 2 pieces of fabric out, according to these.
- Place fabrics right sides together, pin the sides and sew down.
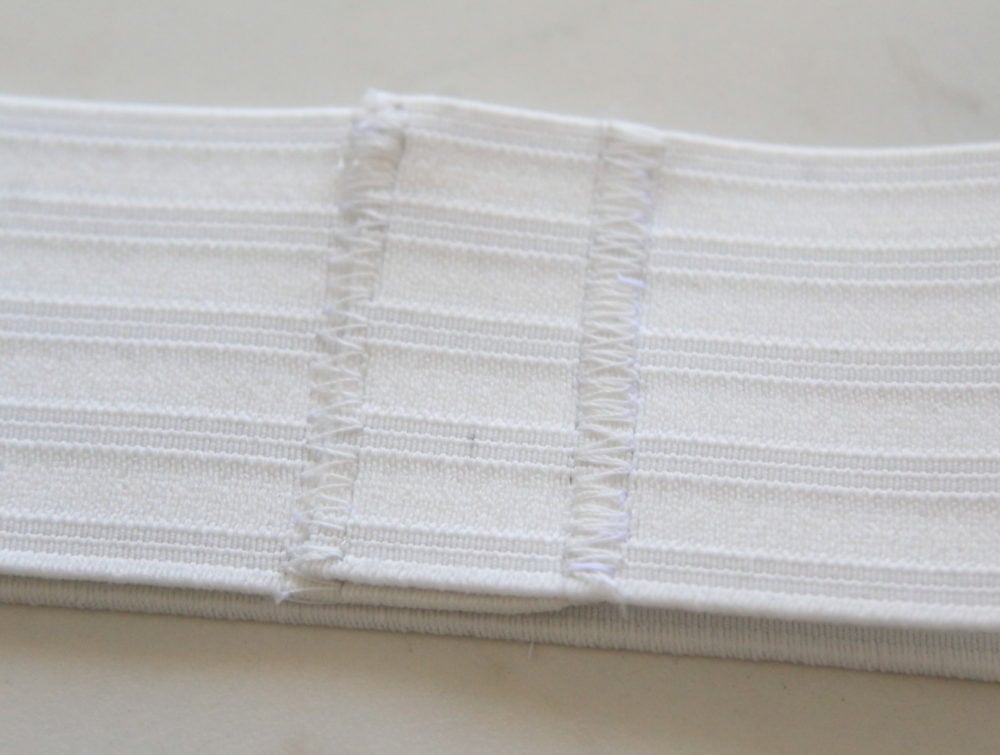
- Cut a piece of elastic that is as long as your waist measurements, plus 2″ allowance.
- Overlap the ends by 1″ and using a zig-zag stitch, join the sides together.
- Pin elastic band to the skirt at the sides and middle.
- Attach to the top of the skirt using a zig-zag stitch, slightly stretching the elastic as you sew to match the length of the skirt.
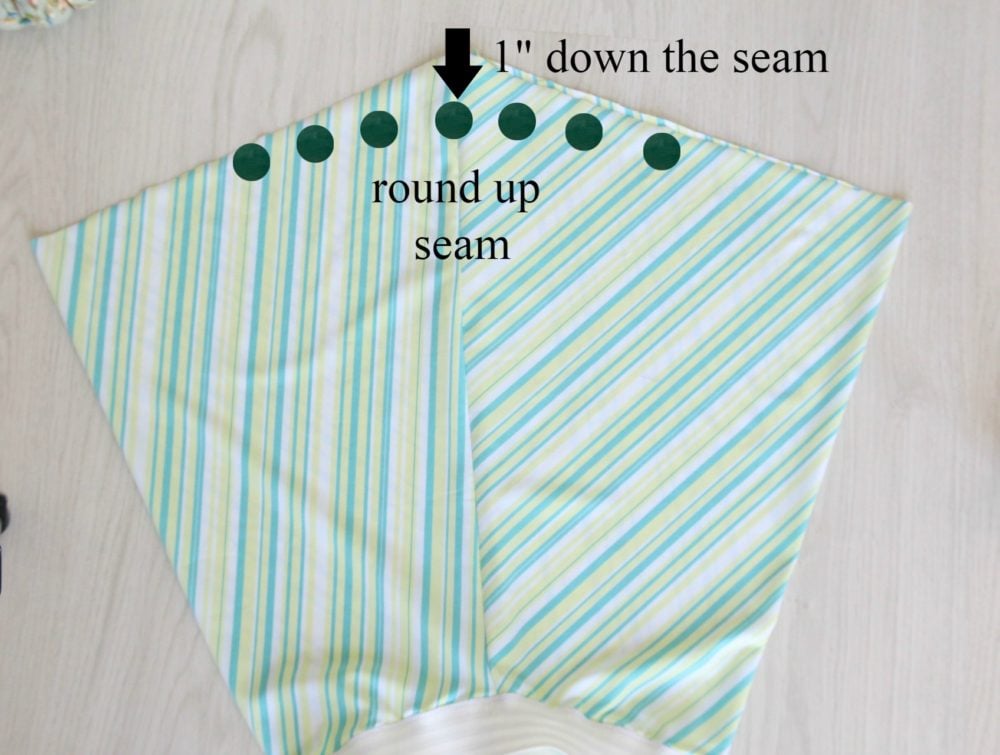
- Fold the skirt so the seams are now facing each other. You’ll notice the sides are pretty pointy. Measure about 1″ down from the end of the seam up, mark and round the seam up. If you don’t do this step, the side of your skirt will be longer than the rest of the skirt when you wear it (and yes, the stripes don’t match on this skirt because I didn’t have enough fabric but still look pretty awesome when she wears the skirt)
- Pin and sew the hem and that’s pretty much it! Your A line skirt pattern is ready!
Pin to save for later
More skirt ideas:
- Ruffled wrap skirt
- Knit half circle skirt
- Half circle skirt with lining and zipper
- 30 Minutes pencil skirt
Most popular sewing projects:


Print the sewing card

10 Minutes skirt with elastic waist
Materials
- about 1 yard of knit fabric for a child skirt (for an adult you probably need about 2 to 2 1/2 yards)
- 1 piece 2" elastic
Tools
- knit needle
- matching thread
- measuring tape
- scissors
- walking foot (optional; adjust presser foot tension to a lower setting if using regular foot)
Instructions
- Get your measuring tape and measure around your waist, your thighs (or the widest area of your lower body), and the length of the skirt. Add 2" seam allowance to all measurements.
- Decide how wide the bottom of the skirt would be. Mine was double than the waist measurements.
- Draw a trapezoid shape using the thigh measurements for the top edge of the trapezoid, the bottom skirt measurements for the bottom edge of the trapezoid and the skirt length for the height of the trapezoid. Cut 2 pieces of fabric out, according to these.
- Place fabrics right sides together, pin the sides and sew down.
- Cut a piece of elastic that is as long as your waist measurements, plus 2" allowance.
- Overlap the ends by 1" and using a zig-zag stitch, join the sides together.
- Pin elastic band to the skirt at the sides and middle.
- Attach to the top of the skirt using a zig-zag stitch, slightly stretching the elastic as you sew to match the length of the skirt.
- Fold the skirt so the seams are now facing each other. You'll notice the sides are pretty pointy. Measure about 1" down from the end of the seam up, mark and round the seam up. If you don't do this step, the side of your skirt will be longer than the rest of the skirt when you wear it (and yes, the stripes don't match on this skirt because I didn't have enough fabric but still look pretty awesome when she wears the skirt)
Article may contain Amazon & affiliate links. As an Amazon Associate I earn from qualifying purchases at no additional cost to you.

When you say “round up” the side seams, I’m a little lost. What exactly are you doing? Are you cutting them, folding and pressing, or what? If I cut there, I’m concerned about my stitches unraveling, since all the backstitching will disappear…