Easy & quick bean bag chair you need to sew right now
Make your own bean bag in 30 minutes with this easy bean bag tutorial! This funky DIY bean bag chair is so comfy and easy to make, you’ll want to sew one for each member of your family!
DIY bean bag chair

Hey, guys! Today’s project could not be easier! Ever wondered how to make a bean bag? I’ll tell you how: in just a few easy peasy steps! This DIY bean bag chair is not only an awesome beginners’ project but a great addition to your home decor too! This lovely bean bag sewing pattern comes in very handy, particularly if you have kids who love to hang around on the floor or a very large family.
With the help of this easy DIY bean bag chair you’ll be able to finish one pretty large bag in about 30 minutes. A homemade bean bag chair pattern is not only comfortable but much cheaper too! Rest easy or just laze around on Sundays in a lazy DIY bean bag chair! Or have kids take a nap in them, they’re great for those too! Ellie simply adores her giant bean bag!
Need more sewing for home ideas?
- Simple pillowcase tutorial
- Ruffled mug rug
- Farmhouse style ruffled pillowcase
- DIY bed skirt
- Cutlery holder tutorial
Are bean bags worth it?
A bean bag can be a great home décor item, and very functional at the same time, as you can relax carelessly and then immediately put it away.
You can also customize the size to your kids and make smaller or larger depending on how old they are or how many. Make a small one and carry it around for your baby, or make a super-sized bean bag for two or three kids to play on. At a party or a friends sleepover, you just won’t have enough bean bags if you ask me.

Make an adult-sized bag for your guests to sleep on. You can even make a two-person ag if you’re expecting couples to visit. Fun fact: a miniature bean bag can also be great for dolls or teddy bears, as well as act like a tablet or phone stand while watching something interesting. In this case, you may like to fill it with a more sturdy filling, or add more polystyrene balls.

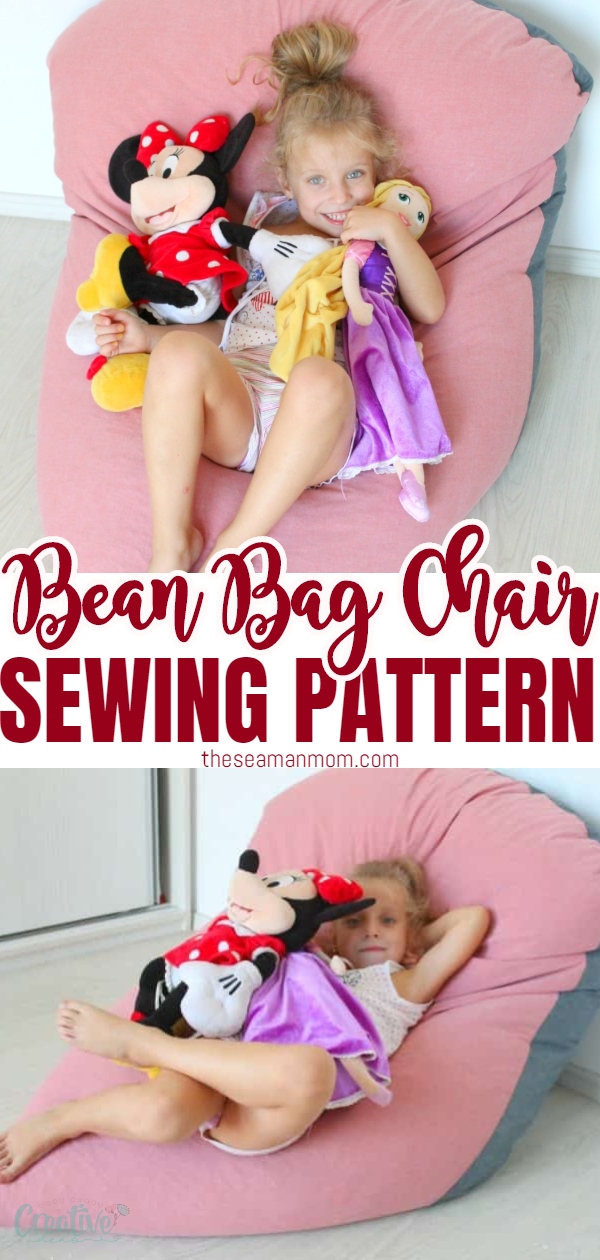
Little miss munchkin spends most of her time on the floor, either playing with her toys, solving puzzles or simply watching her favorite TV shows. While our floors are pretty warm all year round, I simply cannot make peace with her laying on the floor so I thought I should make a nice chair for her. This bean bag sewing tutorial was sooo easy and quick I wanted to make one for us too and this will definitely happen soon, once I find the right fabric to match my home decor. And yes, I know she’s wearing her bean bag the other way around but by all means, you try and convince her she’s wrong!
Is it cheaper to make your own bean bag chair?
You may ask: why make a bean bag when you can buy one? As the stores are full of various bean bags in so many shapes, sizes and colors, it may seem quite easy. The answer is: you can choose your own combinations of shapes, colors and textures to make it your own and match your home décor. Also, you get your bean bag at only a fraction of the price of a store-bought one.
Are bean bags comfortable?
Bean bags have the great advantage of supporting your posture anytime, in any position you may want to relax. They may even be more comfortable than sofas or armchairs, as they are softer, more adjustable and less maintenance.

What kind of fabric do you need to make a bean bag?
My local store doesn’t hold very sturdy fabrics, like upholstery fabric or canvas so I had to settle for jeans fabric. This one wasn’t sturdy enough either but was the best I could find. If you can find canvas or upholstery fabric, best use those, your bean bag will be sturdier and will definitely resist the test of time (in which case you might need these tips on sewing with canvas).
Sturdy fabrics won’t slip, so if well ironed and cut together to match shapes, you will barely need any pins. I like to just sew them together and that’s that. I tell you, your kids will never notice you didn’t sew an exact straight line, so don’t fear a larger project like this even if you are a beginner.
Older kids that can safely use a sewing machine can even help you or try to make this bean bag themselves. Just make sure they don’t work on it unsupervised, especially when using the machine. If they are too young, engage them in filling the bag. It’s going to be so much fun for them!
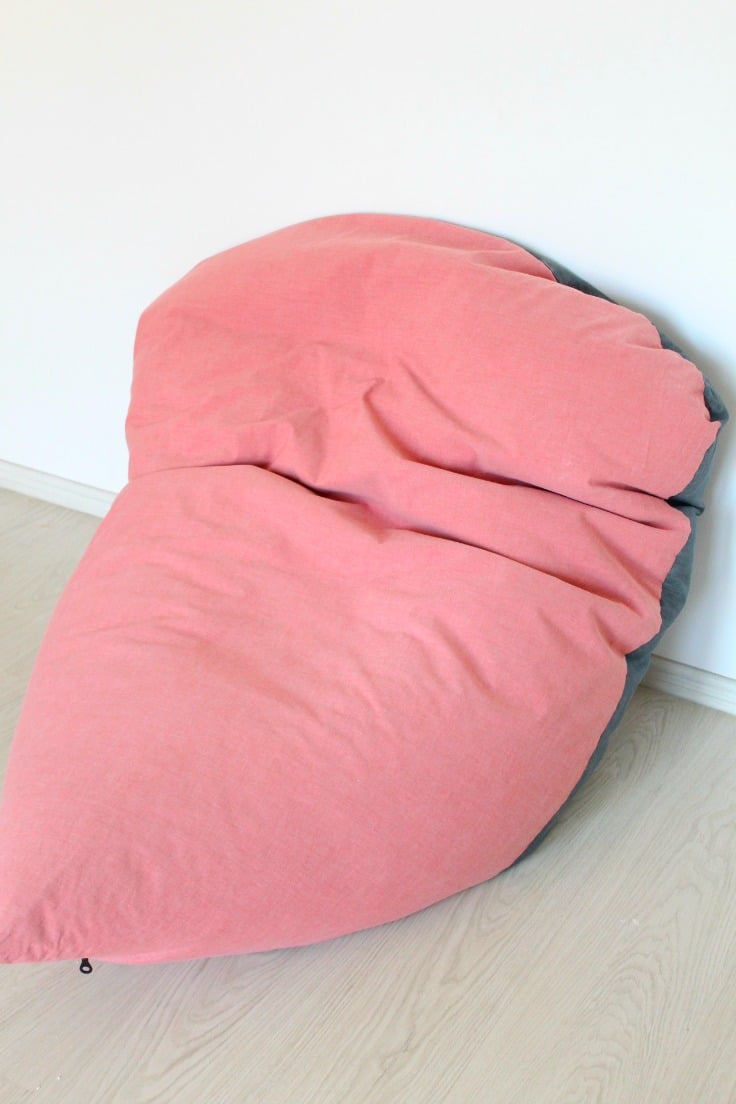
I’m also not crazy about the colors, I wanted something more colorful, with a flowery print or at least some butterflies which would be a better fit for a girl Ellie’s age. But for now, light pink and gray it is!
If you manage to find nice fabrics that match well, you will end up with a reversible bean bag. In case your kids get bored of one pattern, they can immediately flip to the other in any moment.
Similar projects you might like:
Bean Bag Pattern
Materials:
- jeans, canvas or upholstery fabric, 2 x 40″ by 50″
- 1 x 27″ zipper
- bags of beans (as many as you like, depending on how stiff or baggy you want your chair)
- matching jeans thread
- jeans needle
- long flexible ruler
- measuring tape
- scissors
- fabric chalk
- sewing machine
- zipper foot
[amazon-related-products keywords=”product suggestions keywords”]
How do you make homemade bean bag?
Cutting the fabrics
- Lay out the fabrics and cut to size. Make sure both are of the same size.
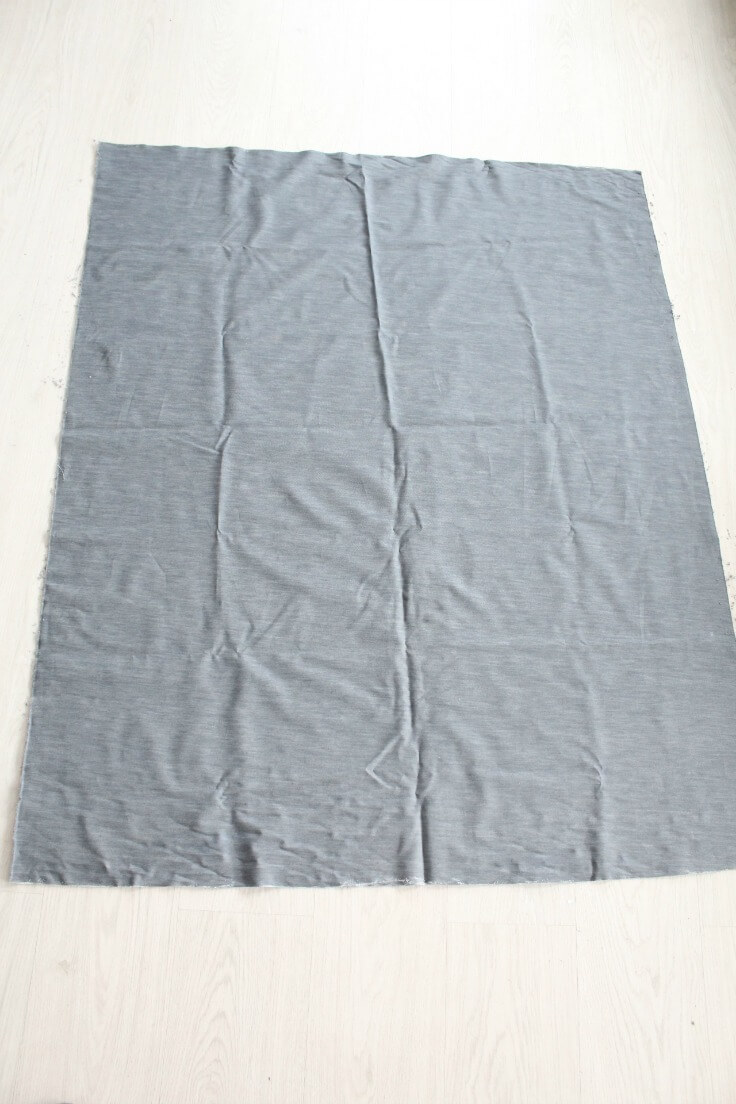
- Fold both in half. On the raw side, measure 6″ from the top down and mark with chalk. From that mark, using a flexible ruler, draw a curve up to the top of the other side (where the fabrics make the fold), then cut out that part. You’ll end up with a round top on both your fabric pieces.
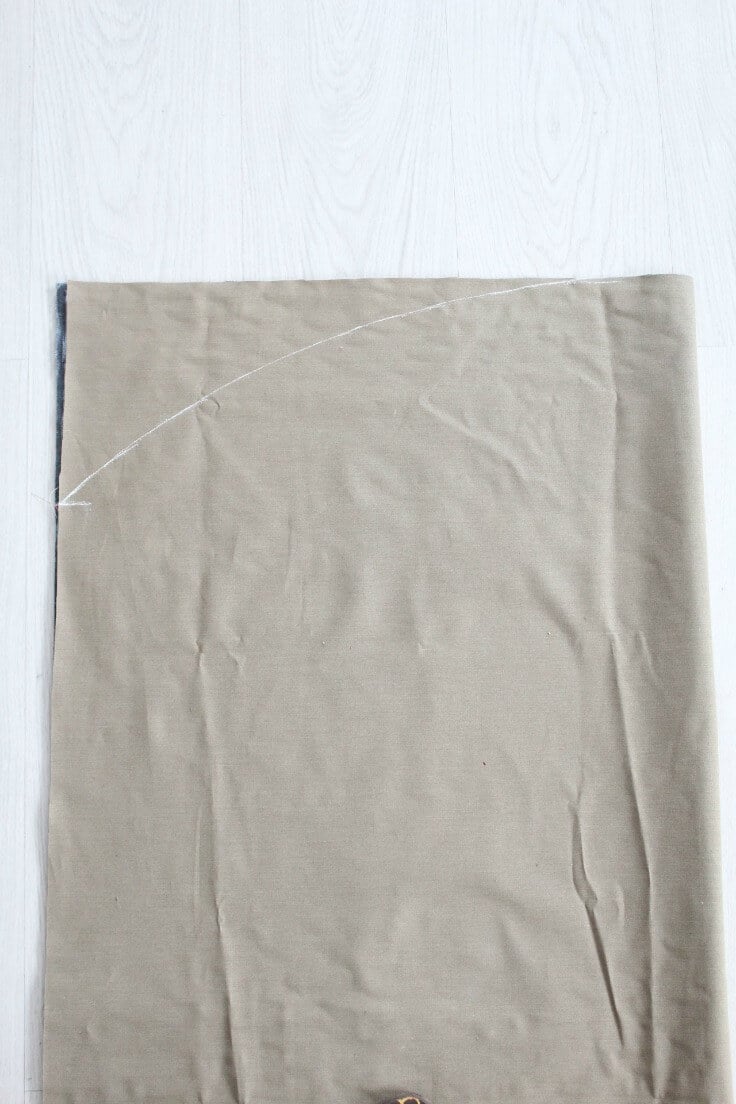
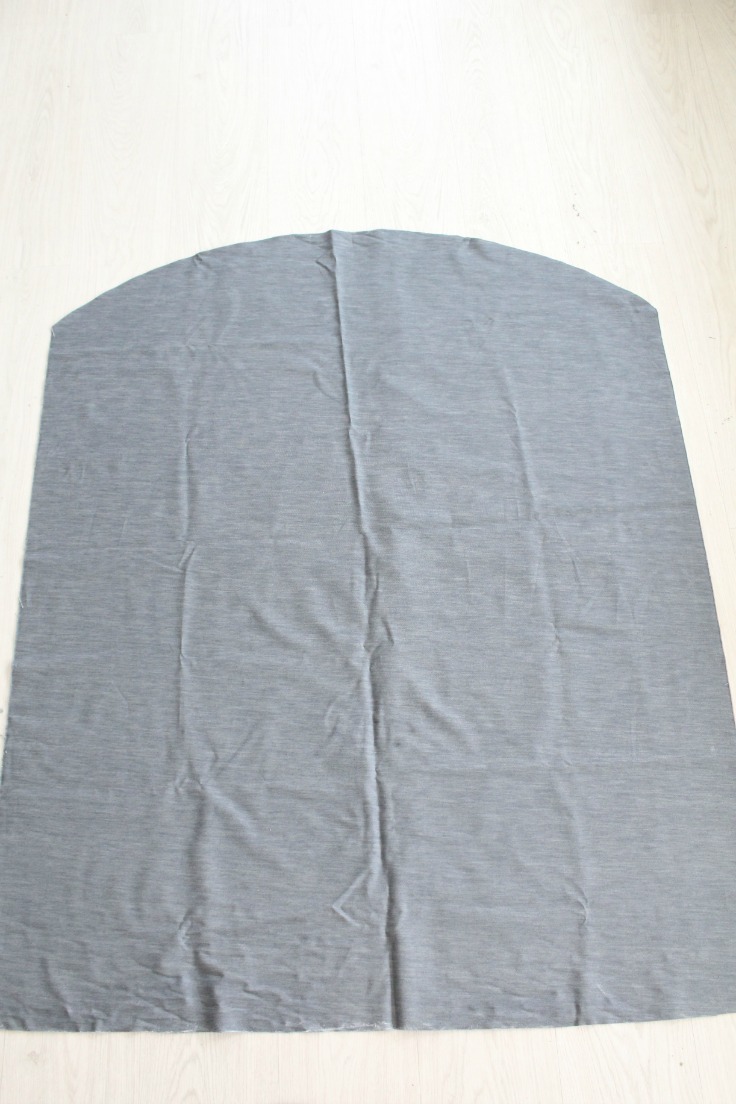
Sewing fabrics together
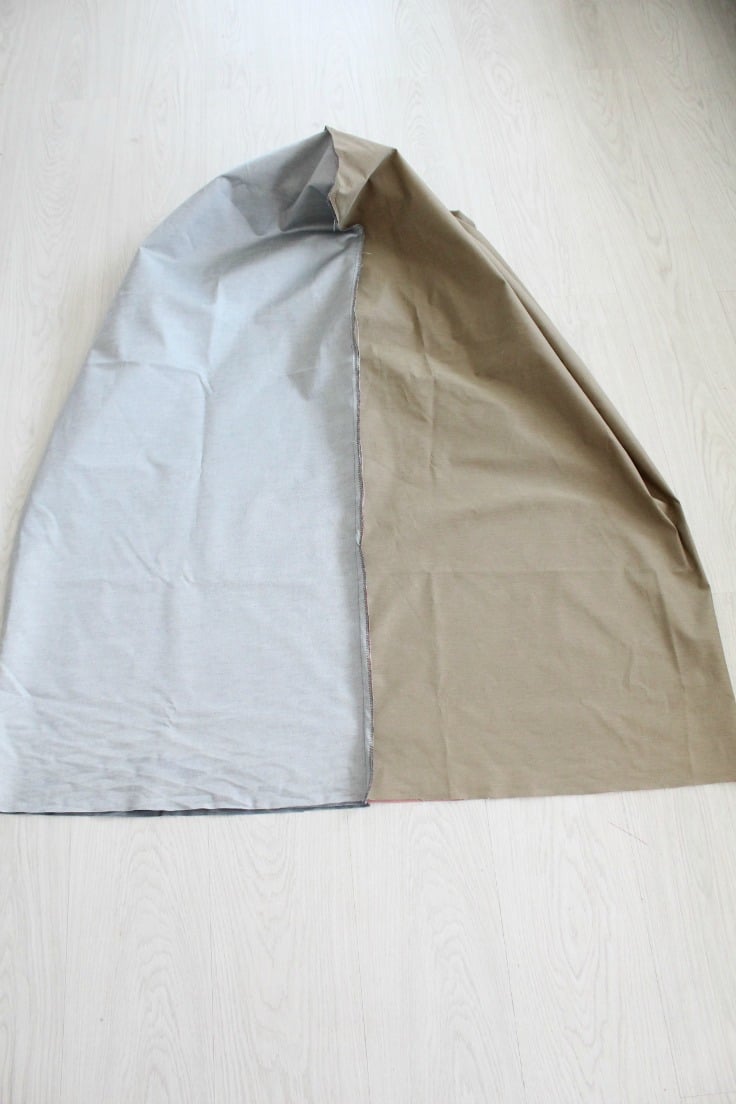
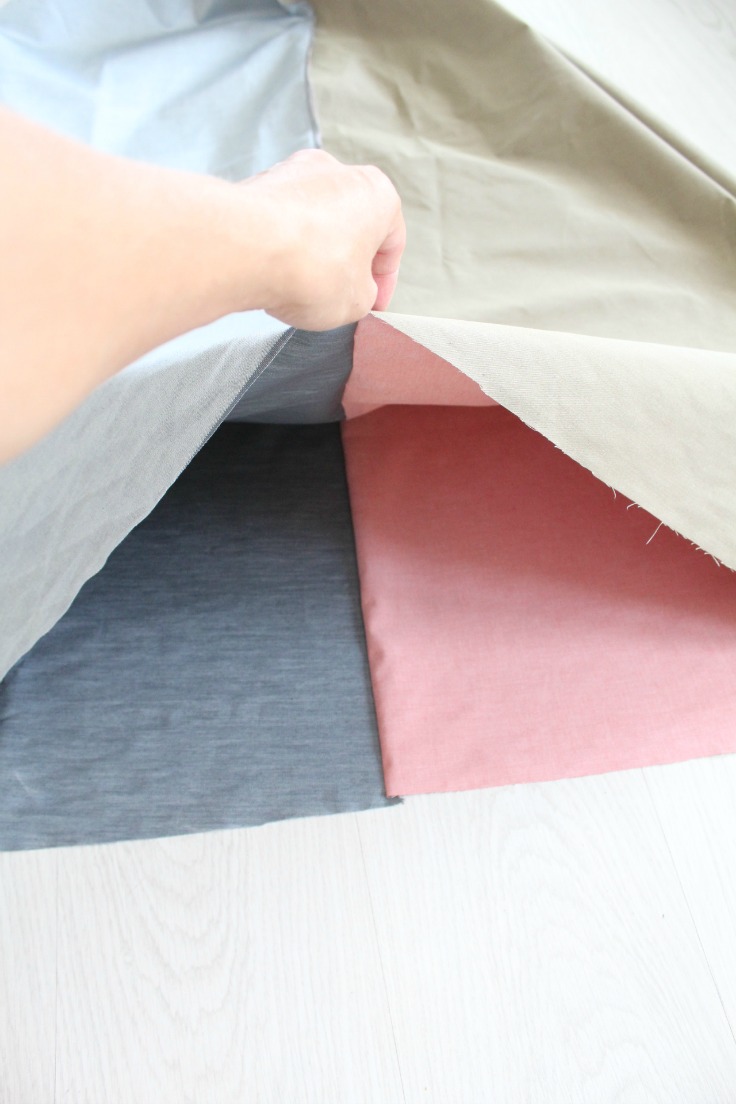
- If you haven’t done it yet (as myself in the above photo lol), place the fabrics right sides together. Pin them on the long sides and the round top, then sew and finish the seams with a zig-zag or a serger to increase durability and prevent fabrics from fraying over time. You may want to use a small stitch too, also for increased durability.
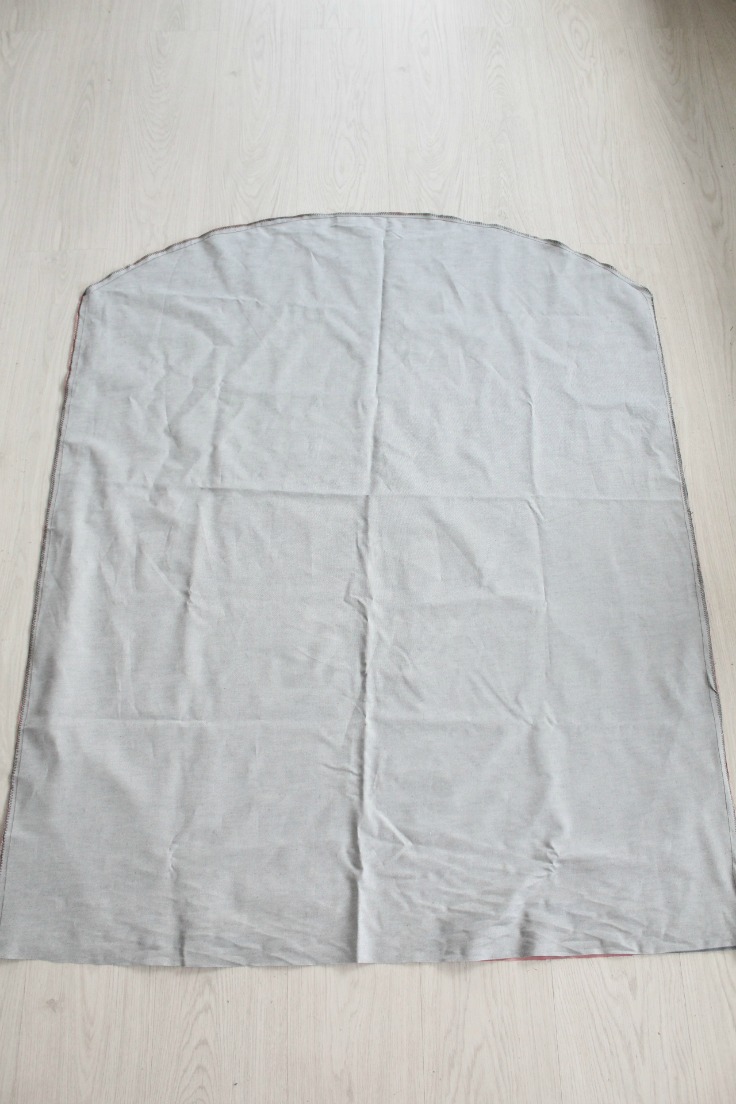
- Lay your fabric down then roll the bag until the long sides meet up in the middle.
Sewing the zipper
- Time to sew the zipper to the right side of the fabric. Open your zipper most of the way and place one side, near the edge of your fabric. I took the pieces apart for photo purposes. Pin in place and sew using a zipper foot.
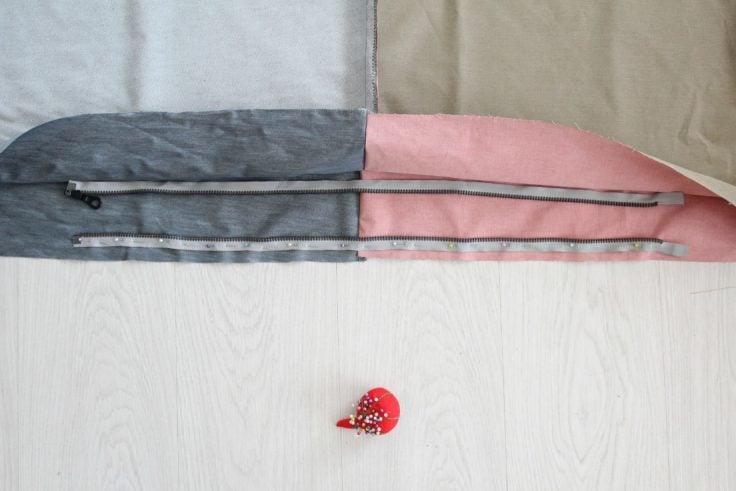
- Pin the other half of your zipper on the opposite side of the bag and sew. If you use a large zipper as I did, your machine won’t be able to sew over the zipper pull. In this case, sew up to it then lift your sewing machine foot and move the zipper pull up or down the zipper, then lower your sewing machine foot and continue sewing your zipper in place.
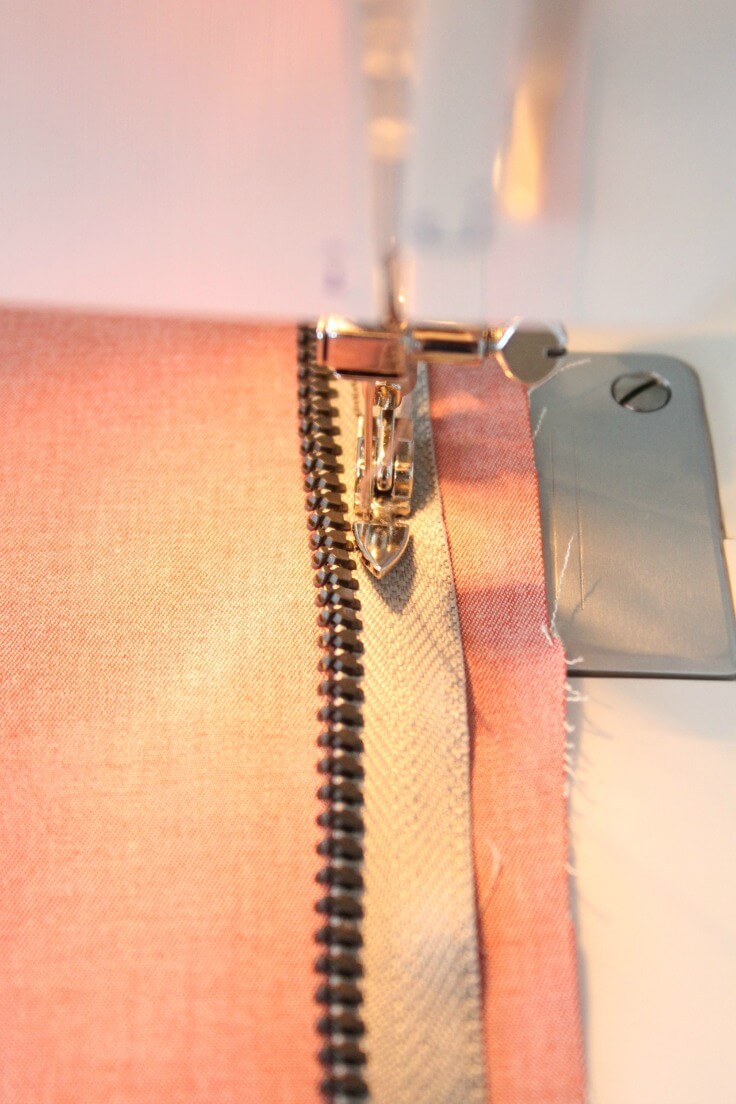
- At this point, make sure your zipper is at least partly open. Sew a curved seam over the edge of your zipper, then continue the seam toward the fold in your fabric. When you go past the zipper, go slow (you may even need to sew this part by hand to avoid breaking your needle, if you use a big zipper). Repeat on the other end of your zipper.
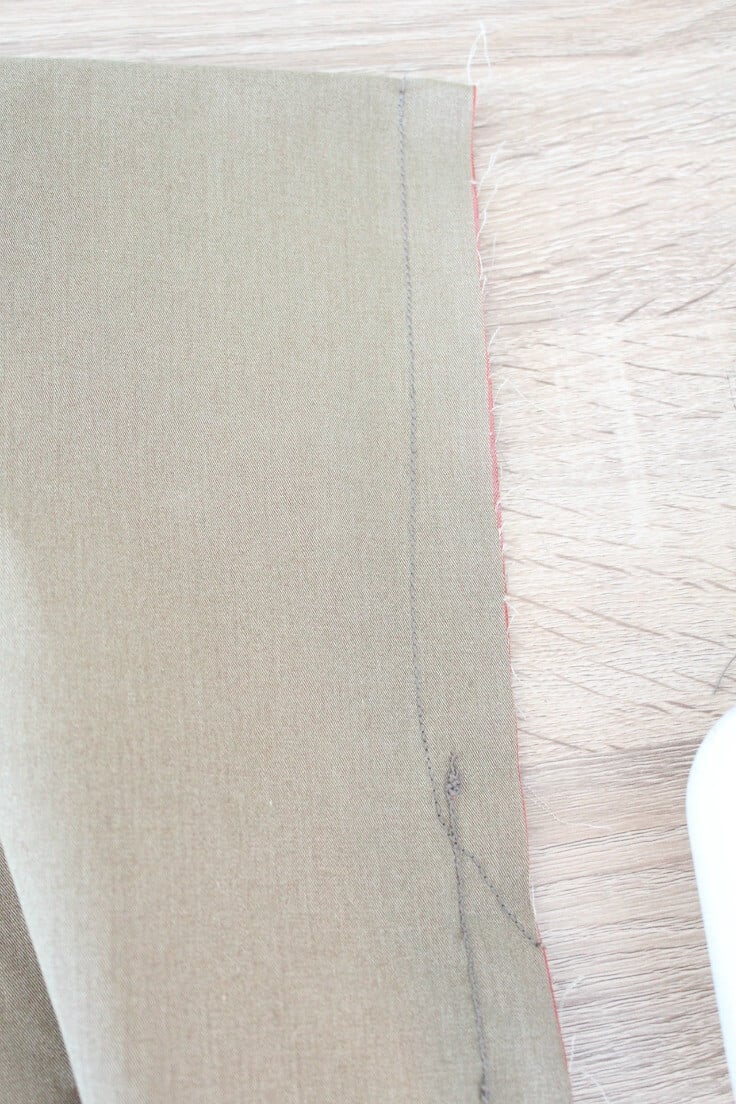
- Finish the seam around the zipper using the same zig zag stitch you used before.
Finishing the DIY bean bag chair
- Turn the bag right side out through the opening you left in the zipper.
- Fill the bag with beans, close the zipper and hand sew it close if you have kids, to prevent them from opening the zipper and spilling all the beans out (It happened and it’s not fun at all; beans are almost impossible to clean).
- That’s it! Wasn’t this bean bag tutorial incredibly easy?
Pin to save for later
Most popular sewing projects:
Article may contain Amazon & affiliate links. As an Amazon Associate I earn from qualifying purchases at no additional cost to you.



What type of beans do you use
Mari, I used polystyrene beans. They’re very good at filling the bag & keeping shape but the static when filling the bag was killing me!
Hi and thanks for the tutorial! Great simple pattern for a bean bag! I like to make a liner, which I sew closed after filling with beans. This means that I can remove the outer for washing…..which we all hope is not needed often on these items!
Thanks, Robyn! And what a great idea! I wish I would’ve made one but as you said, I was hoping I’m not gonna need a liner. Turns out, I was wrong! Little munchkin is sooo messy!!! :(
How many bags or the weight amount of beans?
THANKS
Hi Kate. That depends on how stiff or baggy you want your chair. I used one 3.5 cubic feet bag
Hi thanks for the tutorial. Try sitting your daughter on the bean bag around the other way, you’ve got it back to front. You won’t have to lean it up on the wall. The point of the bag goes under her head and the rounded end is under her legs. It will sit up like a chair.
Hi Clothilde. Thanks so much for stopping by and for taking the time to comment. Unfortunately that’s all her, she loves it that way and it’s impossible to convince her she’s got it all wrong. She’s never wrong lol Have a wonderful day and hope to “see” you around again. xoxo
Have you checked the site Fashion Fabrics Club it has canvas and decorator fabrics at reasonable prices. Fabric Mart has decorator fabrics and if you get them on sale they are very reasonable.
Thanks for the tip, Gerri. I will check these out.