An Absolutely Charming Wood Christmas Tree You Need To Make
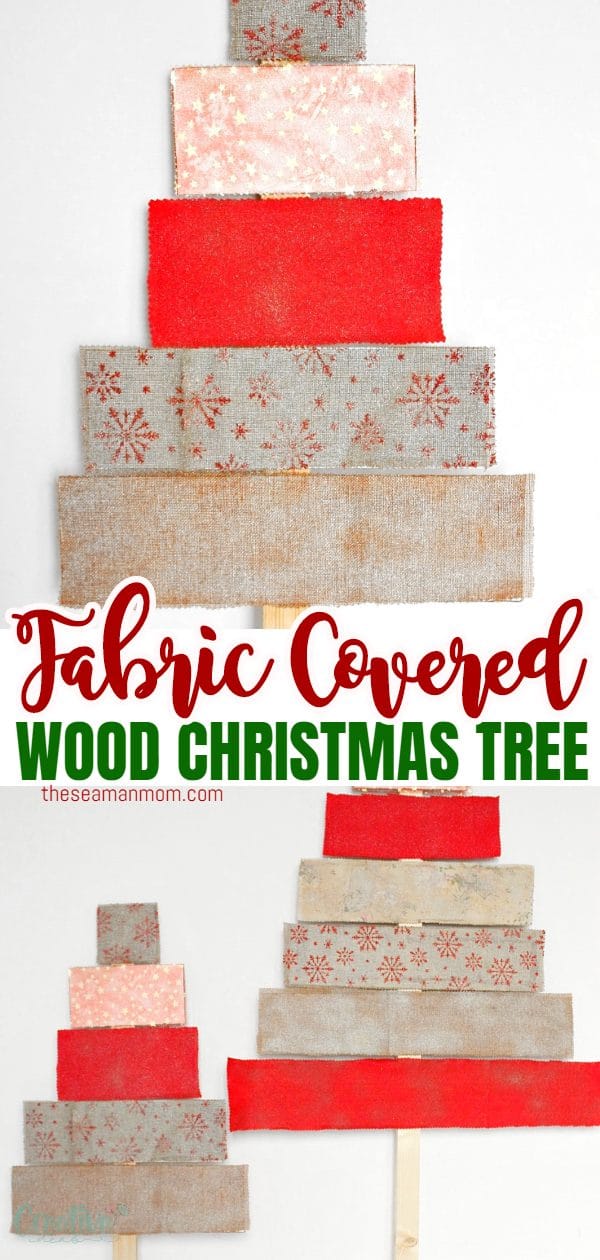
If you live in a small apartment or simply don’t want to deal with the hassle of getting a natural Christmas tree this unconventional fabric covered DIY wood Christmas tree is the next best alternative.
DIY wood Christmas tree
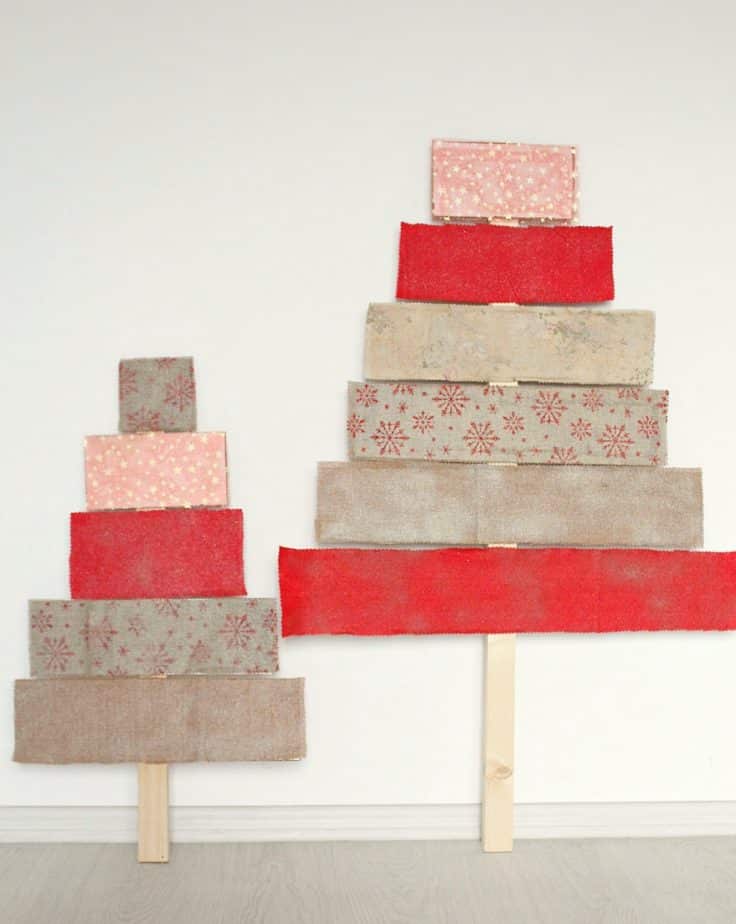
I’ve seen some Christmas trees all over the internet lately that were made from wood and old pallets and I thought they were really cute. I was inspired to give it a go but the ones I’ve seen were a little too plain so I wanted to add my own twist to them when working on this DIY wood Christmas tree project. So adding scraps of fabric and a little glitter spray strikes me as a great idea! I know, I’m biased.
Need more Christmas ideas?
- Mini paper Christmas trees
- Napkin Christmas tree
- Paper tubes Christmas tree
- Easy sock snowmen
- Tinsel garland wreath
- Christmas wine bottle decor
- Wire snowman ornaments
- DIY cinnamon stick ornaments
- Farmhouse Christmas wreath DIY
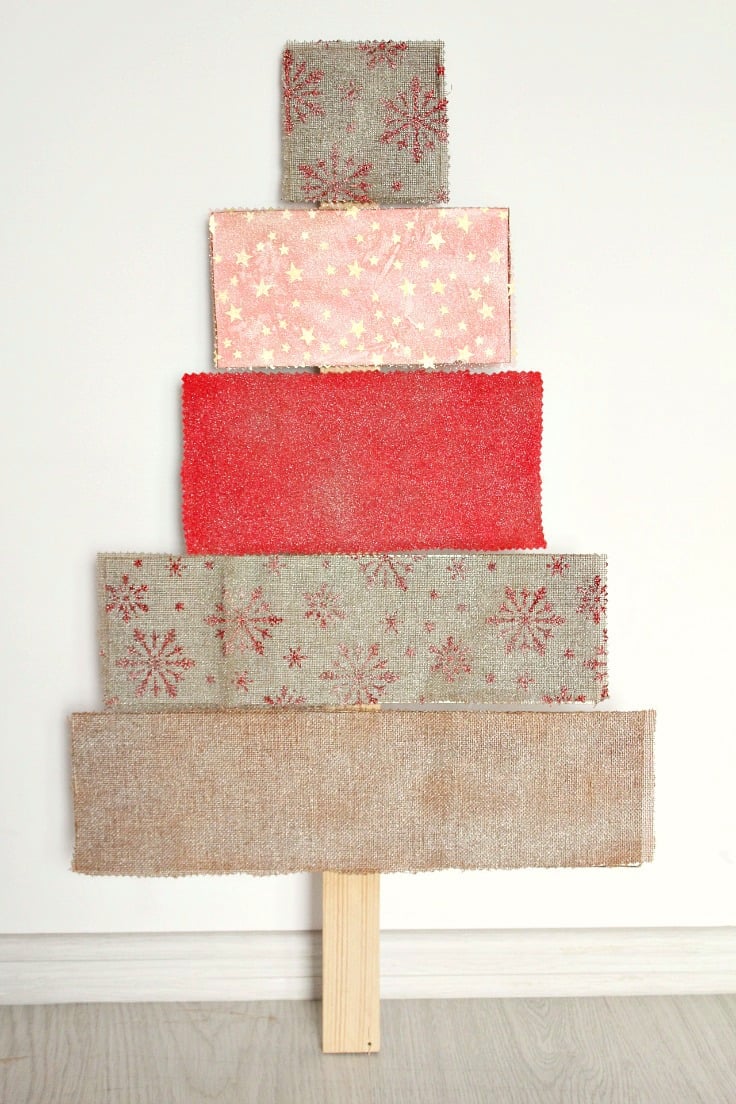
When making this Christmas tree made of wood I actually used scraps of plywood. We just finished building a little storehouse in the back yard and we had a few plywood and wood strips left from that project so I thought I should put them to good use. As you may know, I hate throwing stuff away and just storing those is not an option when the whole goal of building a storehouse is to free some space and keep things organized. It would just add up to the mess and mess and I are not good friends. So these creative Christmas trees came in handy!
Making this DIY wood Christmas tree was super fun and sooo easy! Even the most inexperienced crafter can make these trees! Just imagine how amazing a DIY Christmas tree would look as a little home decor at Christmas! My fabric covered Christmas tree is also a great way to get rid of some fabric scraps.
Wooden Christmas tree
Materials:
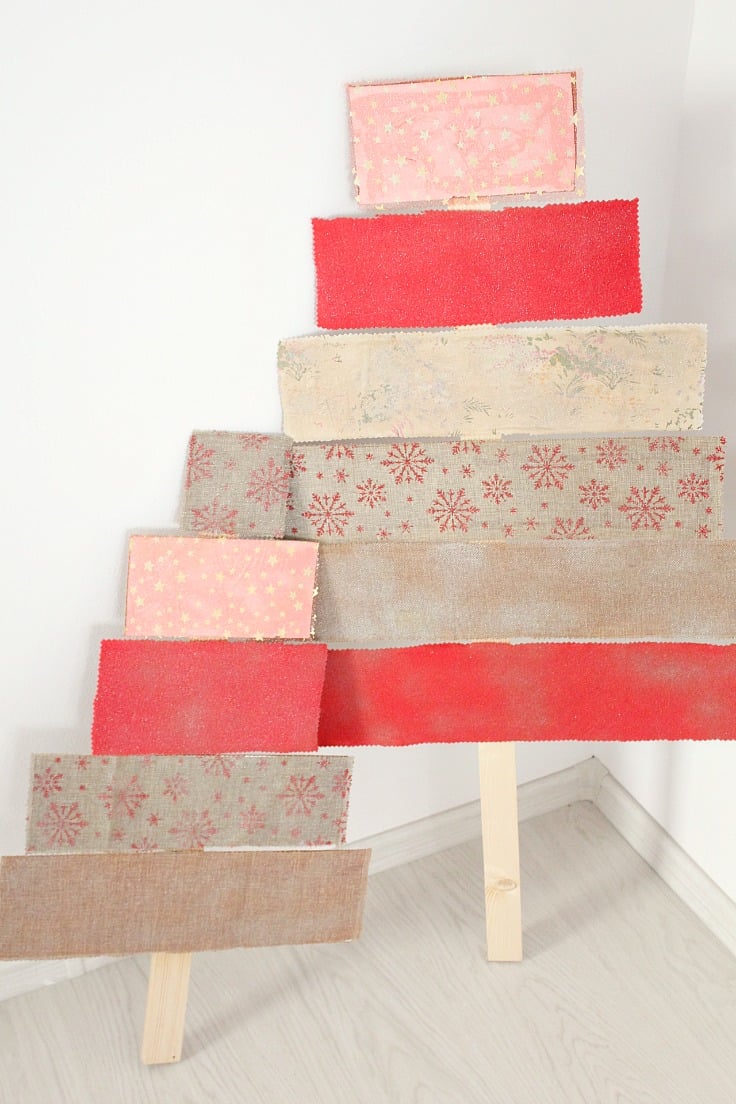
- strips of plywood for “branches”
- strips of wood for “thunk”
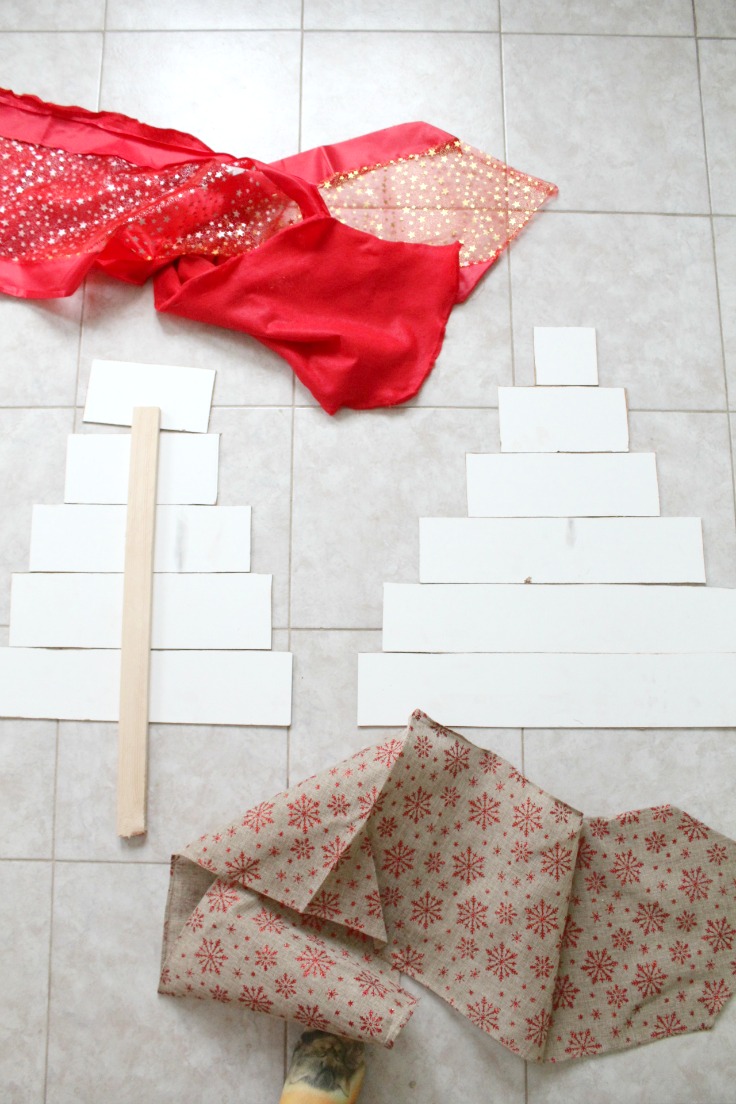
- Christmas themed fabric scraps (I used red fleece, cotton, organza and burlap)
- fabric glue (make sure it works for wood too)
- saw
- scissors
- pinking sheers
- glue gun
- glitter spray
Directions:
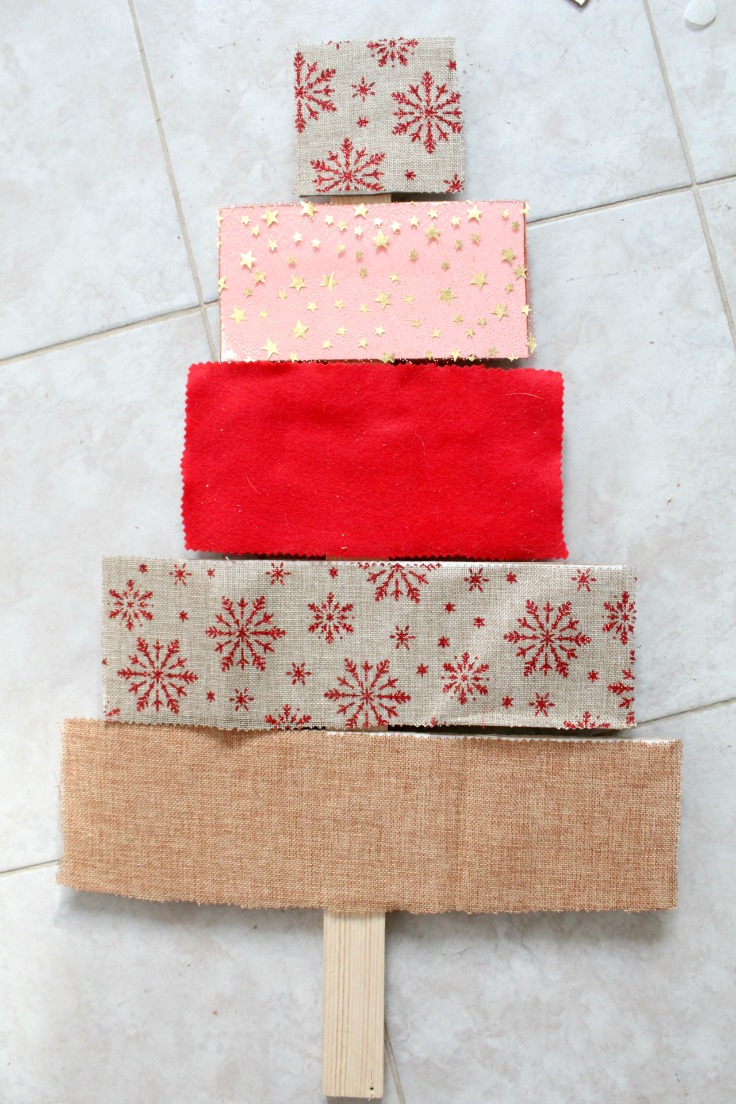
- Decide on how high you want your trees to be and how many “branches” and cut the plywood according to your measurements. I wanted to have a small tree and a medium one and cut 5 and 6 strips of plywood.
- Arrange your “trees” and decide how long the wood strip that’ll hold the “branches” will be and cut by your measurements.
- Cut fabric the width and height of your plywood pieces, using your pinking sheers. This will not only stop the fabric from fraying but it adds a bit of interest too.
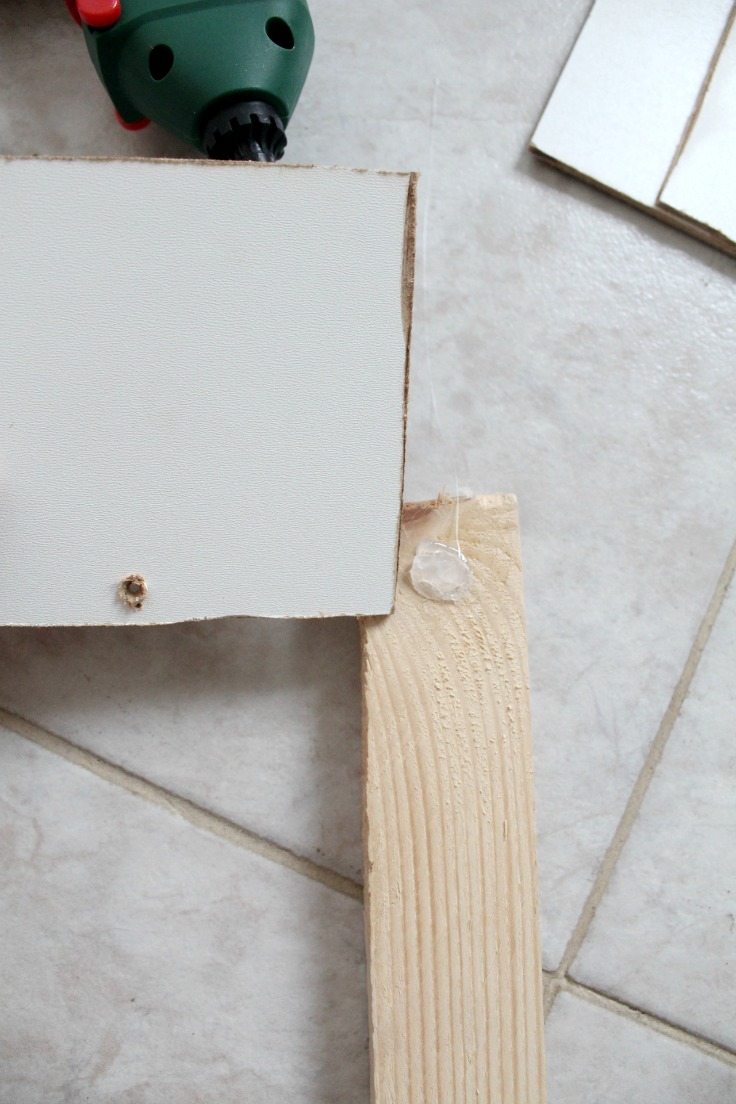
- Use your glue gun to attach the plywood strips (the branches) to your wood strip (the trunk). I tried using my drill but the trunk almost broke so I decided to use my glue gun. I applied glue on the wood strip, then immediately pressed the plywood so that the glue sits in the middle of the plywood; this will give it a stronger hold.
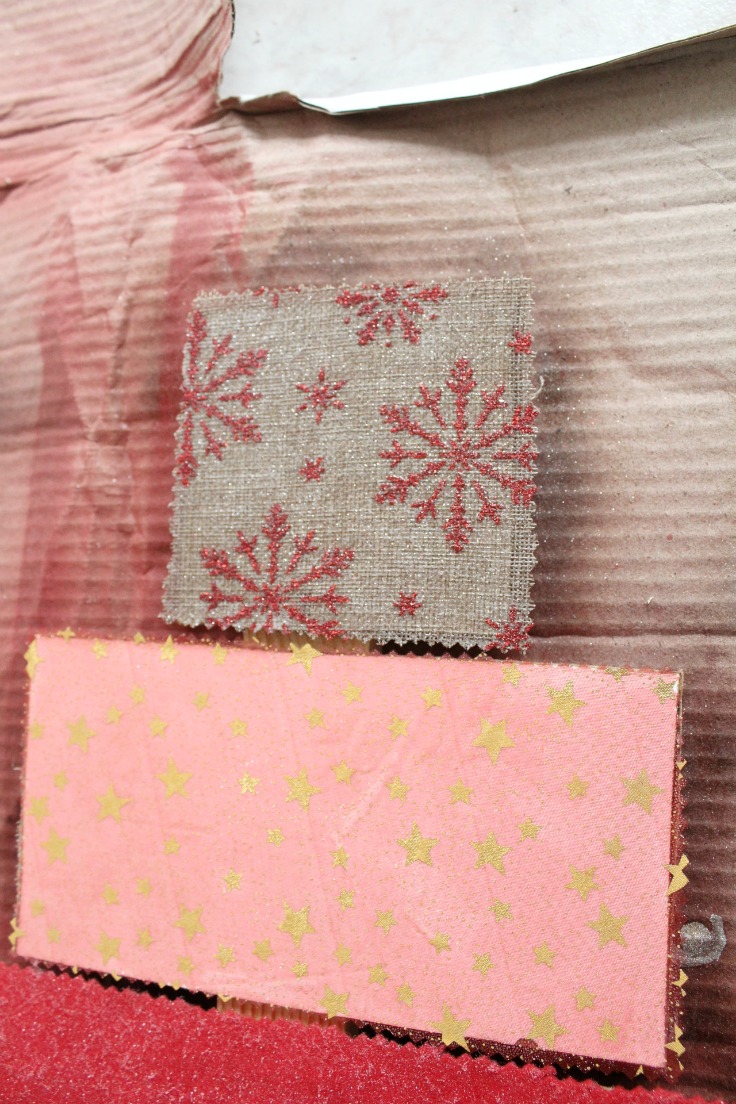
- Spread glue on plywood and immediately attach the fabric strips (don’t be lazy as me and iron your fabric first). Do one plywood strip at a time. Leave to completely dry.
- Spray some glitter directly on the fabric. Leave to dry.
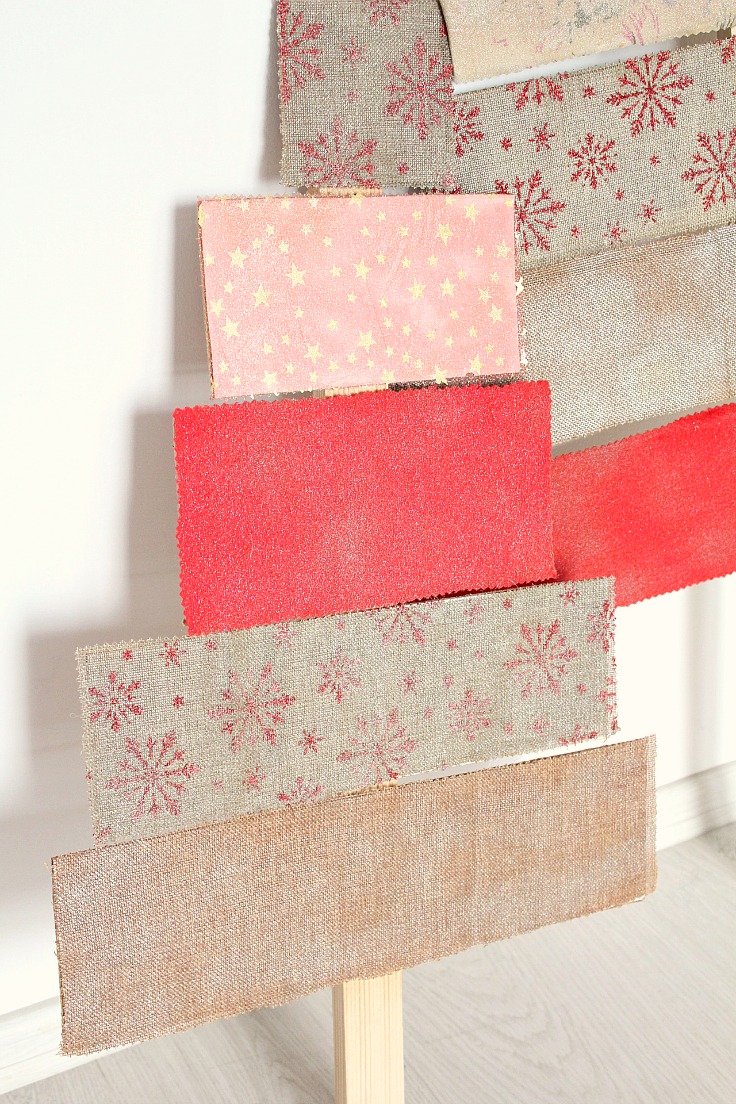
That’s it! You’ve got yourself a pretty fabric covered Christmas tree in no time! I am personally more pleased with the smaller tree, I think it’s cuter than the larger one and the branches look more put together.
Pin to save for later
Print the craft card
DIY wood Christmas tree
Materials
- strips of plywood for "branches"
- strips of wood for "thunk"
- Christmas themed fabric scraps I used red fleece, cotton, organza and burlap
- fabric glue make sure it works for wood too
- glitter spray
Tools
- saw
- scissors
- glue gun
Instructions
- Decide on how high you want your trees to be and how many "branches" and cut the plywood according to your measurements. I wanted to have a small tree and a medium one and cut 5 and 6 strips of plywood.
- Arrange your "trees" and decide how long the wood strip that'll hold the "branches" will be and cut by your measurements.

- Cut fabric the width and height of your plywood pieces, using your pinking sheers. This will not only stop the fabric from fraying but it adds a bit of interest too.
- Use your glue gun to attach the plywood strips (the branches) to your wood strip (the trunk). I tried using my drill but the trunk almost broke so I decided to use my glue gun. I applied glue on the wood strip, then immediately pressed the plywood so that the glue sits in the middle of the plywood; this will give it a stronger hold.

- Spread glue on plywood and immediately attach the fabric strips (don't be lazy as me and iron your fabric first). Do one plywood strip at a time. Leave to completely dry.

- Spray some glitter directly on the fabric. Leave to dry.

- That's it! You've got yourself a pretty fabric covered Christmas tree in no time! I am personally more pleased with the smaller tree, I think it's cuter than the larger one and the branches look more put together.

Most Popular Crafts & DIY
Article may contain Amazon & affiliate links. As an Amazon Associate I earn from qualifying purchases at no additional cost to you.



ABOUT PETRO
Hi, I’m Petro, author and founder of Easy Peasy Creative Ideas. Sewist, crafter, avid DIY-er, foodie, photographer, homemaker and mommy to one. I’m an expert at coming up with quick, clever sewing tips, recycling crafts and simple, easy recipes! You can find my ideas featured in reputable publications such as Country Living, Good House Keeping, Yahoo News, WikiHow, Shutterfly, Parade, Brit & Co and more. Thanks for stopping by and hope you’ll stay for a while, get to know me better and come back another time. Stick around for real fun projects! Read more…