DIY Rope bowl sewing tutorial
Turn the humble rope into a beautiful, handy rope bowl! This easy and enjoyable tutorial will show you how to sew a bunch of rope bowls in just a few minutes!
Sewing rope bowls
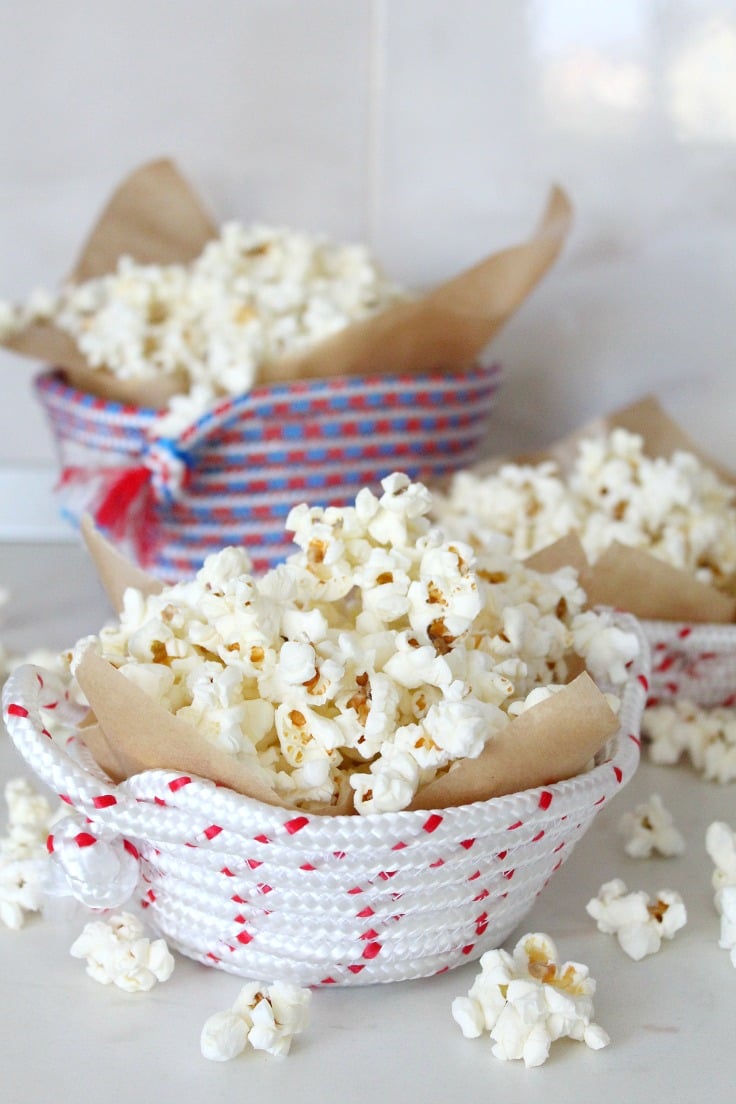
My little munchkin is super creative, making all sorts of “crafts” or “baking” me delicious cupcakes lol And this got me motivated to make my own little craft too. So I thought I’d make something super fun, something that’s also easy and relaxing, with stuff I already had on hand! Like a pretty rope bowl (or more), perfect for nesting our popcorn!
Other rope projects ideas:
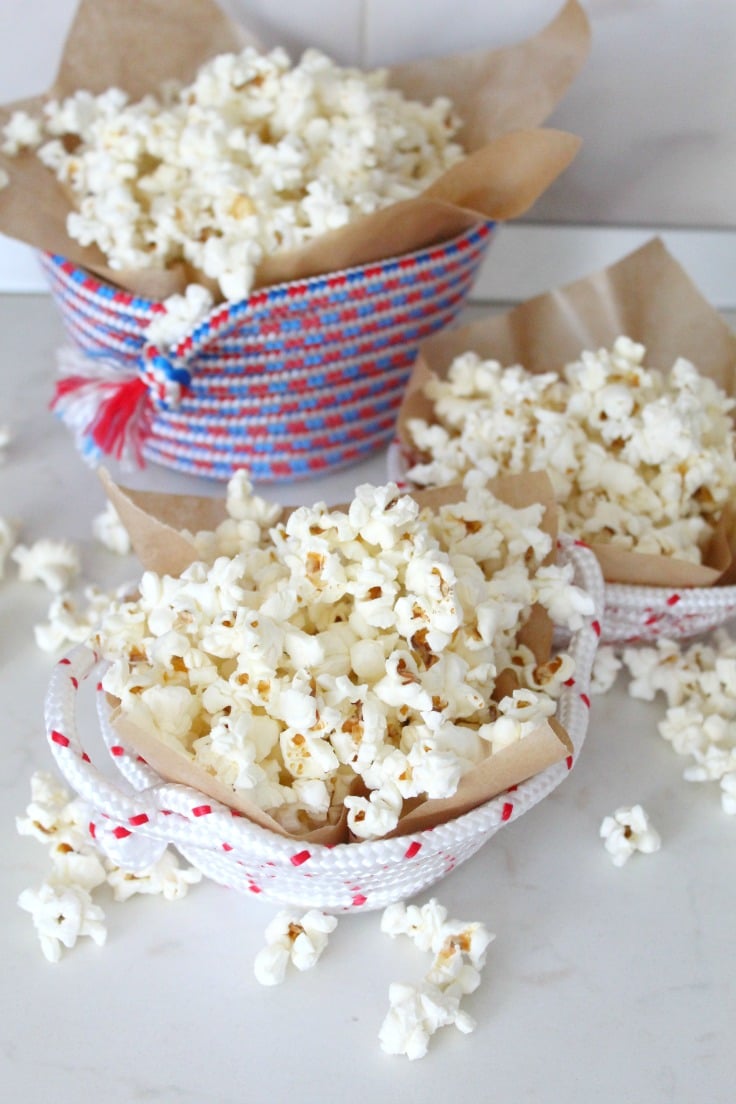
Learning how to sew a rope bowl will help you perfect sewing curves as well as sewing with heavy fabric and using thicker needles. It’s also a great way to add decorative but also useful items to your home decor. A diy rope bowl is so easy to personalize and takes minutes to make!
More beginner sewing projects you might like:
A rope bowl is easy to sew, exciting and relaxing at the same time so if you own a sewing machine you’ll want to give this project a try! It all took me less than half an our, maybe around 20 minutes for the 3 bowls so this is probably the quickest sewing project I’ve ever done. Perfect for a beginner sewer! Ready to learn how to make rope bowls?
Rope Bowl
Materials:
- sturdy rope (I used polyester rope in 2 different patterns but cotton works great too; 6 m = 20 ft for each; I made 2 smaller bowls out of the white & red rope)

- jeans/canvas thread (matching or contrast, your choice; I used matching for one of the white&red and red for the other one and for the blue&red bowl I used red thread). Remember the thread will be showing on the outside of the bowls so choose your thread wisely.
- jeans needle
- sewing machine with a zig-zag stitch
- scissors
- popcorn to fill the bowls once done (hehe)
Directions:
Tip before starting: It helps keeping the rope hanging on the floor; this way it won’t knot and it will make sewing smoother. Also, as you form the coil and start sewing, keep the rope on your right hand side with the coil on the left under the foot & needle.
Start the coil
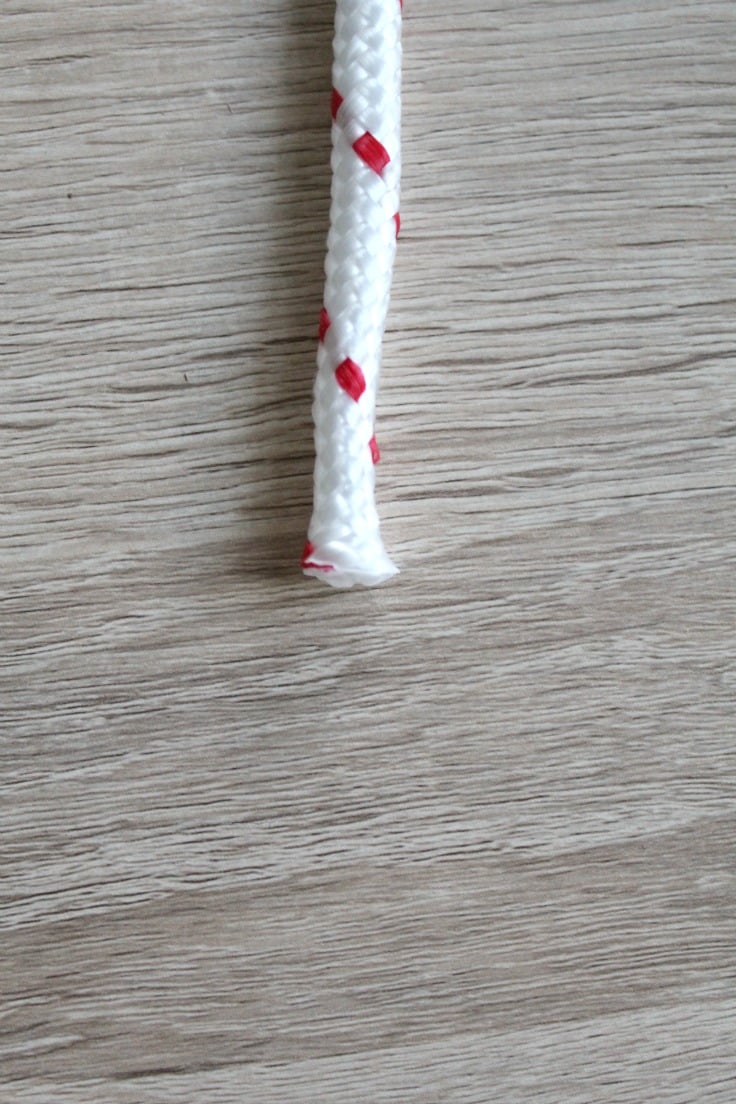
- Take the rope and make sure the ends are clean. Cut them if you need to in order to have a clean end.
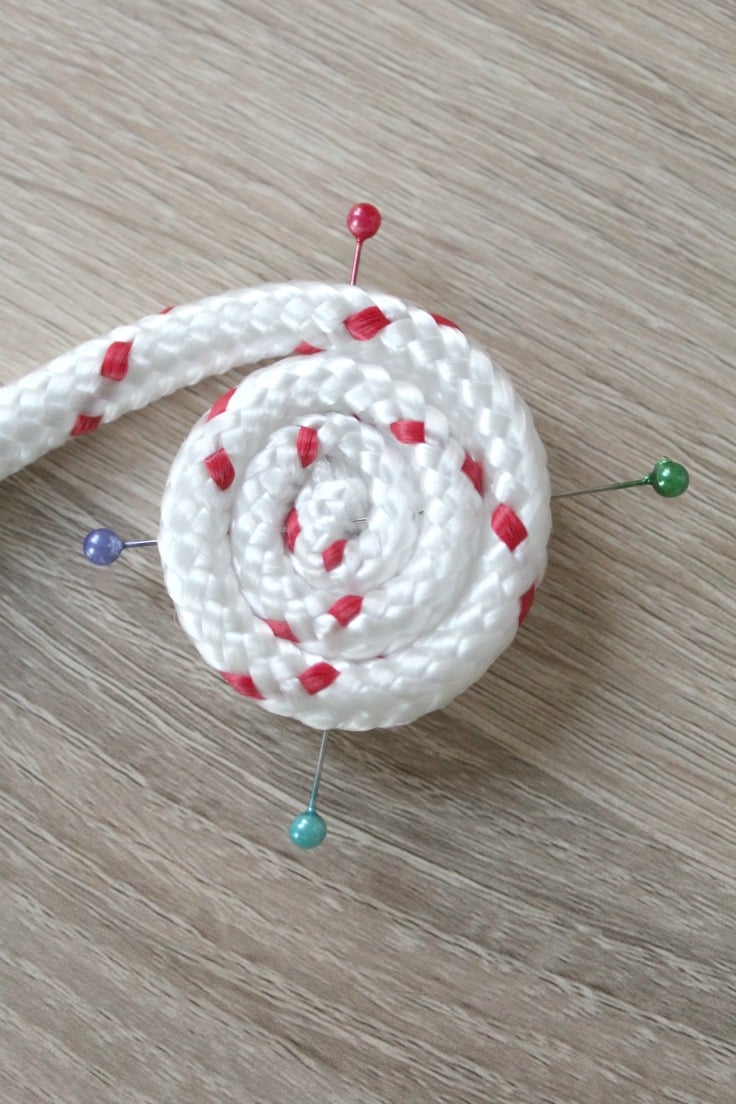
- Coil it into a small circle, using pins to keep it in place. Remember to remove the pins while sewing, don’t sew over them or you may break the needle or worse.
Sew the base of the bowl
- Set your machine to a zig zag stitch that will capture a good amount of rope on each sides.
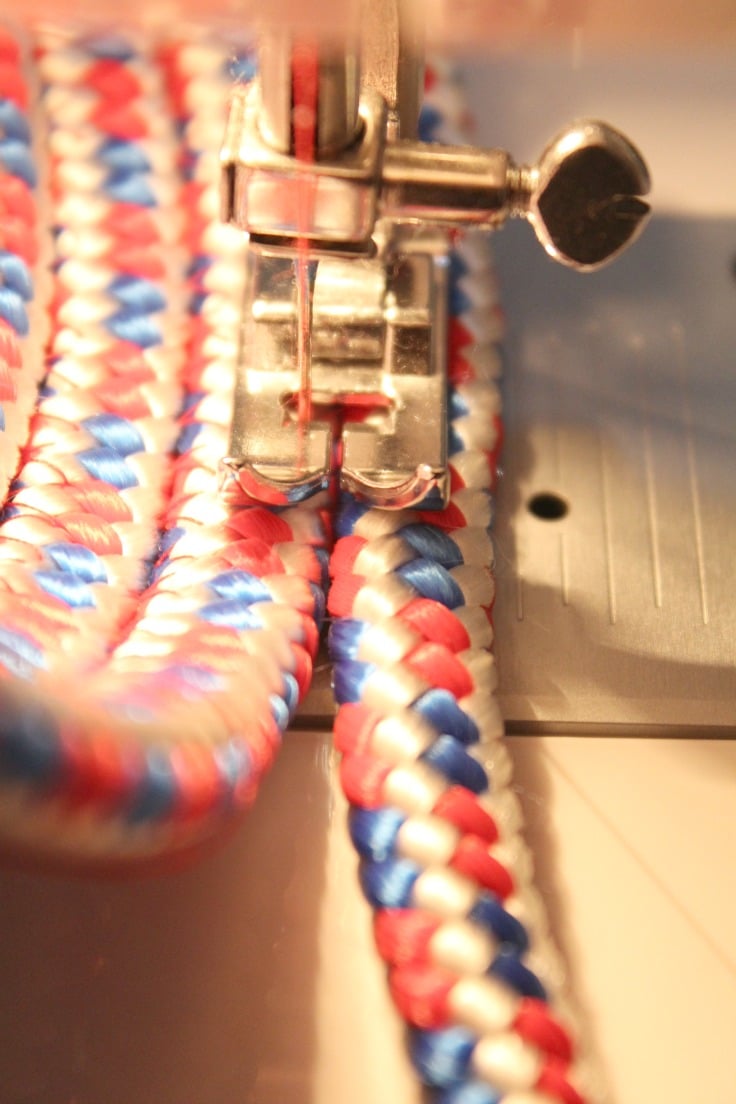
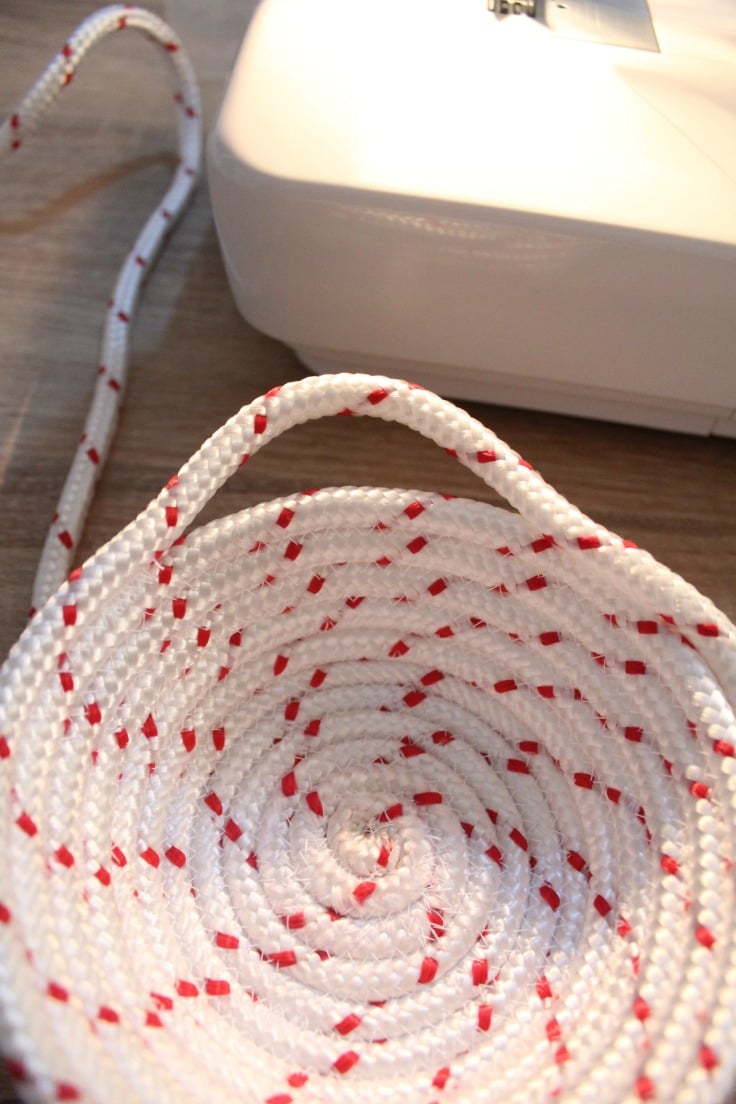
- Place the coil under your needle and slowly start to zig zag stitch the rope together to form the base of your bowl. Don’t rush, take your time with this part. (this will be the hardest part but don’t give up, it will get million times easier once your base is larger).
- Stitch the base until you’re happy with the size. For my big bowl I had 12 cm = 5″ and for the smaller ones I got 10 cm = 4″ and 9 cm = 31/2″.
Sew the sides of the bowl
- Lift the base up onto a right-ish angle, supporting the bowl against the head of the machine and continue to sew, making sure you still catch the rope on each sides. Keep the coils of rope tightly butted up against one another while guiding the bowl with the other hand (it doesn’t show here as I needed one hand to take the photo so the rope slipped a bit; but I got it back before resuming sewing).

Finish the bowl
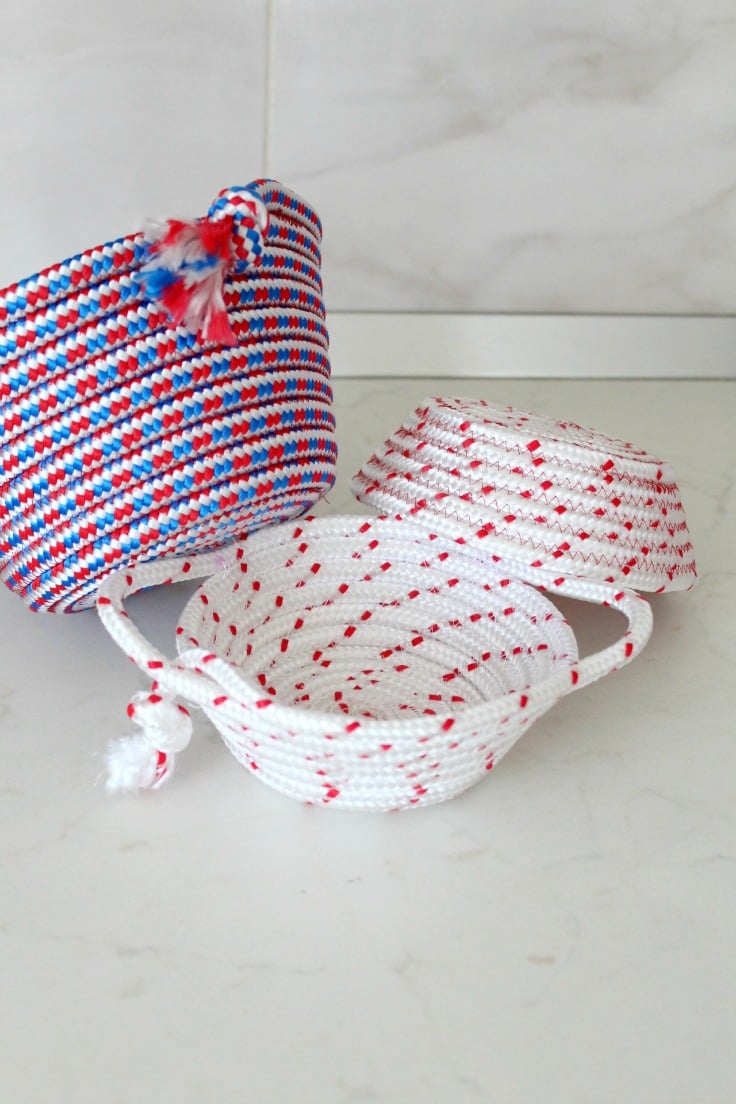
- When you feel that you’ve got a nicely sized bowl, or that you’ve reached the end of the rope take a few securing stitches then tie a knot in your rope an inch or two away from the end point.
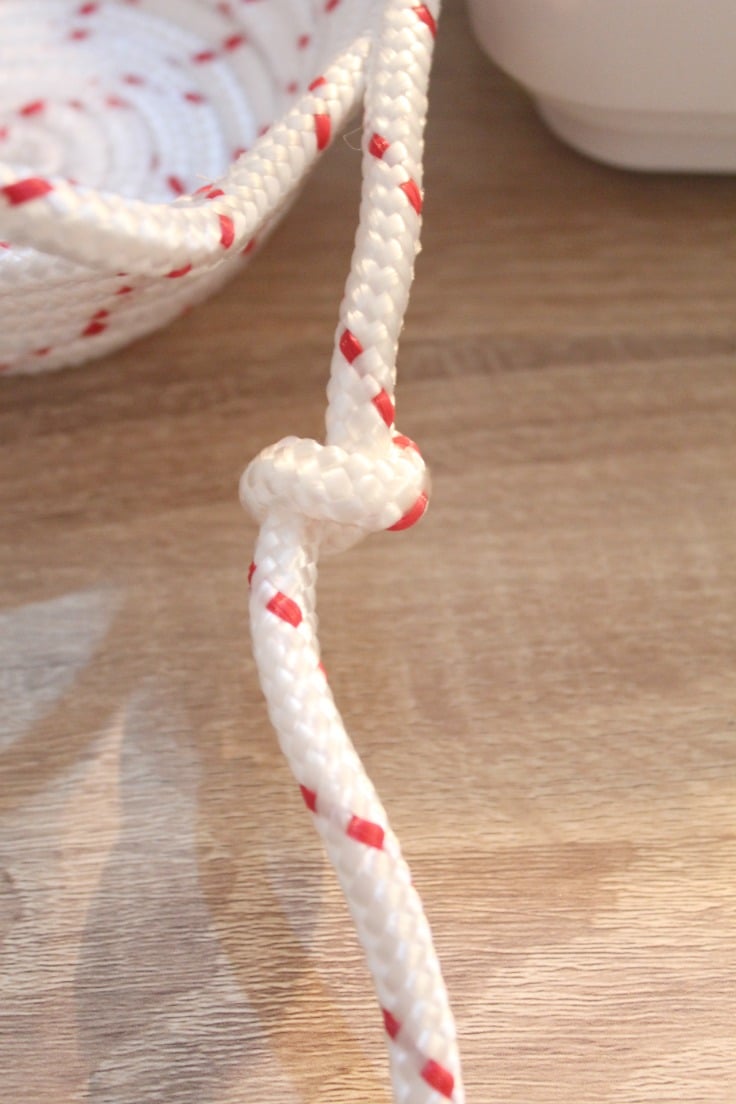
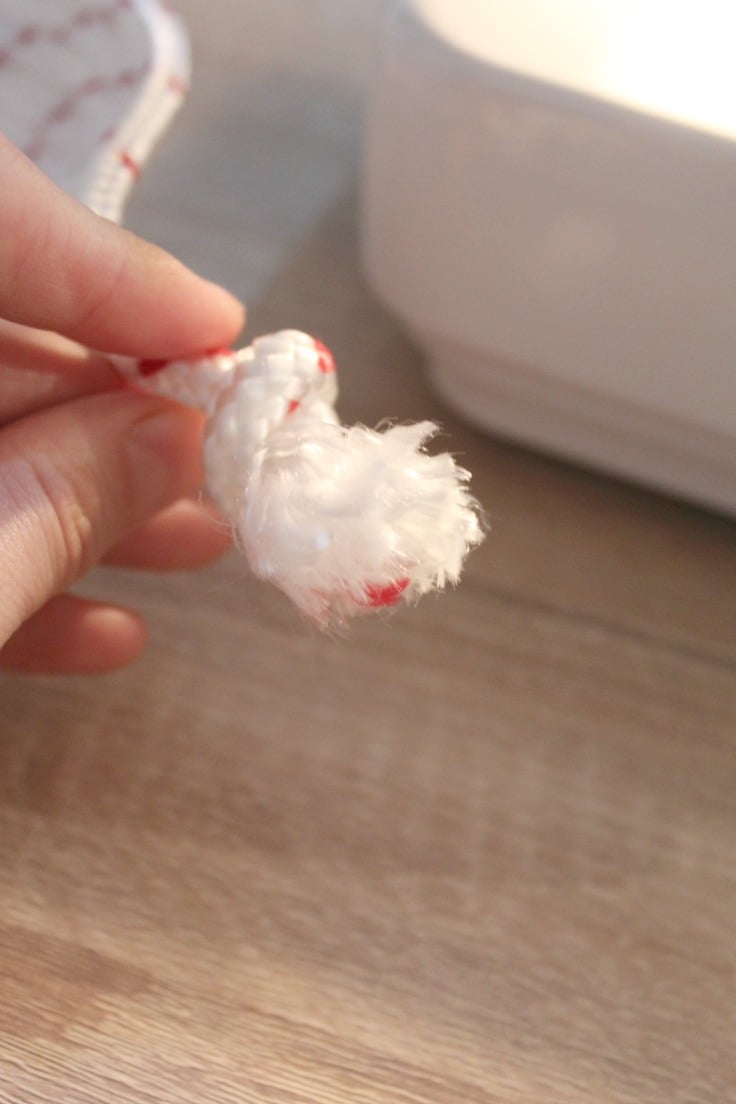
- Snip the tail off and pull back the braiding.
Adding handles
- If you want to sew handles to your bowls, pull the rope away from the bowl and continue to sew along the edge of the bowl, skipping the rope for the desired length. Press the rope back into the side of the bowl, and catch it again where you like the handle to end. Continue sewing around and add another handle directly opposite of the first, or you can make just one handle; your choice.
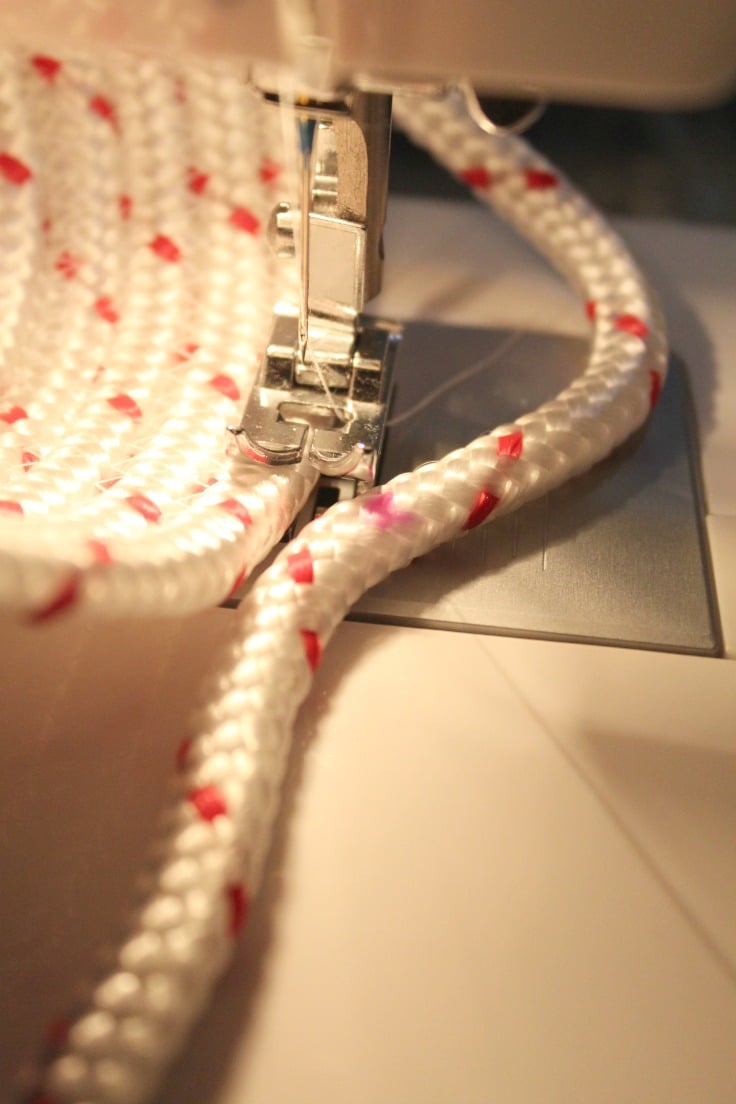
- For my third bowl I didn’t have enough rope to make the knot mentioned above so I stitched as close to the end of the rope as I could and then ruffled it a bit. Not the best looking though so I won’t recommend this. Better to just loop the end off to give it a polished finish.
- And you’re done!

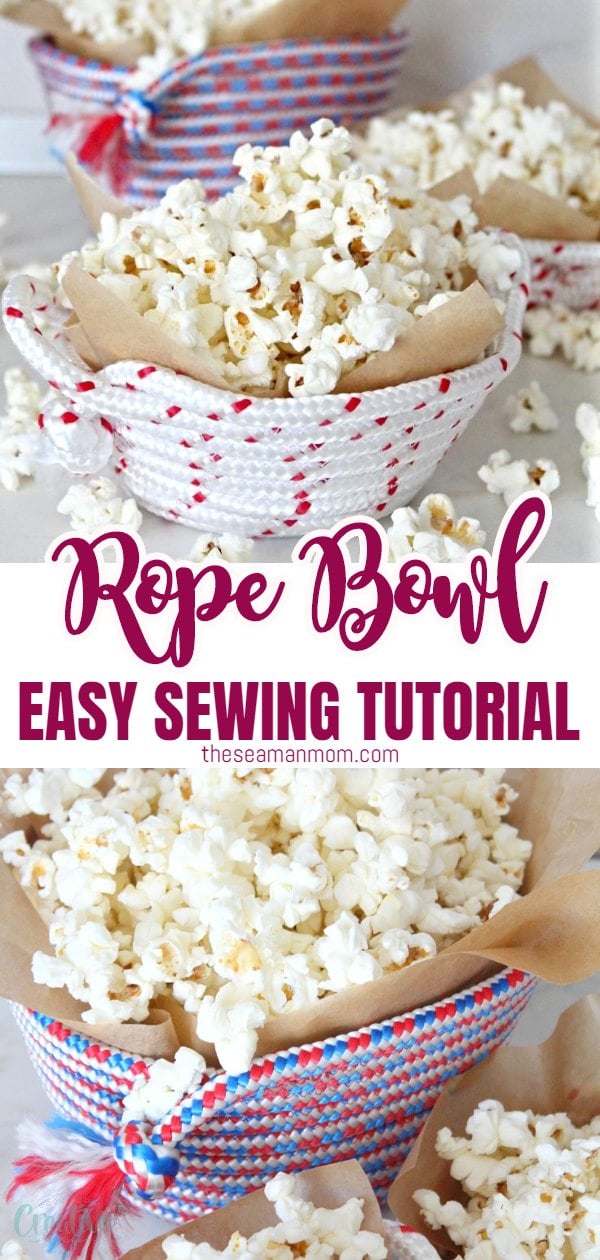
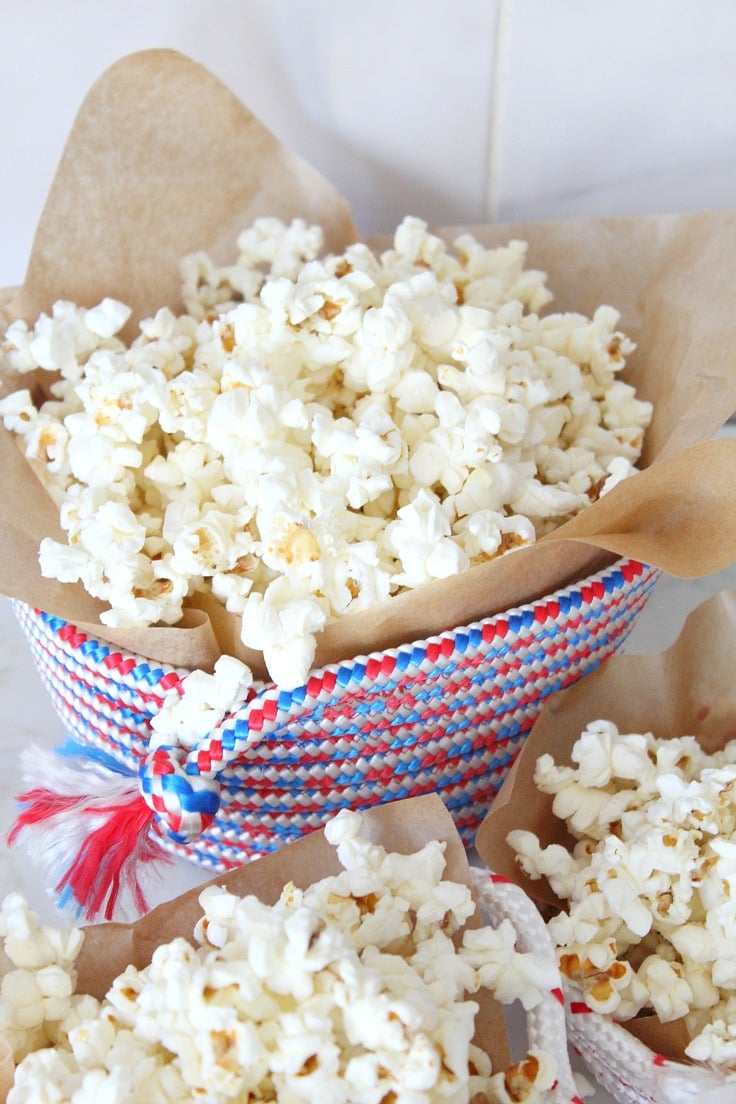
- Before adding popcorn to your bowls, place some baking paper to avoid getting them messy. This way you’ll be able to reuse your bowls over and over again without washing them.
Pin to save for later
Most Popular Sewing Projects:
- Sewing a curved hem
- How to make corded bag handles
- Flutter sleeve dress pattern
- How to laminate cotton fabric
Article may contain Amazon & affiliate links. As an Amazon Associate I earn from qualifying purchases at no additional cost to you.



I am having difficulty getting a flat base as it seems to buckle. Any thoughts on this!
I tried this but my needle didn’t like it on my sewing machine & kept breaking. Any tips on what to do?. Thank you.
You probably need a bigger needle & thread size. Also check your tension settings. Here’s a tutorial on this topic if you need help https://theseamanmom.com/change-presser-foot-pressure-sewing-machine/
Which width rope do you use? Also, depending on the size of the popcorn bowls, you could use coffee filters inside to keep the bowl clean.
I think it was 1/2″, Candy
What a neat idea! They turned out so good. These would make unique gifts.
Thank you Dawn! That’s true, they’re great as gifts! I made a batch for my friends, hope they’ll like them as much as I do.
My daughter has popcorn EVERY NIGHT!!!! What a great prize to win for her!!!
Looks really cute, thanks for sharing with Hearth and soul blog hop, pinning, featuring on this week’s blog hop.
These are so cute, would be great as gifts! Thanks for sharing with us!!
Thanks Cheryl. Have a great day!