

Mitered corners sewing tutorial
Learn how to sew beautiful corners with this easy mitered corners tutorial! This quick technique is perfect to use for giving napkins, table cloths, table runners and quilts a beautiful and neat finish on corners as well as reducing bulk in that area!
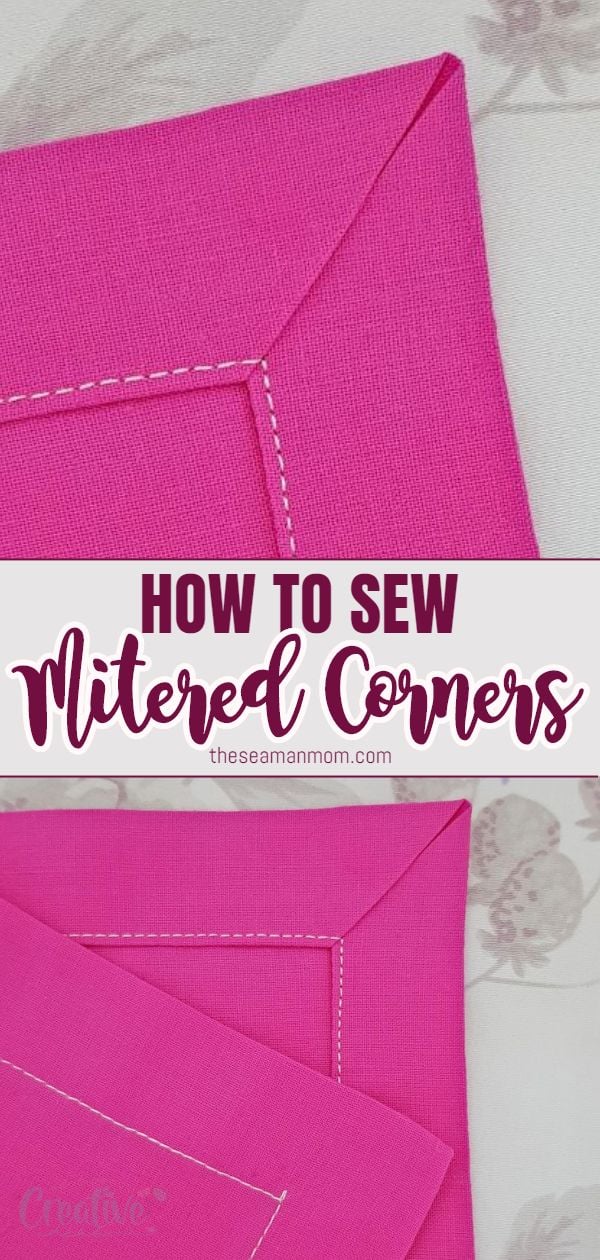
Mitered corners
I absolutely love mitered corners! They look so pretty, sharp and neat and basically make any sewing project using these kind of corners, look a lot more professional!
I showed you a similar technique here, using double fold bias tape. This method is great to use on most projects that require a nice finish in the corners. But there’s so much more about mitering corners! There are other ways too, in case you don’t have bias tape or simply don’t like to use it! In fact there are two other methods for sewing mitered corners that don’t involve bias tape.
Other sewing ideas you will love:
- Genius bobbin storage ideas
- Tips for clipping and notching seam allowances
- How to make pleats with a fork
- Sewing a lettuce hem
- 12 ways for finishing seams
- Sewing mitered corners on a quilt with bias binding
In this tutorial I’ll show you how to make mitered corners using the first method and I’ll come back with the second method on a different tutorial. (EDIT: check out the second method here)
But if you’re completely new to mitered corners, let’s take a moment and shed some light so you don’t feel like a total newbie!
What are mitered corners?
In sewing, a mitered corner is a way of finishing the corner of a fabric piece in a way that reduces or eliminates the bulk in the corners when the fabric is turned under. The mitered corner is made by folding the fabric edges and then meeting in the corner at a 45-degree angle, much like you see on photo frames or painting frames.
Where do you use the mitered corner method?
This technique is mostly used as a way for finishing napkins, table cloths, table runners but is also very popular in quilting for finishing the edges on quilts (self binding). Essentially, this method works for pretty much any square or rectangular project that requires folding the edges and corners.
How do you sew these easy mitered corners?
Making a mitered corner is a ton easier than you think! I know the term sounds quite fancy and may trick you into believing this technique is something out of a magic book but truth is, finishing a corner this way takes 2-3 minutes, literally!
To make such a corner, the edges of the fabric are folded and pressed twice. The folds are then open, then a piece of the corner is trimmed (or like in my second method, sewn) and folded, using the traces left by the folding in the previous step. The next step is to fold back the edges, using the traces left in the first step. And finally, when all corners are done, all sides are sewn with an edge stitch.
How many types of mitered corners are there?
There are three ways you can finish a corner in a sewing project:
- Using double fold bias tape or quilt binding.
- Self turned mitered corner (with two variations; one is highlighted in this tutorial and the second one will be featured in a separate tutorial).
- With a border, when you need to make a border in a different color than your main project. With this method you will need to line the project though so takes extra time and effort. You could also easily replace this method with the first one, using wider bias tape as your border and you won’t need to line the project.
My go-to methods are the first two and for quick projects like napkins, the second ones are my methods of choice.
How to sew a mitered corner
Materials:
- Square or rectangular fabric
- Fabric marker or chalk
- Quilting ruler
- Cutting mat
- Rotary cutter
- Pressing iron
- Scissors
- Quilting clips
- Sewing machine
- Matching thread
Directions:
Prepare the fabric
1. Give the fabric a nice press.
2. Place it on your cutting mat and with the help of your rotary cutter and the quilting ruler, square up the fabric. You need precise edges for this project so the fabrics match perfectly in the corners when folded and pressed.
Trace lines & fold
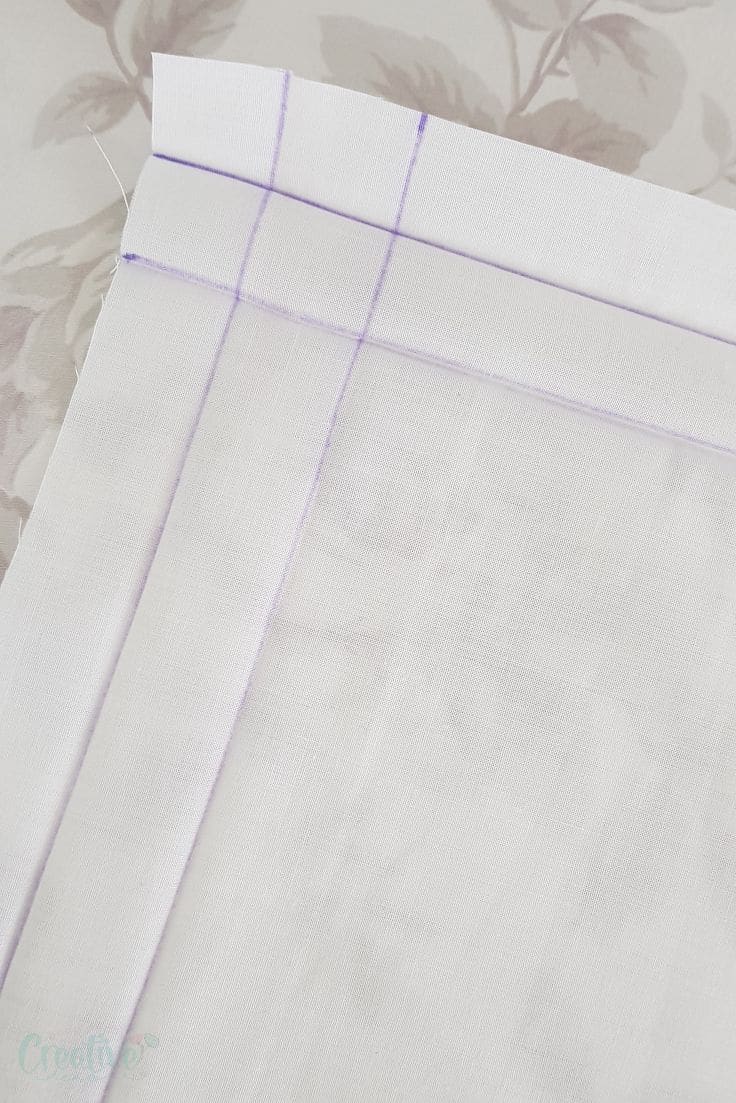
3. Decide the width of the border and with the help of a fabric marker or chalk and the quilting ruler, trace two lines along the edges, in the width of your final border (for example, for my napkin, I wanted a 1″ border so I traced 2 lines: one of them 1″ away from the edge and the other one 1″ away from the first line).
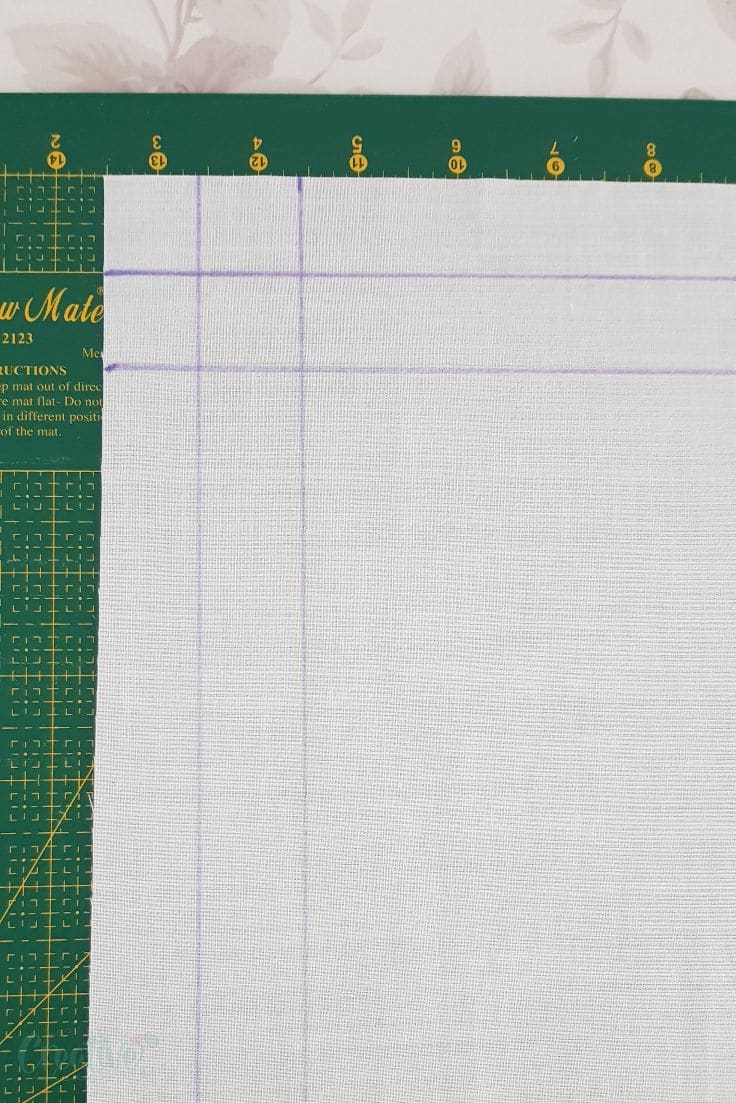
4. Repeat for all sides of the fabric.
5. Bring the fabric to the ironing board and with your iron on high steam, press the edges in, following the lines traced on the fabric. Start with the first line, then the second line. Give the fabric a nice press on each line.
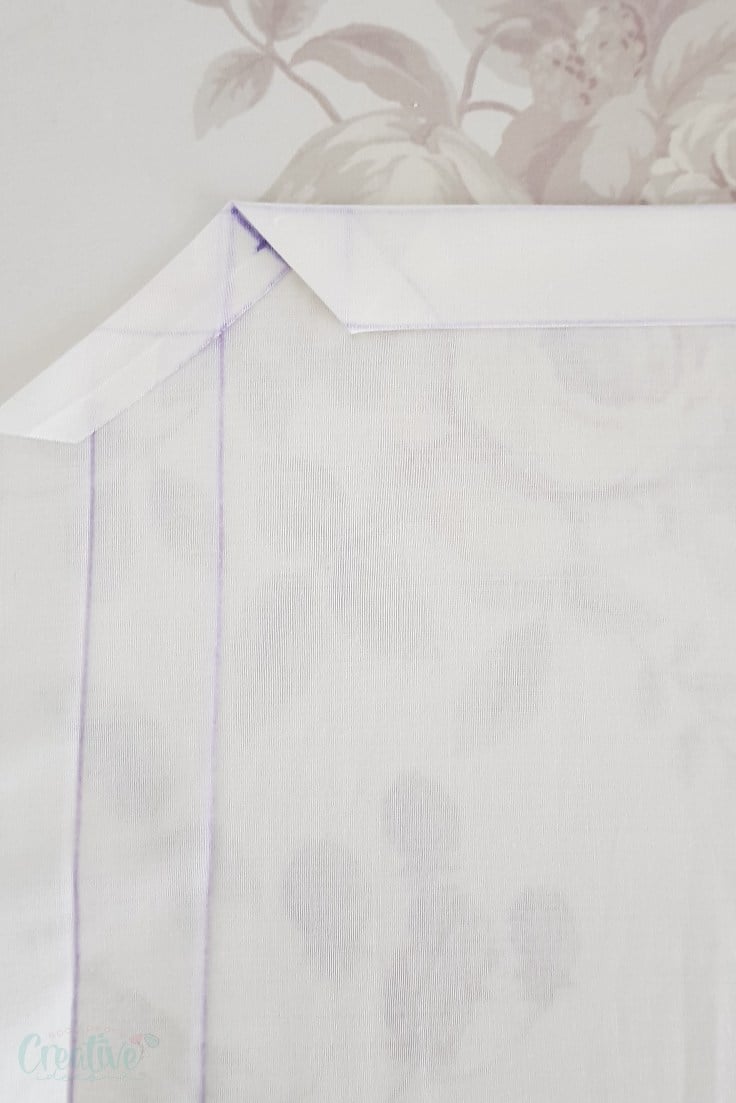
Trim the corner & fold
6. Open the folds completely.
7. In each of the corners you will notice 4 rhombus shapes. Trace a line through the middle of the bottom rhombus, like pictured below.
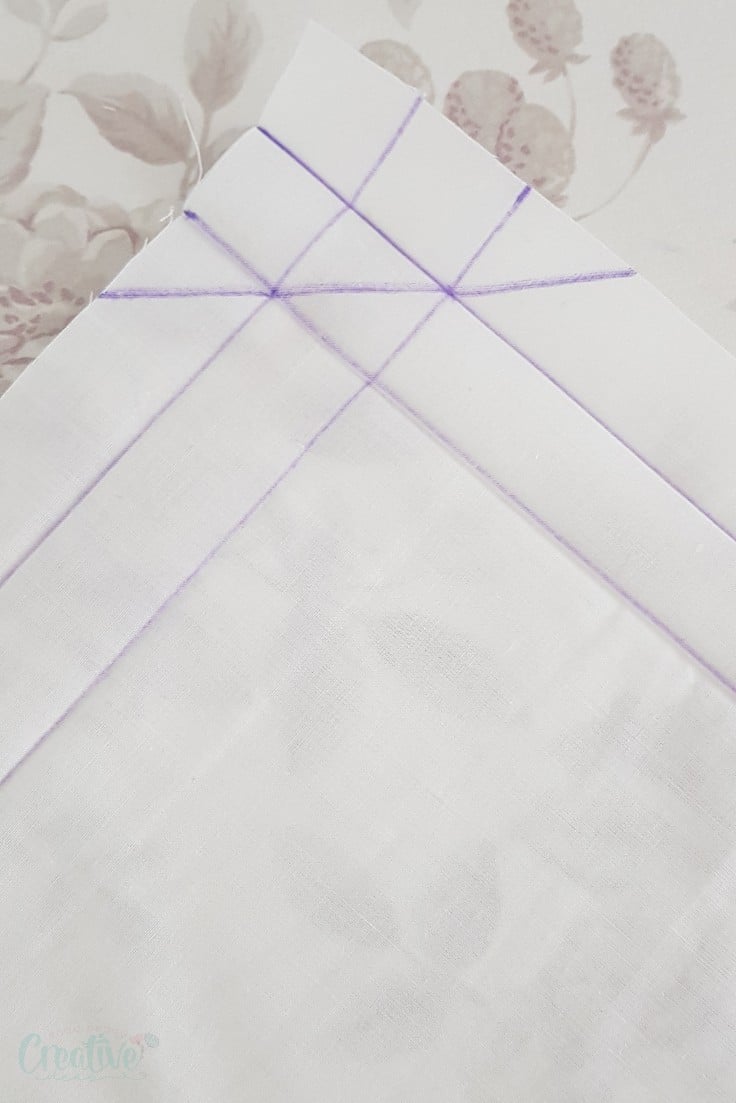
8. Trim the corner along this line.
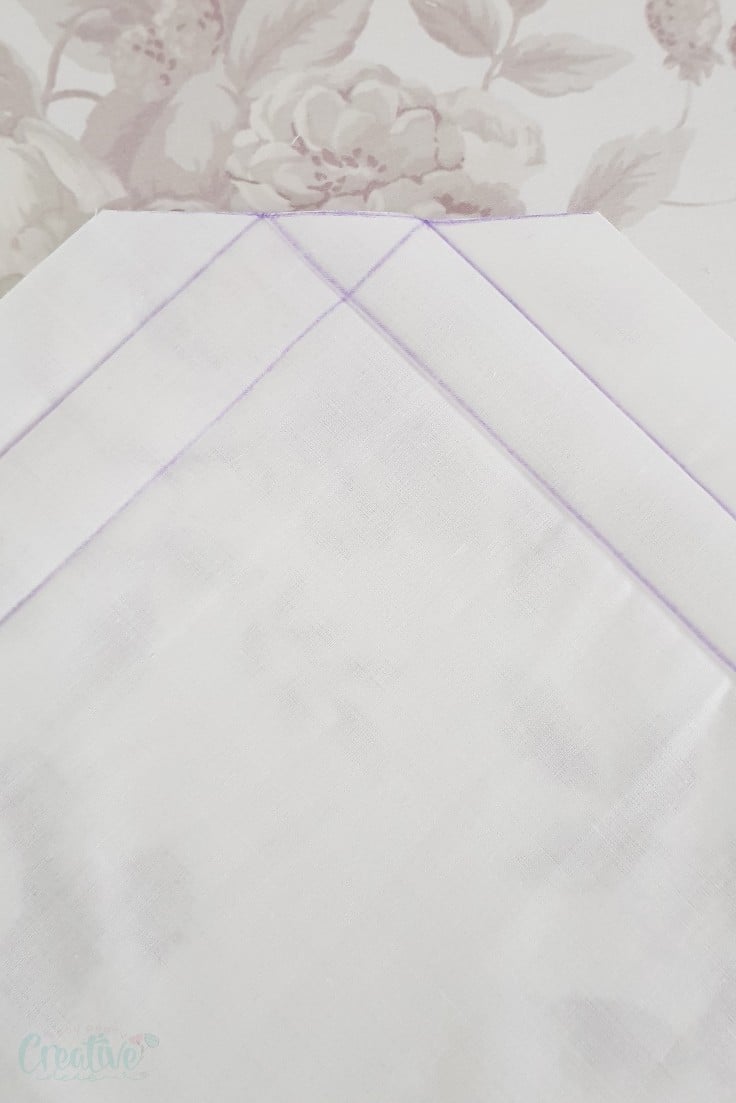
9. Measure from the bottom corner of the trimmed rhombus to the middle and fold the corner using this exact measurement.
Fold back the fabric
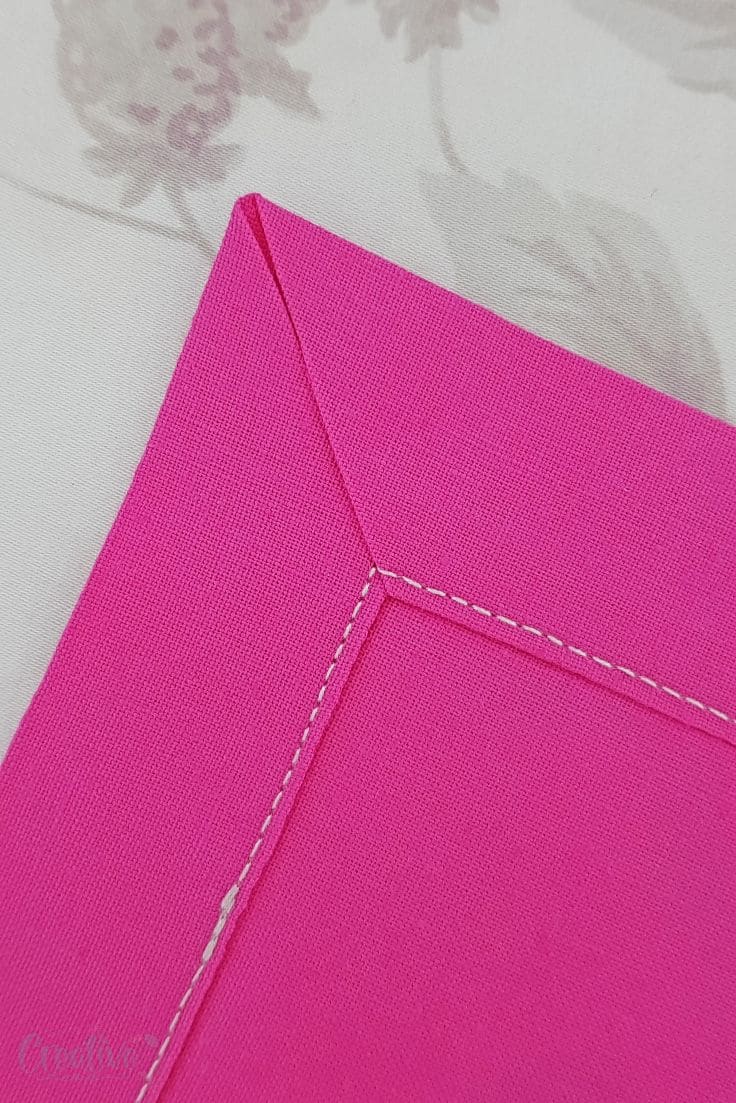
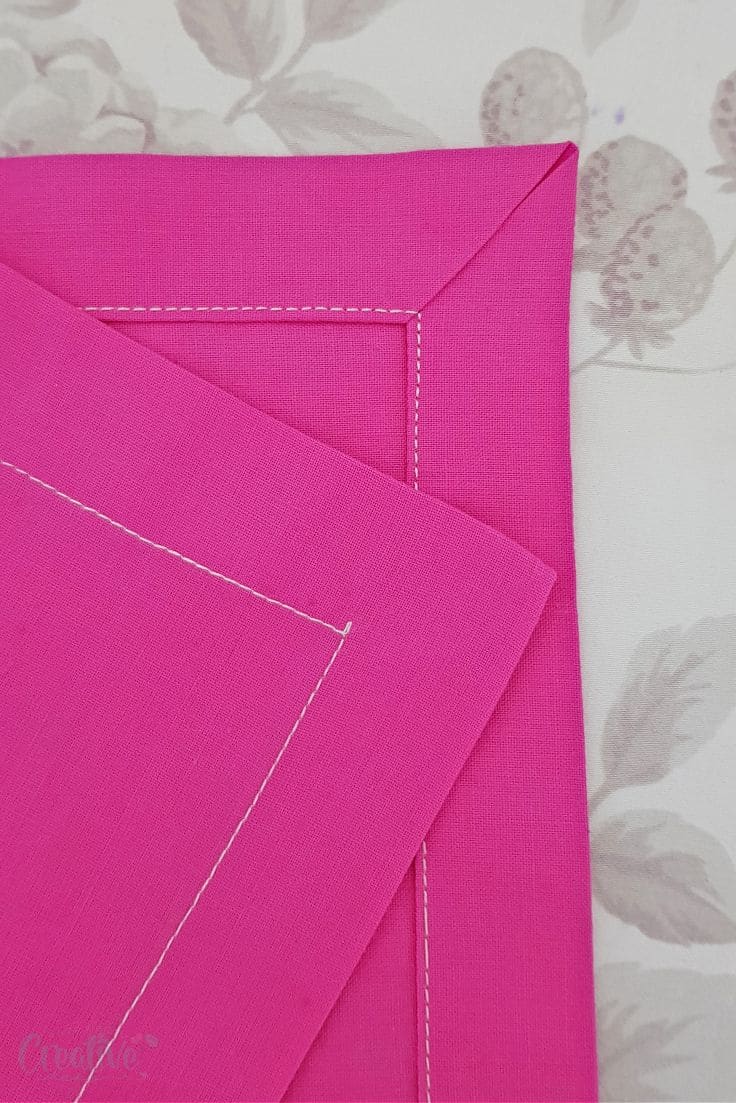
10. Now fold back the edges, following the traces left with your pressing iron. First fold one edge, then the second edge and so on.

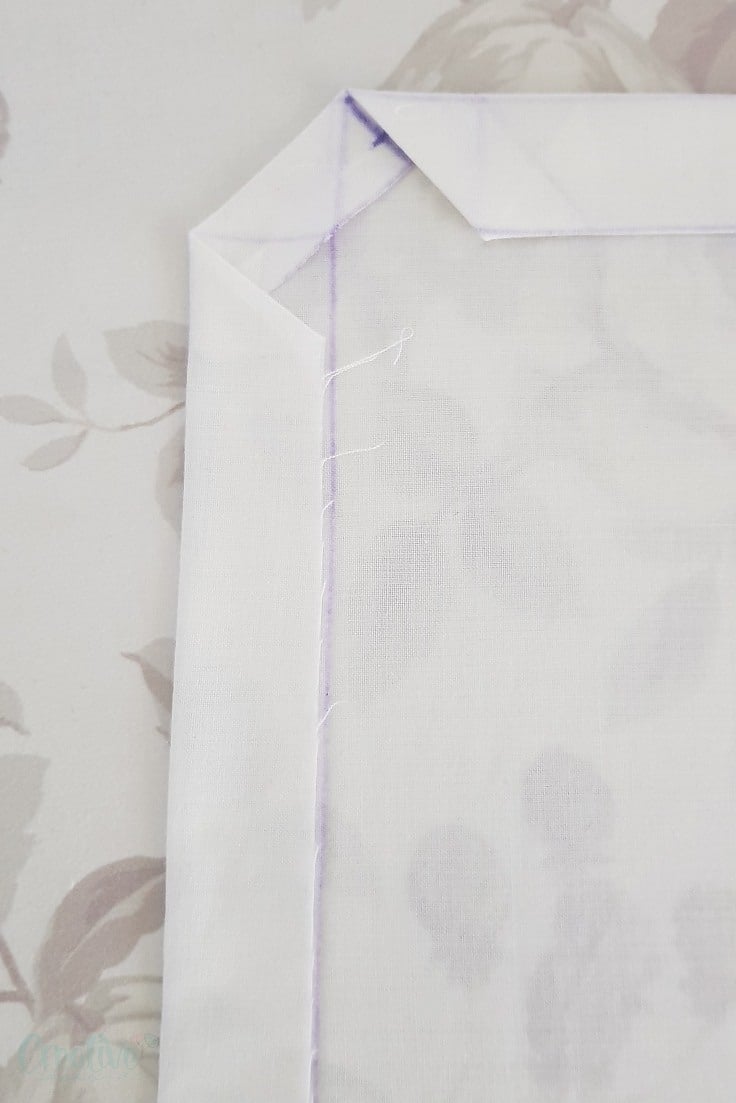
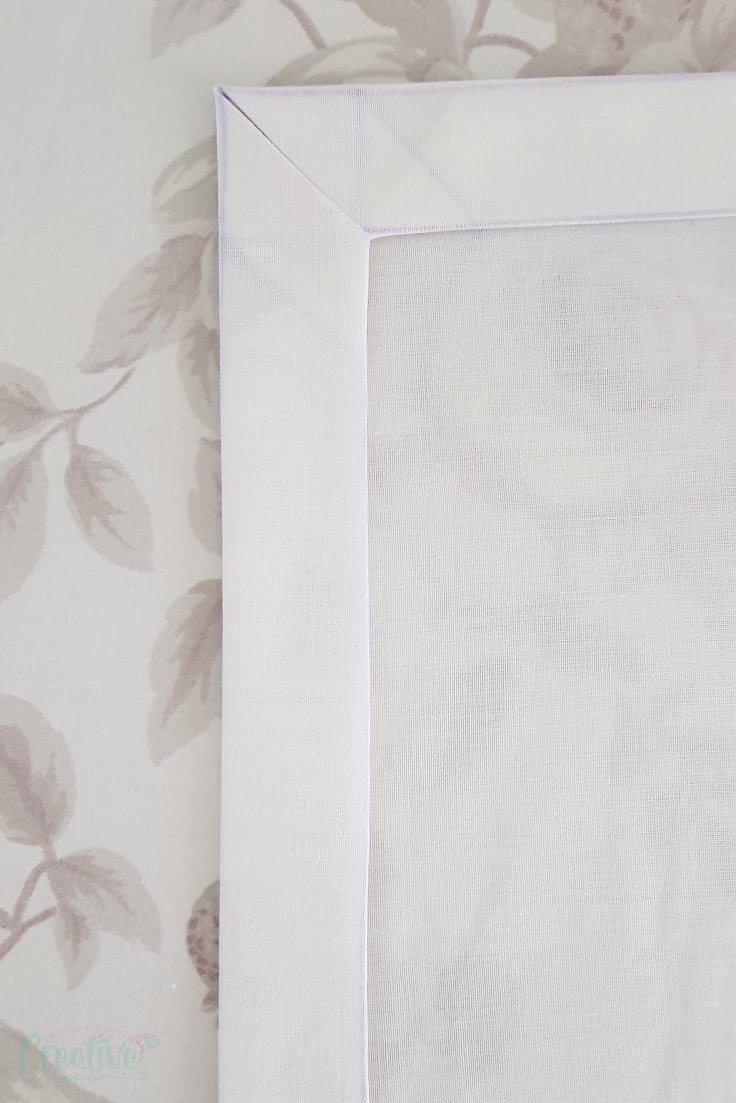
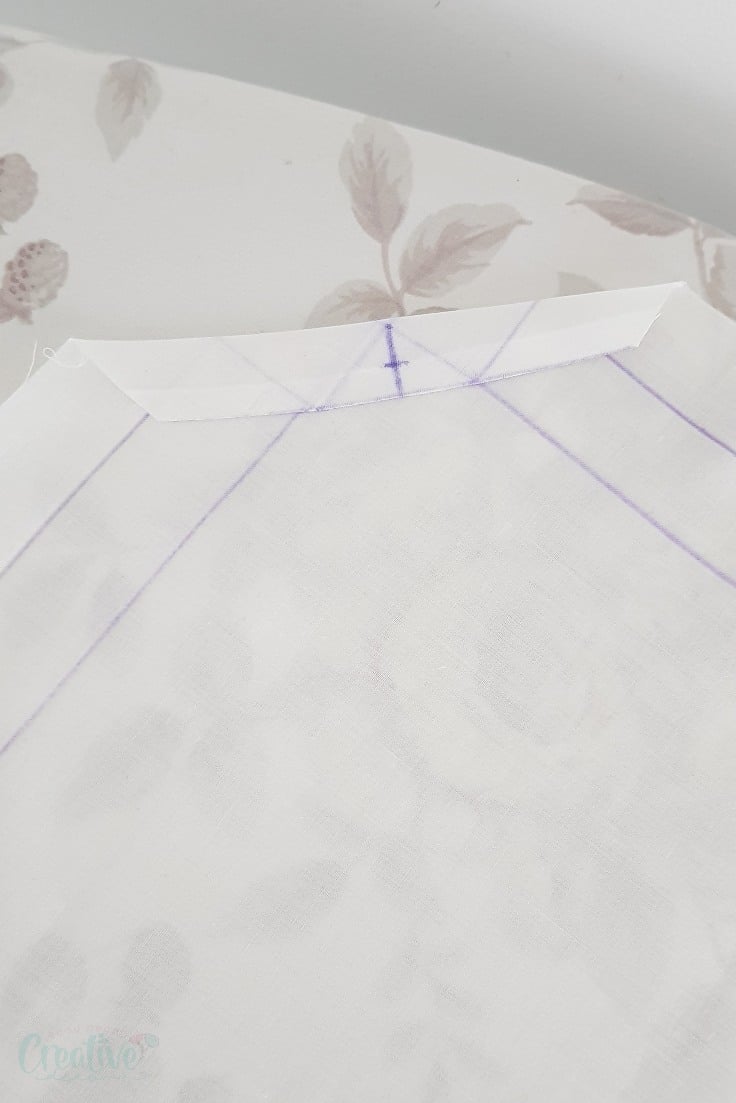
11. The mitered corner should form right on top of the line you traces through the rhombus in step #9.
12. Clip the corner to keep it in place while doing the next 3 corners.
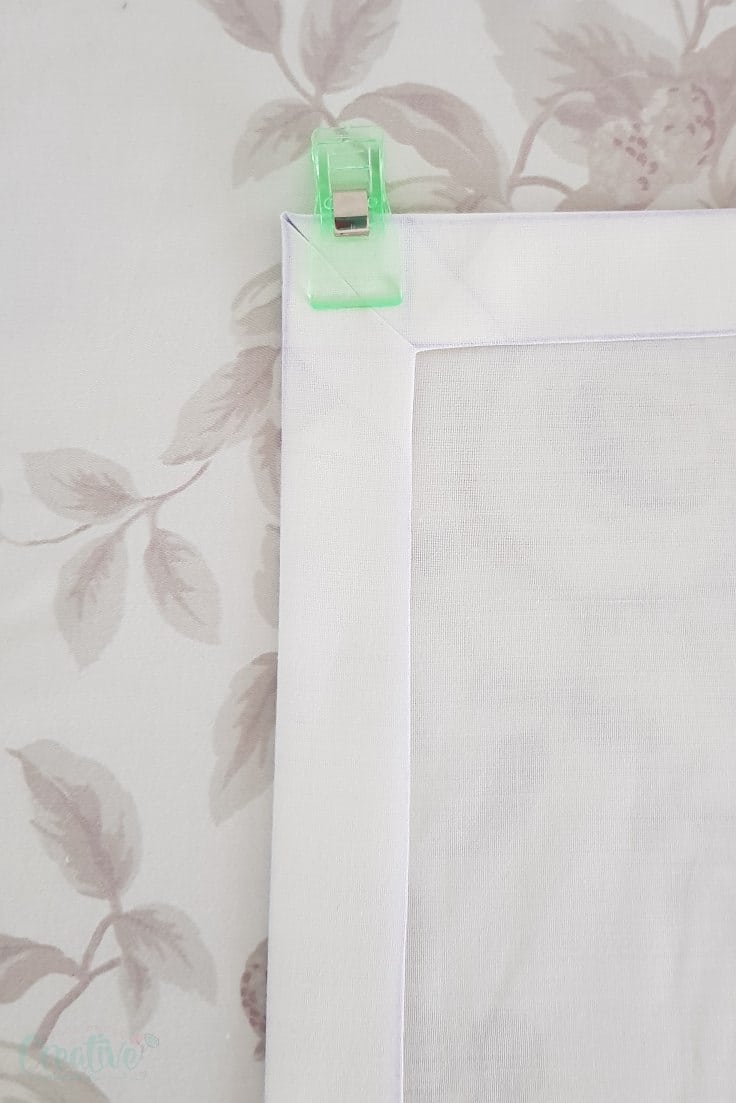
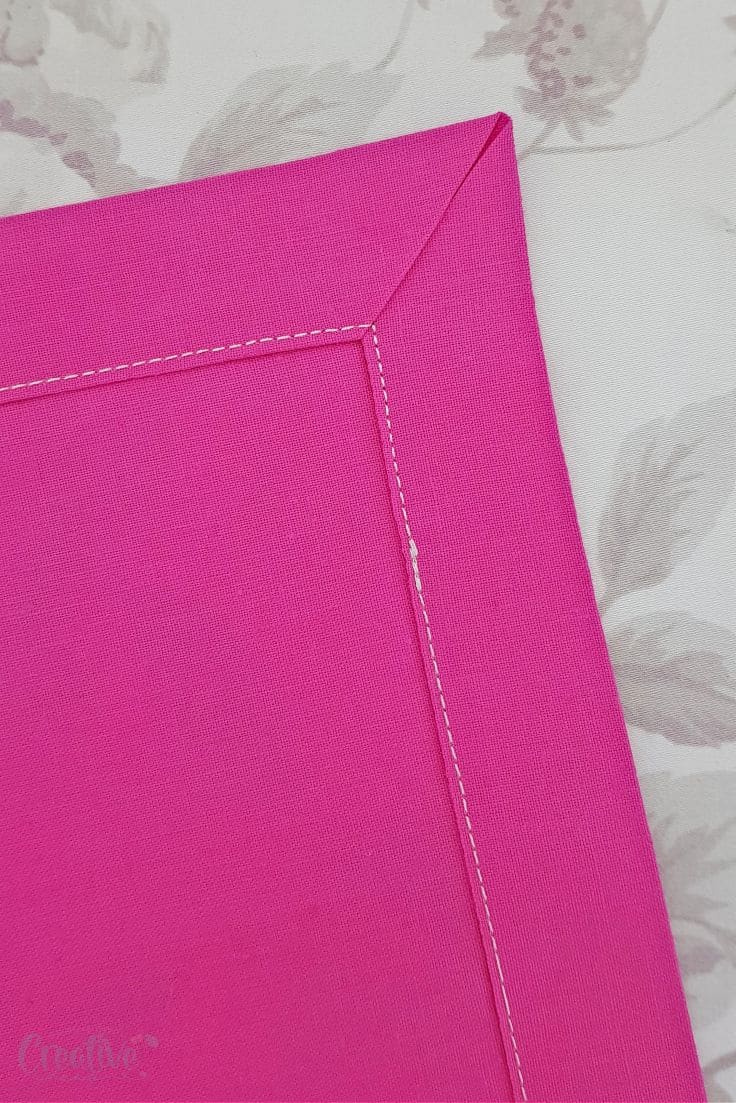
13. Once all corners are done, edge stitch the inside of the border, pivoting the needle in each corner.
I hope you liked this tutorial and found it easy to follow. If you decide to apply this technique, I would love to know what project you have in mind so please let me know in the comments below! And don’t forget to rate this tutorial! Thanks!
Pin to save for later
Most popular sewing projects:
Article may contain Amazon & affiliate links. As an Amazon Associate I earn from qualifying purchases at no additional cost to you.

This is very straight forward and simple to understand. I’ve seen other places ‘try to’ explain how to do this but it wasn’t very clear. This. I understood this.
Thanks for your kind comment, Sherri! I’m so happy you found my tutorial easy to understand!
Awesome! I will add this to my toolbox!