

Patching sewing like a pro – an easy guide for beginners
Are you looking for a way to patch up your clothes without spending a lot of money? Patching sewing is a great way to extend the life of your clothing and give them a unique look. In this tutorial, I’ll show you how to sew a patch onto your clothes using a few simple supplies. Keep reading to learn more!
Patching sewing
Patching sewing may sound like covering holes in your clothing, but there is a lot more to it! Patches can be used to add decoration, repair damage, or simply cover up a hole. There are many different types of patches available, so you can find the perfect one to suit your needs.
Nowadays, patch sewing has evolved into a form of decorative art, as you can simply sew on a patch to spice up a jacket, bag, or a pair of jeans. Just like scrapbooking, there are lots of ways of adding decorative pieces to your clothing. Bonus – it’s just sooo quick and easy to do this.
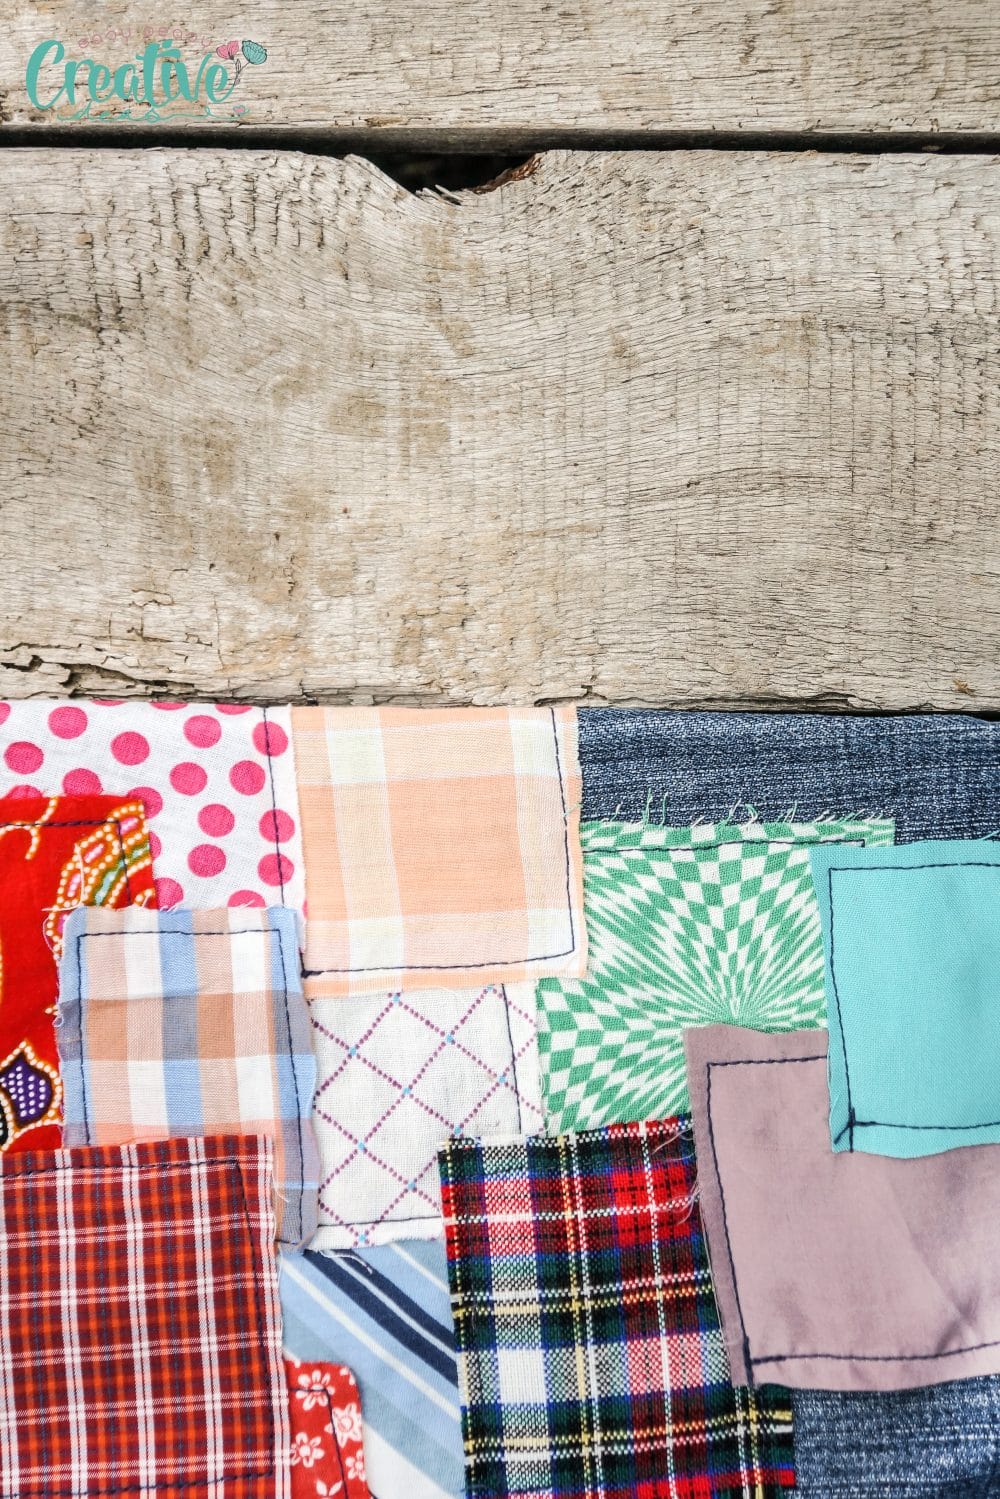
There are lots of creative patches nowadays which won’t look anything like a hole covering. People will just think “wow, that’s a cool and unique decoration!”. You can also make your own pretty patches from scrap fabric pieces, so it’s time to empty that scrap basket – I know, I also keep one because I just can’t allow myself to throw away any fabric.
This is a great project for kids to learn sewing, as most of the time, patch sewing only requires simple stitches like the running stitch or zig-zag. They get the chance to practice while also customizing their clothes to their own taste.
More sewing tips you will love:
- How to adjust the presser foot pressure
- How to make your own hem gauge
- Sewing needle types with size chart
- How to shirr fabric
- Types of buttons: a comprehensive guide
- Hemming tape – what is it and what does it do?
What is patching in sewing?
Patching in sewing is a process of using patchwork to mend or reinforce fabric. The patch is usually sewn over the area that needs to be repaired. Patching can also refer to the decorative application of patches to clothing or other fabrics as a form of embellishment.
There are two main types of patching:
- Functional patching: This type of patching is used to repair damage or reinforce a weak area. The patch is usually made from a similar fabric as the item being repaired.
- Decorative patching: This type of patching is used to add decoration or create a unique look. The patch can be made from a variety of materials, such as lace, ribbon, or sequins.
When do you need patching sewing?
The most obvious and pressing reason is, of course, a wear or tear in a garment. Think of a torn pair of jeans, an elbow wear in your favorite shirt, or a small accidental hole in a T-shirt. Accidents do happen, especially while kids play carelessly and manage to get tears and holes in their play clothes. Patches are a fun way of disguising the tear and giving the garment a new, longer life.
Even if your clothes are pristine, you can make them unique and less boring by adding a cute patch or embroidery so that they have your personal touch. You can also make a display of your favorite bands or artists on a jacket or vest (think trash rockers, for example).
Achievements or membership can also be displayed through patches sewn on clothes.
What is patching in clothing repair?
The patch is usually sewn over the area that needs to be repaired. Common items that are patched include jeans, shirts, and jackets. Patching in clothing repair is a great way to extend the life of your clothing and save money.
How do you repair a hole in fabric?
There are several ways to repair a hole in fabric. The most common method is to sew a patch over the hole. You can also use a patch to reinforce the area around the hole. In addition to using patches you can sew over the hole using a variety of stitches, such as the running stitch, zig-zag stitch or decorative stitch.
If the hole is small, you may be able to mend it with a needle and thread. If the hole is large, you may need to patch it from the inside as well as outside.
When patching a hole, be sure to choose a patch that is a little larger than the hole.
How do you repair fabric without sewing?
If you don’t know how to sew, or you simply don’t have a needle and thread handy, there are still several ways that you can repair fabric. You can use an iron on patch or adhesive double sided tape sandwiched between the patch and the fabric that needs repairing.
What can I use to make patches?
There is a variety of materials that you can use to make patches. The most common material is fabric, but you can also use lace, ribbon, sequins, or even felt. If you’re feeling creative, you can even make your own patch from scratch!
What is the best fabric for patching?
The best fabric for patching depends on the type of patch you’re making. If you’re making a patch to repair damage, you’ll want to use a fabric that is similar to the fabric of the item being repaired. If you’re making a decorative patch, you can use any type of fabric you like!
Knit fabrics in general are not the best choice for patching as they can stretch and distort over time. If you’re patching a knit garment, be sure to use a stabilizer around the patch area to prevent stretching.
Thick fabrics are also hard to sew onto fabric so I would stick to medium weight fabrics when considering making your own patches.
Can you use a sewing machine for patching sewing?
Yes, you can use a sewing machine to sew on patches. You’ll need to sew around the edges of the patch to attach it to the fabric. Be sure to use a zig-zag stitch, a stretch stitch or another type of stitch that will allow the patch to stretch without breaking the thread.
What can you sew patches on?
You can sew patches on clothing, bags, hats, or really any fabric item that you want to decorate or repair.
Are patches machine washable?
Yes, patches are machine washable. However, you should always check the patch manufacturer’s instructions before washing to be sure. If you’re making the patch yourself, be sure to use a fabric that can withstand the washing temperature you’ll be using.
How do you sew a patch onto leather?
Sewing a patch onto leather is similar to sewing a patch onto fabric. You’ll need to use a needle and thread, and you can sew around the edges of the patch or use a decorative stitch. Make sure you’re using the correct needle, thread and foot designated for sewing leather (if you’re using a sewing machine).
How do you sew on elbow patches?
Elbow patches are most commonly sewn onto sweaters or jackets. They’re usually made from a contrasting fabric, such as suede or corduroy. To sew an elbow patch onto a garment, simply place the patch in the desired position and sew around the edges. You can use a decorative stitch or a simple zig-zag stitch.
If you’re using a sewing machine to sew elbow patches, be sure to use a patch that is not too thick. You may need to adjust the pressure foot or use a walking foot to sew through multiple layers of fabric.
How do you patch holes in jeans?
Patching holes in jeans is similar to patching holes in other types of clothing. You’ll need to choose a patch that is a little larger than the hole, and you can sew around the edges of the patch or use a decorative stitch. If you’re patching a hole from the inside of the jeans, be sure to use a fabric that won’t show through the hole, unless you’re going for a contrast design.
You can also patch holes in jeans with an iron on patch or adhesive double sided tape. Simply sandwich the patch between the fabric and the iron on patch or tape, and follow the manufacturer’s instructions.
There is also the option to sew over the holes in jeans with a decorative stitch. This is a good option if the holes are small or if you want to add a bit of decoration to your jeans.
What is the best way to patch a hole in a sweater?
The best way to patch a hole in a sweater is to use a patch that is similar in color to the sweater. You can sew the patch on by hand or machine, or you can use an iron-on patch. If you’re using an iron-on patch, be sure to follow the manufacturer’s instructions.
For a more permanent patch, you can sew the patch on by hand or machine. If you’re sewing the patch on by machine, be sure to use a needle designed for knit fabrics.
What is the best thread to use for patching sewing?
The best thread to use for patching depends on the fabric and the patch. If you’re patching a hole in denim, you may want to use denim thread that matches the color of the jeans. If you’re patching a hole in a sweater, you may want to use a woolen thread.
For most patching projects, it’s best to use a thread that is similar in color to the fabric. This will help the patch blend in with the fabric and make it less noticeable.
How do you finish the edge of a patch?
The edge of a patch can be finished in several ways. You can sew around the edge of the patch with a zig-zag stitch, or you can use an overcast stitch. You can also finish the edge of the patch with a decorative stitch.
What are the different types of patches?
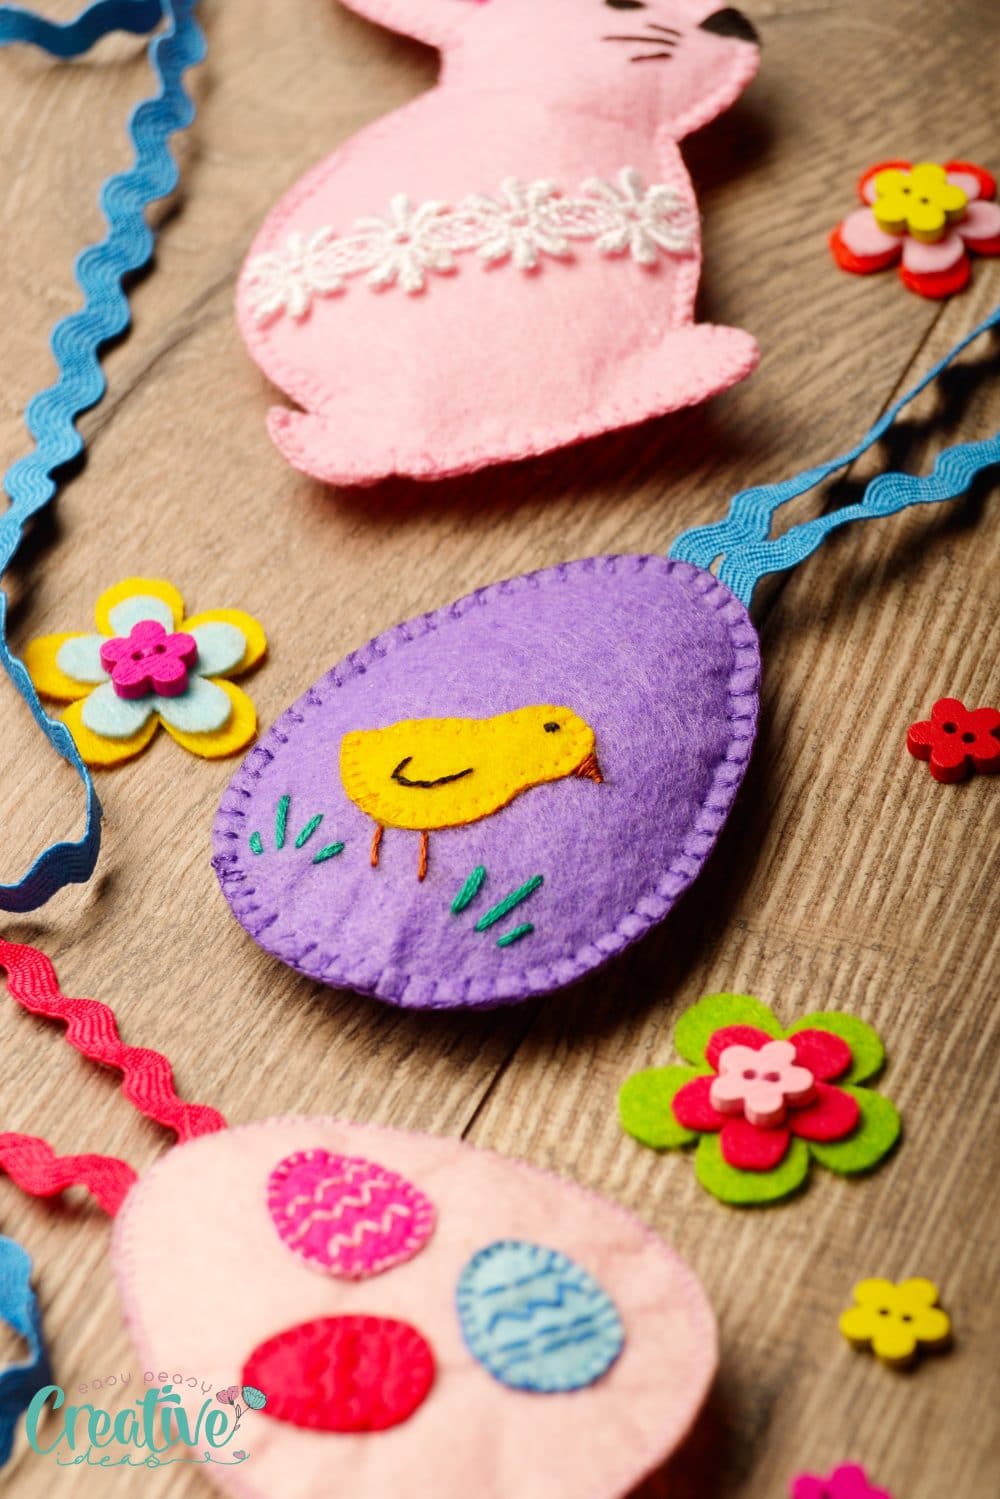
There are endless patch types, like handmade, badges, store-bought embroidered patches, felt/flannel patches, or darning stitches. The latter are not really physical patches, but rather ways of mending a rip or adding a decorative design to a piece of clothing.
- Handmade patches – pieces of fabric cut by yourself in the size and shape you need for the chosen area. You can either embroider them by hand previously, or apply them as they are on the area;
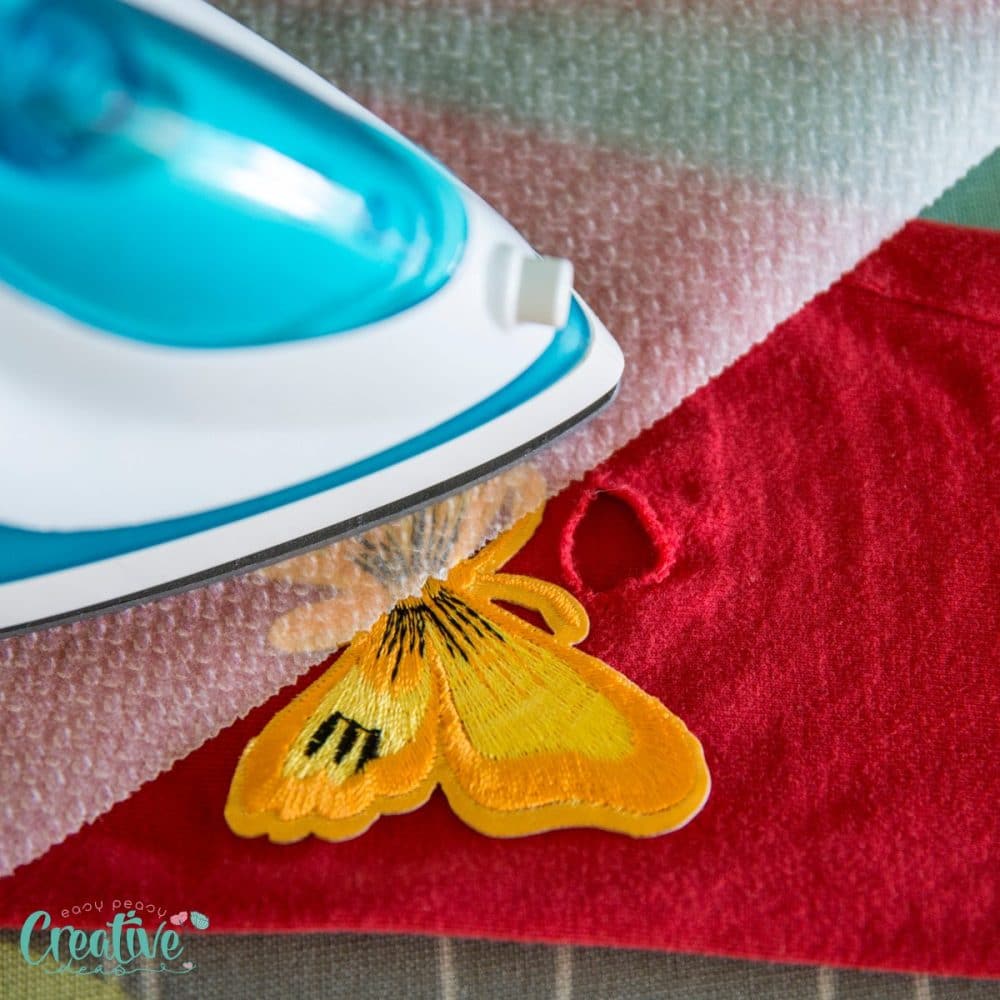
- Iron-on patches – embroidered or not, this kind of patches have a sticky back that is activated under high heat. They are the easiest and fastest to apply. Some patches have a plasticky back, while others have a backing sheet that needs to be removed;
- Appliqued patches – pieces of fabric hand or machine stitched to the right side of the fabric. They may have decorative or simple edges. Sew with a close zigzag on the machine, or a blanket stitch by hand;
- Darning stitch – not really a patch, but rather a very dense stitch over a larger surface. This is useful for covering rips and tears.
- Badges – small patches with a pin or adhesive back that can be attached to clothing. They are often used to show support for a cause or membership in an organization;
- Store-bought embroidered patches – ready-to-use patches that you can simply iron on or sew on. These are available in a variety of colors, sizes and designs.
Is it better to sew or iron on a patch?
It depends on the patch and the fabric. If you’re using a patch that is not too thick, you can sew it on with a regular sewing machine needle. If the patch is thicker, you may need to use a needle designed for canvas fabric or a walking foot.
Iron-on patches are the easiest to apply, but they may not last as long as sewn-on patches.
Adhesive patches are also an option, but they may not be as durable as sewn-on or iron-on patches.
How to sew patches
You will need a few things to get going:
- Patch/patches
- Sewing needles and thread in matching color
- Scissors
- Sewing pins
- Piece of clothing
There are several steps to sew a patch on:
- Choose where to place the patch – decide if the patch would cover a hole, a worn-out elbow, or if you’re just using it to decorate something. If it should cover a tear or hole, make sure it’s big enough to extend the hole dimensions;
- Clean up the hole area – if covering a rip or tear, cut off any fluff or white threads coming out through the edges;
- Fix the patch in place – iron-on or pin it in place. Depending on the patch type, you might need to sew it, or you can just iron it in place and that’s it. While this is the easy way, it might come off after a few washes, so you might want to sew even iron-on patches. Ironing it in place will help fix it in place while you sew it;
- Thread the needle with a sturdy thread;
- Backstitch around the edge to secure the patch and keep stitching until you reach the starting point;
- Finish the backstitch, with a double or triple knot, to make it secure, and cut the threads.
- Finish the edges of the patch with the desired stitch type.
What Stitch is best for patches?
Take advantage of your hand sewing and do some decorative stitches around the patch edges. They look great with embroidery stitches like chain, blanket or whip stitch. If you’re not sure about the quality or uniformity of your stitches, just make some simple running or backstitch in a contrasting color.
Unequal blanket stitches can even look better than super-uniform ones, as the eye bounces over them (check out these cute mini mitten ornaments!). Just play around with your stitches until you’re happy with the look. You can always undo them if you don’t like them.
Other stitches you can use for patching sewing are:
- Ladder stitch – also called invisible stitch, is best for woven fabrics. You can use a regular needle and thread or dental floss; Check out my step by step tutorial to learn how to do a ladder stitch.
- Zigzag stitch – this one is easy to do on the sewing machine. Set it to a wide zigzag and a short stitch length. Sew around the patch with a close zigzag;
- Buttonhole stitch – also called bar tack, is a great choice for denim. It will give your patch some extra strength. You can do it by hand or machine;
- Darning stitch – perfect for mending holes in socks or other knitwear. You can do it by hand or machine.
Tips and tricks for the best patch sewing experience
- Use jeans or quilting thread to sew on patches; they are stronger than your usual sewing thread. Doubled embroidery thread should also be quite durable;
- If your patch is pinned in place and not ironed on, keep checking it every few stitches, to make sure it stays where you want it to;
- If you worry about your patch not being secure enough, go several times around it and backstitch to fix it down;
- Some finer fabrics may need some backing fabric to secure the patched area, especially if we are talking about elbows or knees. Fusible interface or bonding may do the trick, and also better secure the patch in place. Thicker fabrics like denim do well without backing
Patching sewing is a fun way of giving your clothes a new life, whether you want to cover any rips, or just decorate them with something new. Tell me if this article helped you sew your patches easier in the comments section below, or share your own ideas.
Pin to save for later
Most popular sewing projects:
- Tips for sewing a round hem
- Corded bag handles
- Flutter sleeve dress pattern
- How to laminate cotton fabric


Article may contain Amazon & affiliate links. As an Amazon Associate I earn from qualifying purchases at no additional cost to you.
ABOUT PETRO
Hi, I’m Petro, author and founder of Easy Peasy Creative Ideas. Sewist, crafter, avid DIY-er, foodie, photographer, homemaker and mommy to one. I’m an expert at coming up with quick, clever sewing tips, recycling crafts and simple, easy recipes! You can find my ideas featured in reputable publications such as Country Living, Good House Keeping, Yahoo News, WikiHow, Shutterfly, Parade, Brit & Co and more. Thanks for stopping by and hope you’ll stay for a while, get to know me better and come back another time. Stick around for real fun projects! Read more…