Quilted toiletry bag with selvage fabric
For a unique and thoughtful gift or an essential accessory for travel, this quilted toiletry bag tutorial is the perfect DIY project. With easy-to-follow instructions and detailed illustrations, you will be able to create a one-of-a-kind DIY toiletry bag and customize it to your style with fabric selvage.
Quilted toiletry bag
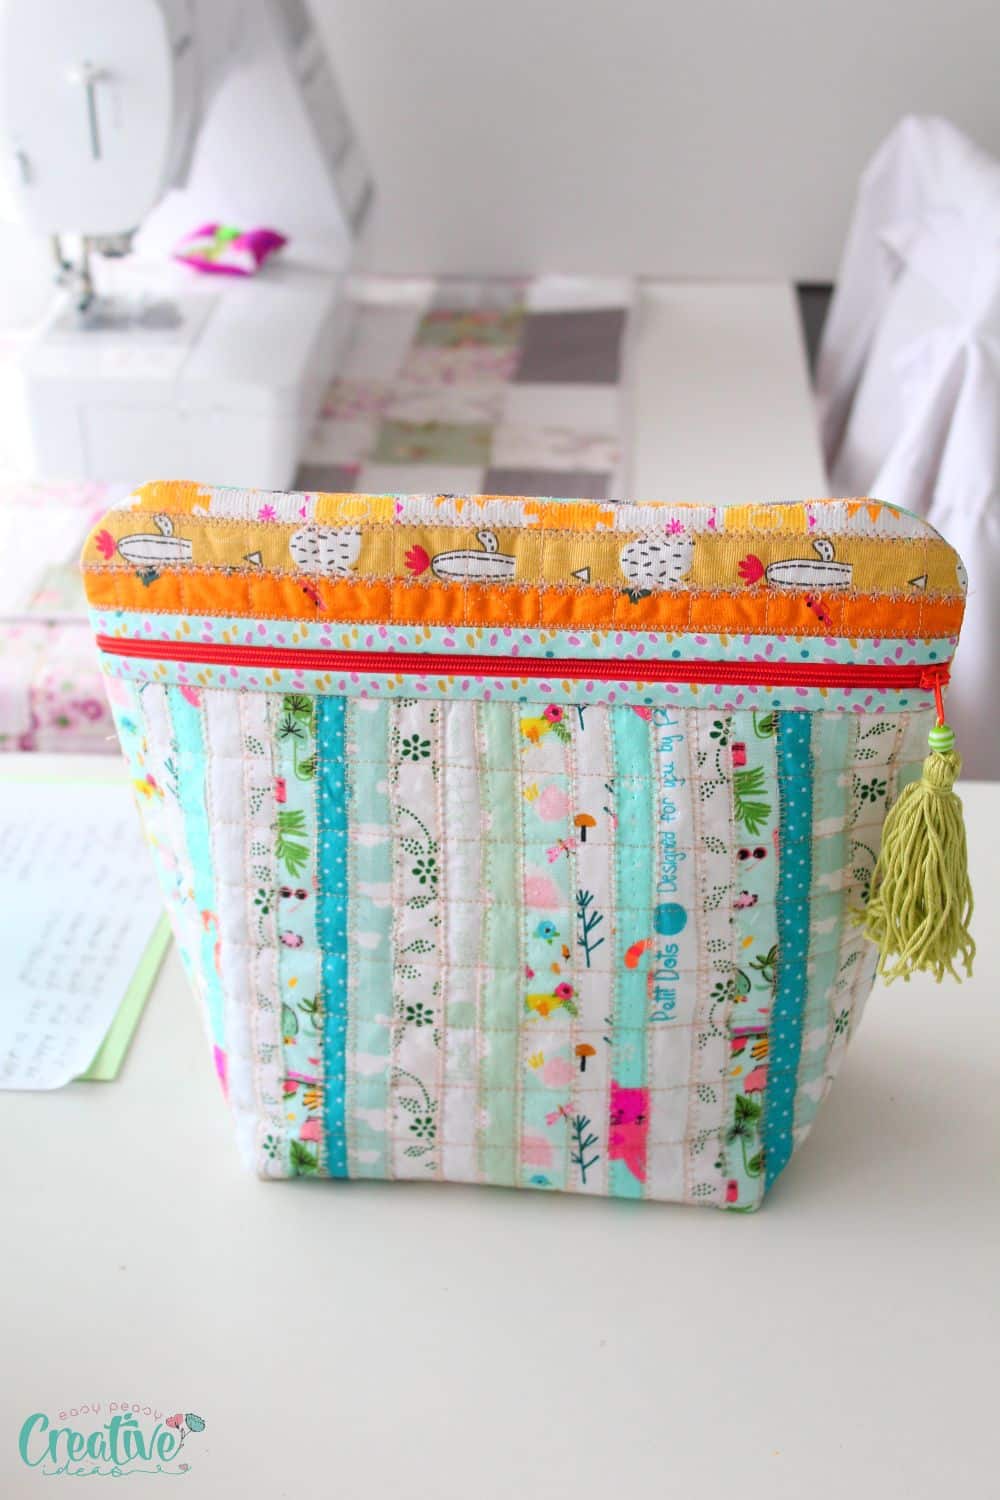
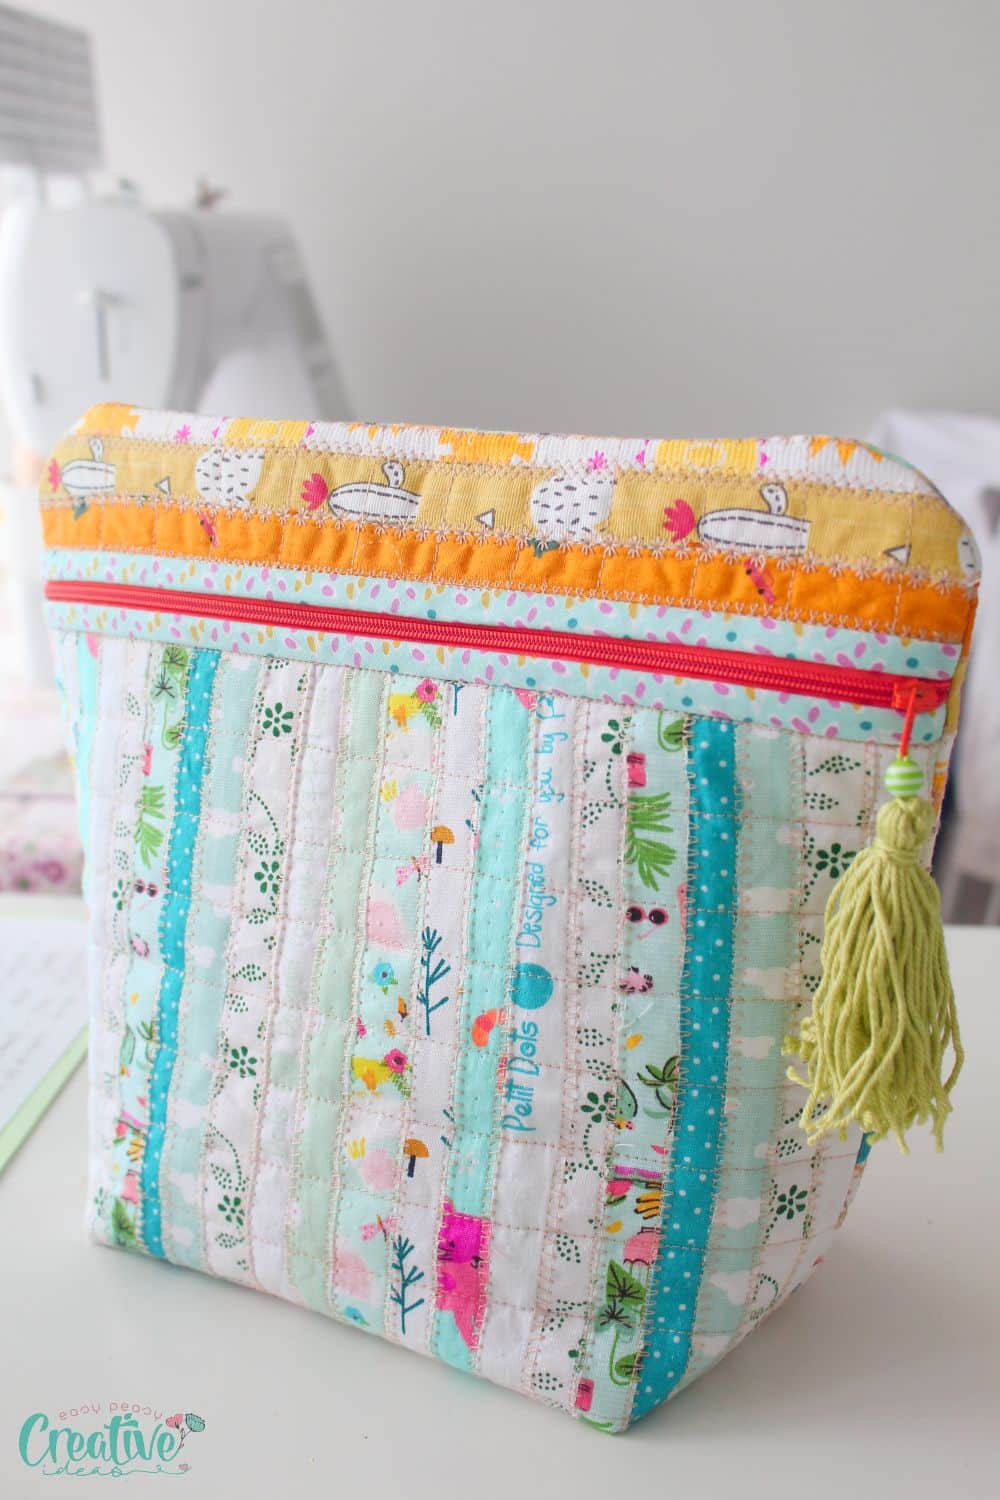
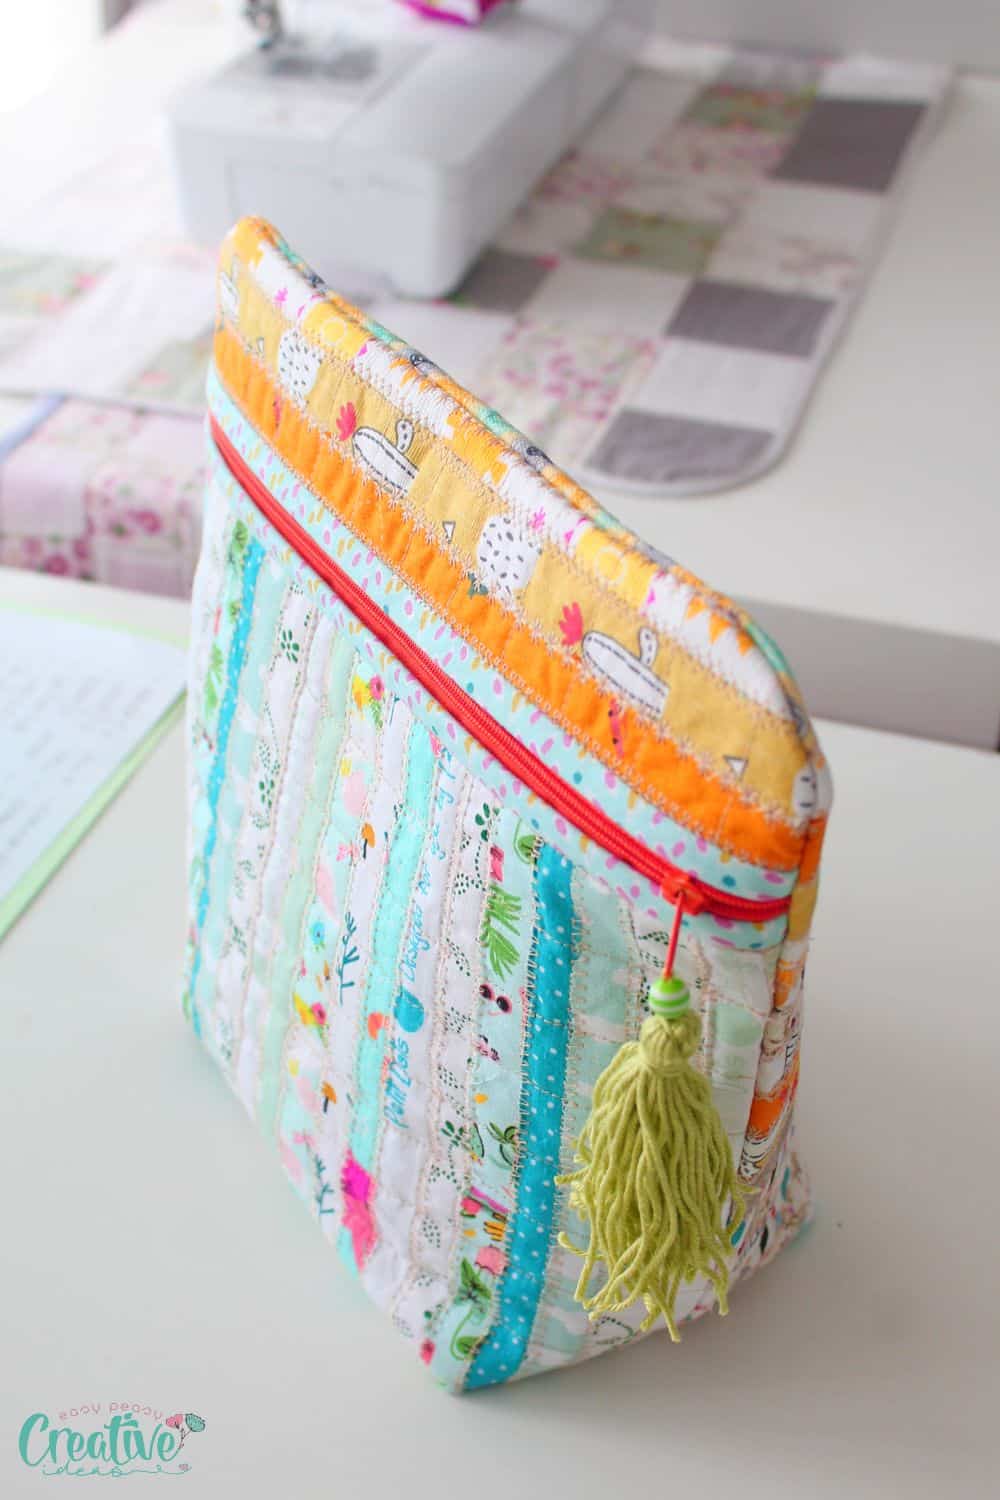
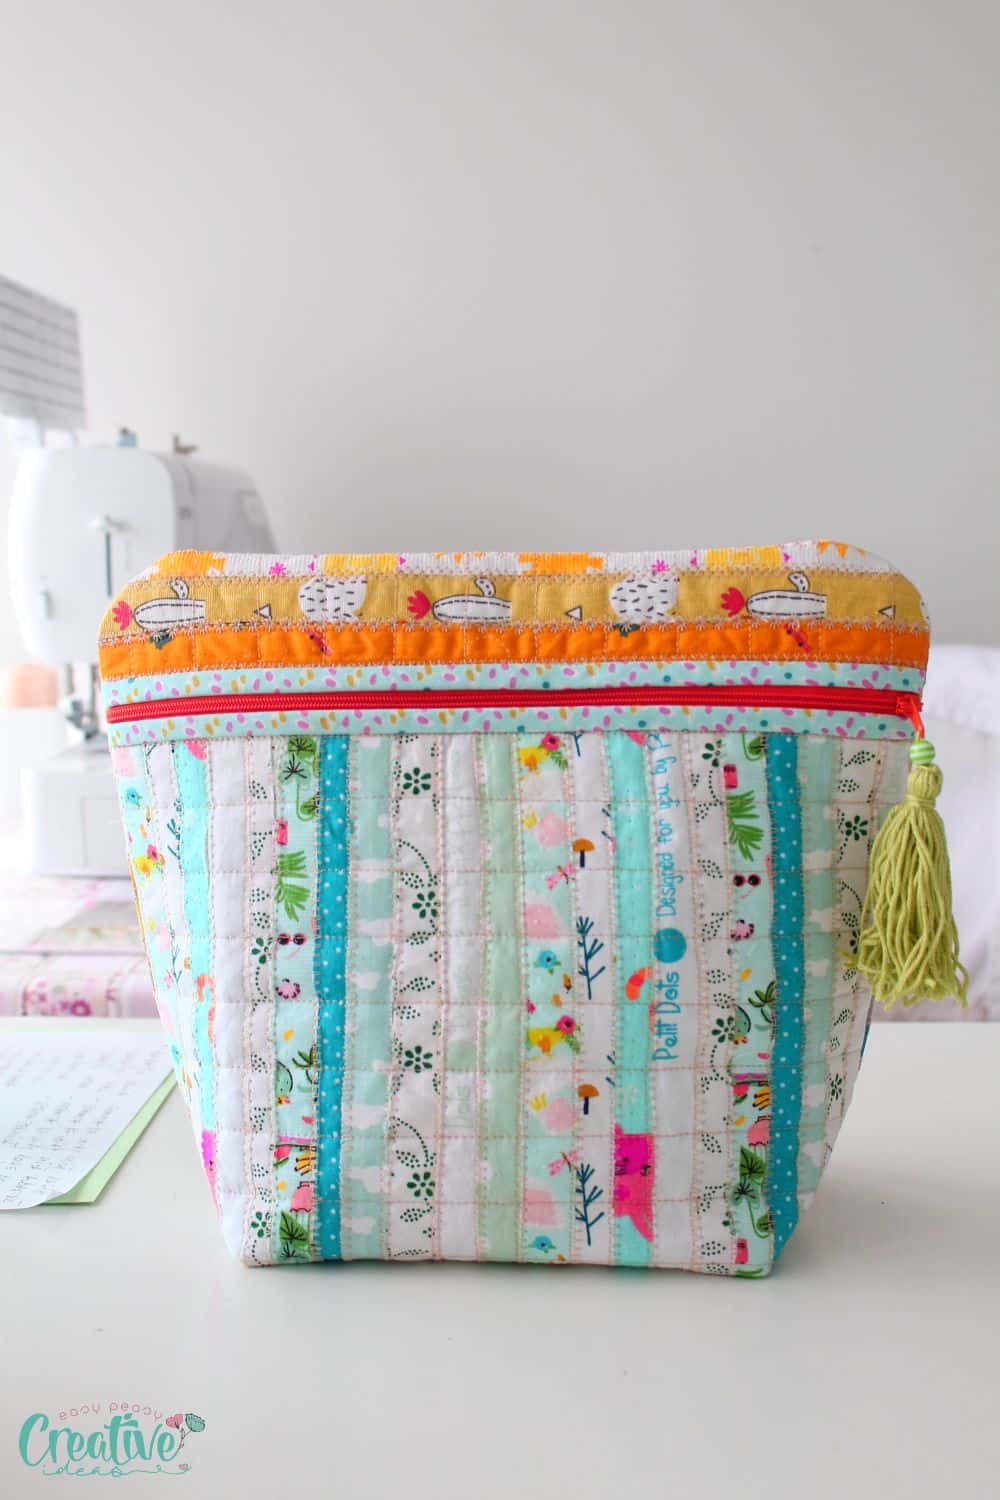
This quilted toiletry bag is the perfect way to express your individual style and make a unique gift. With this easy tutorial, you’ll be able to sew a beautiful and functional zipper toiletry bag that can store all of your essentials. Follow my easy step-by-step instructions, along with helpful illustrations, gather your fabric selvages and make it today!
The finished product will be a gorgeous and sturdy toiletry bag pattern that you can use for yourself or give as a gift. And with all the different ways to customize it, your quilted toiletry bag will be unique and one-of-a-kind.
This article has been converted to a PDF file, available to purchase HERE! However this tutorial is free to read on the website.
This particular pattern is great for beginner sewers and quilters, however experienced crafters might find it a great refresher or indulgence in this enjoyable DIY project.
For this project you won’t need a toiletry bag sewing pattern, all you need is a few supplies and my instructions for creating the perfect toiletry pouch.
Need more easy quilting ideas?
- Quilted phone charger holder
- Mug shaped containers
- Square kitchen potholders
- Oval potholders
- French braid mini quilt
- Selvage bookmarks
- Small crossbody bag pattern
Is this bag hard to make?
No! This quilted toiletry bag does not require any special sewing skills and is easy to quilt and sew. With clear instructions and helpful illustrations this tutorial will be great for both experienced sewers looking for a refresher in making a DIY toiletry bag as well as beginner sewers who are new to the craft. It does require some experience in sewing zippers so it’s not suitable for absolute beginners or those who never tried their hand at sewing zippers.
How long does this toiletry pouch take to make?
This project should not take longer than a few hours to complete. However, the amount of time it takes will depend on your experience level and how quickly you work. Prepping the fabric takes the most time, so if you want to complete this project quickly make sure that your fabric is ready before starting. Here you’ll find my 2 methods for creating a fabric panel with selvage.
How much fabric do you need to make a makeup bag?
While a toiletry bag usually measures around 9″ x 6″, the exact amount of fabric needed will depend on your specific project as you can make your bag in any size you like. If you’d rather use my measurements, you will need three panels of selvage fabric, measuring:
- 11 1/2″ by 9 1/2″
- 11 1/2″ by 2 1/4″
- 11 1/2″ by 12″
Because this is a quilted pouch, you won’t need lining fabric.
What fabric to use for toiletry bag?
For this tutorial I recommend using handmade selvage fabric but if you want your project to be quicker use regular fabric. Sturdy fabric like quilting cotton, canvas or exterior fabric are all great choices for making a toiletry pouch. If using regular fabric, you don’t need to use double sided interfacing as it won’t be required for this project. You will still need quilting batting.
How do you clean a fabric makeup bag?
To keep your toiletry pouch looking new, it’s best to hand wash the bag with cold water and mild detergent. Avoid using harsh chemicals or washing the fabric in hot temperatures as this could damage the fabric. Wash it in the washing machine on a gentle cycle, especially if you didn’t reinforce the selvage strips with a decorative stitch or a zig zag stitch. After washing, hang it up to dry naturally.
What do you need to make this toiletry bag?
In addition to selvage strips, to make this lovely selvage fabric toiletry bag I used a handful of simple basic supplies:
- selvages
- quilting cotton fabric as “backing”
- double sided fusible interfacing
- rotary cutter
- cutting mat
- sewing machine
- matching thread
- iron with steam setting
- 1″ wide zipper (I had a long zipper that I trimmed to my needs; also I recommend sticking with one with plastic zip teeth instead of a metal zip)
- 1″ bias binding
- quilting clips
- pins
- ruler
- fabric marker or pencil
- handmade tassel (optional) – here’s how I make mine
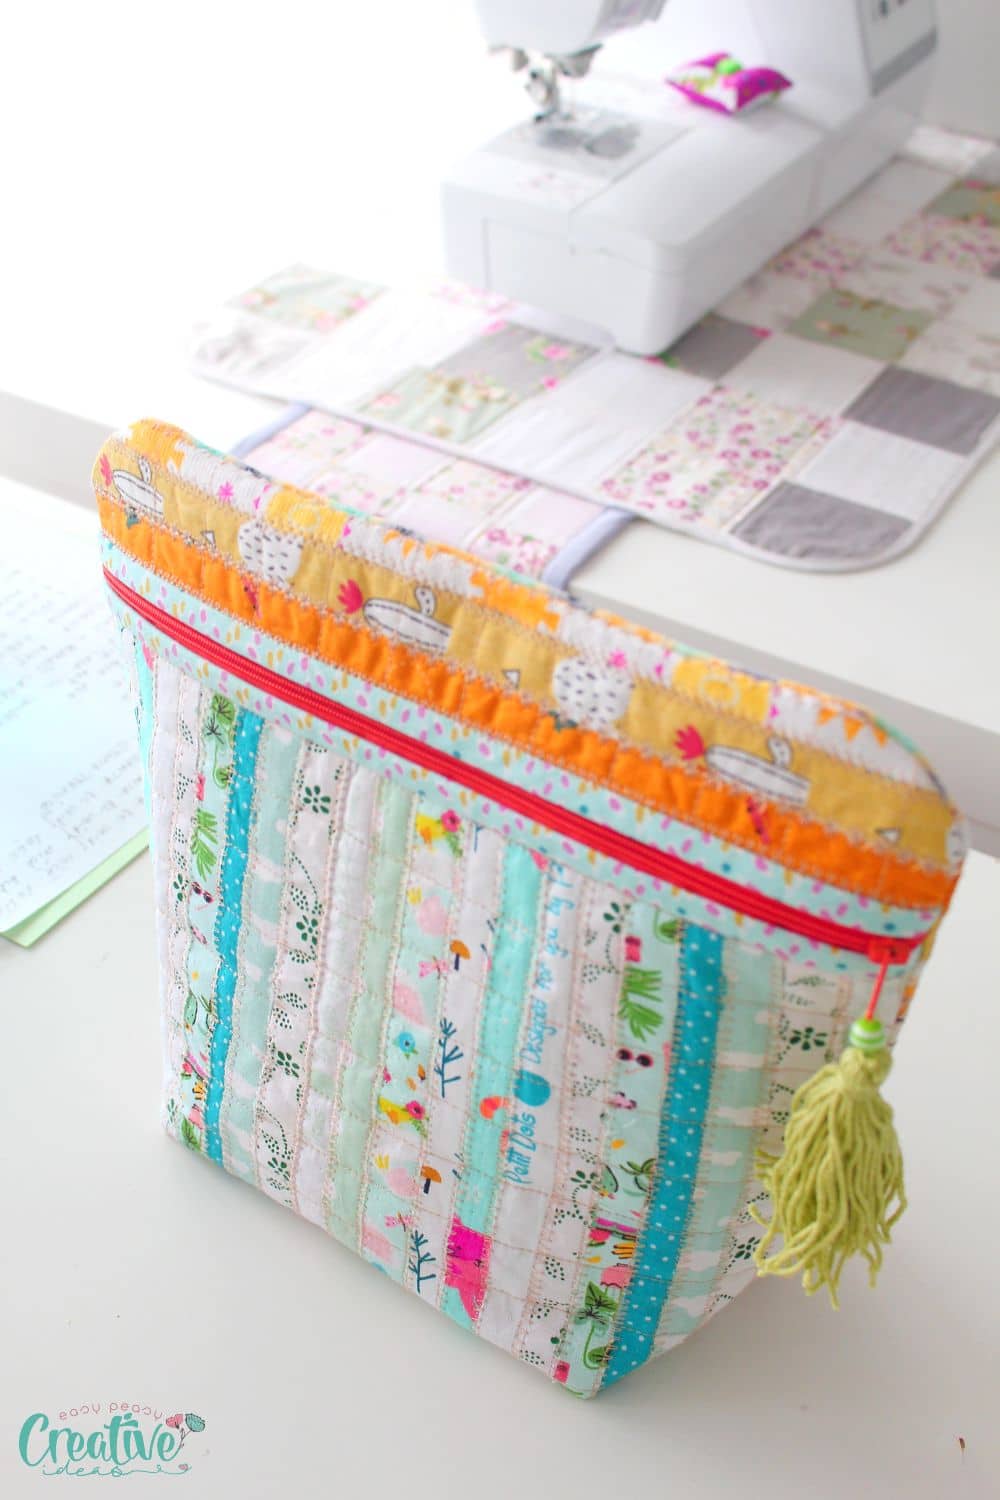
How to sew a toiletry bag
Prepare the quilted panels
- Start by making your panels from selvage fabric. Follow this tutorial if you’re no familiar.
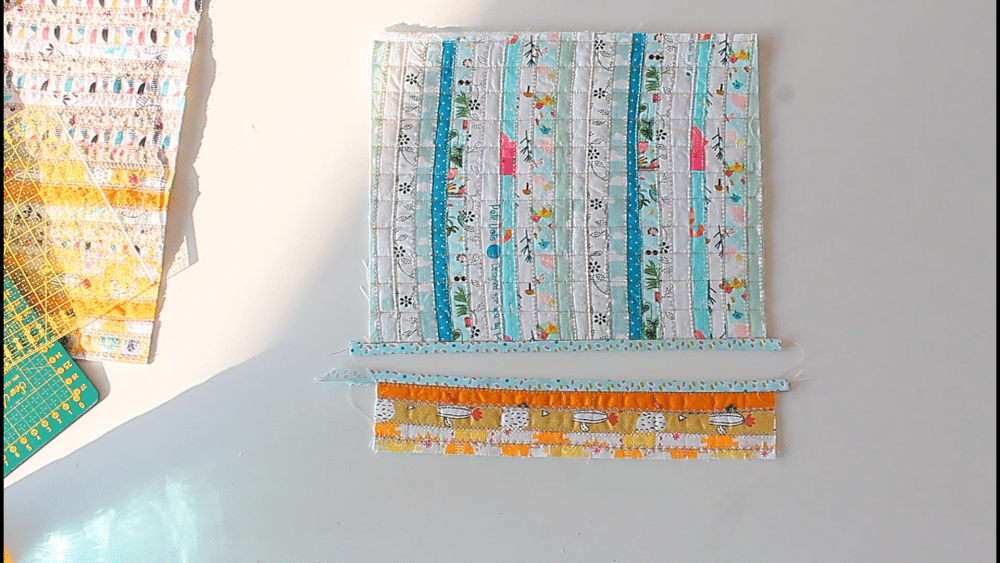
- Cut three panels with these measurements:
- 11 1/2″ by 9 1/2″
- 11 1/2″ by 2 1/4″
- 11 1/2″ by 12″
- Grab the #1 and #2 panels and add binding to one of 11 1/2″ raw edges on each panel.
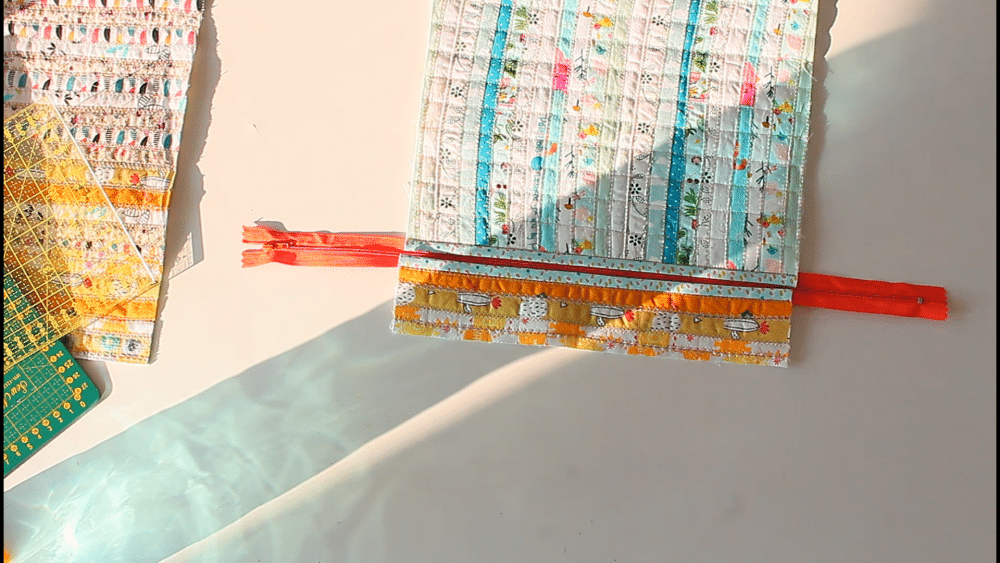
- Attach the zipper to the edges covered in binding, sewing in the ditch (right below the binding). The panels should be on top of the zip. Now you have the front side of the bag ready.
Sew the pouch
- Place the front right side up, open the zipper half way through and top with the panel 3#, placed wrong side up.
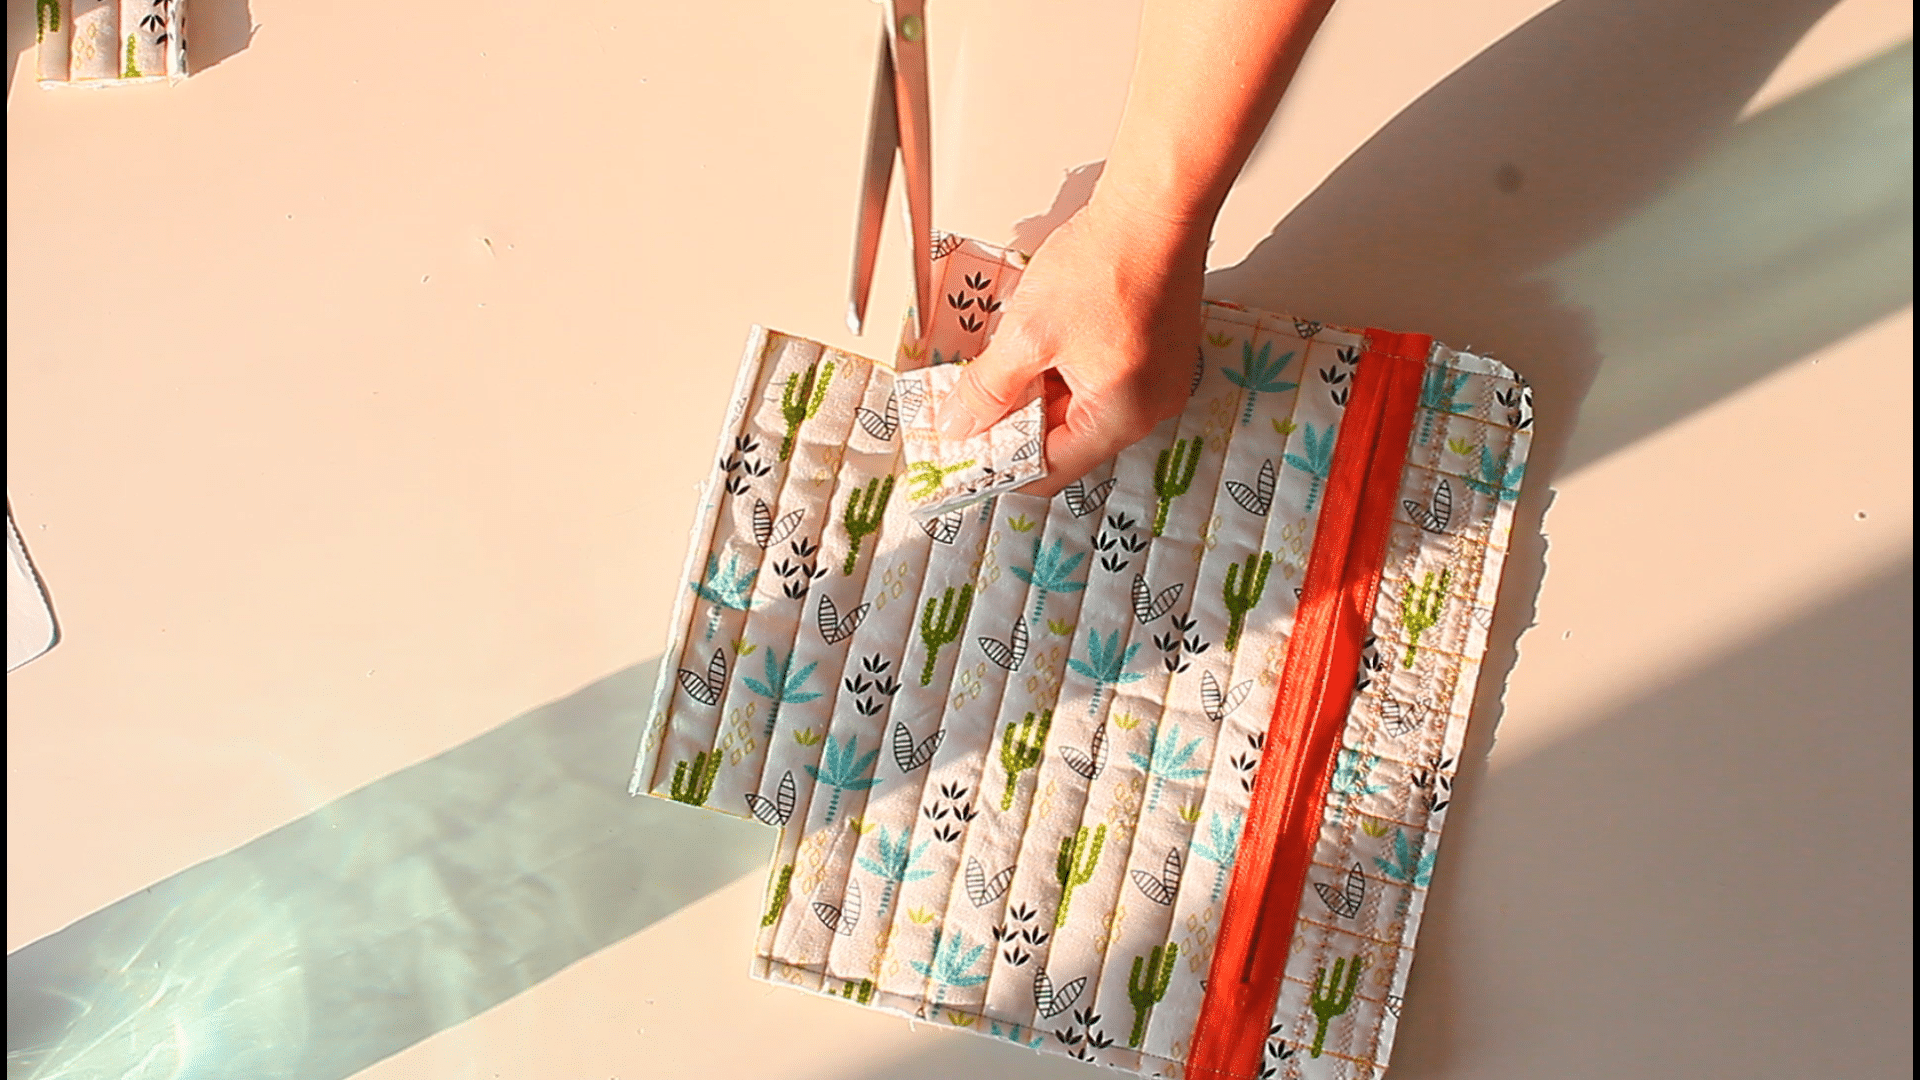
- Sew all around the rectangle with 1/4″ allowance. When I finished the bag, I noticed I wasn’t particularly crazy for the square top corners of the bag. So I decided to make them round. If you like this rounded look too, this is the best moment to make those top corners round, then trim the excess fabric to 1/4″.
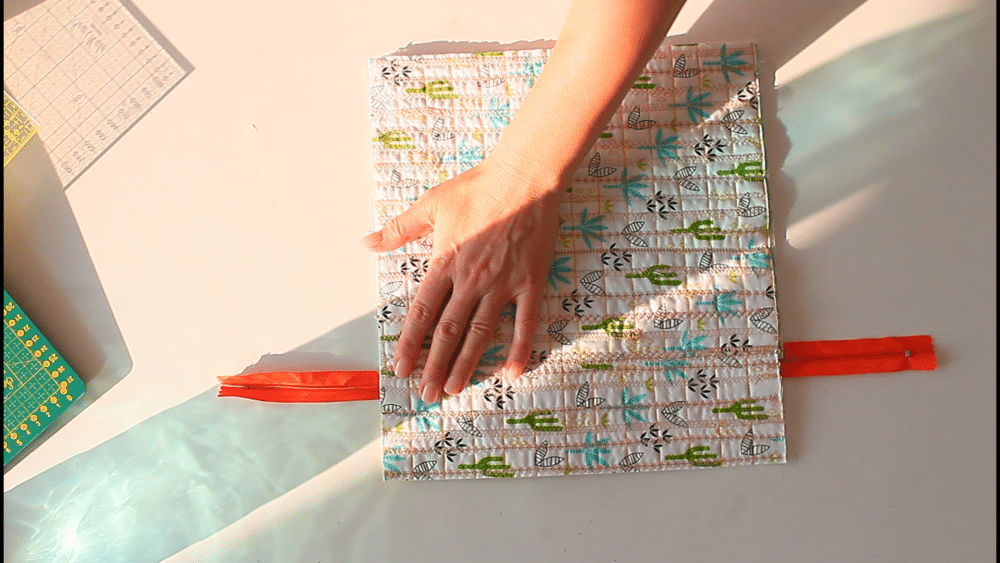
- Trim the zipper if needed.
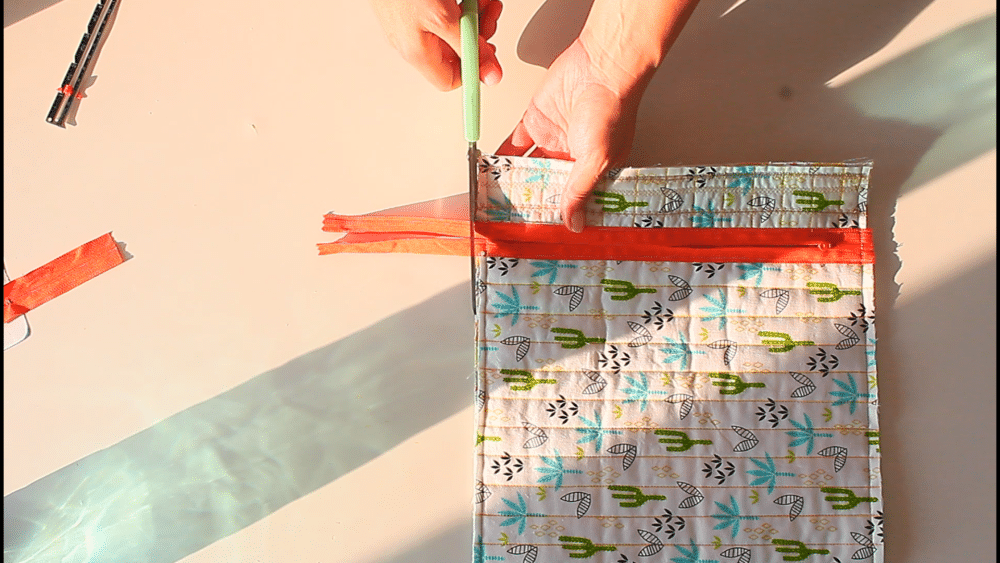
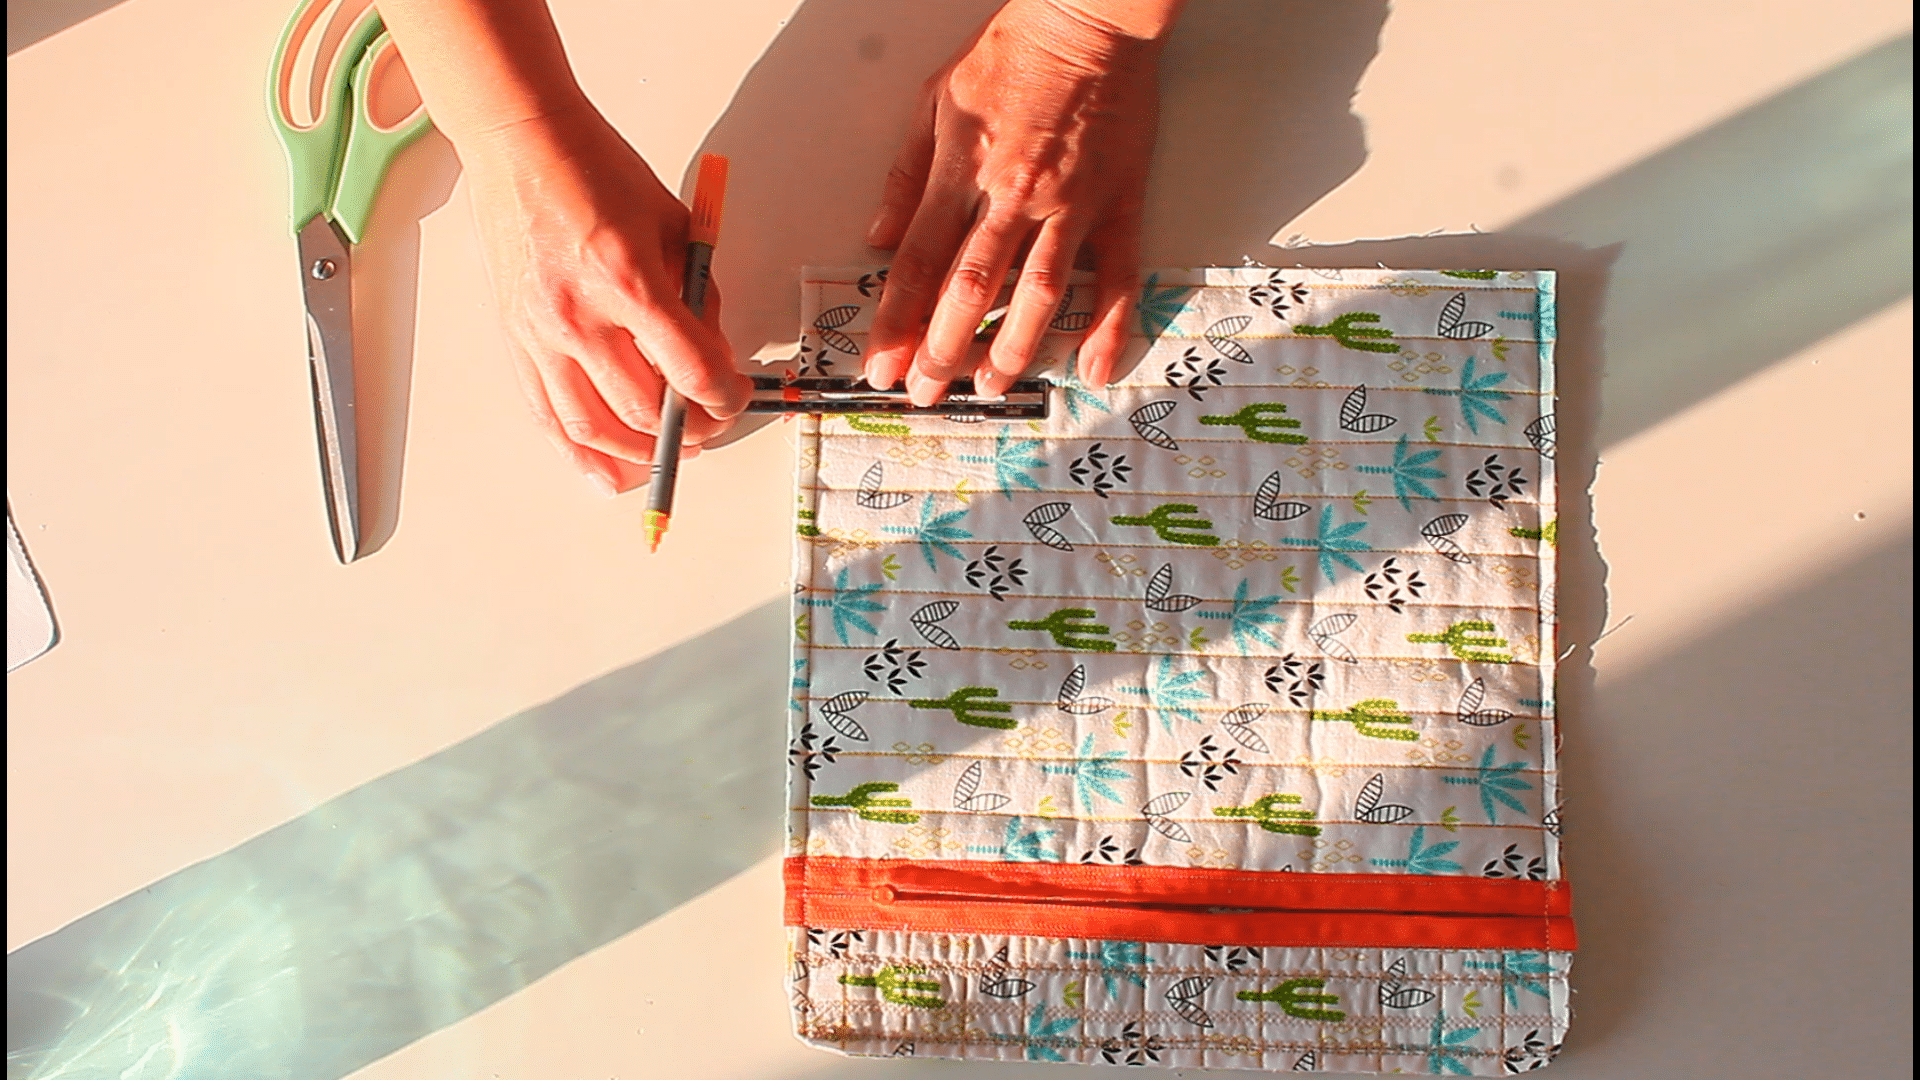
- Mark a square of 2 1/2″ on both bottom corners and cut out.
Finish the seams
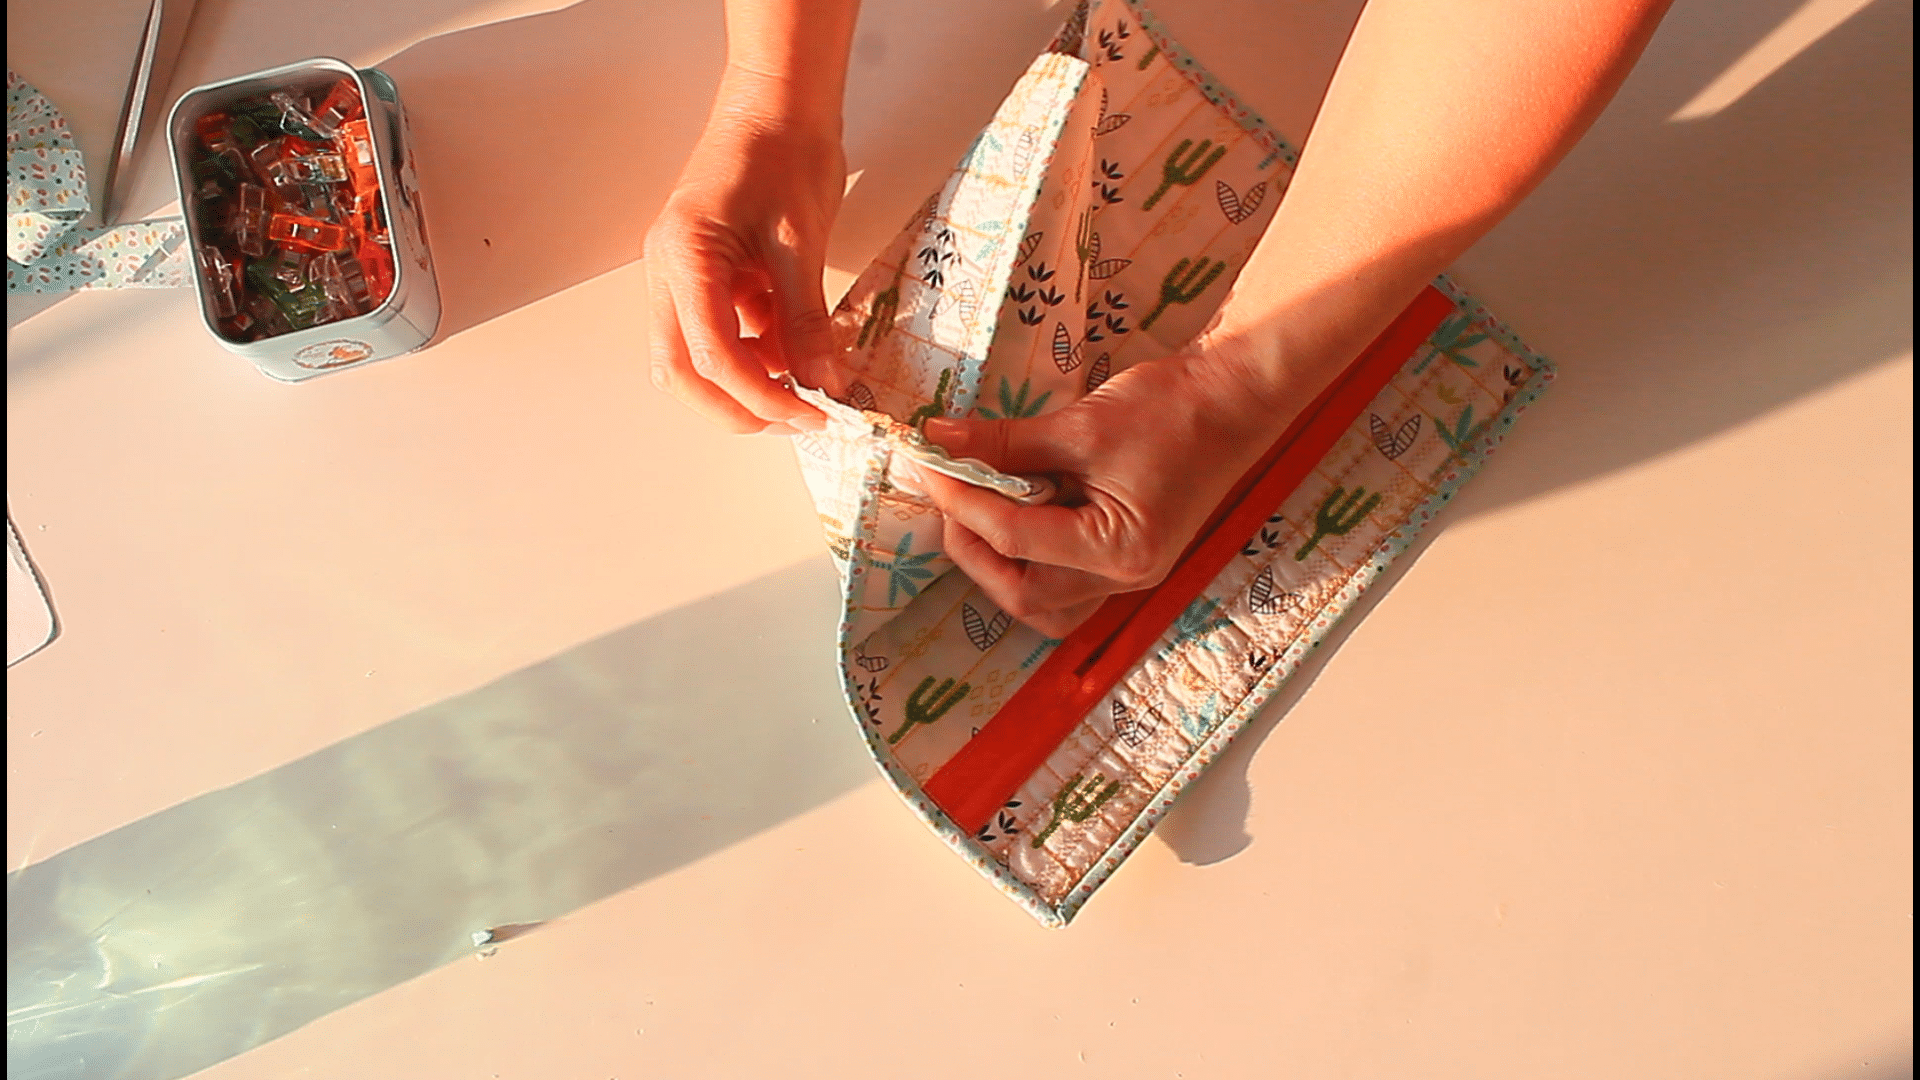
- Cover all raw sewn edges with binding, skipping the cut out part of the bottom.
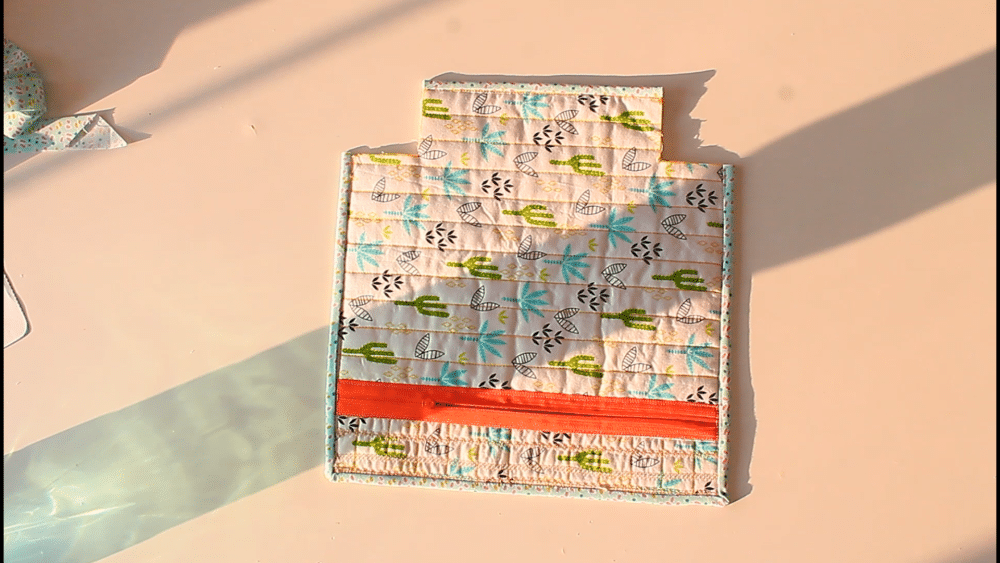
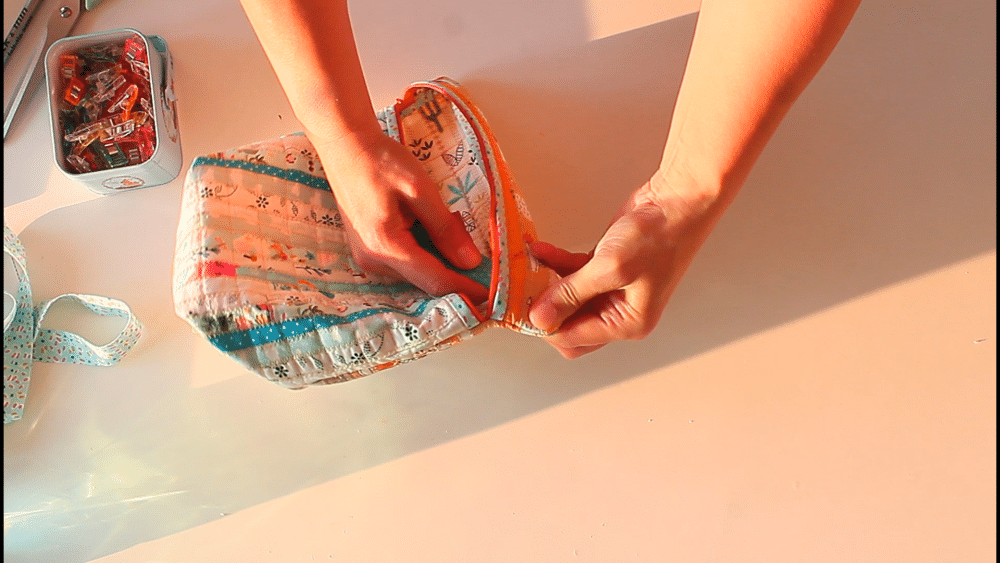
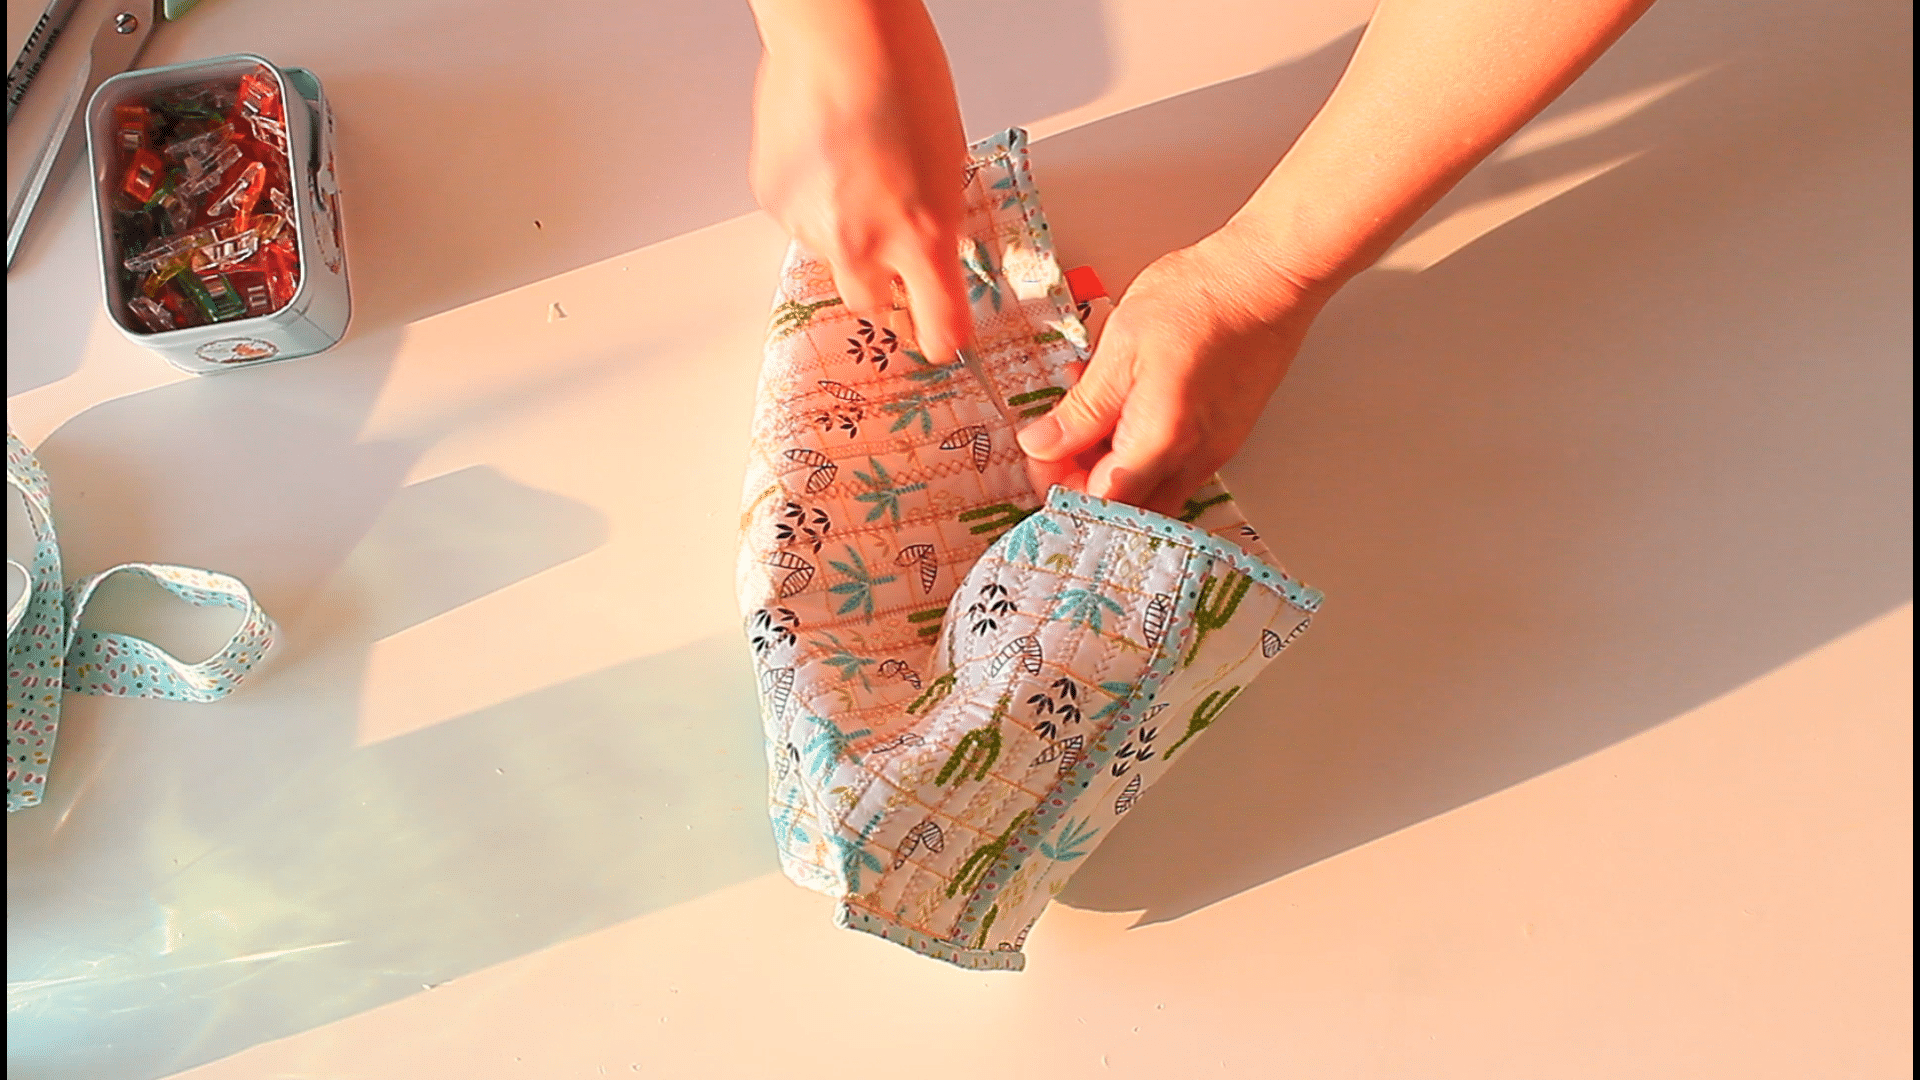
- Pinch the bottom corners and box the bag then cover the raw seam in binding.
- Turn the bag right side out and smooth out the corners and seams.
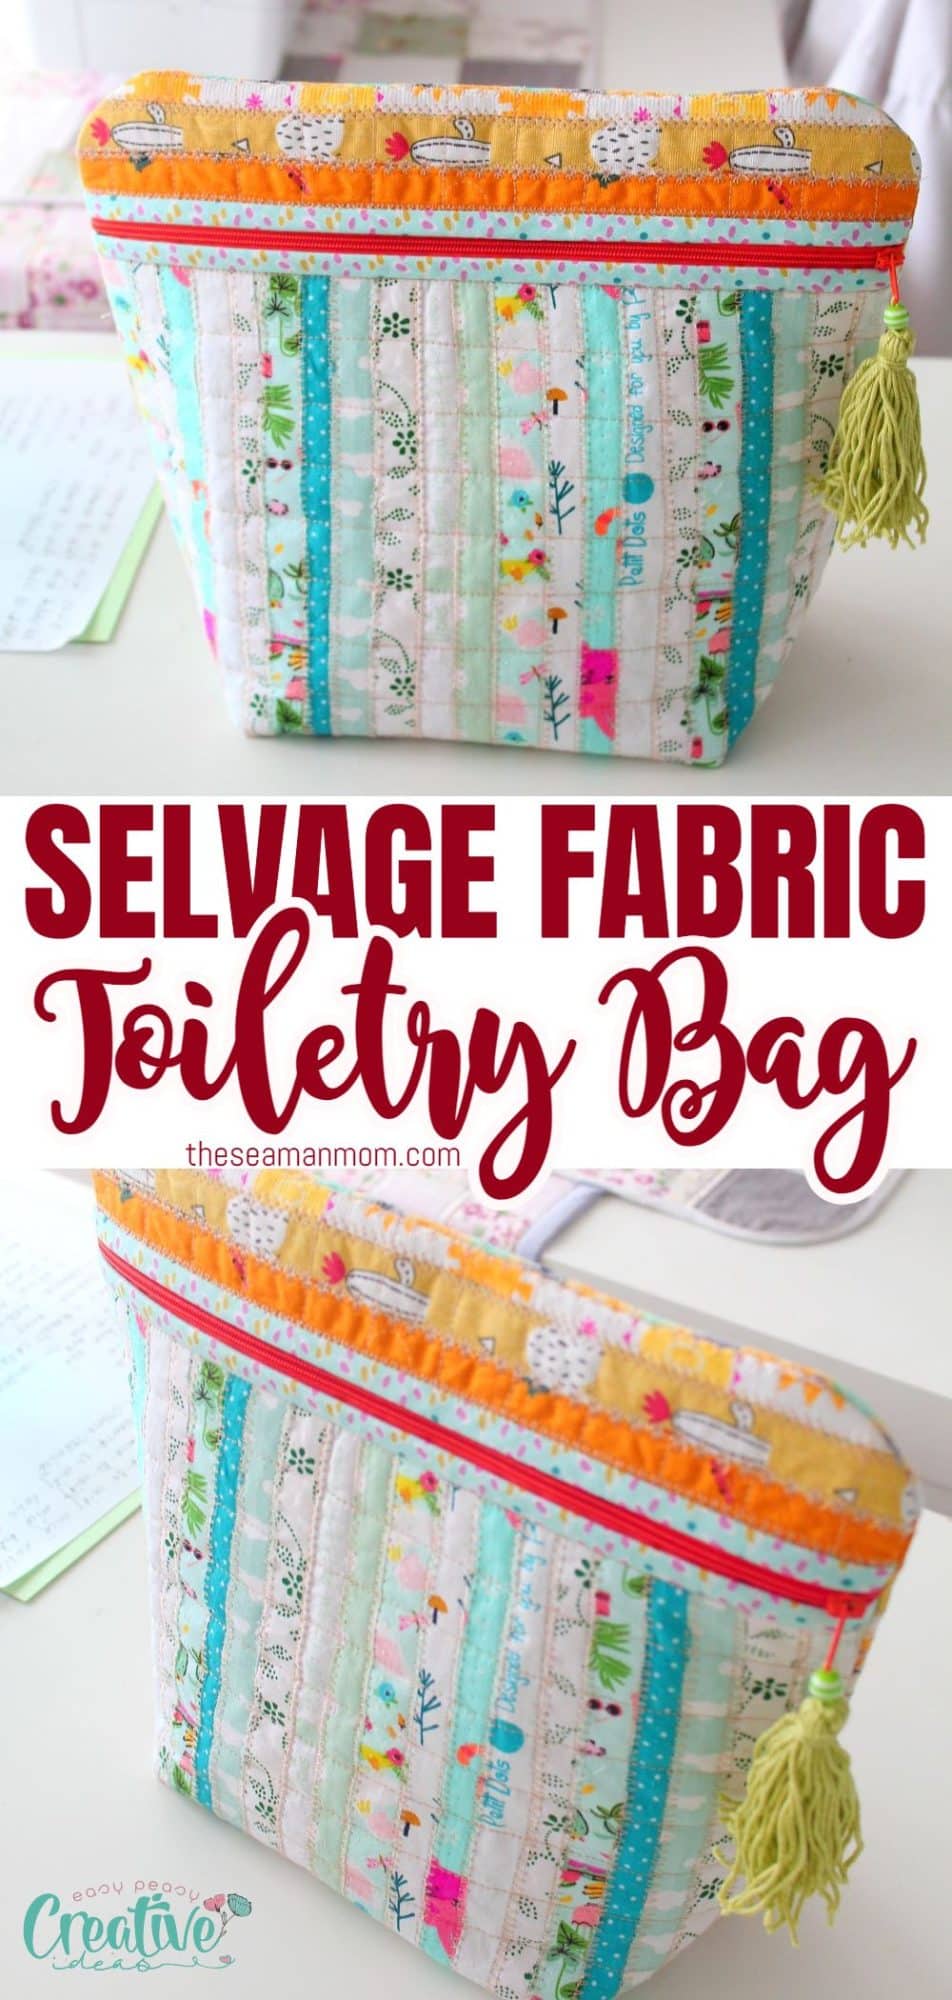
- Attach the tassel to the zipper pull and your new toiletries/make-up bag is ready to use for your cosmetics and toiletries!
If you’re looking to create a special and practical gift, consider making a quilted toiletry bag. This DIY project offers plenty of opportunities for customization using different fabric selvages. With the right materials and some basic sewing skills, you can create a unique and attractive pouch that will be both useful and fashionable. So don’t wait – gather your supplies and start sewing now!
Pin to save for later
Most popular sewing projects:
- Tips for sewing a round hem
- Corded bag handles
- Flutter sleeve dress pattern
- How to laminate cotton fabric
Article may contain Amazon & affiliate links. As an Amazon Associate I earn from qualifying purchases at no additional cost to you.




ABOUT PETRO
Hi, I’m Petro, author and founder of Easy Peasy Creative Ideas. Sewist, crafter, avid DIY-er, foodie, photographer, homemaker and mommy to one. I’m an expert at coming up with quick, clever sewing tips, recycling crafts and simple, easy recipes! You can find my ideas featured in reputable publications such as Country Living, Good House Keeping, Yahoo News, WikiHow, Shutterfly, Parade, Brit & Co and more. Thanks for stopping by and hope you’ll stay for a while, get to know me better and come back another time. Stick around for real fun projects! Read more…